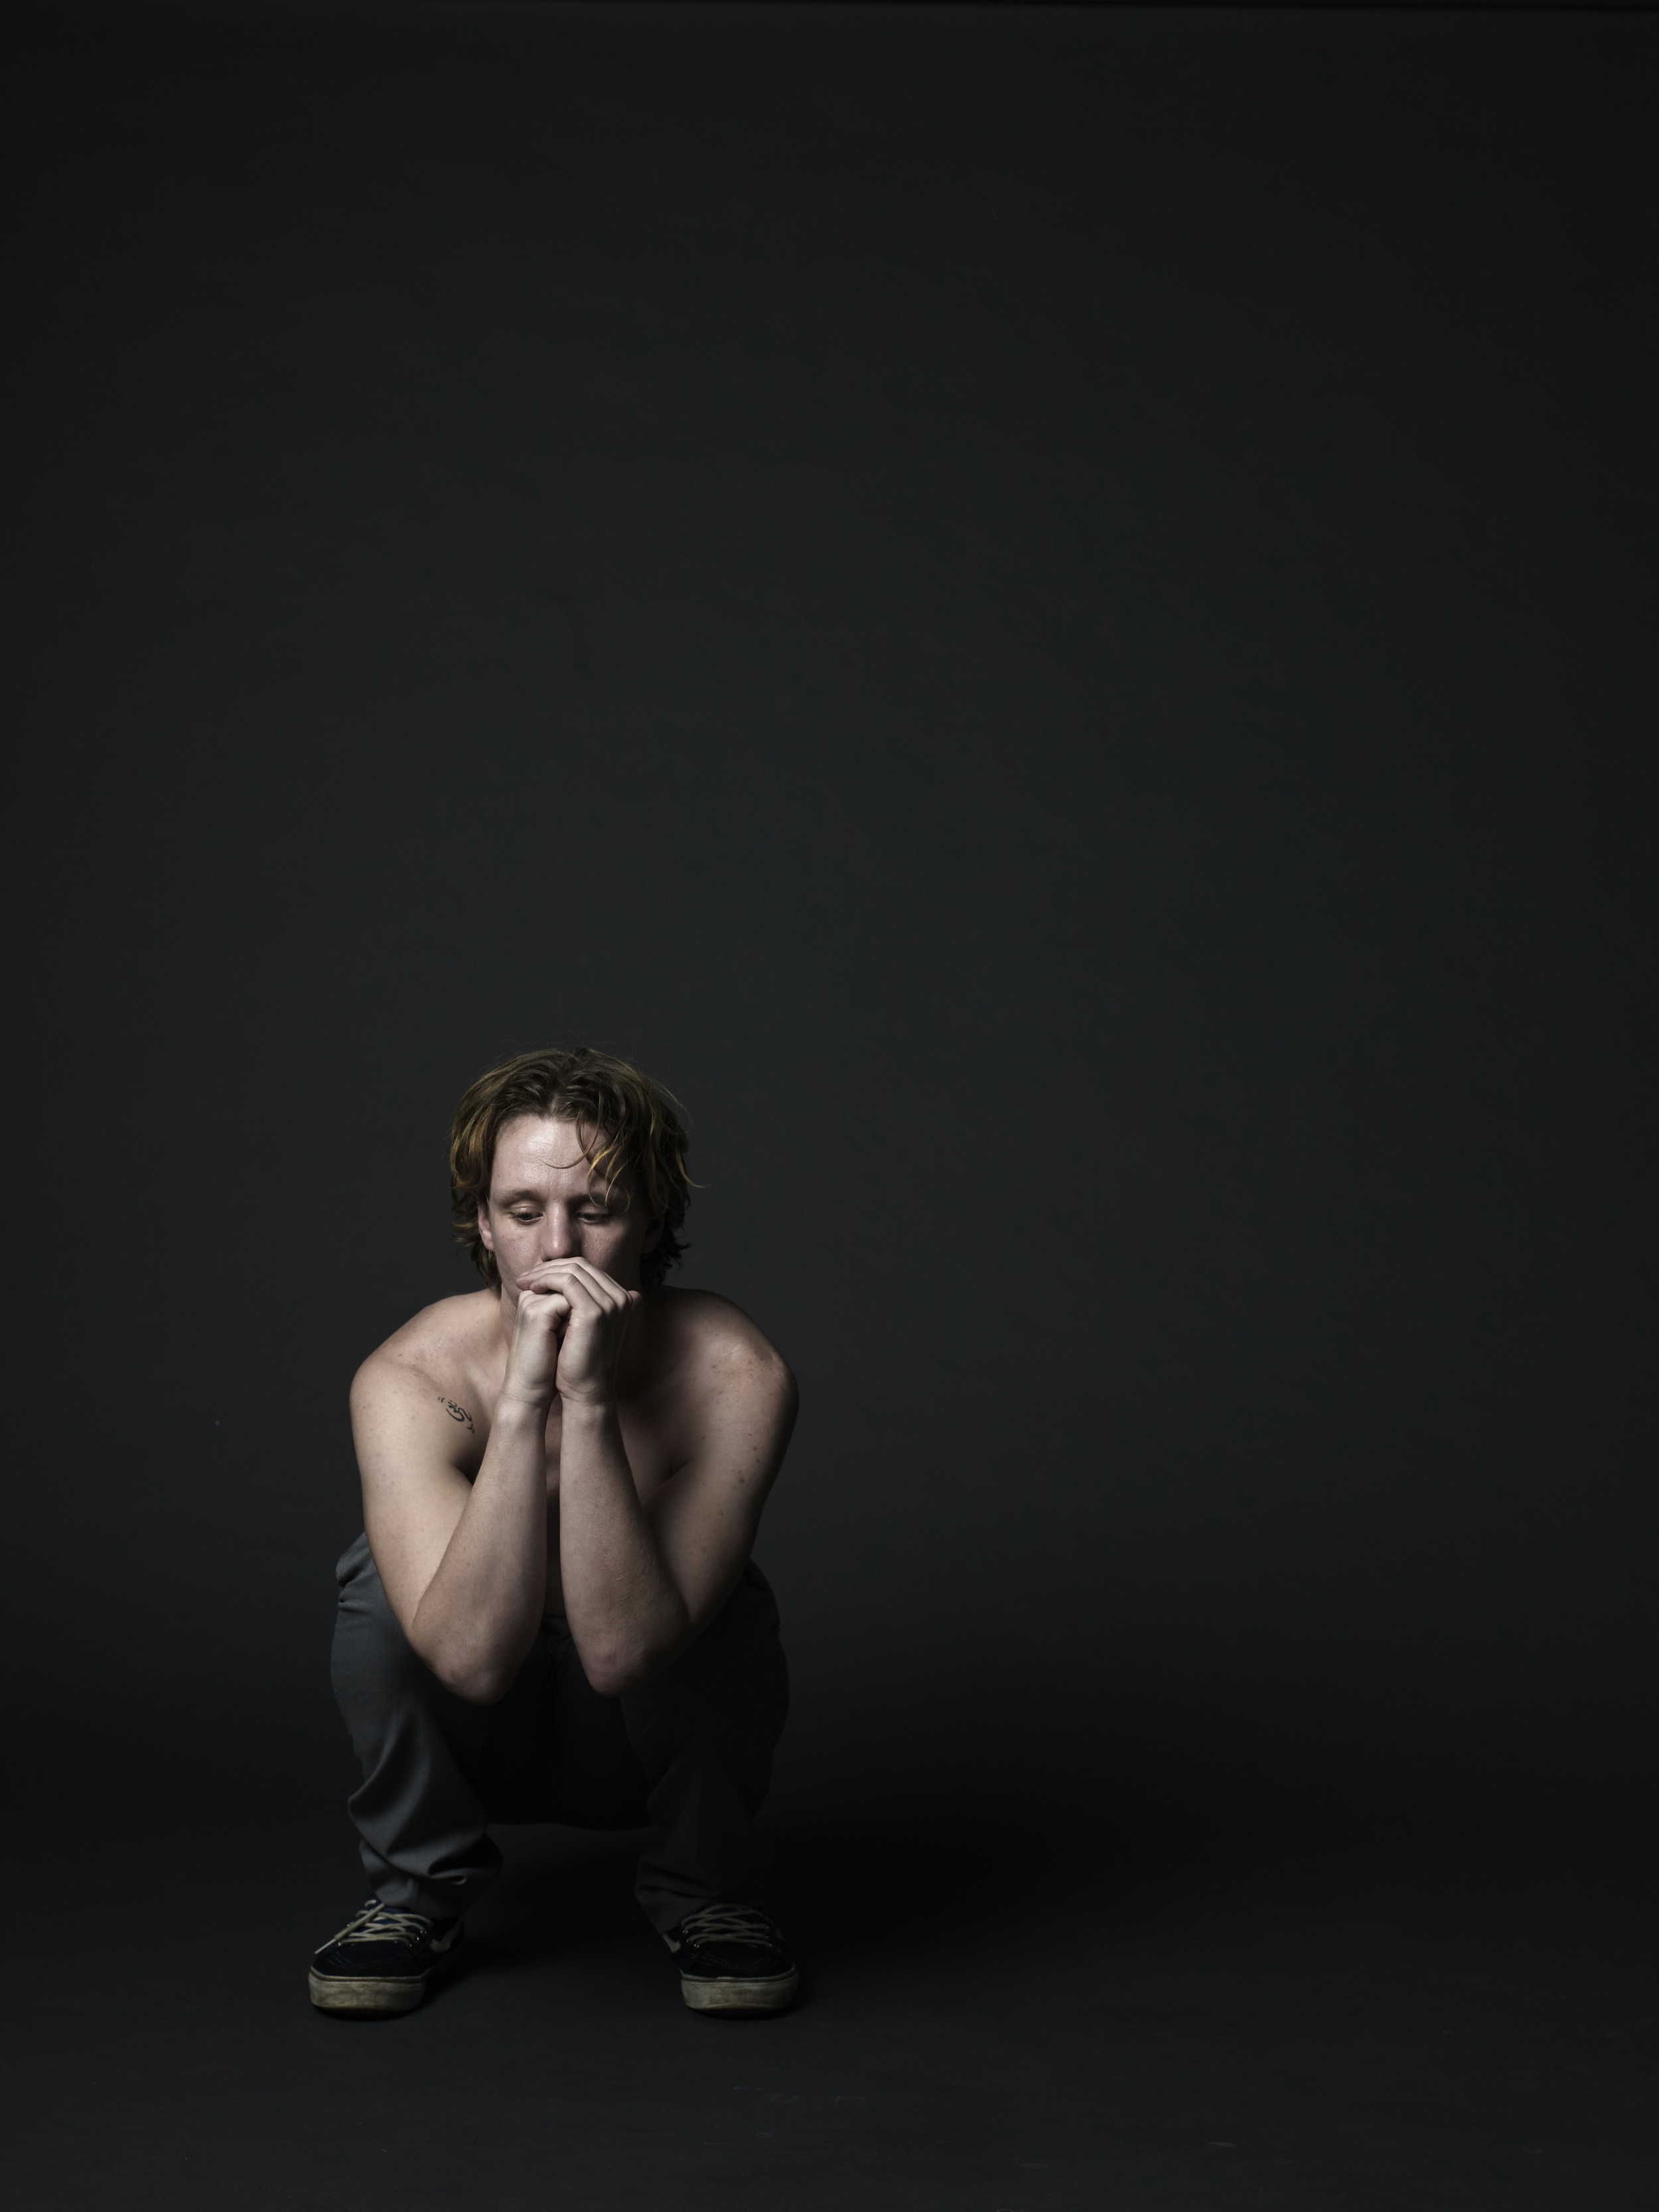
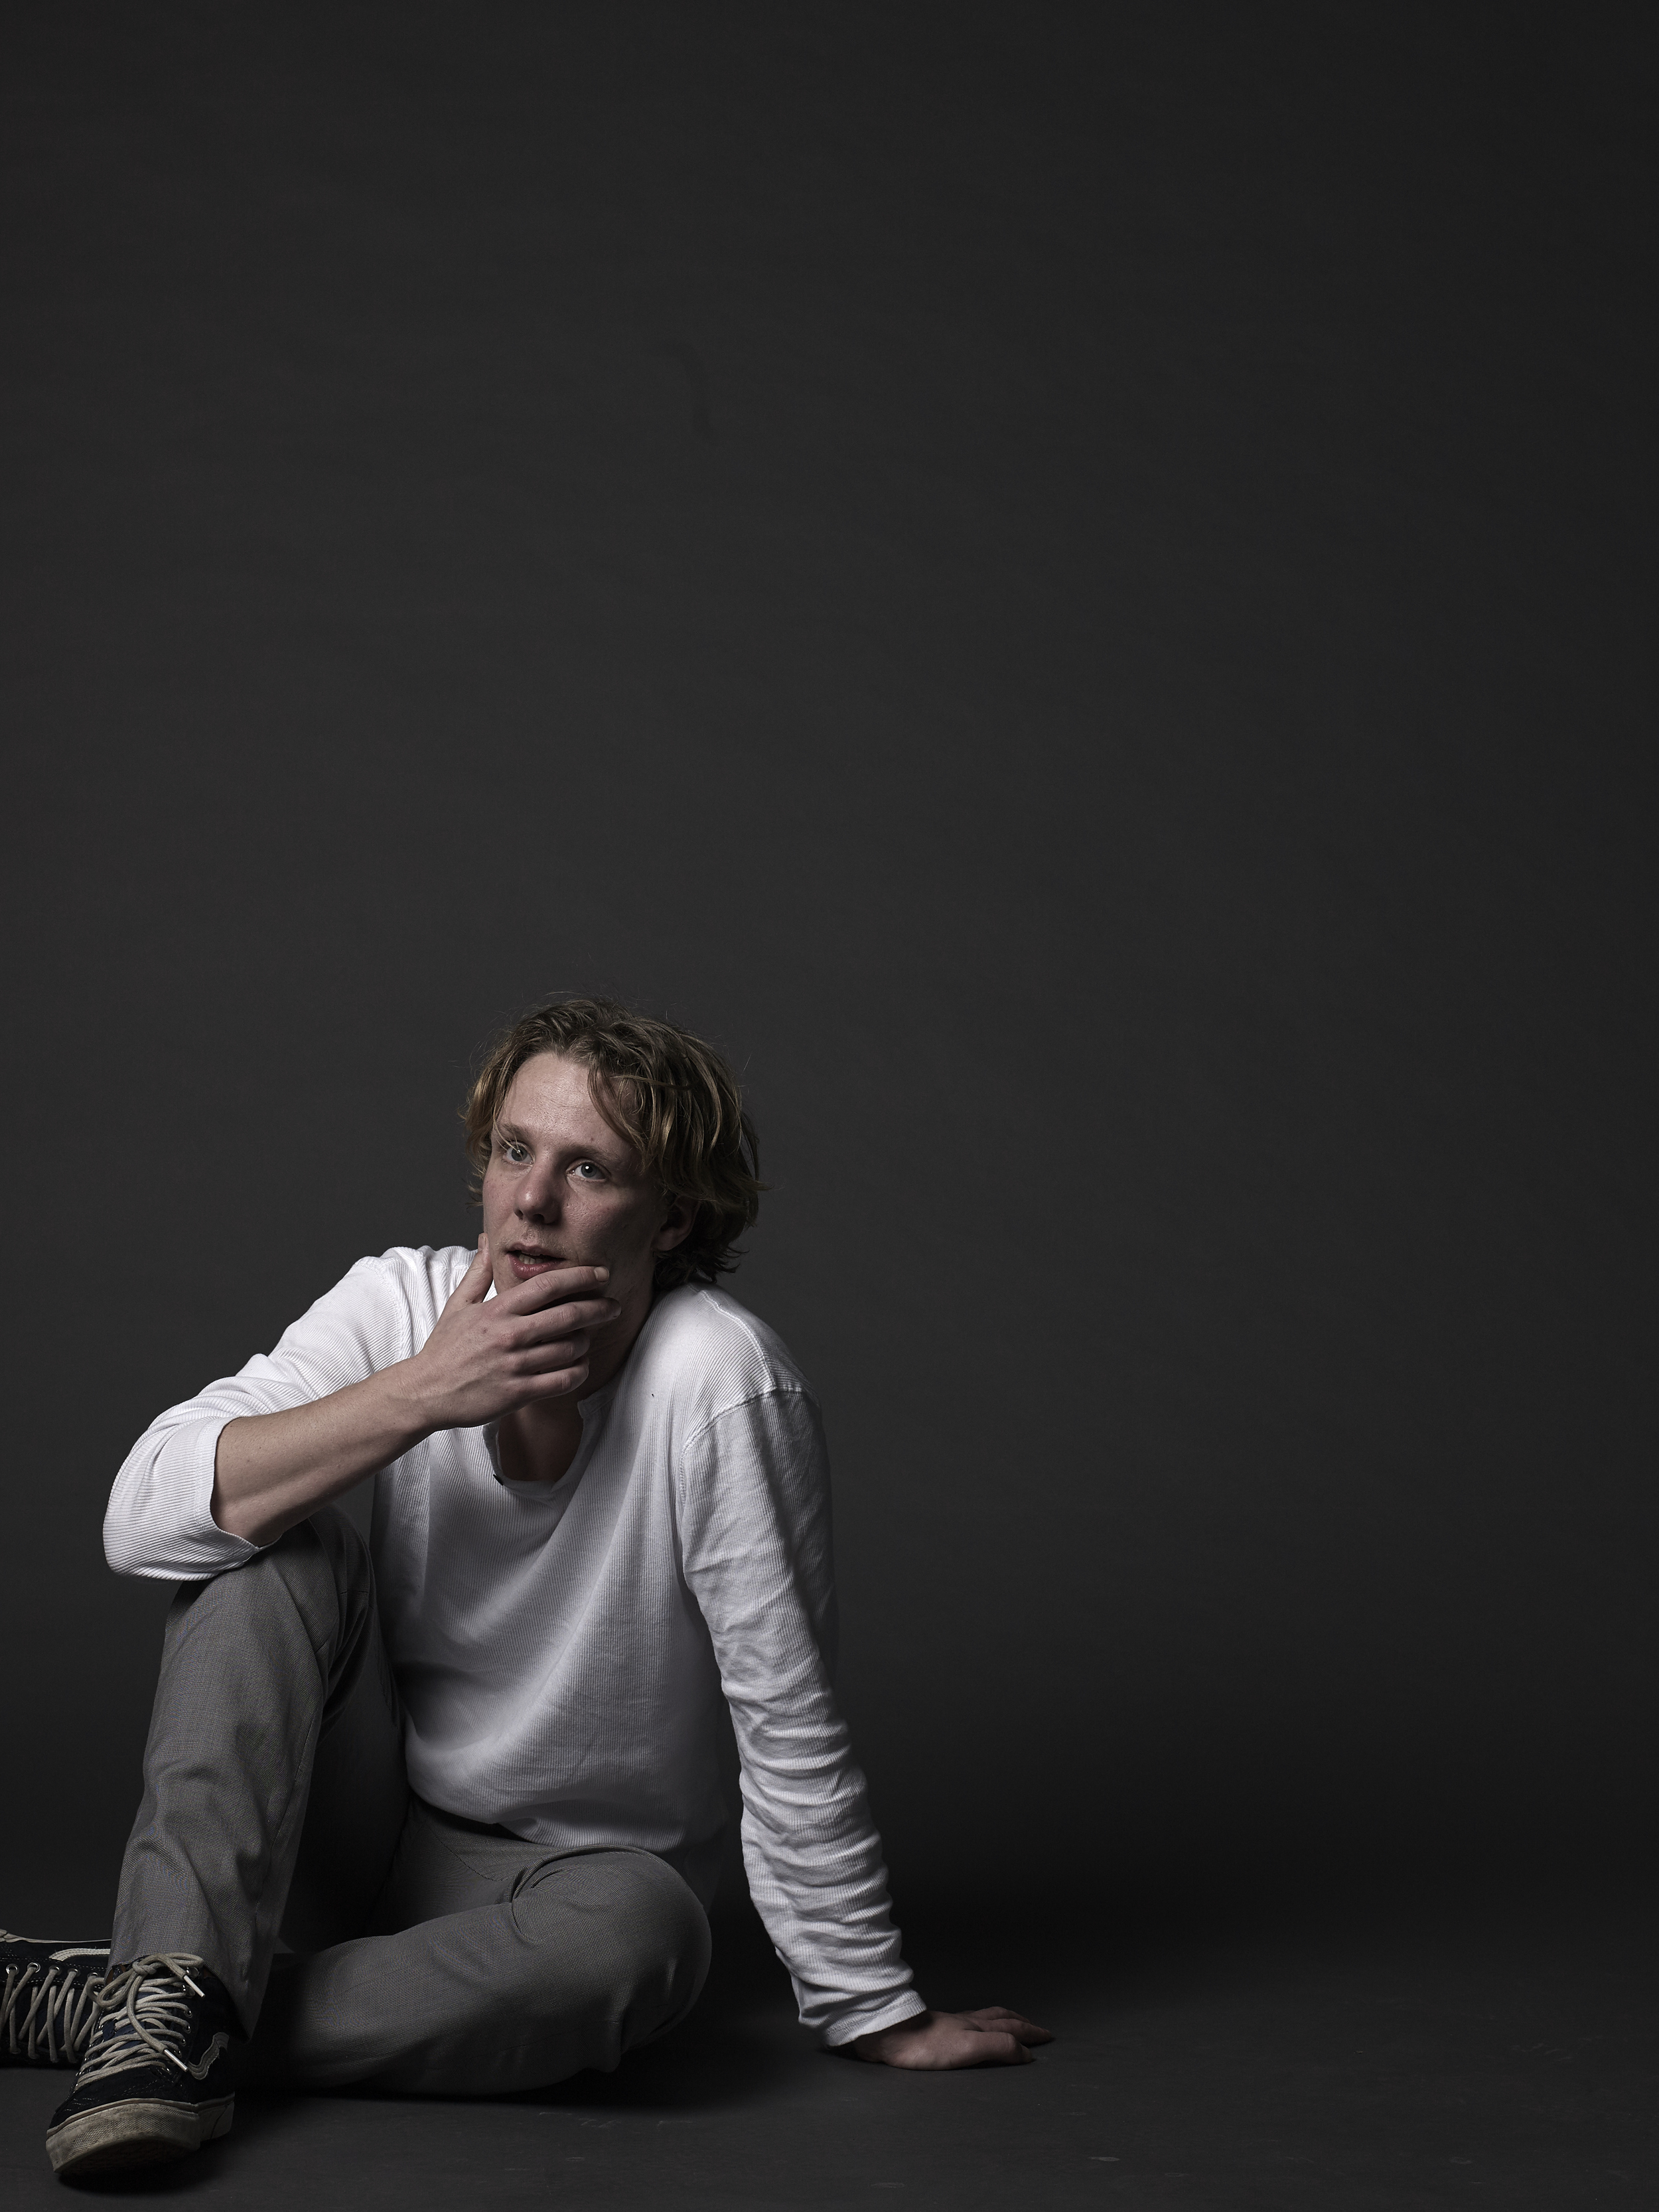
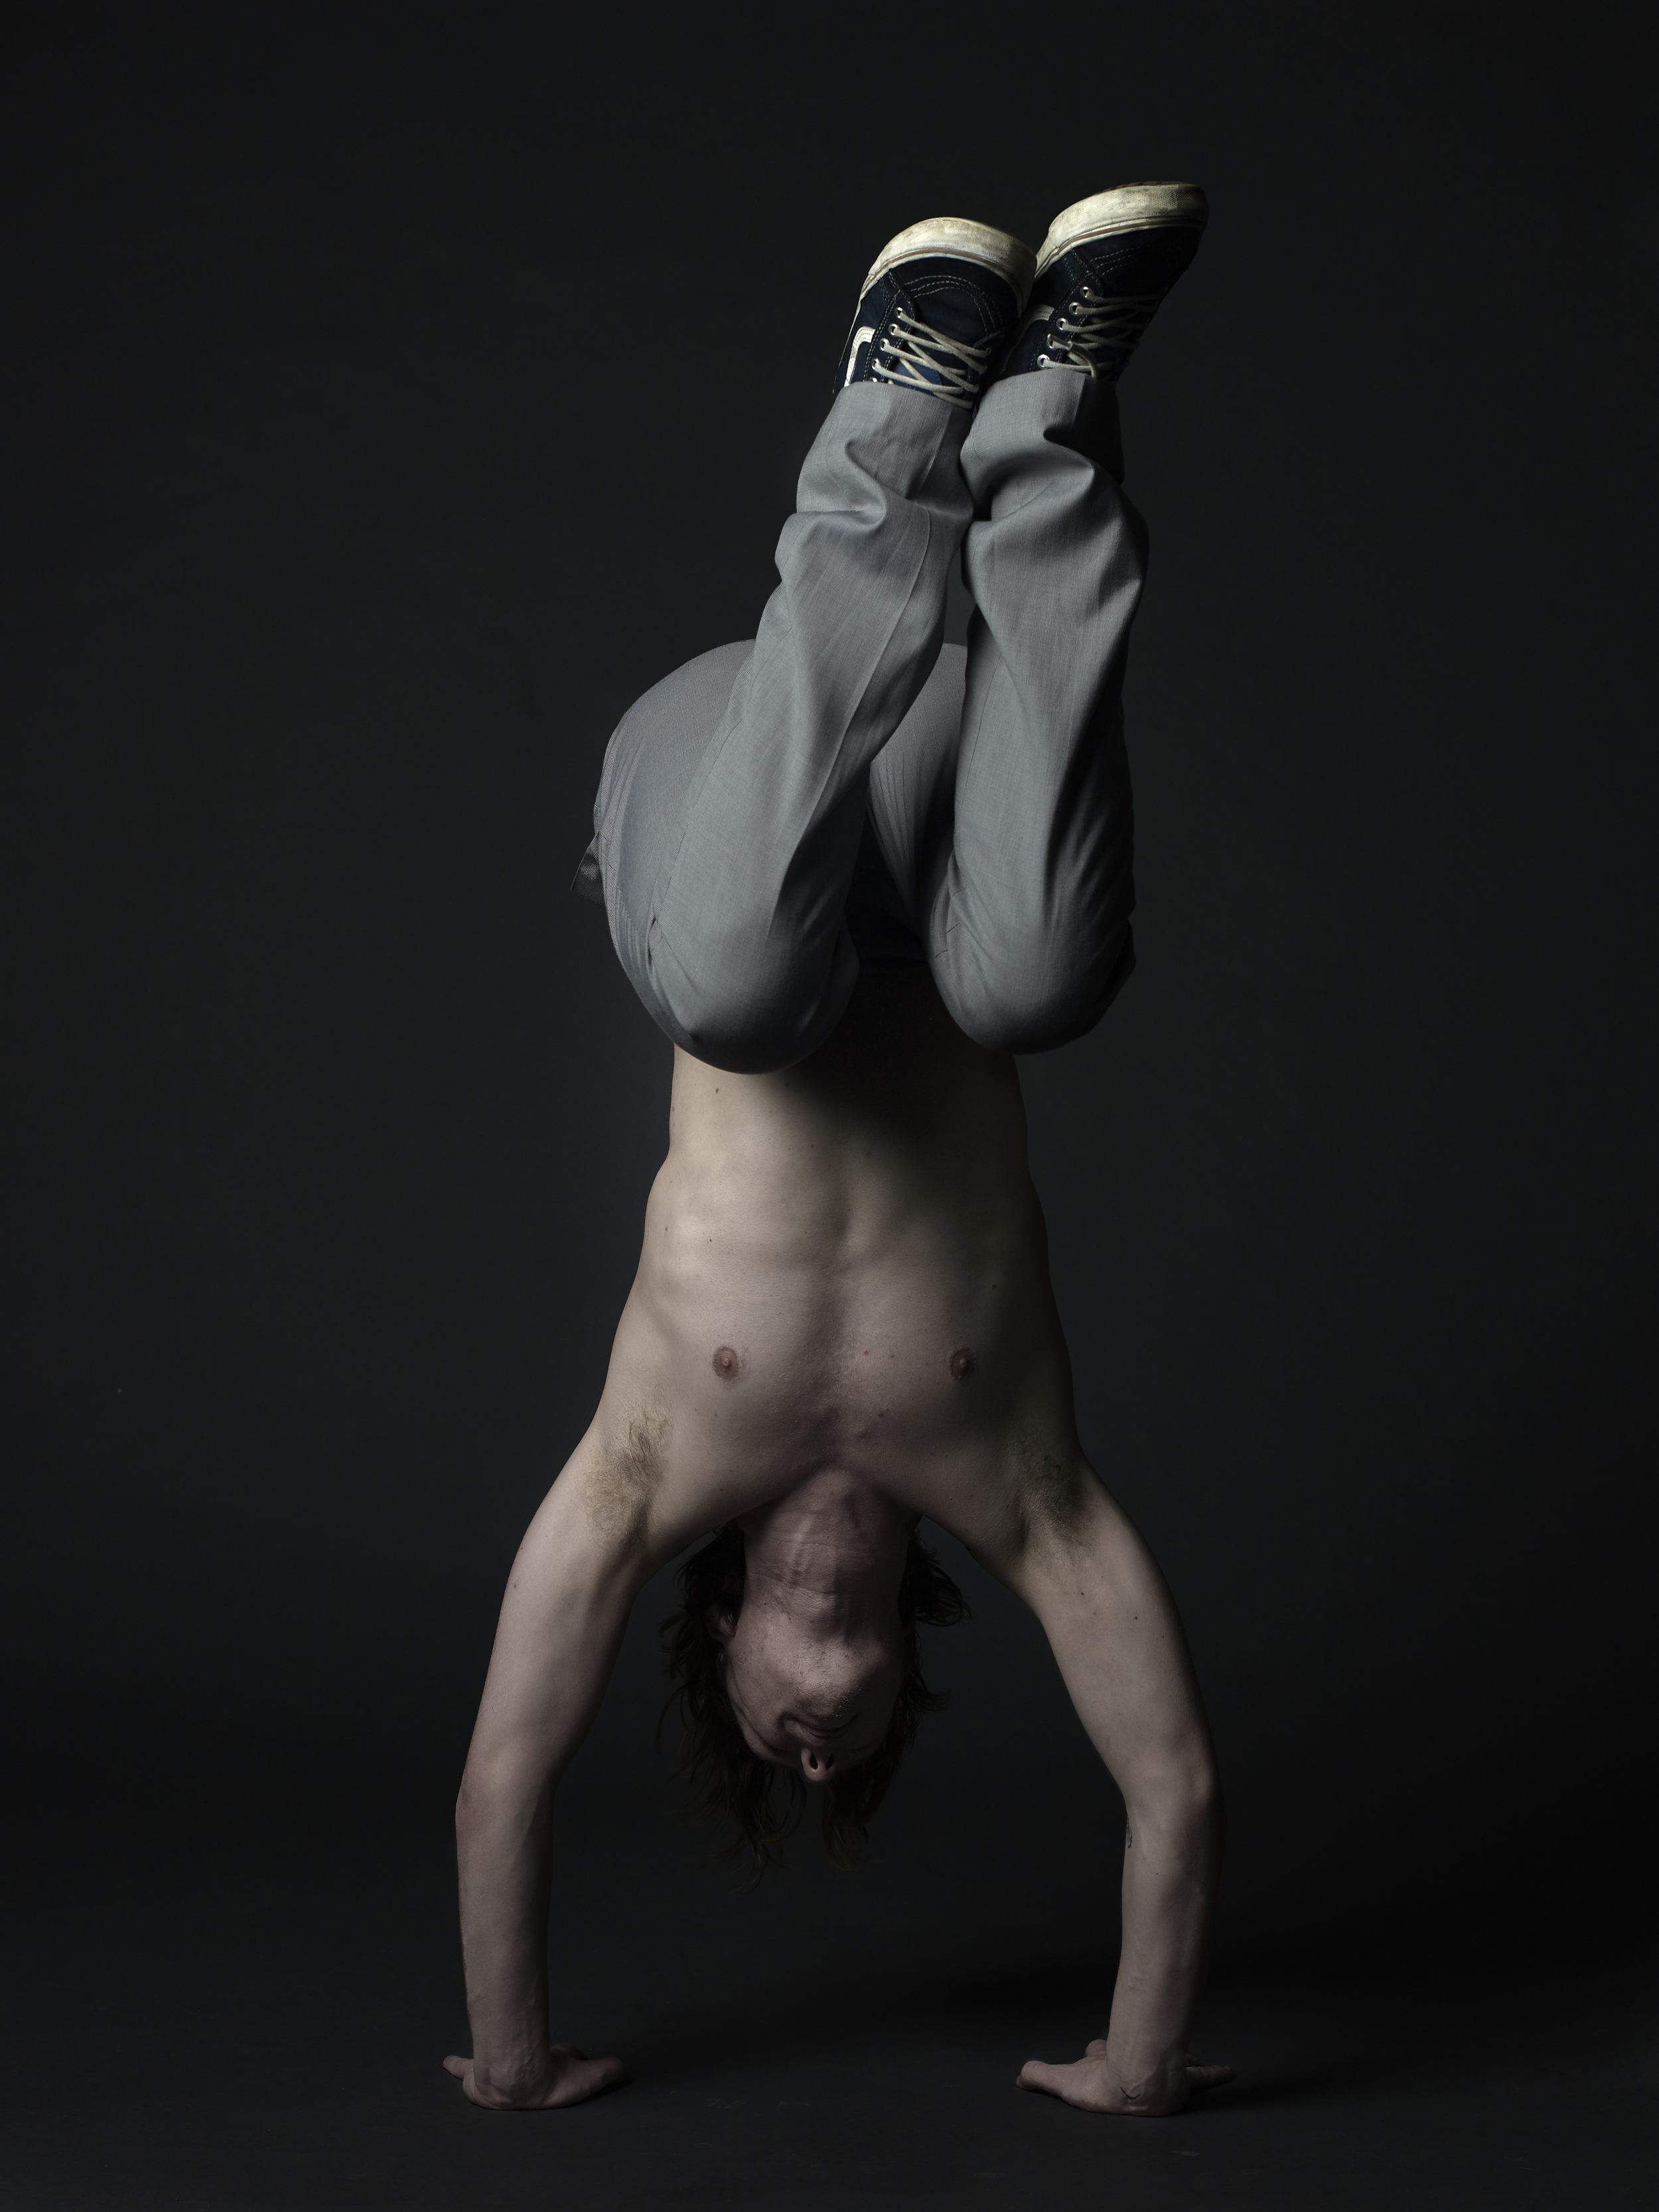
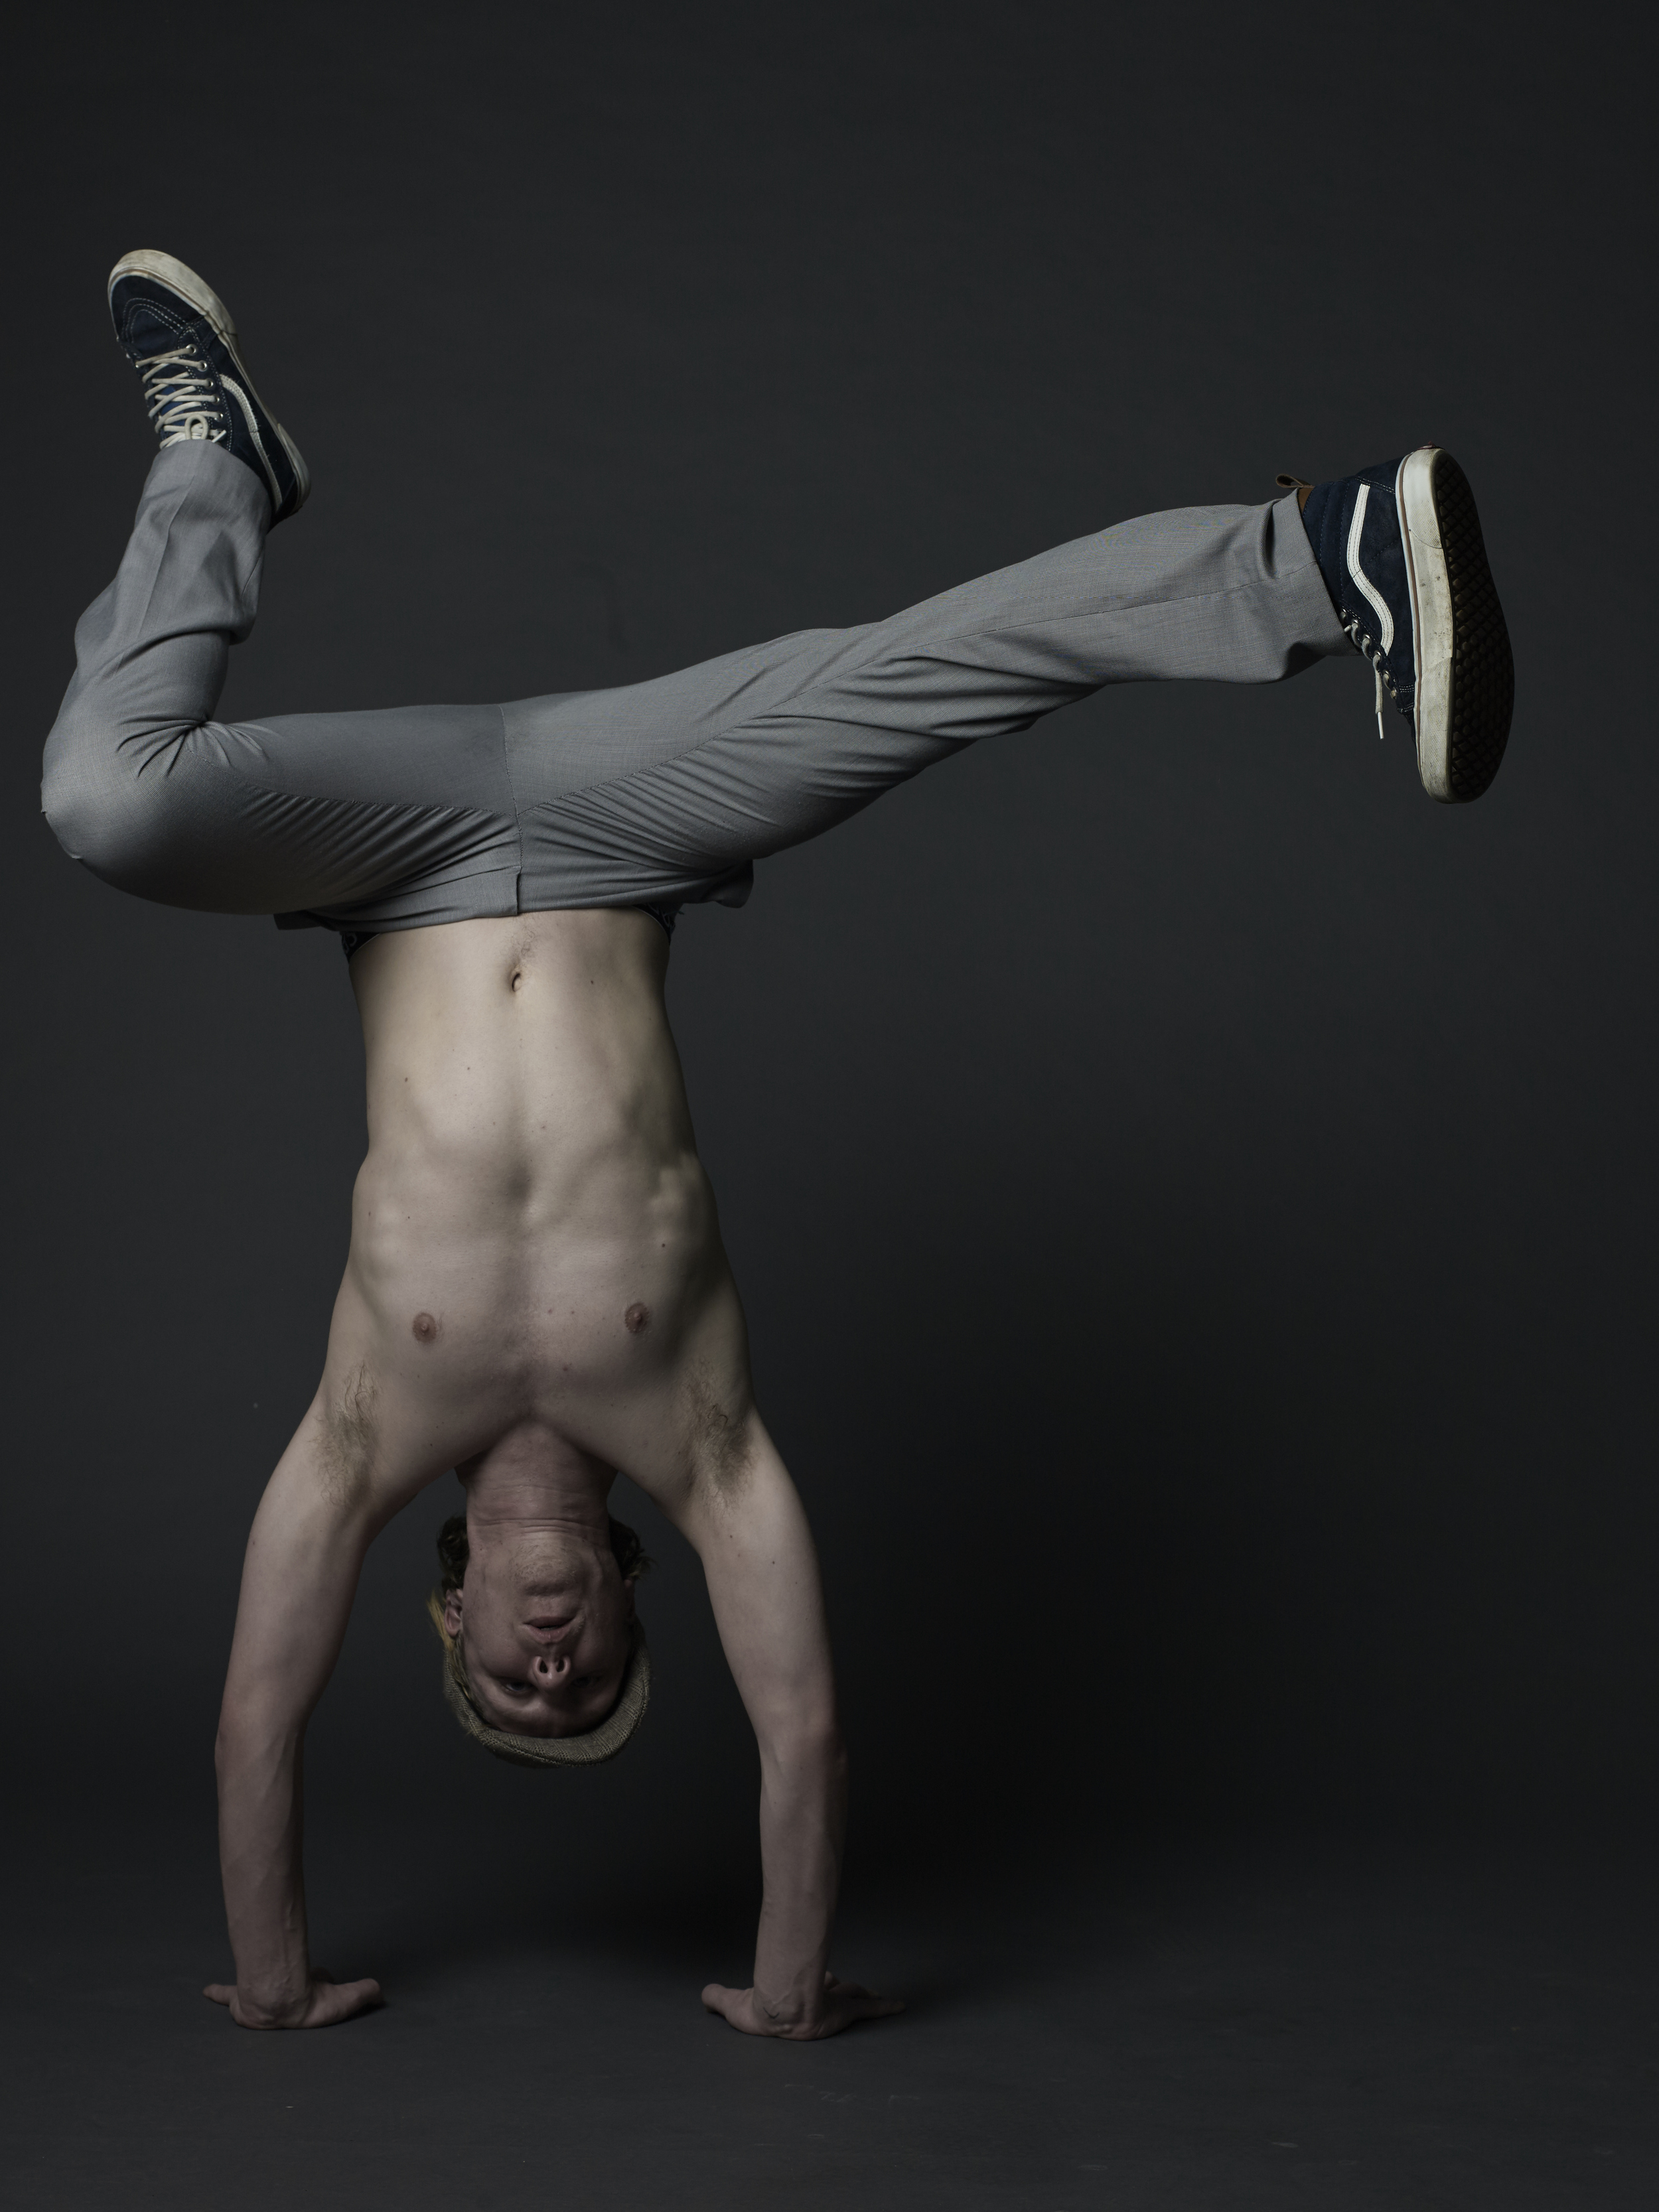
FotoFair 2016
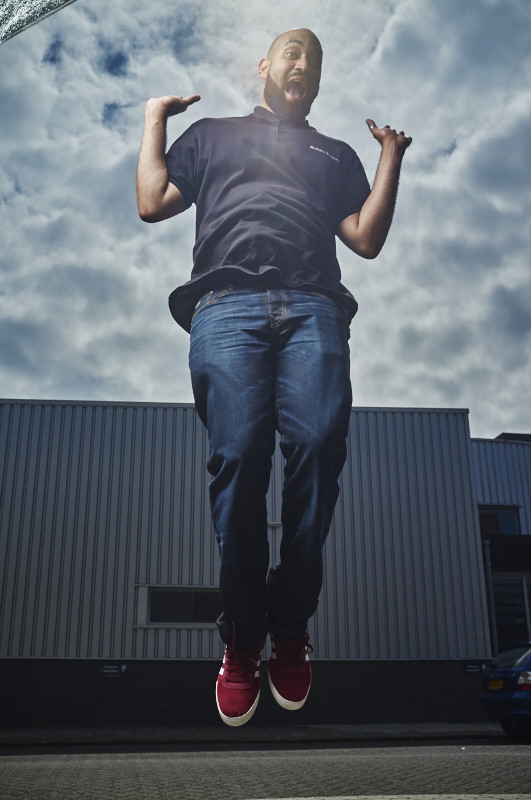
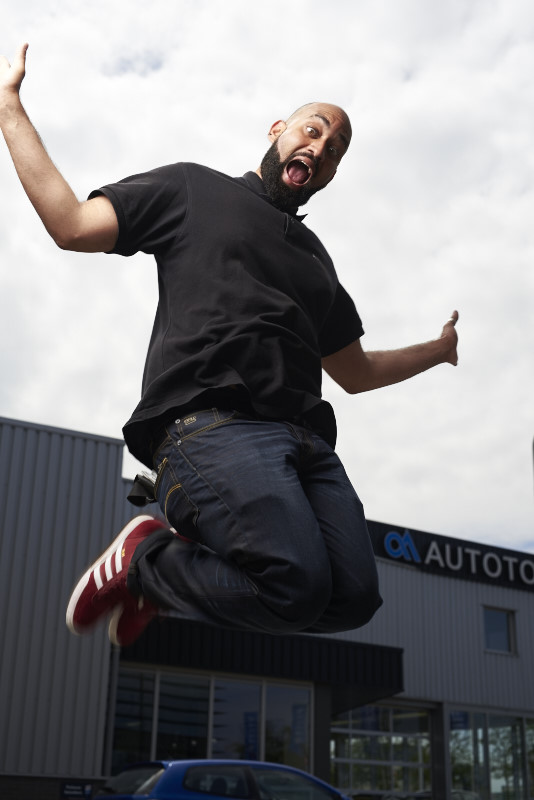
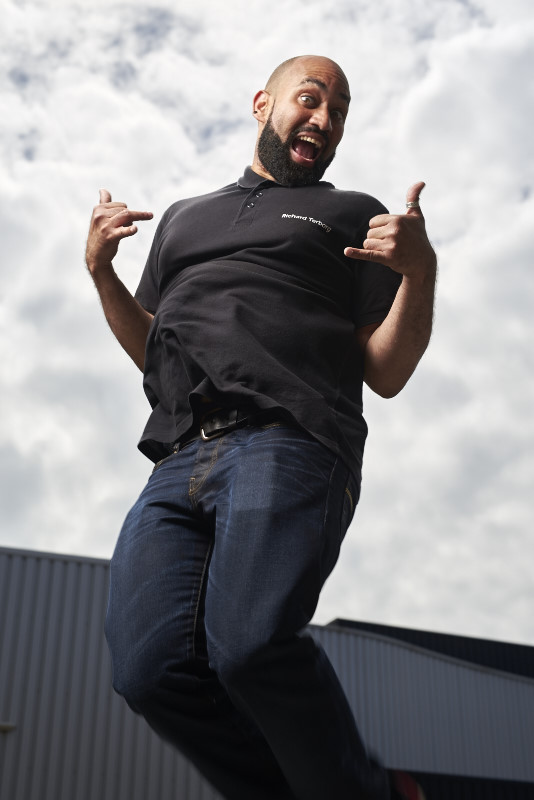
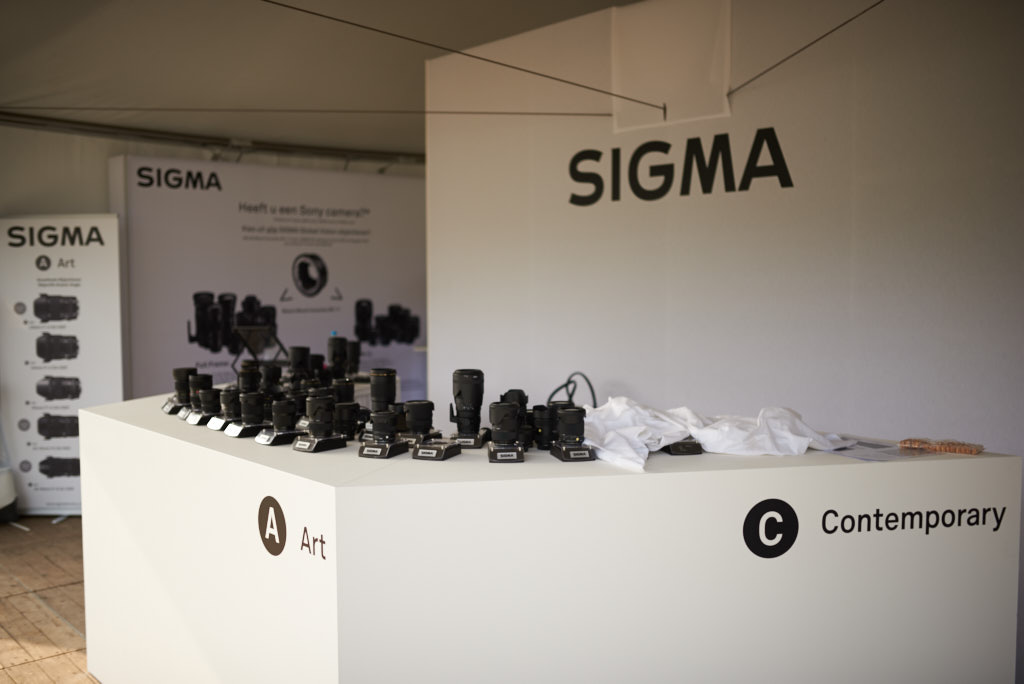
Afgelopen weekend stond ik voor Sigma Benelux op de FotoFair bij de Beekse Bergen in Hilvarenbeek. Was echt een top weekend! Veel leuke mensen en medefotografen op de foto mogen zetten. Gelukkig was er tussen door ook soms tijd om wat eigen dingen te maken van de modellen die er rond liepen en in de Worstel ring.
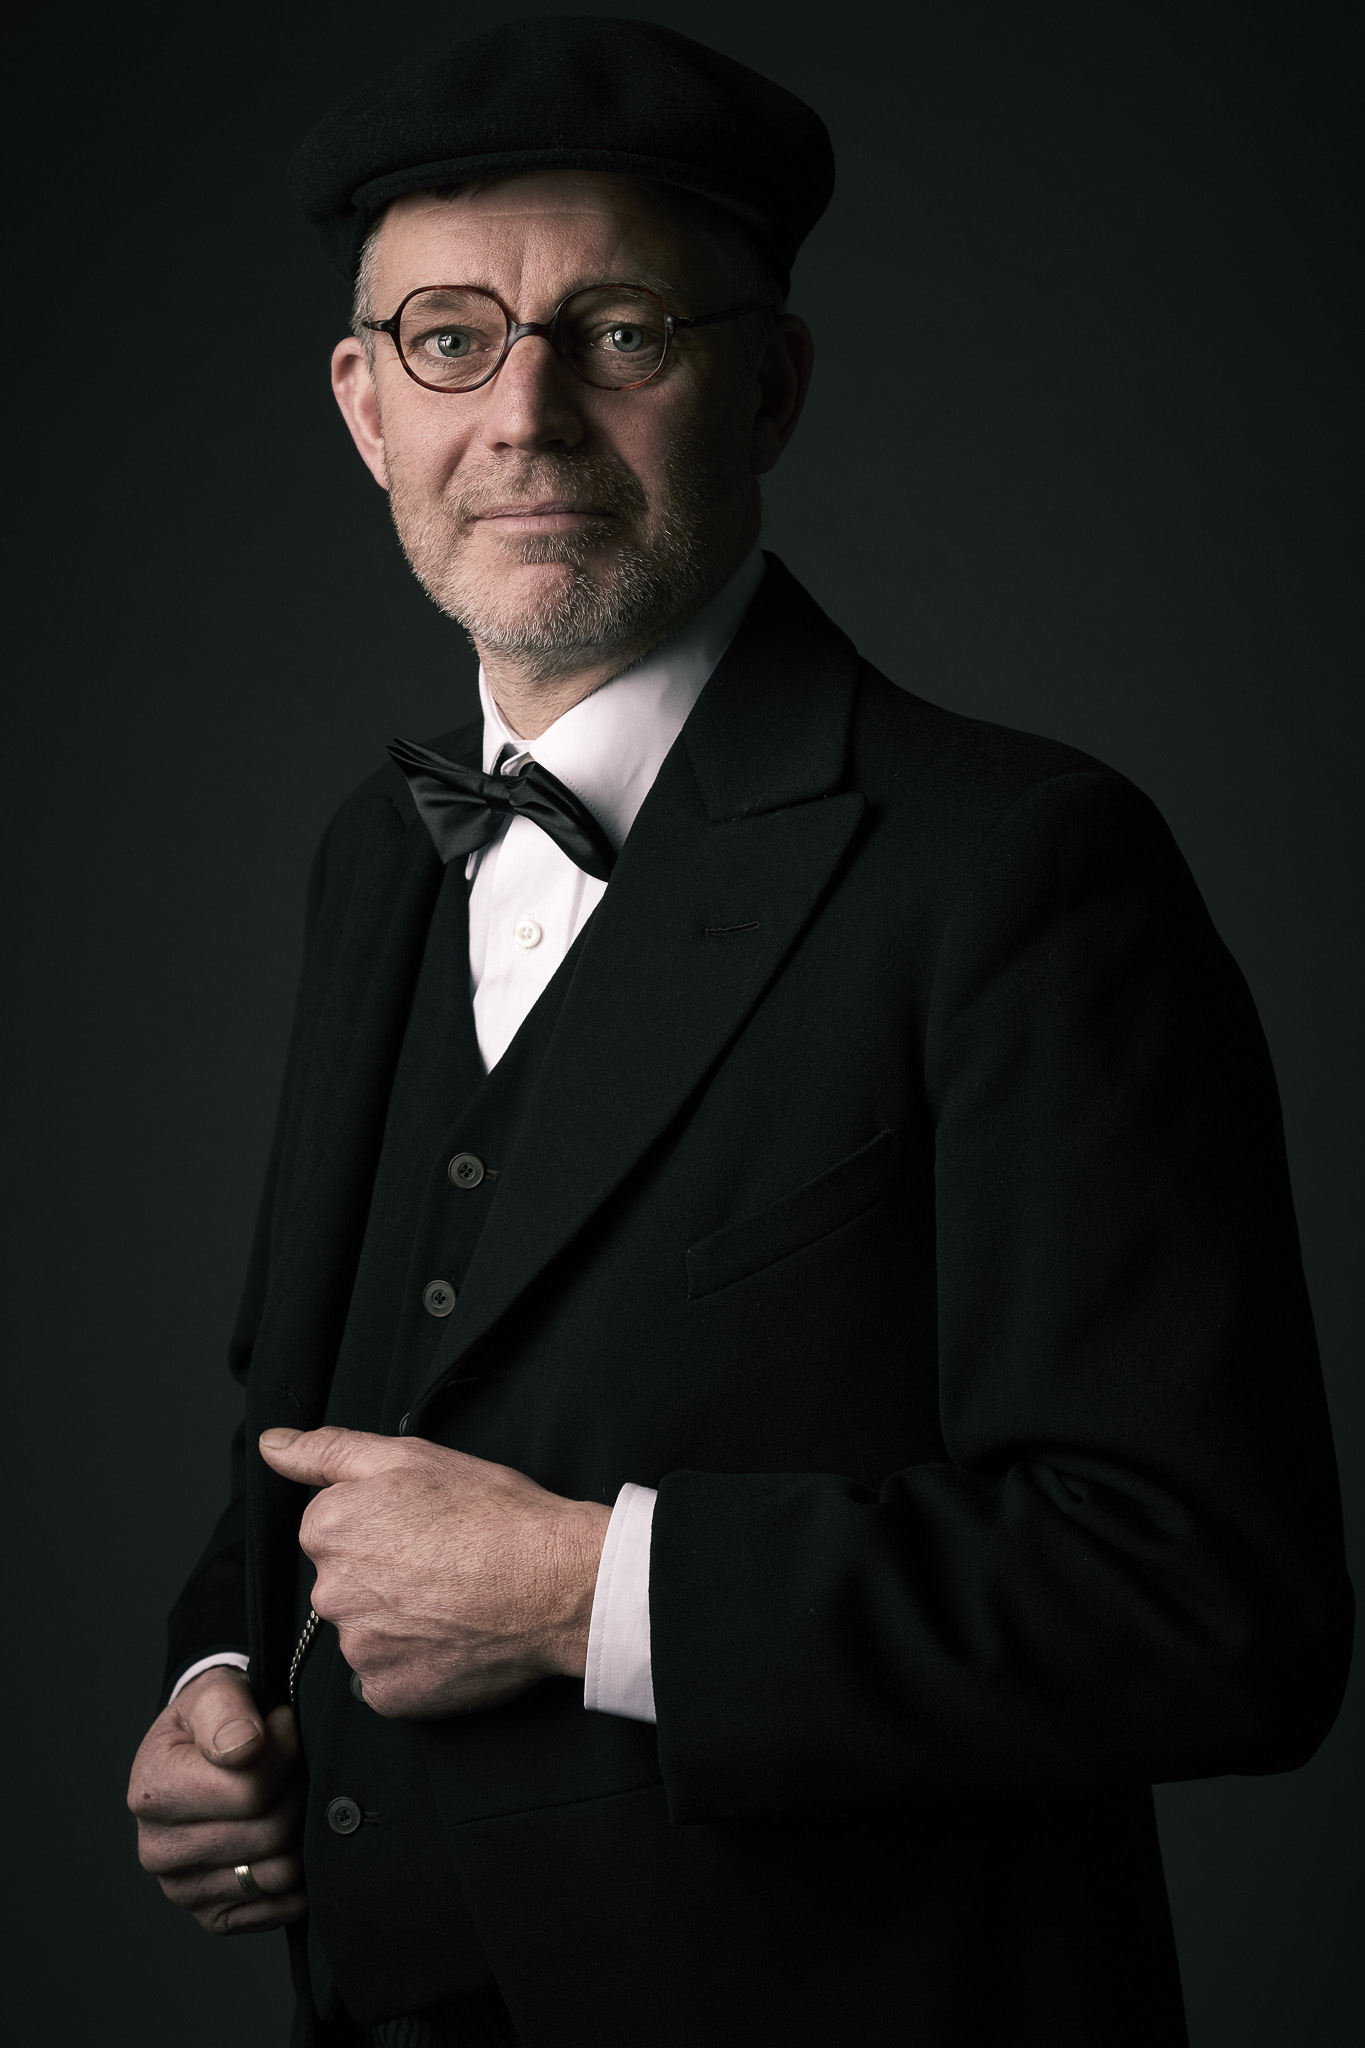
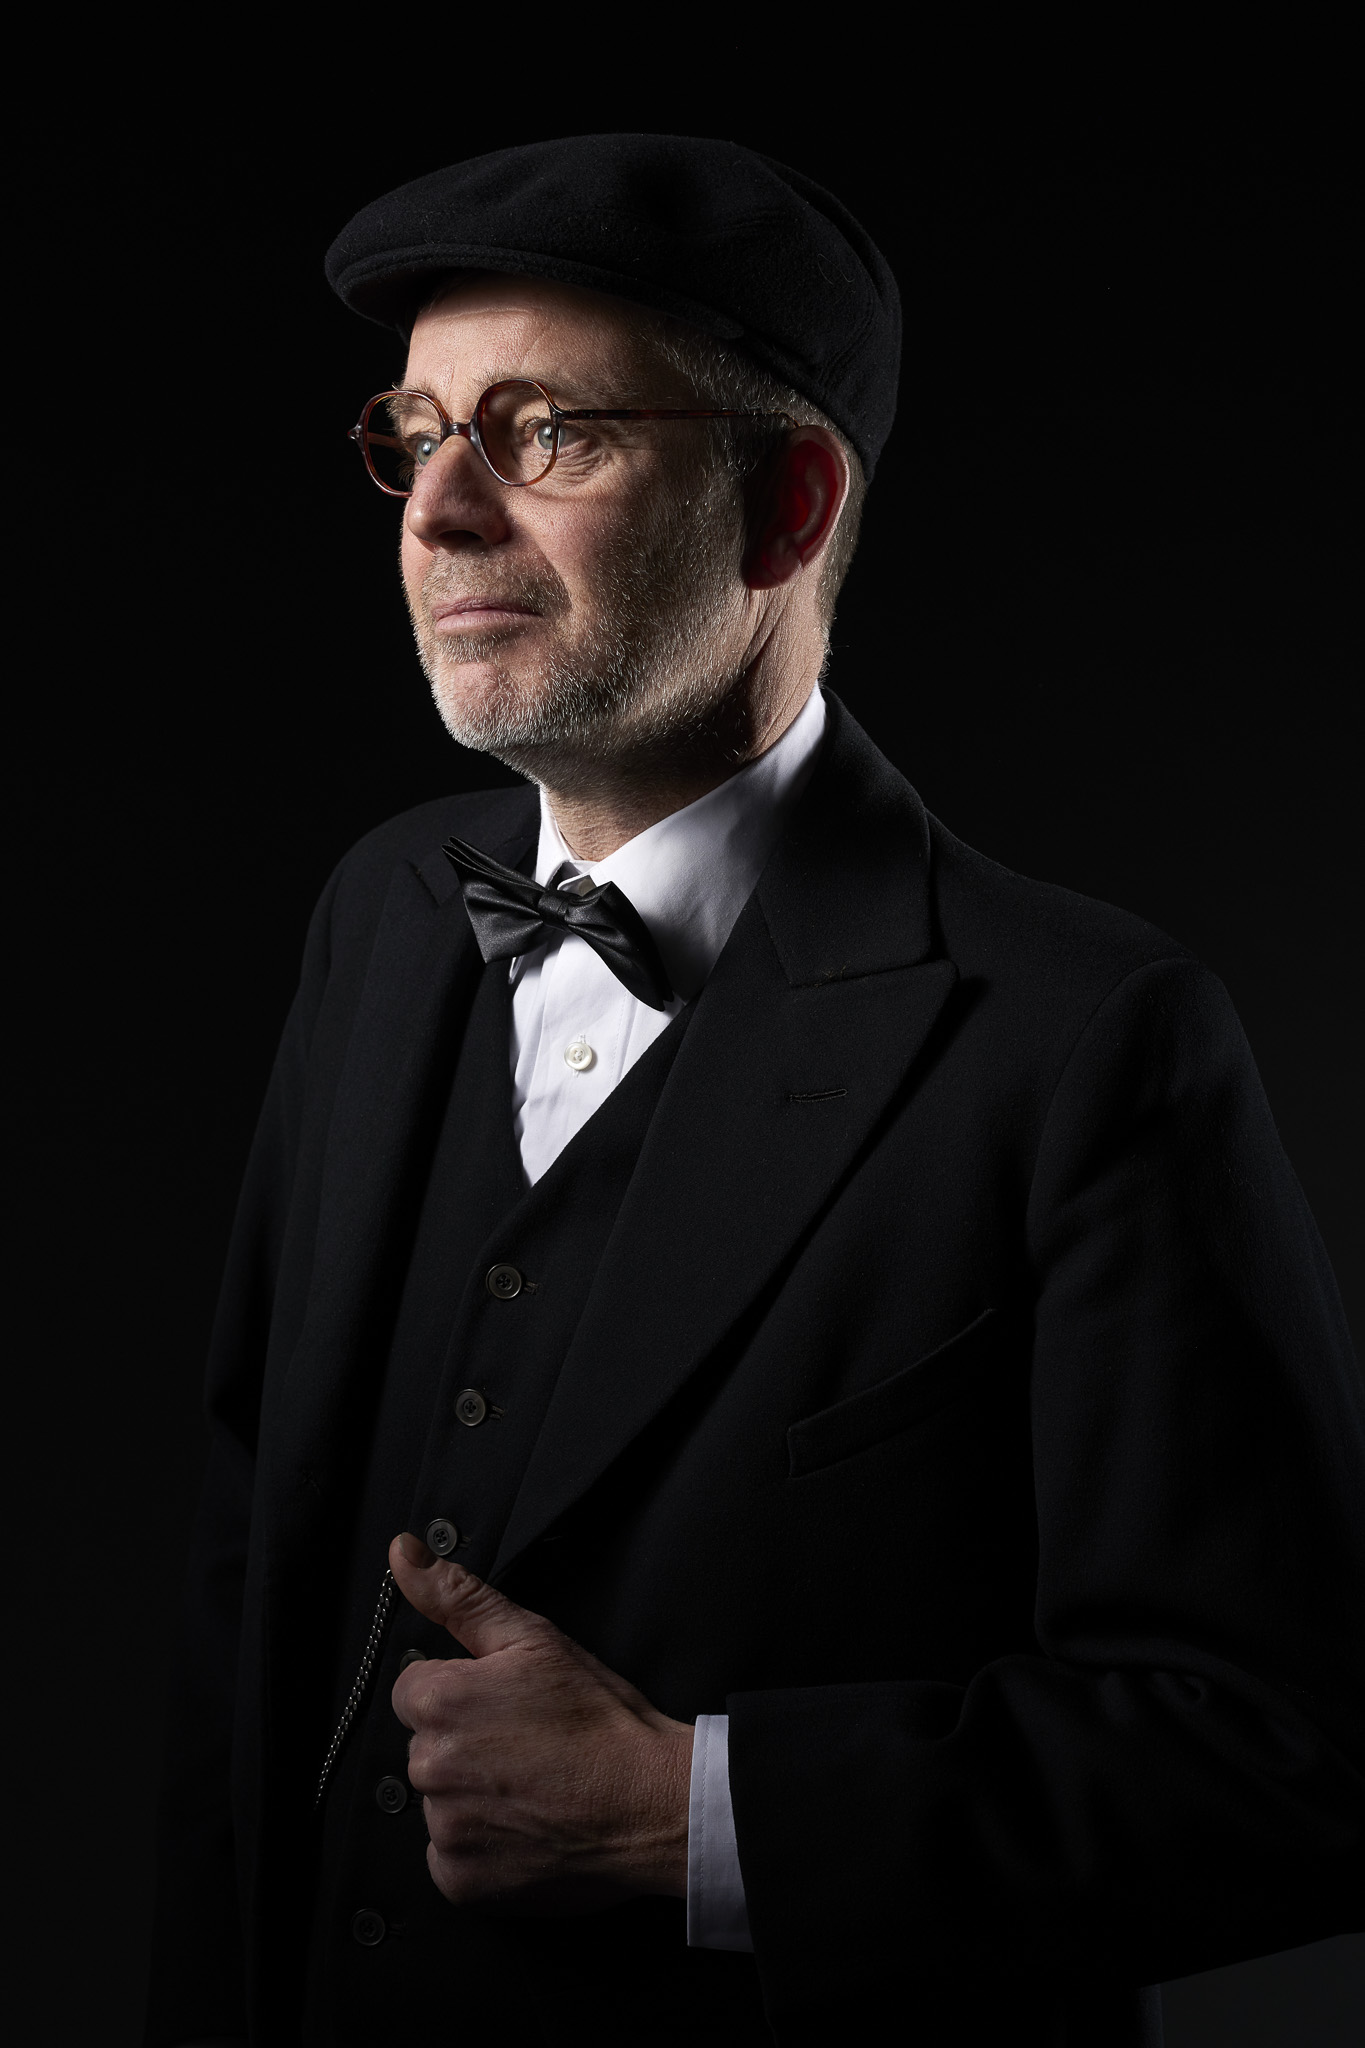
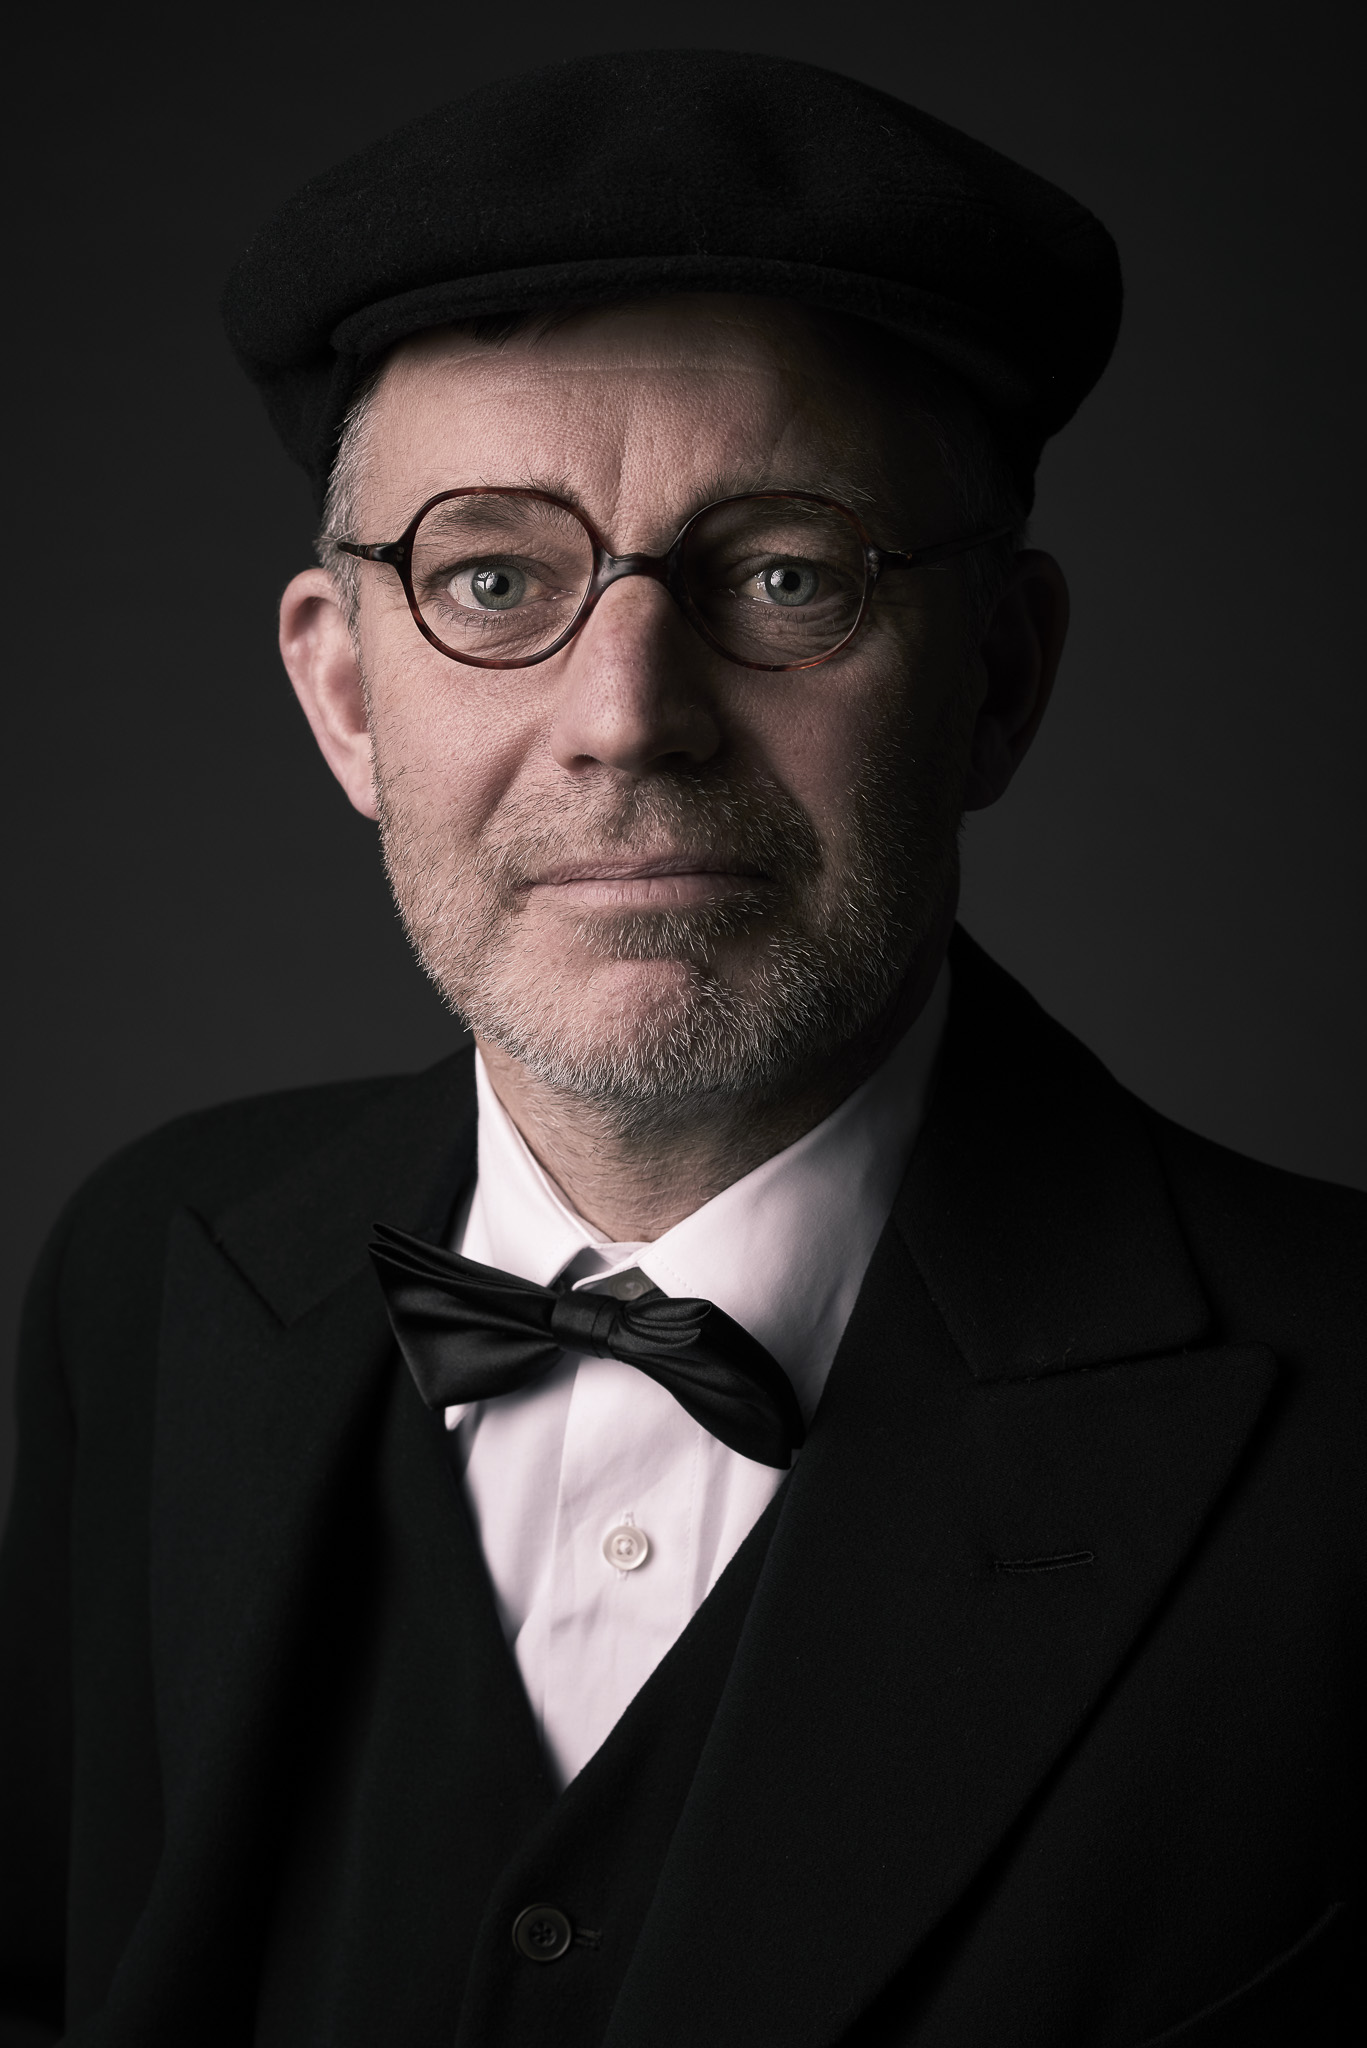
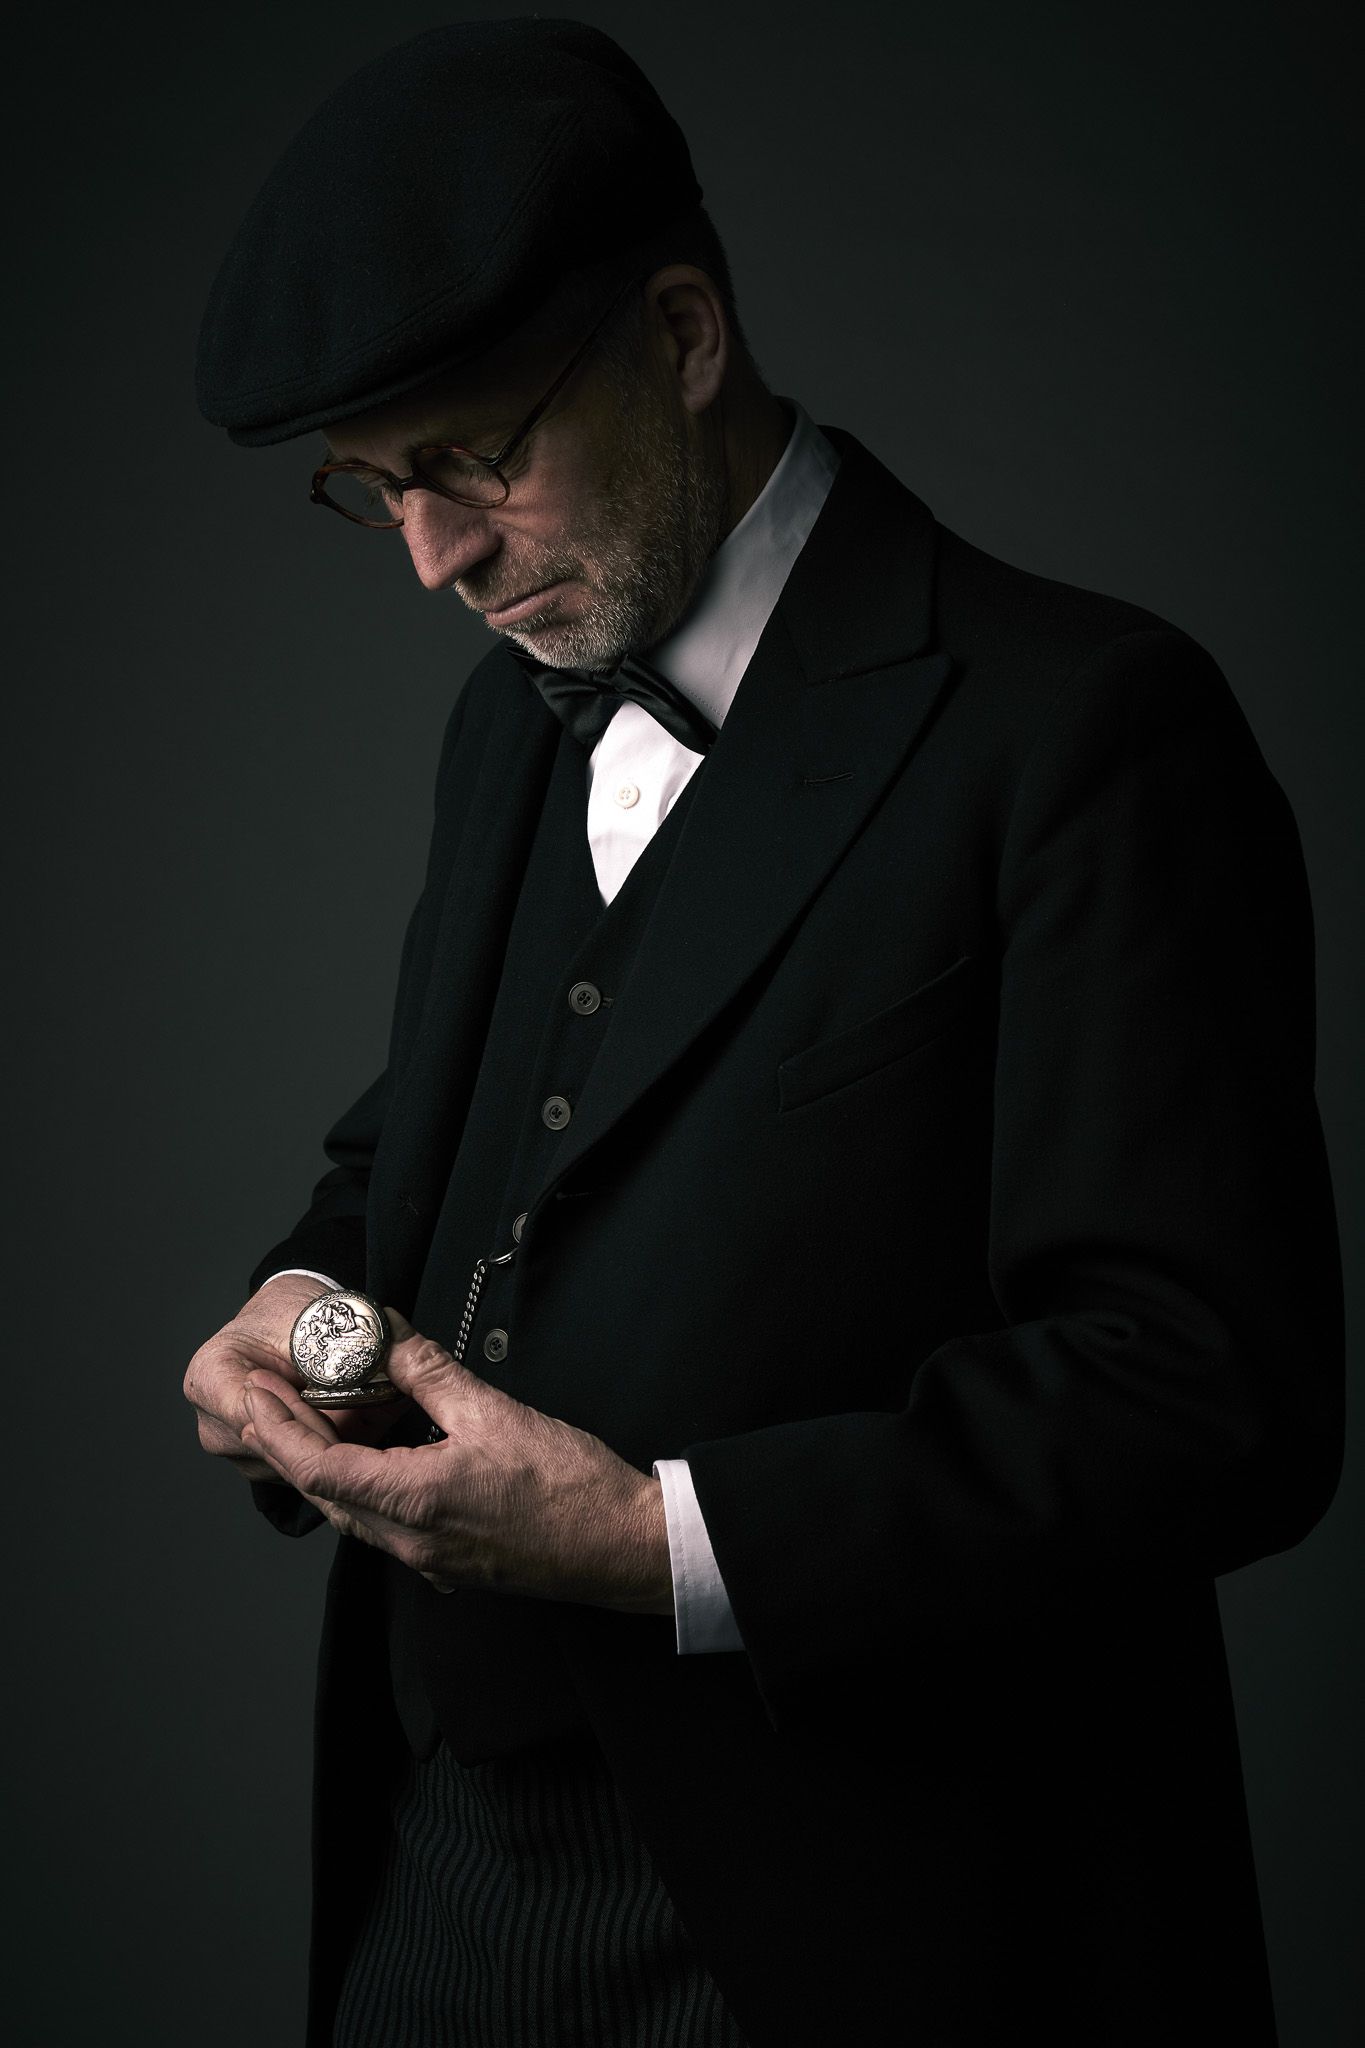
Steampunk
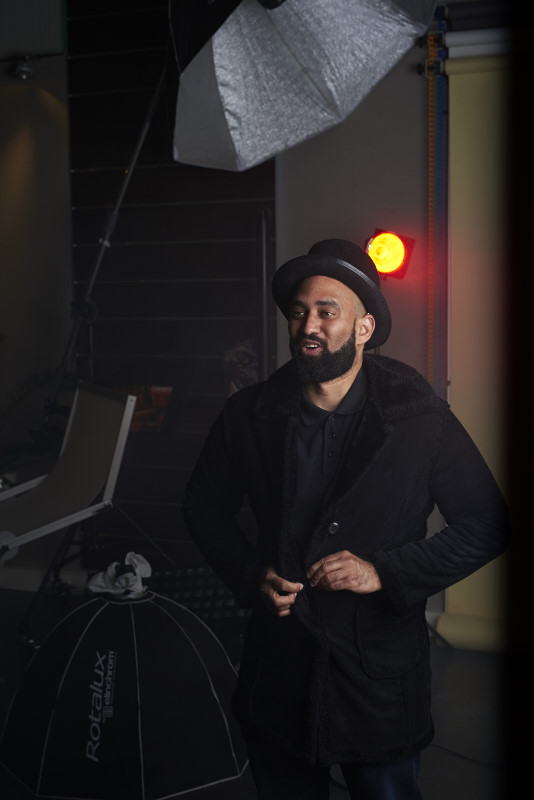
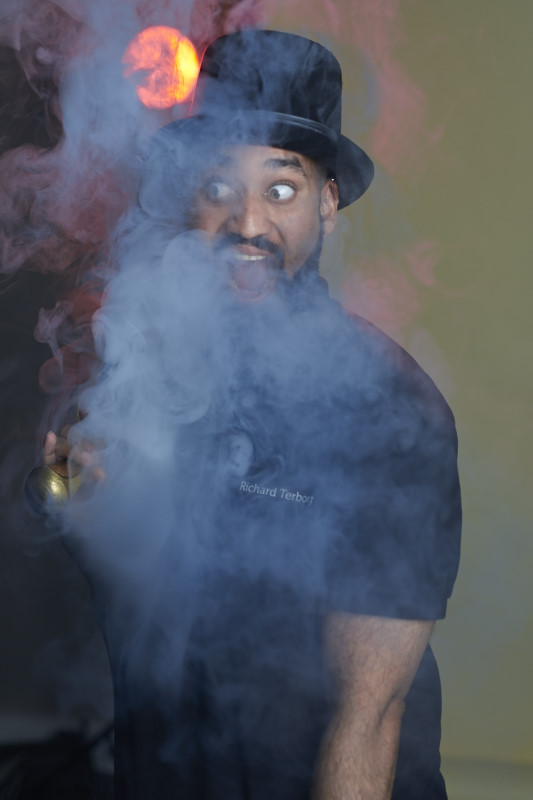
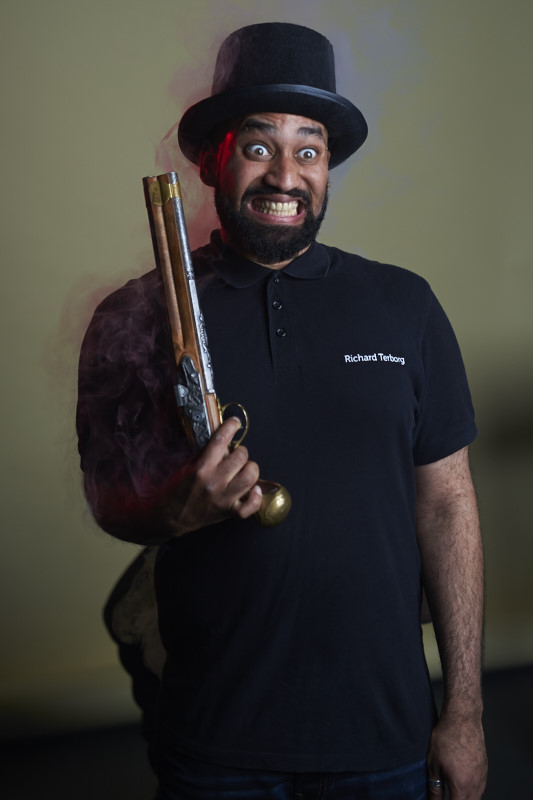
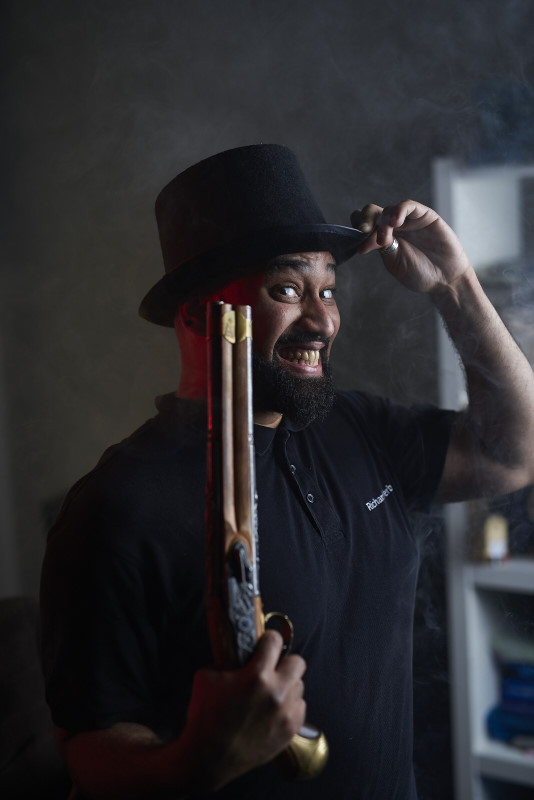
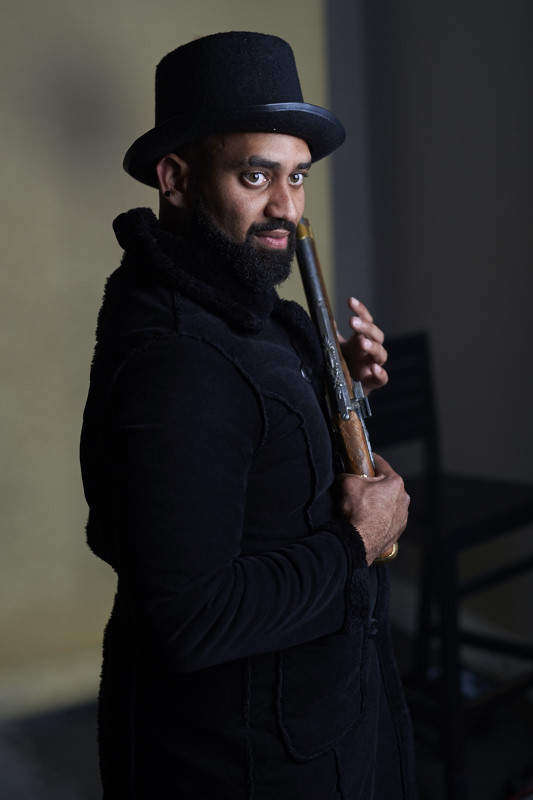
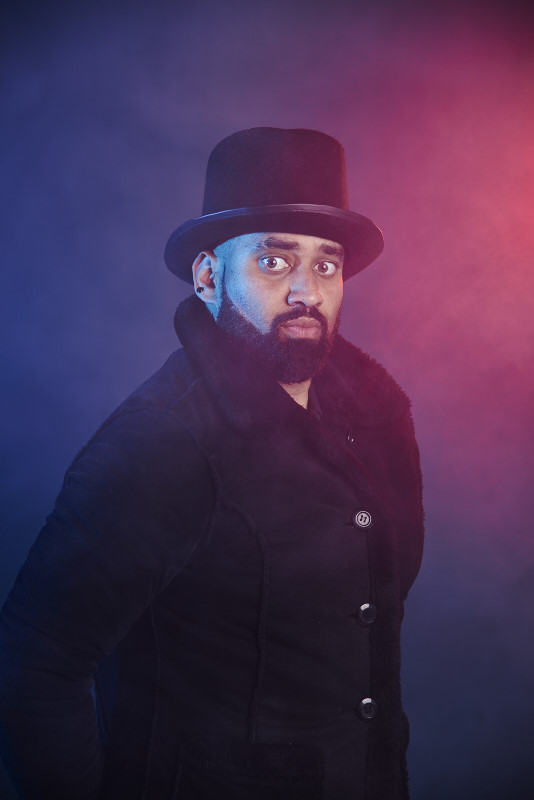
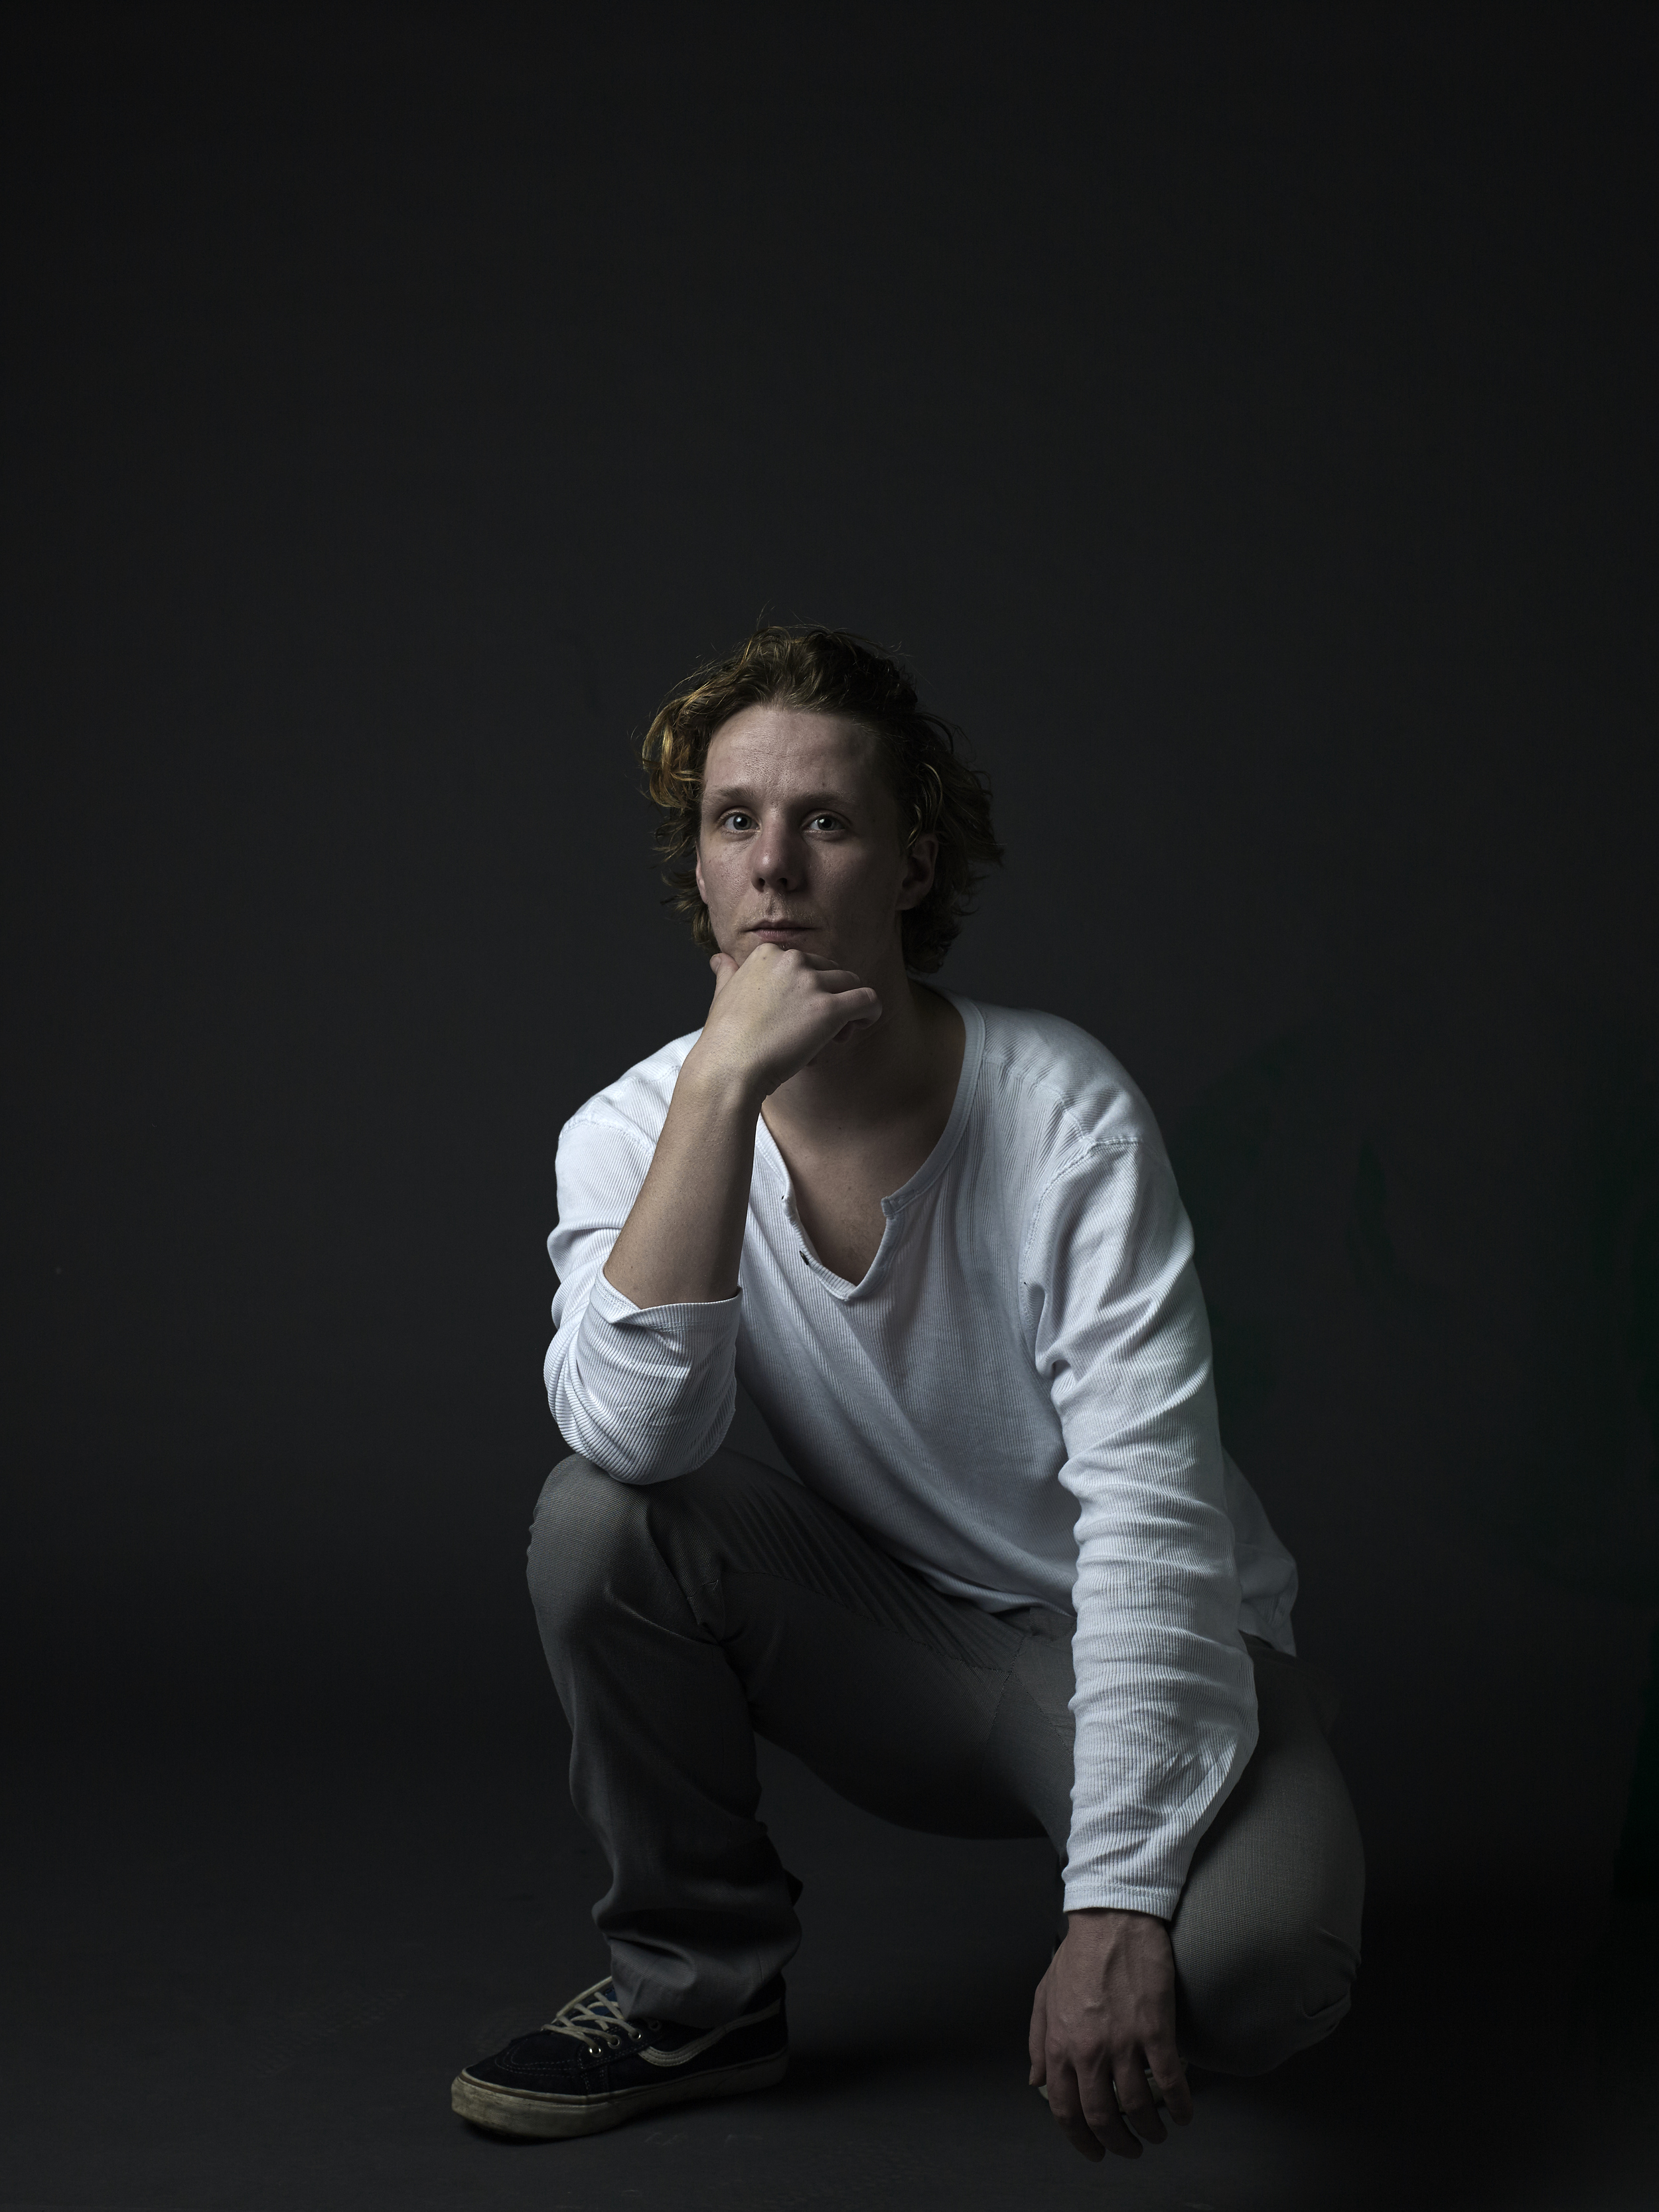
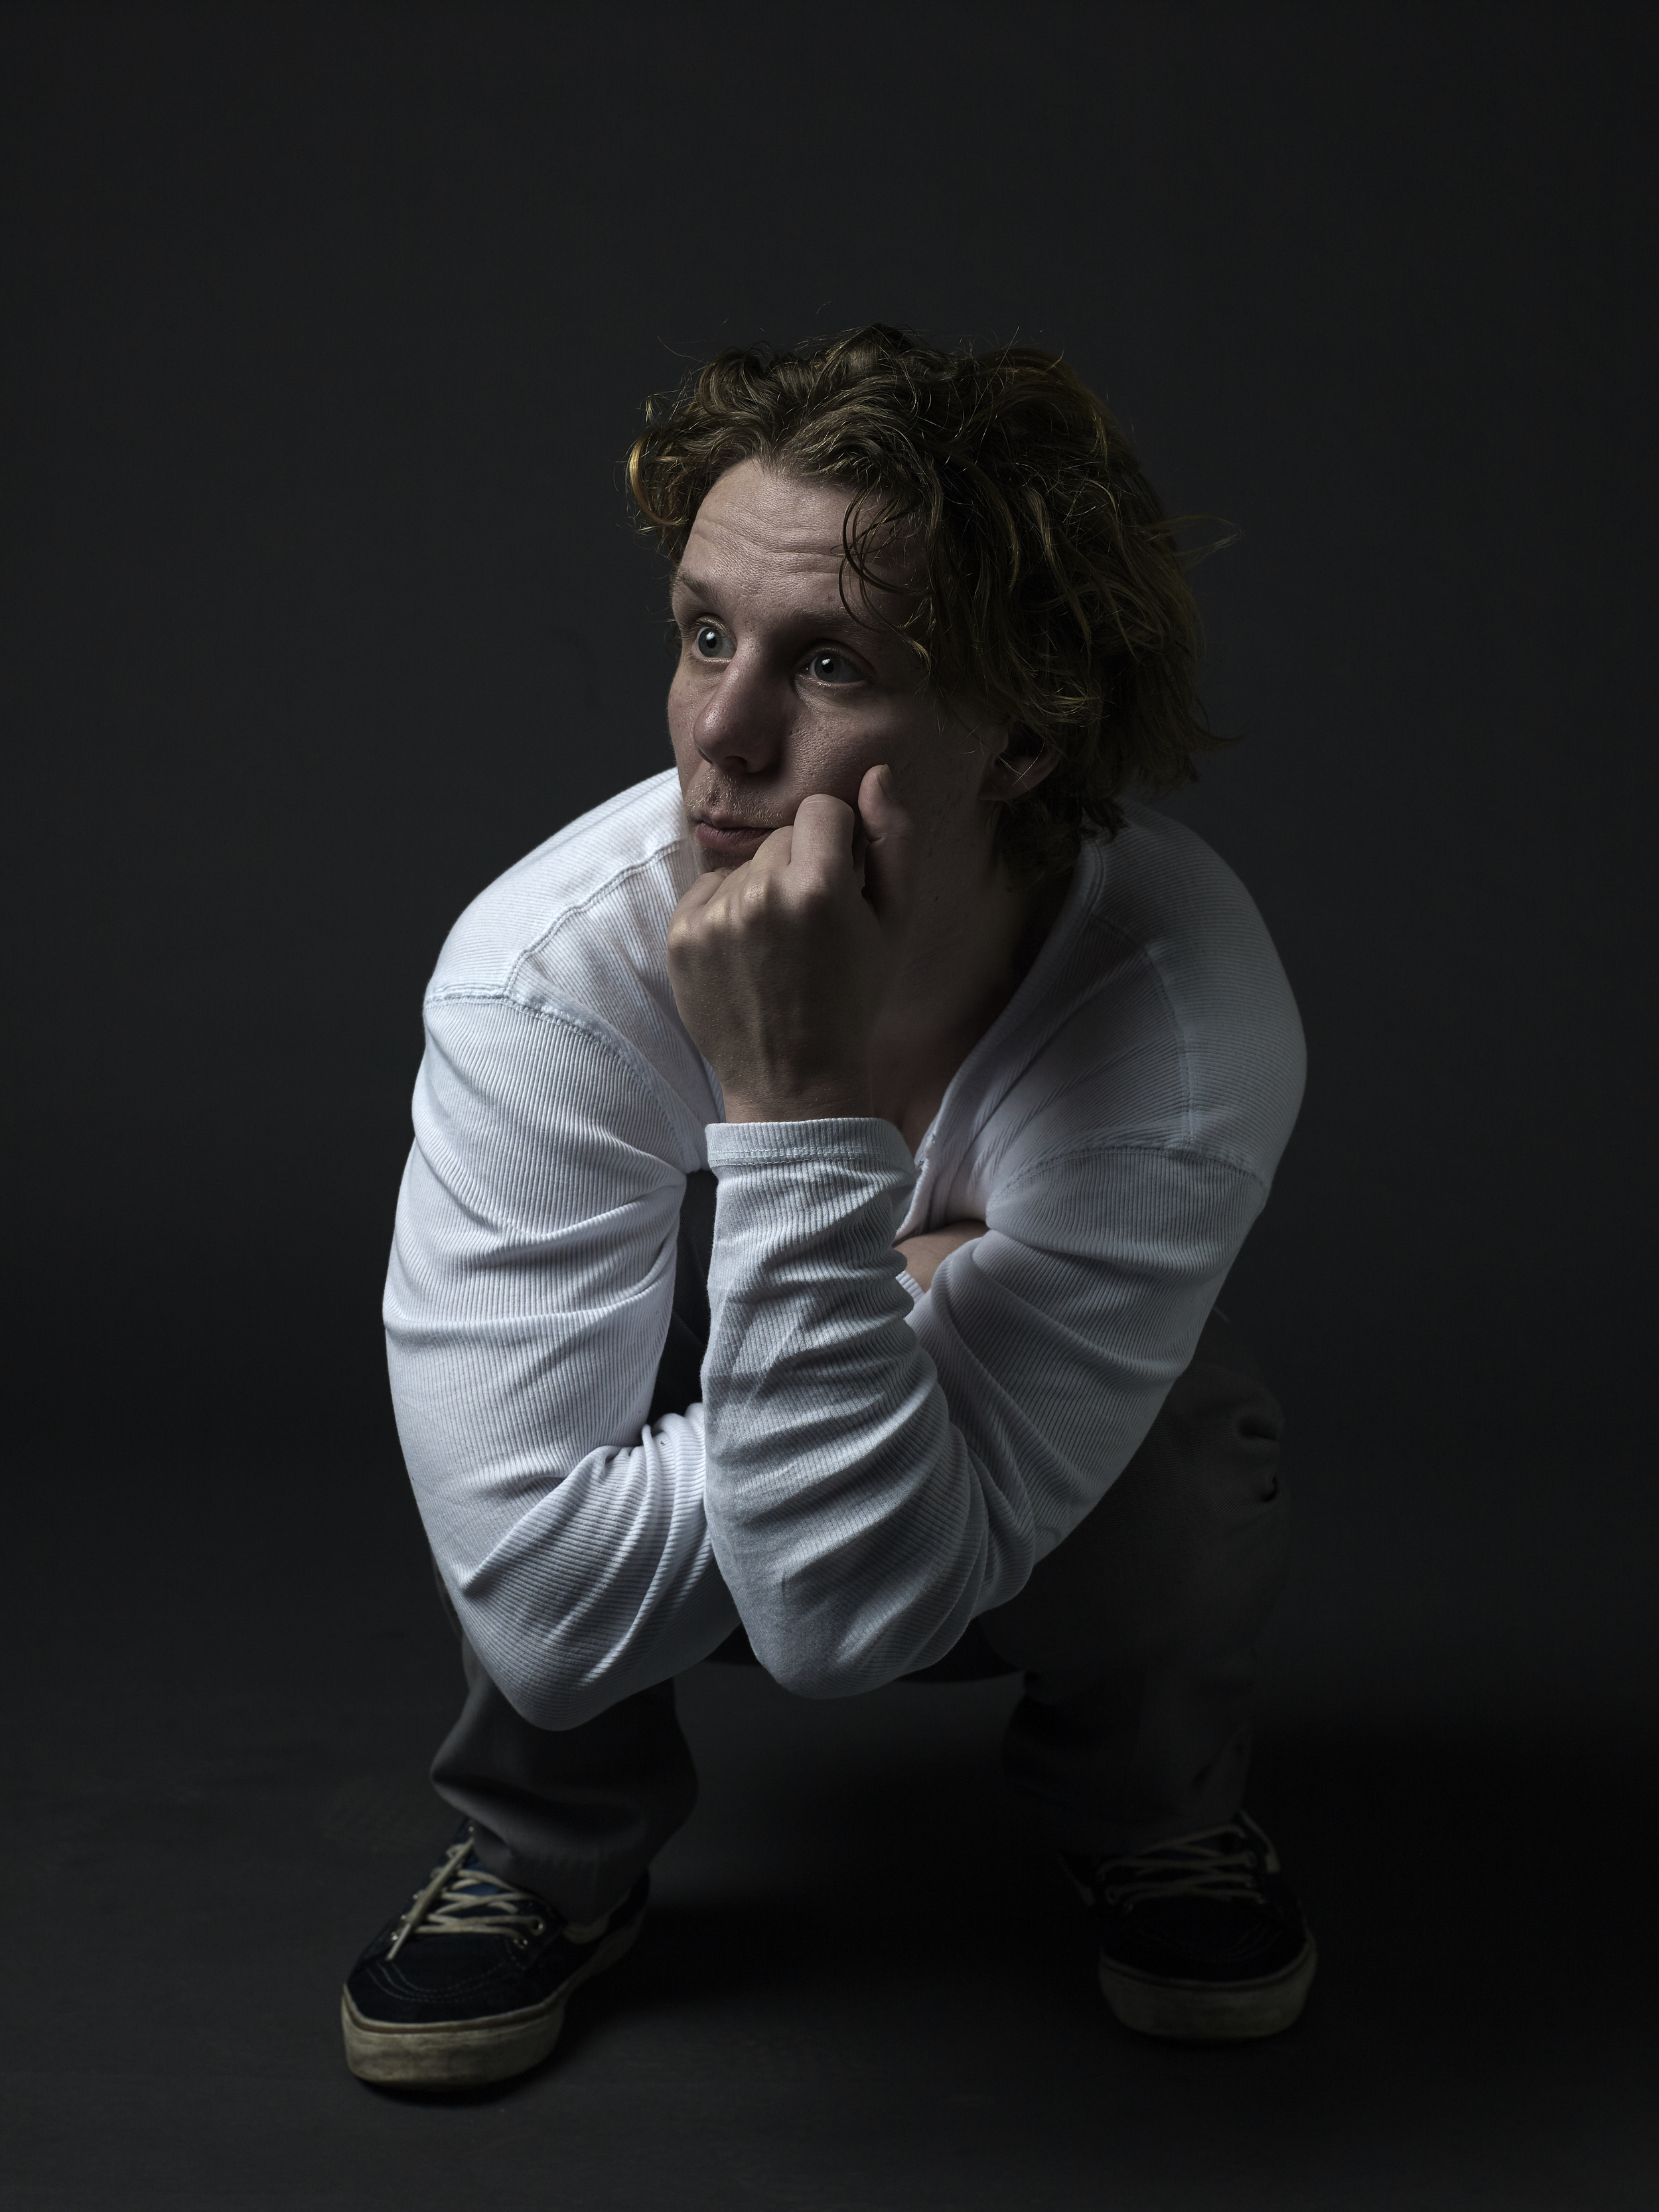
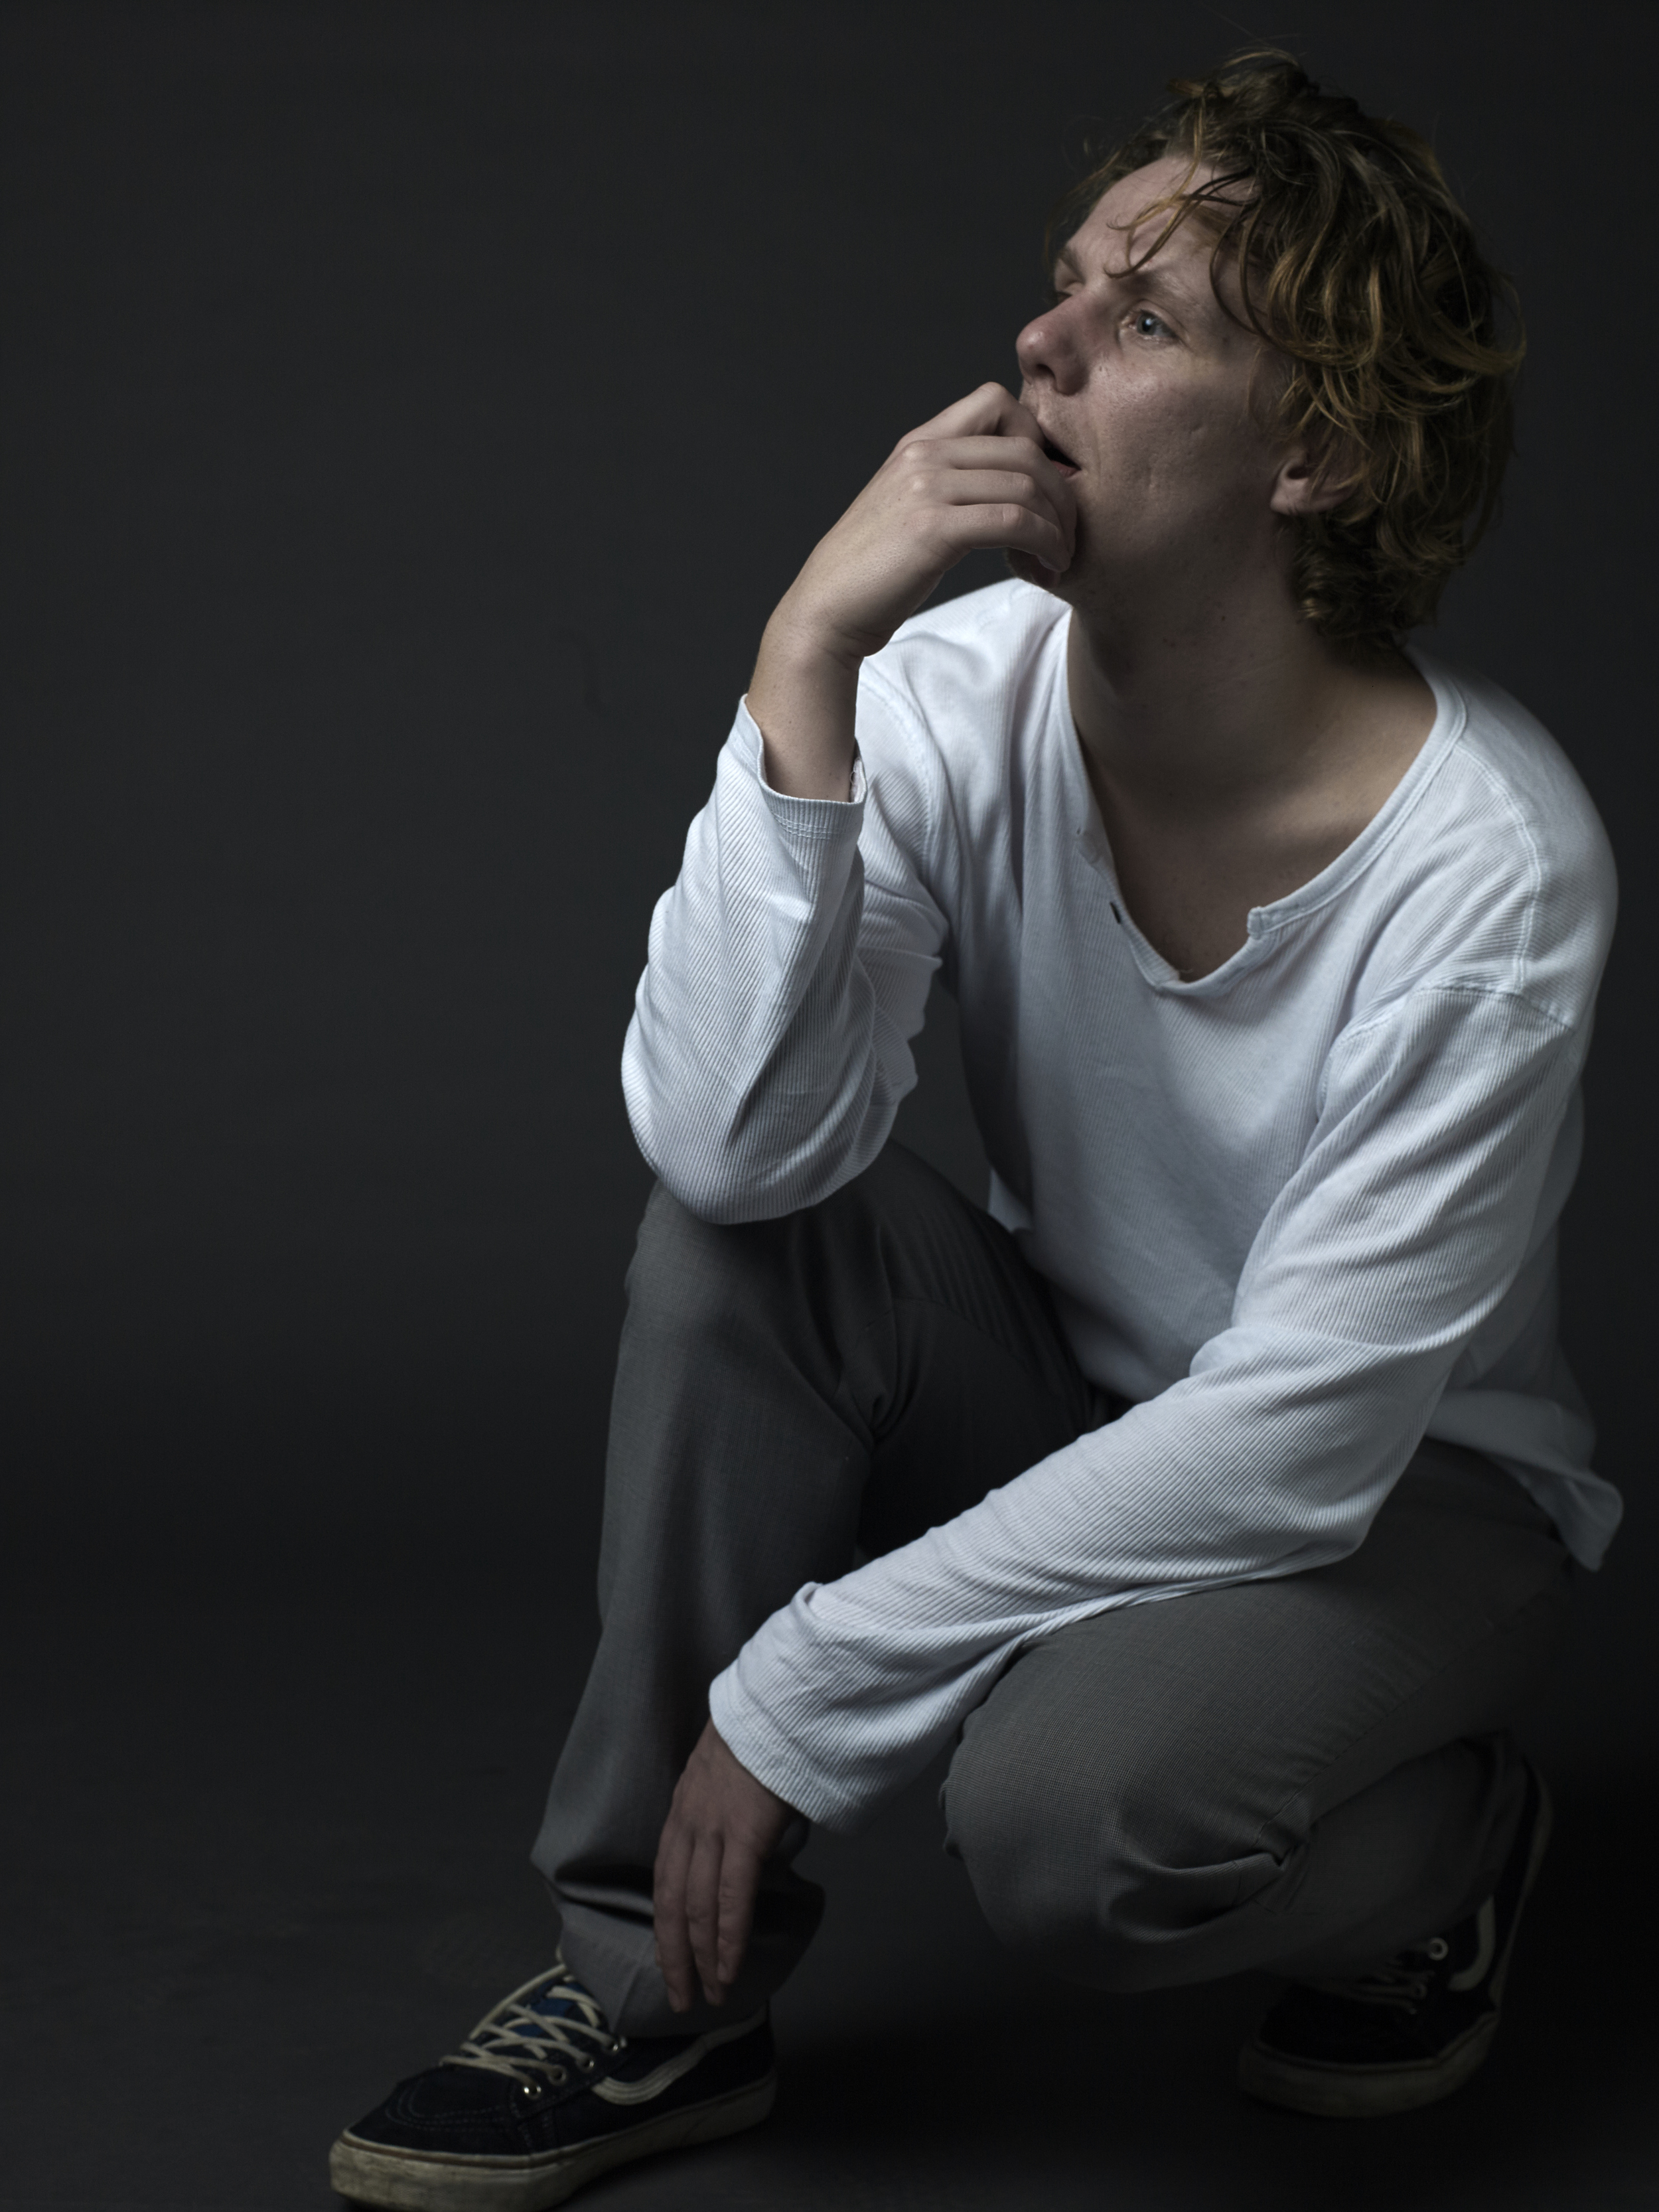
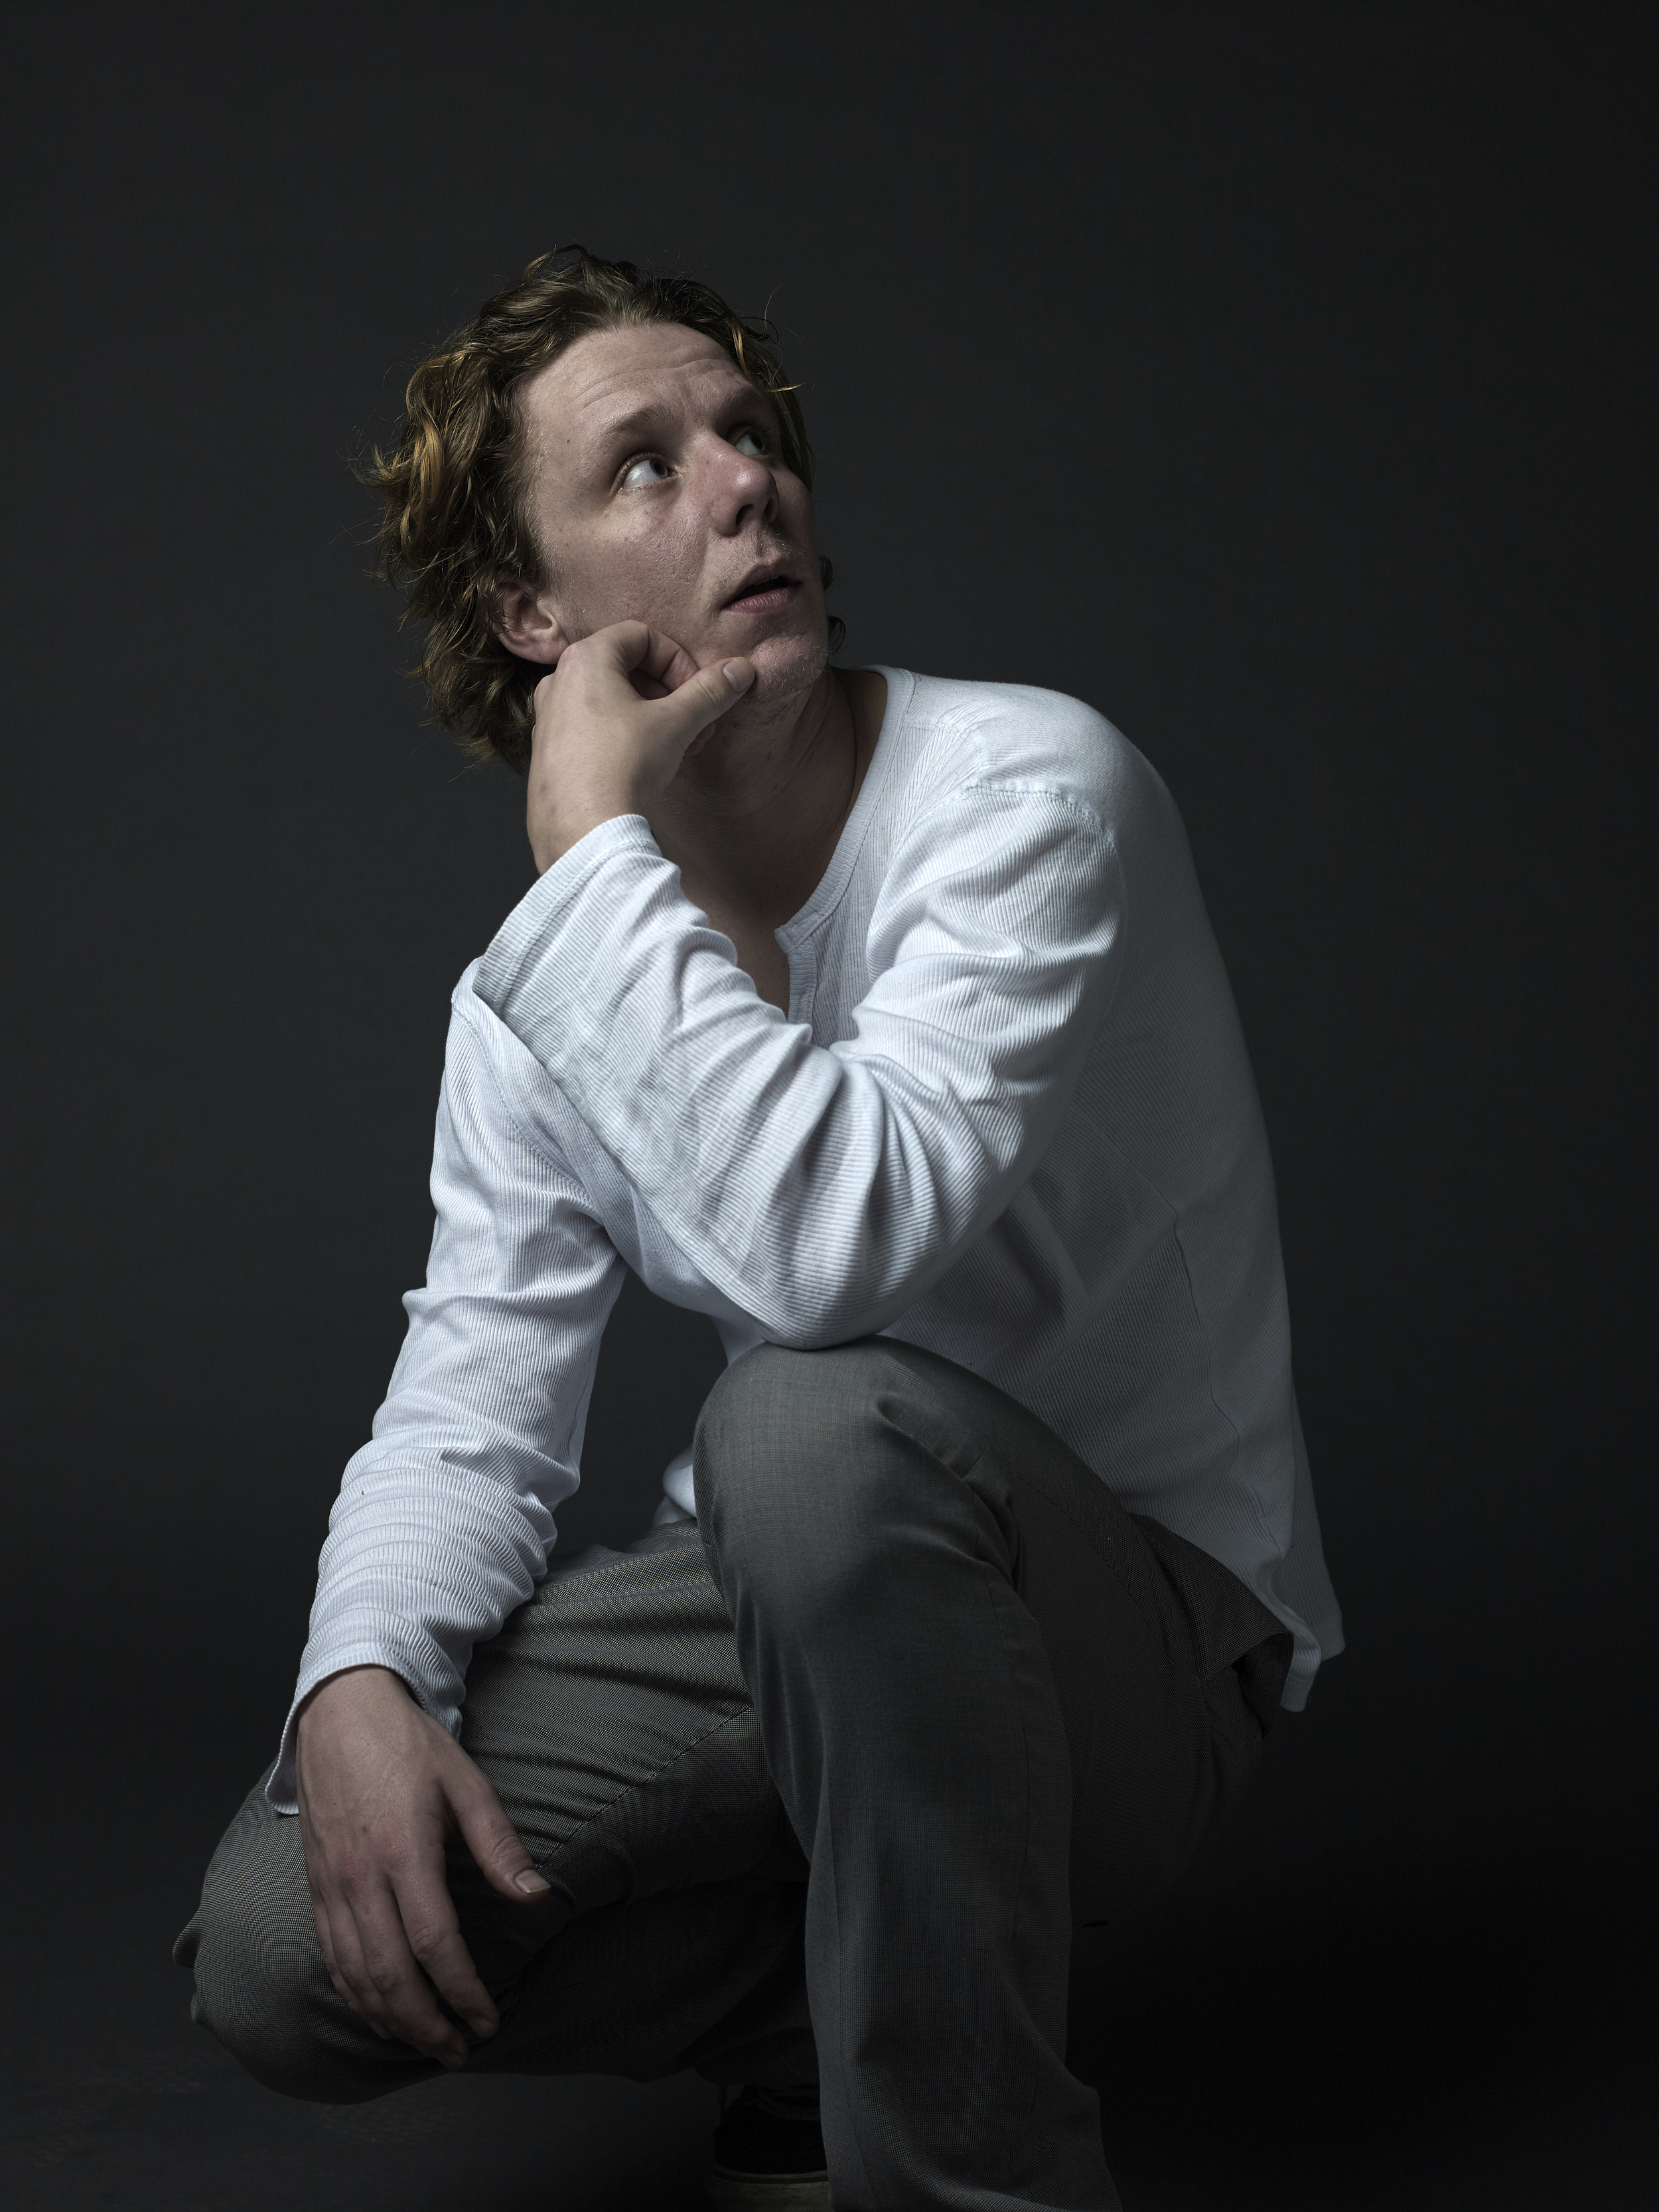
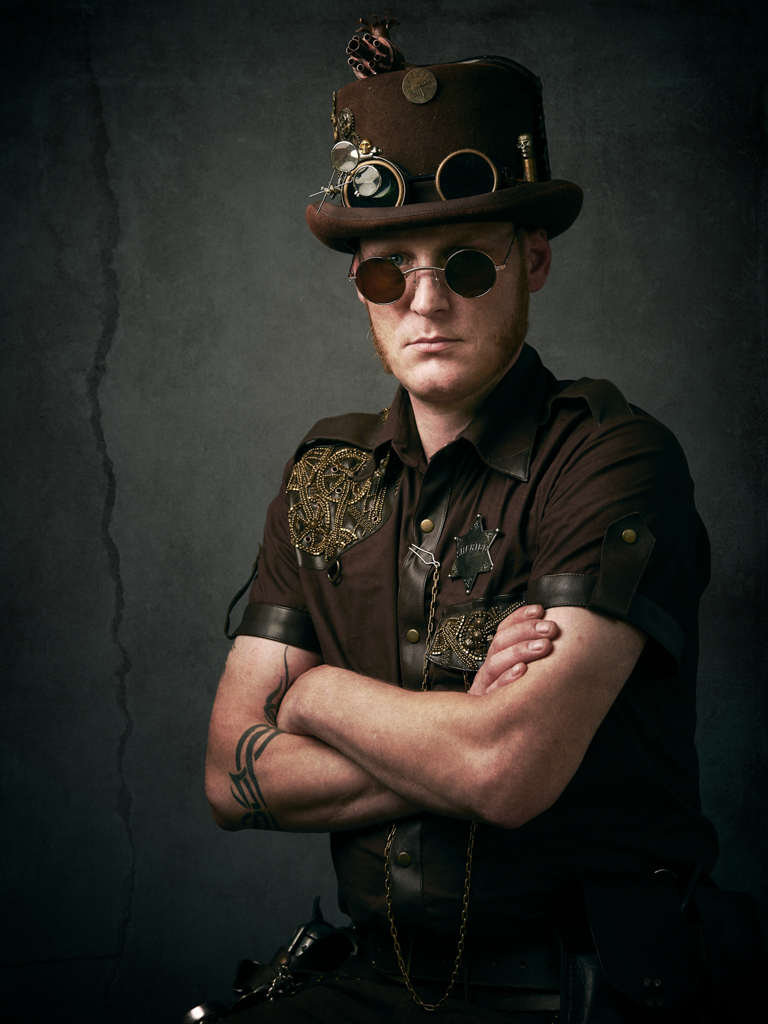
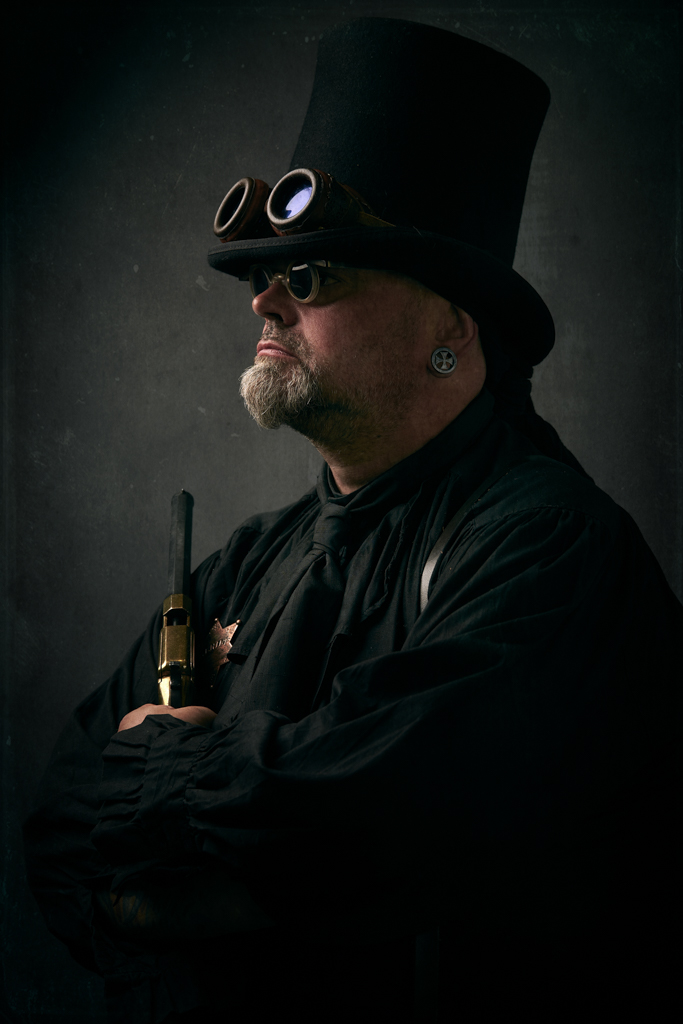
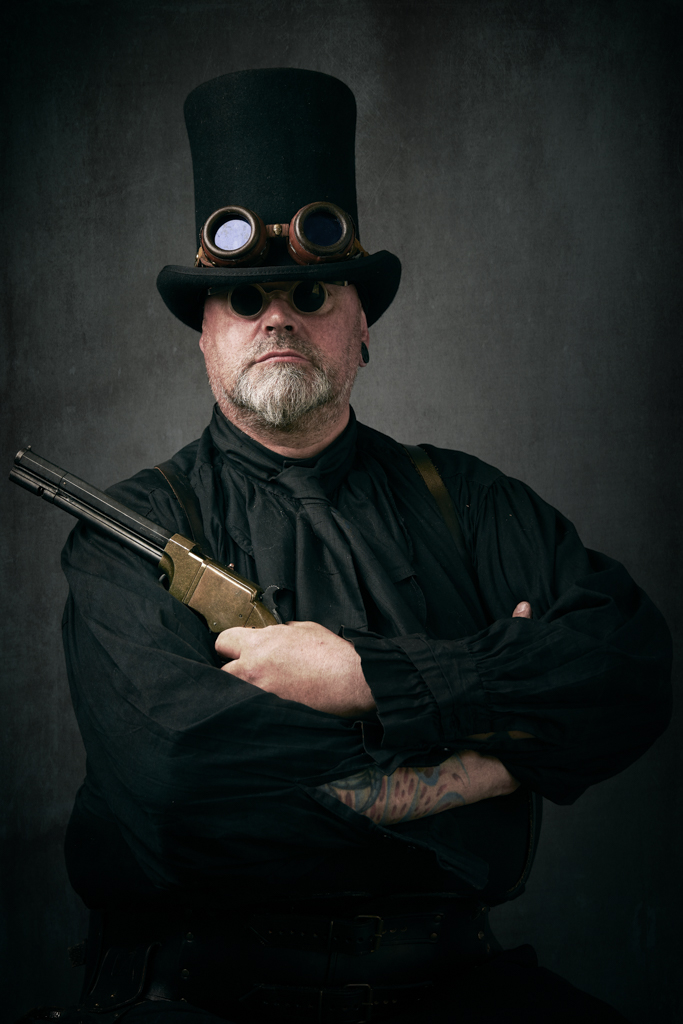
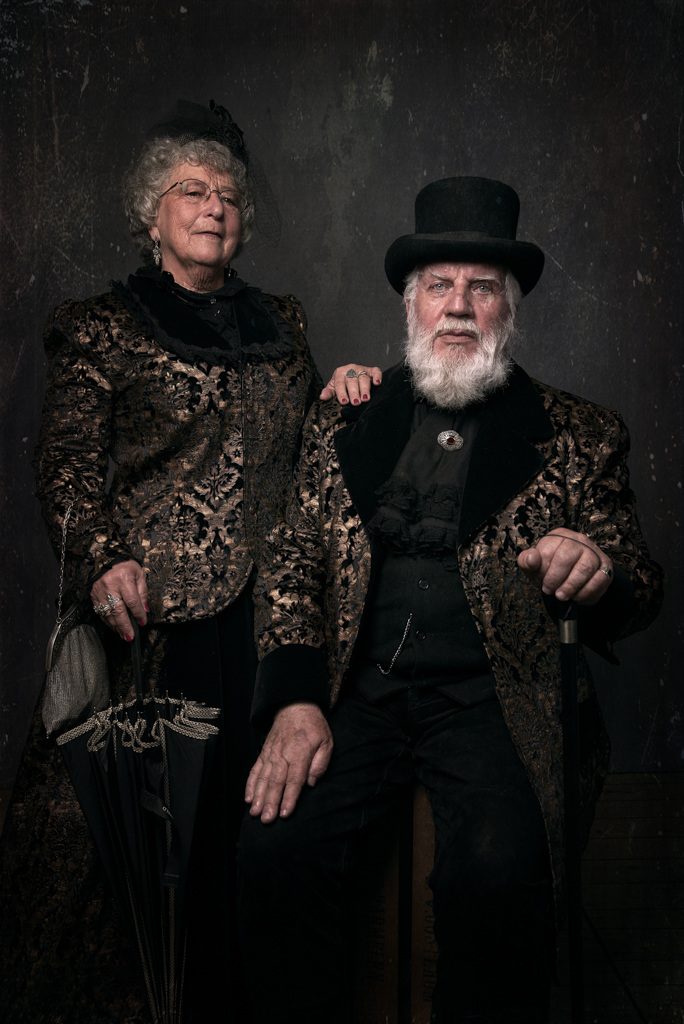
Naast de bezoekers waren er ook diverse Steampunkers aanwezig. Ik kon de kans niet laten lopen om enkele van deze uit te nodigen in de studio om ook op te gaan!


De Stand en studio
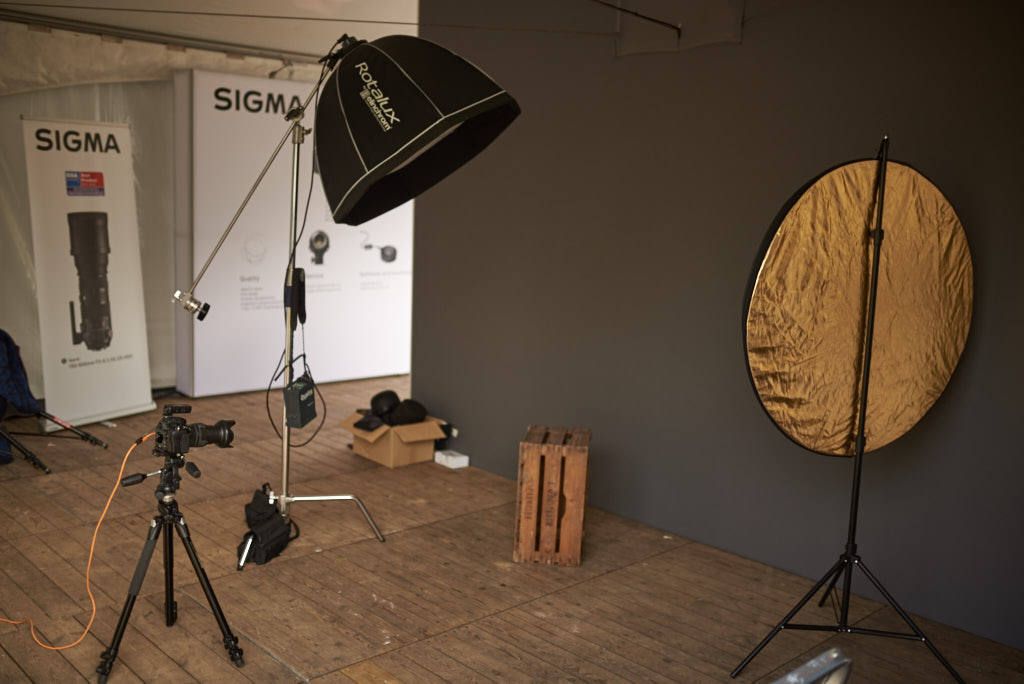
De studio opstelling was redelijk simpel. Mijn Elinchrom Quadra RX met een Elicnhrom 100cm Deep Octa en als camera een Nikon D610 met mijn werkpaard de Sigma 24-105 Art direct gekoppeld aan mijn MacBookPro waar Capture One op draaide. uiteraard was mijn kistje ook aanwezig voor de modellen om op te zitten en een grijze achtergrond!
Worstelaars!
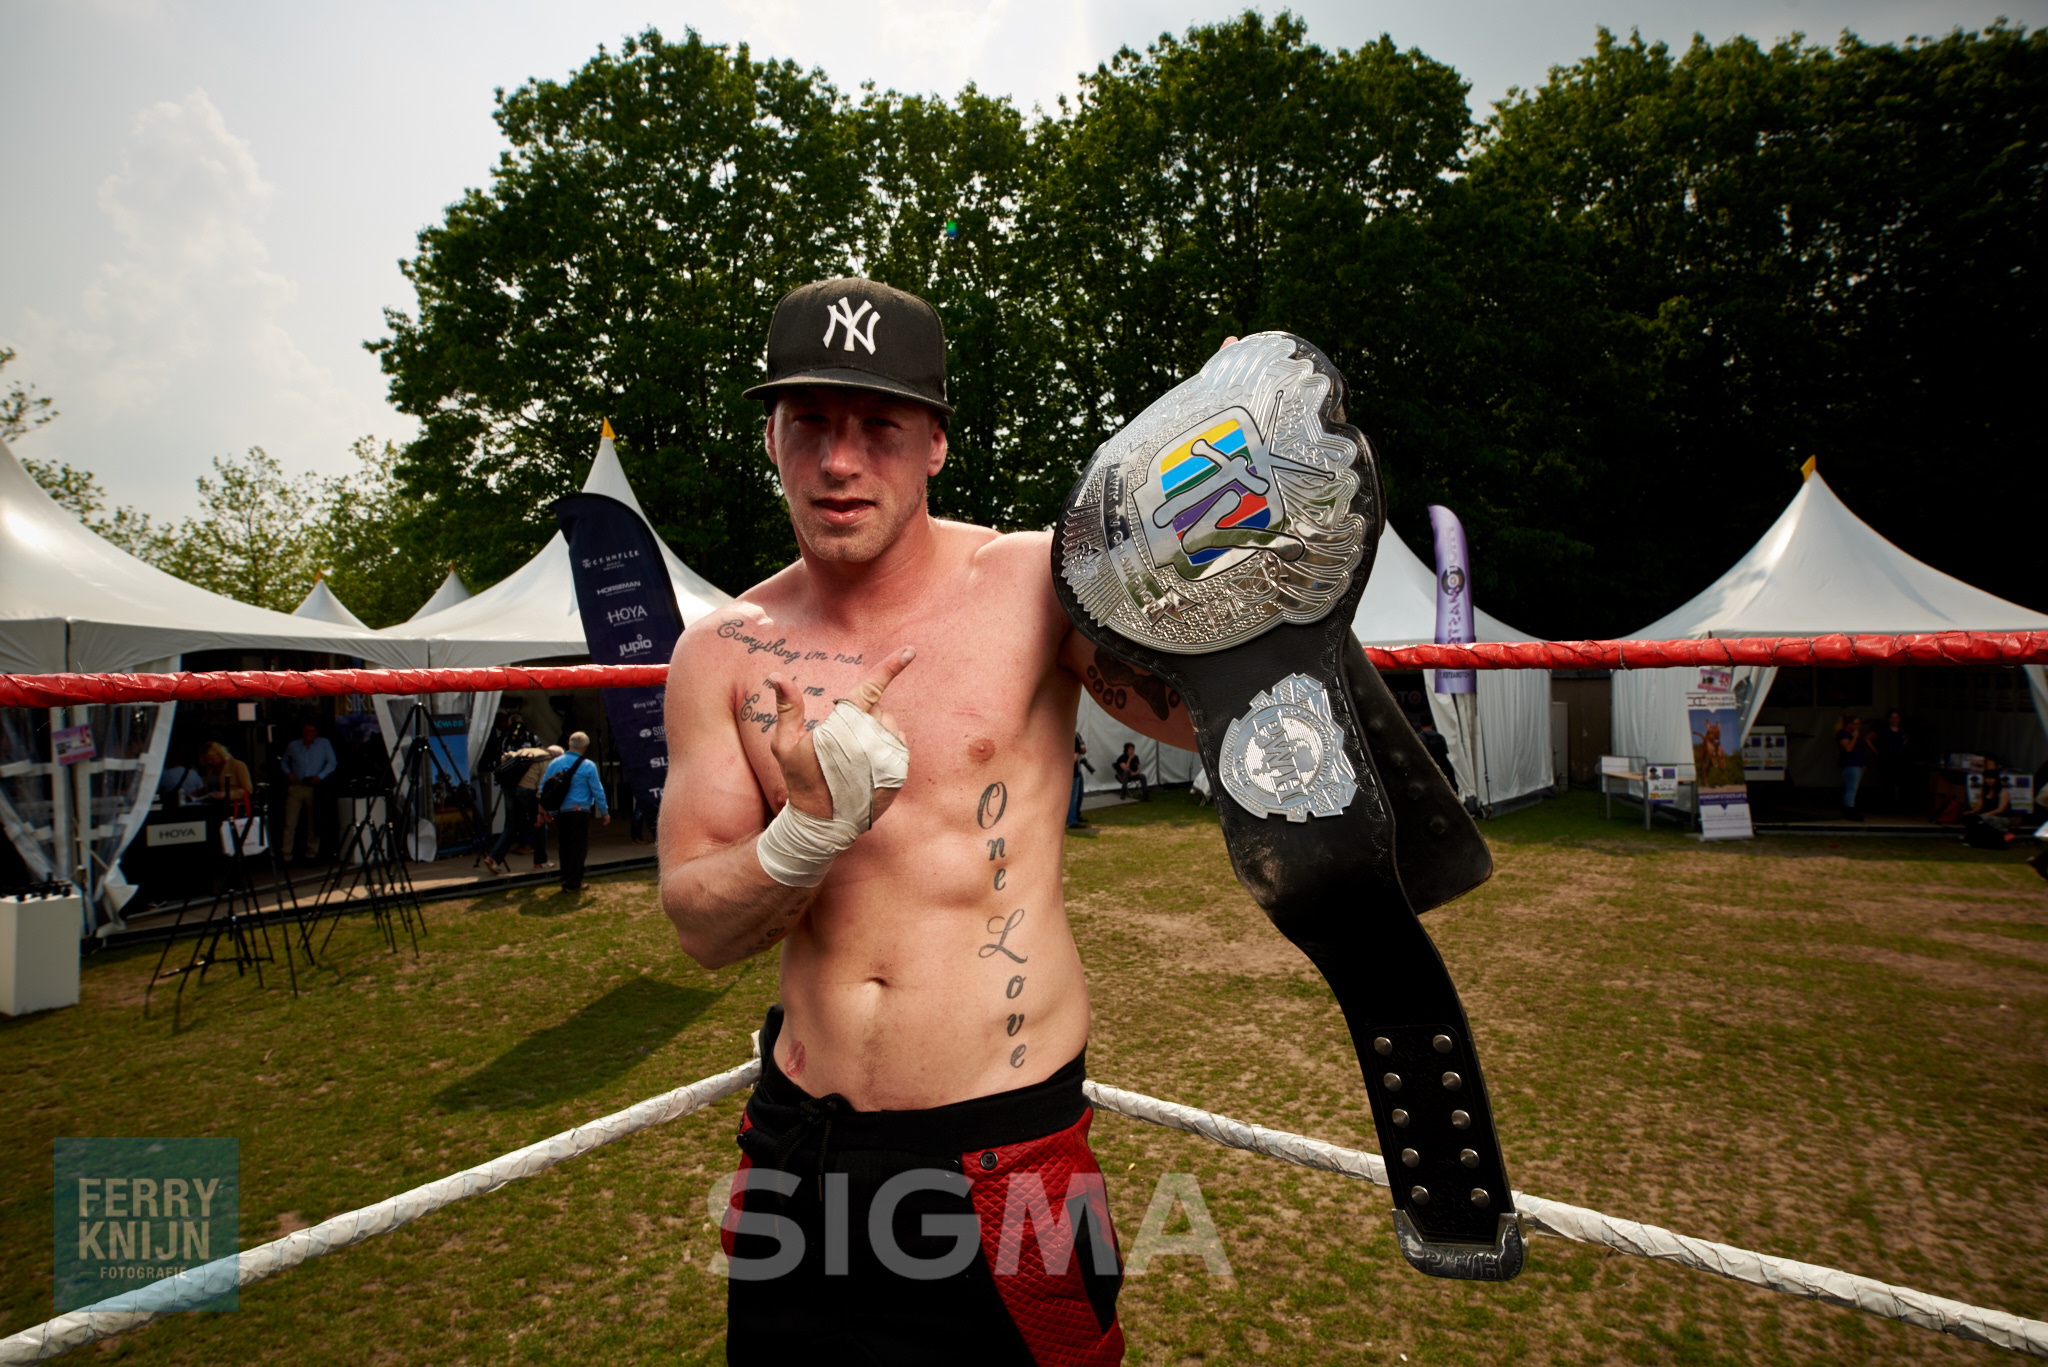
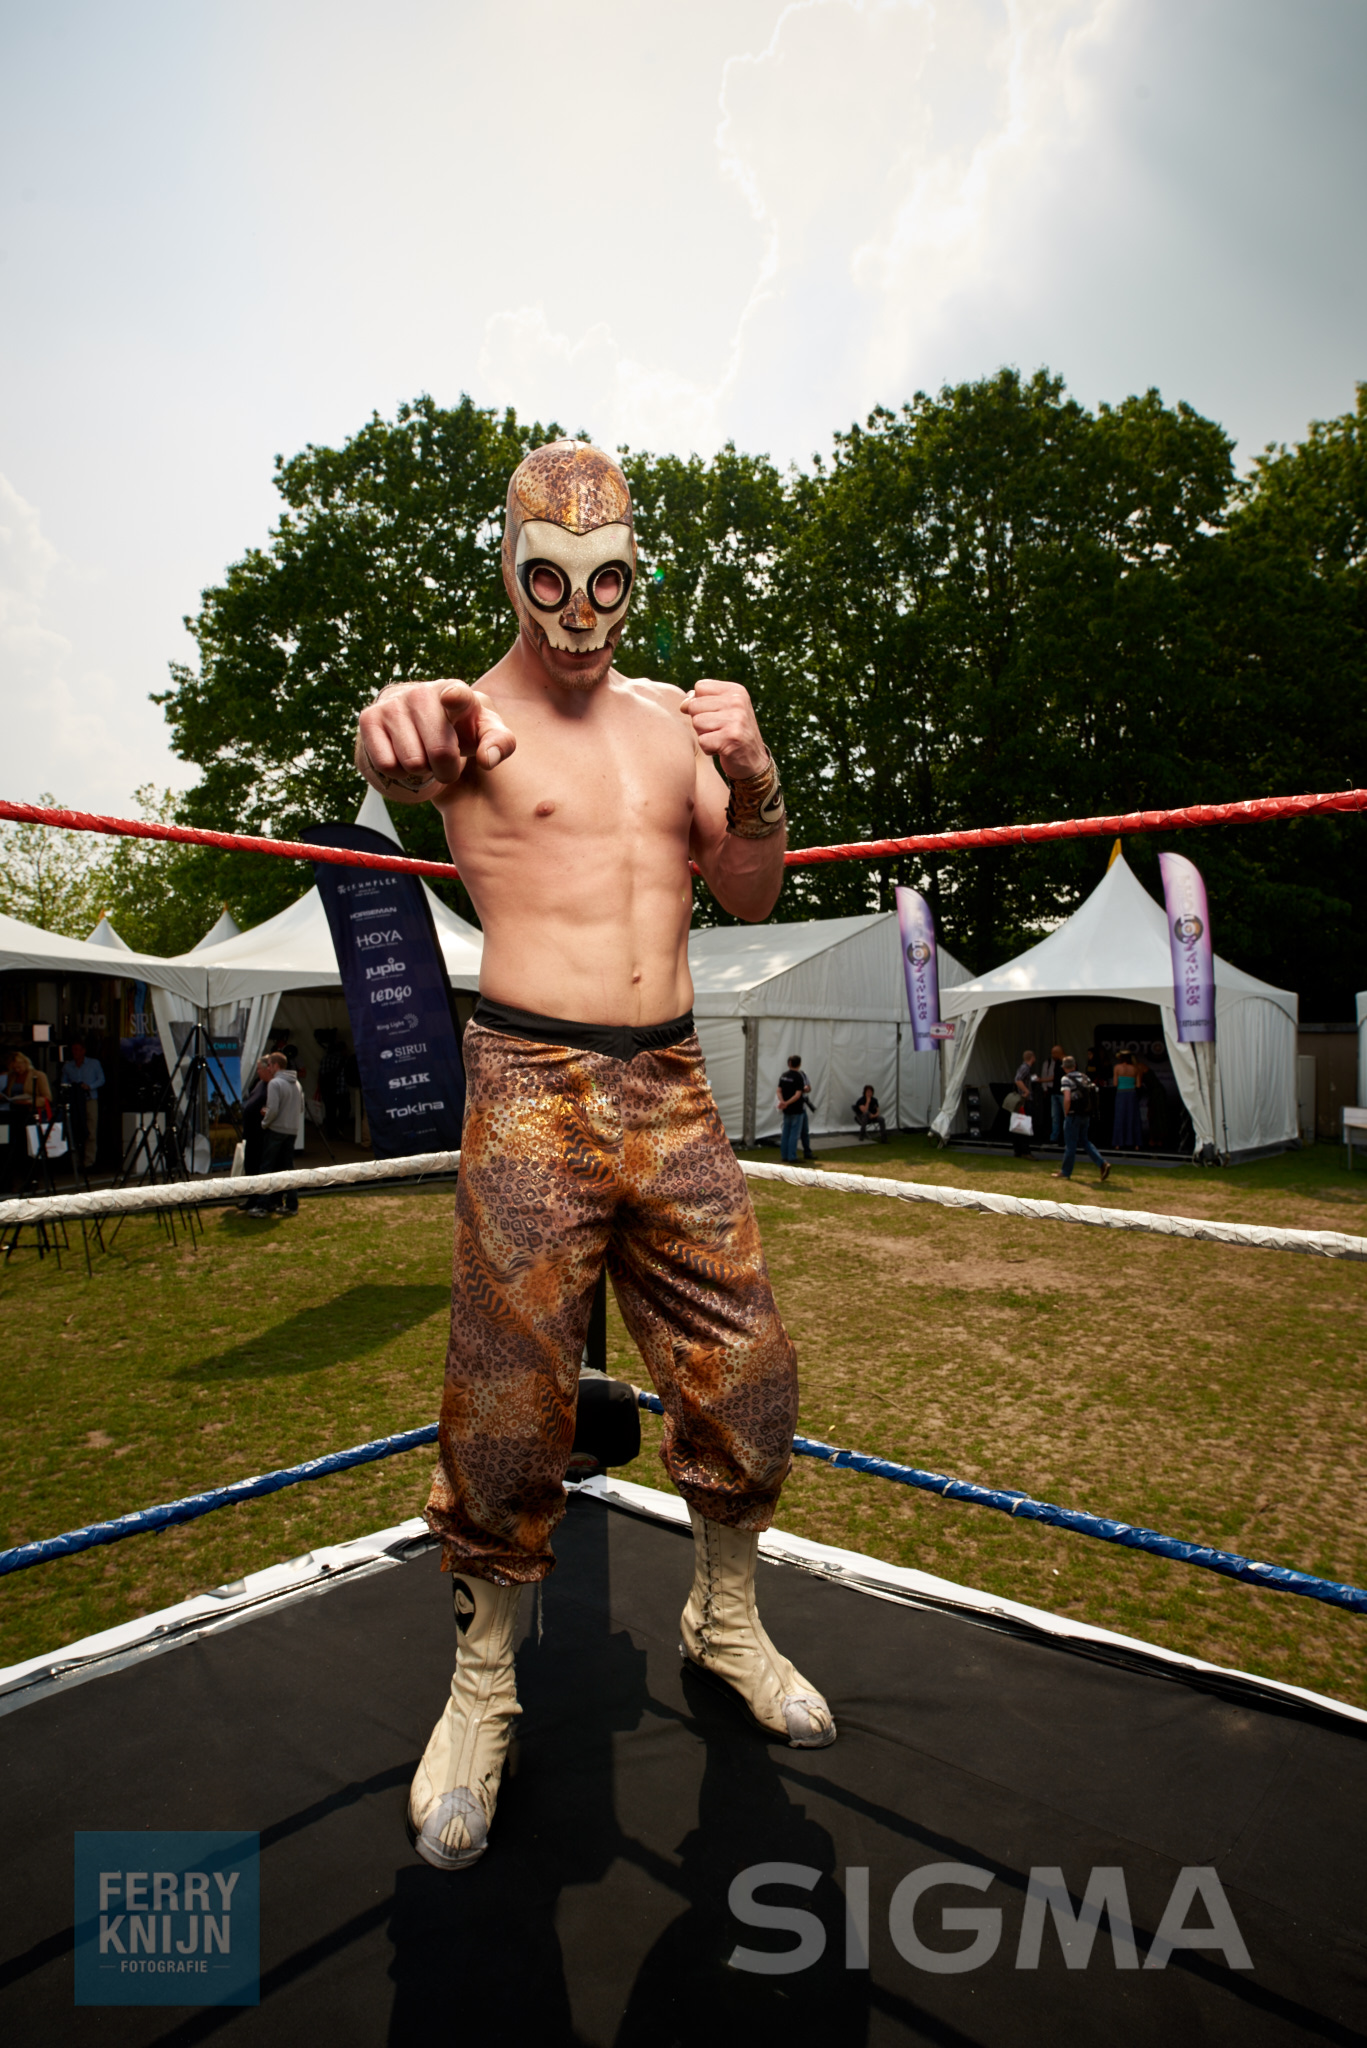
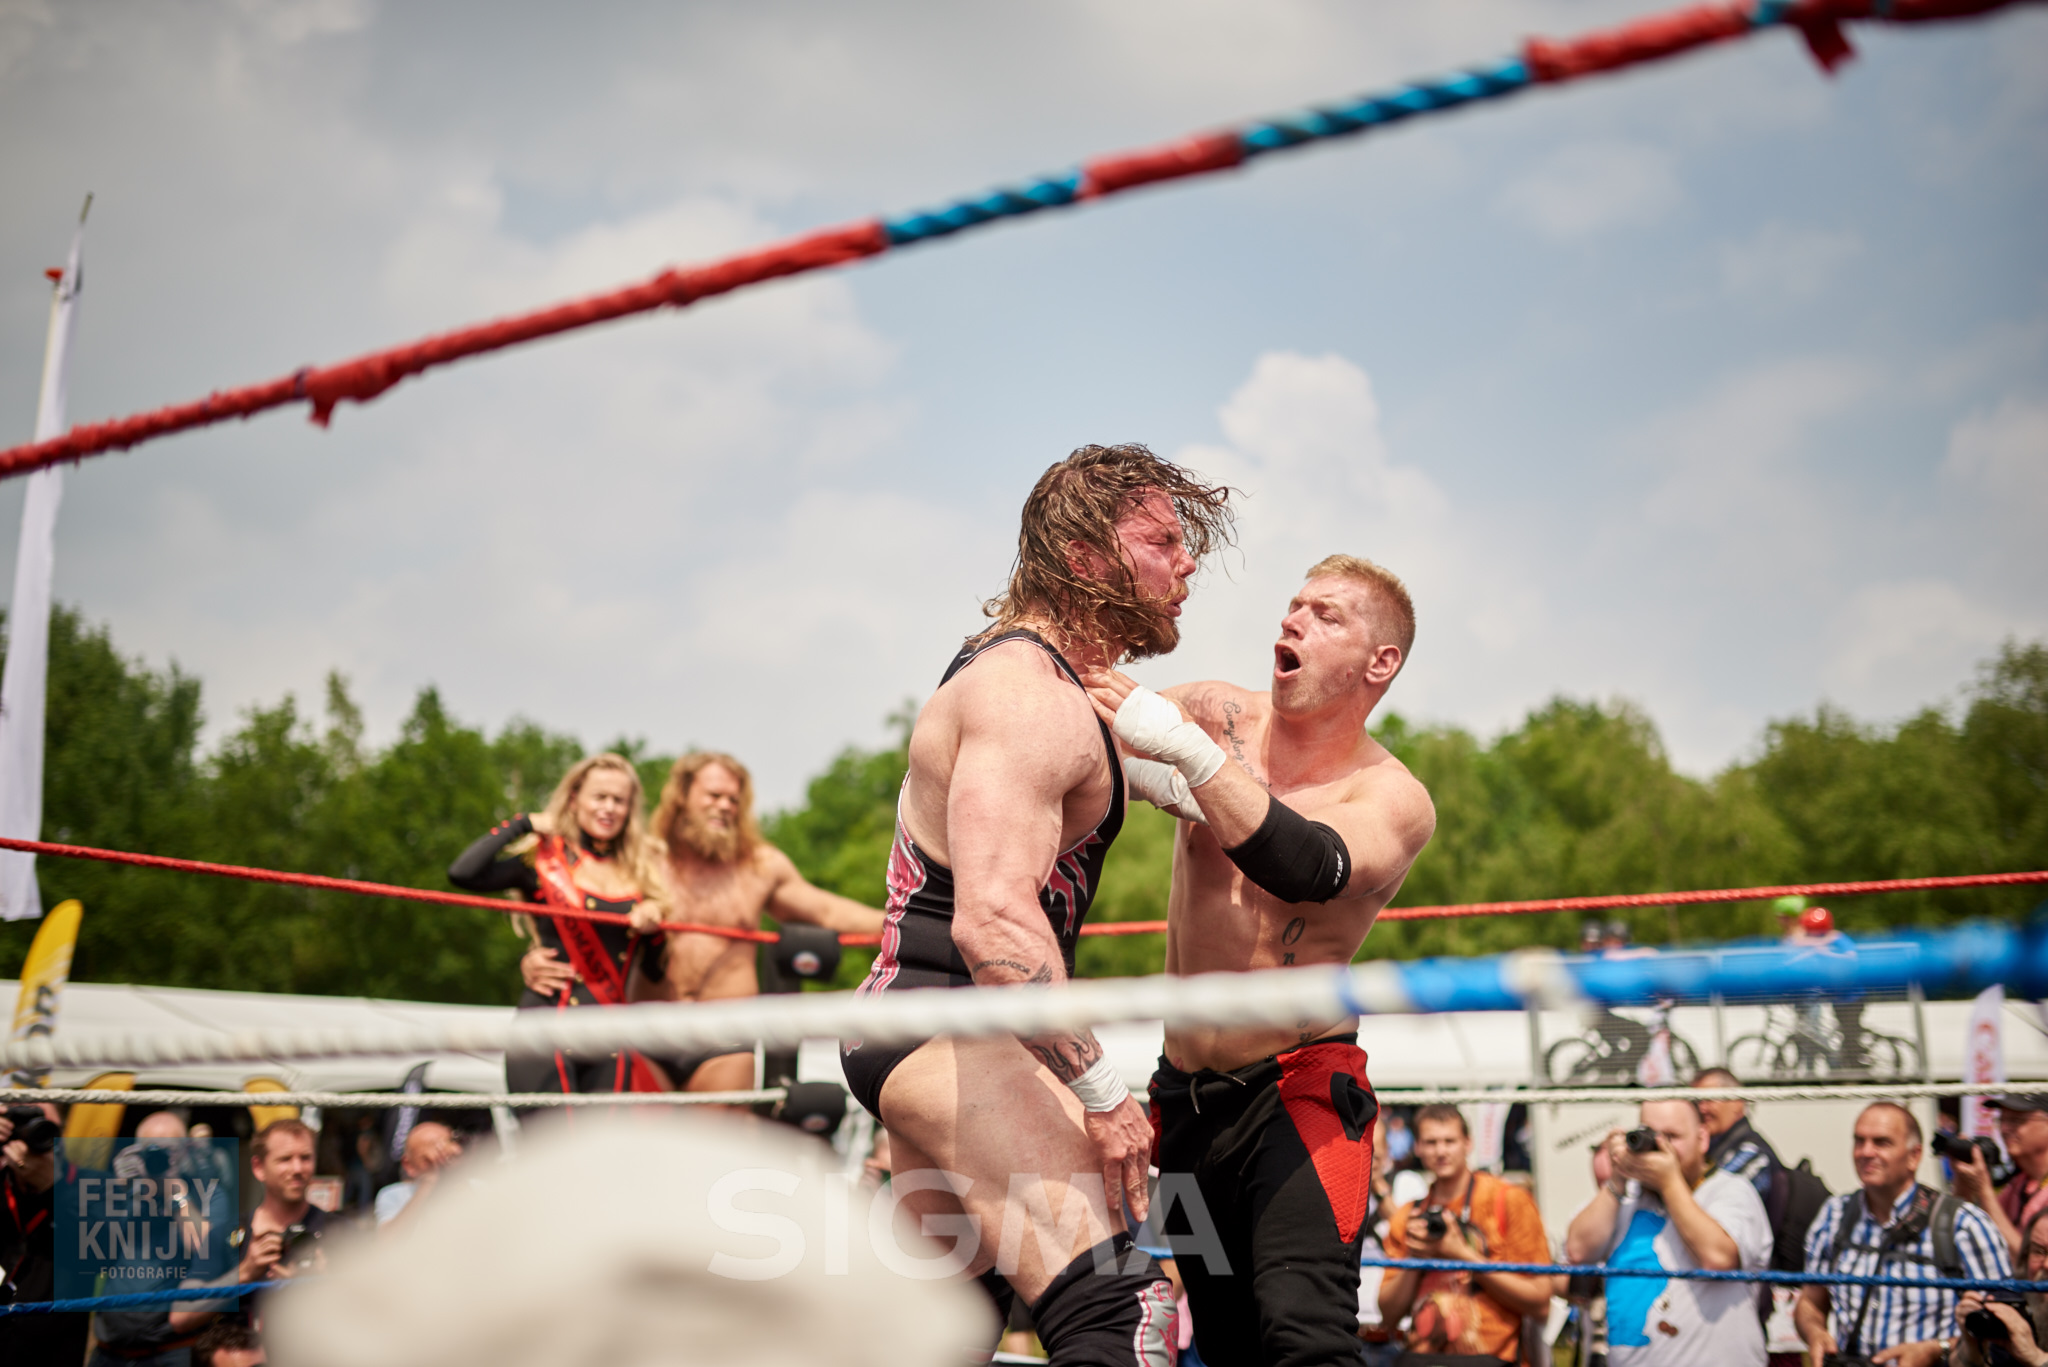
Sigma Benelux had op de FotoFair de worstelring gesponsord. Dus aan het einde van de dag ook even de kans genomen om enkele mooi portretten van de worstelaars te maken! Deze bleken trouwens hun thuisbasis in Hillegom te hebben dus binnenkort meer!
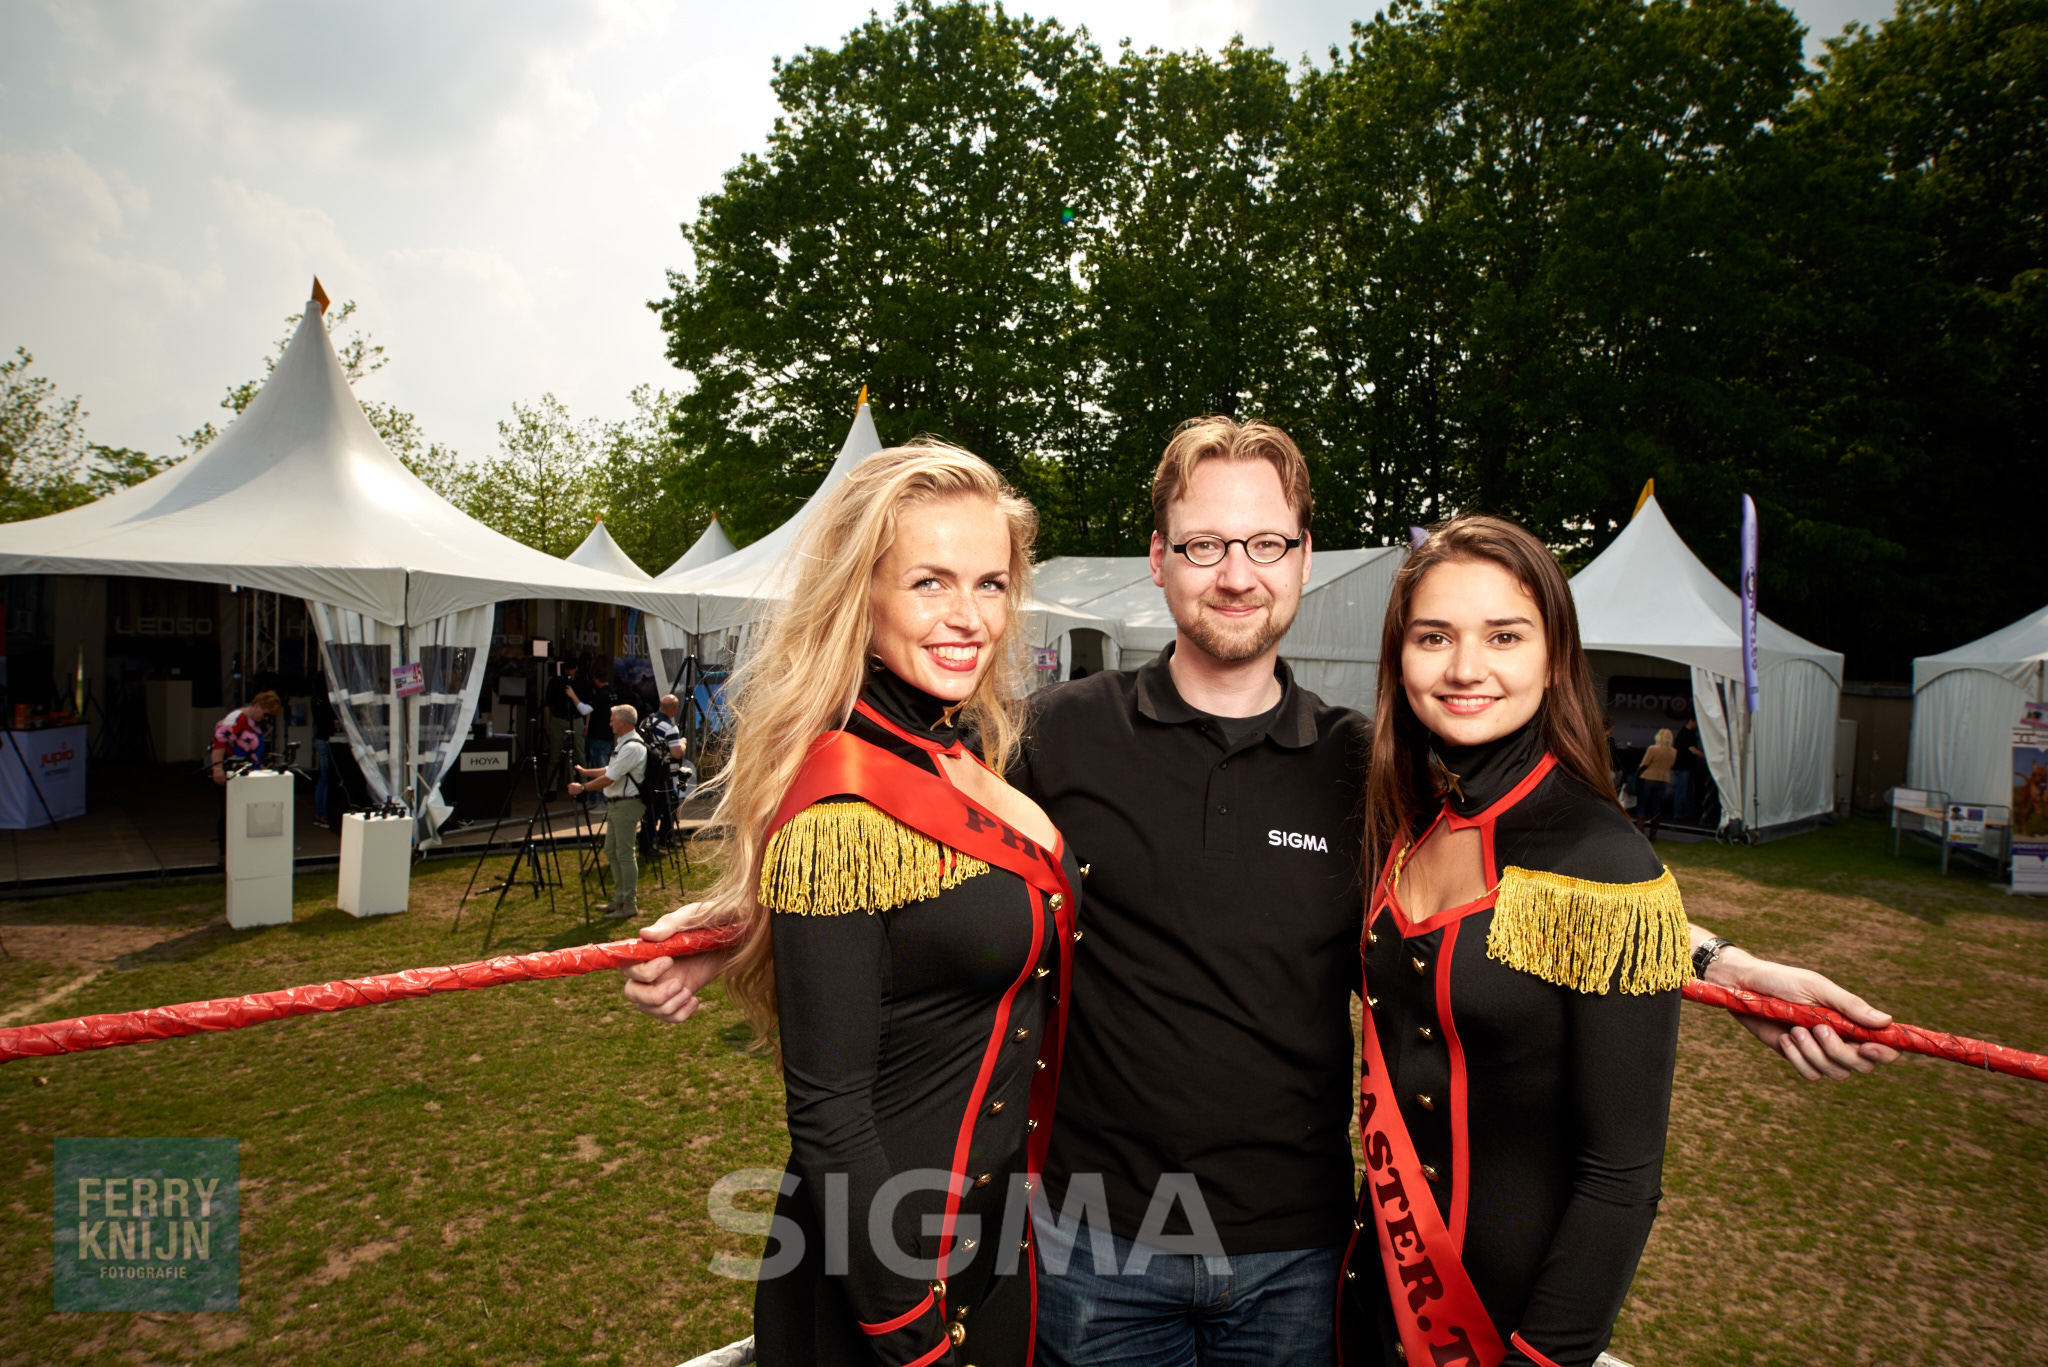




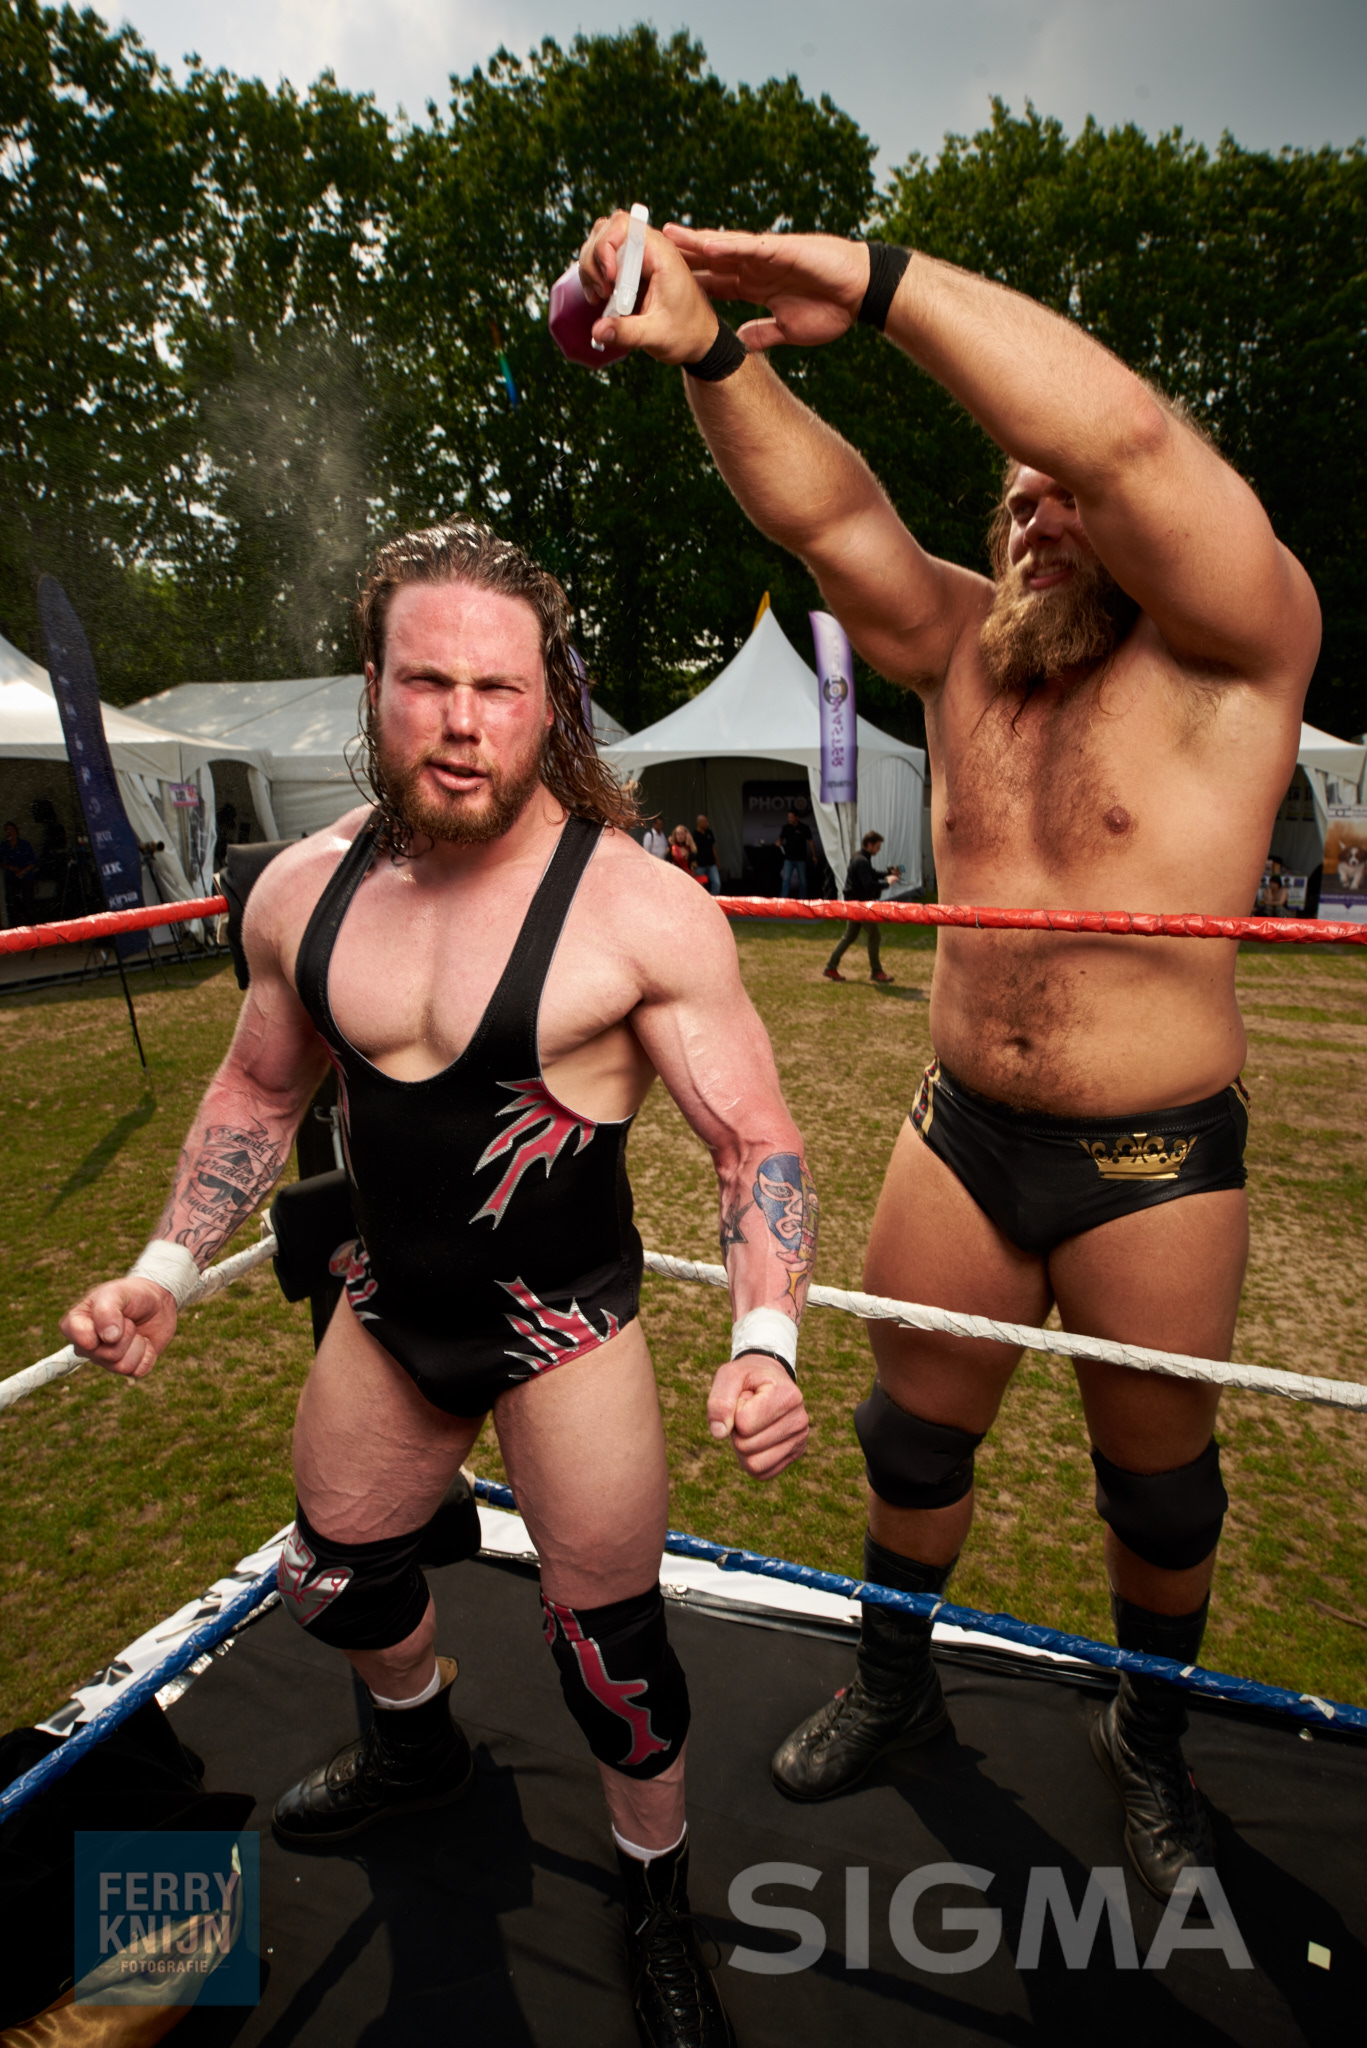

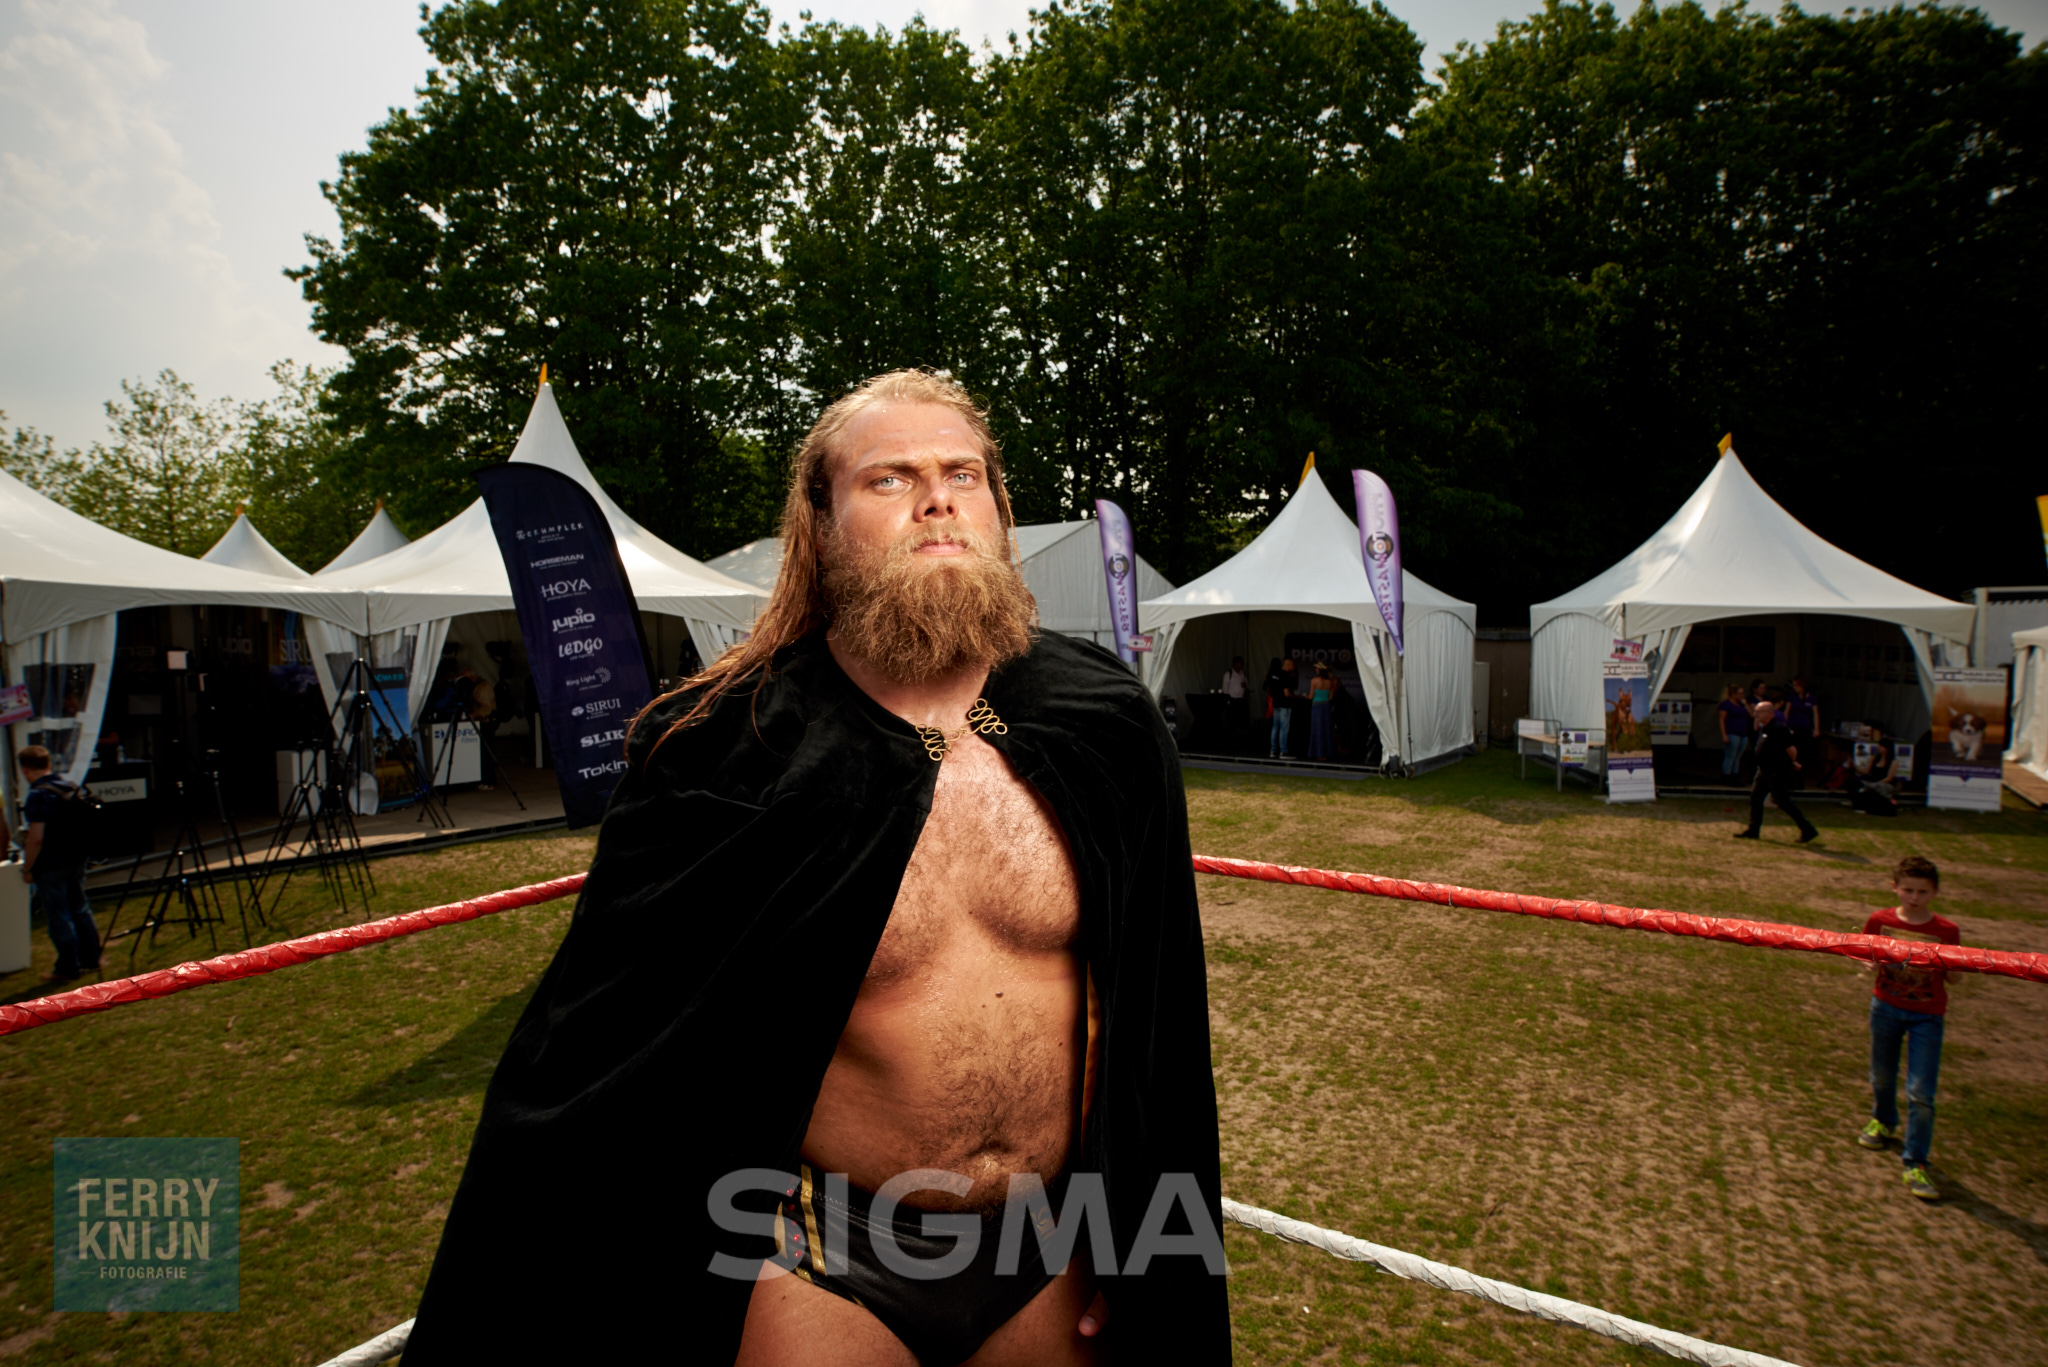
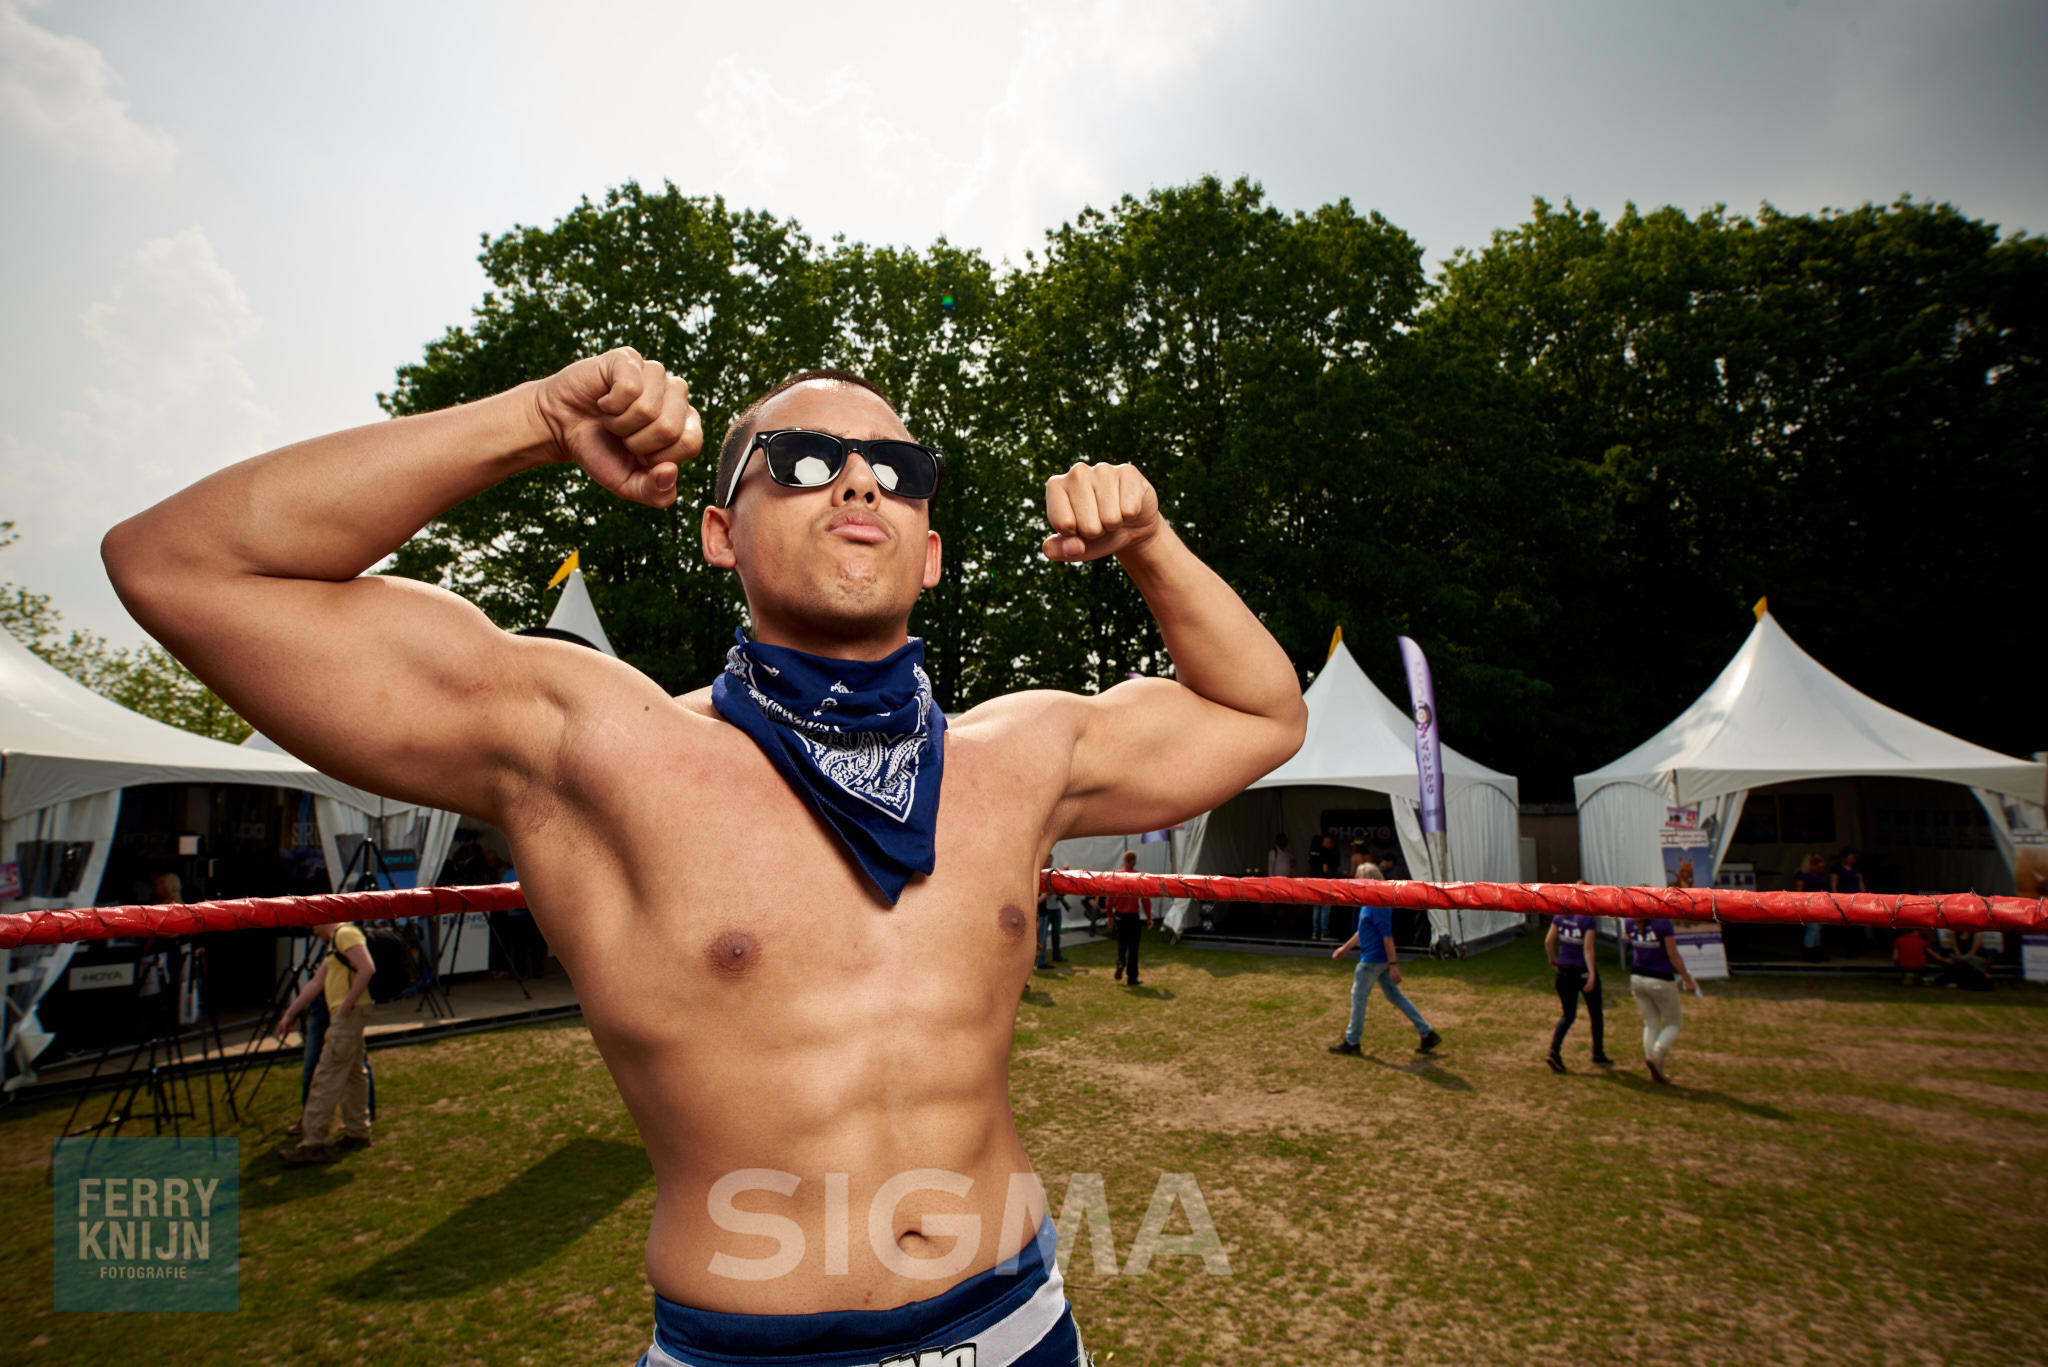

Marco en bijzondere verhalen
Ook kwam natuurfotograaf en mede Sigma-fotograaf Marco de Paauw nog langs in de stand, en heb hem naar eigen zeggen "Vast gelegd hou hij echt is" en als portretfotograaf is dat het grootste compliment wat je kunt krijgen!
ook is het leuk om bijzondere verhalen te horen als je bezig bent. Zoals van twee personen warvan de ene een nier aan de andere gaat geven!
Ballerina fotoshoot in Amsterdam
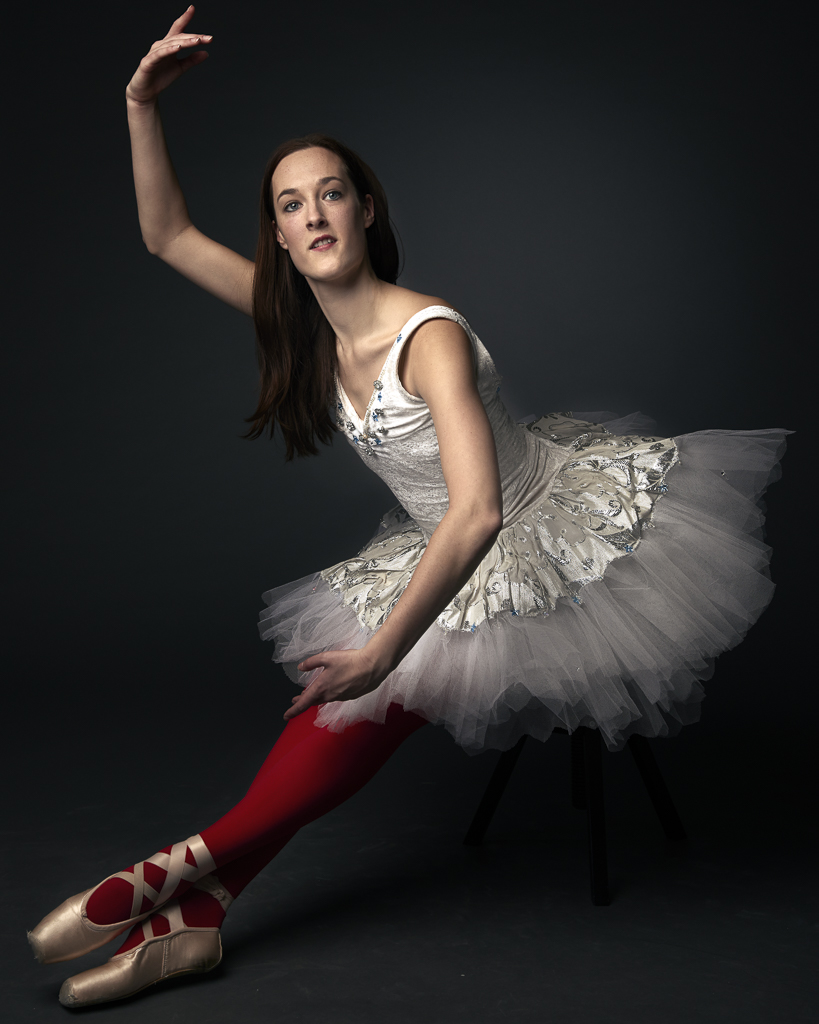
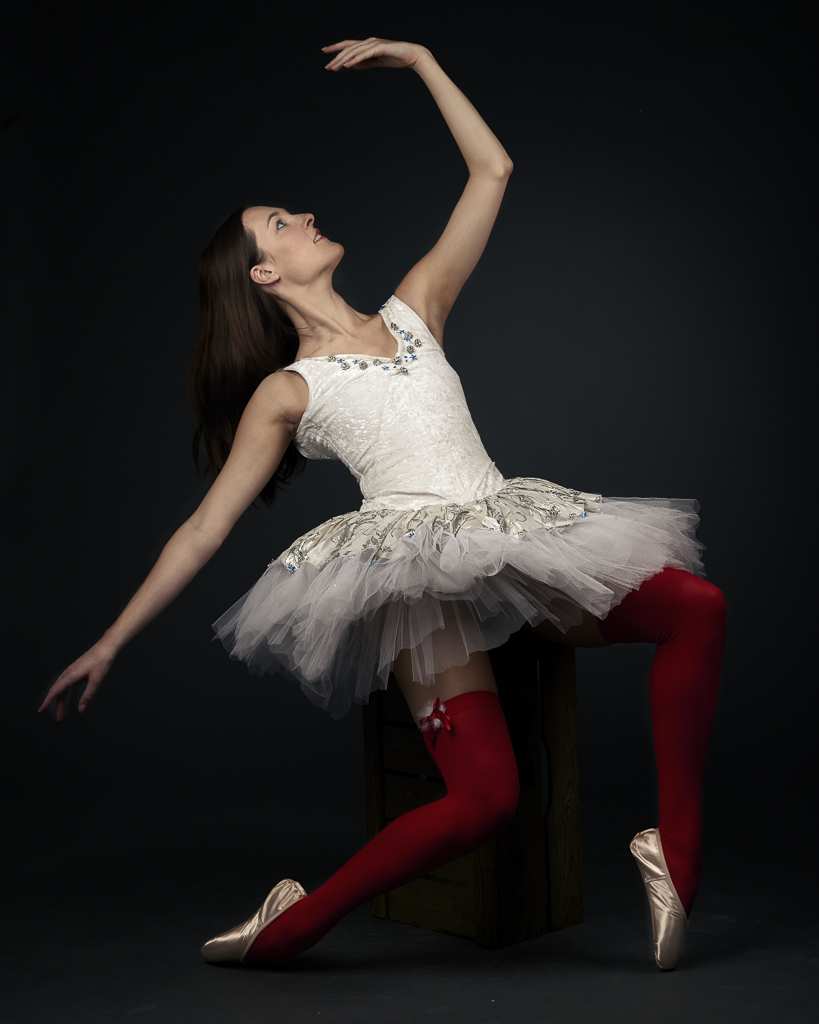
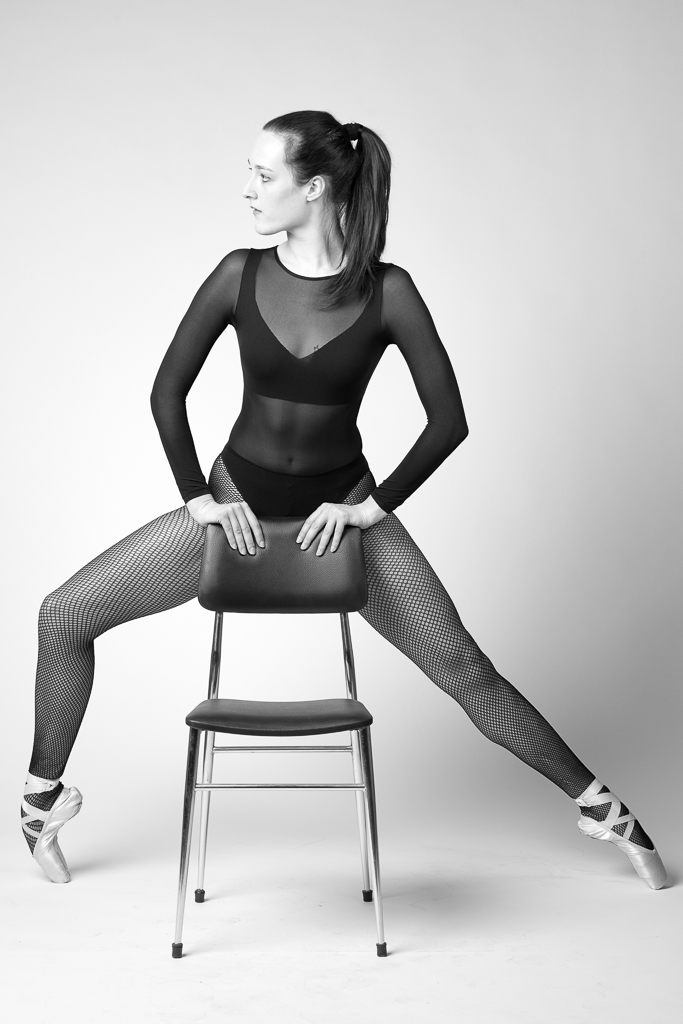
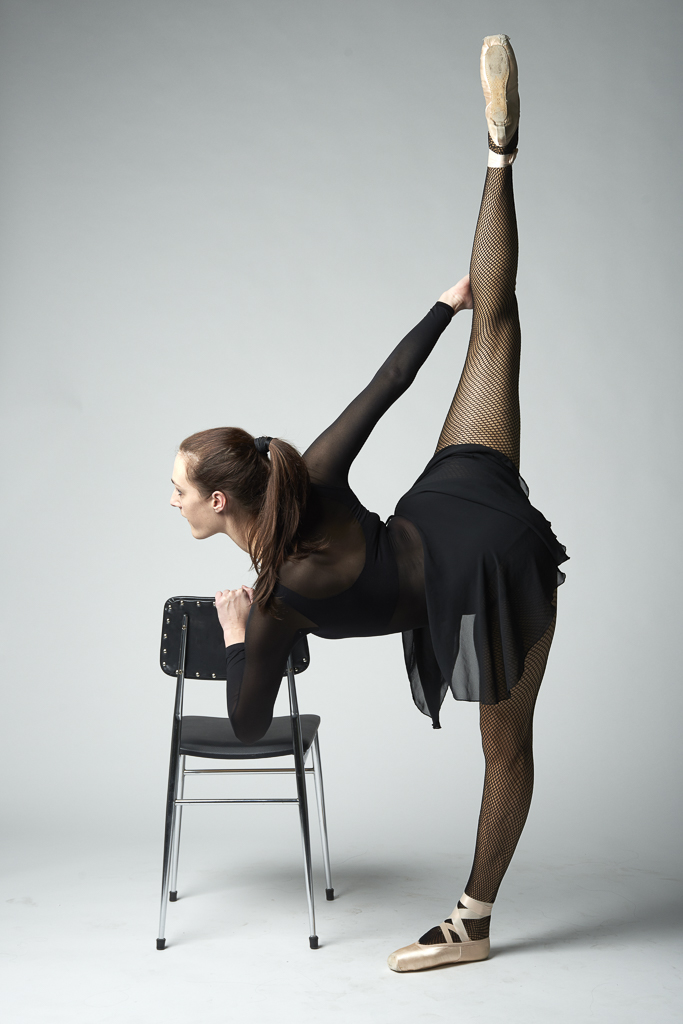
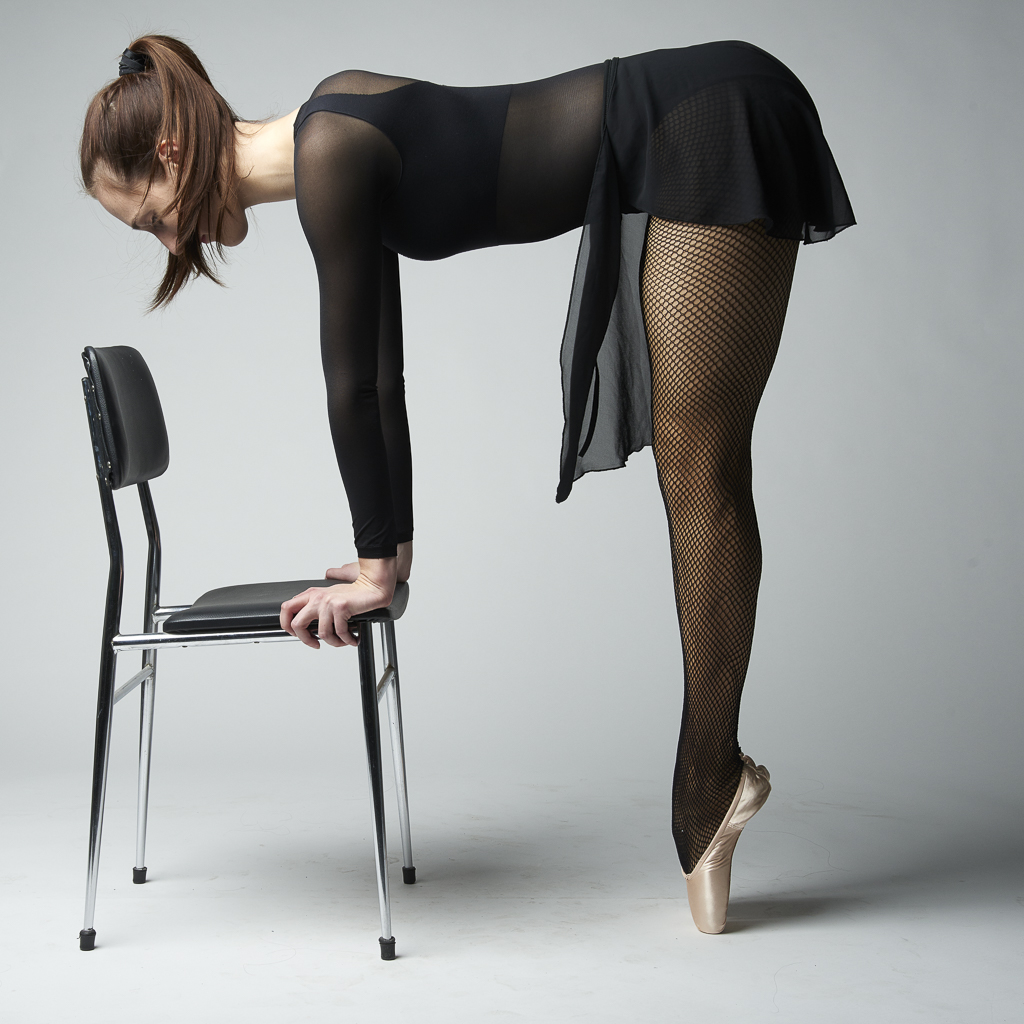
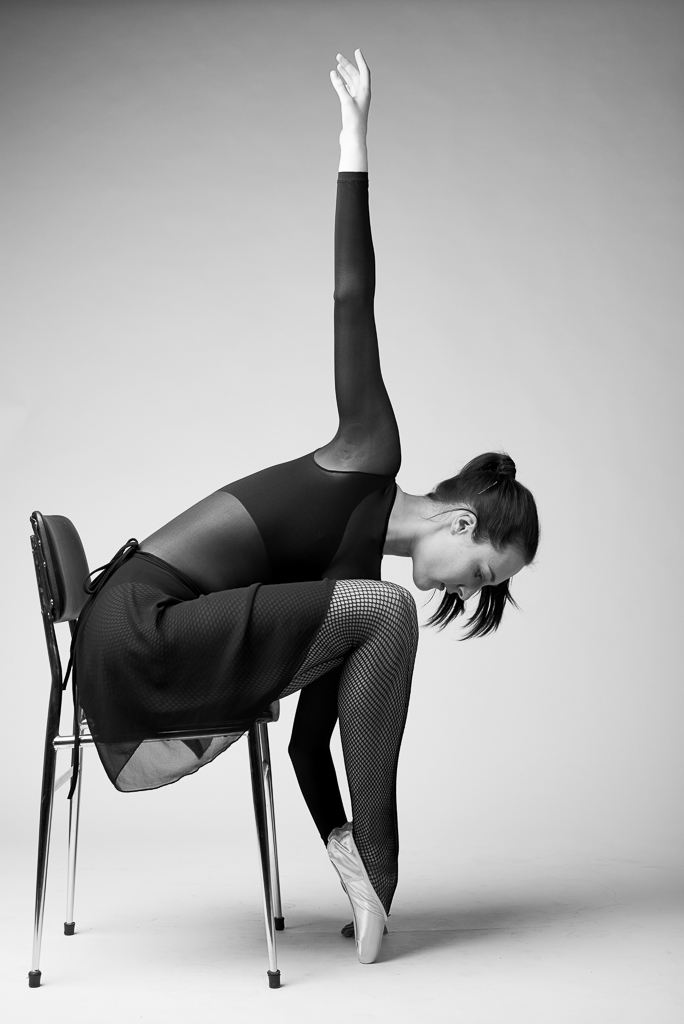
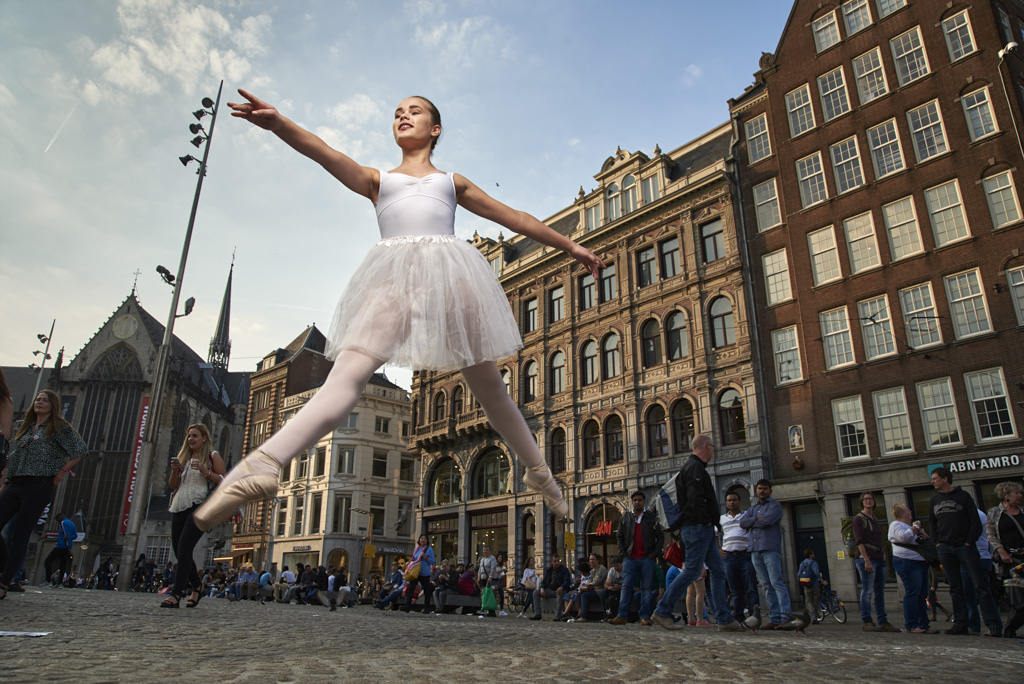
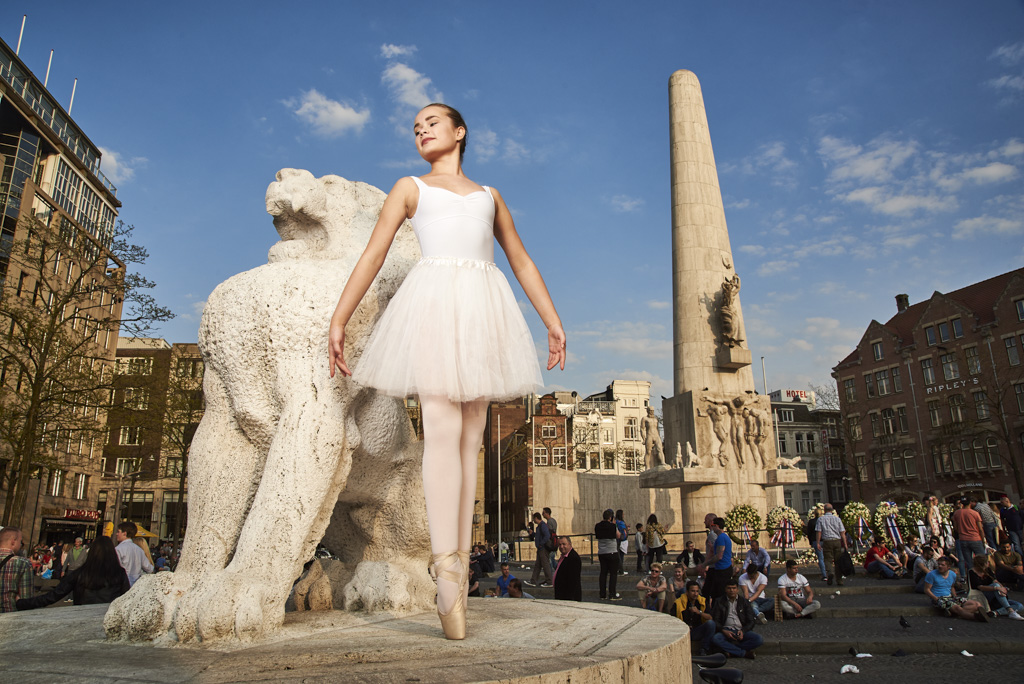
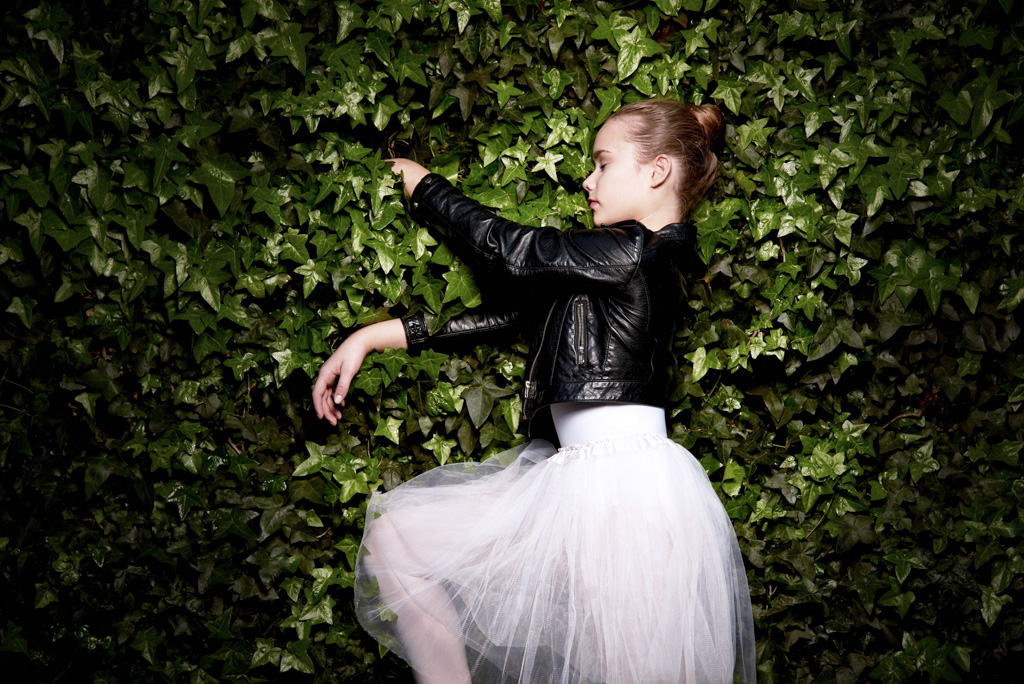
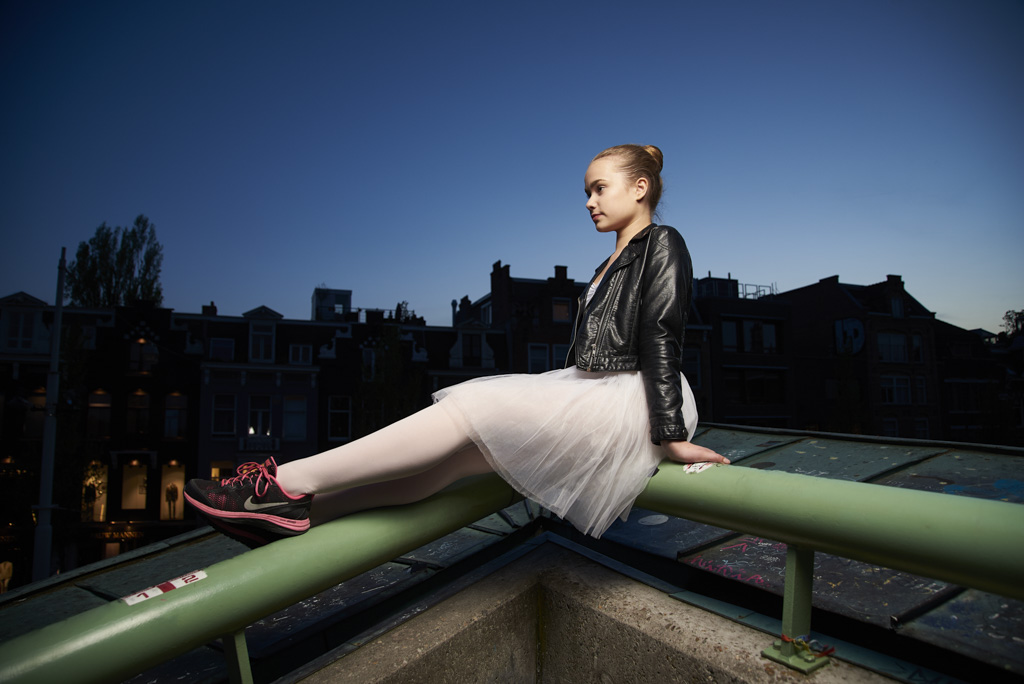
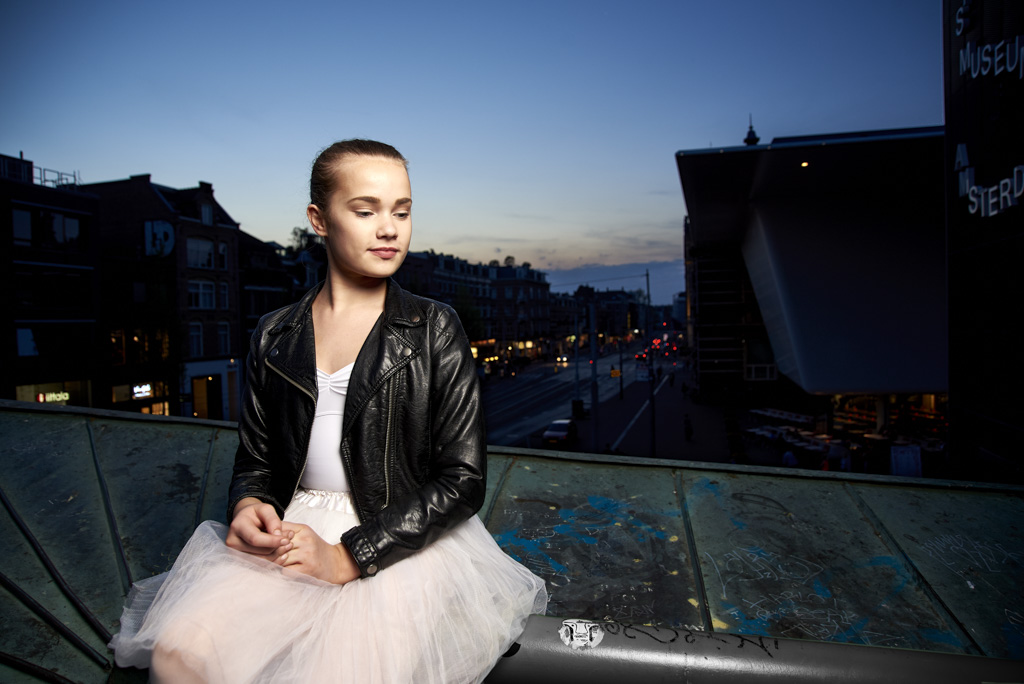
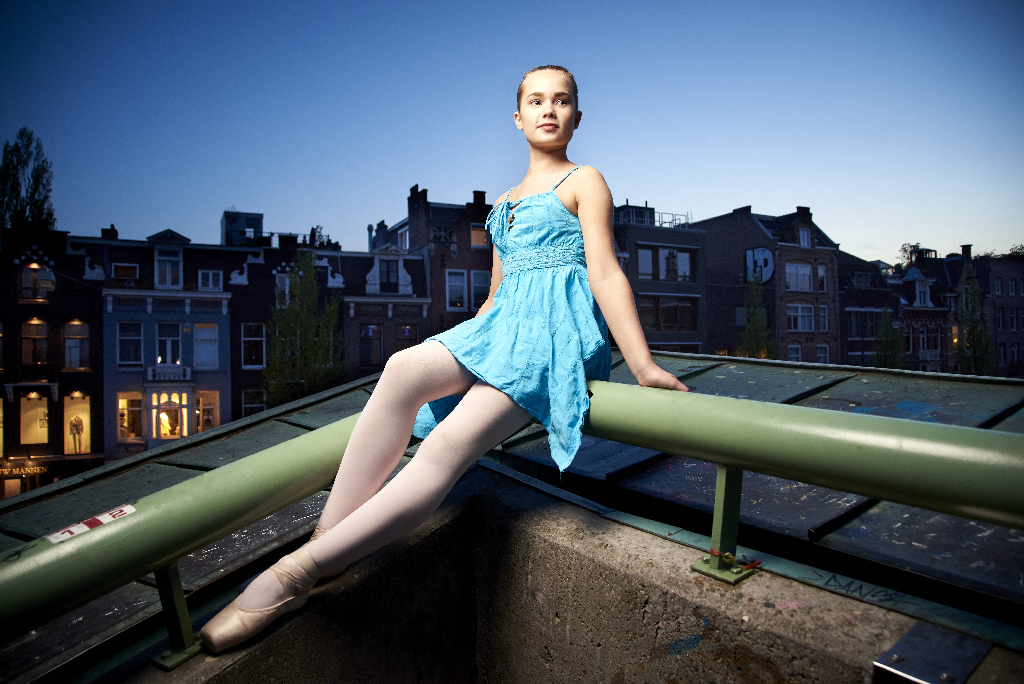
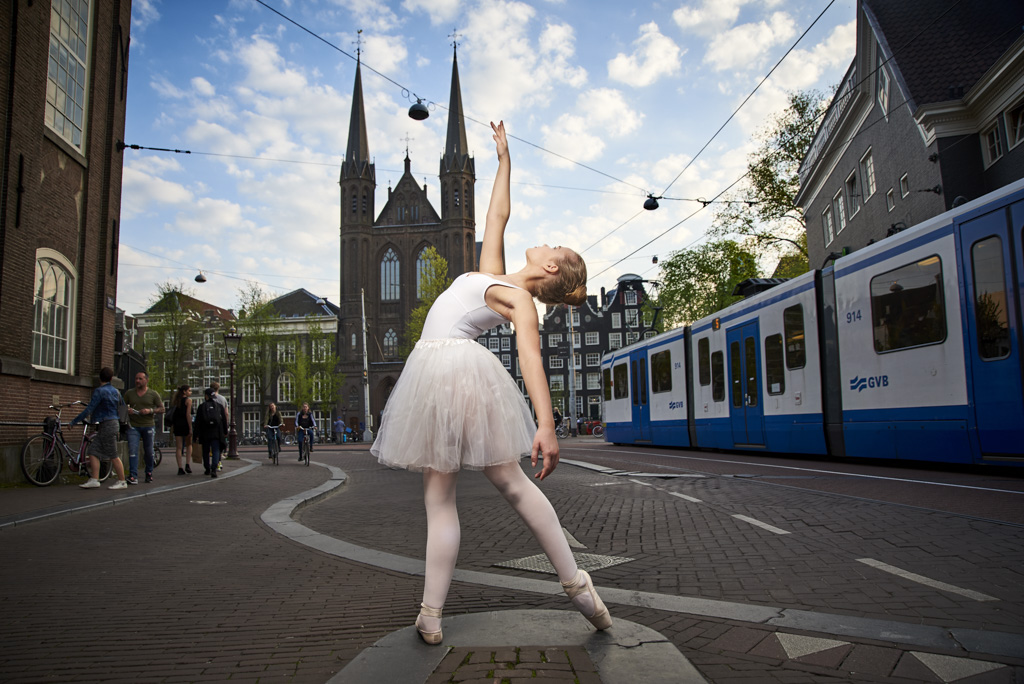
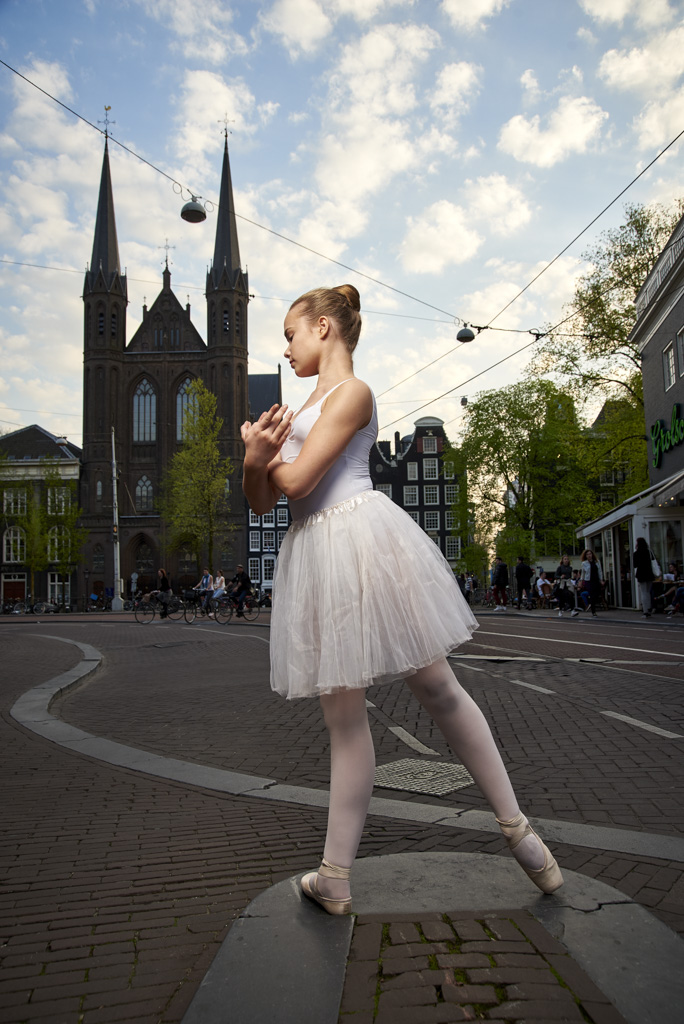
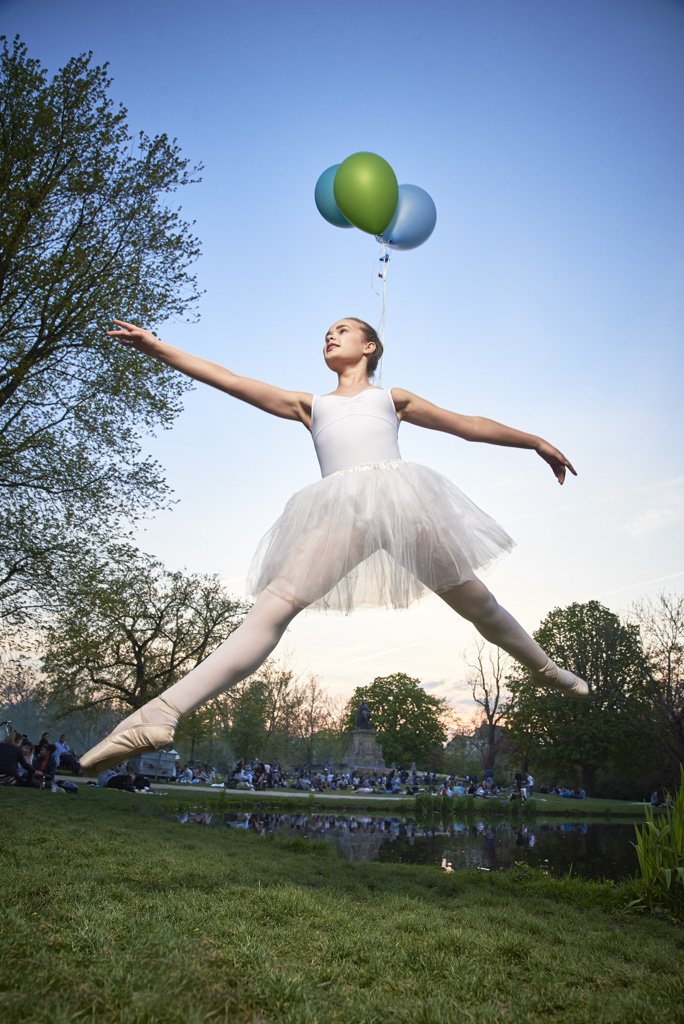
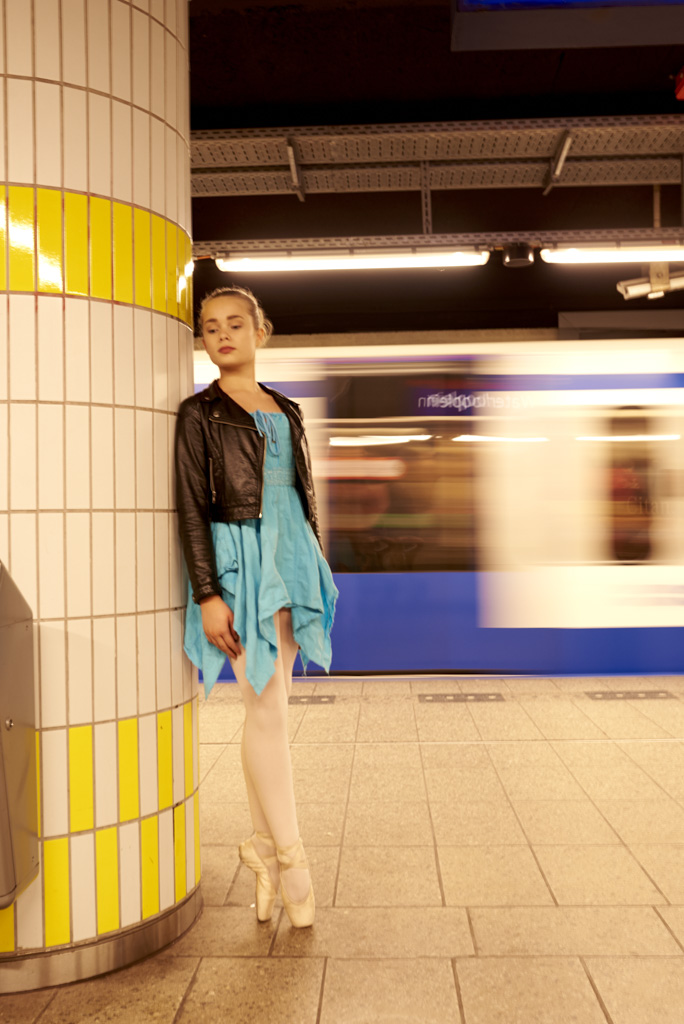
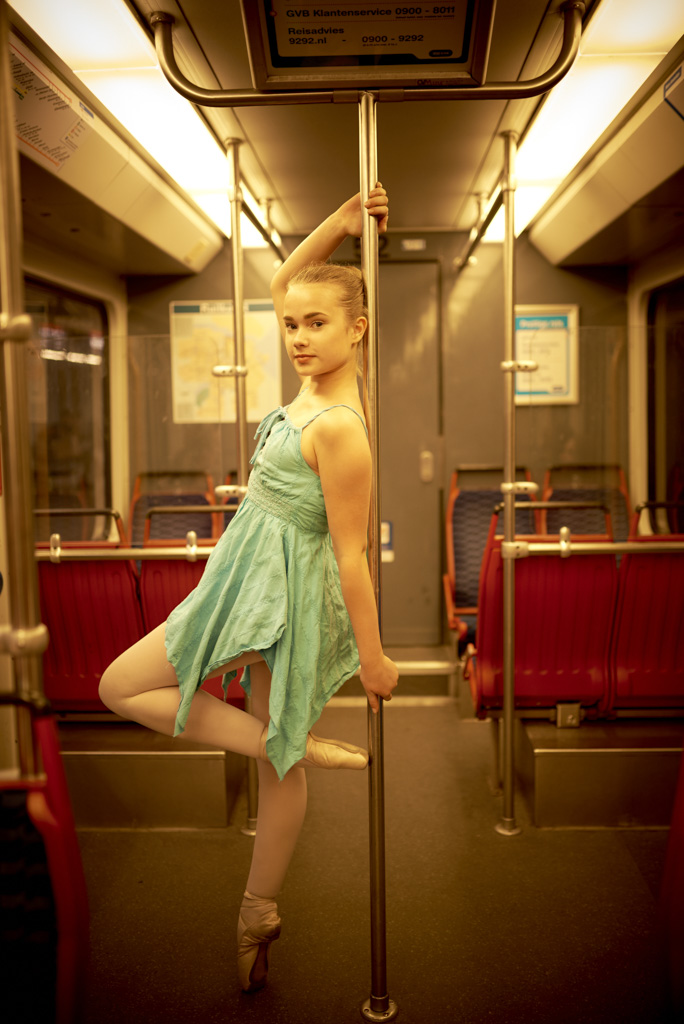
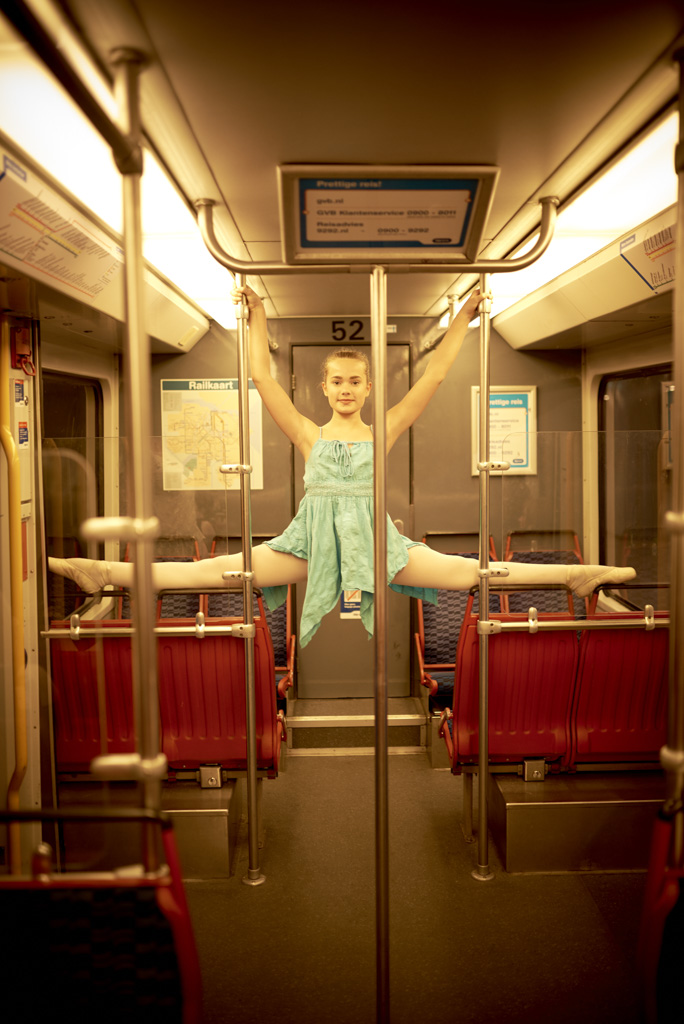
Vrijdag heb ik een ballet portretsessie gedaan met ballerina Tessa. Samen met mijn team heb ik haar op diverse plekken in Amsterdam gefotografeerd.
Foto's
Hier onder staat een selectie van de gemaakte foto' s


Behind the Scenes
Van deze shoot konden we gelukkig ook een behind the scenes video maken! Dus bij deze:
Gear
Voor de fotografen onder ons. We hebben het volgende aan apparatuur gebruikt:
Fotografie: Nikon D750 met een Sigma 24-105 Art lens en voor de belichting een Elinchrom Ranger Quadra RX met Rotalux 100cm Octa Softbox
Video: Nikon D610 met Sigma 50mm 1.4 Art.
Quick Tip: Sekonic LiteMaster Pro L478DR-EL instellen met skyport
Afgelopen week heb ik de nieuwe Sekonic LiteMaster Pro L478-DR-EL binnen gekregen. Deze nieuwe lichtmeter van Sekonic heeft het voordeel dat hij Elinchrom Skyport functies heeft ingebouwd. Dit houd in dat je vanaf de L478-DR-EL lichtmeter je flitslampen van Elinchrom kunt laten flitsen en het vermogen aanpassen. In de bovenstaande video leg ik snel uit hoe je de licht meter moet instellen om met de Elinchrom studiofliters te kunnen werken.
Verschillende portretfoto's zonder je lamp te verplaatsen
Afgelopen zaterdag heb ik weer de workshop Basis flits- en portretfotografie gegeven. Tijdens de workshop heb ik aten zien hoe het zonder je lamp hoeft te verplaatsen snel een aantal verschillende portretfoto's kunt maken.
Ik heb een Elinchrom RX one met een Elinchrom Portalite 66x66 cm softbox op 45 graden van het model 45 graden naar beneden en met de lichtmeter uitgemeten op f8. Op de onderstaande foto's kan je zien dat je snel de sfeer kan veranderen puur door je model iets te laten draaien op de kruk of je eigen hoek te veranderen.
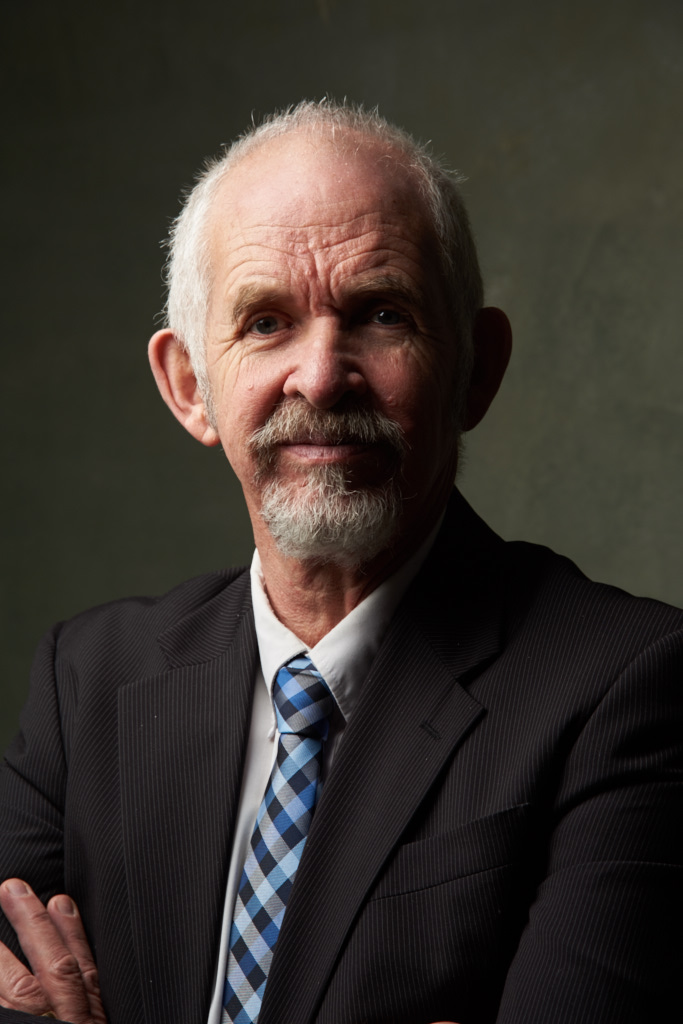
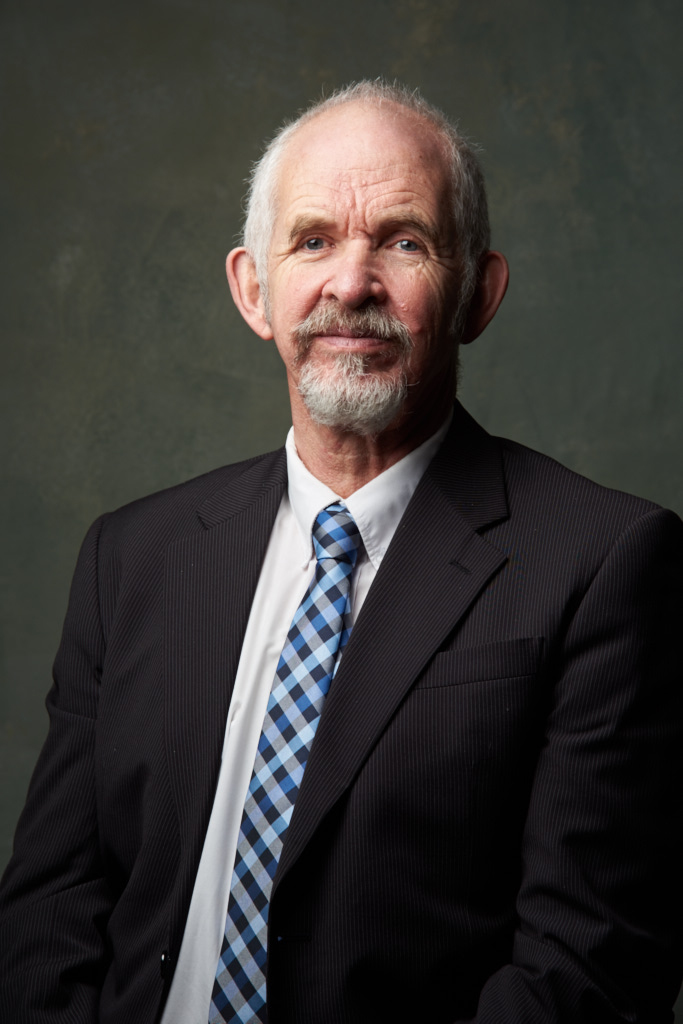

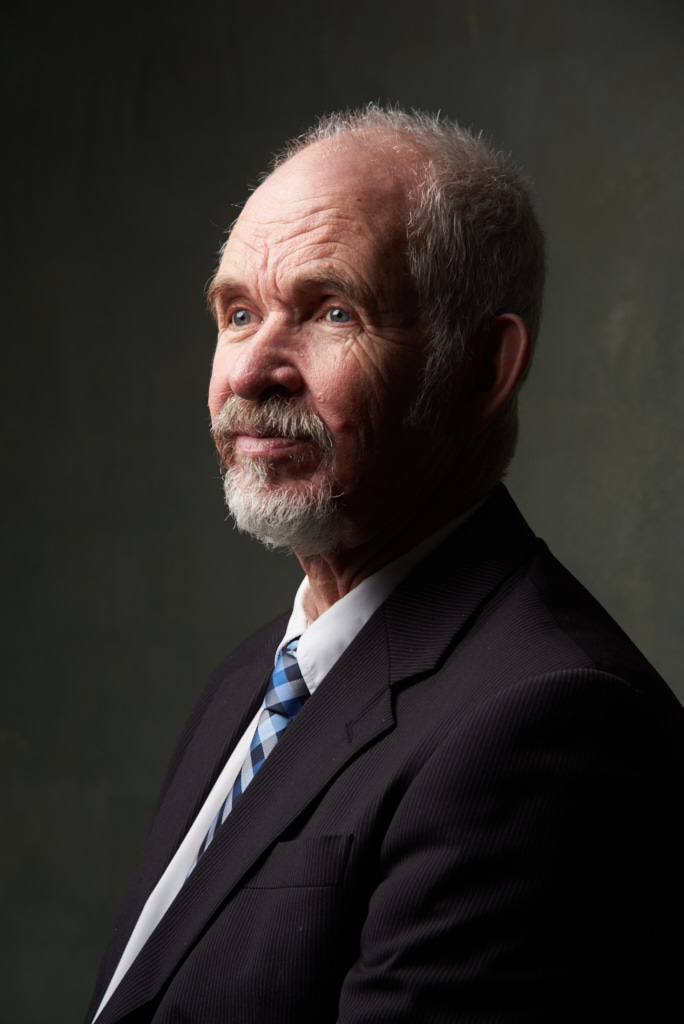
Even snelle disclaimer: dit zijn een paar snelle voorbeelden geschoten tijdens workshop om de cursisten te illusteren wat zoal zou kunnen. Natuurlijk kunnen de poses en cropping beter en kan ik nog meer variaties maken!
Workshop Portretfotografie resultaat
(English Version Below)
Afgelopen zaterdag heb ik weer een workshop portretfotografie in de studio gegeven. Na het reguliere workshop gedeelte was er nog tijd voor een kleine bonus sectie! Wat hebben we gedaan, tijdens de workshops hadden we het ook al wat over series, dus had ik het idee gevat te laten zien hoe je een foto kan analyseren en vervolgen je eigen versie hiervan te maken. Als basis hebben we de foto van Kevin Spacey als Frank Underwood in de serie House of Cards gebruikt.
Mijn analyse van de officiële foto was een Soft light reflector met grid van boven bij bij hoofd persoon. een grote softbox als fill en een spot op de achtergrond.
De opstelling die wij gebruikt hebben om er meer een budget vriendelijke opstellen van te maken was een Elinchrom RX one met een Portalite 66 softbox recht van boven naar beneden gericht en een RX one met een 90 graden paraplu reflector op de achtergrond. Het resultaat staat hier onder.Let trouwens ook op wat de lage hoek heeft qua invloed!
Eerste volgende workshop is 19 december. Kijk HIER voor meer informatie
Nikon D610
Sigma 24-105 Art
1/125 f8 iso 100 at 48mm
Last saturday I gave another workshop studio portrait photography. After the regular parts of the workshop we had some spare time. So I added a smal bonus section! Since we talked about tv- vs VOD-series before the workshop I got the idea of recreating a shot off a TV-show with basic gear. As a big Houde of Cards fan we decided to recreate the Frank Underwood in the Lincoln chair photo.
First we made an analysis of the original photo. I think they used a Soft light reflector with a grid close to the face, a big soft box as a fill and a background light.
The set-up we used was a lot simpler, but it has kind of the same effect which surprised me we could get zo close with the light! We used only gear from the Elinchrom RX-one 3 light kit. We placed a Elinchrom RX One with the Portalite 66 softbox straight above a little bit in front the subject used out off frame. I used a boomstand, if you don't have a boom you could use a regular stand and an assistent holding it. On the background I used a Elinchrom RX One with the Umbrella reflector to lit the background.
I added a layer to the background for the bleu-ish tint. I could have de it in camera with using a CTO-gell on the main light and do a custom white balance.
I asked the model to angle his chin a little but up to get enough light in the eyes. Also notice how the low angle off the lens influences the mood of the shot.
Belle shoot
Hi all,
Currently I am working on a series of personal work called "Ferry Tales". I am going to shoot a couple of friends as there favorite fairy tale person. And not only Disney related!
As a start I did a Belle shoot a couple of months a go. Here is the Behind the scenes timelapse of the whole shoot.
As you can see, the lighting is really simple. Mainly just one big Elinchrom Rotalux 150 indirect deep octa. Sometimes I added the strip with a grid for an accent light.
You can but a limited edition art print in the shop now, click here for more information.
Guess the light!
In aanloop voor het boek waar ik mee bezig ben dacht ik misschien leuk om deze even als post te plaatsen. De vraag is simpele: Hoe is deze foto belicht?
Laat je antwoord achter in een reactie hier onder aan de blog. Komende vrijdag zal ik de belichting uitleggen! Ben benieuwd naar jullie reacties!
Camera: Nikon D610, Sigma 24-105 art op 105mm, f8, 1/160, iso 100
ELC 500 VS Siros 400
Zo hierbij is dan mijn clash of the titans review blog! De ultimate flash contest, de Volkswagen Passat tegen de Audi A4 station (als die beetje vergelijkbaar zijn qua prijs enzo, ben geen auto kenner), maar in Top Gear termen ga ik in op de vraag die bijna iedere fotograaf zal branden. Welke is beter het topmodel van Elinchrom de machtige Elinchrom ELC of wordt het toch de instapper van Broncolor de Broncolor Siros 400?
Afgelopen weekend heb ik beide kanjers getest en de komende blog zal ik jullie mijn bevindingen delen en mijn oordeel vellen!
Kleine disclaimer: Ja ik weet dat ik een Elinchrom liefhebber ben en er bijna alles van heb! Maar ik heb de tests zo onpartijdig mogelijk gedaan en bij alles gezocht naar gronden van overeenkomsten om ze te kunnen testen. Tevens zijn de tests gewoon in de studio gedaan zoals wij als werkende fotografen ze zouden gebruiken en niet in een lab in Zwitserland. Wel heb ik de omstandigheden zo gelijk mogelijk gehouden en zelfde meetpunten en camera instellingen etc gebruikt!
Prijs
De Elinchrom 500/500 kit kost €1.669,00 zonder lichtvervormers. Een set paraplu's kost €39,95 extra. De Siros 400 lampen zijn er in twee variaties de Siros 400 basic en de geavanceerde Siros 400s. Voor de test had ik een pre-productie model van de Siros 400s. In een set kost deze €2380,00. Er is ook een basis set met de basic variant voor €1.690,- inclusief paraplu's maar zonder wi-fi, draadloze trigger, ECTC en Flash cut off techniek. De inhoud van de sets
Beide sets bestaan uit twee tassen met apparatuur. In het komende stuk ga ik de sets doornemen. Voor alle specificaties van de lampen wil ik je graag doorverwijzen naar de sites van de fabrikanten.
ELC:
De tas waar de lampen inzitten van de ELC is een vooruitgang op de eerdere tassen van Elinchrom qua bescherming. Wel vond ik de tube tassen iets prettiger dragen. De tas voor de statieven is lekker ruim en er kan veel in. Maar hij is redelijk dun qua materiaal en er zijn geen tussenschotten om bijvoorbeeld de statieven te scheiden. De statieven die bij de ELC 500 to-go set zitten zijn gas geveerd en mooi stevig uitgevoerd.
De lampen zijn redelijk qua design en doen beetje aan ee vliegtuig bom ui WOII denken. Een groot pluspunt van de lampen is het OLED display scherm wat het instellen van de lampen en de verschillende functies erg makkelijk maakt. De ELC heeft tevens een grote hoeveelheid speciale extra functies zoals strobe, vertraagd en sequentie functies.
Het instellicht geeft mooi en veel licht. Voldoende om te gebruiken als licht voor video, wel is het wat aan de gele/warmere kant dus je moet je witbalans goed instellen. Ook moet de ELC goed koelen als de instellamp op vol vermogen staat. Dit geeft bij video wat meer lawaai.
De ELC 500 heeft een bereik van 7 stops. Qua flitsduur heeft de ELinchrom ELC een snelste t0.5 van 1/5000 op stand 3.1. Beide lampen hebben een glazen kap om de flitsbuis te beschermen.
ELC 500/500 Kit (www.fotoflits.nl)
- 2x Elinchrom ELC Pro HD 500 flitskop (500 Ws) inclusief flitsbuis en instellamp
- 2x Glass Dome
- 2x Paraplu Reflector 16cm/ 90
- 2x Beschermkap
- 1x ProTec Bag Poly
- 1x Skyport Transmitter Speed
- 1x Synchronisatiekabel 5,0 m.
- 1x Elinchrom Air standset (2 x luchtgeveerde statieven in tas)
- 1x Nederlandse gebruiksaanwijzing
- EXTRA: Paraplu set 83 cm € 39,95
Totaal: € 1708,95
Siros 400 S Expert Basic kit 2 RFS 2.1
De tassen van de Siros kit zijn zeer goed ontworpen. Het voordeel is dat de tas met de statieven en accessoires op de tas met de lampen bevestigd kan worden. Deze heeft tevens aan één kant een set wielen wat er voor zorgt dat je de set makkelijk mee kan nemen.
De tas met de lampen is voorzien van veel bescherming en de lampen passen er zeer mooi in. De tas met de statieven is wel in tweeën te delen wat ik een pluspunt vind. De statieven zelf vond ik echter van mindere kwaliteit. Ik had niet het gevoel dat deze geschikt zijn om de lampen met grotere softboxen of lichthervormers te dragen. De statieven voelde erg goedkoop aan. Een misser in mijn mening. De kans is groter dat ze op de statieven beschadigen tijdens het gebruik dan in een tas.
Het design van de lampkoppen is zeer mooi gedaan naar mijn mening. De lijnen en onderdelen lopen mooi in elkaar over. Ook hoe de reflector voor de paraplu zit vond ik erg mooi gedaan.
SIROS 400 BASIC KIT 2 (www.transcontinenta.nl)
Inhoud:
- 2x Siros 400 S lampkoppen
- 1x paraplu zilver 85cm
- 2x paraplu reflector
- 1x Softbox 60x60 (incl. speedring)
- 1x Synchroonkabel 5m
- 2x Basic M lampstatief
- 1x Flash Bag 2
- 1x Accessoire tas
- 1x RFS 2.1 zender
€ 2.380,00
In Gebruik.
Over het algemeen lopen de lampen in gebruik niet heel veel uit elkaar. Ze hebben beide hun eigen karaktereigenschappen. Wel vind ik bij Elinchrom het verwisselen van de lichtvervormers iets gemakkelijker gaan. Met name bij de Broncolor softboxen is het soms zoeken naar het punt om hem los te maken, de reflectoren hadden wel een kleine inkerving met het punt. Echter zaten deze niet in de set dus ga ik daar verder niet te veel op in.
De ELC heeft het voordeel dat je de schaft van de paraplu dichter bij de flitsbuis kunt plaatsen voor een egalere spreiding van het licht.
De triggers van beide partijen hebben ook hun voors en tegens. De Elinchrom werkt makkelijk en snel met 4 groepen en je kan alle 4 tegelijk of per groep, dit is met instellen van de lampen erg makkelijk en snel te doen. Deze functie vond ik bij de Broncolor niet direct terug. Deze zit er wel op begreep ik later, is gevalletje RTFM. Wel werkt de trigger van de Broncolor beter. Ik had minder vaak tot eigenlijk helemaal niet dat lampen niet afgingen.
Een voordeel van de Elinchrom vond ik wel dat het getal achterop met verschillende lampen van andere vermogens gelijk is. 4.0 op een 1000 watt is het zelfde als op een 500 watt of 100 watt lamp qua output. Bij de Siros heb je wel eens waar 9 stops bereik (2 tot 10), maar 10 op een 800 watt is als nog 2 x zoveel als op een 400 watt. Omdat de lampen van Broncolor wel geleidelijk lopen qua wattage is het wel makkelijk om te rekenen.
Het instellen van de lamp gebeurt vooral via de grote draai- en drukknop. Dit vond ik bij bij de ELC prettiger. Door het OLED scherm heb je een makkelijk en duidelijk menu waar je alle functie snel kan instellen. Wat wel een voordeel is dat hij bij de Siros lampen een gratis app kunt downloaden om de lampen te bedienen. Ik weet dat ELinchrom hier ook software voor heeft, maar hier is een extra module voor nodig, en deze is niet gratis. Een nadeel van met de app werken is dat de lampen een klein WiFi netwerk bouwen waarbij 1 kop de Alpha is, als deze uit gaat, raken ze elkaar kwijt en moet je de andere lamp(en) een keer uit en aan zetten om vervolgens weer opnieuw verbinding te maken. Dat vind ik een beetje gedoe, helemaal als je een type als ik bent die een paar lampen met verschillende lichtvervormers uitrust om snel te kunnen wisselen/werken.
Bevriezing
Iets wat met name bij dans- en actiefotografie van belang is, is de flitsduur, oftewel hoe kort is de flits? Van de ELC’s zijn de t.0.1 waardes niet bekend dus ik zal op de t0.5 vergelijken. Bij de Siros 400s ligt deze op 1/19.000 op minimale vermogen en 1/2100 op maximale vermogen. Het minimale vermogen is echter zo laag dat zijn flitsmeter hem op ISO 100 niet kon waarnemen.
Bij de ELC 500 liggen deze op 1/2940 op laagste vermogen en 1/2330 op hoogste vermogen. Het snelste is de ELC op stand 3,1 dan zet deze op 1/5000. Op vol vermogen is de ELC dus iets sneller.
Bij de Siros 400 ligt deze op 1/1000 op minimale vermogen en 1/2100 op maximale vermogen.
Herladen
Bij studio- en actiefotografie is het snel opladen van de lampen ook zeer belangrijk. Dit zorgt dat je snel achter elkaar door kunt fotograferen. Bij de ELC liggen de tijden op 0.6 sec bij het hoogste vermogen op fast modus. Bij de Siros 400s liggen die op 0.02 op laagste en 0.95 op hoogste vermogen.
De studio test
De test opstelling. Camera Nikon D610, Lens: Sigma 24-105 Art
In de onderstaande tabel heb ik de lampen zo vergelijkbaar mogelijk getest in een serie van 25 klikken. Bij beide is de 83cm zilveren paraplu gebruikt op een zo goed als zelfde hoek en afstand.
Lichtvervormer: Standaard 83cm reflectieve zilveren paraplu en reflector
Wat we hier zien is hoe de lampen reageren op het snel achter elkaar flitsen en hoe constant ze blijven qua kleurtemeratuur. Wat opvalt is dat de Elinchrom ELC’s wat verschillen afhankelijk van het vermogen waar de lamp op gebruikt wordt. En bij burst modus zakt de output van de lamp en ook de temperatuur. Maar over het algemeen is er geen grotere schommeling dan 100 graden kelvin. Wat zeer netjes is! Een Profoto B1 heeft bijvoorbeeld een schommeling van 800 kelvin!
Bij de Broncolor zien we dat de resultaten nog dichter bij elkaar liggen en ook op de verschillende hoogtes van flitskracht. Het grootste verschil is rond de 60 graden kelvin. Dit is zeer weinig!
Op laagste vermogen heb ik de lampen niet gemeten. Dit omdat de kracht van de Siros op het laagste vermogen niet te meten was. Hiervoor moest ik mijn ISO omhoog zetten, waardoor er ook meer omgevingslicht in de foto kwam en daardoor niet eerlijk meetbaar.
Conclusie
Het punt waar iedereen waarschijnlijk op zit te wachten, welke moet je kopen? En om eerlijk te zijn weet ik het niet direct. Het hangt er heel erg van af wat je doelen en budget zijn. Daarom hieronder even een kleine vergelijking per lamp
Elinchrom ELC
De ELC zijn de toppers van Elinchrom en zijn hun geld meer dan waard. De hoeveelheid ‘Bang for the bucks’ is heel erg hoog. De ELC lampen hebben een vrij snelle flitsduur, voldoende voor bevriezing met beweging, vele functies als Strobo en vertraagde modus, instellicht wat ook bruikbaar voor video is, makkelijke interface en een goede interactie met de trigger.
Nadelen zijn dat de temperatuur iets verloopt. Er een usb-stick nodig is om de software te gebruiken. Ze als set een klein tikje duurder zijn en de tassen iets minder praktisch dan die van Broncolor.
Broncolor Siros 400S
De Siros lampen zijn qua bouw- en lichtkwaliteit uitmuntend en zullen kannibaliseren binnen het Broncolor assortiment bij modellen als de Verso en Senso. Met name de consistentie van het licht is buitengewoon goed! Het zijn geen alleskunners, maar wat ze kunnen, doen ze subliem goed.
De nadelen van de set zijn de goedkope statieven en dat de communicatie met de app soms niet helemaal handig loopt bij wisselen van de lampen. Nu moet ik wel zeggen dat de gebruikte modellen pre-productie varianten waren en dit in de toekomst aangepast kan gaan worden. Maar dat is nog niet bekend bij mij.
Koopadvies
Dit is de moeilijkste vraag die er is, het hangt van jou als fotograaf af. Als je portret-, product-, of studiofotograaf bent en je al Elichrom hebt zou ik gewoon voor de ELC’s gaan en zie ik geen directe reden om over te stappen.
Heb je nog geen Elinchrom dat zit er naast de kwaliteit van de ELC units nog het voordeel dat als je meer lichtvervomers wilt deze van Elinchrom goedkoper zijn en over het algemeen beter scoren. Er zijn diverse top fotografen als een Annie Liebovitz en Joey L, die de lampen van andere merken gebruiken maar wel Elinchrom softboxen. Waarmee ik niet de softboxen van Broncolor wil afkeuren, deze zijn zeker verbeterd de afgelopen tijd. Maar budget- en kwaliteit technisch zijn de Elinchrom net even beter!
Wel moet ik toegeven dat de kleurtemperatuur bij de Broncolor lichtvormers iets dichter bij elkaar liggen dan bij Elinchrom. Dit is echter wel gevoelsmatig zo en niet hard getest. Tevens wil ik sowieso adviseren altijd even een nieuwe grijsmeting te doen na het wisselen van lichtvervomers.
(Kleine postnote: De nieuwe softboxen van Broncolor zitten in de zelfde prijsrange van Elinchrom tegenwoordig)
Ben je een studio-. fashion- of product fotograaf en is een gelijke kleurtemperatuur van groot belang dan zijn de Siroslampen absoluut de winnaars. Doe je daarentegen dans- en actiefotografie ga dan wel voor de duurdere ’s’ editie met de kortere flitsduur! Deze Siros 400s zou ik sowieso ten alle tijden boven de Siros 400 verkiezen.
Rythem & Jazz
Een paar weken geleden had ik het idee om een shoot te doen met een tapdansers en een drummer. Daarom had ik Marieke van de Ven en Maarten Kruijswijk gevraagd of zij het leuk zouden vinden om hier aan mee te werken.
Voor de locatie had ik de NDSM-werf in Amsterdam in gedachten. Dit omdat het een geweldige plek is met veel verschillende achtergronden en mogelijk heden. Tevens kan je hier ook goed met de auto komen en rustig/veilig werken.
Qua belichting heb ik gebruik gemaakt van de zon im combinatie met de Elinchrom Quadra RX en een grote Soft light reflector (beauty dish) met een zilveren deflector. Voor camera de D800 en D610 met de Sigma 24-105 f4 Art en de Sigma 50mm 1.4 Art lenzen.
Na de hoofdfoto was er ook nog tijd om extra portretten te maken
Introductie Elinchrom ELB
Vandaag ben ik bij de introductie workshop geweest van de nieuwe Elinchrom ELB en LiteMotiv softboxen.
De Elinchrom ELB 400
Vorig jaar heb ik mijn eerste Elinchrom Quadra set gekocht. Dit geeft mij de mogelijkheid om met studio kwaliteit ligt te werken waar ik ook maar ben. Maar Elinchrom had ook net de nieuwe ELC serie uit. En ergens wenste ik voor een combinatie van de twee, en die is er nu in de vorm van de ELB 400.
De Elinchrom ELB 400 bied alle functionaliteiten van de ELC, maar dan in een mobiel pakket met de mogelijk waar je ook maar wilt werken door de accu. Vandaag was de kans daar om de ELB 400 uit te proberen in combinatie met de nieuwe Elinchrom LiteMotiv softboxen.
Quadra vs. ELB 400
Het voordeel van de ELB 400 boven de gewone Elinchrom Quadra RX zijn er verschillende. Ten eerste de sneller herlaad tijd voor met maken van foto's. daarnaast heeft hij de mogelijkheden voor werken met strobo (snel achter elkaar flitsen), slow (vertraging in de flits als je werkt met langere sluitertijd en je heb geen 2e curtain sync) en sequence. Daarnaast heeft ook het uiterlijk een opknapbeurt gekregen. Het grote voordeel is dat het scherm vervangen is door een OLED display, dit maakt het werken in het menu een stuk makkelijker.
Resultaten
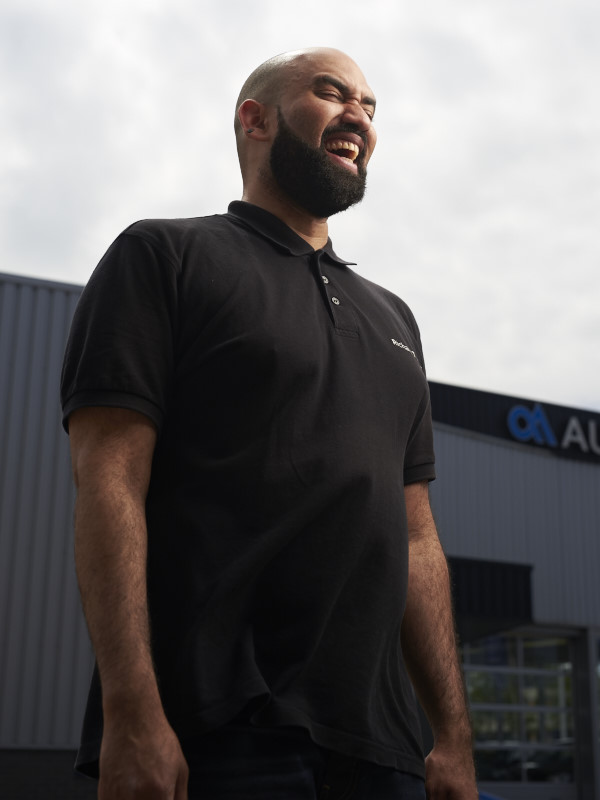
Hieronder staan een paar van de resultaten. Kleine disclaimer dit is niet mijn reguliere werk, de foto's zijn binnen en buiten de showroom genomen voor om de functies en werking te testen. Camera waren Nikon D610 met de Sigma 50mm 1.4 en 24-105 art lenzen en de Fuji X100

ELB, ELC of Quadra
Nu is natuurlijk de vraag welke moe je nemen? Dit is natuurljk per persoon verschillend.
- Wil je alle functies in een compacte set hebben neem de ELB 400 set.
- Wil je mobiele studiokwaliteit ligt hebben en niet veel waarde hecht aan de extra functies als strobo, neem de Quadra RX
- Wil je wel de speciale functie maar is mobiliteit geen vereiste neem dan de ELC's
Persoonlijk zit ik er aan te denken om voor de Elinchrom ELC 500 te gaan. De reden hiervoor is dat de speciale functies als strobo het beste werken in een studio omgeving zonder al te veel omgevingslicht. Voor op locatie heb k al de Quadra's. Daarnaast vind ik de snelle herlaad tijd an de ELC's echt geweldig! Met name op hogere vermogens zorgt dit dat je snel door kunt werken.
Eerste sessies in nieuwe studio
Zo de nieuwe studio is sinds vrijdag geopend! De foto's van de opening van de nieuwe fotostudio in Nieuw-Vennep volgen binnenkort! Maar nu eerst even wat nieuw werk.
Wouter Kiers
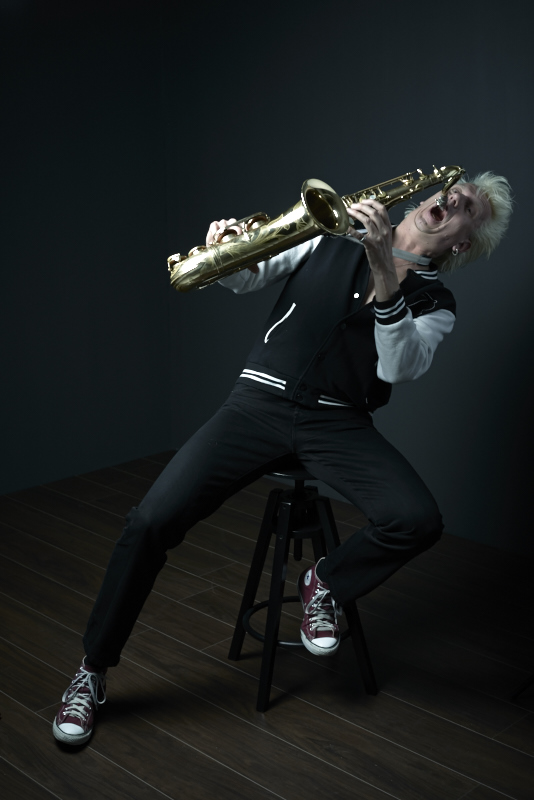
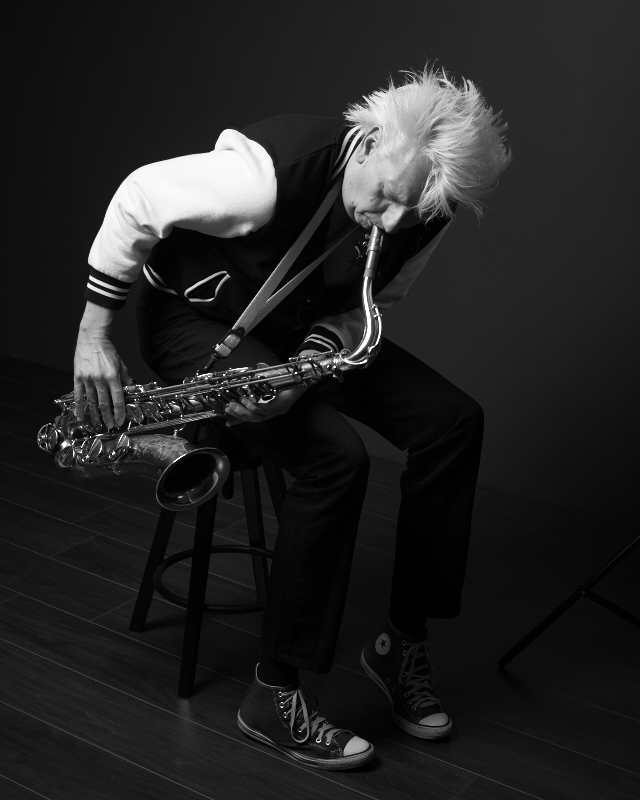
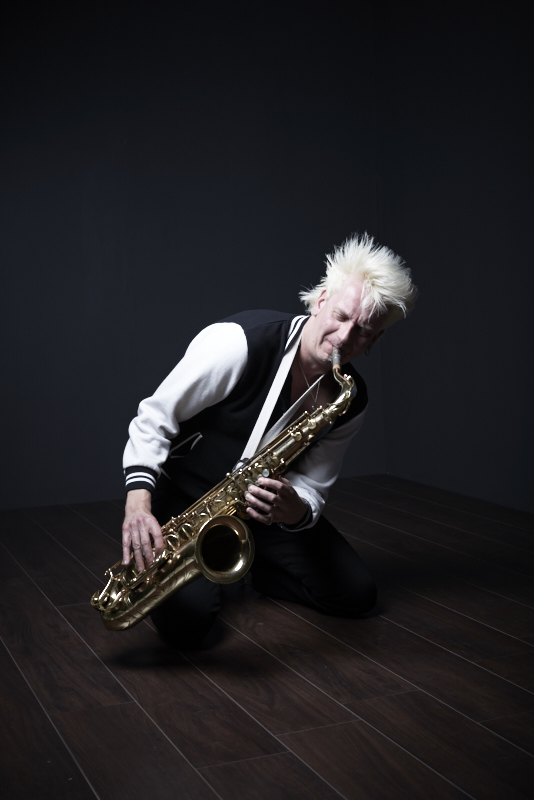
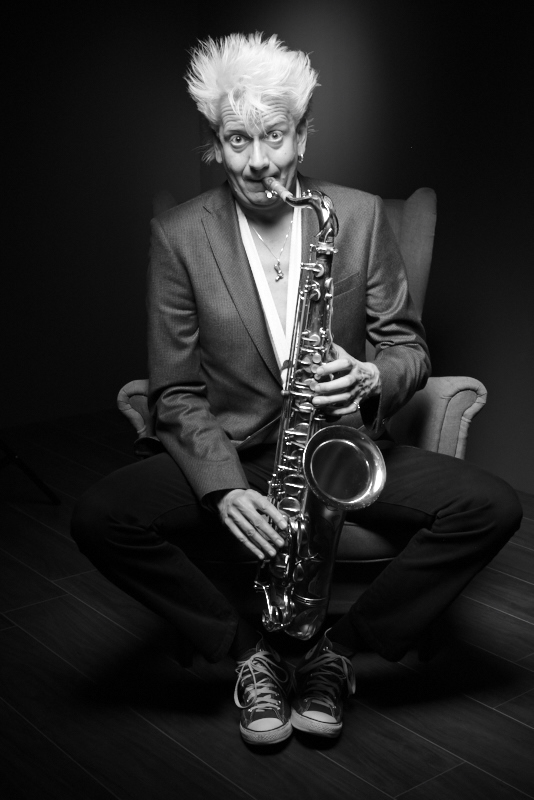
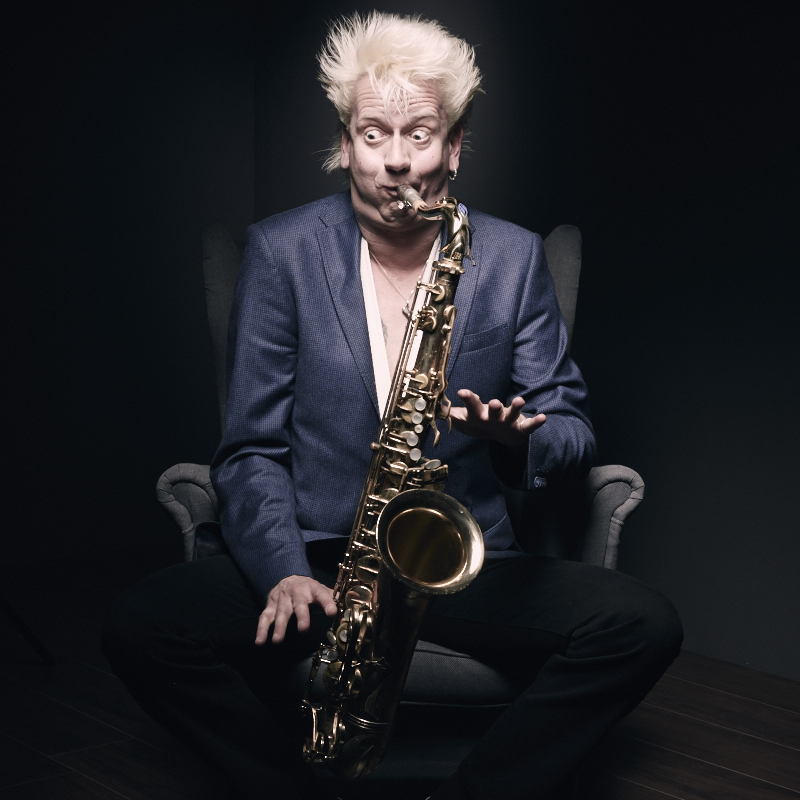
Wouter heb ik al regelmatig in mijn studio gefotografeerd, daarom had ik hem uitgenodigd voor een fotosessie in de nieuwe fotostudio. Voor de gene die Wouter niet kennen, hij is de Jimmy Hendrix van de Nederlandse saxofonisten, heeft met alle grote jongens in ons kleine landje samen gespeeld, is front man van Blood, Sweat en Kiers, en treed op met verschillende jazz, blues en r&b formaties, kortom te veel om hier even kort op te noemen!
Gear
Als camera heb k de Nikon D800 gebruikt met een Sigma 24-105 art lens. Qua belichting ws het de Elinchrom rotalux 150 deep octa sotbox meyt de BRX250 lamp aangevuld met een RX One met een reflector en grid op de achtergrond. Som afgewisseld met de beauty dish of Witte Soft light reflector (beauty dish) met grid. Alle foto's werden thetered geschoten naar Capture One Pro 8.1. Alle editing is ook in Capture One Pro 8.1.1 gedaan.
Review: Hasselblad 500c/m with a Phase One P30+ Digital Back
Last week I had a Phase One P30+ digital back on loan from the people of Eyes on Media Amsterdam. To start, I love working with my analog Hasselblad 500c/m camera and a Carl Zeiss 80mm 2.8 lens. But the only downfall is the speed, and not the working speed, but the time before you have your work back. So I started looking for a digital back. Since they are quite expensive (over 8k) I was glad I could loan one from Eyes on Media.
Shot with: Hasselblad 500c/m and Phase One P30+ ISO 100, 1/200 at f11
The P30+ Back
First for the spec lovers, the Phase One P30+ Was released in 2007 and has a 31.6mp, 16-bit sensor with a 100-1600 ISO range. It has a 1.25x crop factor which makes 60mm eqv on 35mm. Storage can be on a CF card or done by Firewire directly to your computer using Phase Ones Capture One. The back has a 2.2-inch 230,000px TFT display. To connect the display with the camera you need to plug a cord between the lens and the P30+ back. The V-mount back is also designed to have a seamless fit with the design of the Hasselblad 500c/m, but not as beautiful as the Hasselblad CFV-50c. Another nice thing is that you can turn the back 90 degrees to portrait mode.
Working with the Phase One P30+ back
Working with the Phase One P30+ Digital back is pretty easy, it has only5 buttons. I am not going to explain all the buttons, but believe me if I say they work intuitively.
I did two sessions with the back, the first was on location, but I didn't like the images. That was not the P30+ backs fold! I used a new Hasselblad 500c/m (another one then the one I use normally) which I did not had tested enough. The photo's where OK, but the photo's from my Nikon D610 where better. The first thing you have to learn that this is not a speedy set-up, especially with focussing. Checking focus on the back is possible but I really think the Screen is not great. Like it's there but I don't really like it.
Between the first sessions and second session I had some time to do some extra testshots to learn the system. Have the laptop to check the focus was really nice and made the proces a lot easier.
The second session was in the studio. This is where the set-up starts to shine. I did a few regulair portraits and dance portraits. The first portraits where taken on a Storm Grey background with the standard small Elinchrom Softbox with A Elinchrom RX One flash head.
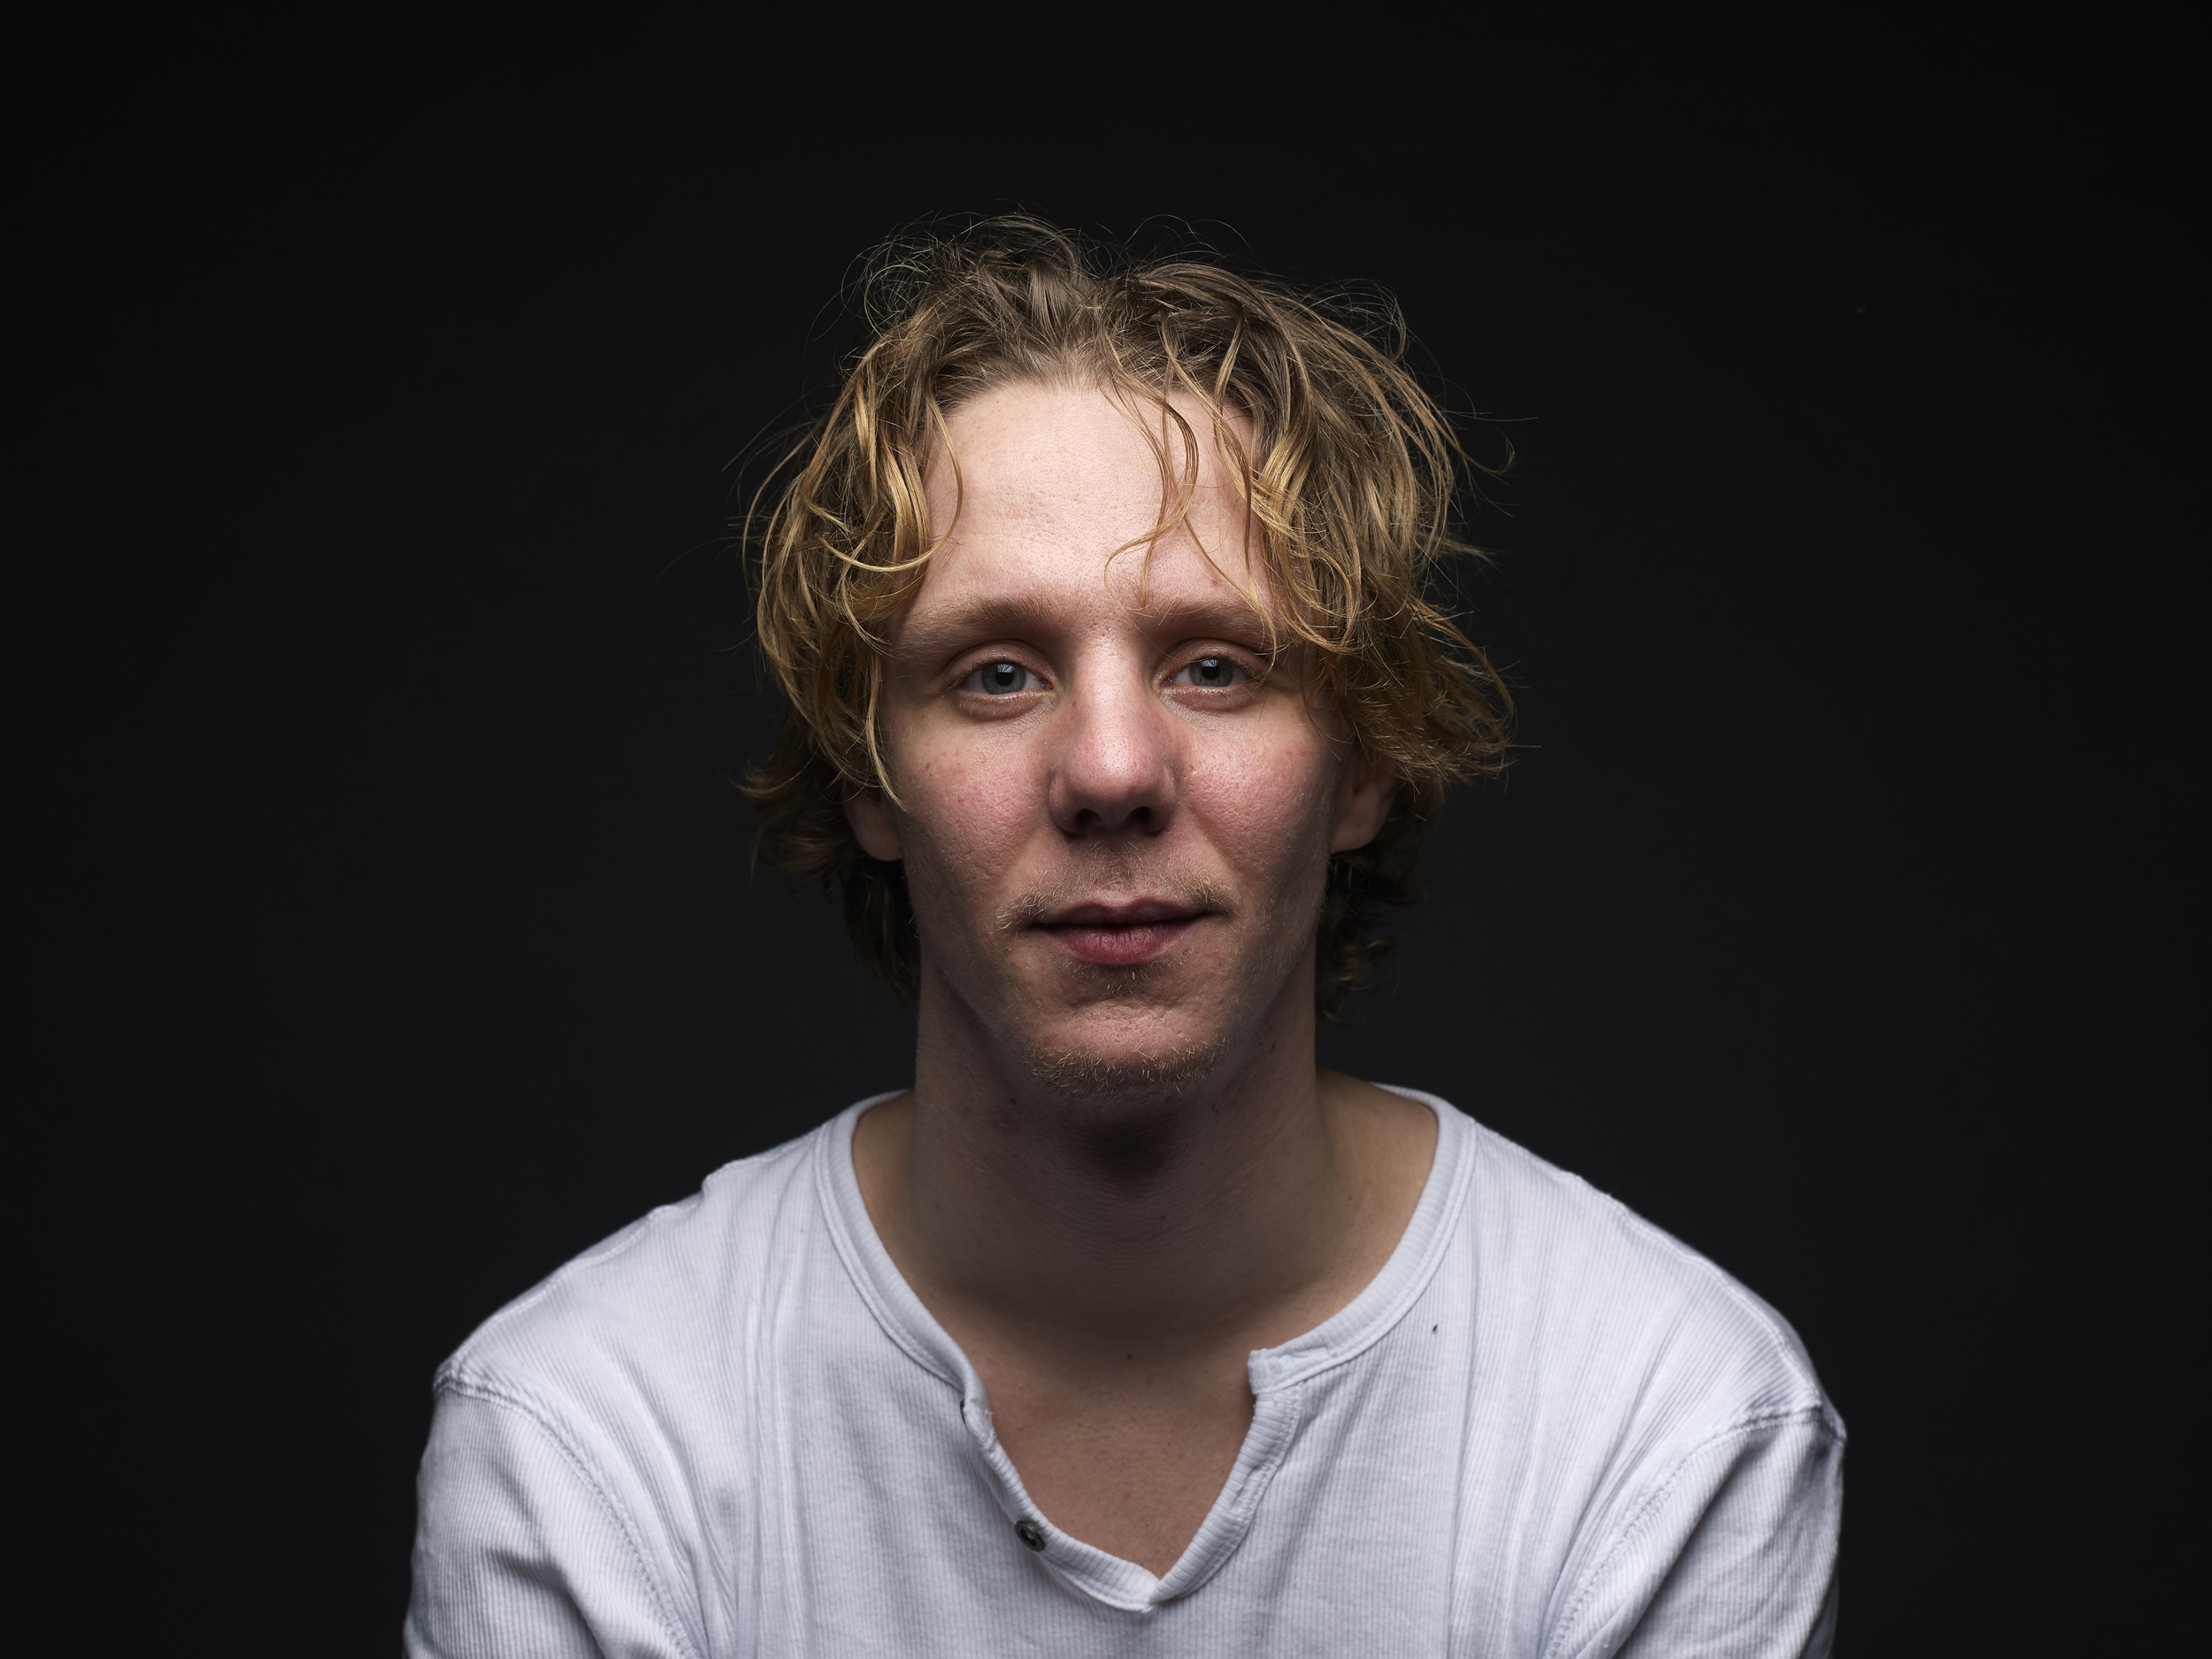
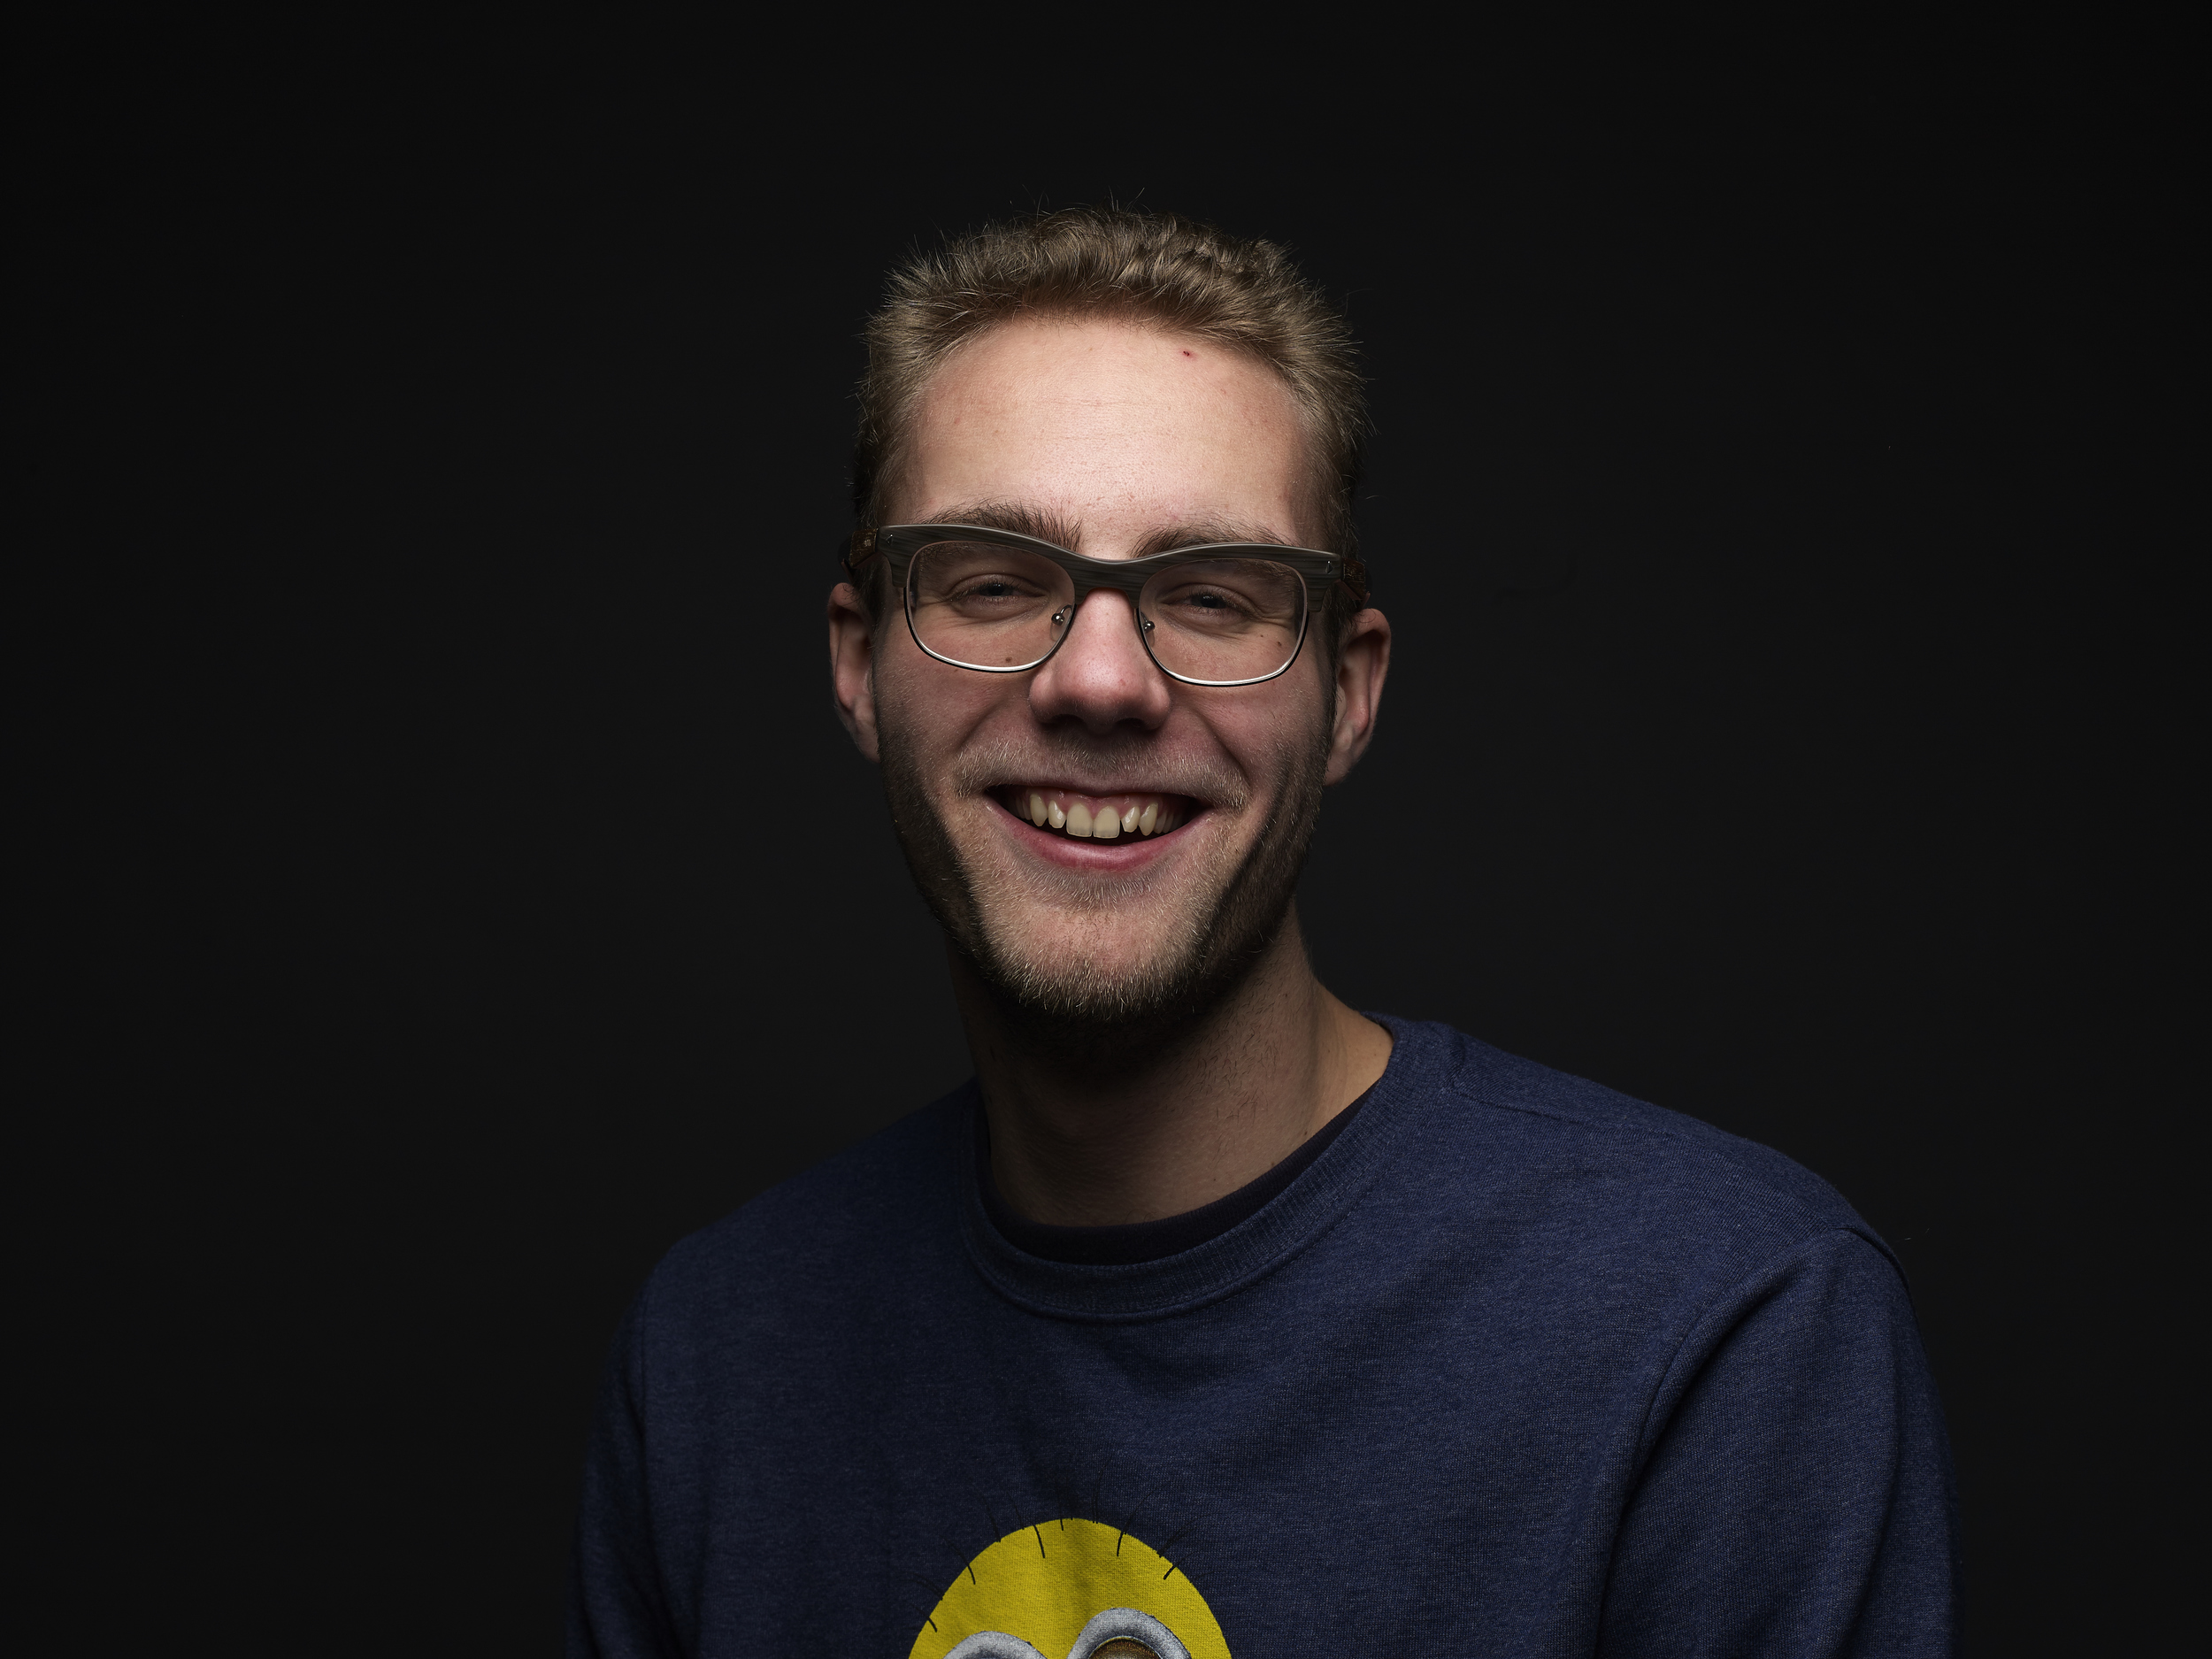
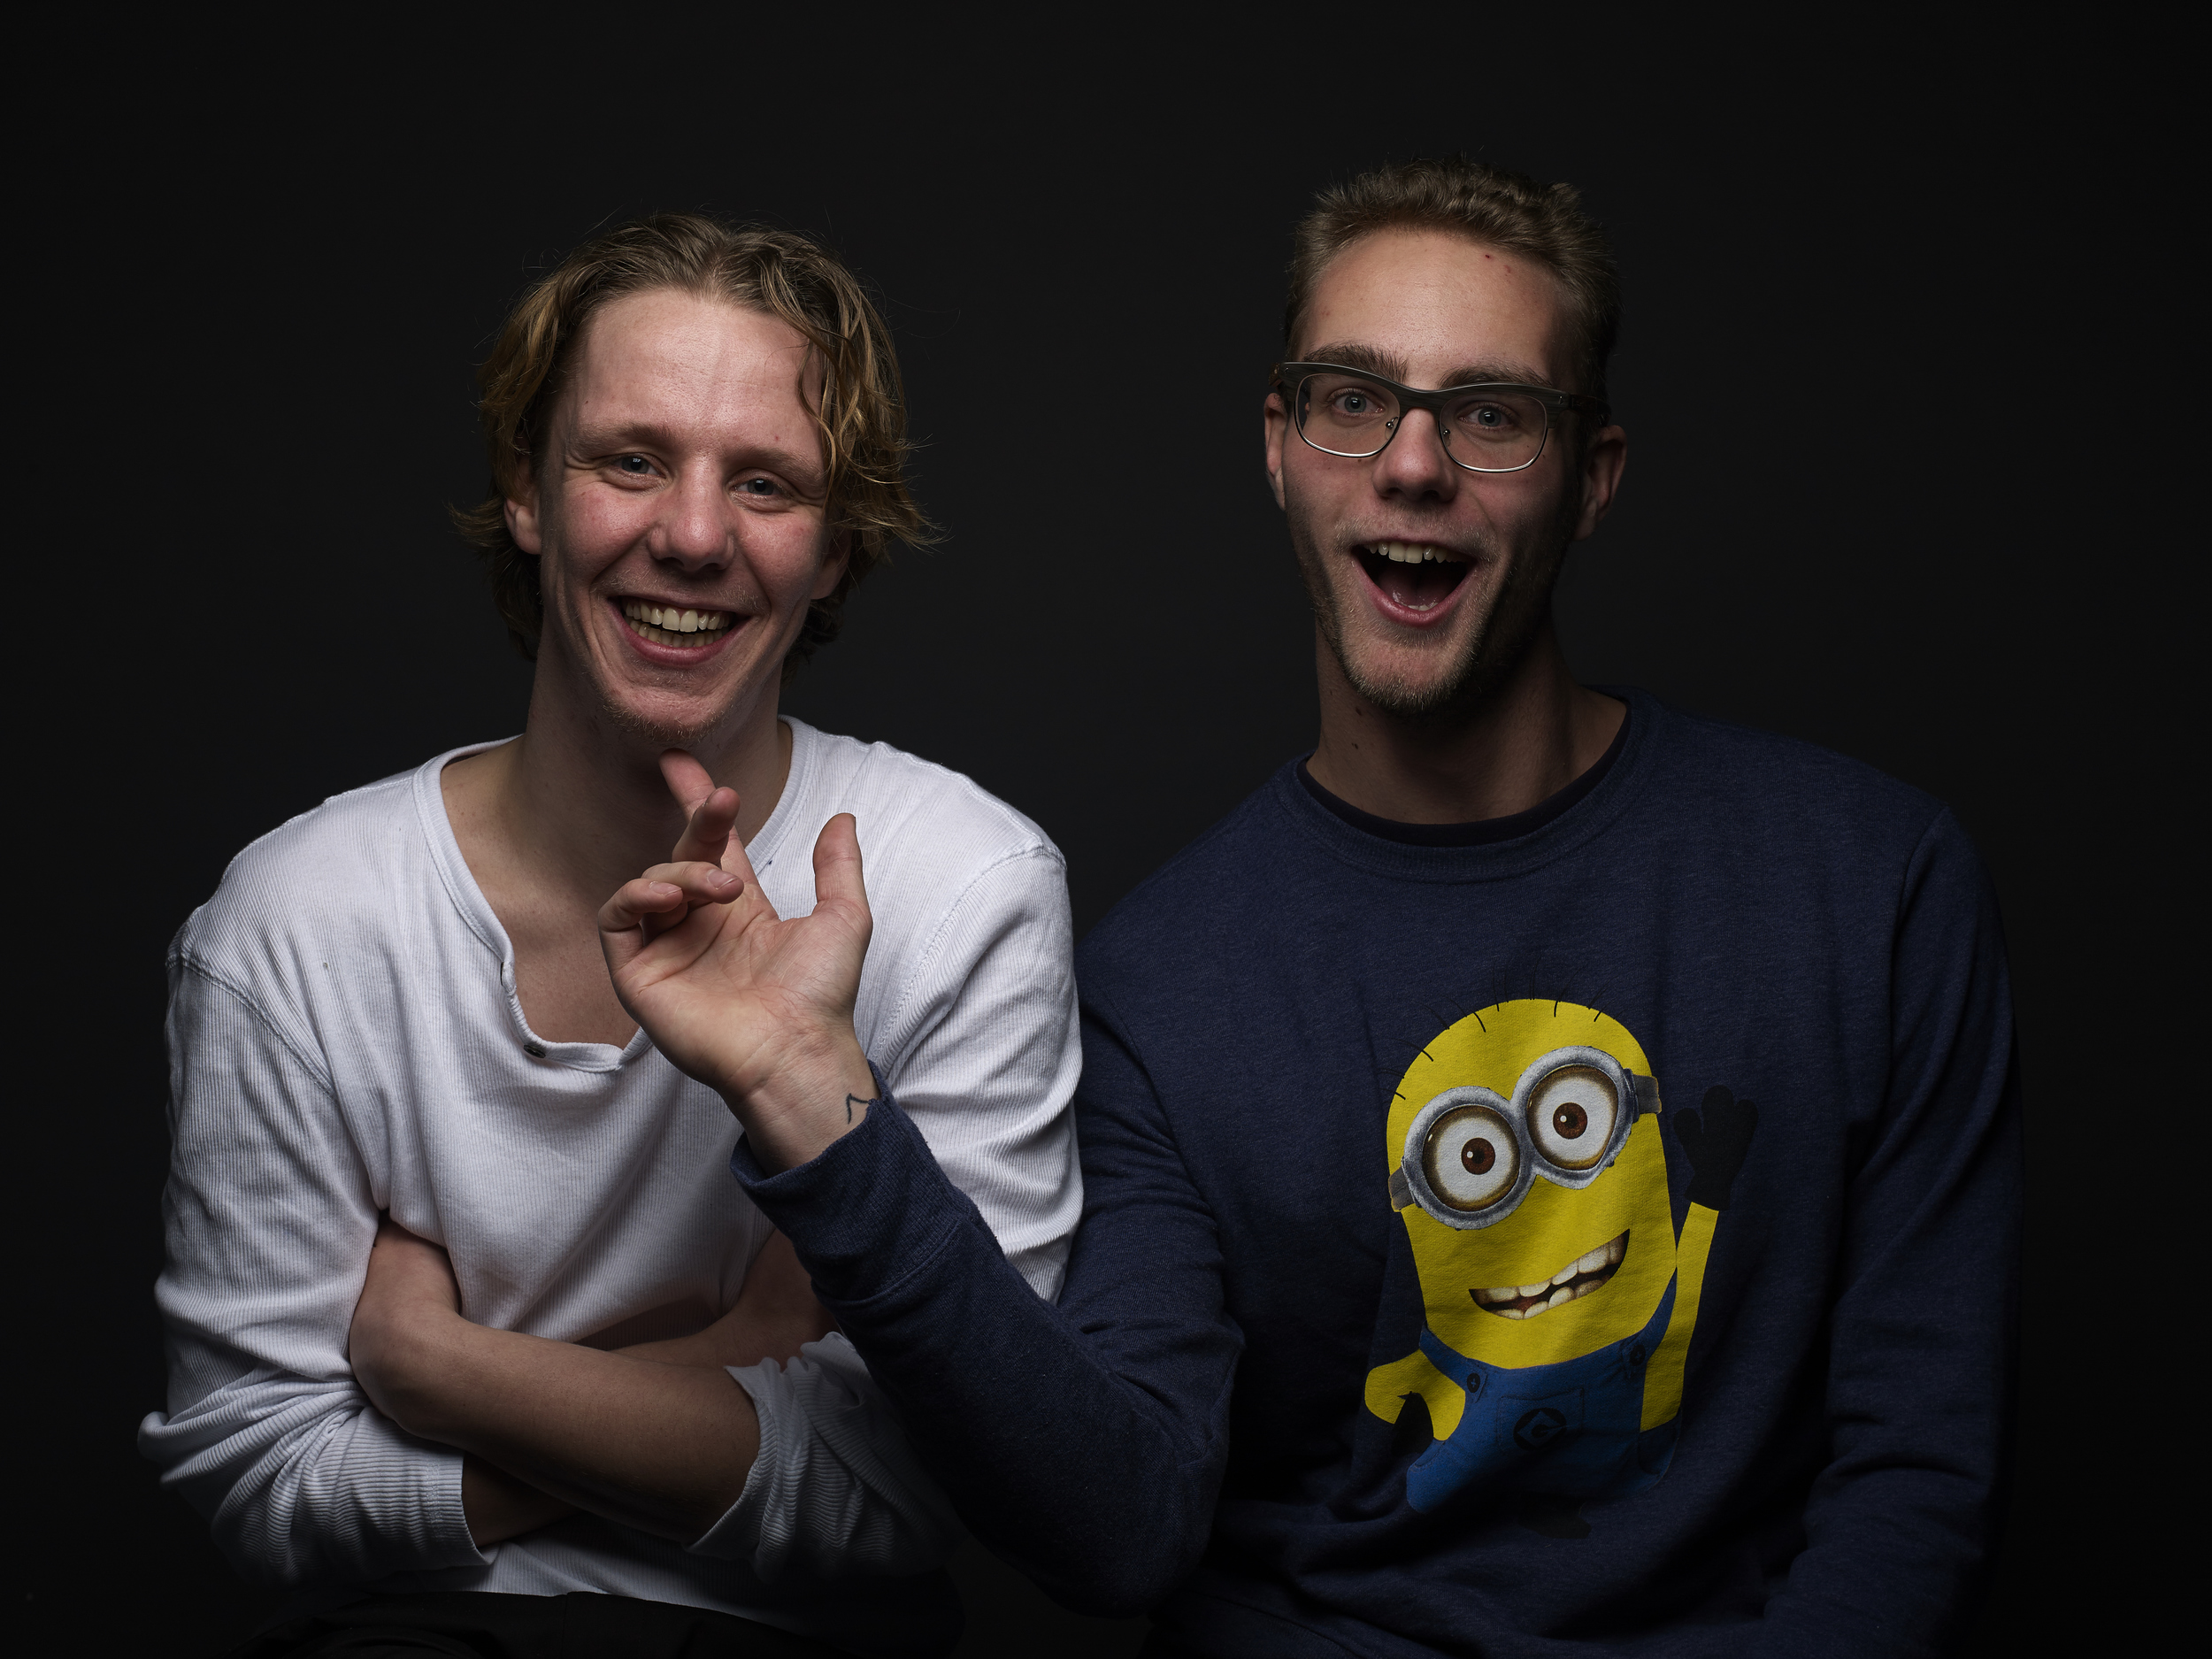
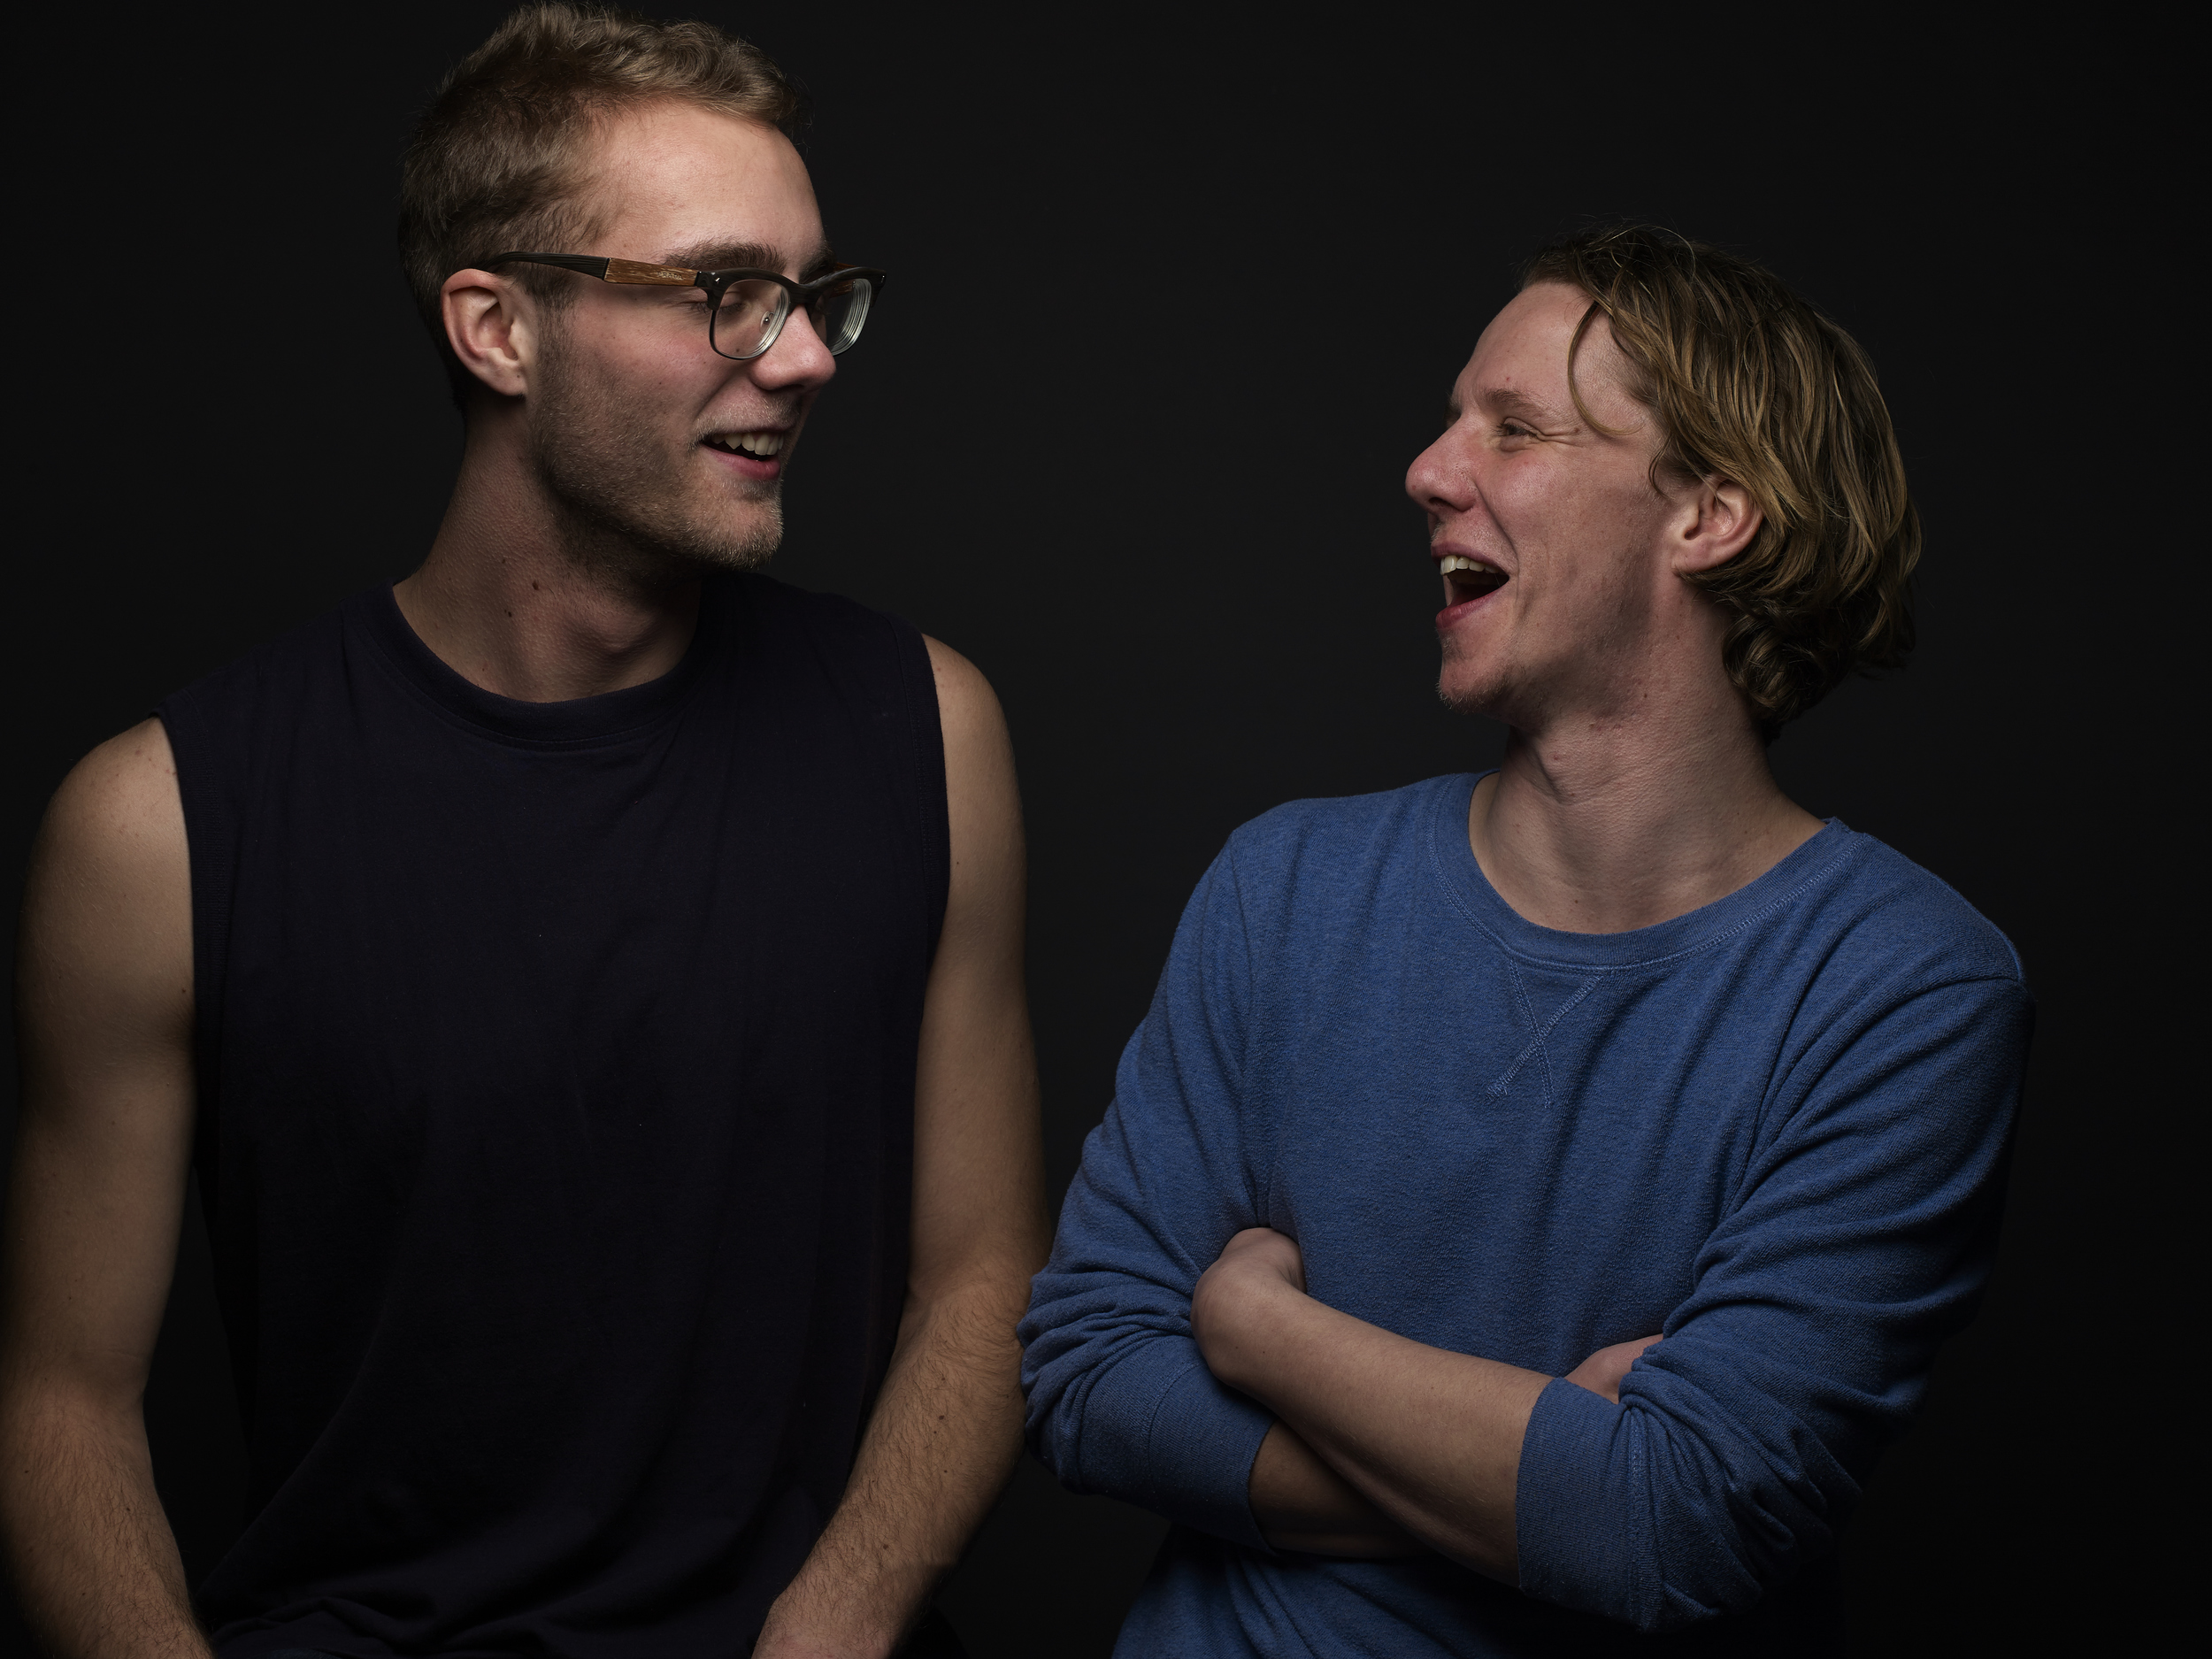
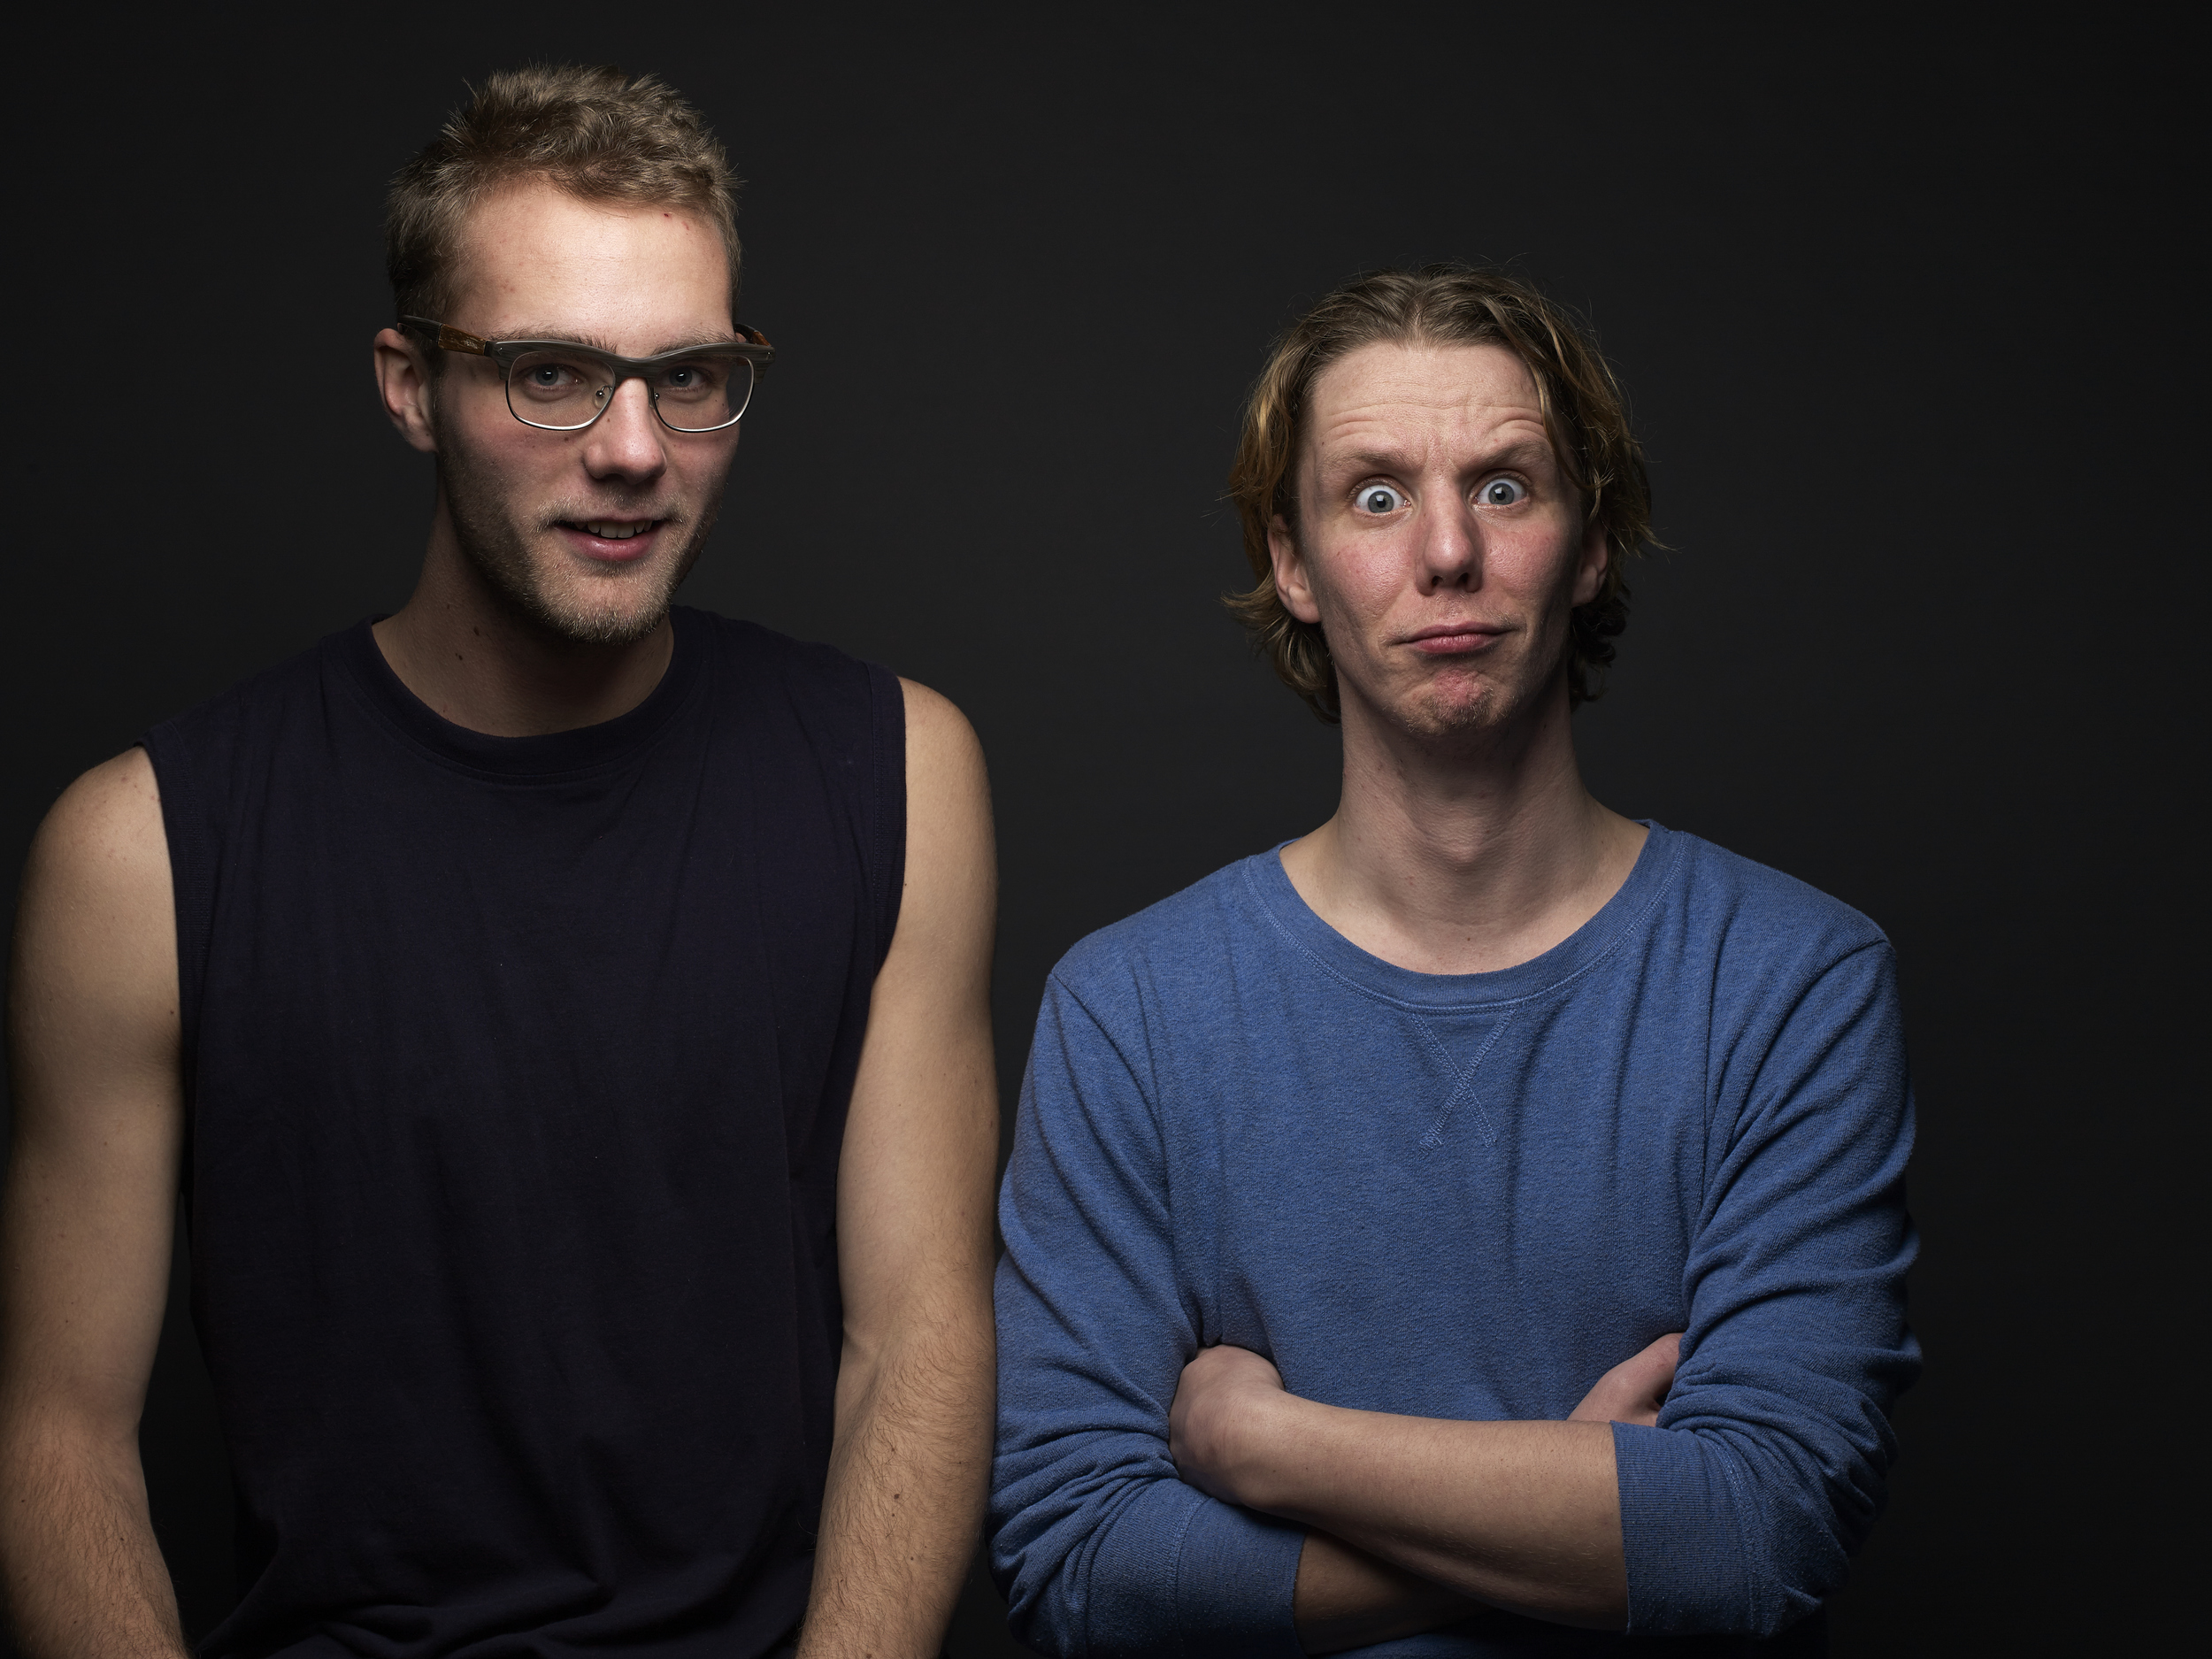
After the regular portraits we started with the dance portraits. We changed the light set-up to the Elinchrom Rotalux 150cm Deep Indirect Octa with a Elinchrom Quadra RX and the A-Head.
The Verdict
After the learning process I loved the images coming out of the Phase One P30+ Back with V-mout. But there are some cons working with the camera and back.
First the screen is really bad for a 8k+ camera back. Secondly I really disliked the cable from the lens to the back and then having to add another for triggering the flash. And lastly the focussing, although this is not the backs fold, but the body has to get a check-up. I had to slightly unfocus to get in focus.
What I liked was the old and relaxed feel of working with the camera and the image quality between ISO 100 and 400 is really lovely. The compression with working on medium format cameras is so nice!
So to finish it, will I buy it? Well no, I will keep working with my Hasselblad 500c/m but keep it analog with Kodak Tri-x, Tmax and Provia film! In the mean while I am going to save up for a digital medium Format camera this year!
FYI: All the editing was done in Capture One Pro 8 Only!
More reviews
For more blog on digitalbacks on the Hasselblad 500C/M and medium format camera's:
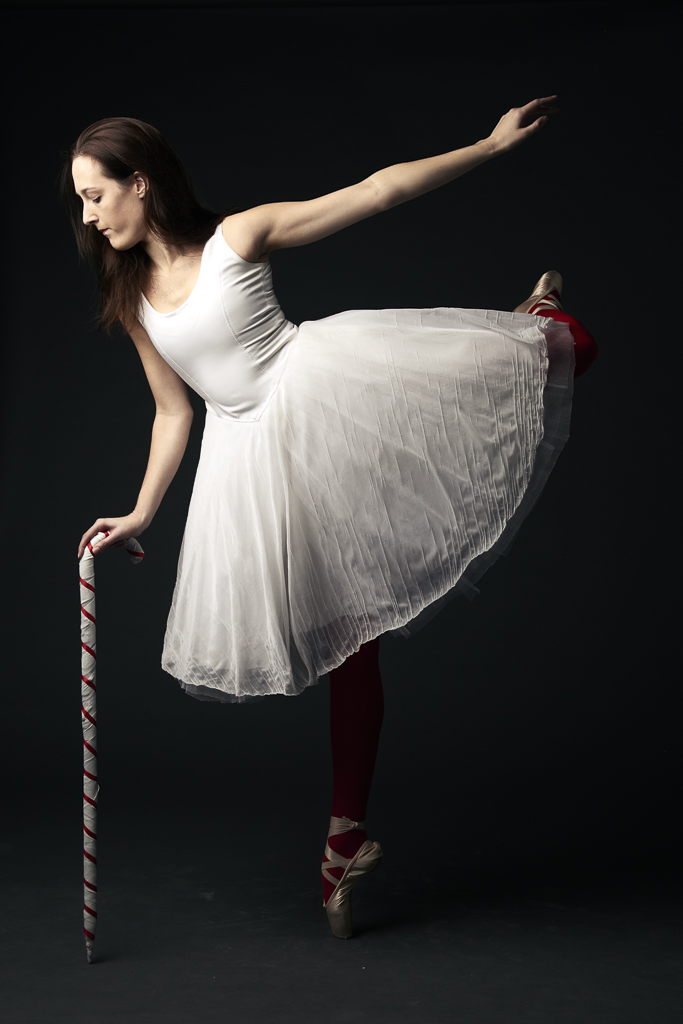
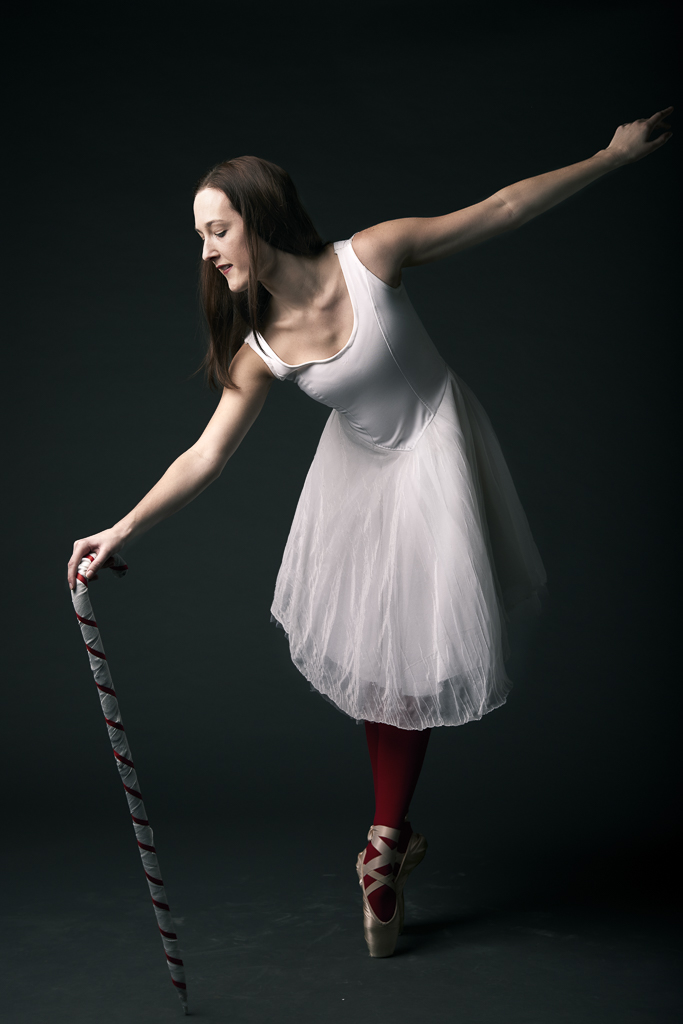
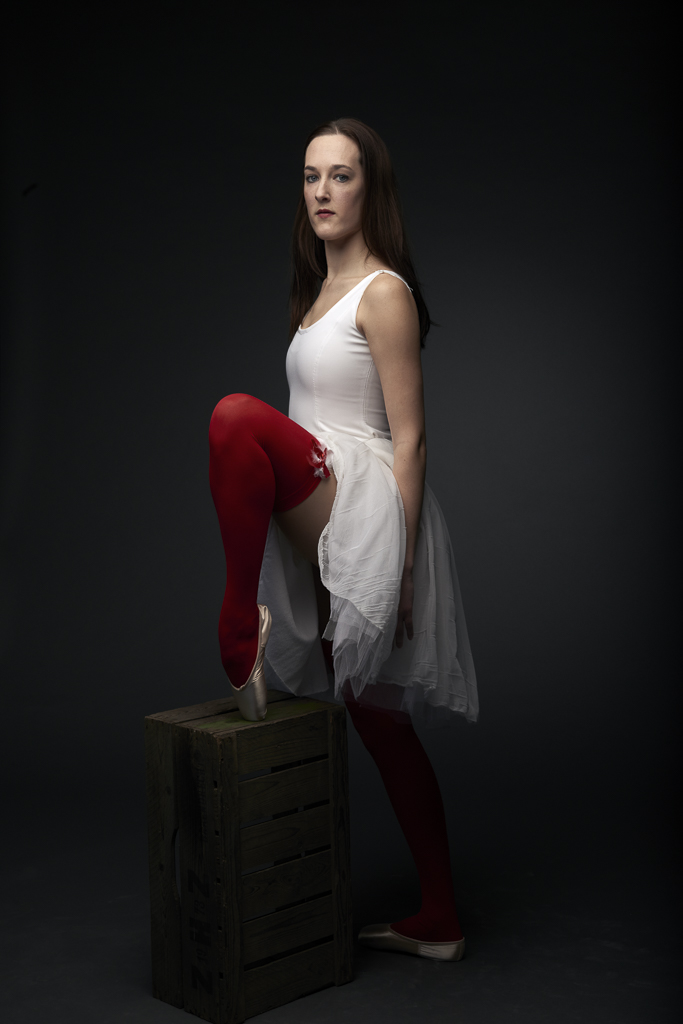
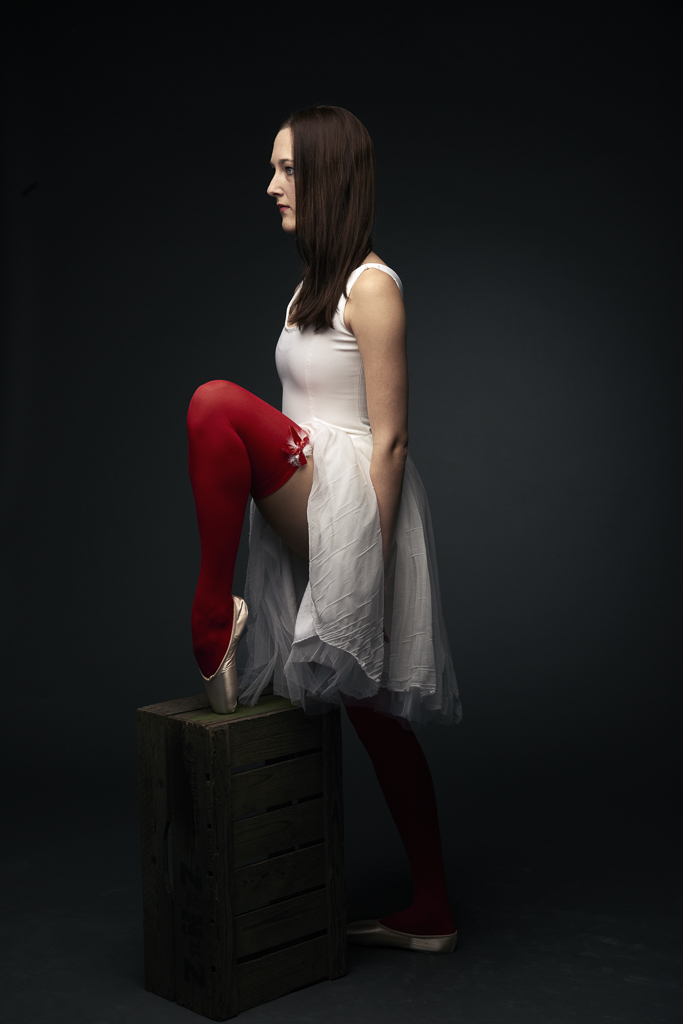
Christmas Ballerina
A couple of week a go I had a photoshoot with beautiful woman and ballerina Nienke Knop. We wanted to mix ballet with christmas. Below you see the results.
Specs:
Camera: Nikon D800
Lens: Sigma 24-105 Art
Light: 1 Elinchrom BRX250 with a 5' Elinchrom Rotalux deep indirect octa
After the christmas ballerina photo's we had some spare time to do some more modern Fosy like photo's. Same gear only aded a large white beauty dish as a fill.
Portrait Session: Kees Visser
Yesterday I did a studio portrait sessions with comedian Kees Visser. For an assignment I am working on I asked Kees Visser to model, but more on the assignment later...
The set up
For the lighting I mainly used my big friend the Elinchrom Rotalux 150 indirect Deep Octa. On some Images I used the 35x90 Strip soft box with a 30x50 grid in it. But somehow this looked a little to modern. So I removed it and used just the white side of the 5-in-1 reflector handheld by my assistent. The background was just used a roll of grey seamless.
For camera I used the Nikon D800 with the Nikon 85mm 1.8g or 50mm 1.8g. The settings where around ISO200, 1/250 f5.6 or f8.
Post processing
During the shoot I shot straight into Capture One Pro 8. Normally I just do basic RAW-editing in Capture One Pro 8 and all the rest in Photoshop CC. But this time I wanted to do all my editing in Capture One Pro 8. And I must say, Capture One pro 8 is great for RAW-editing, but some how for the complete editing workflow I don't know... Masking and working with curves keeps feeling easier in Photoshop. Also the dodge and burning stuff is easier in Photoshop.
But for sharpening and correct lighting Capture Pro 8 rules! I think Capture Pro 8 is great for full workflow on like weddings or landscape. but for commercial and portrait jobs I will keep Photoshop on the side!
Please keep in mind that I am still learning Capture Pro 8, so my opinion may chance in the feature.
DANCE PHOTOGRAPHY SESSION PART 4: Two Light Action shot
Welcome to the fourth and last part of the Dance Photography session serie. The first shoot where all one light shots, if you haven't read the you can read them here:
- Dance photography session Part 1: The headshots
- Dance photography session part 2: The group shot on the wall
- Dance photography session part 3: One light actionshot
The Two light set-up
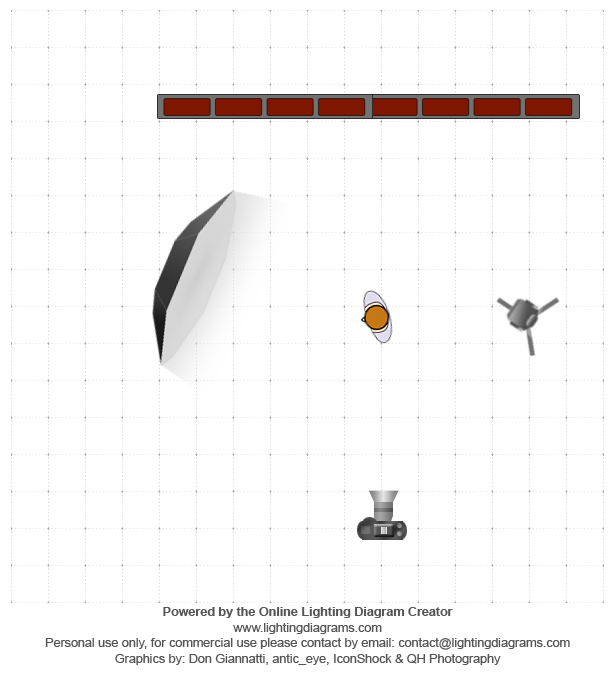
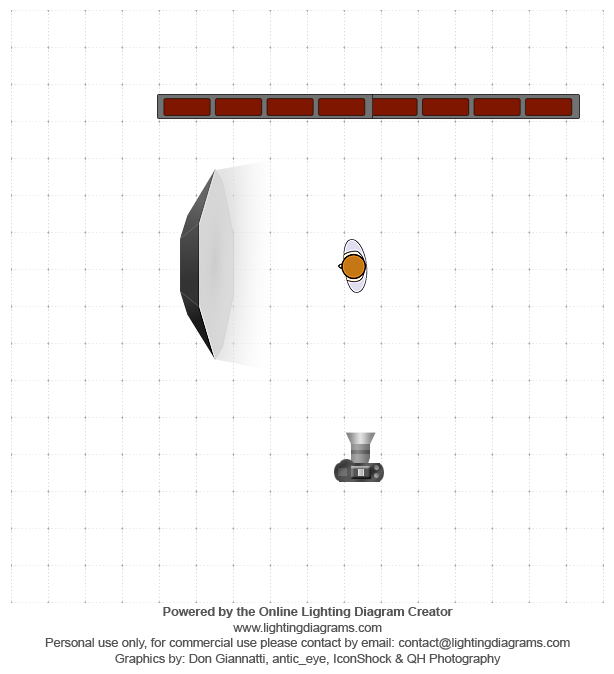
Again I started with one Elinchrom Quadra RX with the A-Head on the B-port with the Elinchrom Rotalux 150 deep indirect octa as a modifier. The reason I used the B-Port was that it has a faster Flash duration to freeze the action better. Also notice in de diagram that the light is slightly behind the subject turned toward the subject away from the wall for a more dramatic look. The downside off this was that the wall was getting really dark and I lost everything of the surroundings. It was getting to dark. So I added a small bare YoungNuo YN-560II speed light on slave mode. It was just of a 1/64 to 1/128 setting. It was just there to give a little push of light on the background.
For the Camera I used the Fuji X-pro1 with the 35mm 1.4 lens. Settings: Iso 100, 1/125 at f5.6. Because of it was getting darker on the evening and the Fuji's aren't the fastest focussing camera's I used a little trick from the old days. I made a focus zone, I positioned somebody between the flashes, focussed on this target in manual focussing mode. After that I asked the dancer to keep the jump in this zone. Remember in the old days sporting photographers used this to get good focus, there was no AF to give the blame if you had out of focus photo's!
In to Post
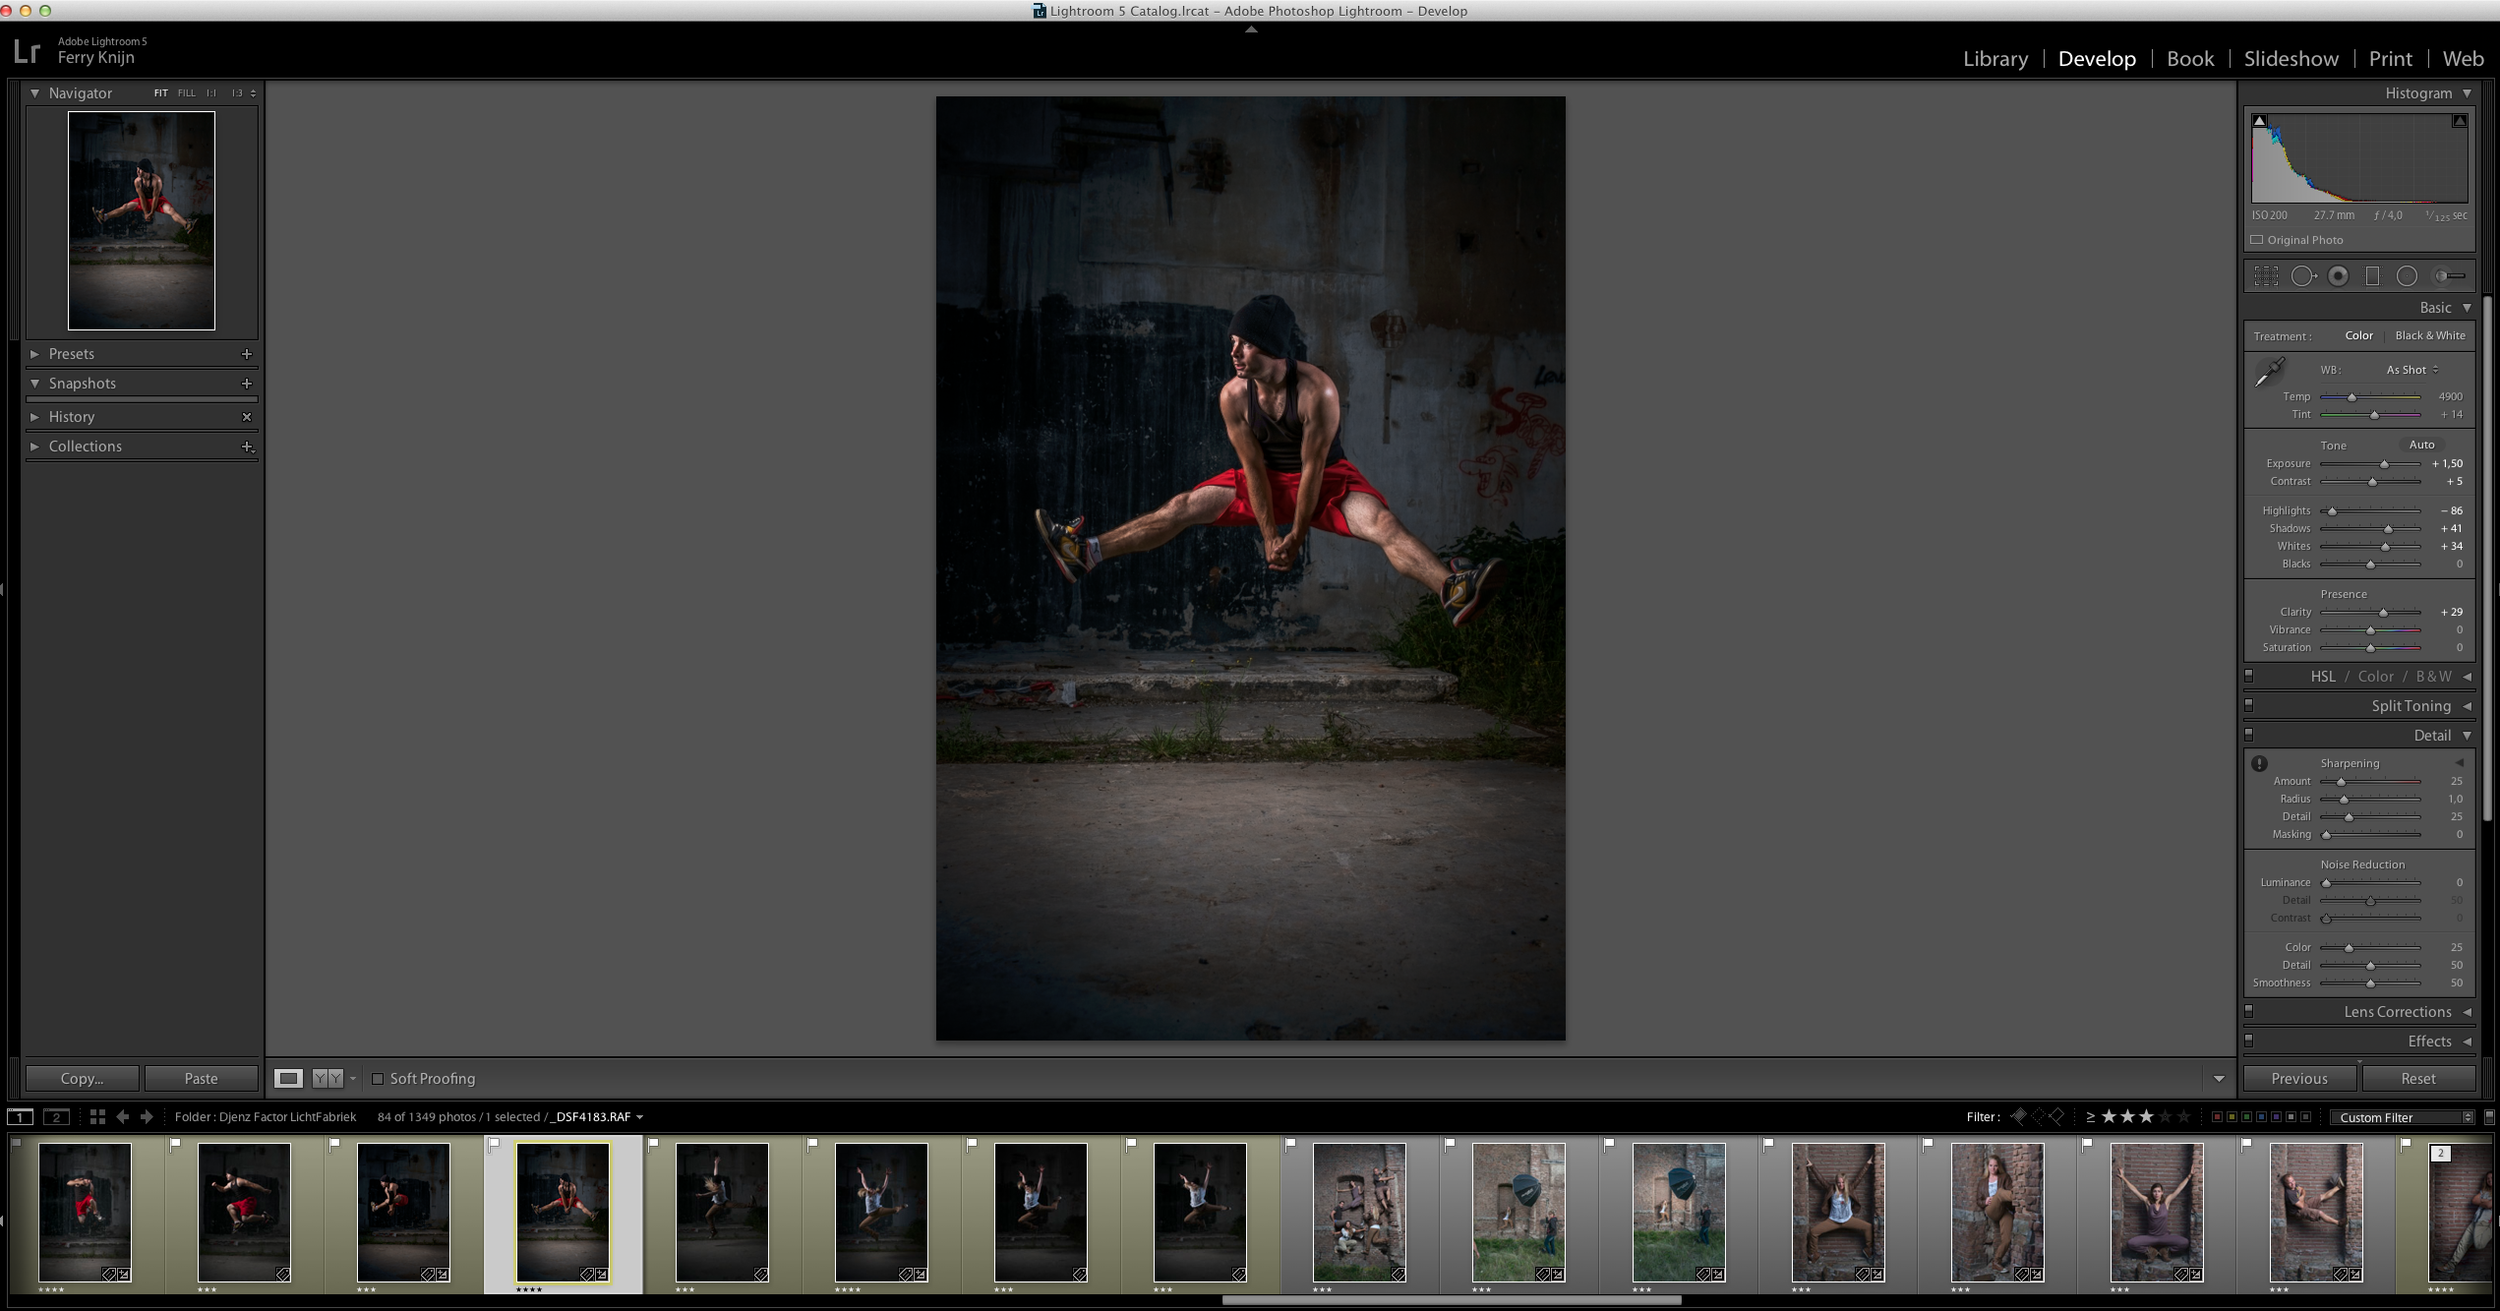
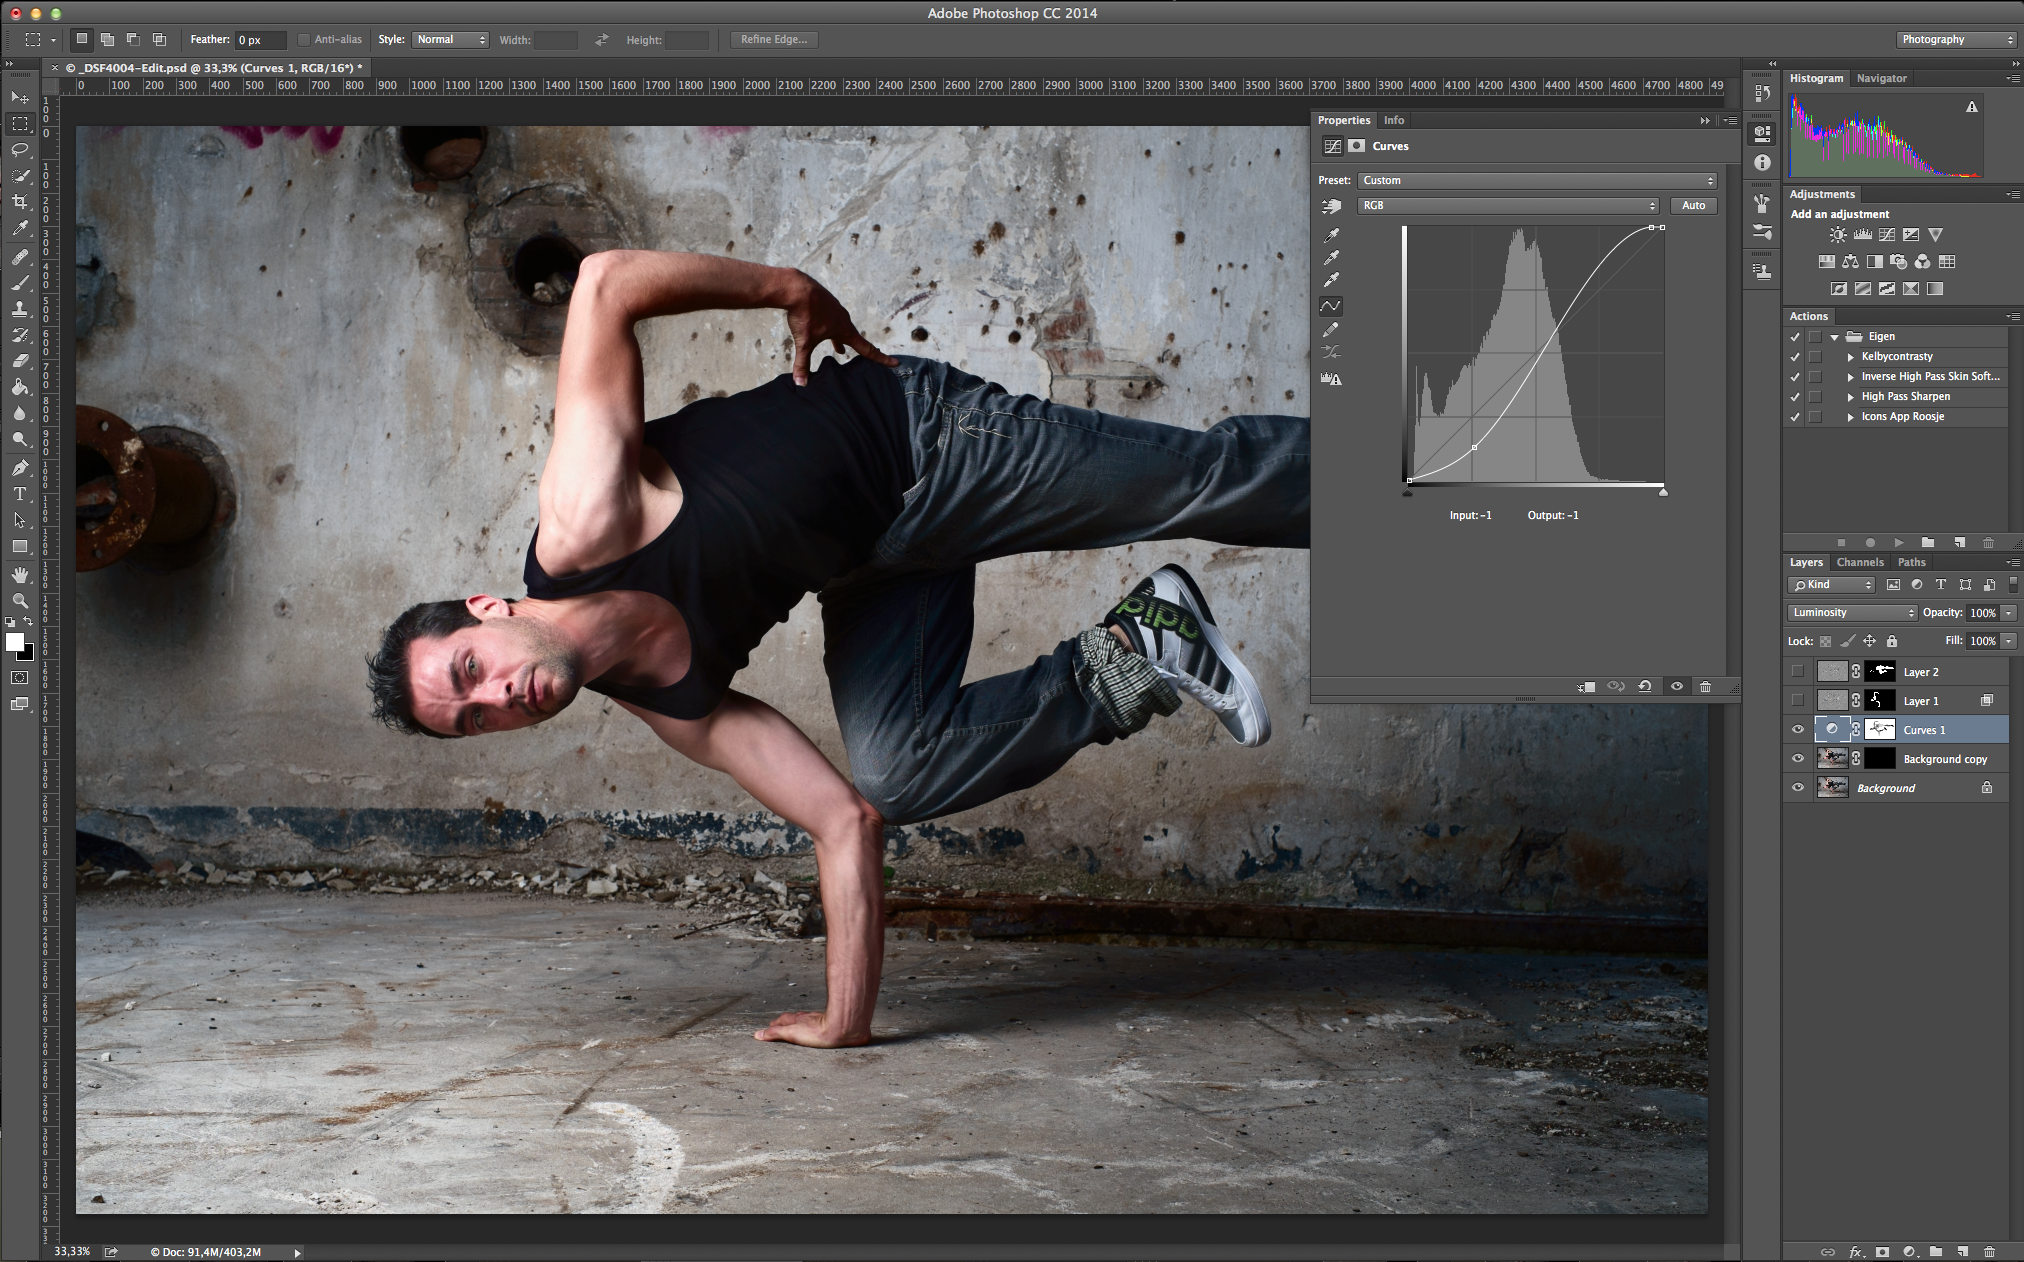
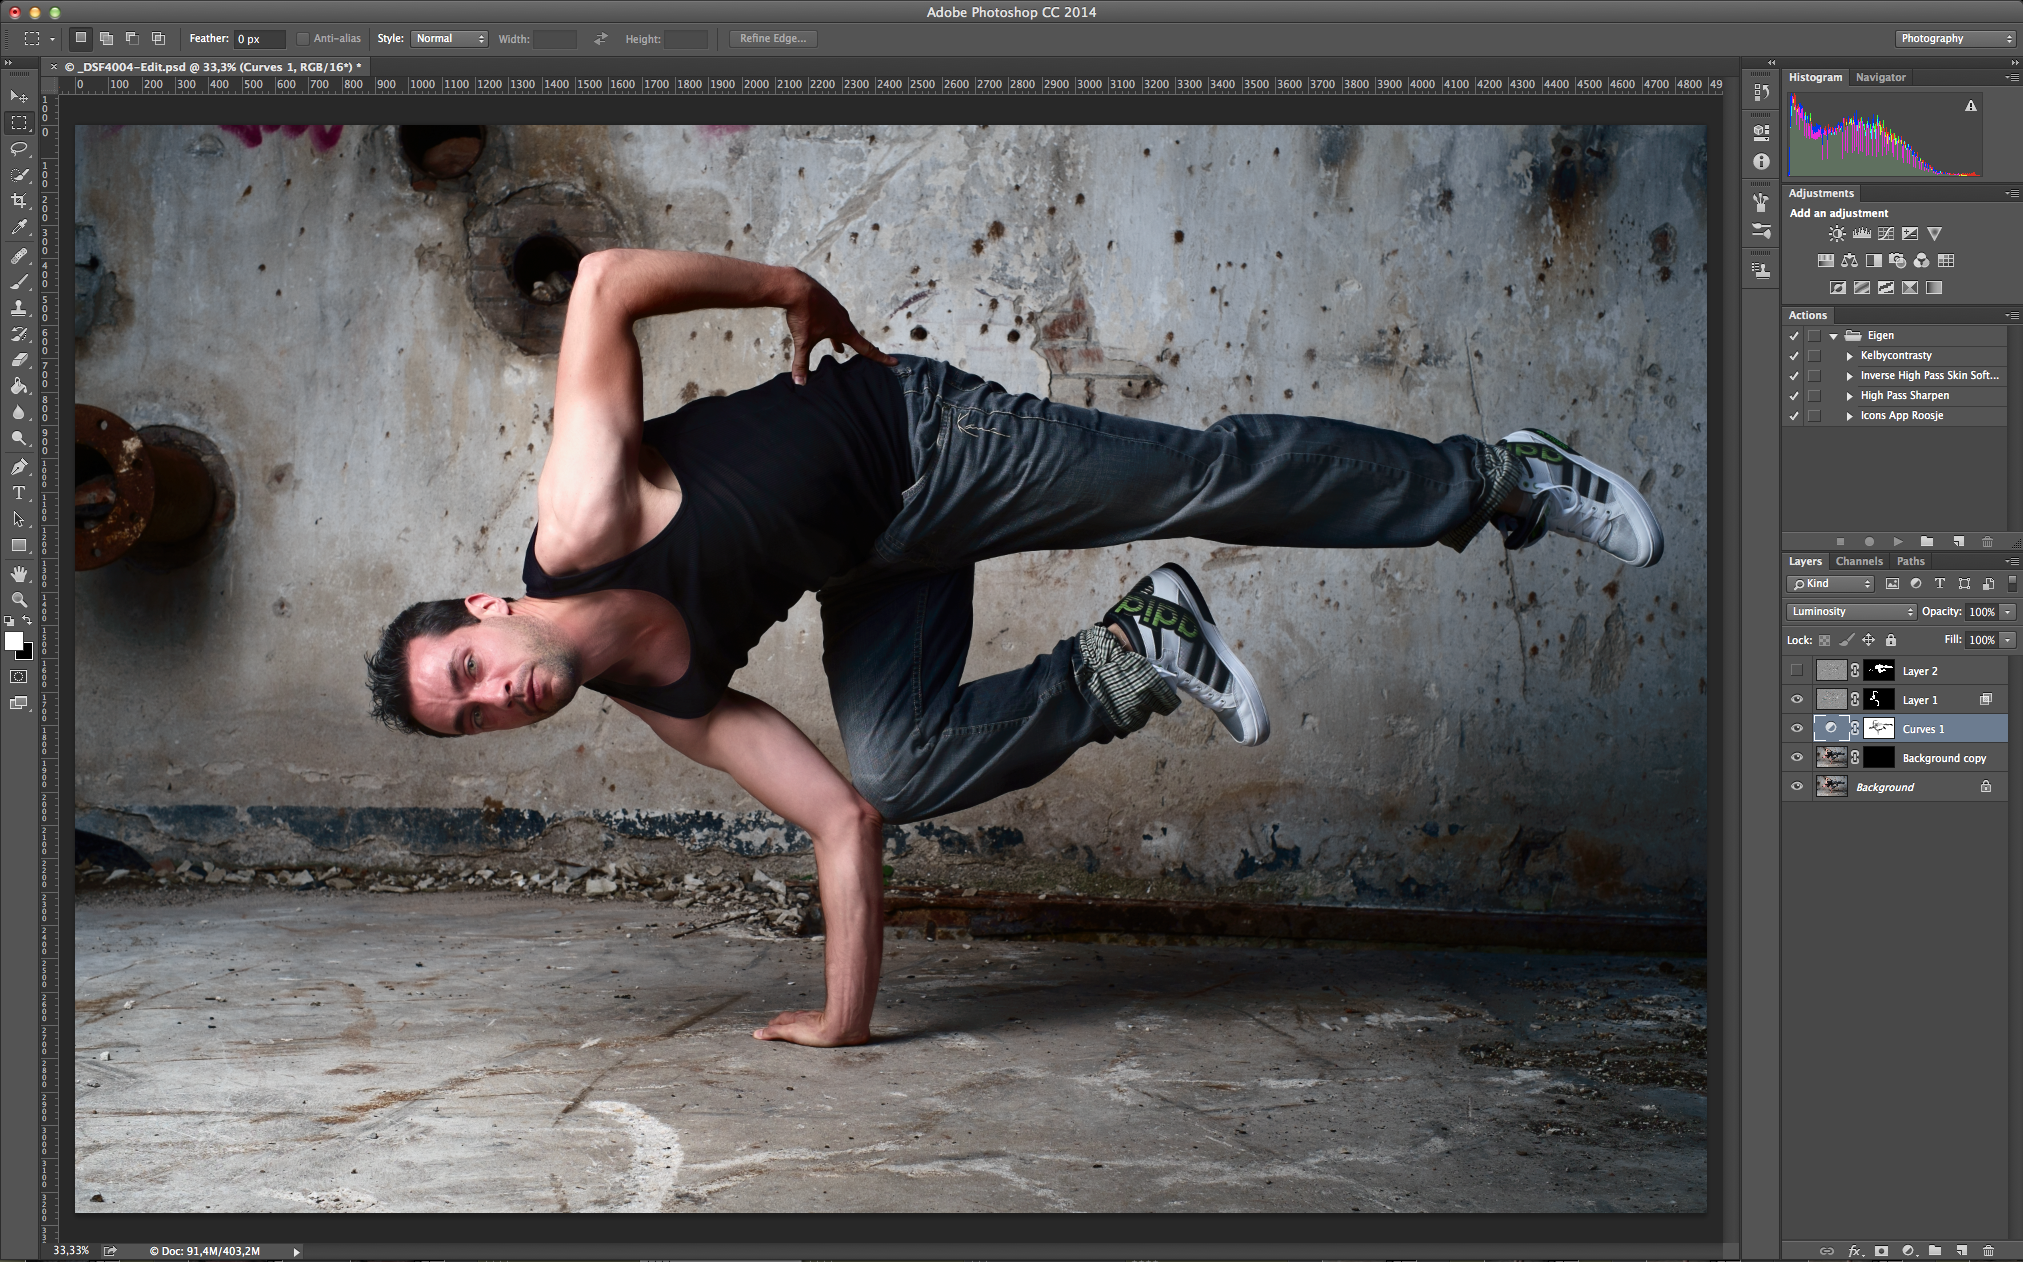
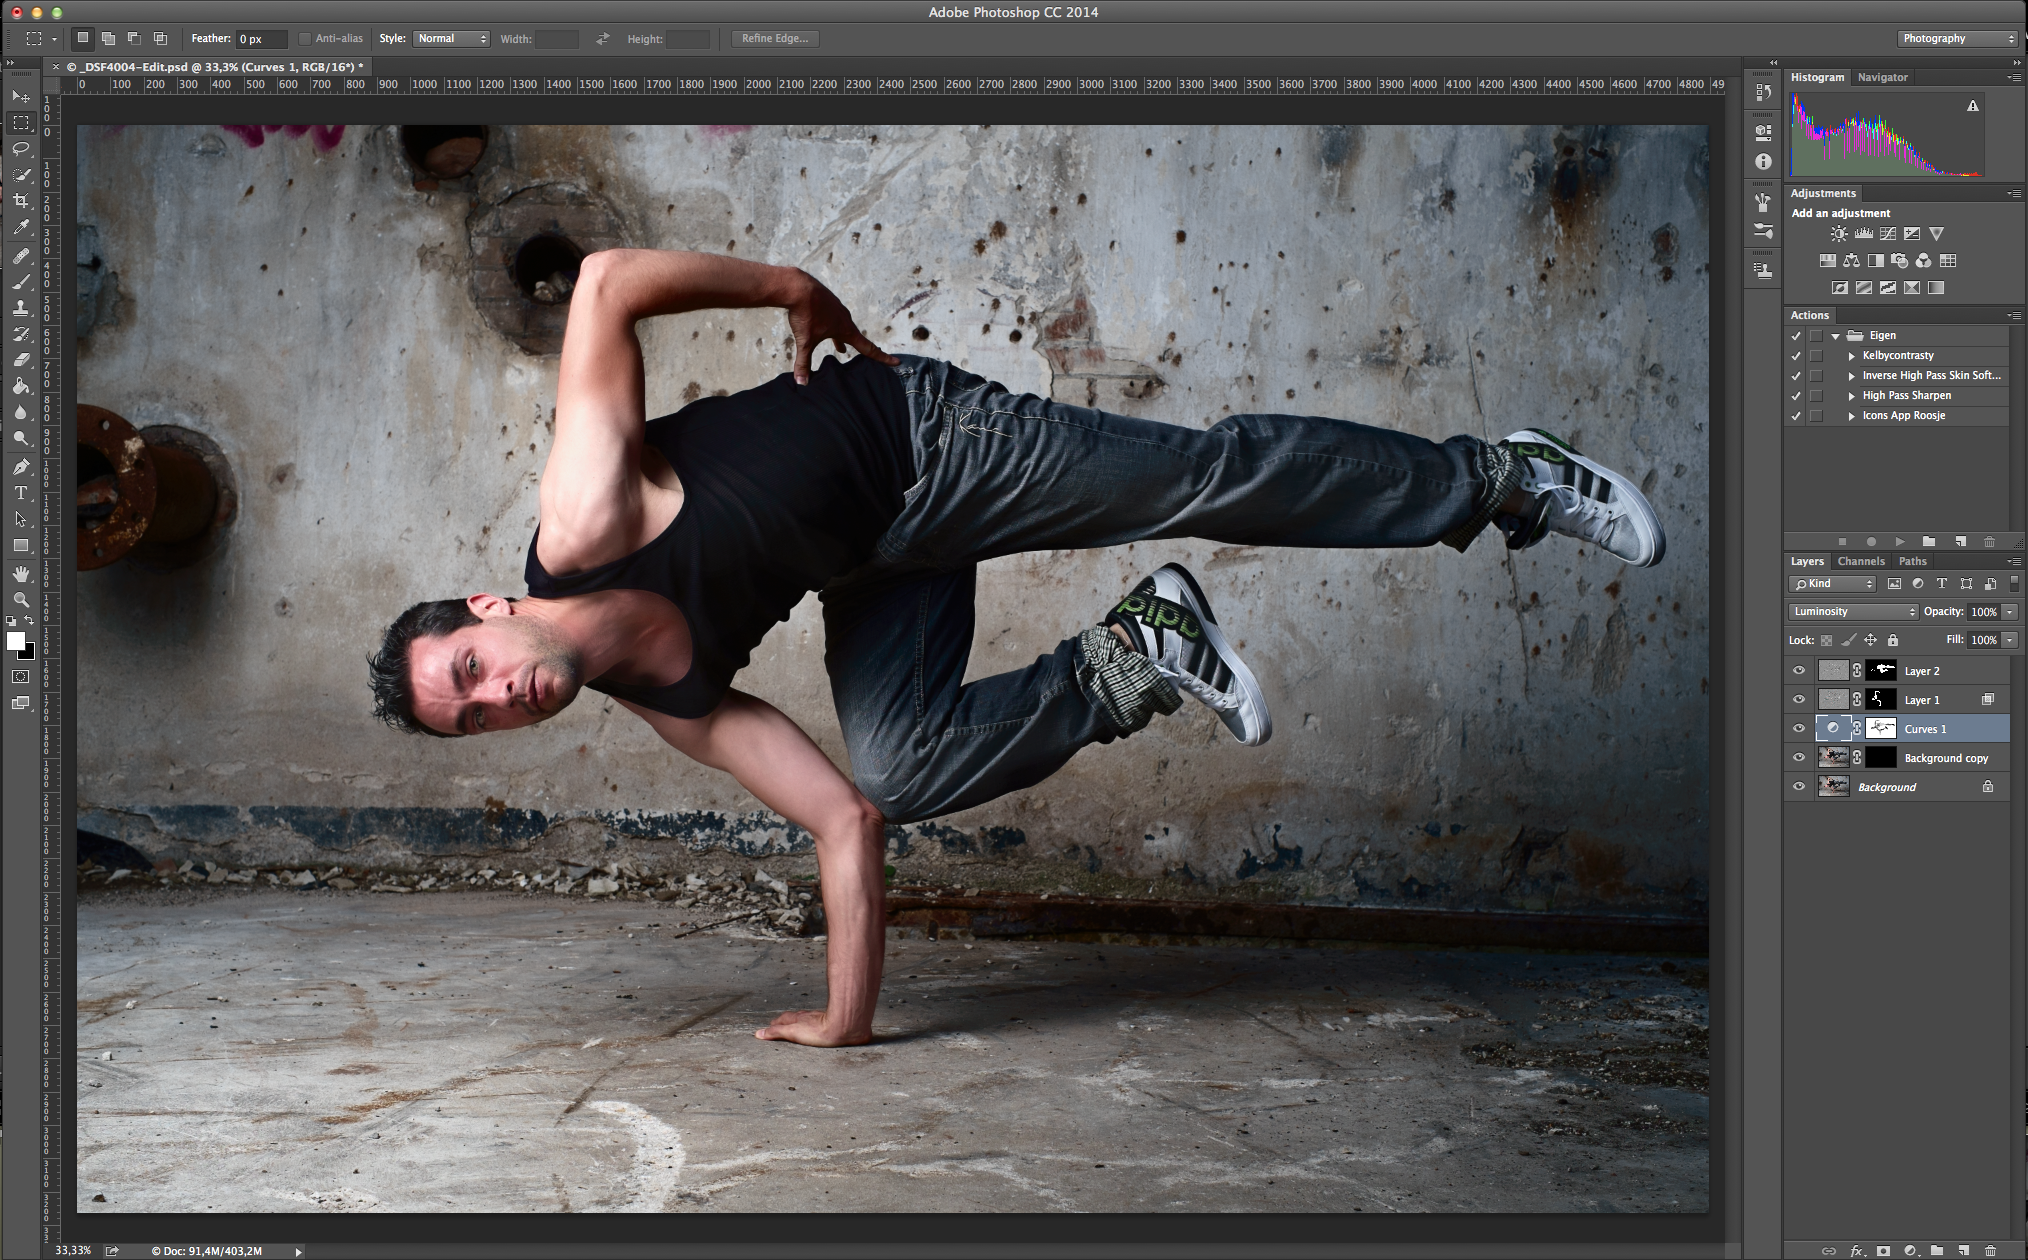
As you can see in the screen capture the only post processing where a few simple adjustments in Lightroom 5, and I added a vignette using the radial filter.
I Hope you have enjoyed this series about dance photography. If you have any questions please mail me or put a comment down below!
DANCE PHOTOGRAPHY SESSION PART 3: One Light Action shot
This week the next part in the Dance photography series. If you didn't have read the firs two part you can read them here:
- Dance photography session Part 1: The headshots
- Dance photography session part 2: The group shot on the wall
The One-light Set up
The first shot was lightning wise very simple. I Just used one Elinchrom Quadra RX with the A-Head on the B-port with the Elinchrom Rotalux 150 deep indirect octa as a modifier. The reason I used the B-Port was that it had a faster Flash duration to freeze the action more.
For the Camera I used the Fuji X-pro1 with the 35mm 1.4 lens. Settings: Iso 100, 1/125 at f5.6.
The post Production
For the post production I used a little more Ferry Dusting
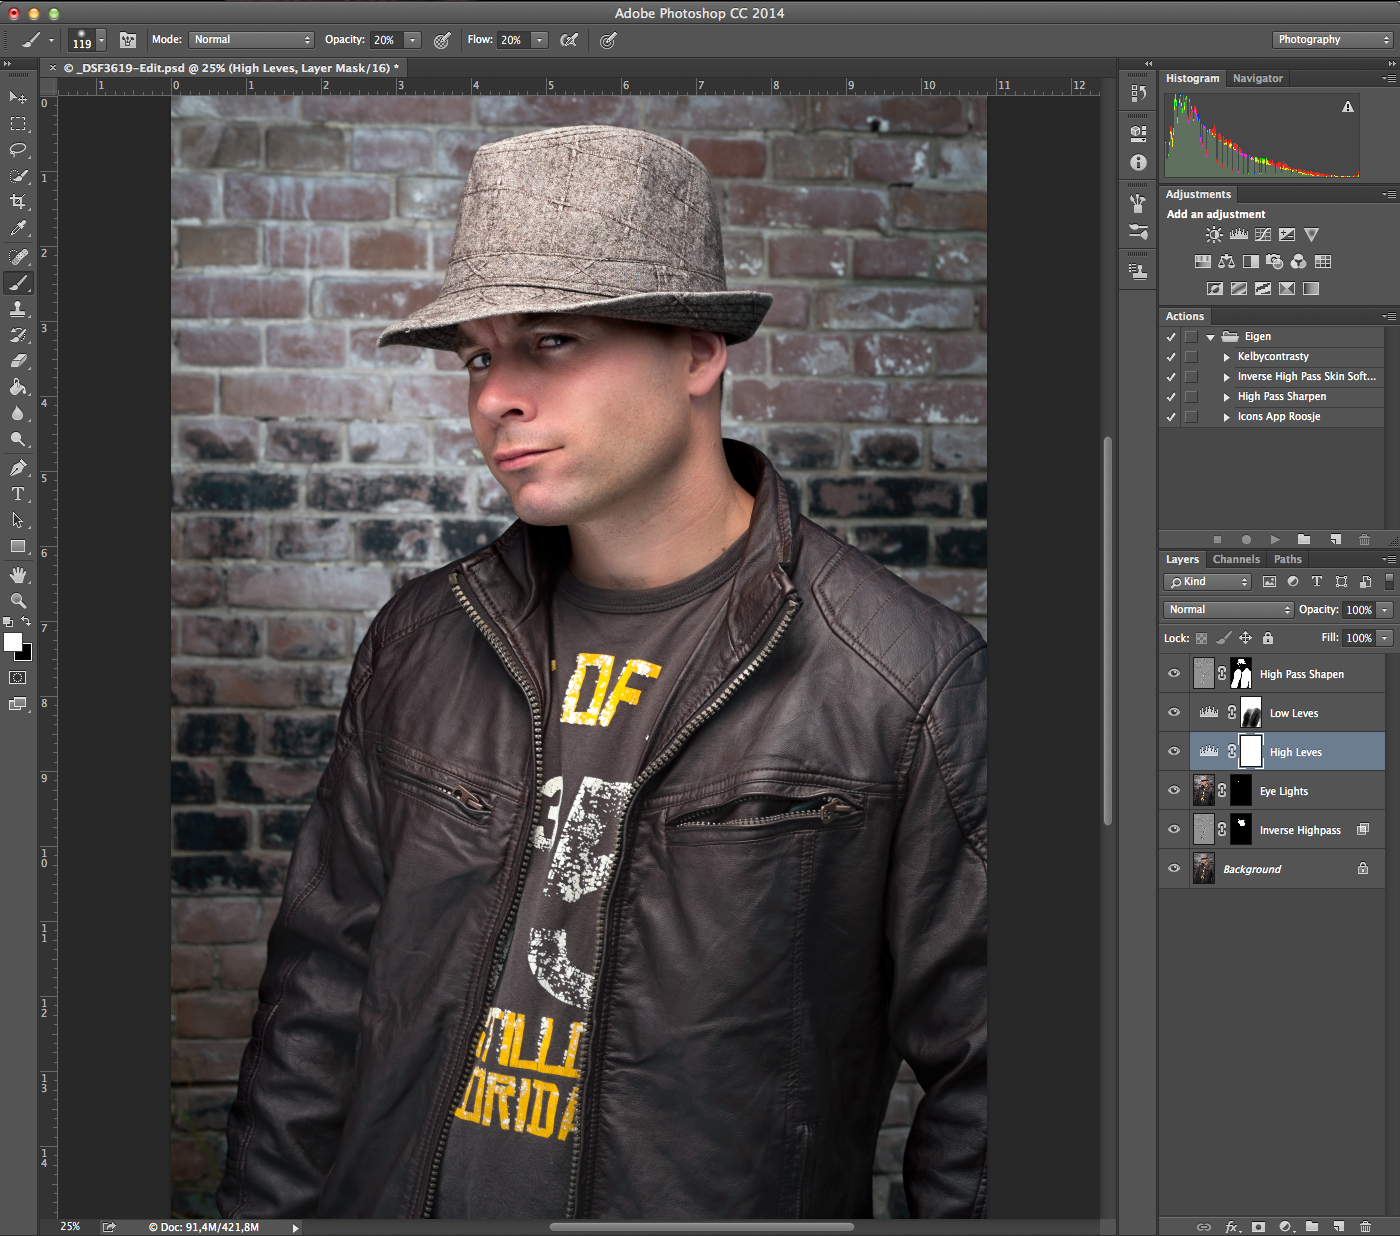
The first step I did was the Eyes, Duplication the Layer, set the blend mode to screen and add a black Layer mask. Then use the white paintbrush and paint it on the irises. Then use the opacity to pull it down so you won't get scary bright eyes!
The next step is painting in the light. This is a technique I learned from Dutch commercial photographer and Hasselblad master Hans van Ommeren. It starts with darken the pictures. To do this a little more controlled I used the curves. Hans normally uses the Levels adjustment layer. After you darkened the whole picture use a layer mask and use a brush on an opacity/flow of 20/20. Then paint back the light on the places you want it. This gives a really nice and moody look. Also it really helps you focusing on the subject.
The net step is smoothing the skin out a little bit. I just used the Inverse High pass skin technique for this.
To finish it I used a little bit of high pass sharpening with a soft light blend mode painted in on the places I wanted it.
DANCE PHOTOGRAPHY SESSION PART 2: The group shot on the wall
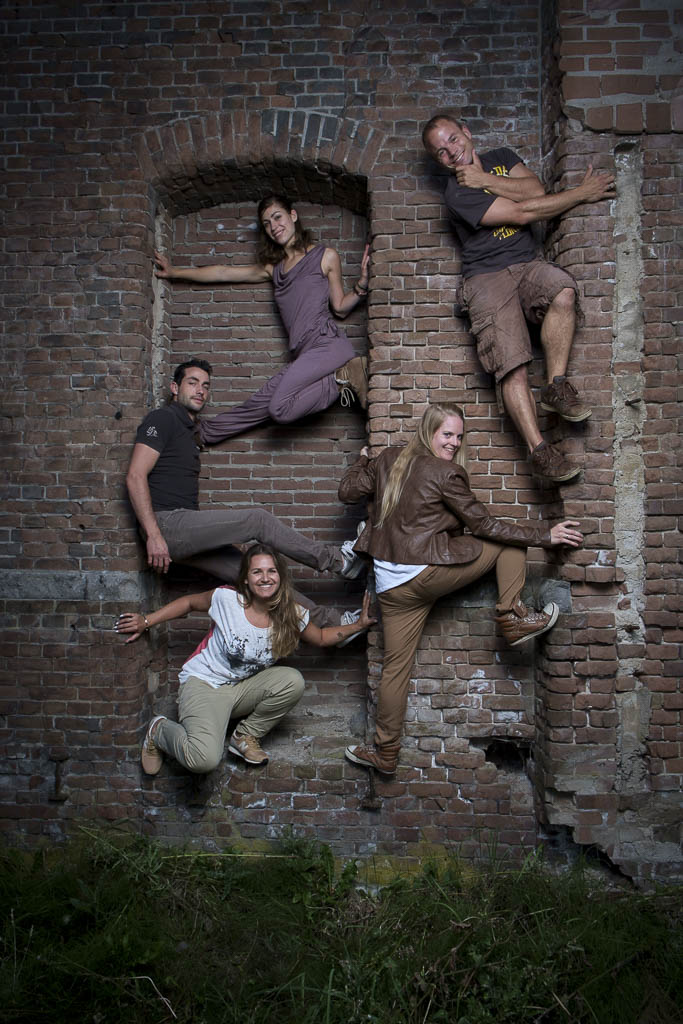
Hi and welcome to the second part of the Dance photography session. This serie is about a commercial dance photography shoot I did for Djenz Factory. If you didn't have read the first part about the Headshot, click here and read about it: DANCE PHOTOGRAPHY SESSION PART 1: THE HEADSHOTS.
The set-up
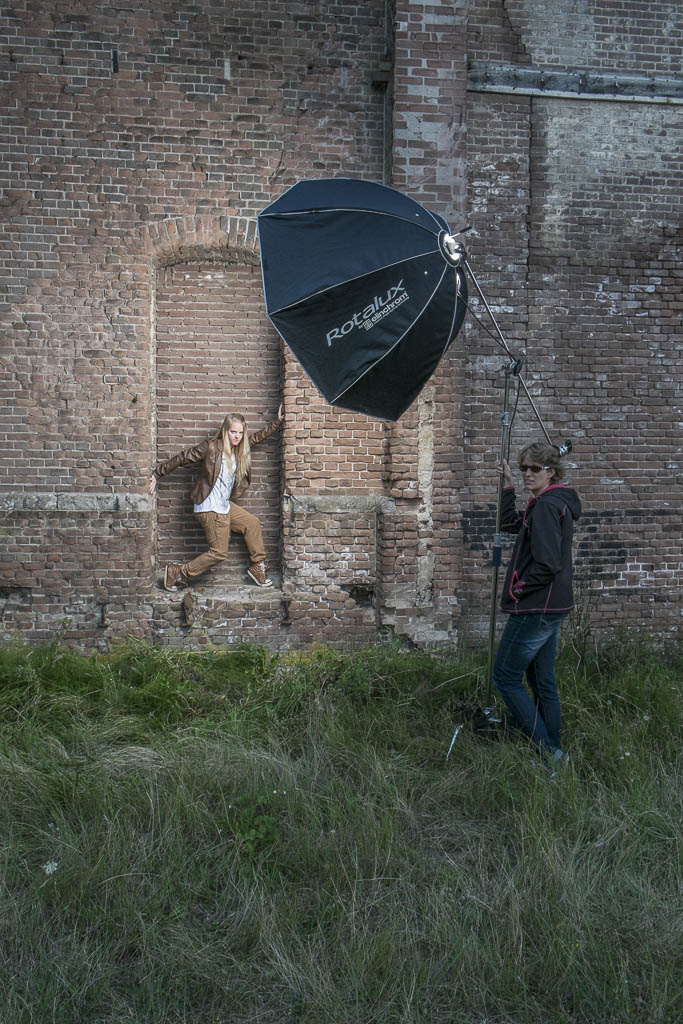
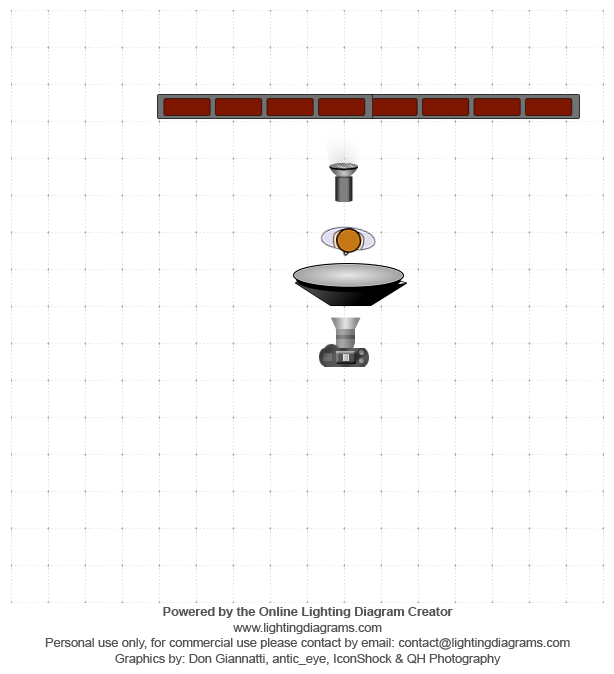
As you can see in the test production photo the whole set-up was just one light! The Elinchrom Rander RX Quadra, with an A-head in the A-port for the biggest blast of light. Everything was mounted on a C-Stand with three sandbags and my assistent holding it. It went up for the maximum height, and I didn't want to take any risk of it tipping over. The camera was the X-Pro1(ISO:200, 1/125th, f8) with the Fujinon 18-55 2.8 - 4 lens at 18mm.
Post-production
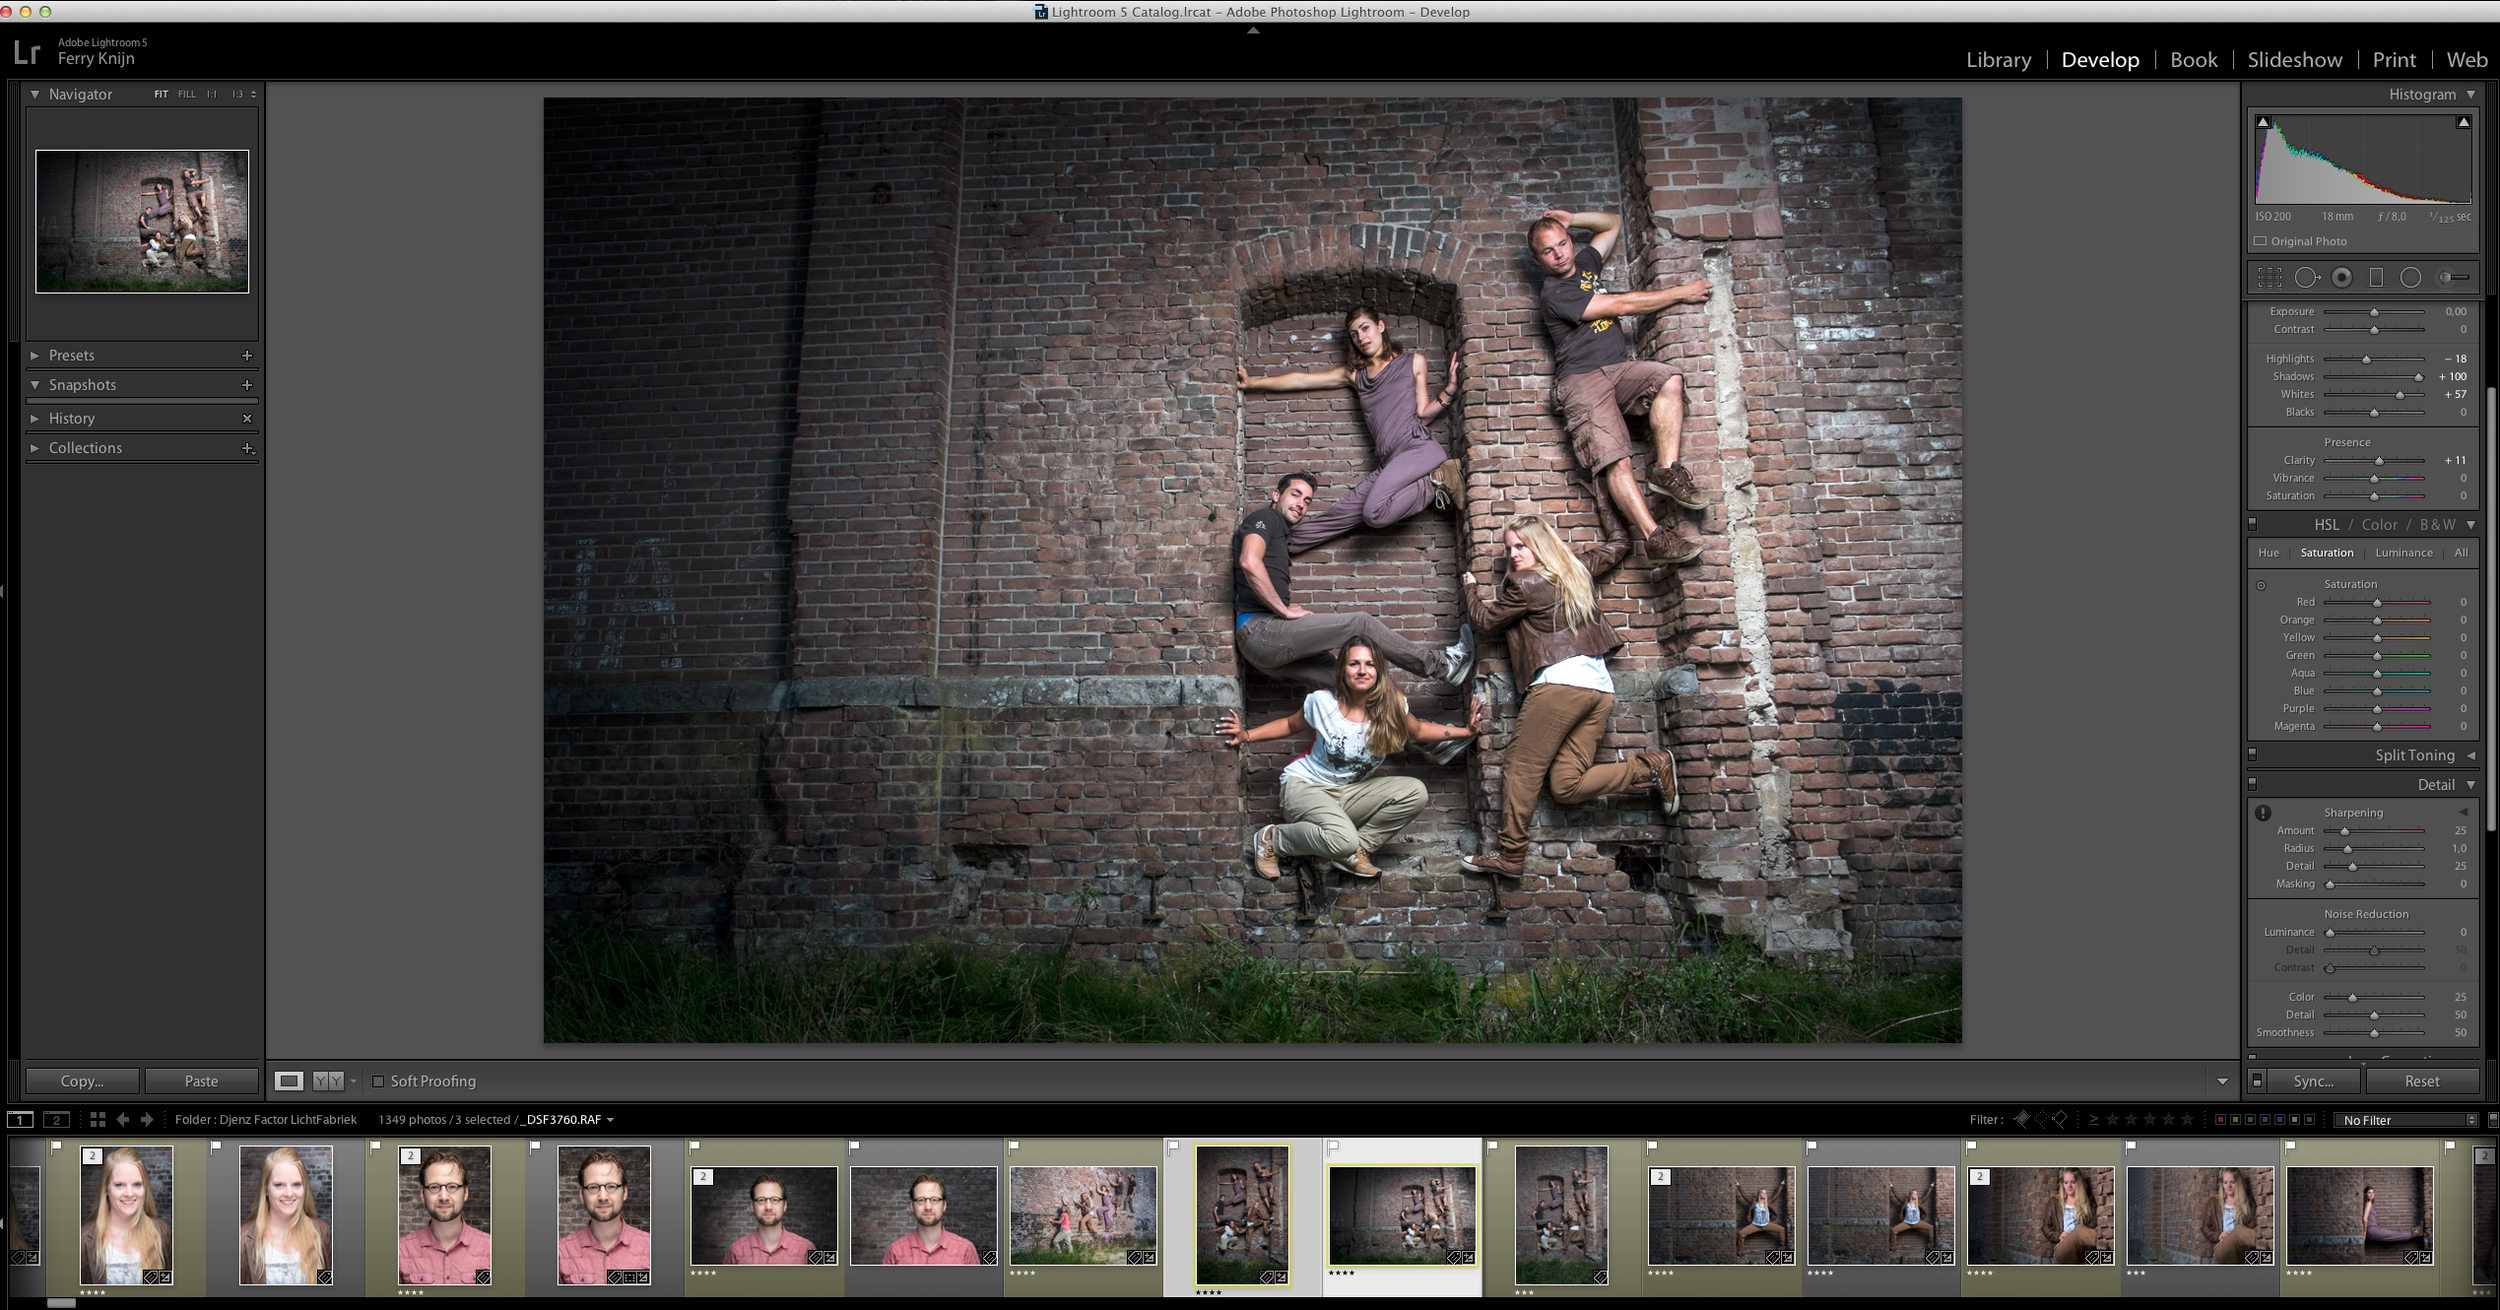
Because this was a group shot on a 16mp camera I kept the post production very simple. These shots are about the group, not about retouching every skin detail. And for doing that, there was not enough information to make the skin look better. So I just focused on getting the mood. So all I did were some basic Lightroom touches. Just some sharpening, highlight, shadows, and a vignette to focus the view on the group.
Shooting portrait and landscape
Remember always to also shoot and deliver a Portrait and a Landscape version of the photo. This way your client has the option to choose and have the highest quality for the way they want to use it.
Dance photography session Part 1: The headshots
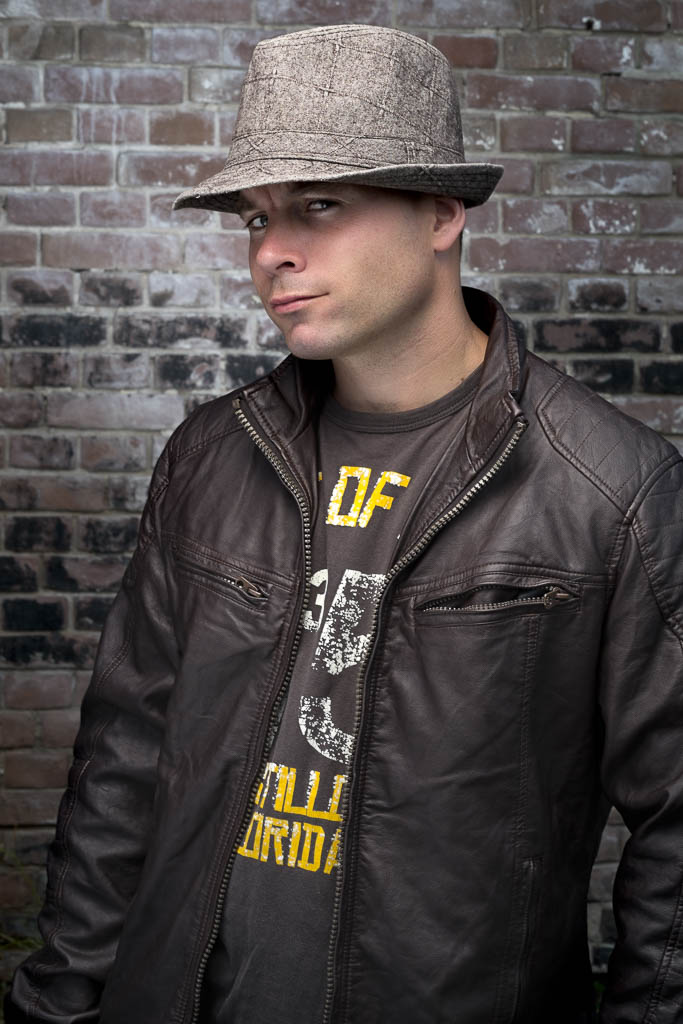
In the upcoming blogs I am going to take you through the process of a dance photography shoot. A few weeks a go I got the call from Djenz Factor that they needed new promotional photo's for their new website. Having worked with them multiple times before I knew this was going to be fun! For location we have been to the area of the Lichtfabriek in Haarlem. Because that is where the new dance studio is going to be. We wanted to start with an outside session. It is in an old industrial area so it is really nice. The only thing that was looking to be a problem was the weather, but it was great weather that evening! We started with the head shots of the creative team
The Set up
For the Headshots I used a fairly basic setup. On the location we found this lovely brick wall to use as a background. For the lighting I used my Elinchrom Quadra set with A heads. The main light was in the A port with the 100 Rotalux octa soft box. I Also placed a second light on the background, that was in the B port with the Elinchrom 18cm reflector and grid, so it had a little bit of a natural vignette. To have a little bit of fill I used a silver reflector handheld by my assistant. For camera I was using the Fuji X-pro1 with the Fuji 56mm 1.2 lens. I was really happy to use it for the first time on a job. Setting were: raw+jpeg fine, F10, 1/125 ISO 100.
Going to Post
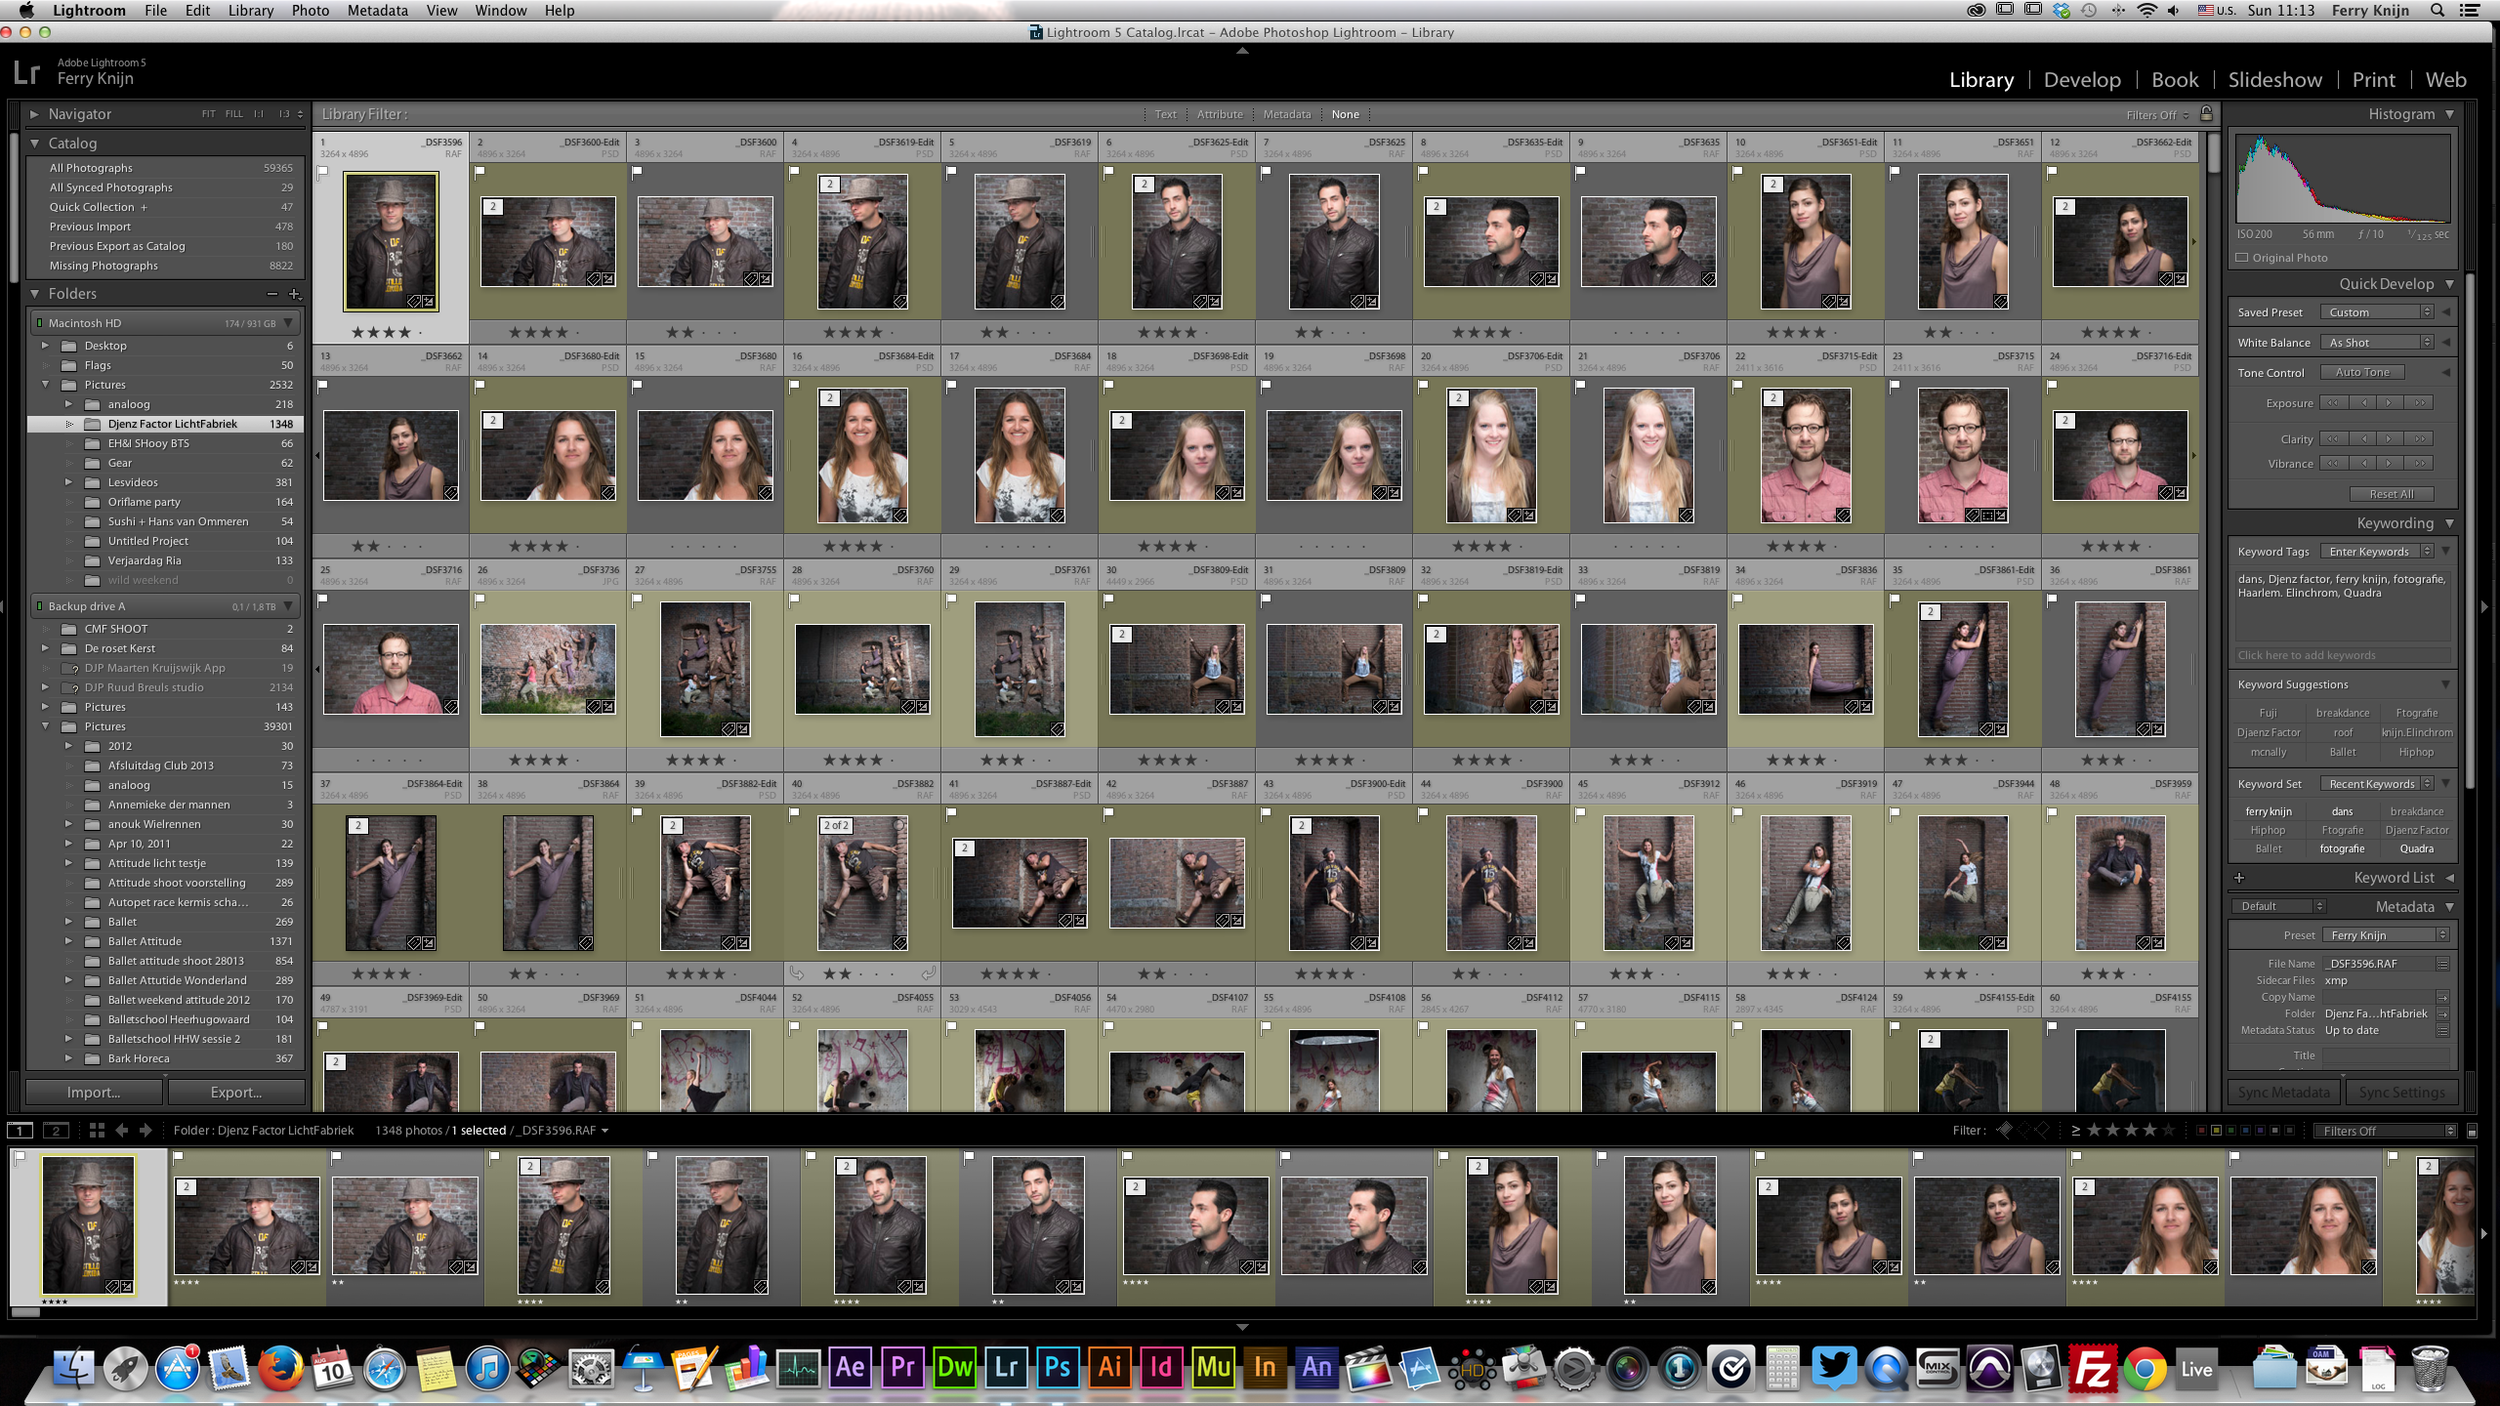
When I first opened the files in Lightroom I was really impressed by the jpegs of the camera. They where so good that I even have delivered some pure jpeg's to my clients. I also noticed that the Lightroom Fuji profiles are still of and not matching enough for my taste. For post I really have speeded up my workflow. In the past I was using Nik Color Efex pro a lot, but the loading time was getting to long for me. When I just have to do a few pictures it is no problem, but when you have to do around 50, it is too long. So I have started to create some actions to speed everything up.
I first started to remove some of the basic blemishes with the healing brush. After that I used the Inverse High pass skin softening action. Which is based on a technique I learned from Scott Kelby on KelbyOne. It gives a nice skin in just a few seconds. After the skin was done I wanted to make the eyes pop a little more. So I created another layer, set it to screen and hidden it with a layer mask. Than used a brush to reveal it on the eyes and used the opacity to make it look more natural. To add a little more contrast I made two level adjustments and painted them in the Layer masks. To finish it off used the High Pass filter to give it a little more sharpness on some areas.
Done
And that was all I did. If you have any questions post a reaction down below!
Shooting The Preacher Men
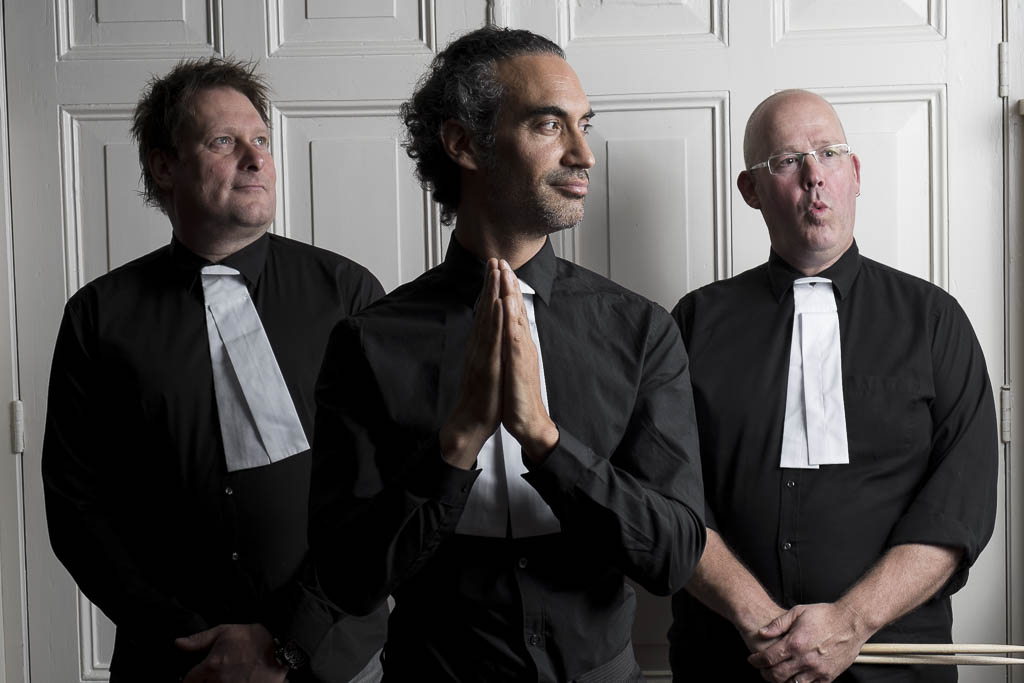
A couple of weeks a go I got the question from Efraim Trujillo if I could should o location. I told him I just bough a new Elinchrom Quadra RX set and can do photoshoots everywhere. So I got the question if I would like to make some promotional photo's for his new Jazz project "The Preacher Men". We could only plan the shoot a hour before there first gig so I had to work fast. Armed with my Fuji X-pro1 with the 35 1.4 and X-E1 with the 18-55 2.8-4 and the Elinchrom quadra with the Westcott 60" umbrella I went to the gig.
I started with a few portraits of the individual band member. I found this red chair and used the umbrella half closed to create a poor mens soft box, a trick I learned from Zack Arias.
After the ones on the chair I found a couple of doors I thought that look cool and would gave them some extra choices in different kind of looks. So the final groupshot I did in front of those doors
In post I just did some extra sharpening and darkened the background with the chair shots to get of the background noise.
Dance photography with Fuji Camera's
Last week I did a dance photography sessions with the Fuji X-pro1 and X100. I Asked two dancers to model for the shoot, One is a classical ballerina and the other a break- and zouk dancer.
In studio
I started in the studio with just one light. I recently bough a Elinchrom Rotalux 150cm Deep Indirect Octa soft box on a white background. But it was to light for my taste so I changed to a light grey background just for some more moody feel.
For light I started with the Elinchrom RX one, But this was to weak to over power the ambient light in the studio in the 150 Deep octal, It is a big softbox!!! So i changed it to the Quadra. Because the ISO starts at 200 with the Fuji's and they have APS-C sensors, I didn't wanted to much light, for a smaller depth off field (f5.6 to f10/f11).
After some solo portraits and dance photo's it was time to put them together
I am starting to love my Fuji's more and more, The only things I really dislike is the waiting until all the photos are written to the card before you can watch them back. Because I was working with dancers this was getting anoying. They want to look them back fast so they can check if the position is right. Especially the feet. If you never have worked with dancers then it is good to know that, the light and emotion can be perfect an you go, "WHOOOO GREAT PHOTO JEEEEJJJ!!!!", but the feeds or hands are a few degree of..... It is not a good photo. Because people who know dance see it and you will get your butt kicked!
Also I would love to have the option to shoot ISO100 Raw. Just to be able to work with smaller aperture to get a smaller depth of field.
Going Outside
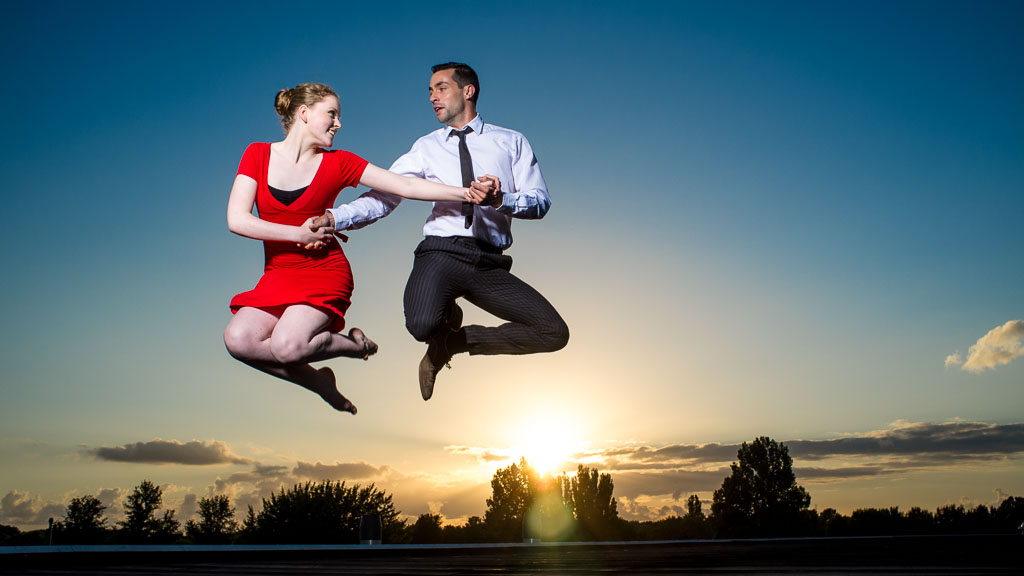
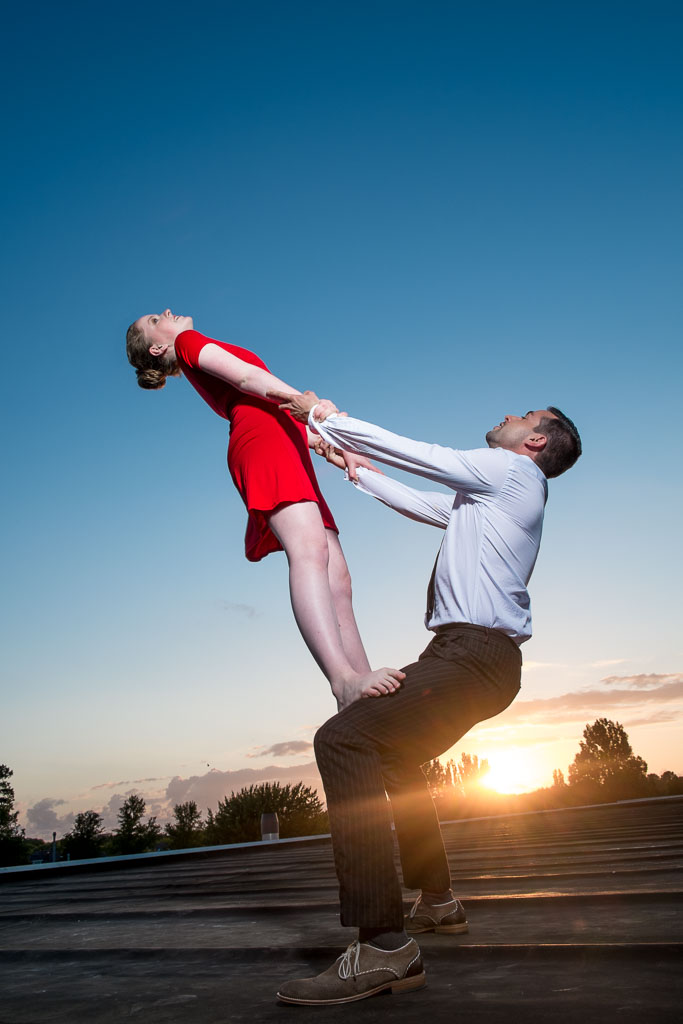
For the outside shots the Fuji X100 is still a killer. Because of the Leaf Shutter you can get a really fast X-sync to get a darker sky. I switched to the Elinchrom Maxilite because it has a higher output, so I didn't had to stress the battery off my power pack so much. I was working with the Elinchrom Ranger Quadra RX with an A-head on the B-port. This has 33% of the A port. So with the Elinchrom Maxispot I had enough light and stopping power to freeze the action! Also when I switched to the X-pro1.
Back to the Studio
After the rooftop shoot I wanted one other shot I saw in a Joe McNally Kebly training video. I just used a Single Quadra head in the B-port on full power in a Small Elinchrom Rotalux strip soft box. This was on a C-Stand at max hight, The dancer was slightly behind the head to feather the lighting.
Into The Dark Lightroom
Into lightroom I do just a little bit of FerryDusting on the imaging. I am not a big photoshopper. I want it to by stylized but still had to be real. So I did just a shapening, a bid of Pumping up the shadow, Drop the blackpoint. Opening in shadows, somehow adds some blue's in black, so especially with the studio shots I pulled down the blue saturation completely. Also some vignetting to finish it.
The Fuji's
Some say the Fuji's are not fast enough for shooting sports or action. But I think these pictures proof different! Getting your techniques down is the clue to good photo's, camera's are tools like a hammer is for a carpenter. And Photoshop and Lightroom is just the cream to finish of the dessert. Getting it good in camera with the light is the most important thing.


