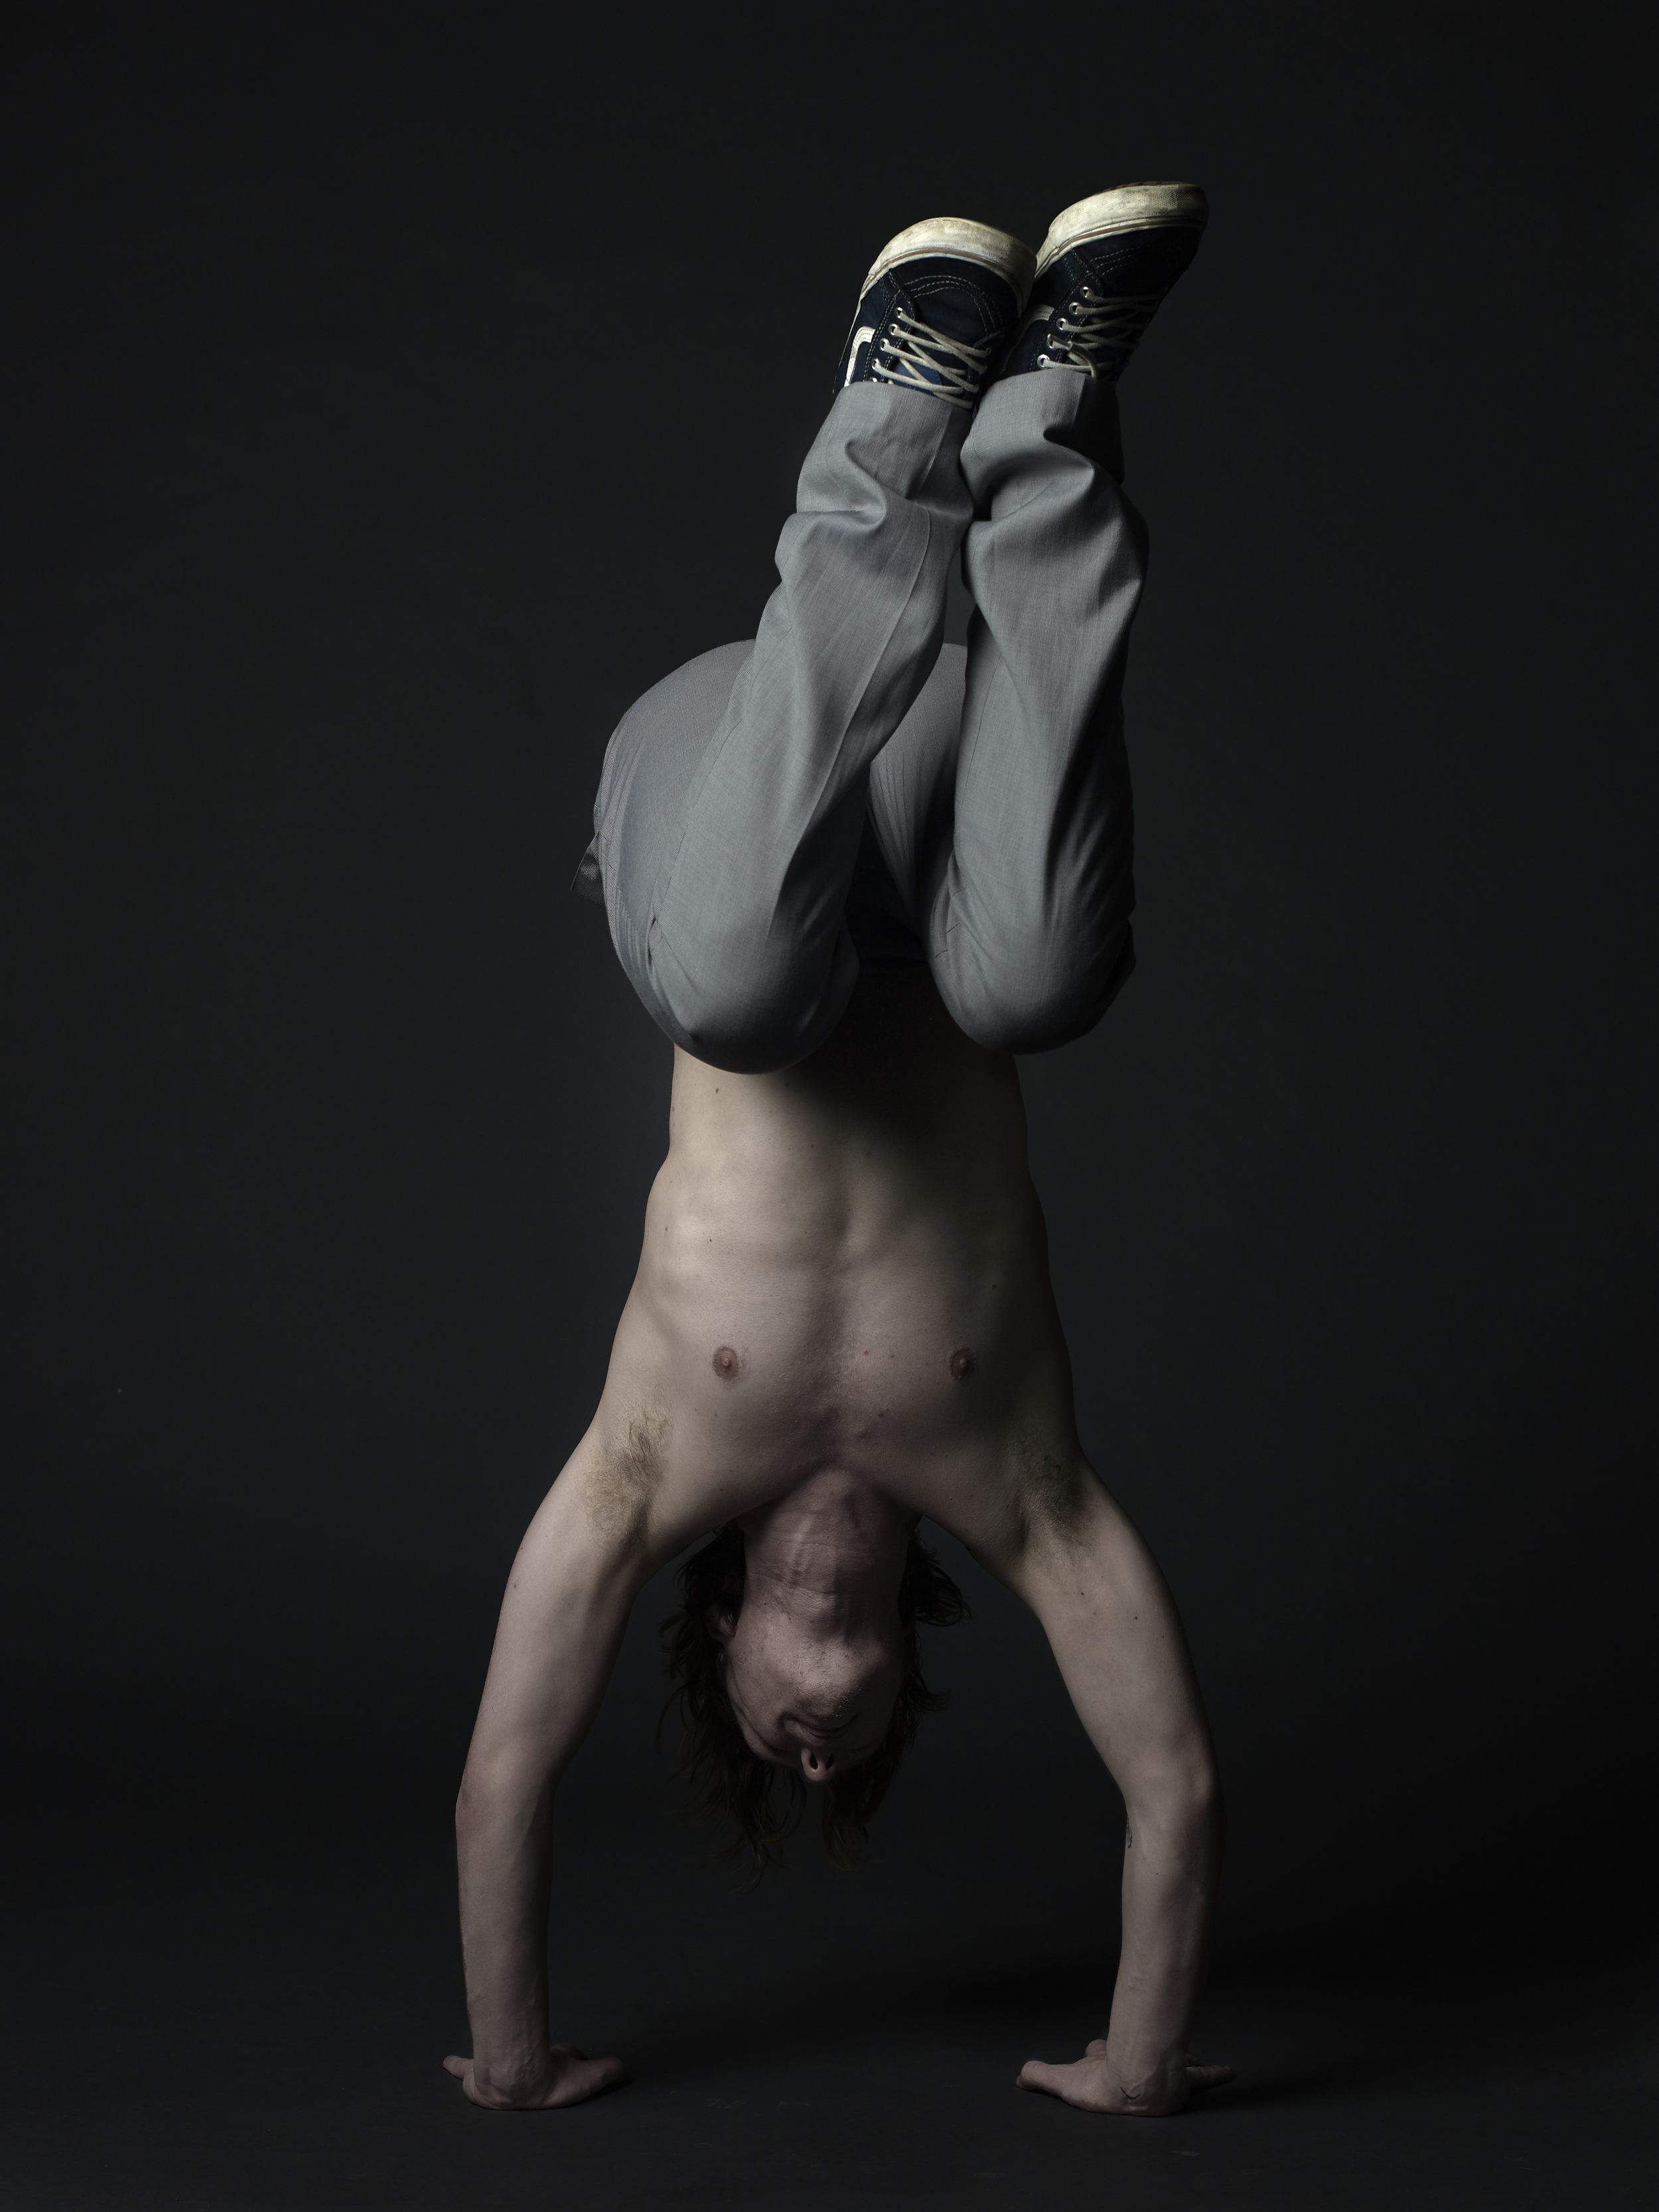
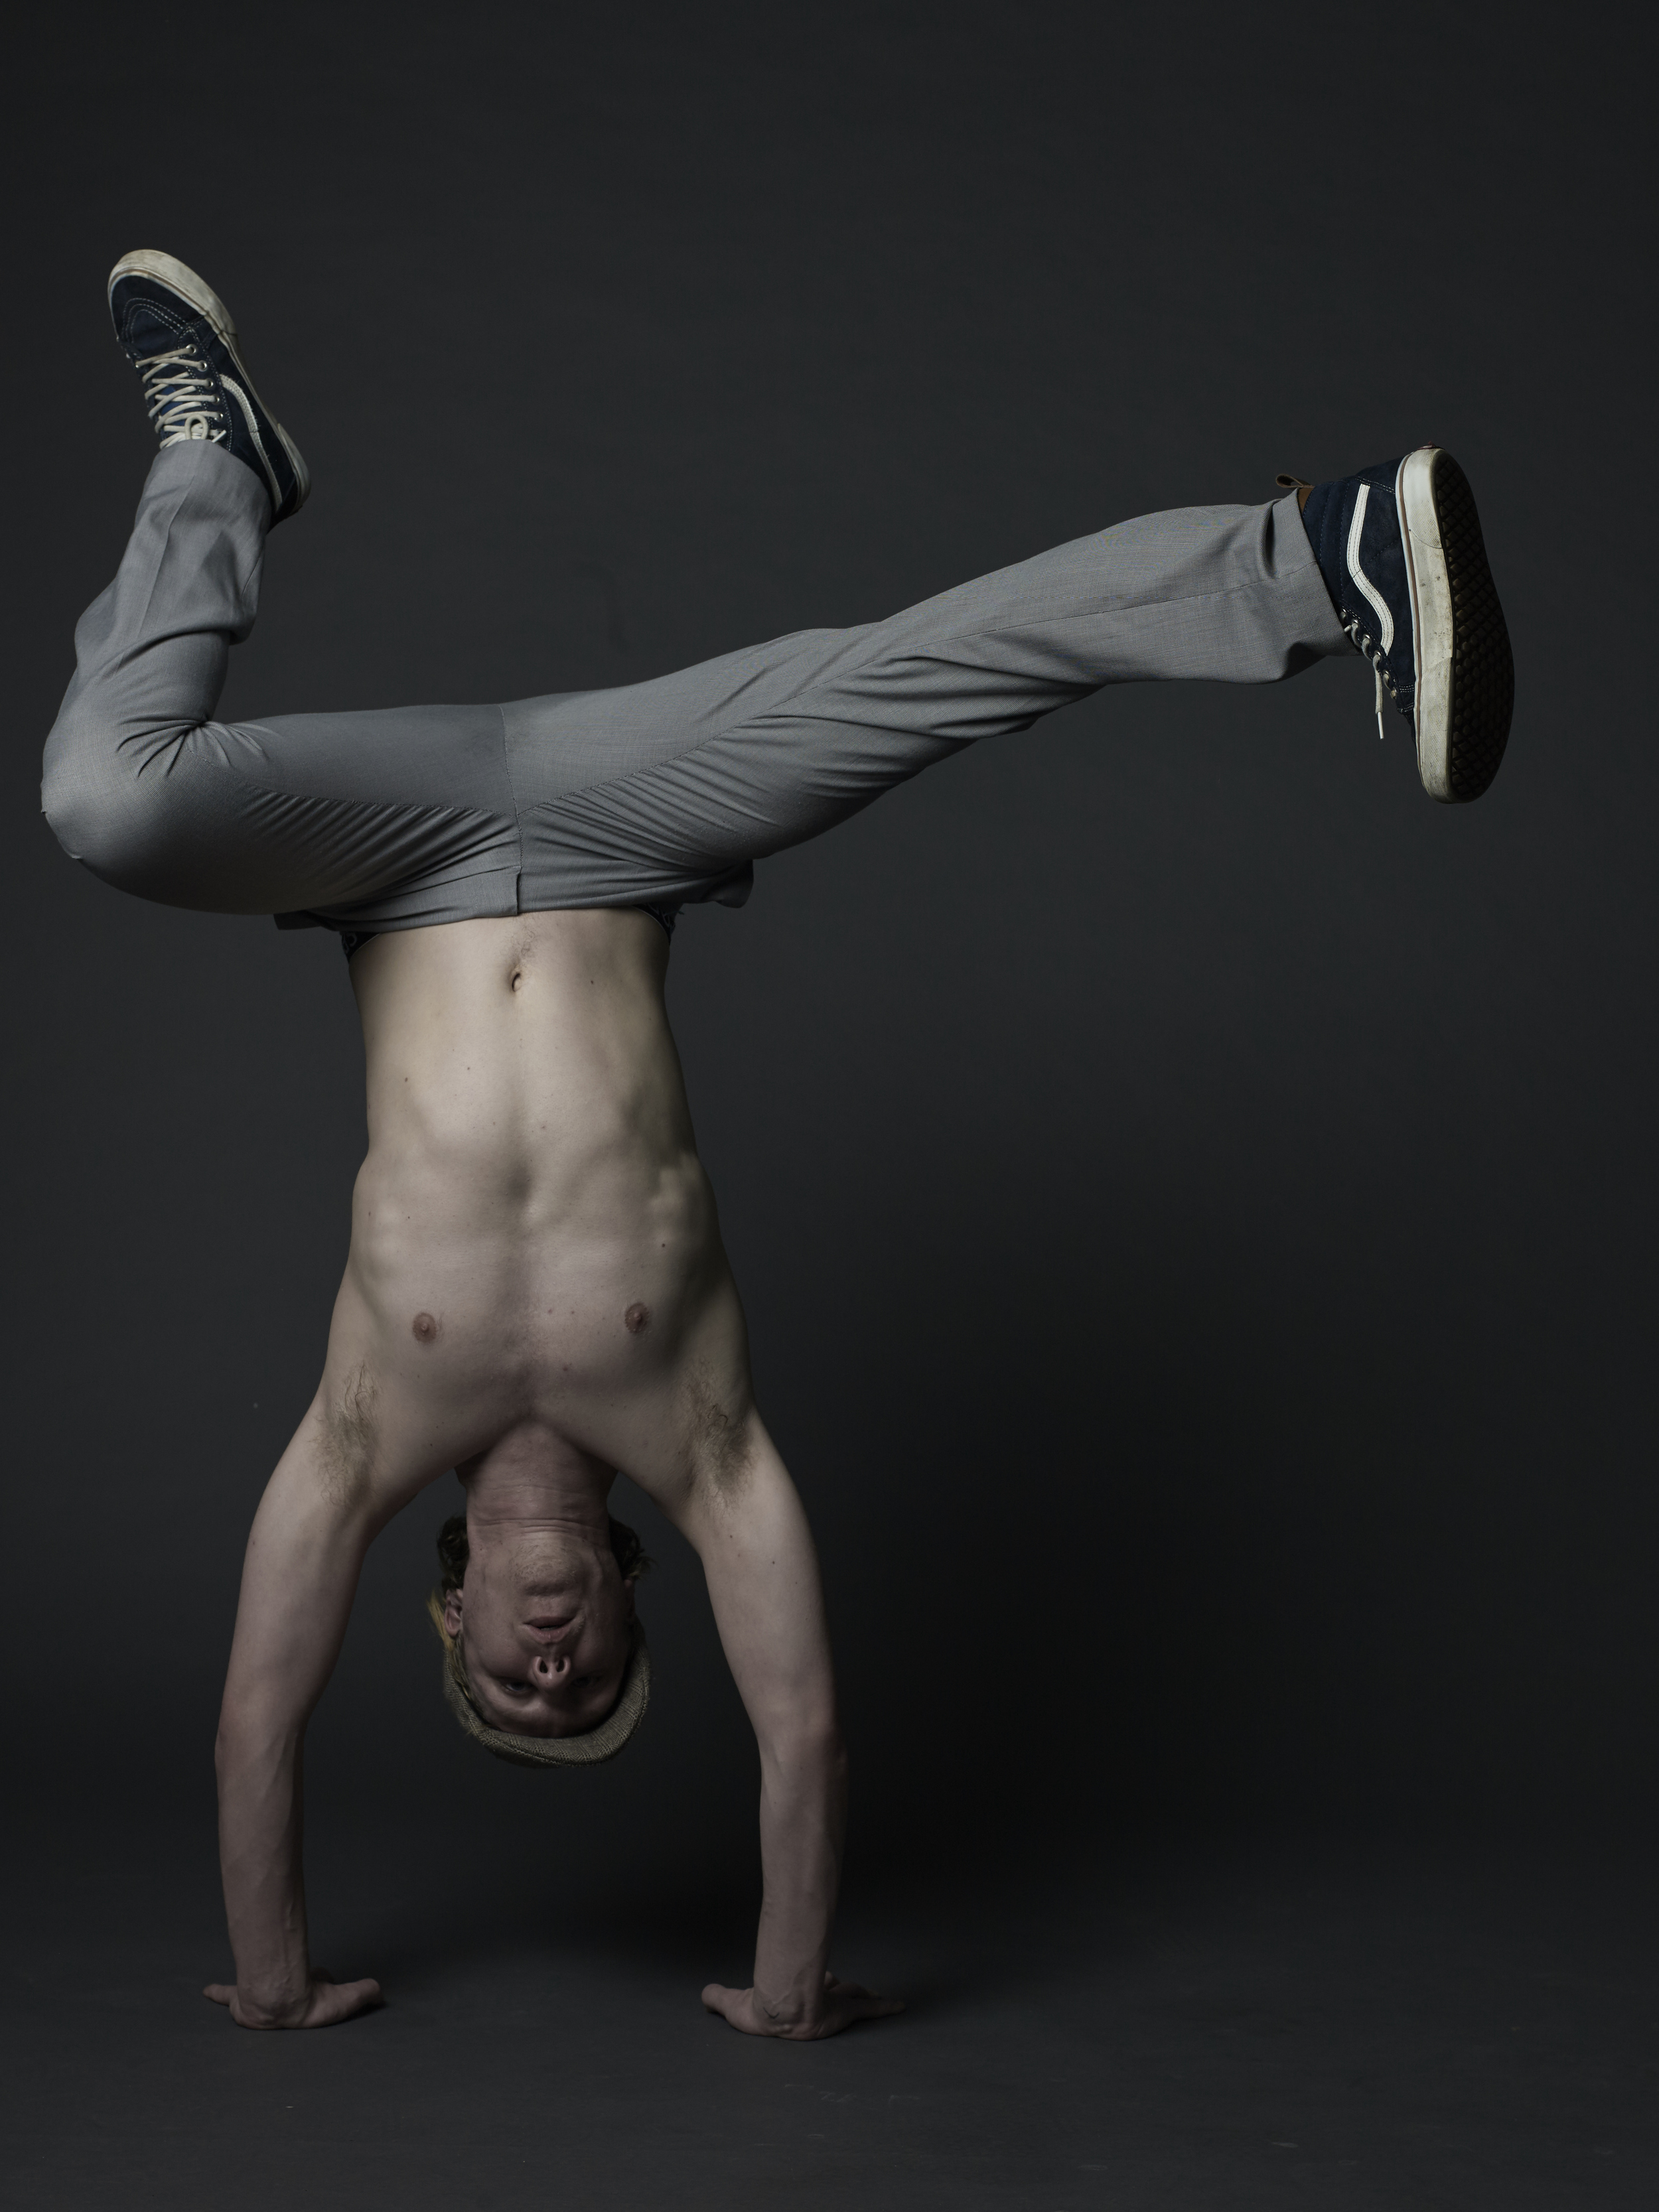
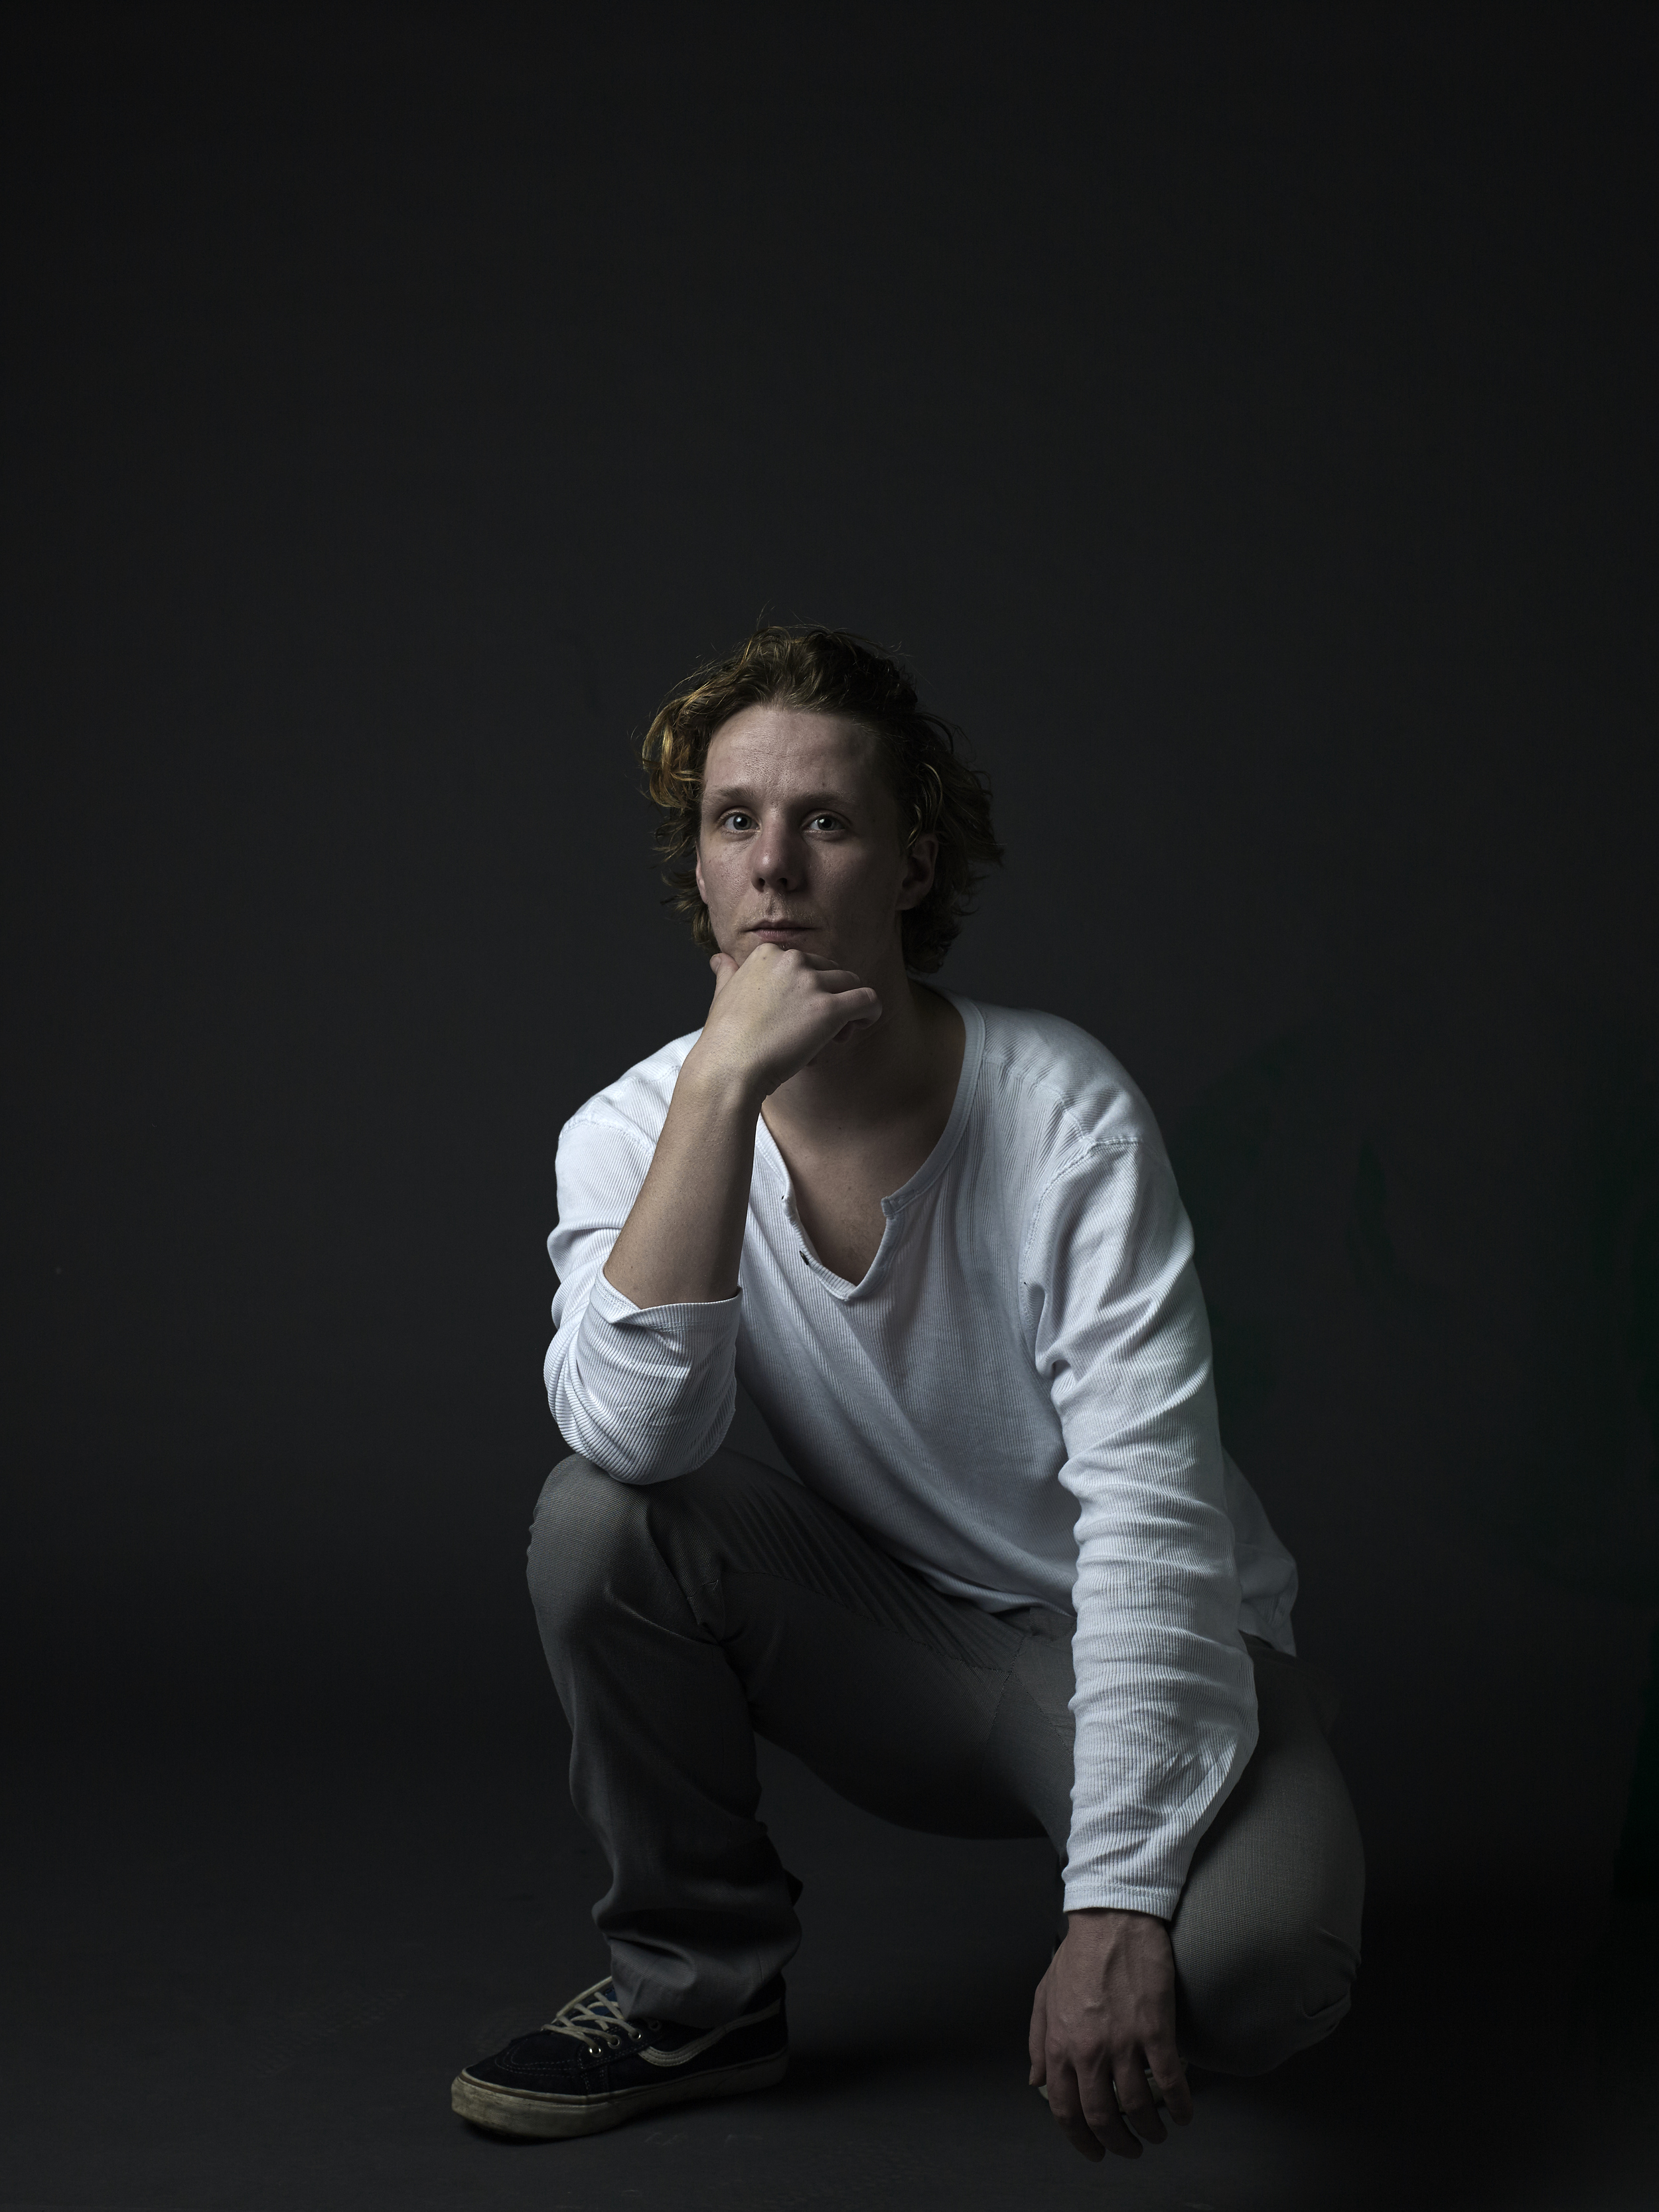
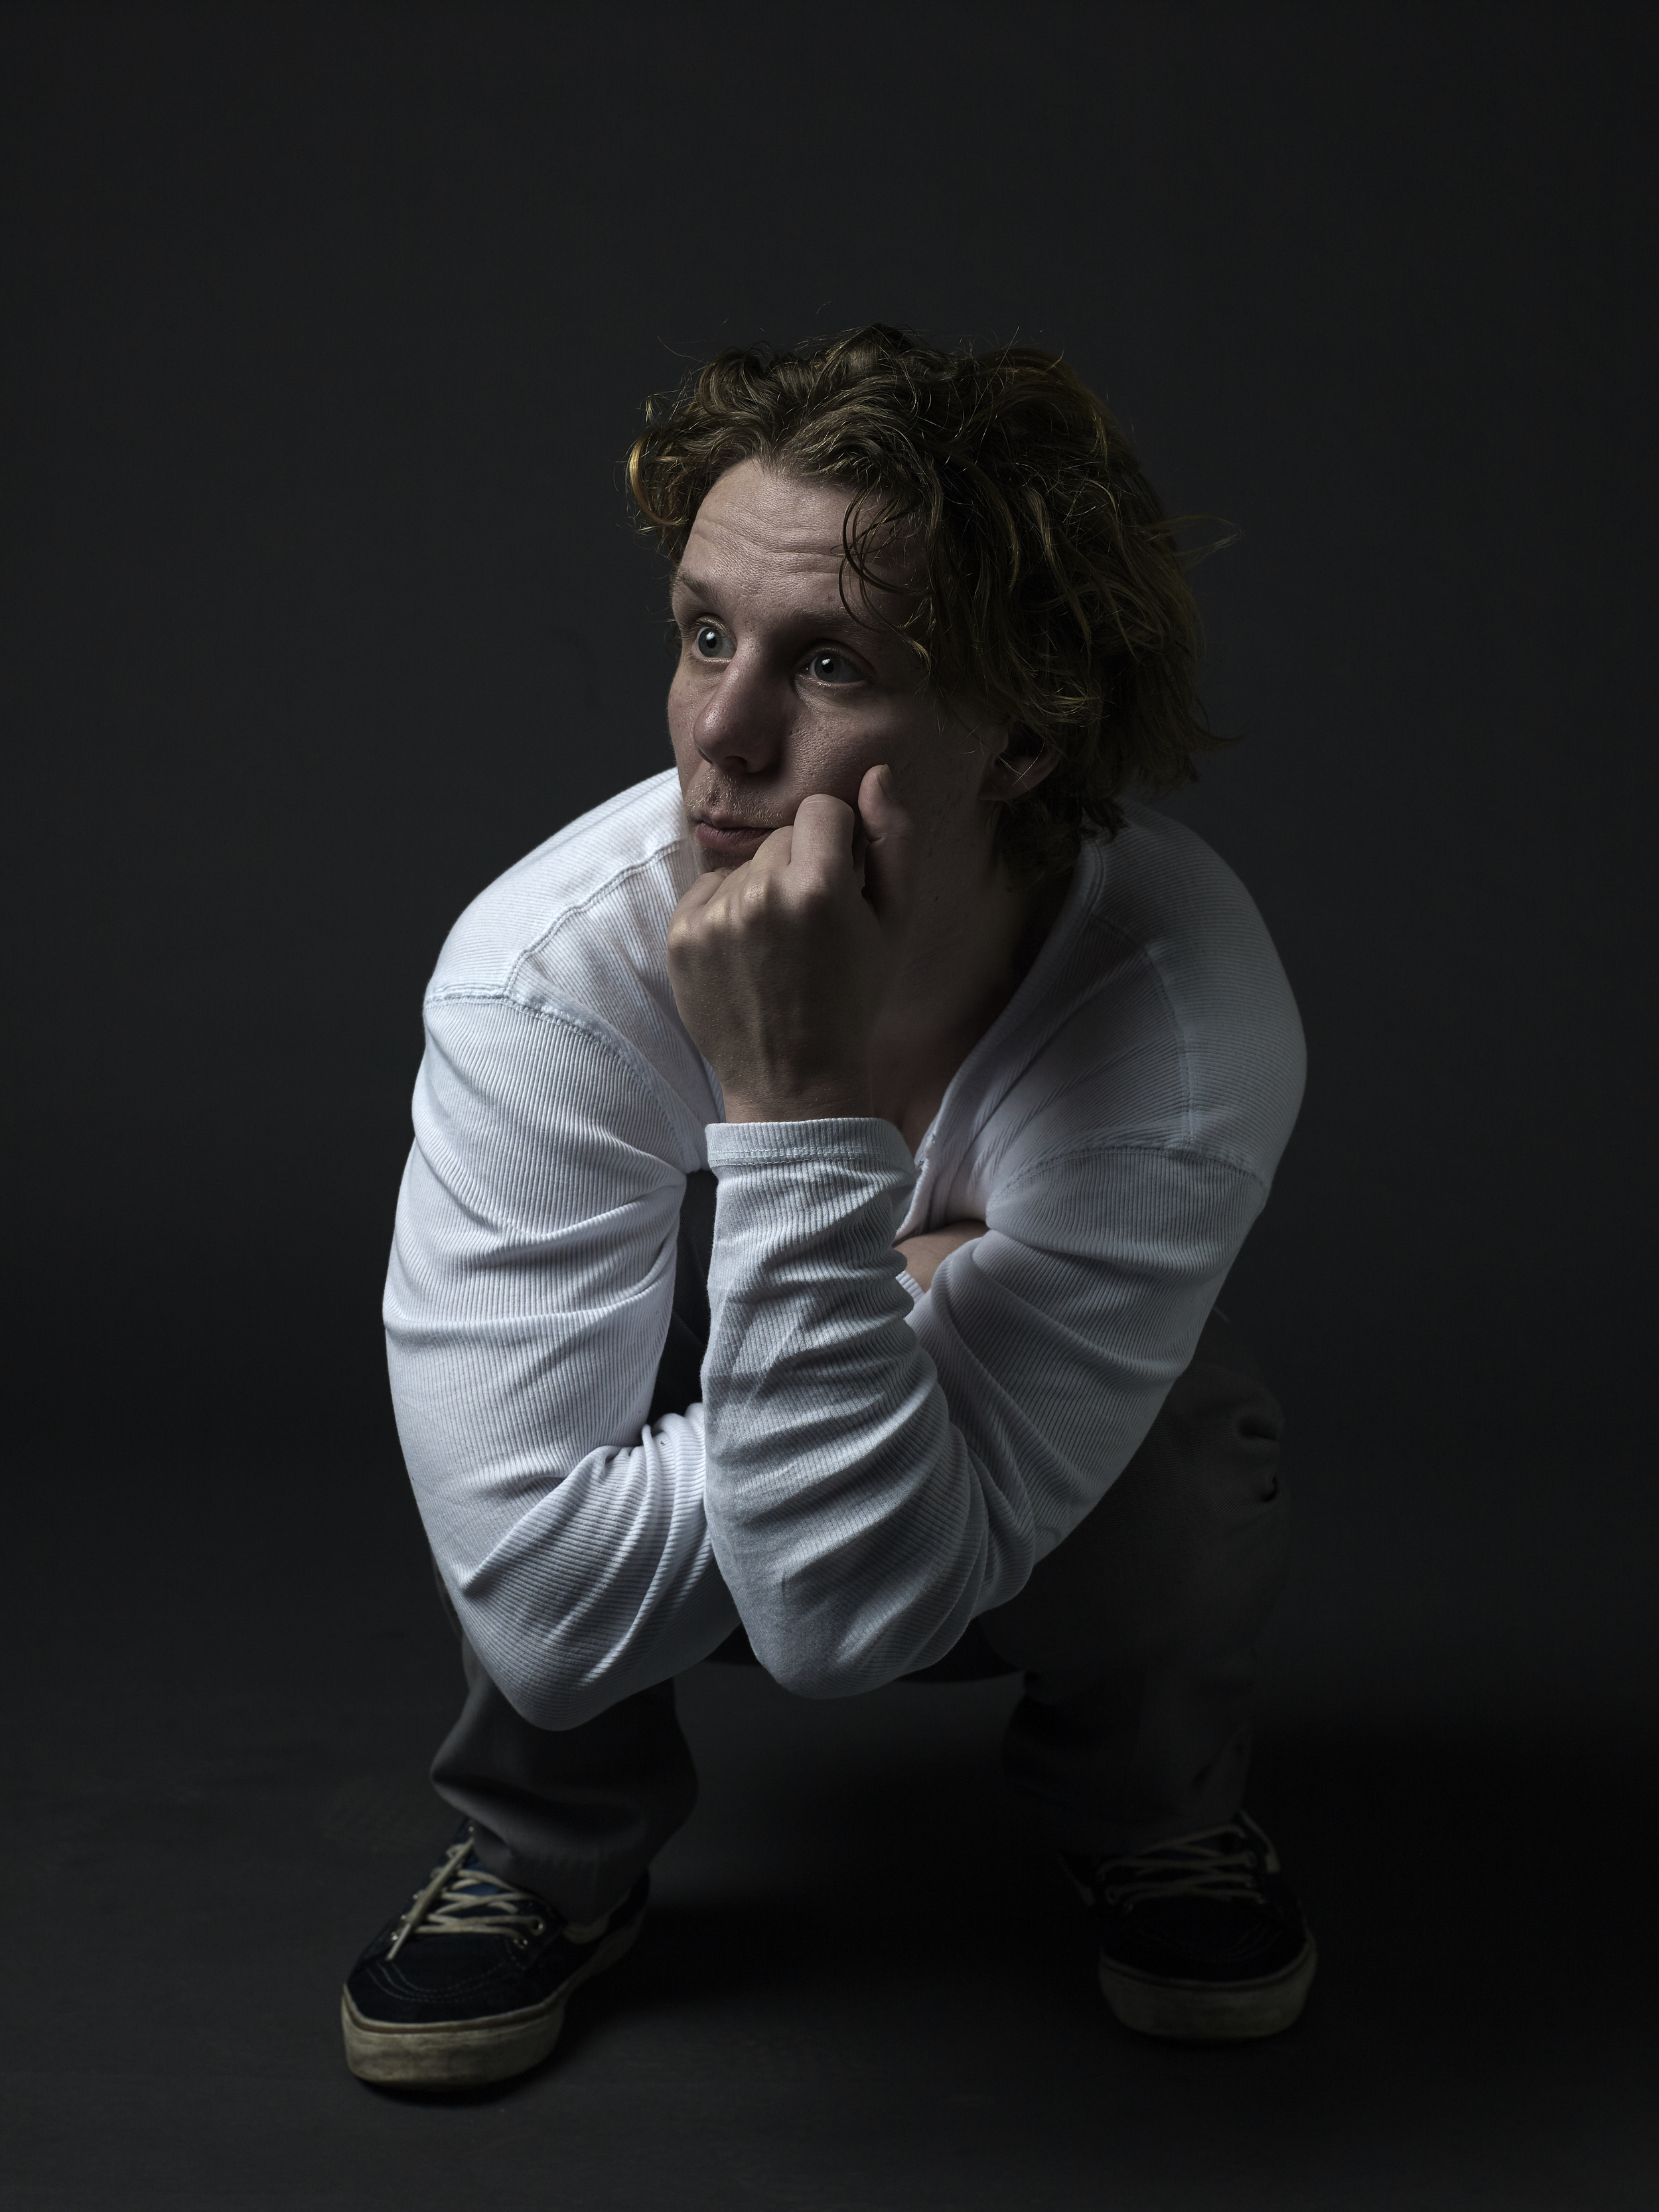
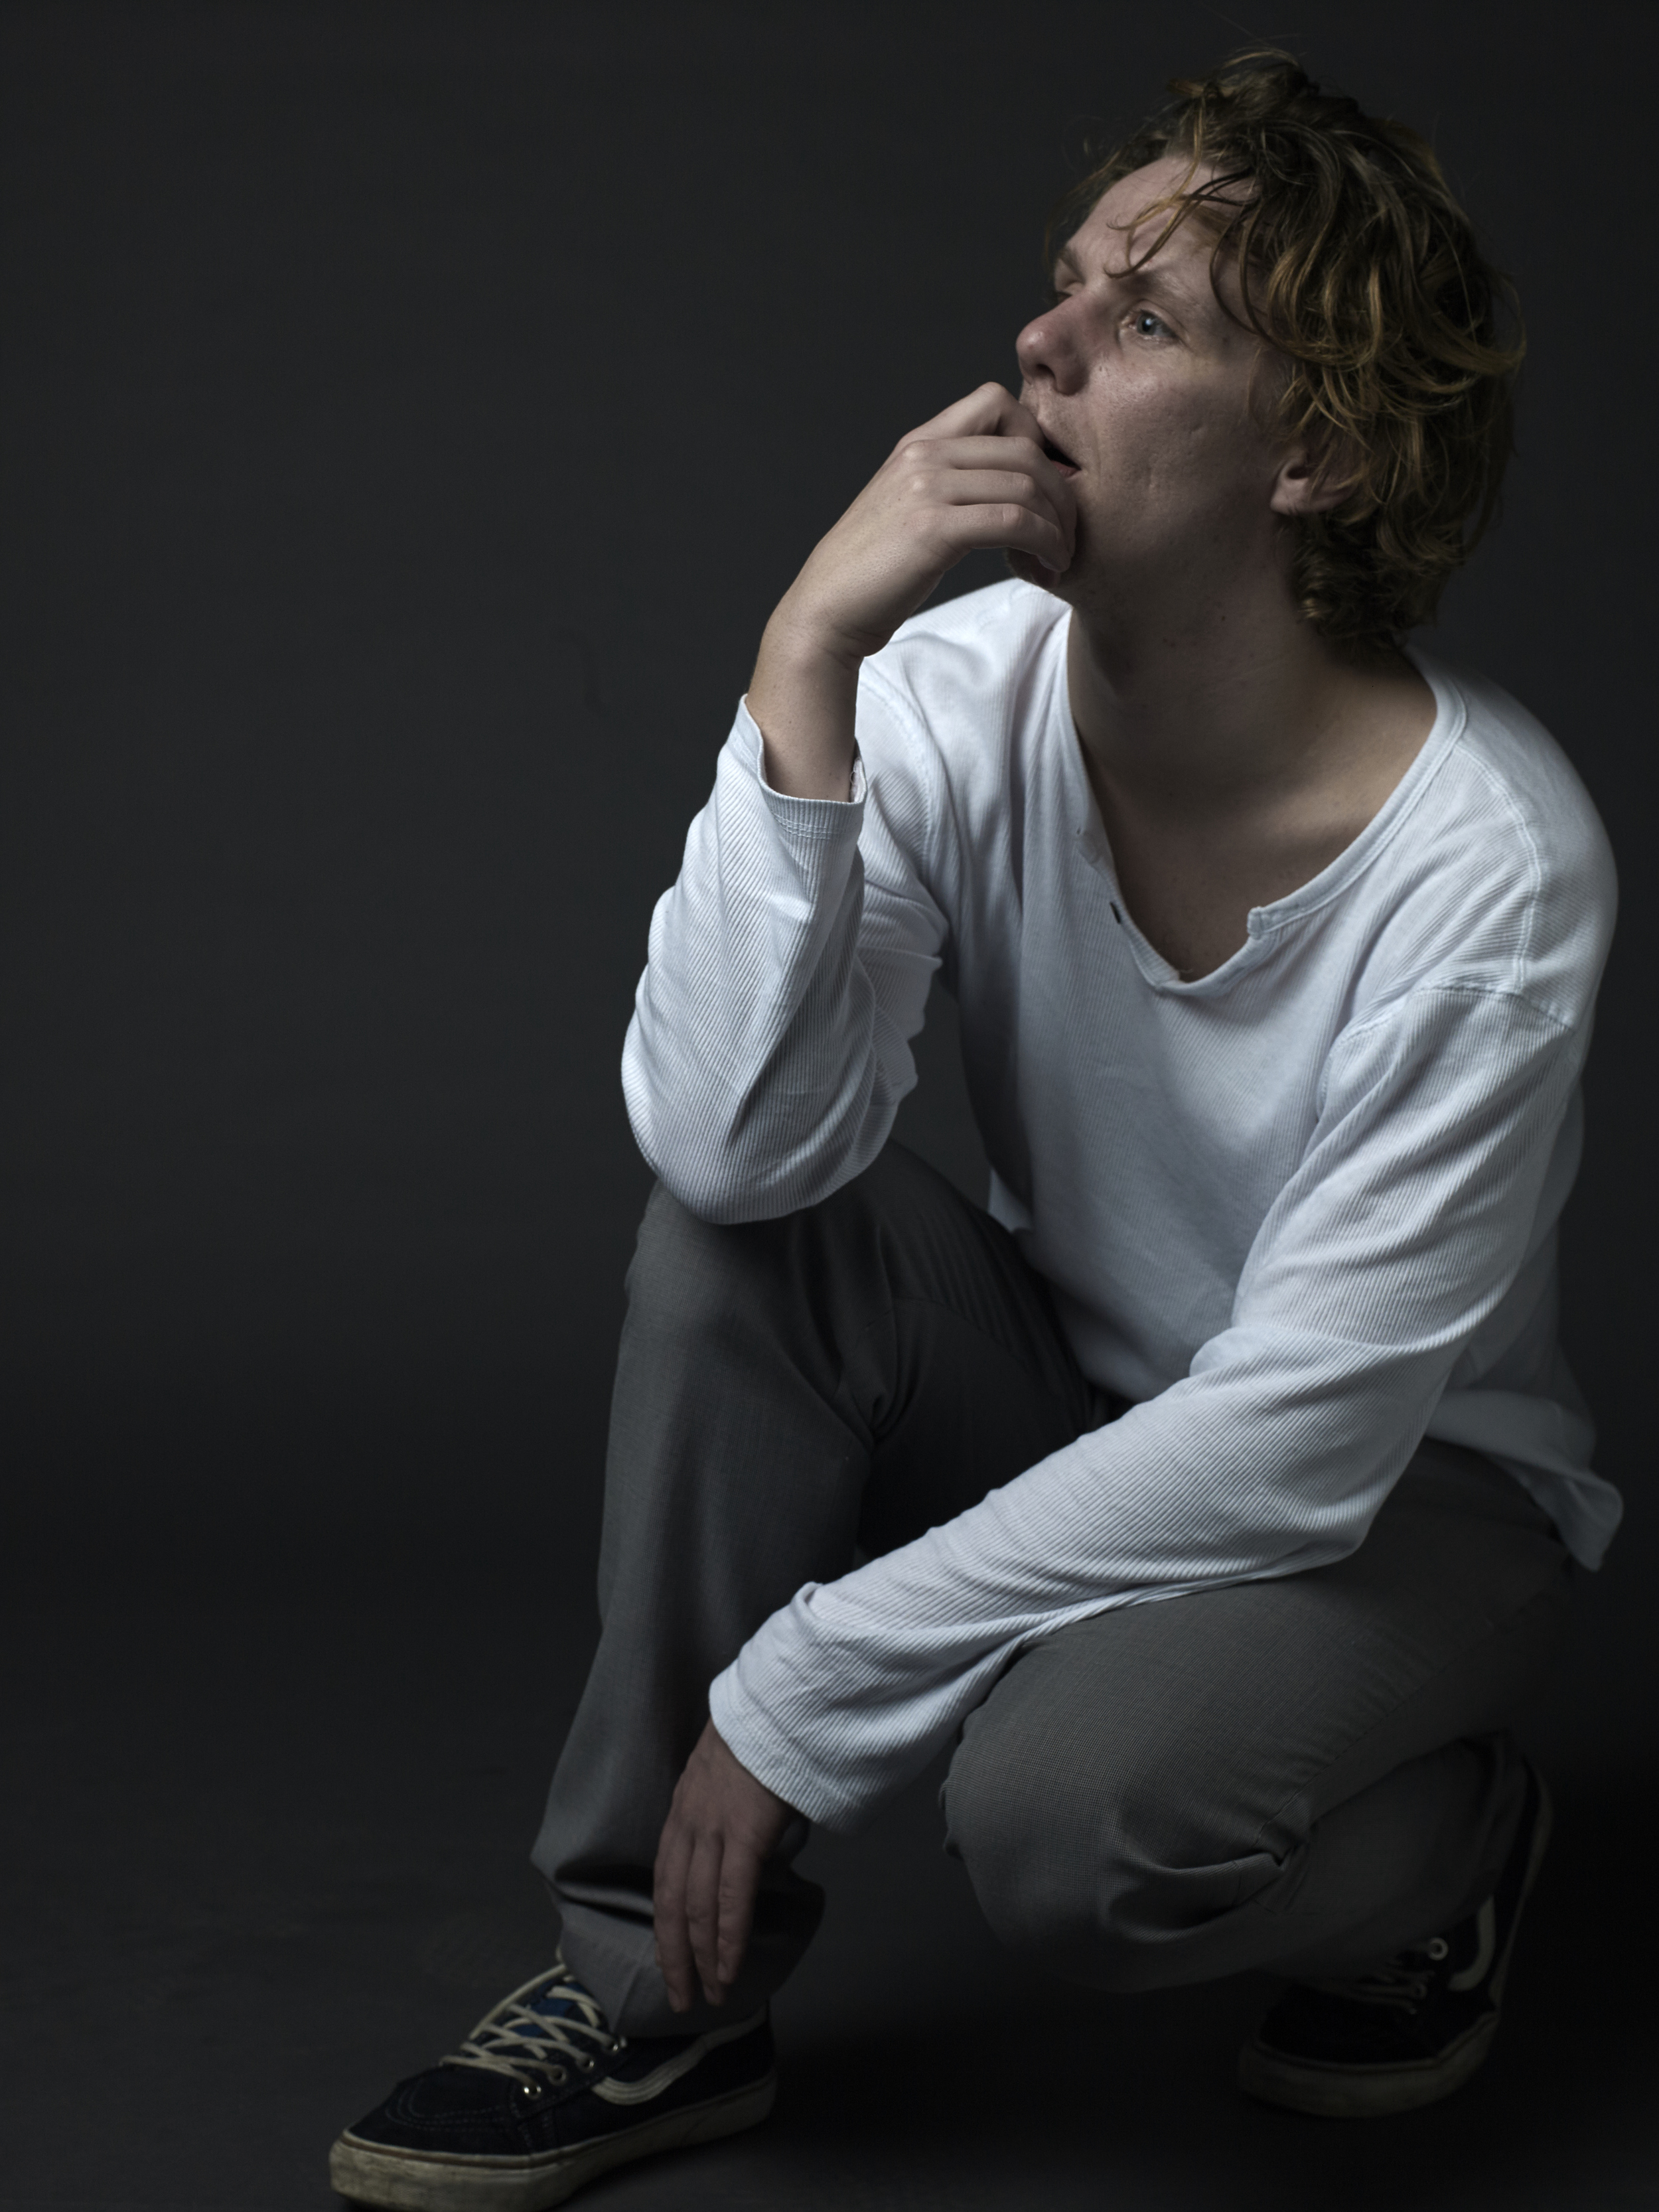
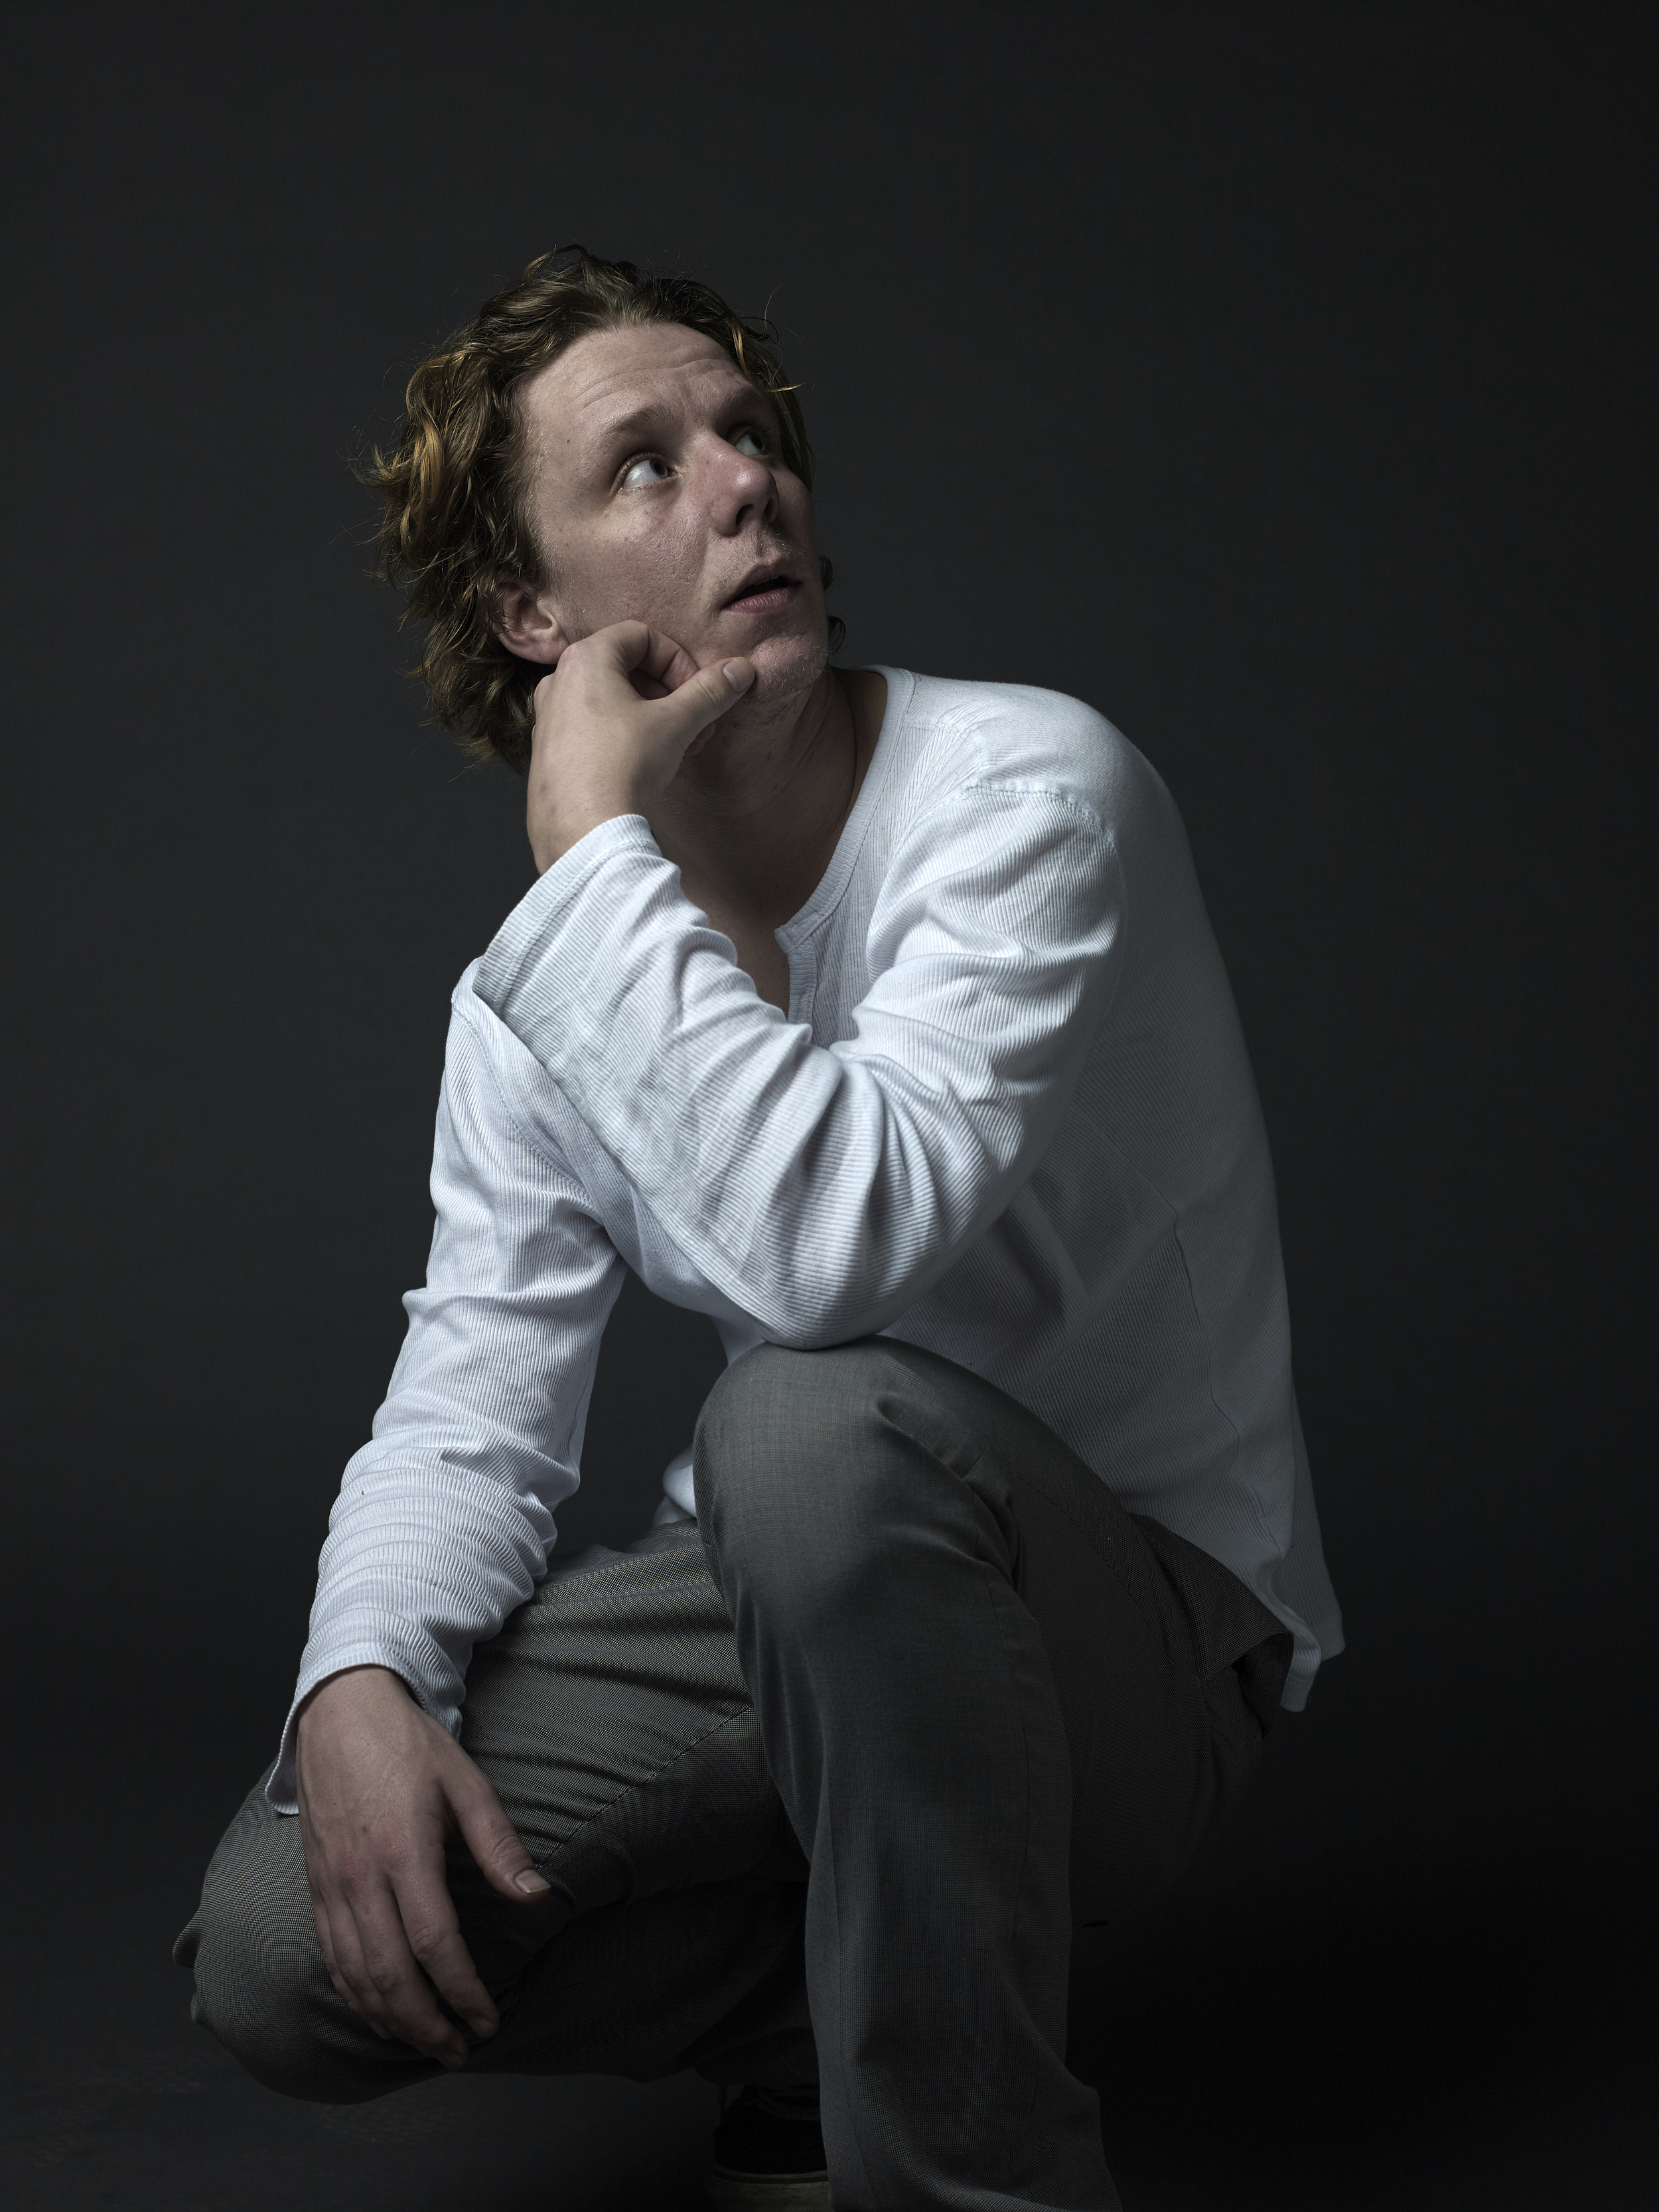
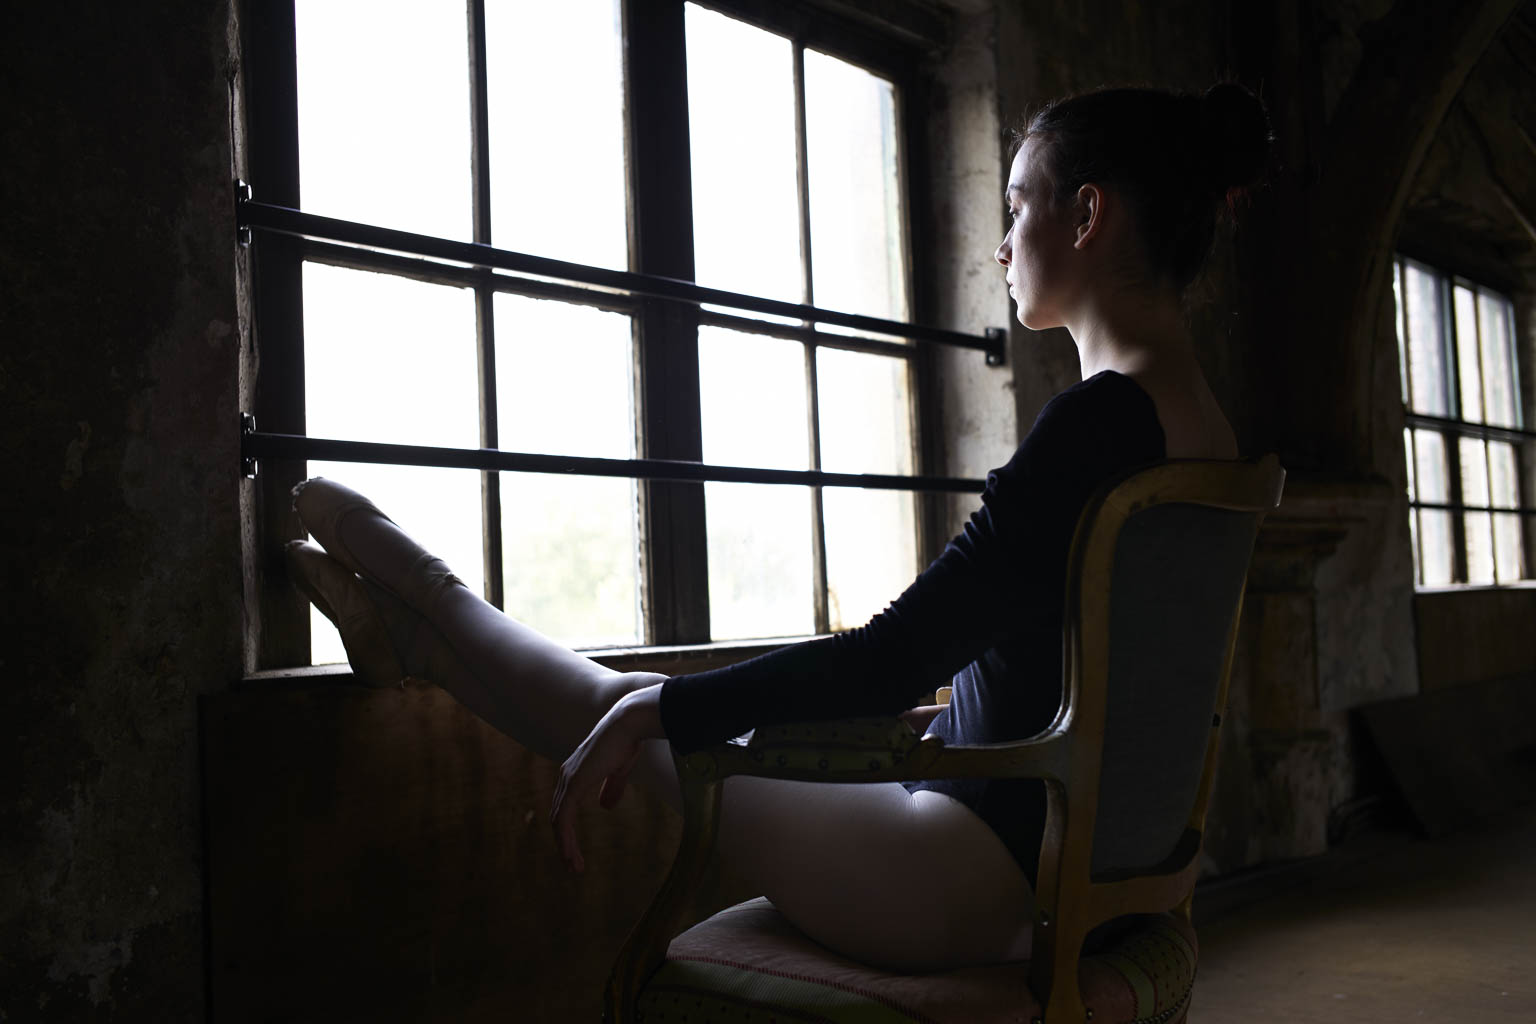
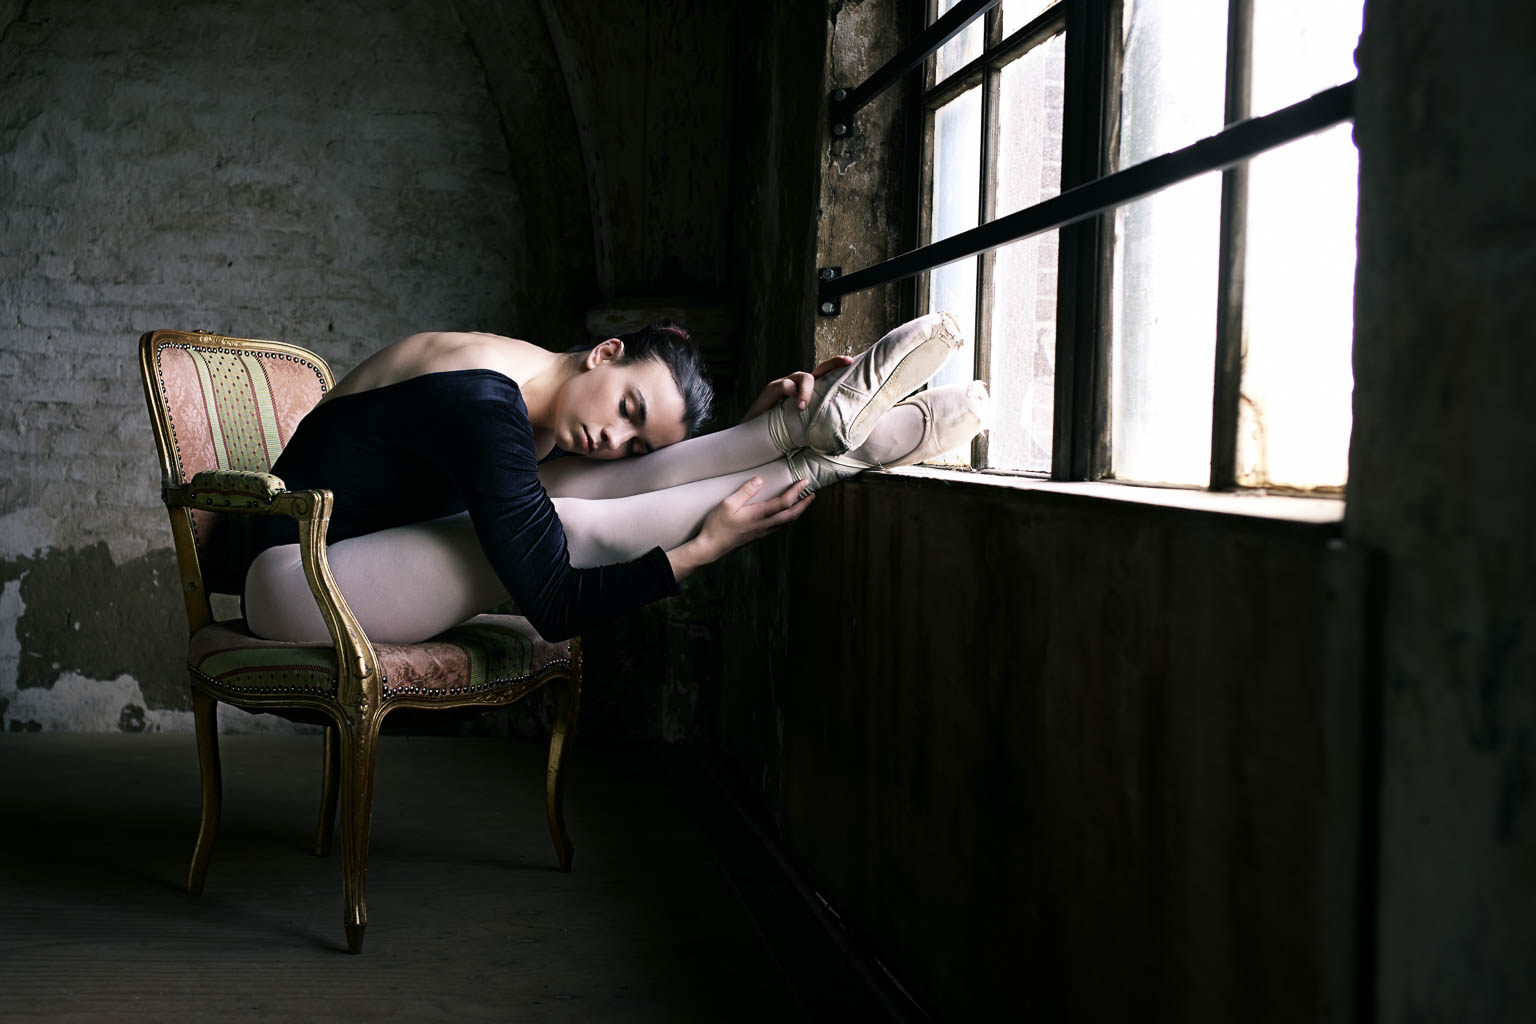
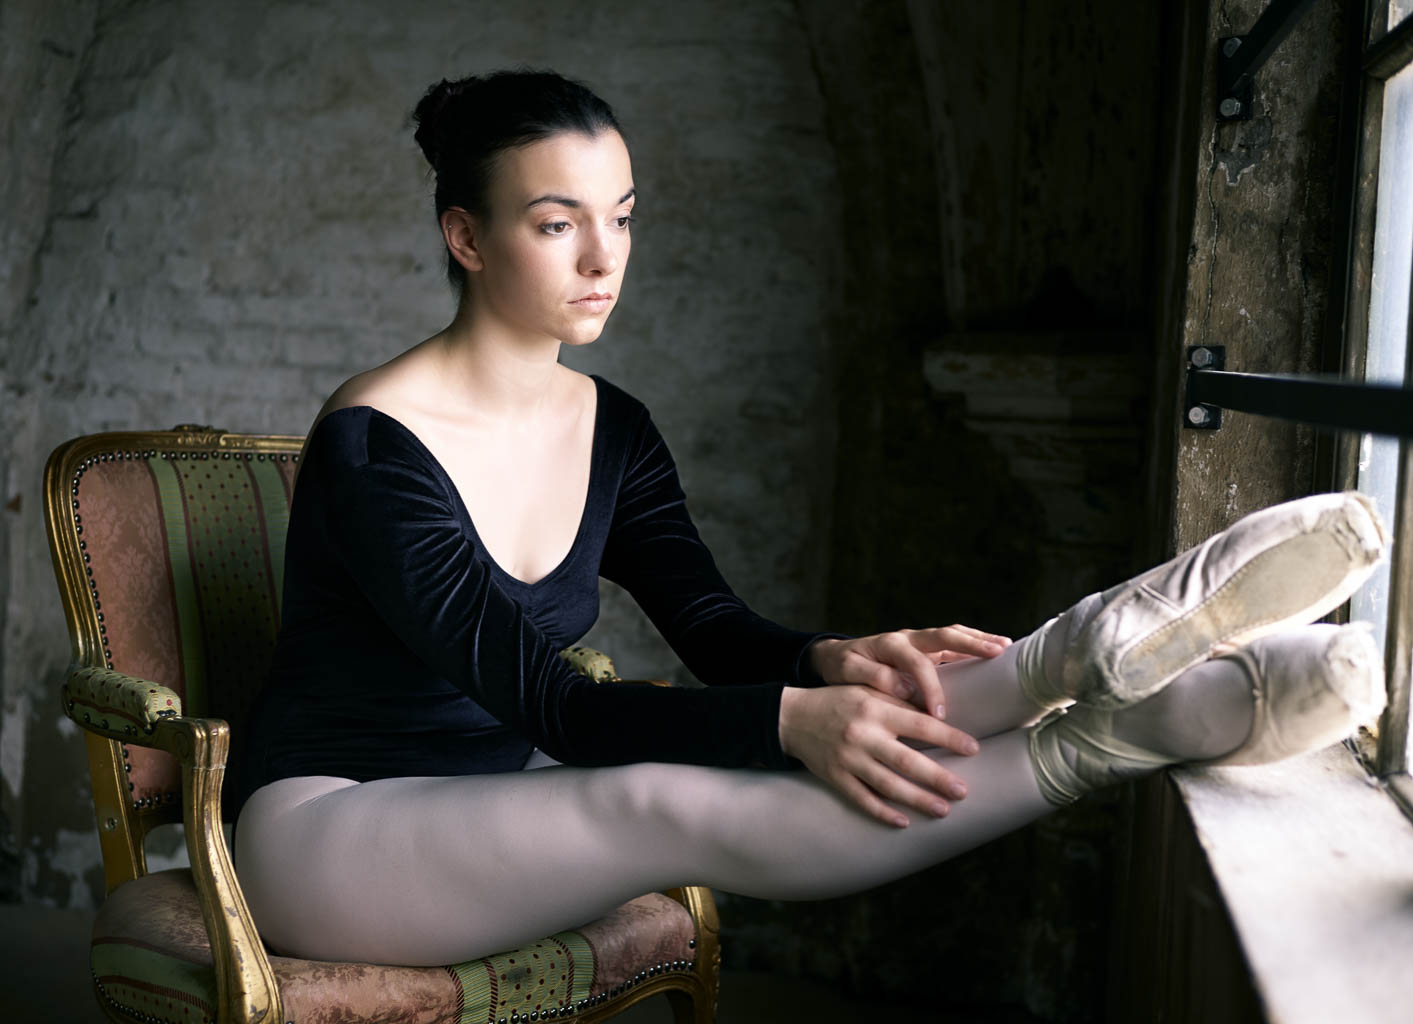
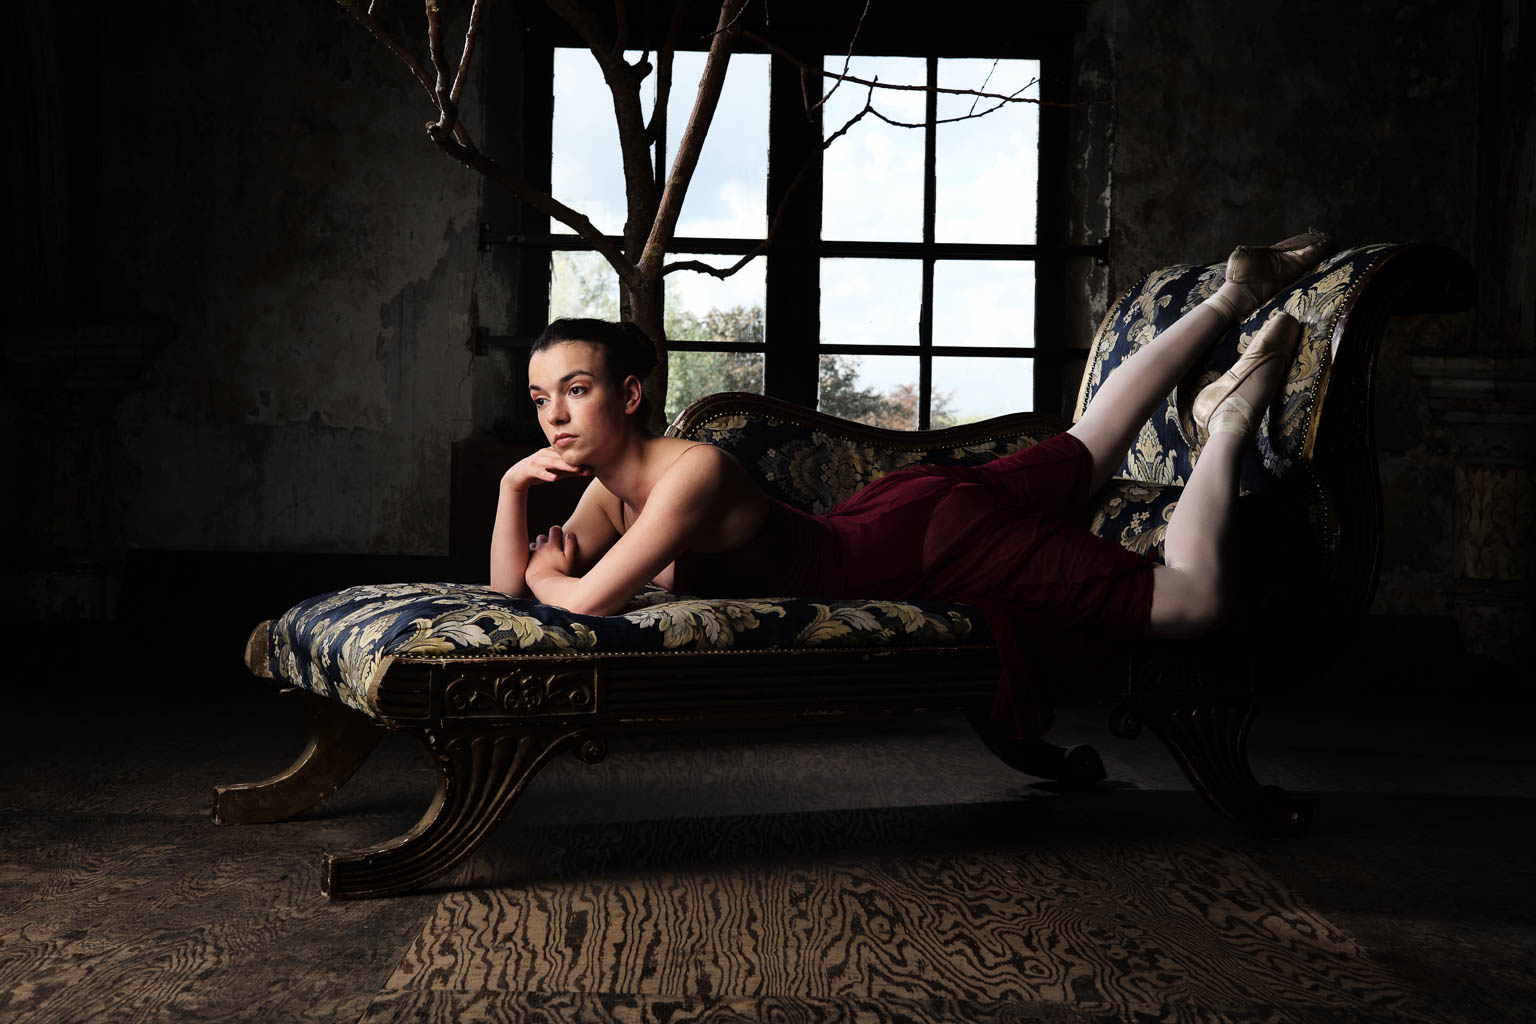
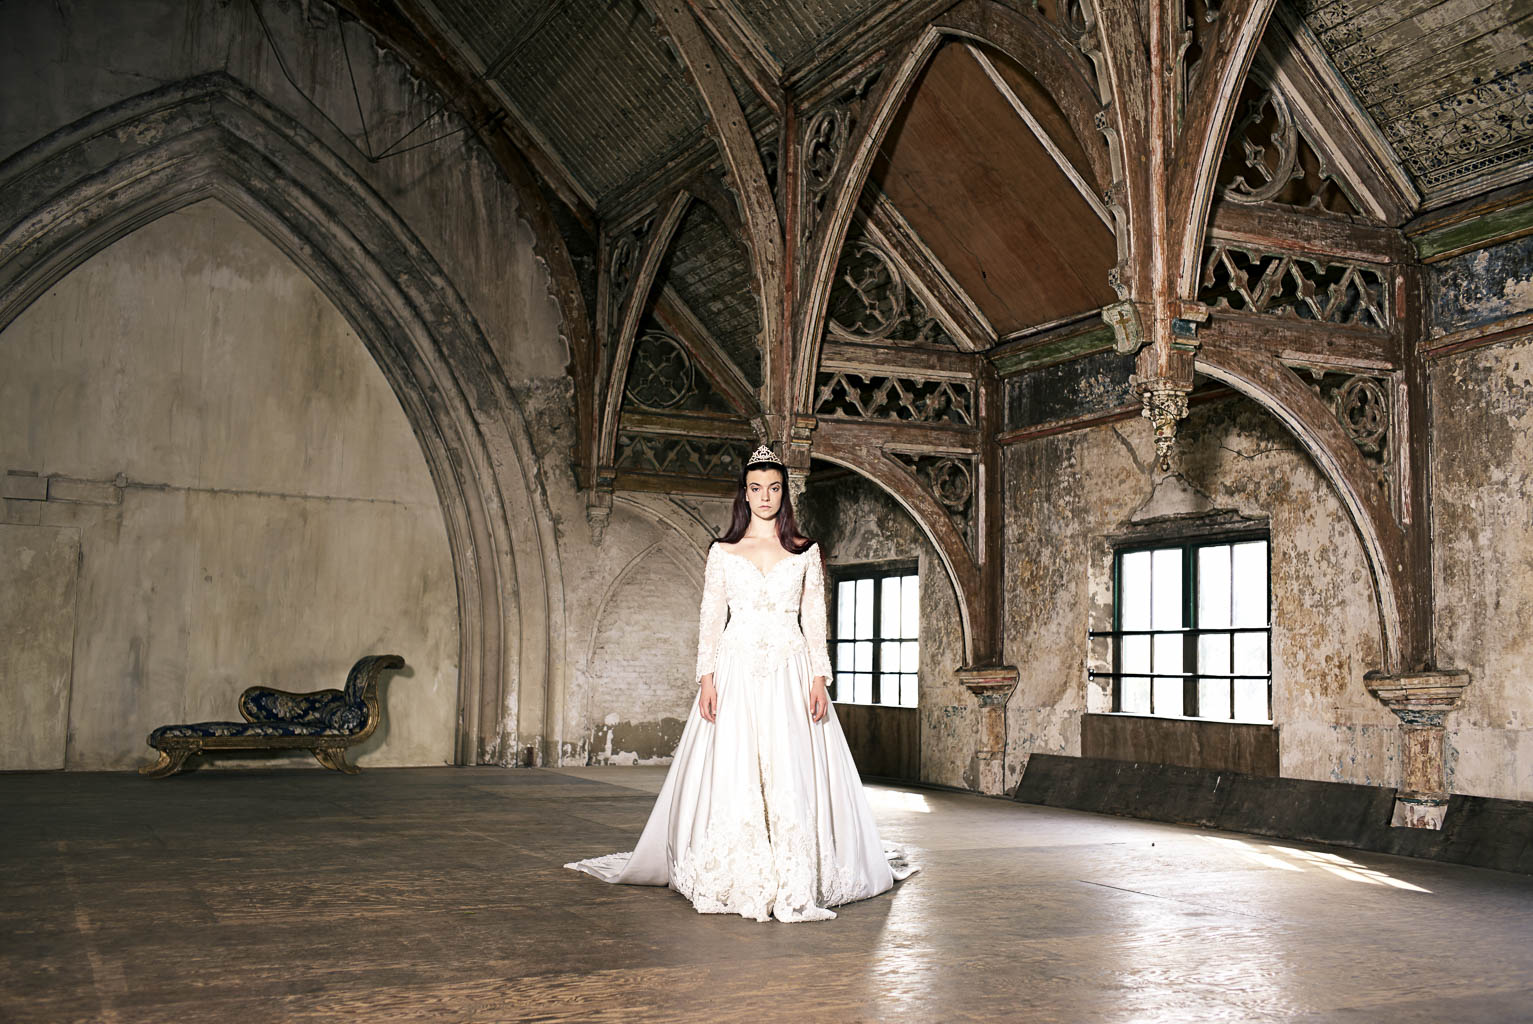
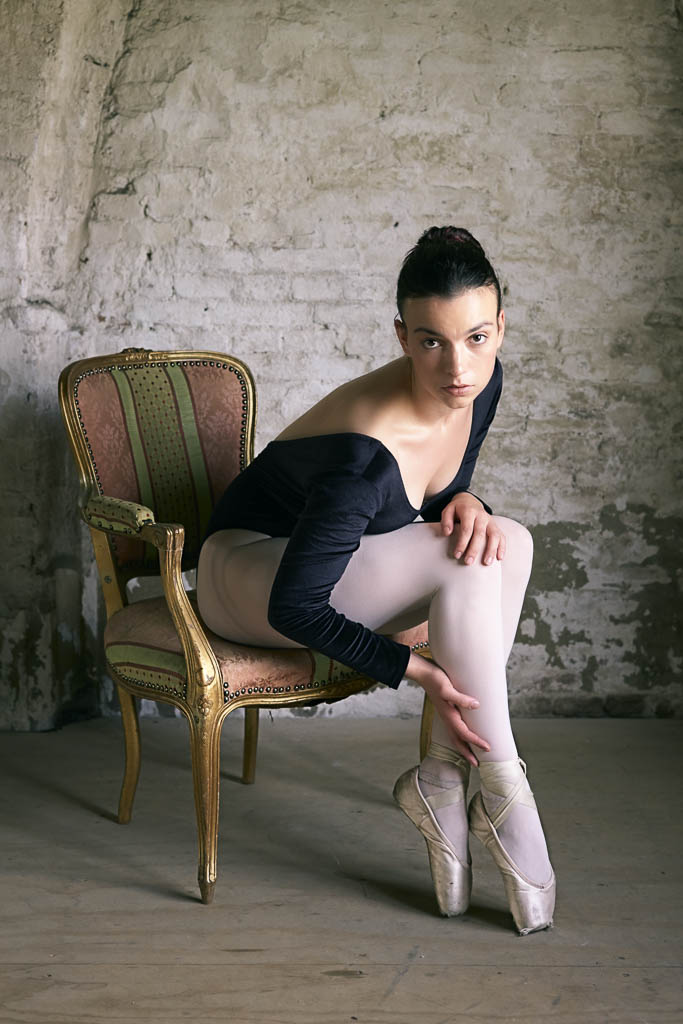
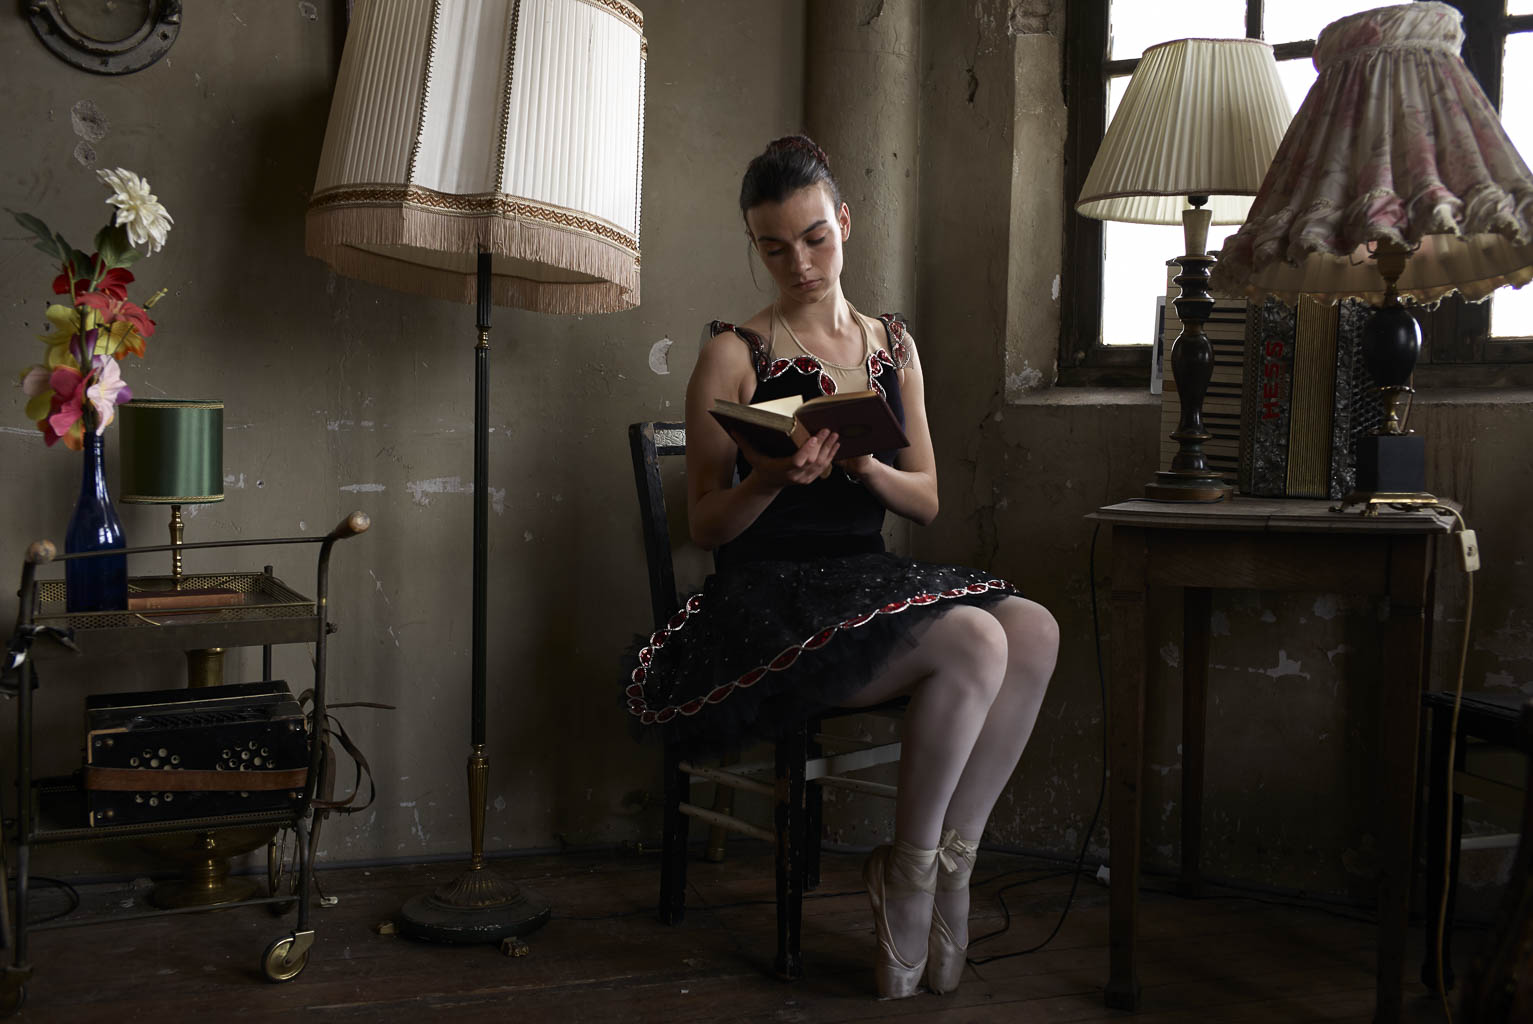
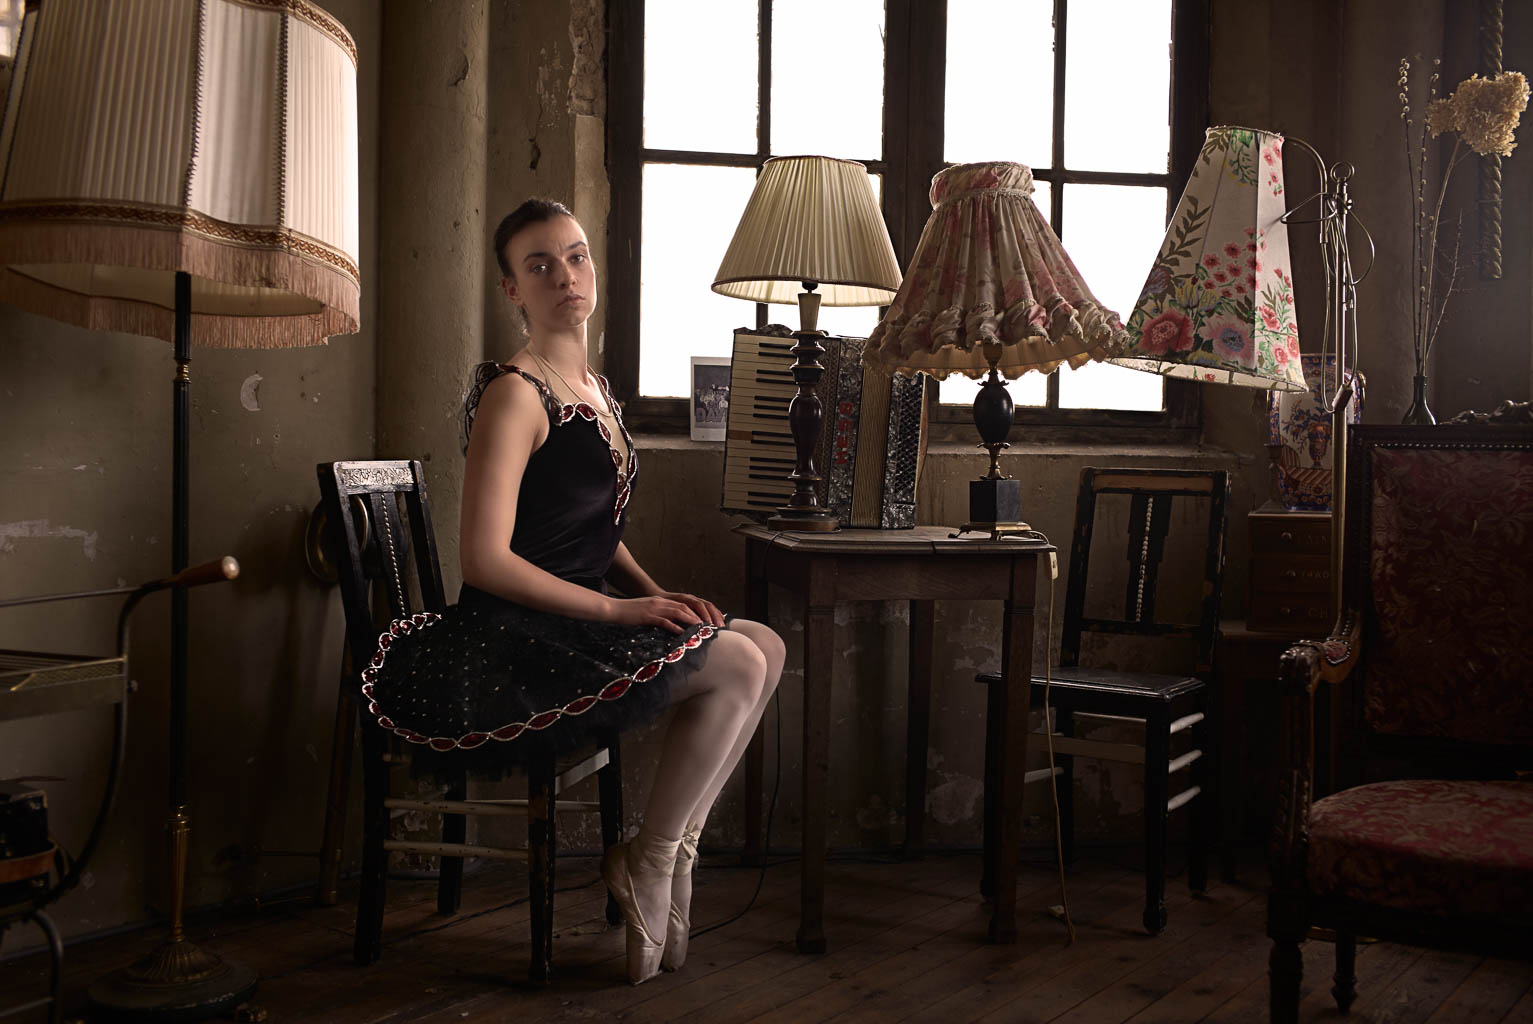
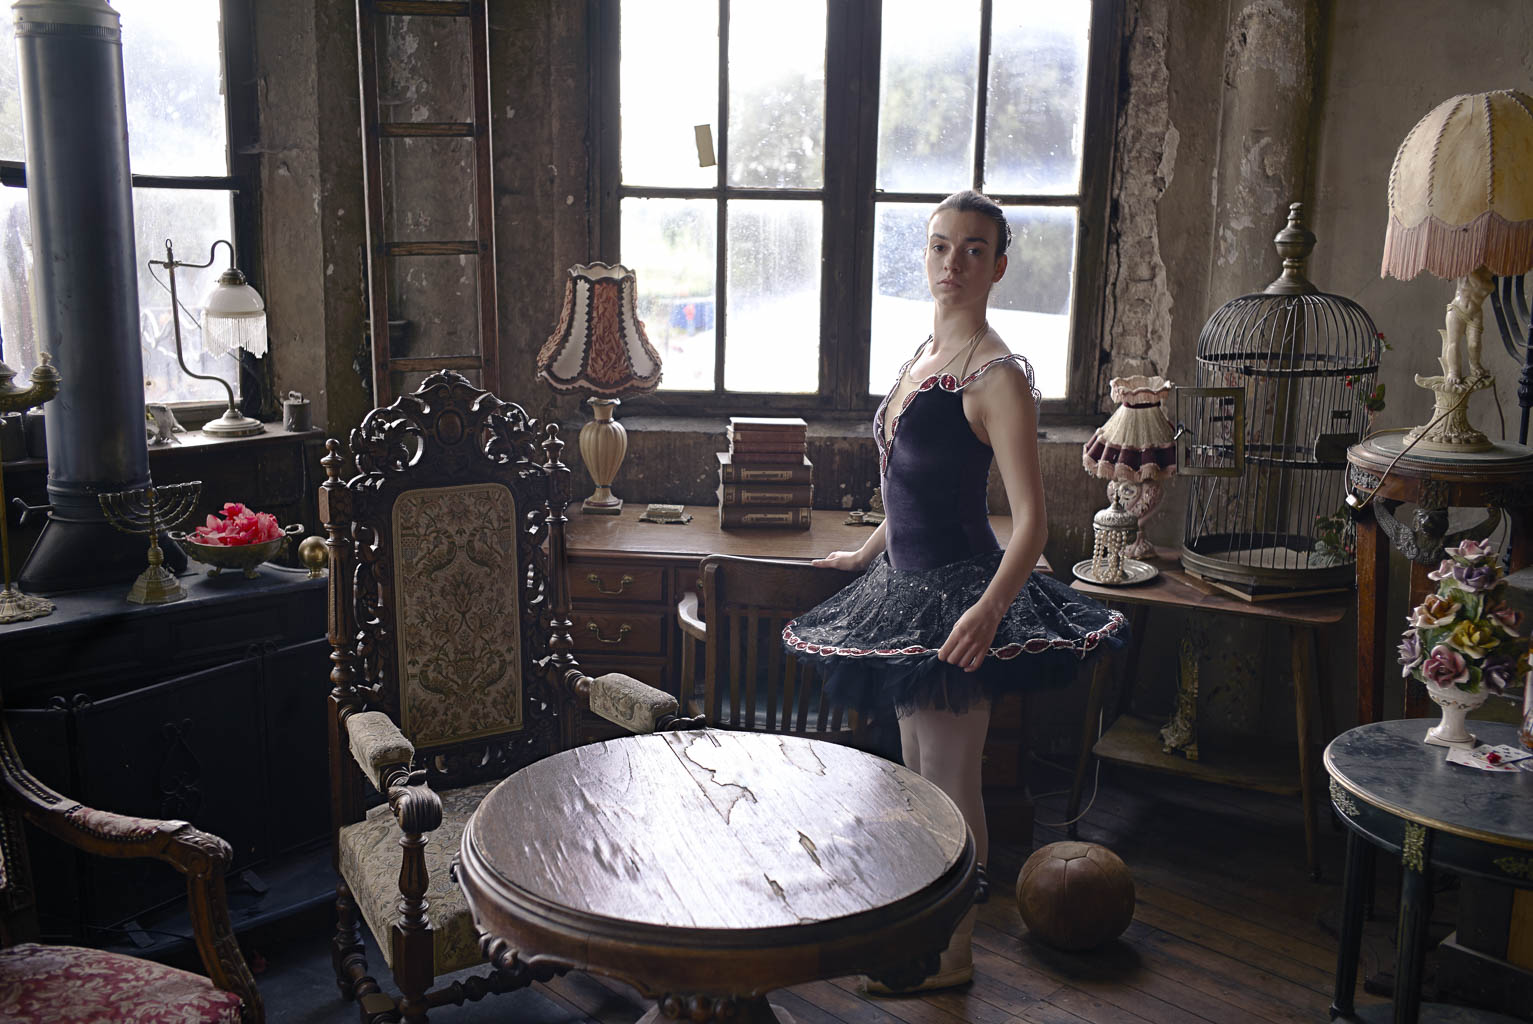
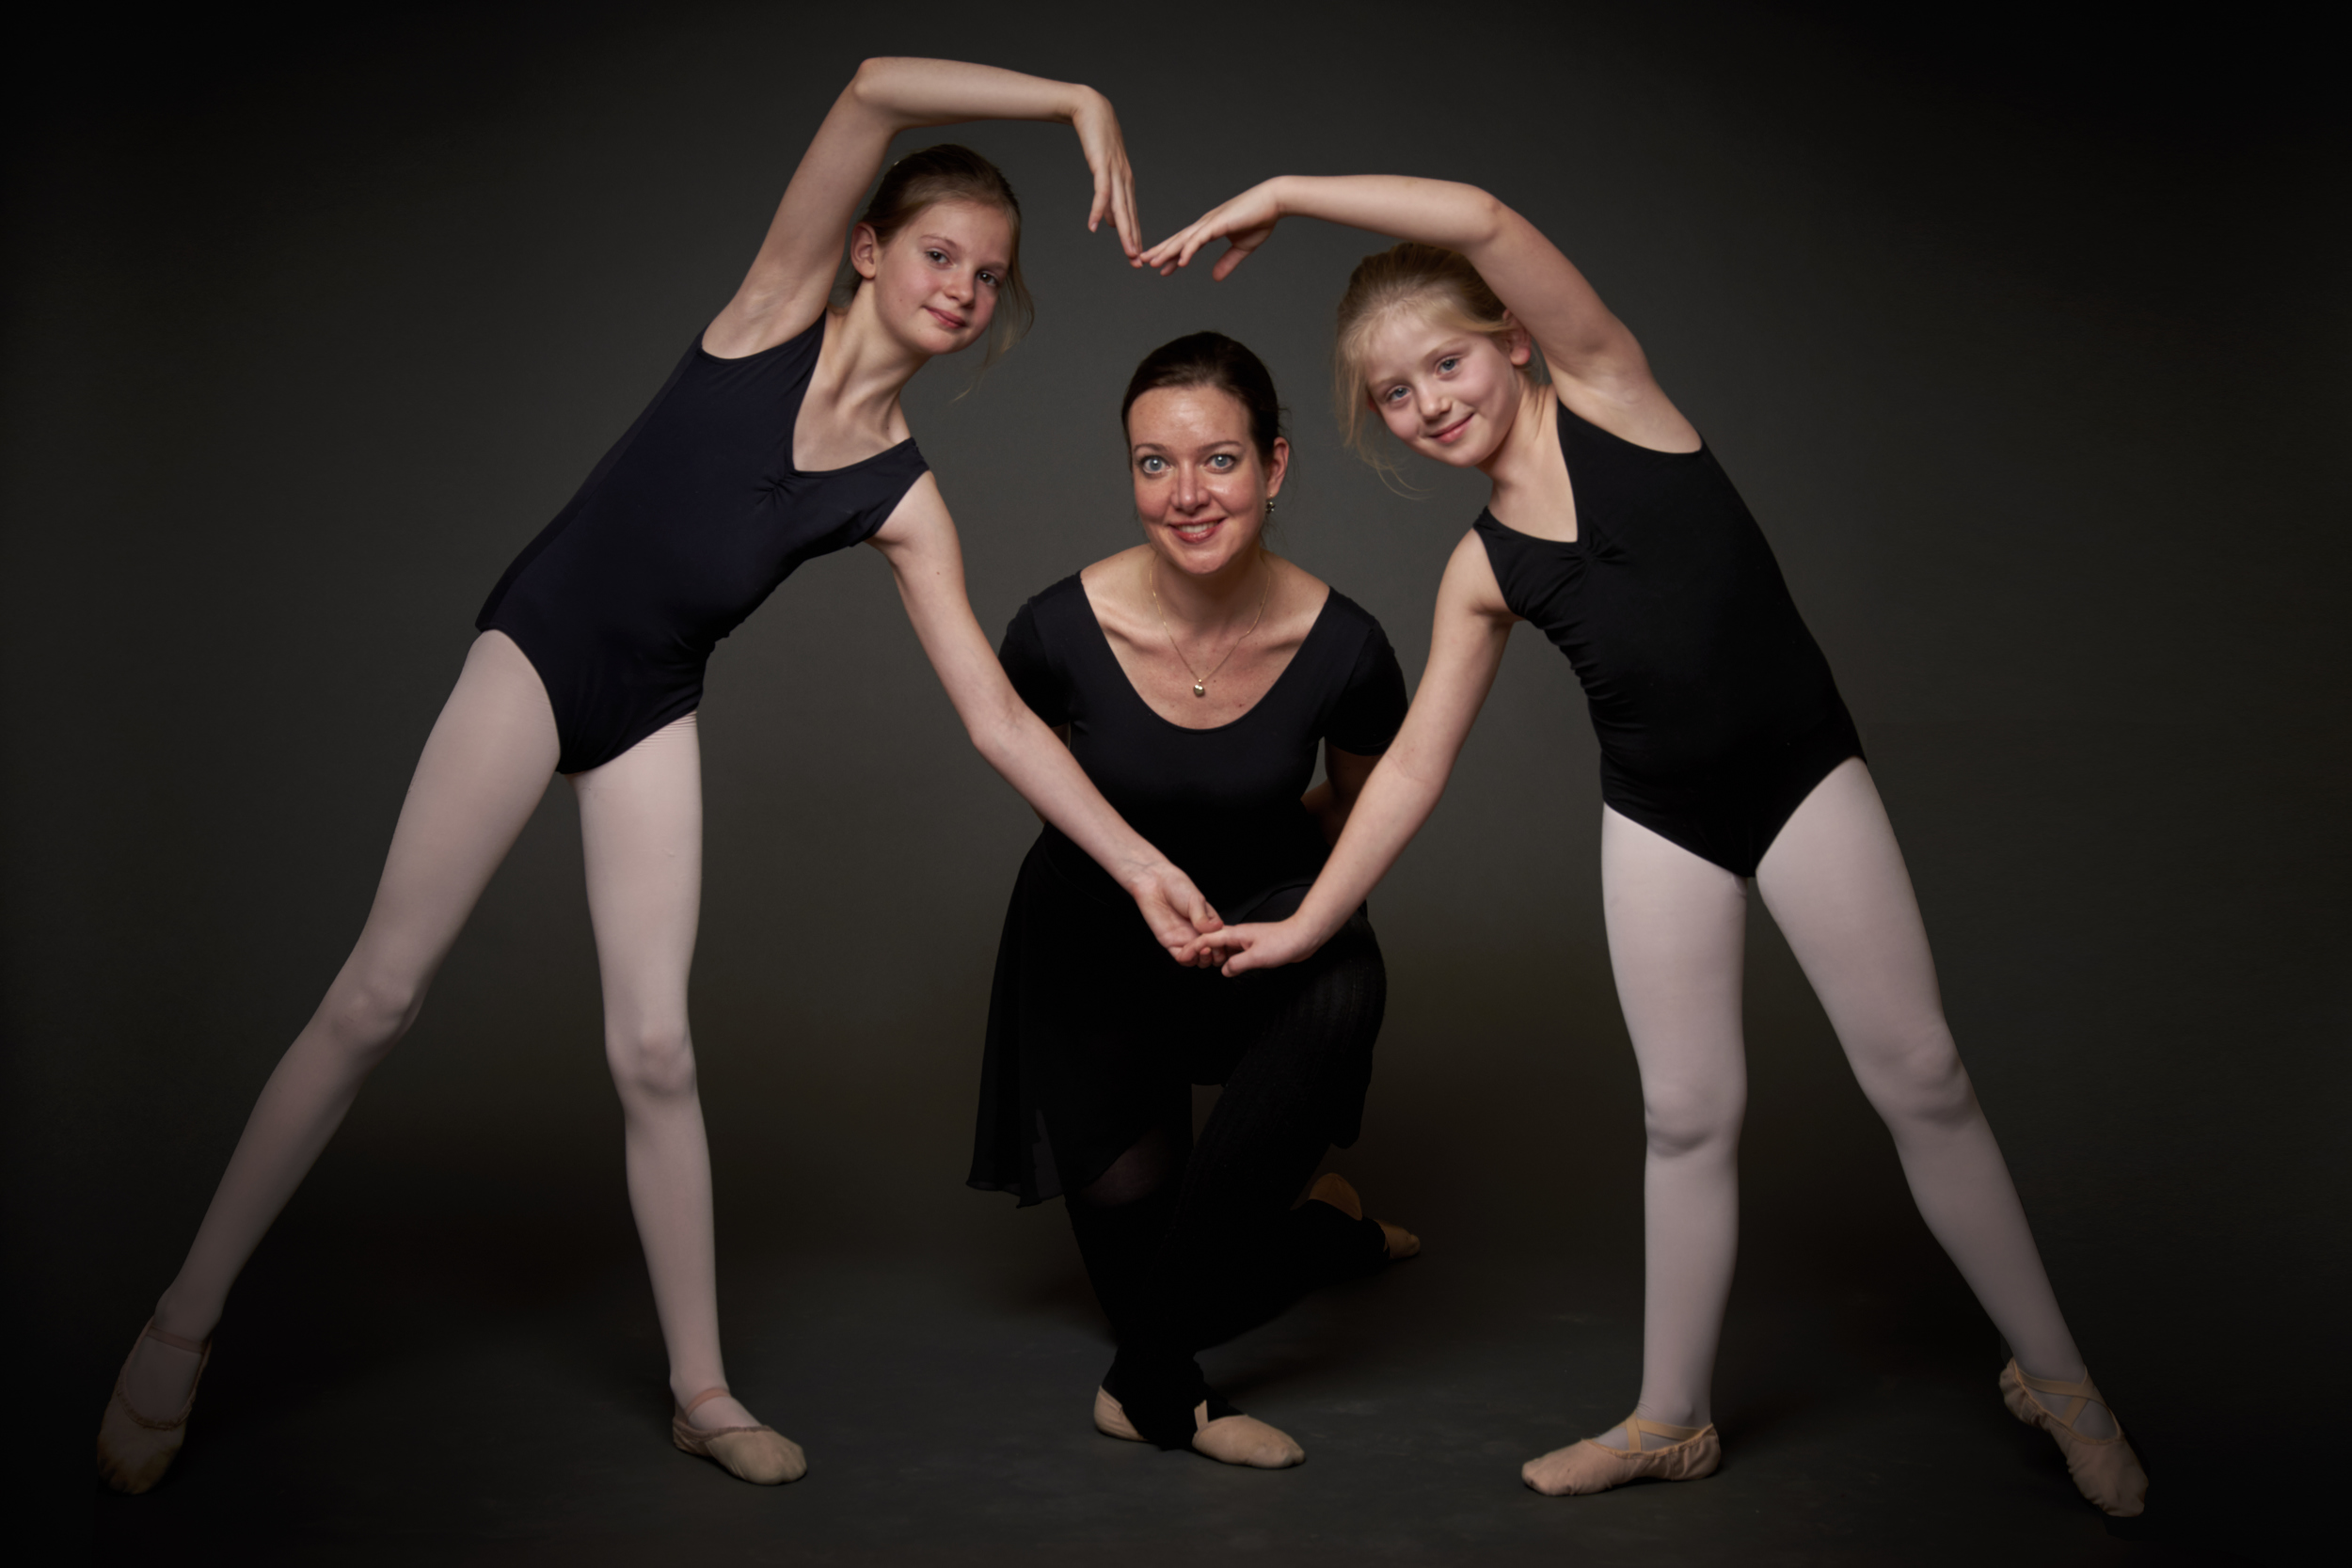
Balletschool Attitude 10th anniversary
Hi All,
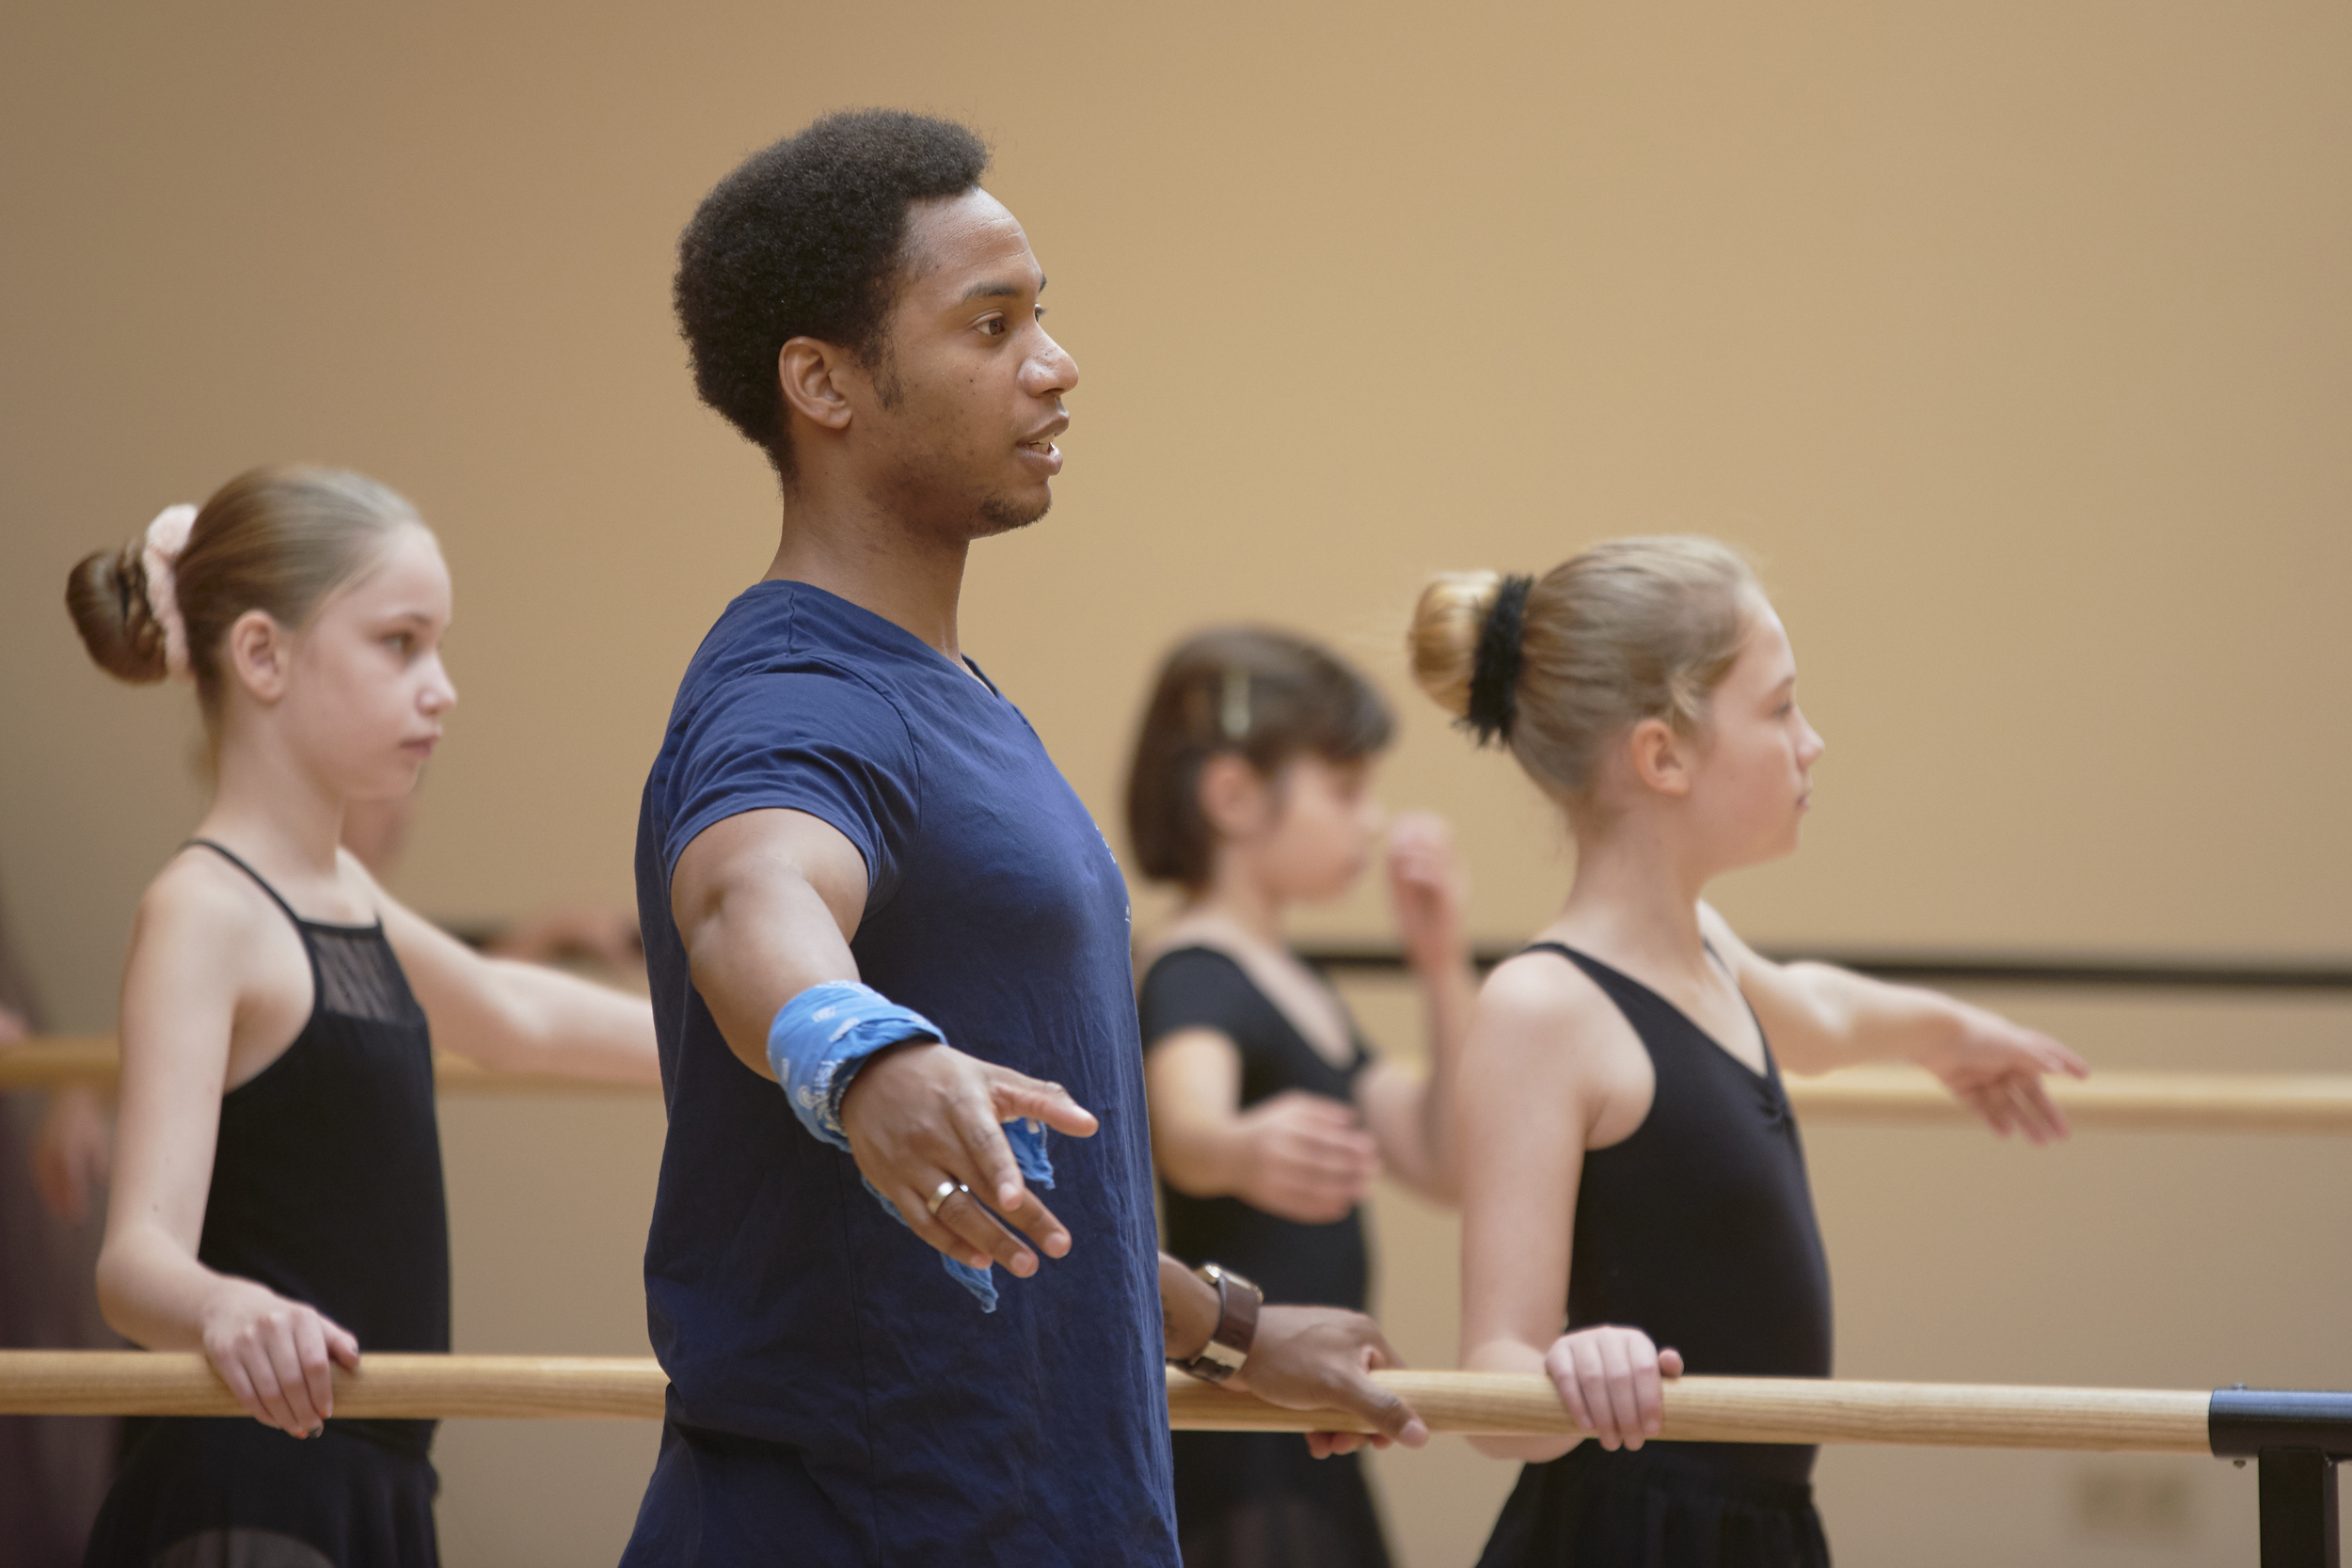
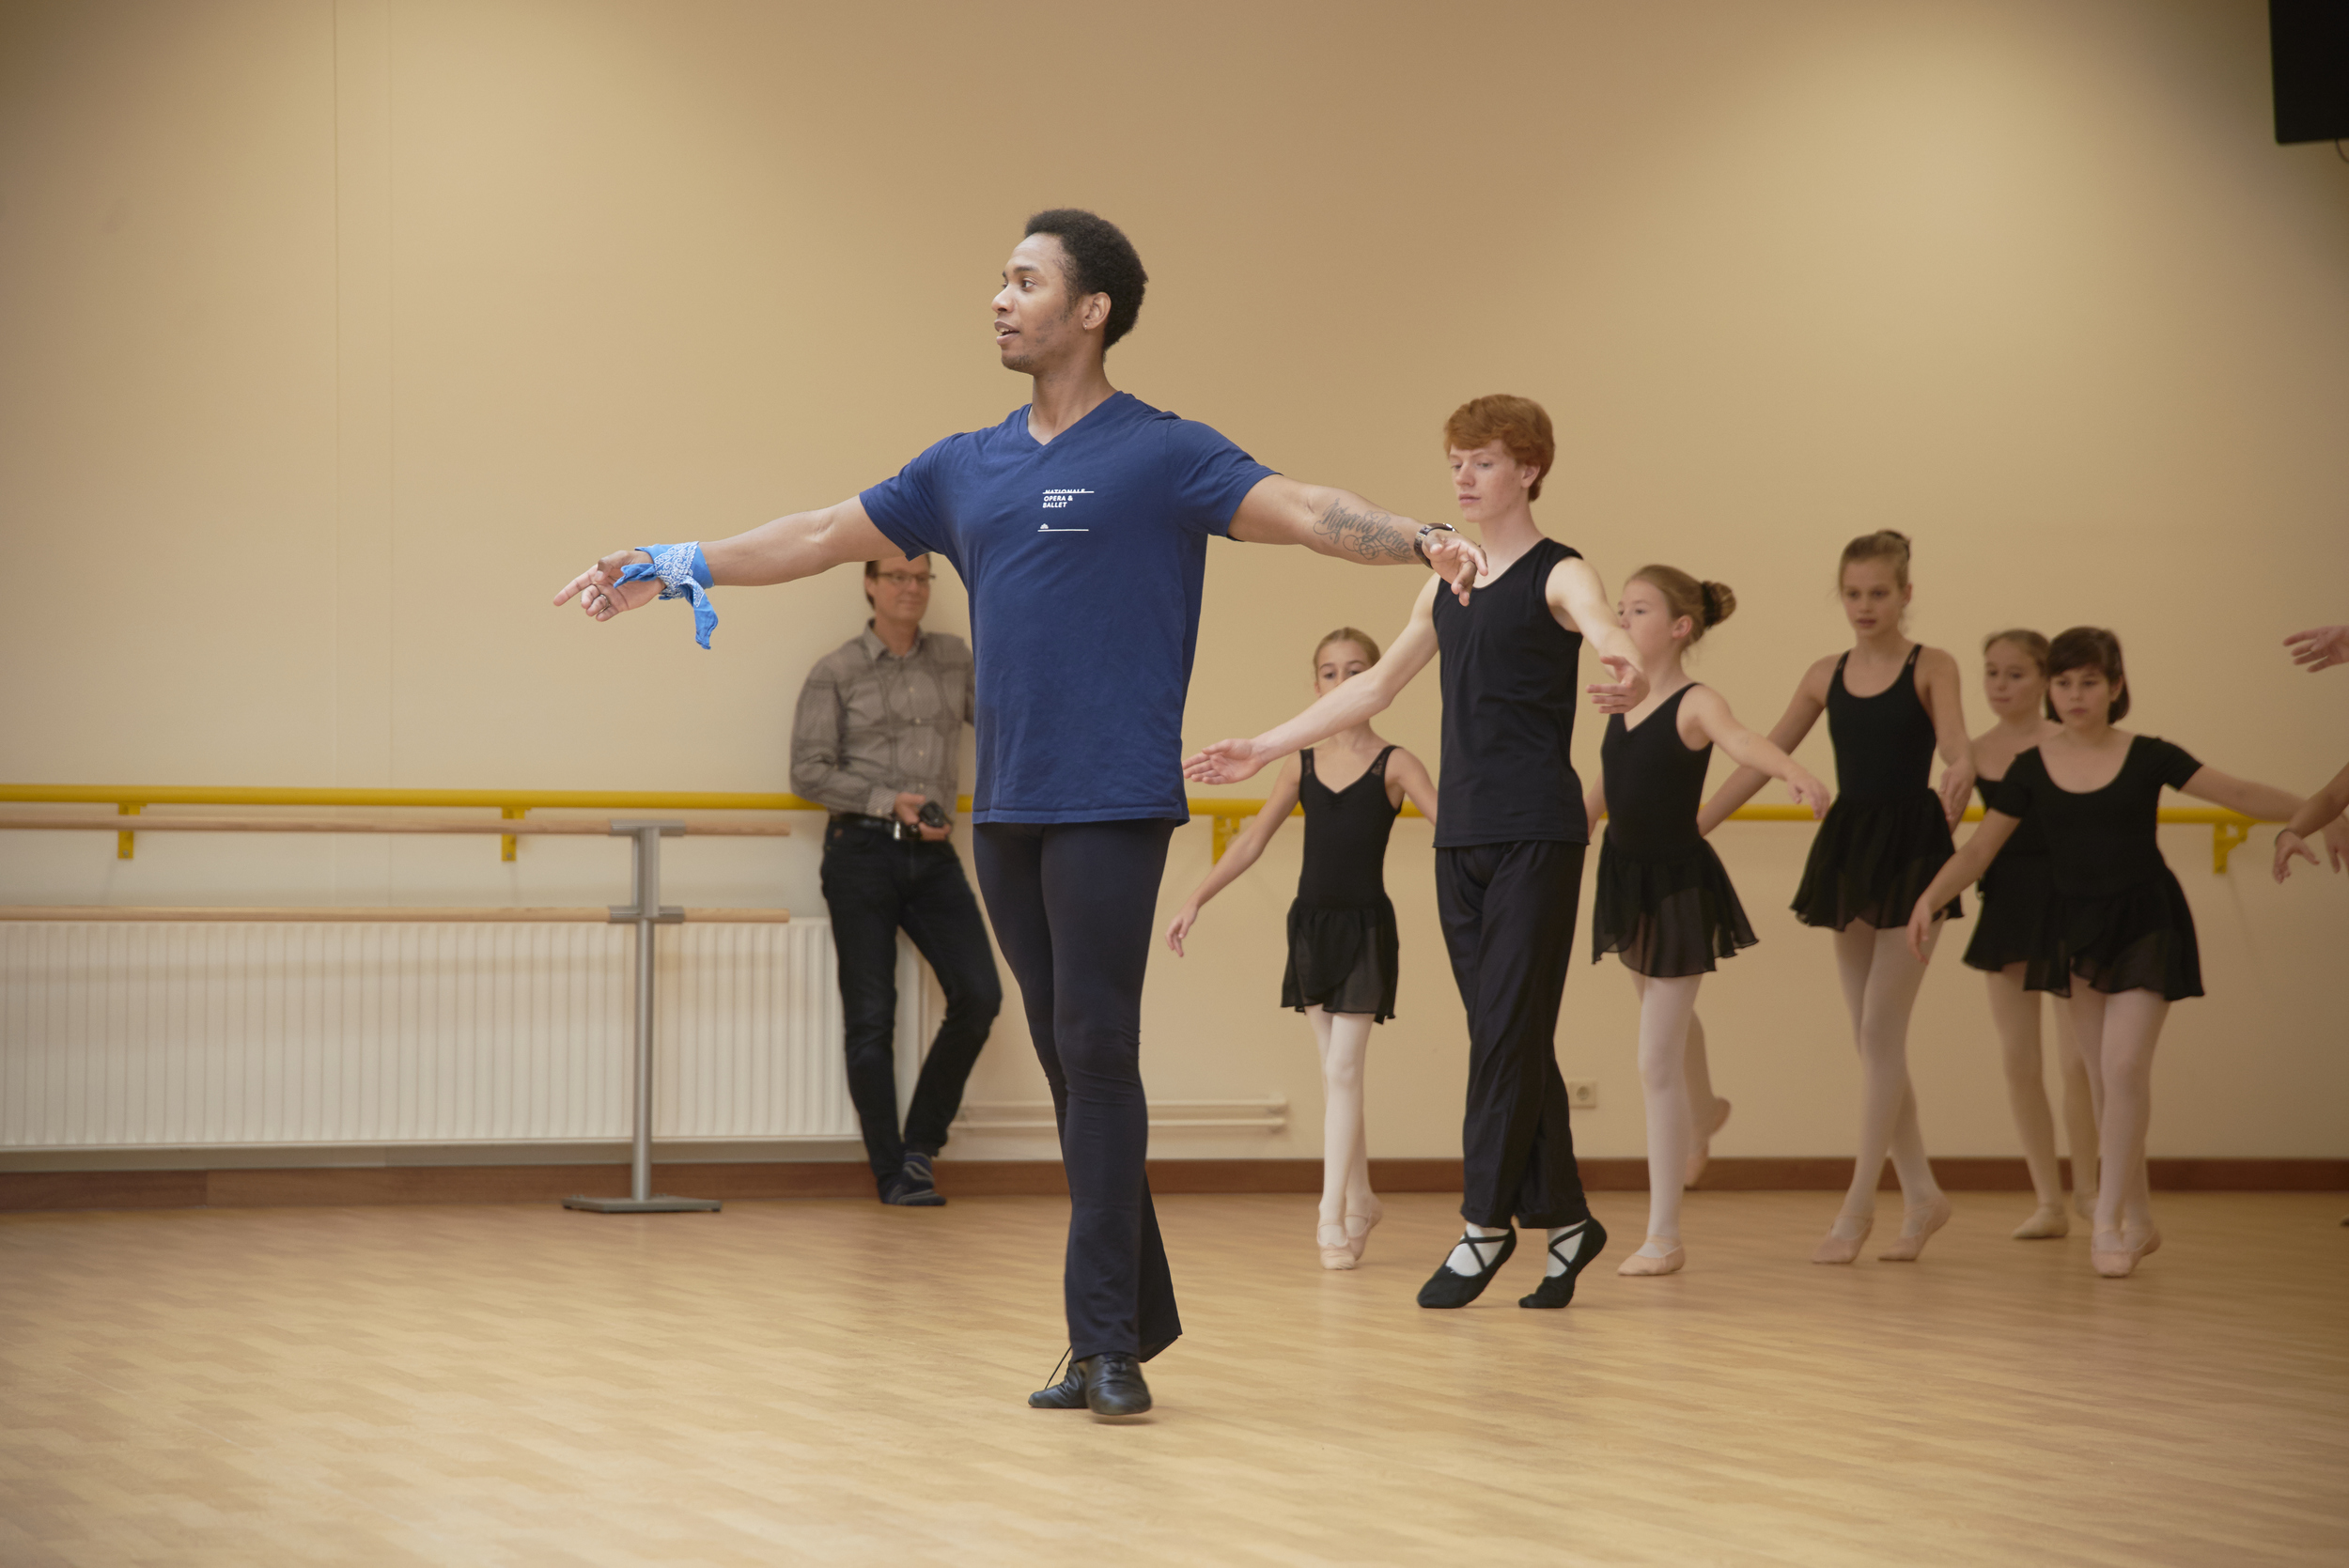
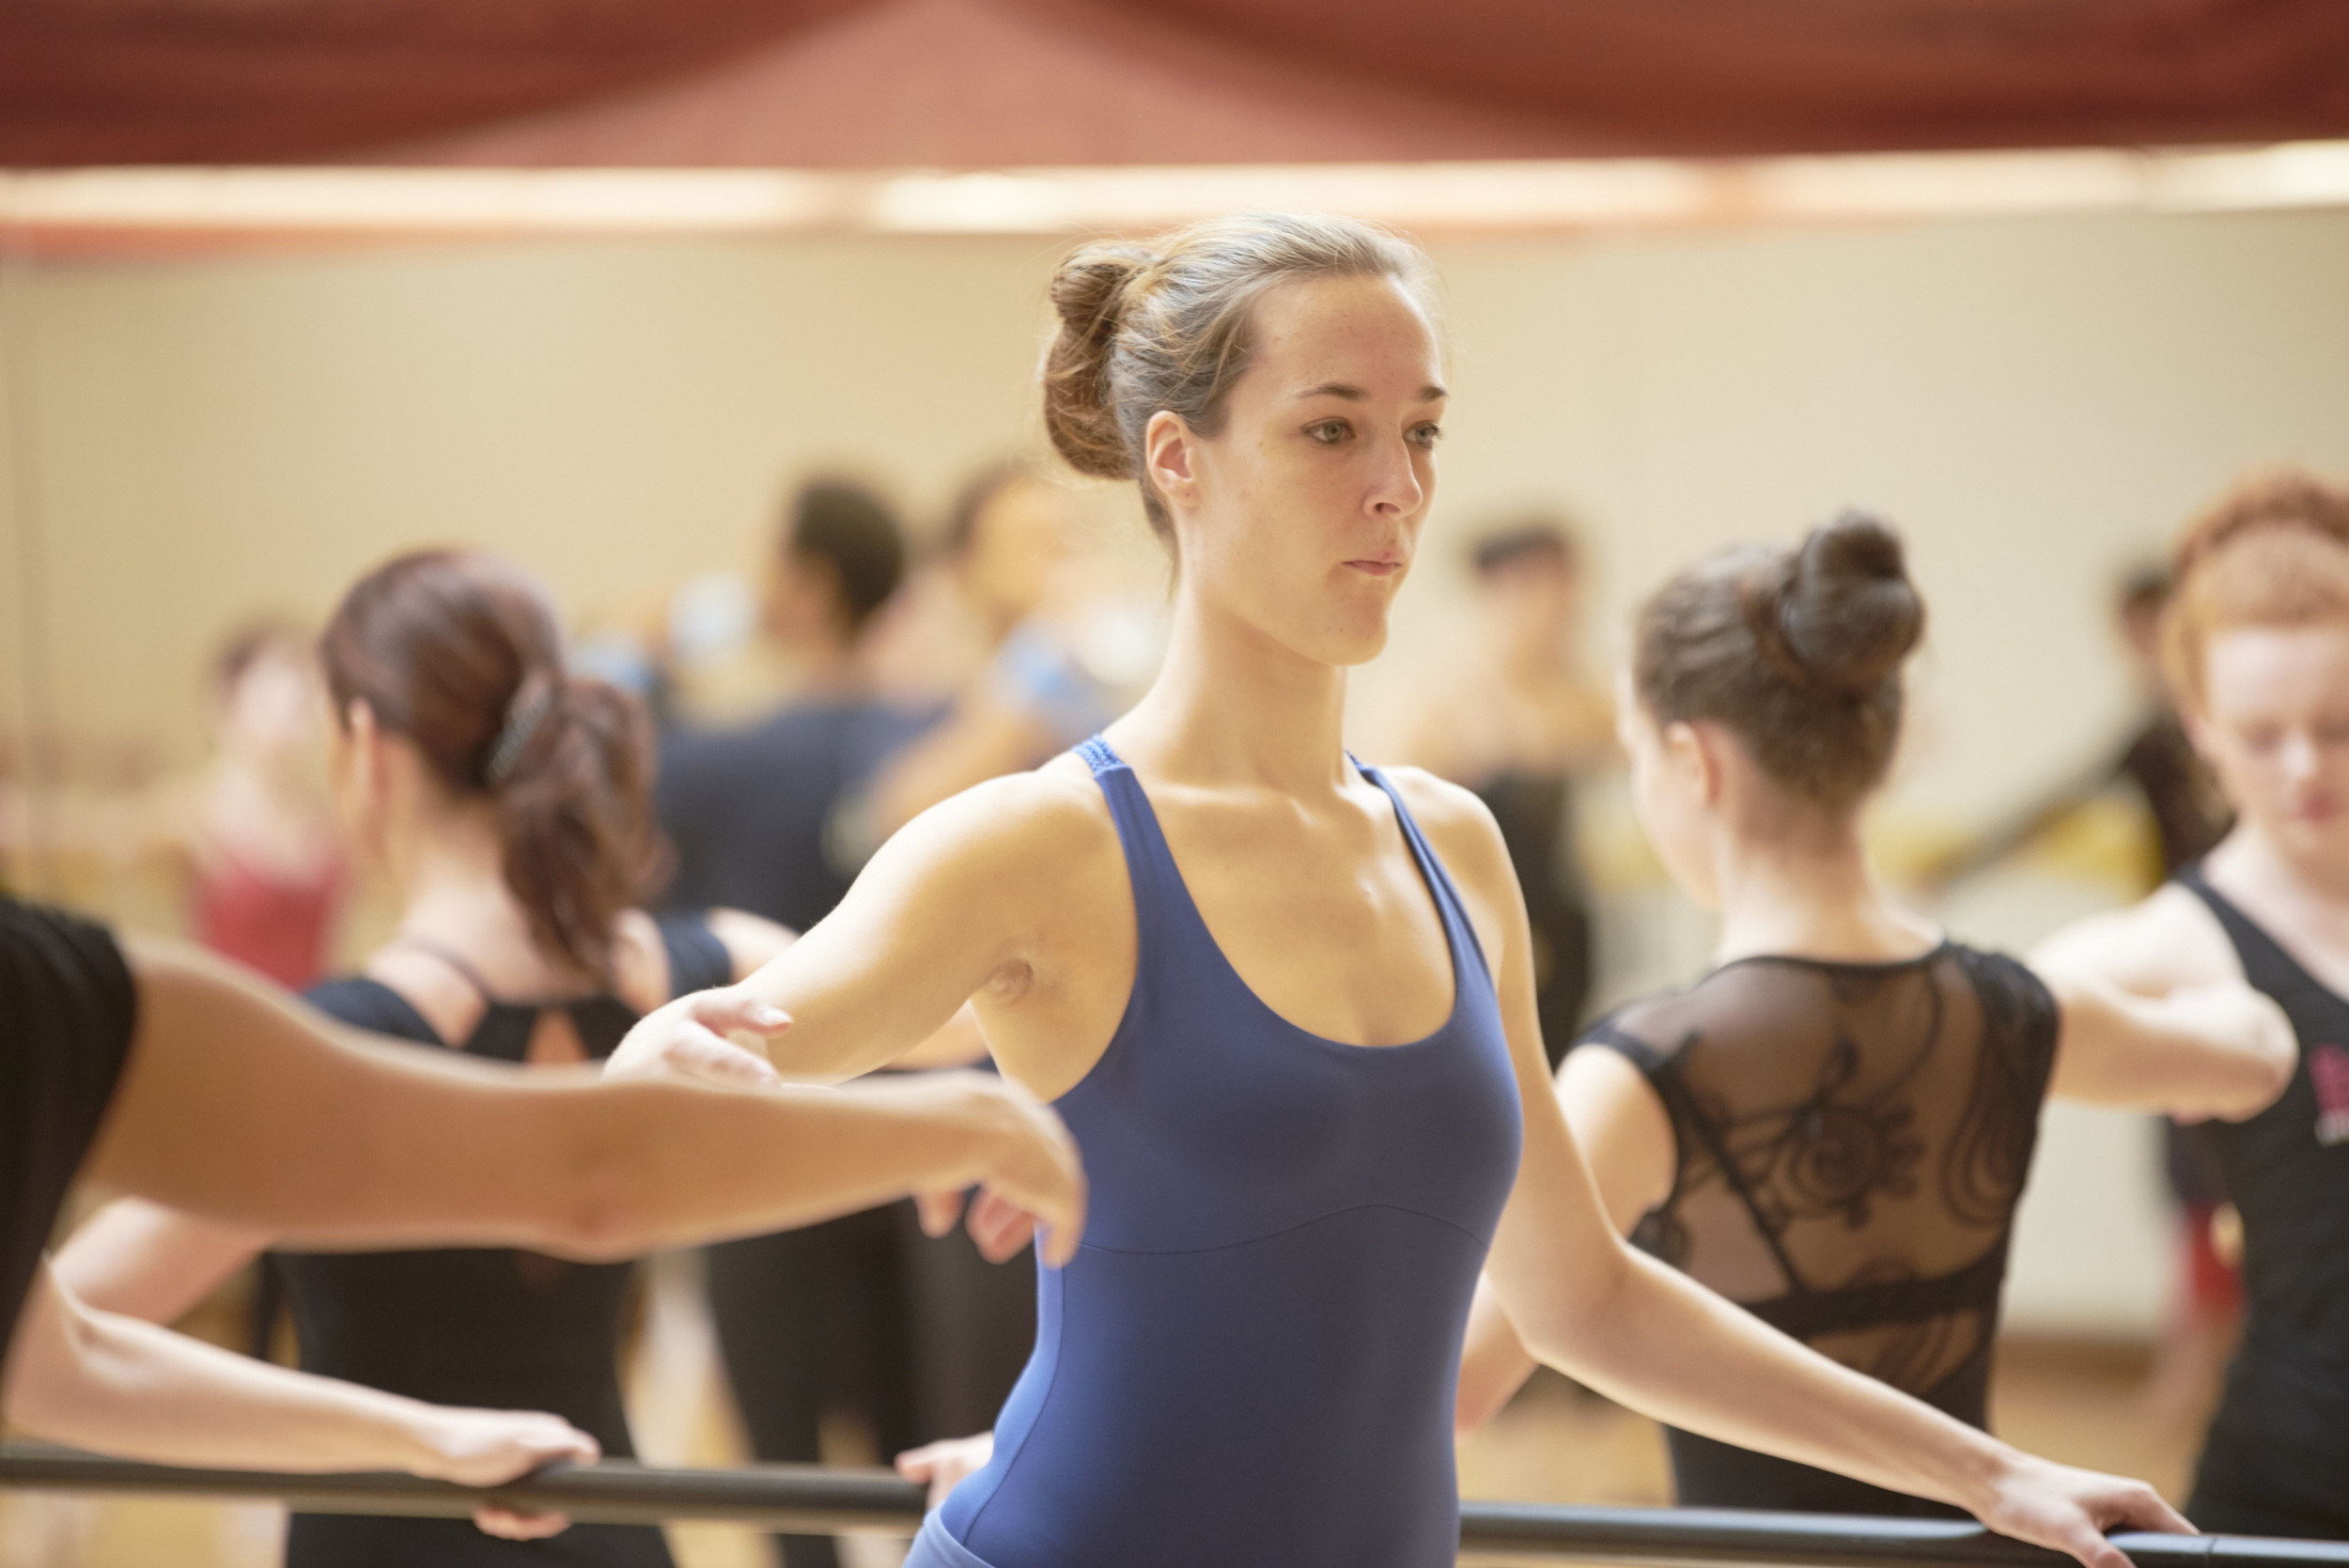
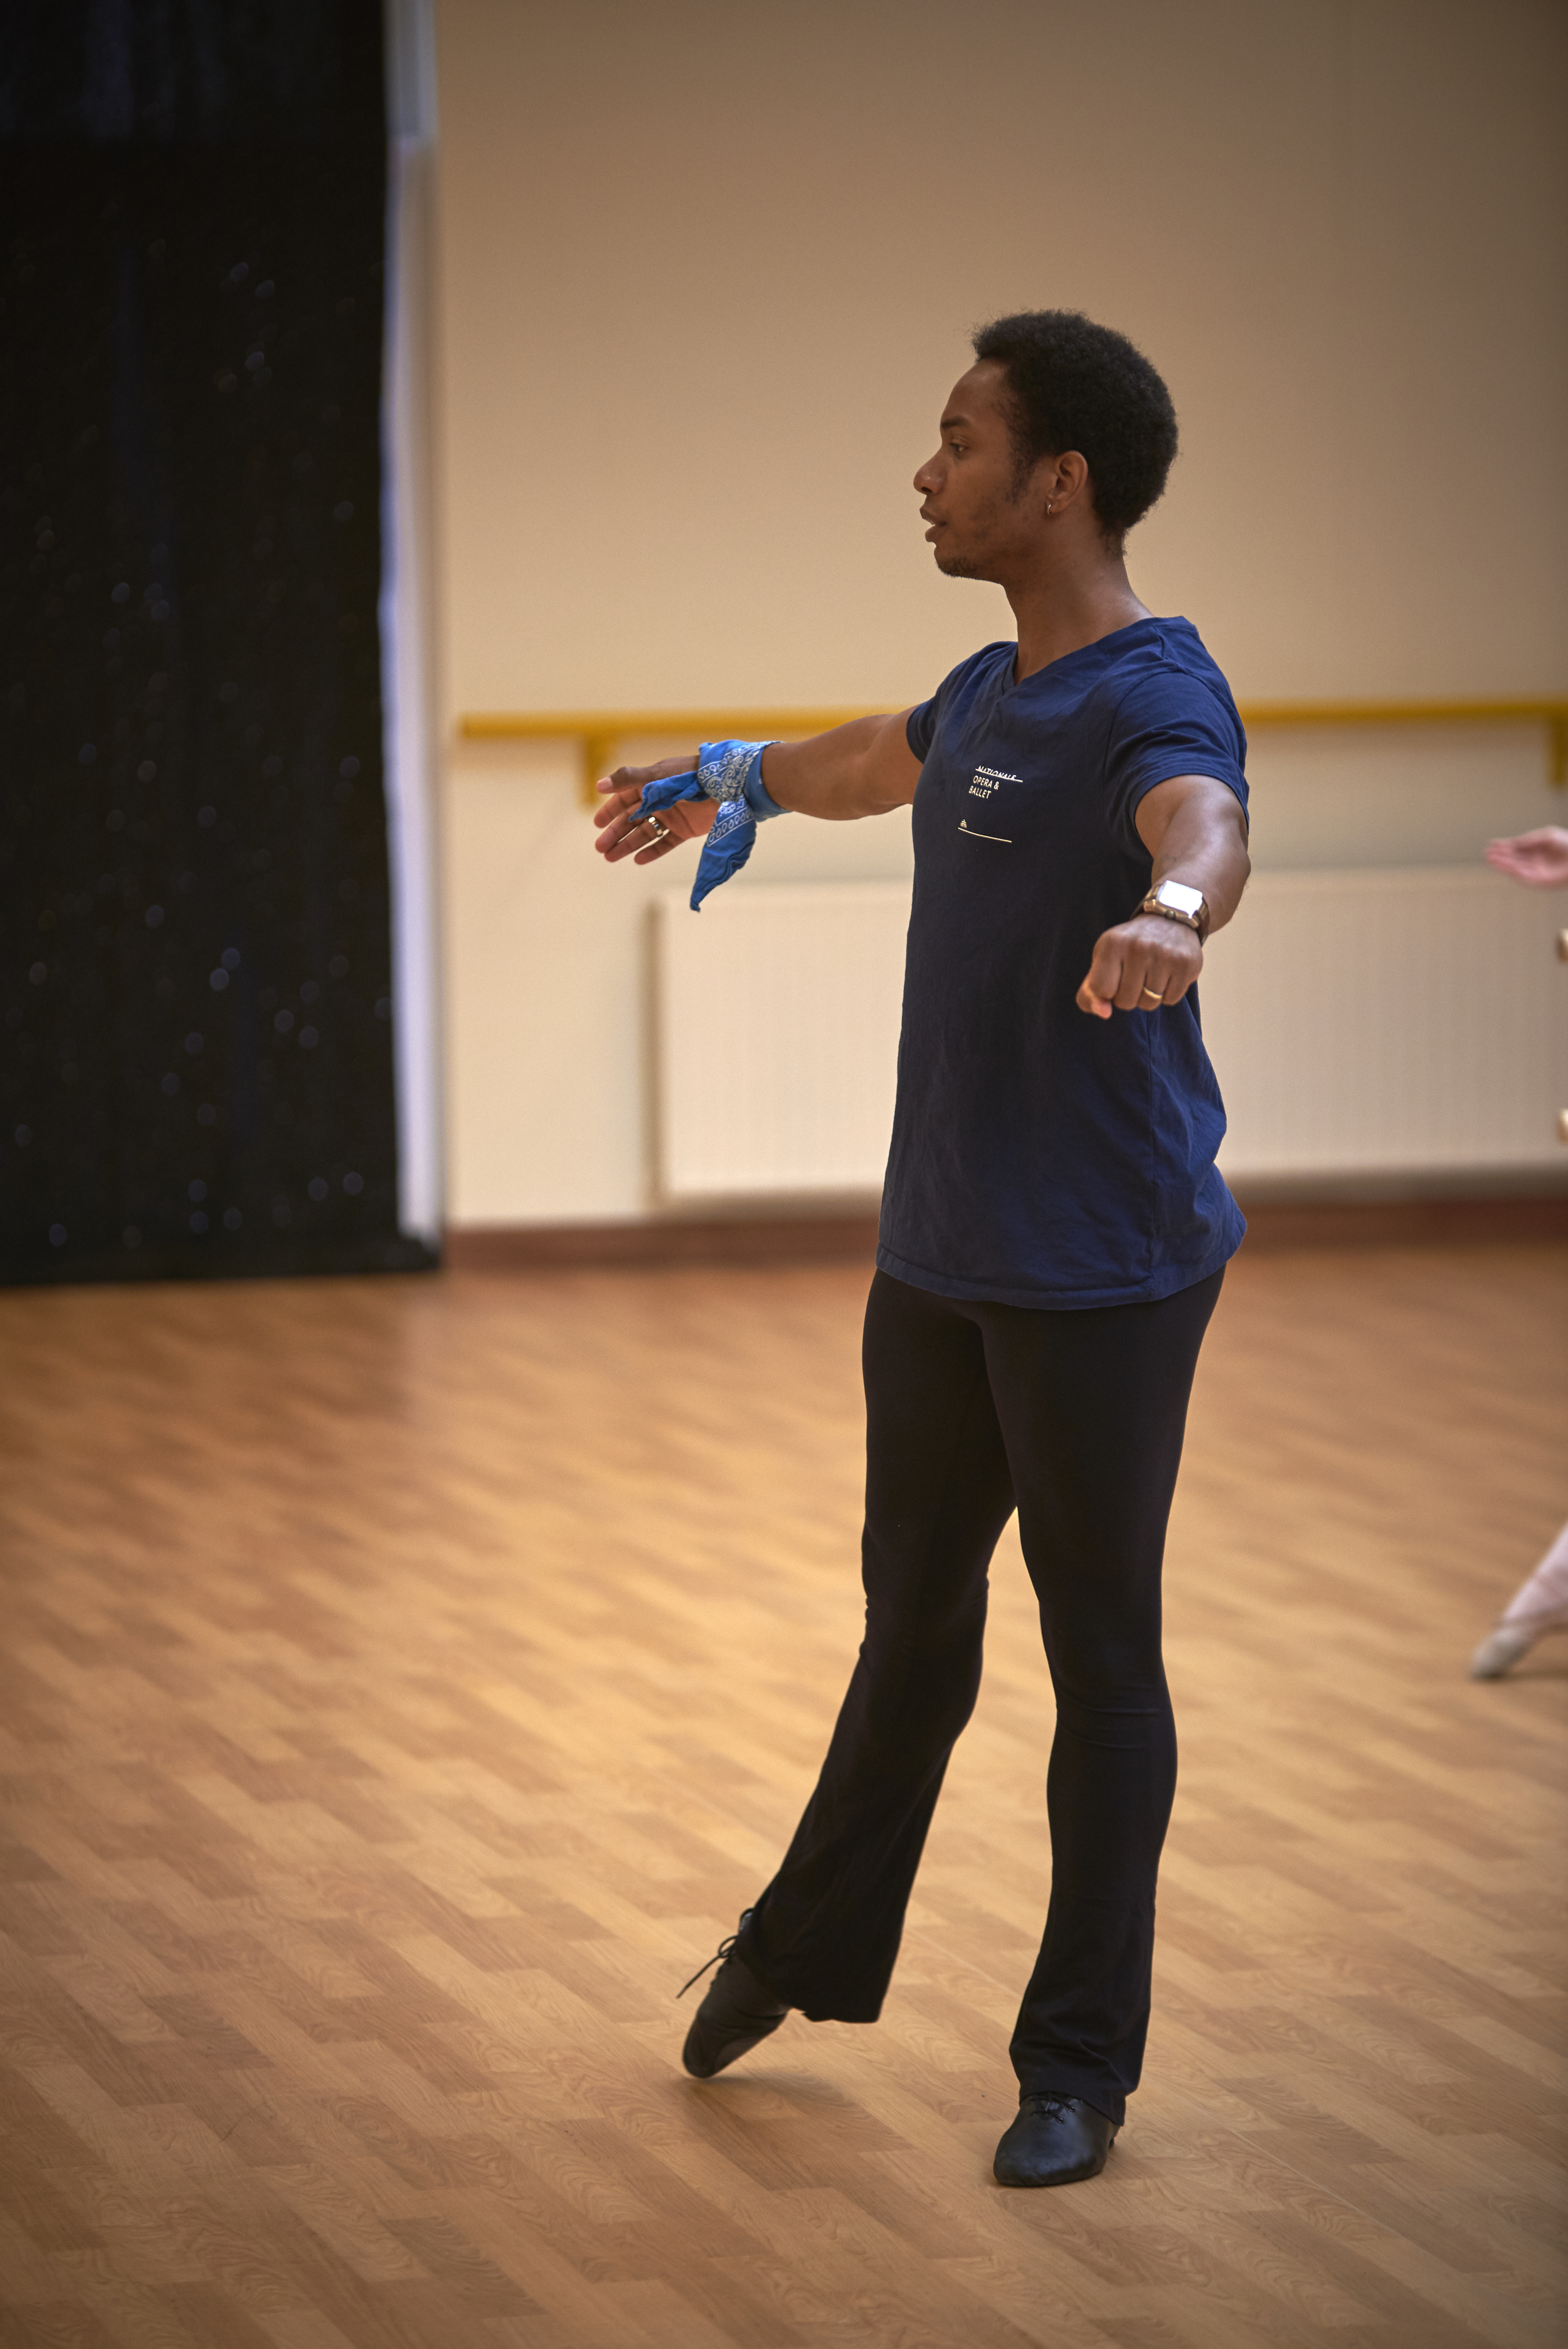
For all the people who where at the celebration of Balletschool Attitude in Bergen. I have posted all the picture from the classes and the portraits on my Oypo account and you can view and other them there. Click HERE to go to the Oypo folder
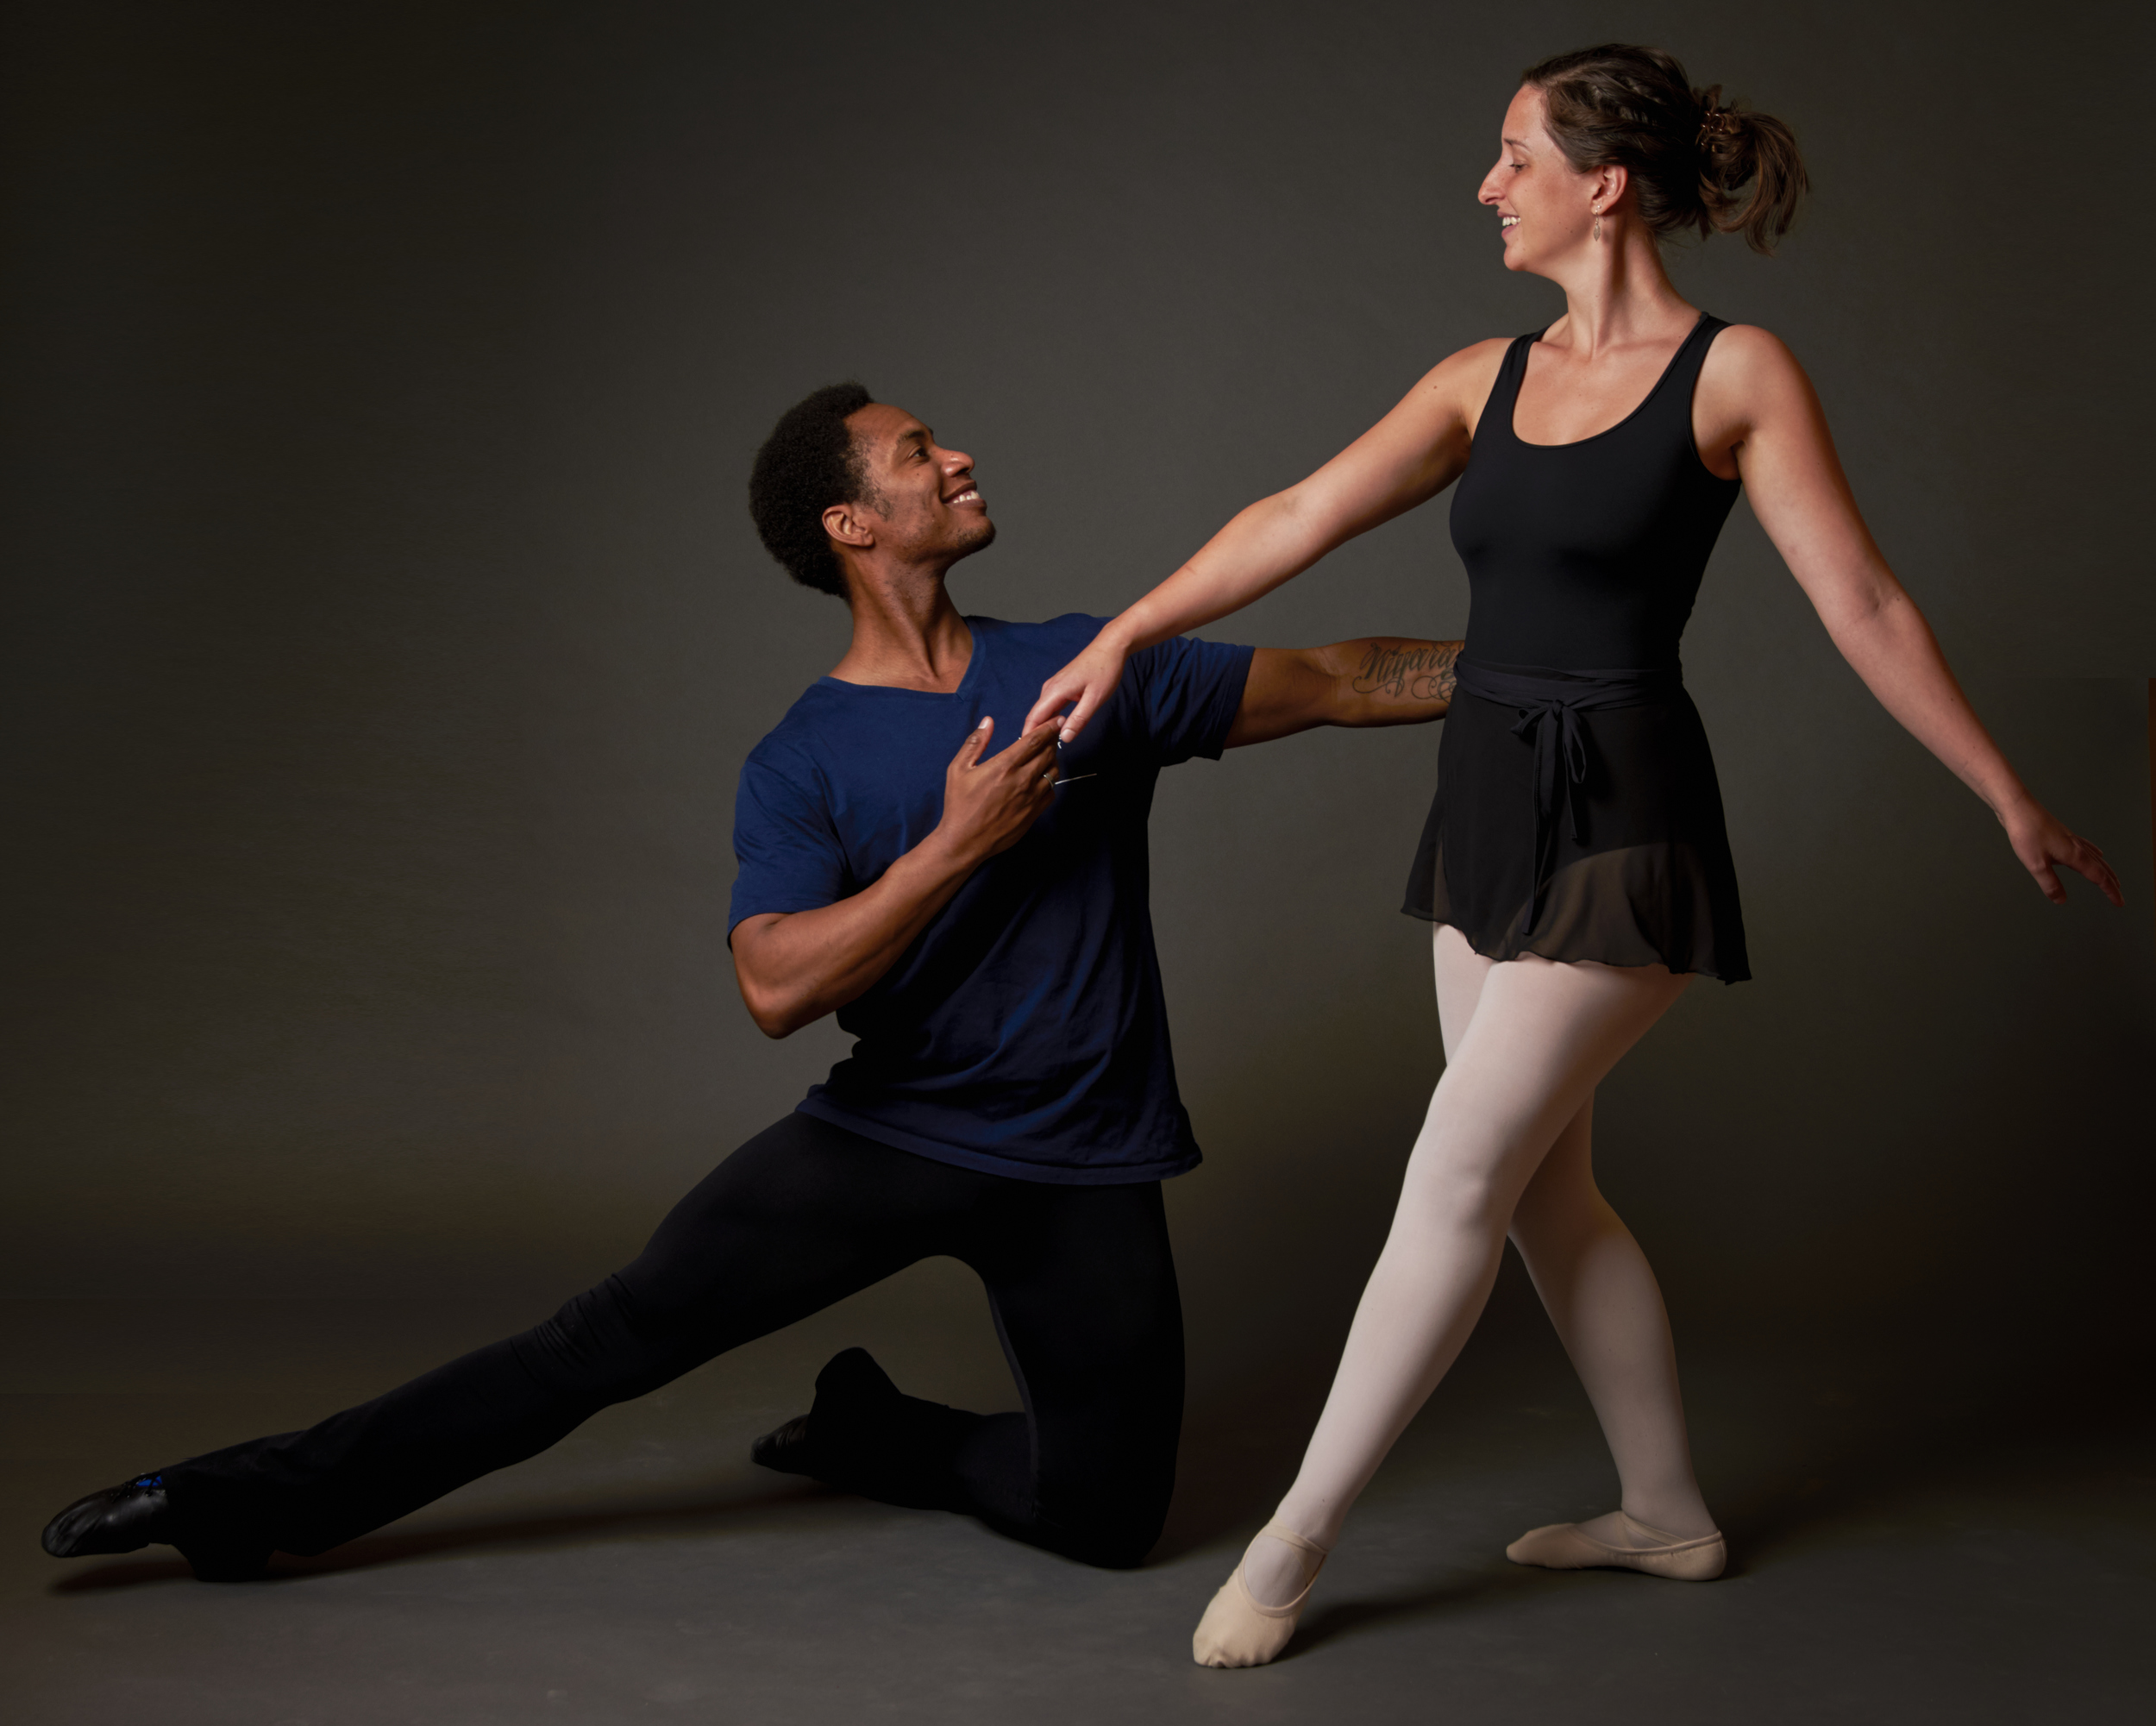
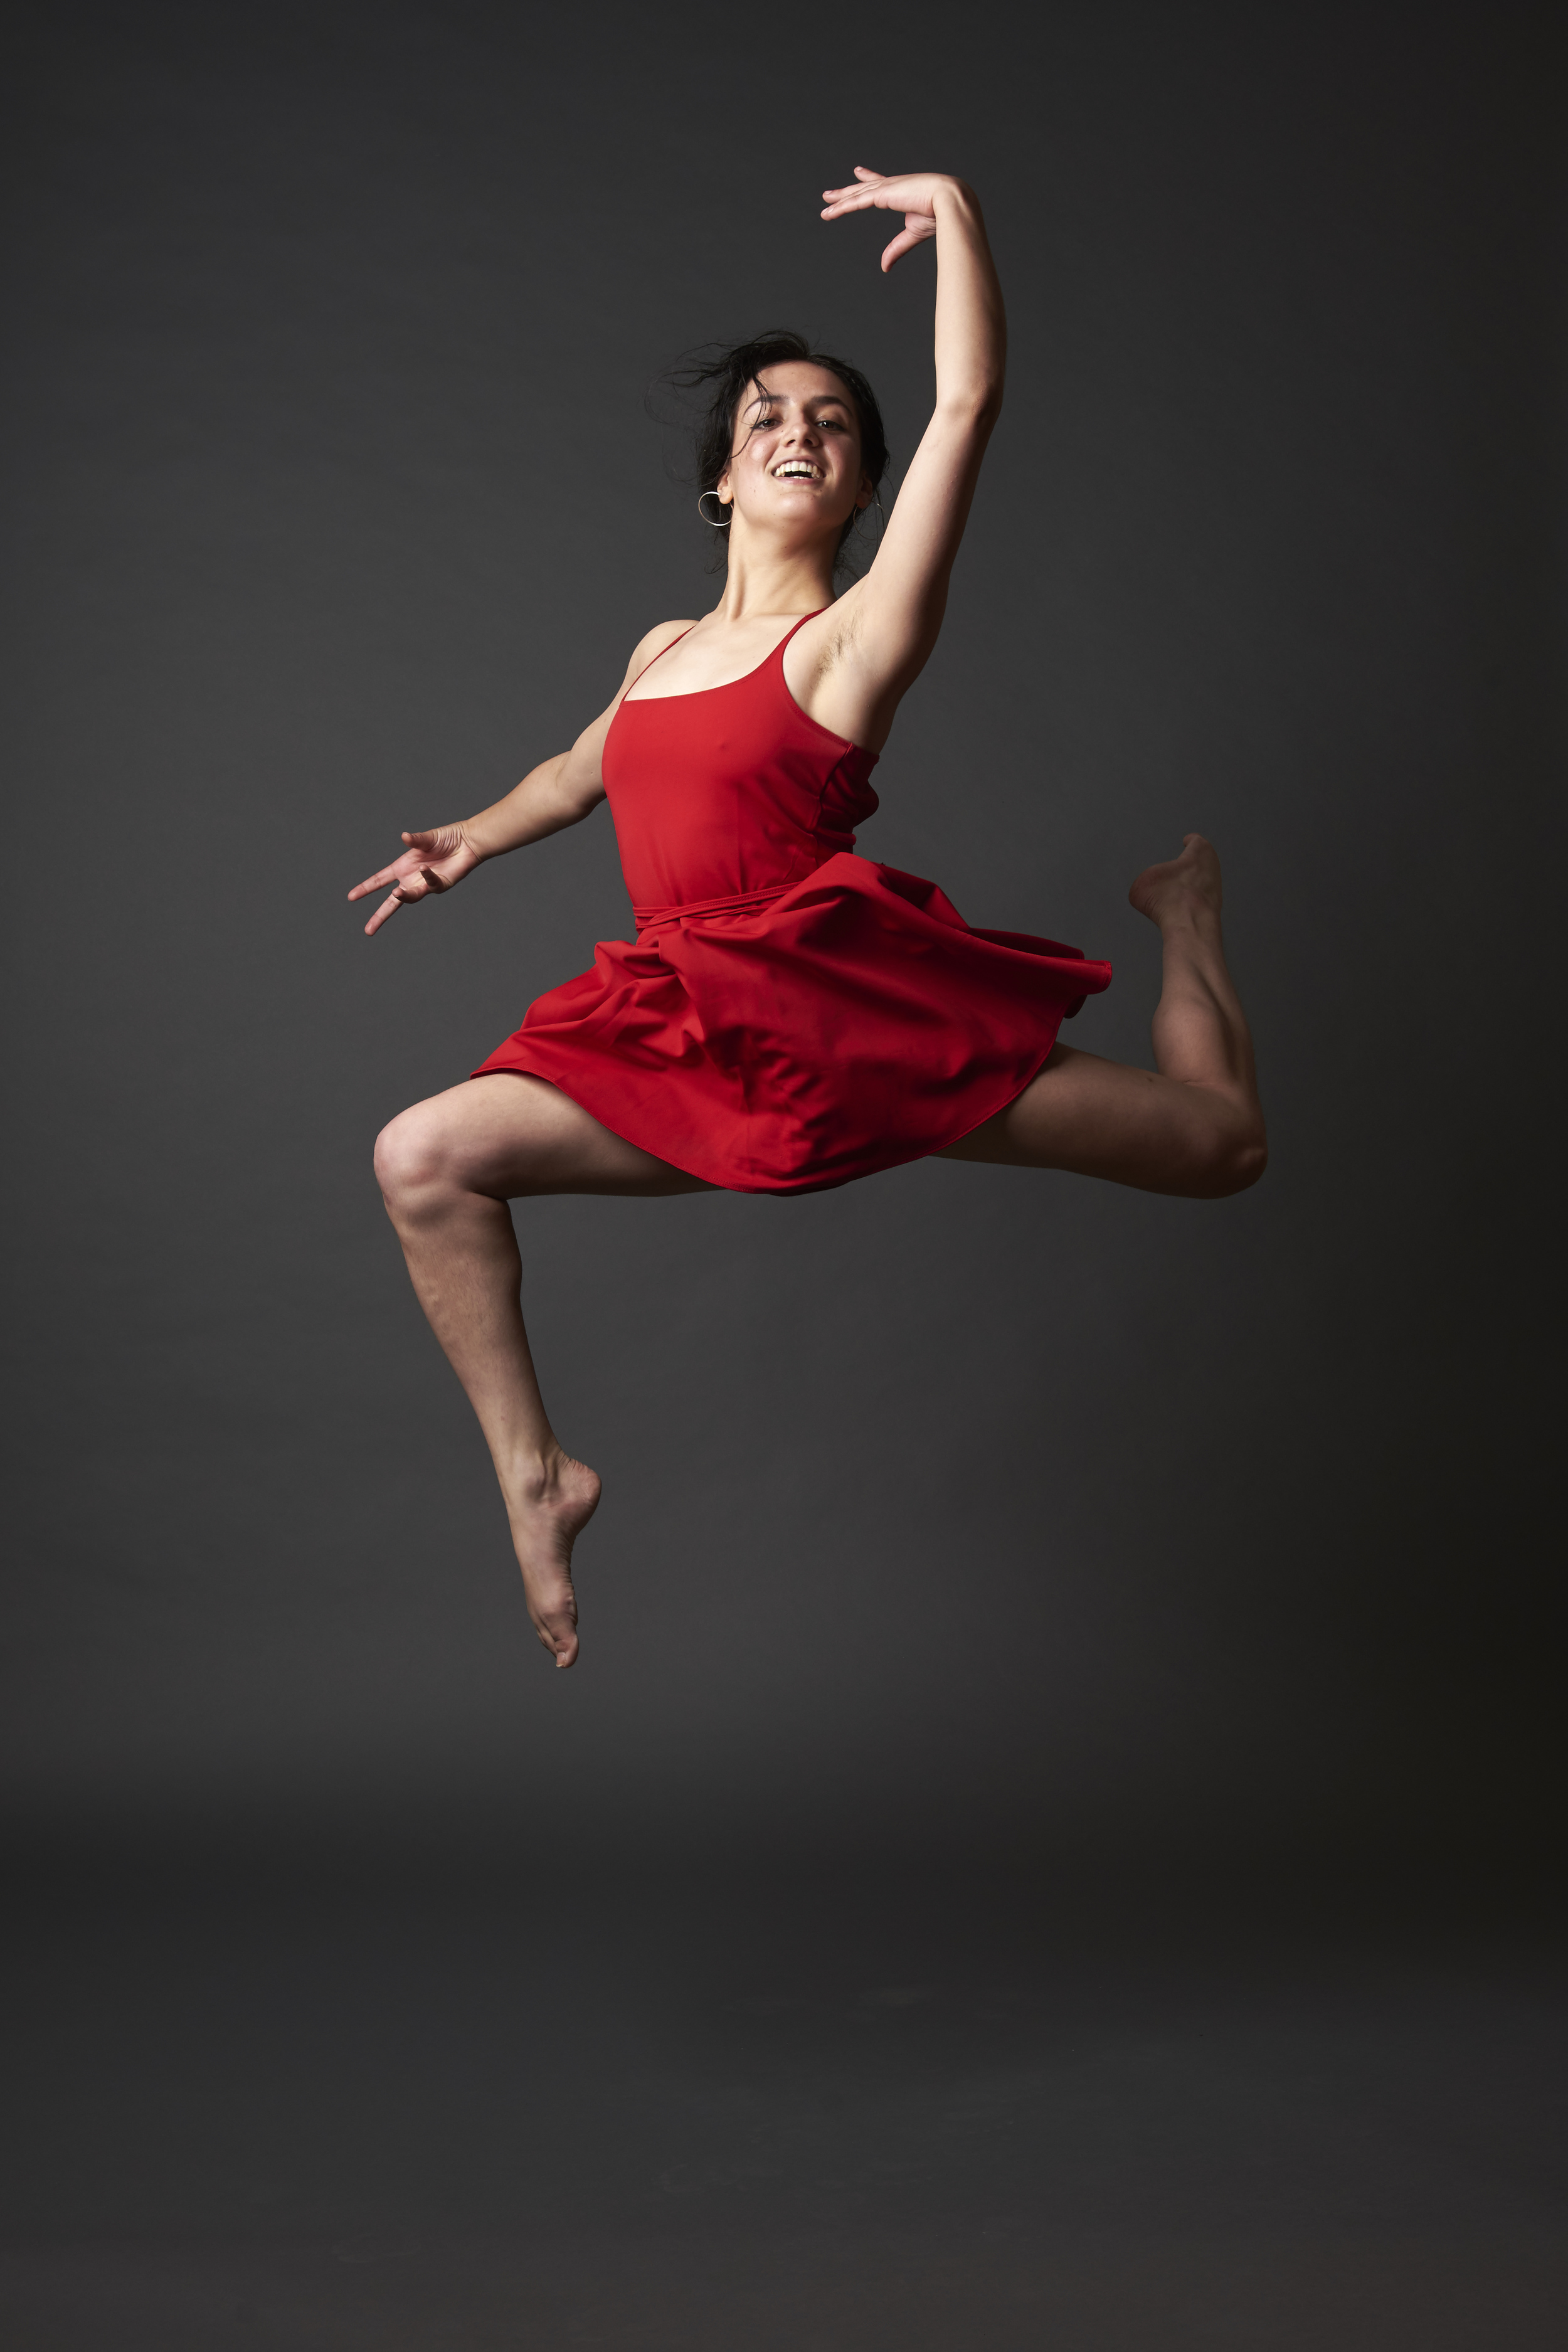
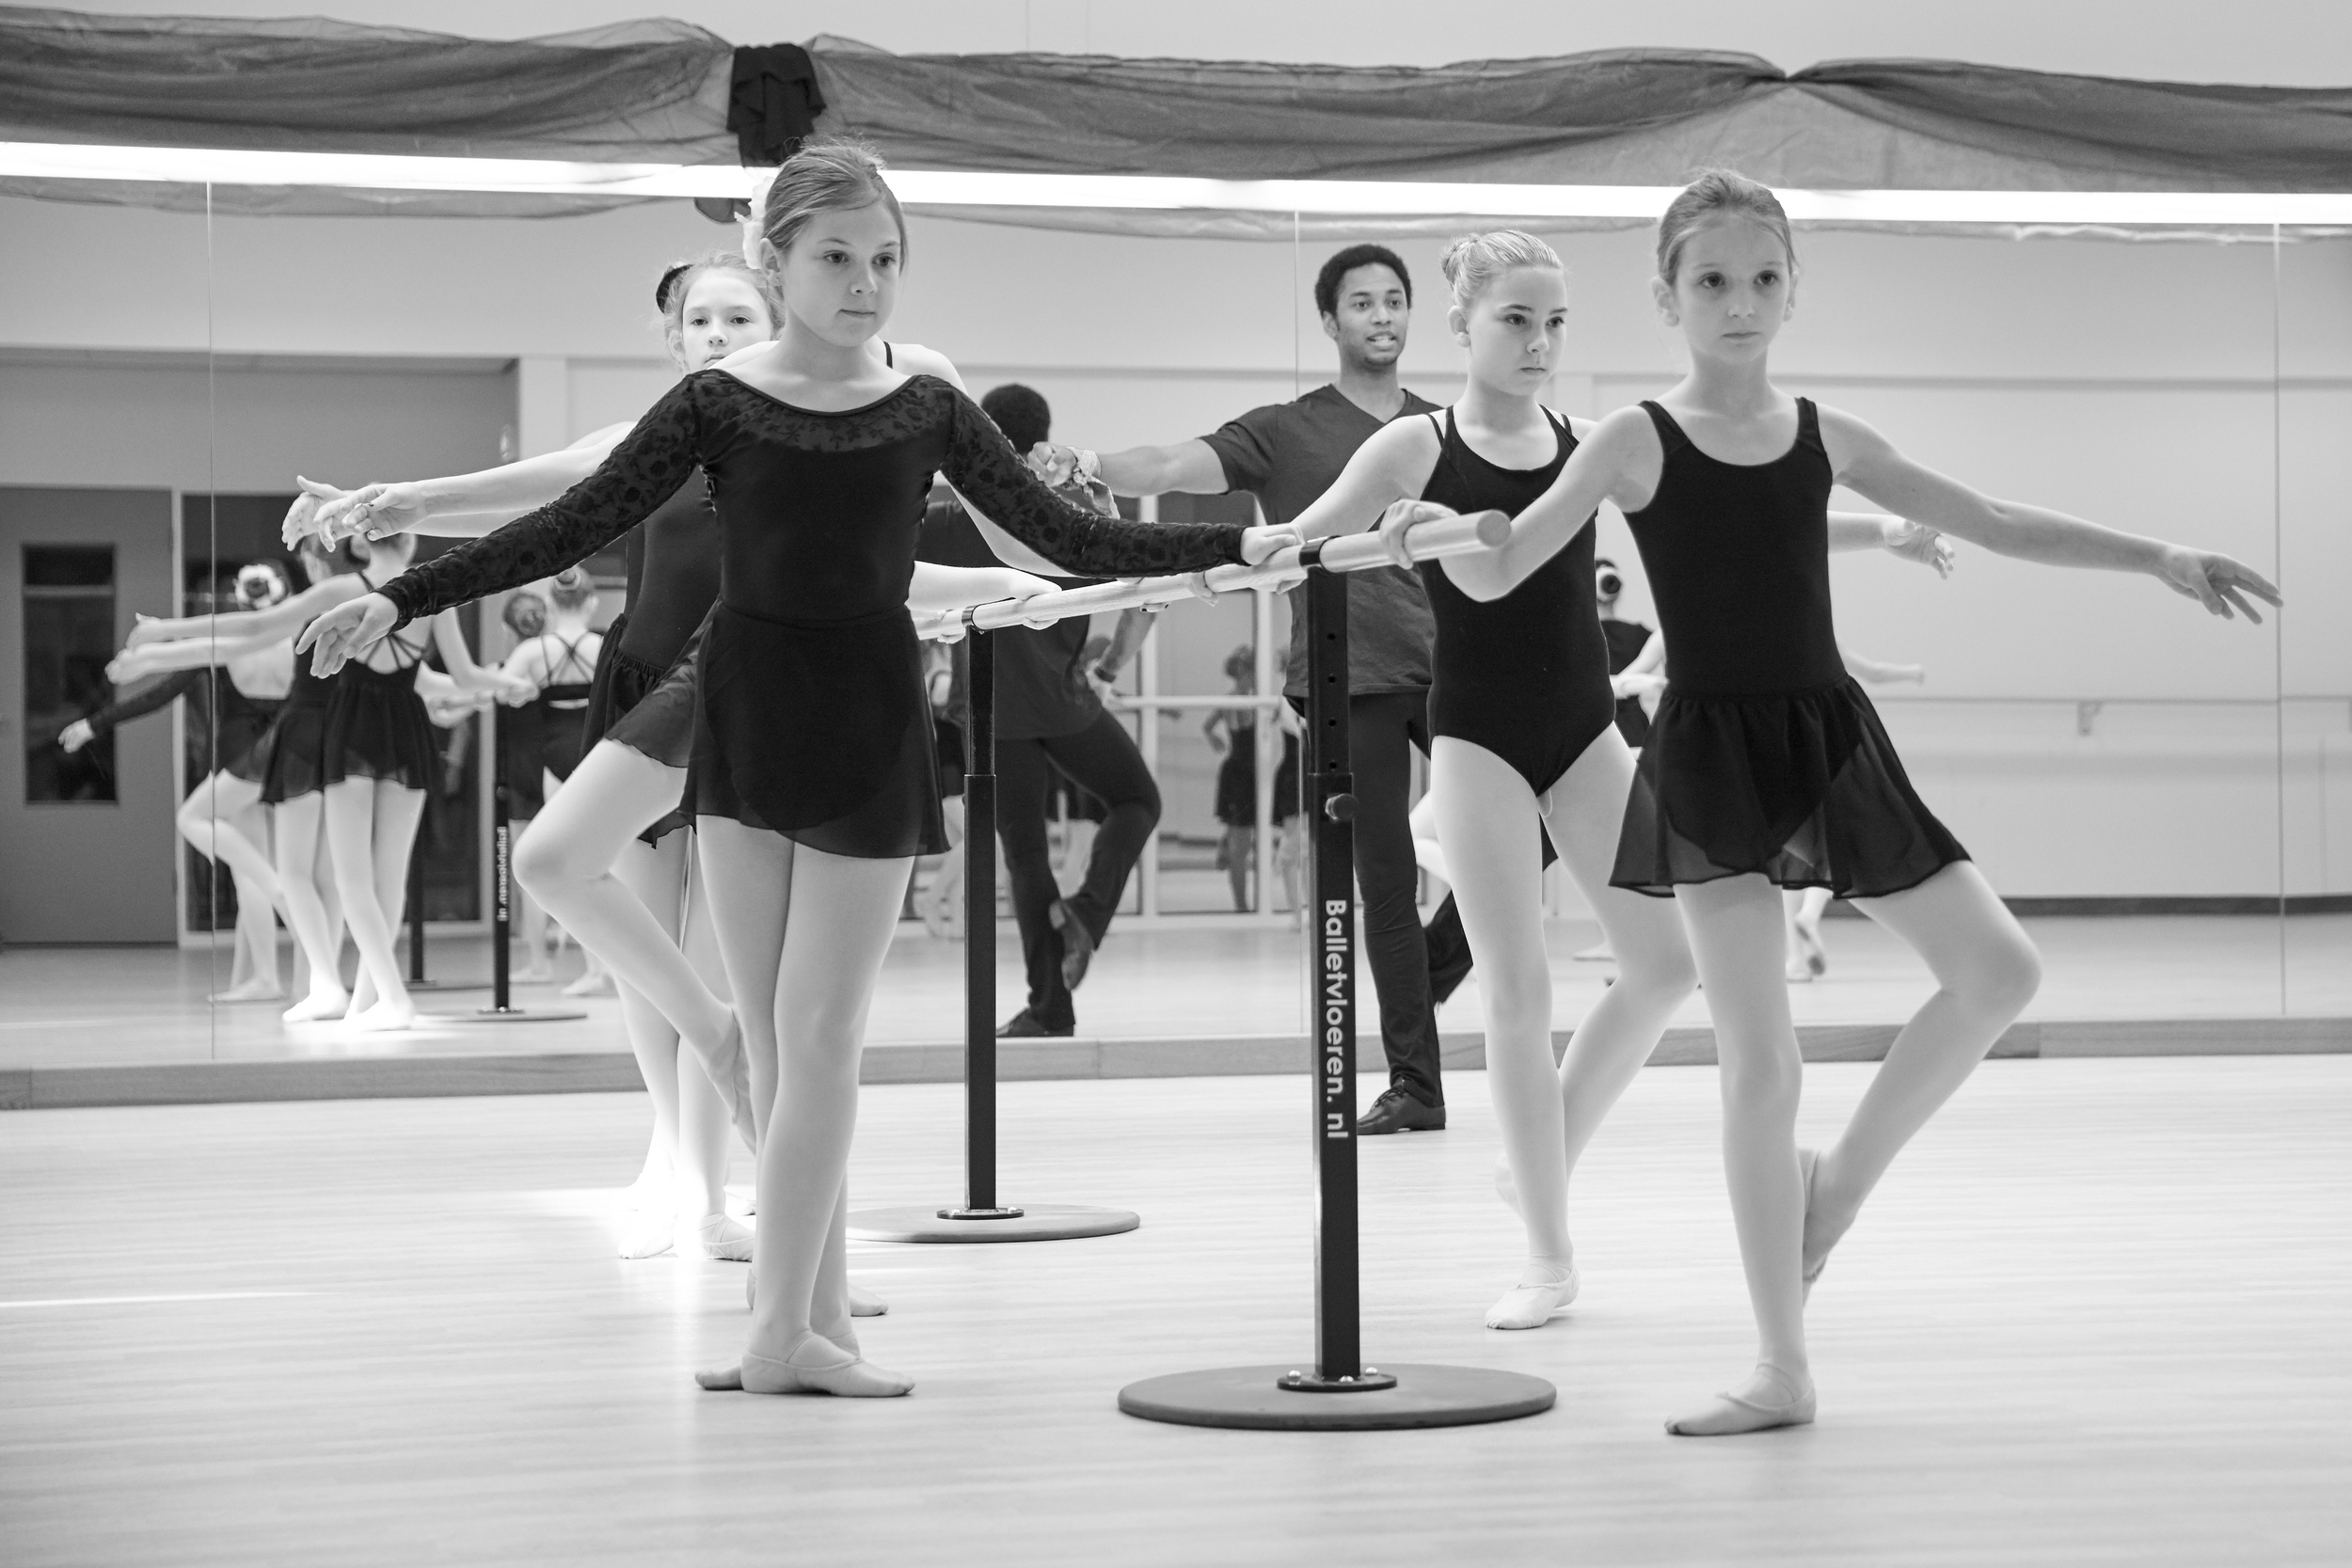
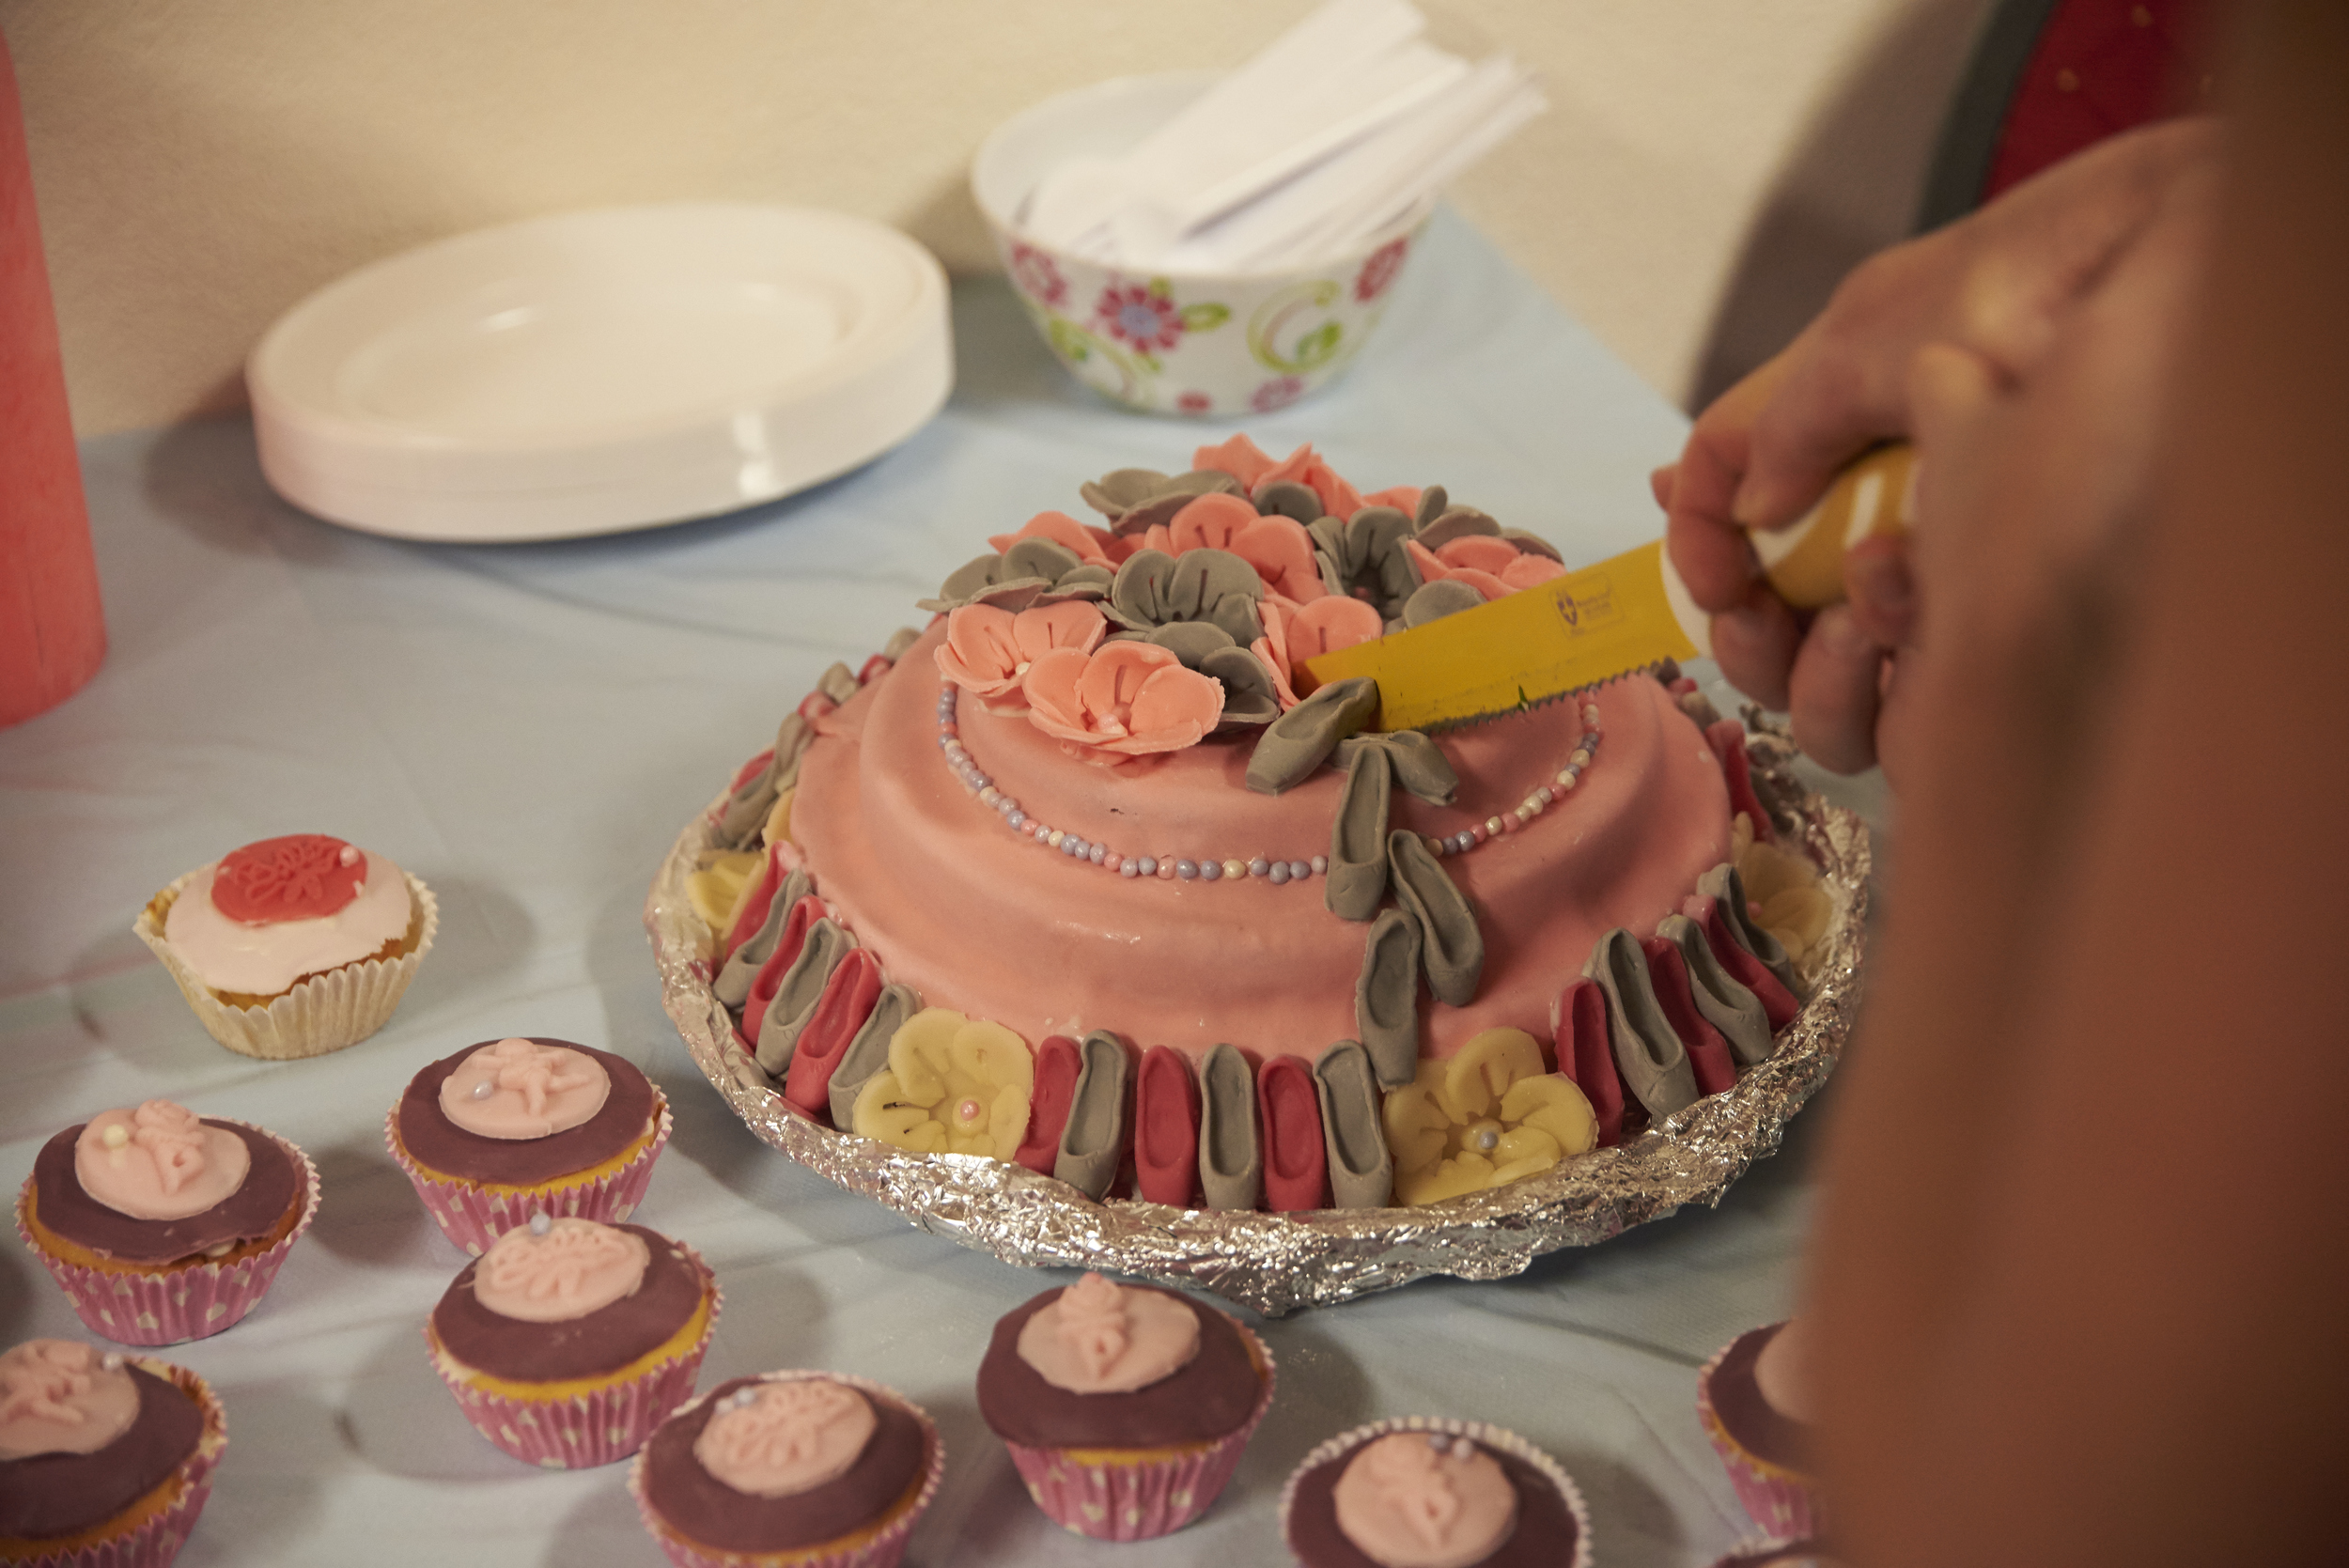
London Dance shoot with the XT-1
Recently I went to London for a business trip. I also did a photoshoot with two dancers. To keep my gear as light as possible I took the risk of only taking the Fuji X-T1 with the 35mm 1.4 and 65 1.2 lens, a Fuji X100 camera, a YoungNuo YN560II flash and Cactus v5 triggers.
The day of the shoot was the third day of my trip and unfortunately the charger of my X100 died, so I had only the X-T1 and the 35 1.4 and 56 1.2 lens left. For modifiers we bought a small Ezy-Box nock-off at the Calumet store in London.
Location Scouting
The second day of my trip we went location scouting. We found a couple of locations on a small walk from Convent Garden to the south bank. When we wanted to start shooting at the first location, the garden behind the church at Convent Garden, we got asked if we had a license and since we didn't knew, we got send away.
First Shots
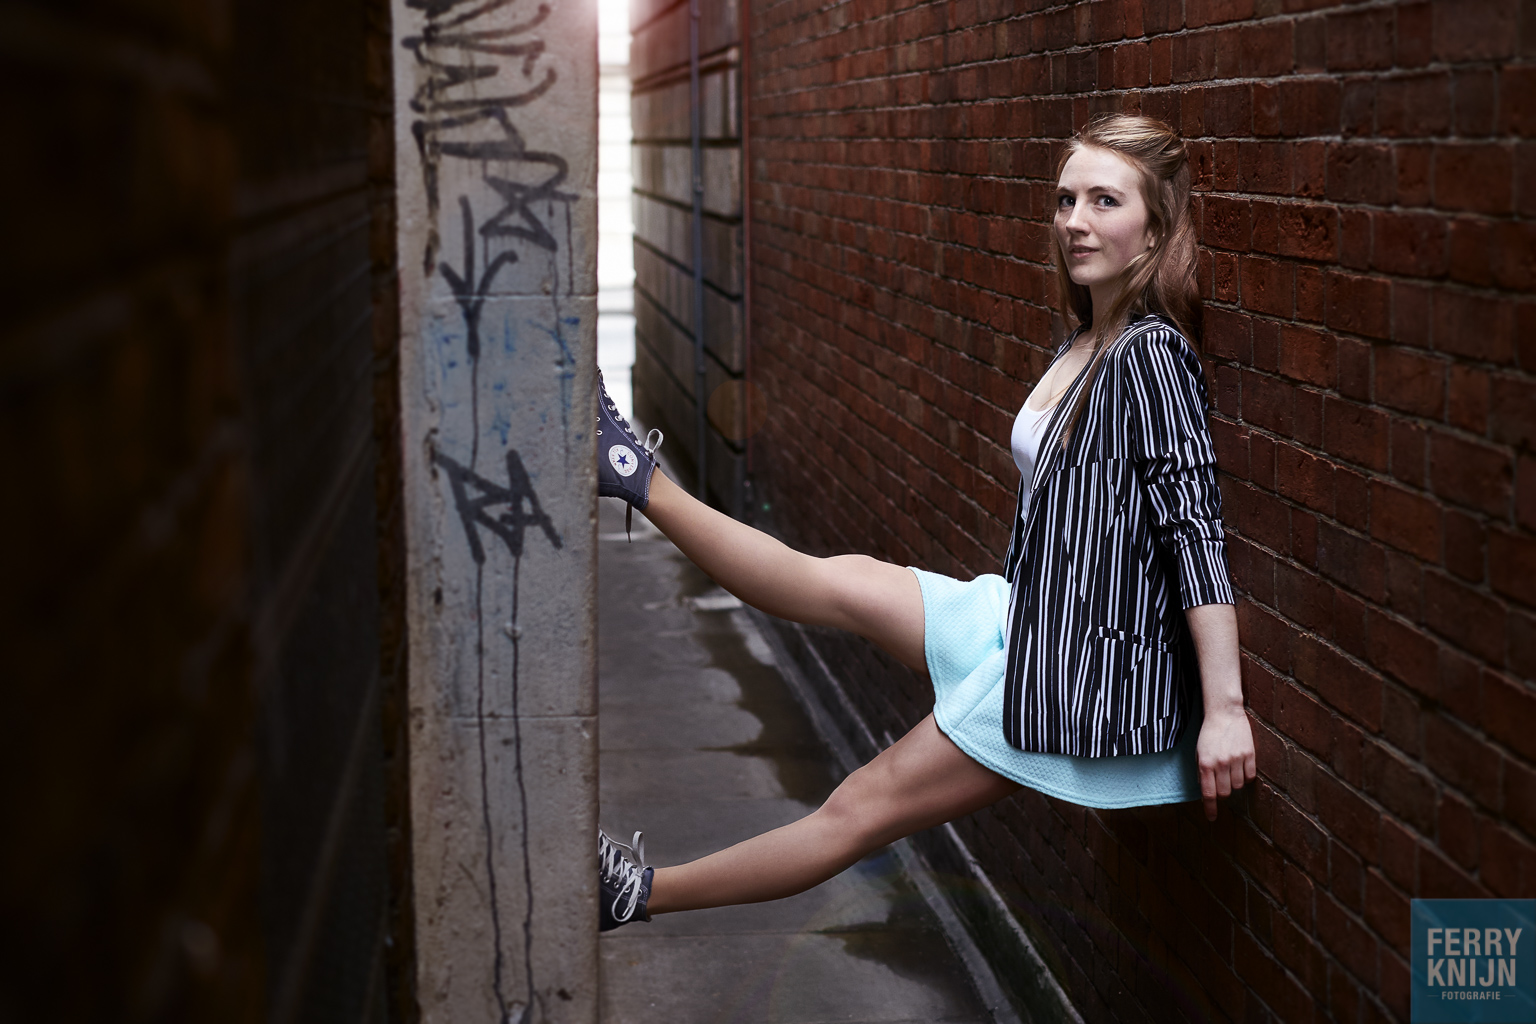
The second location was a small alley near Trafalgar Square. It was a lovely ally for some portrait work and some warming up shots.
Trafalgar Square
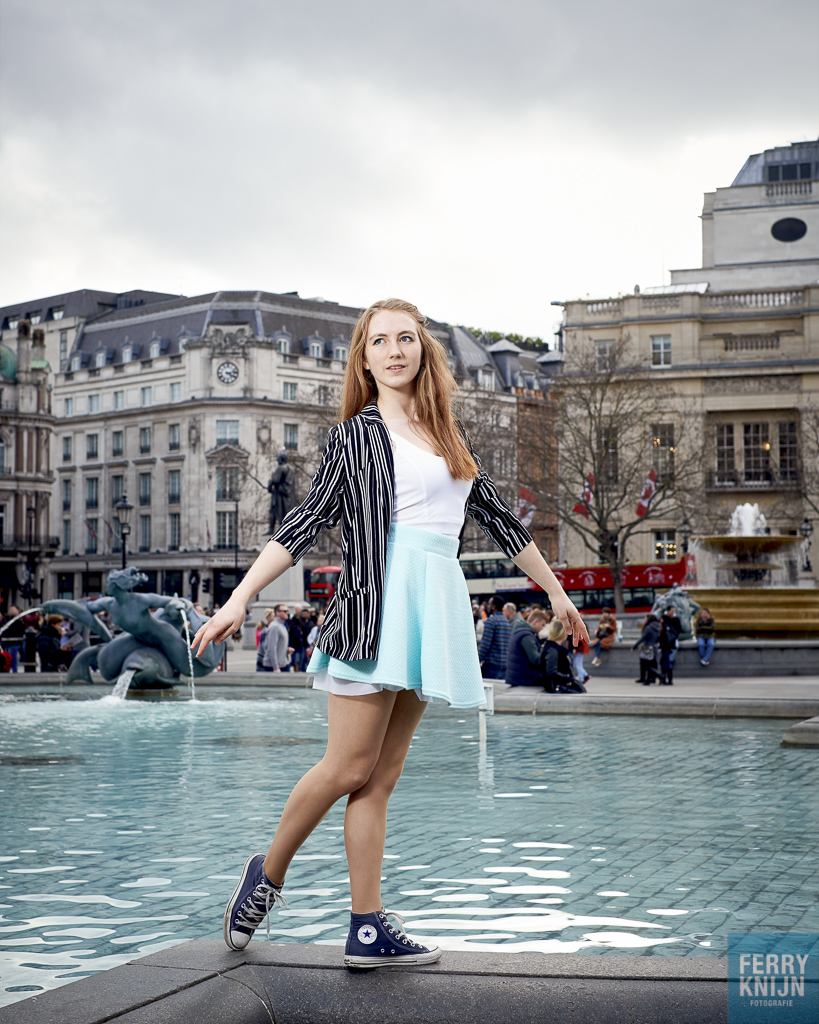
If you are shooting in London you better show you are in London. So the second shooting location was on Trafalgar Square. This was a great location to shoot. The only big challenge was that I only had a 35mm (50m eqv) lens as widest angle. So to get everything in the shot like the high statue there was nothing left then getting really low, Like put your head on the pavement low.
Westminster Bridge
If there is one landmark screaming London, it is the Big Ben. So we went to Westminster bridge for the last photo's with the Big Ben on the background. It was pleasent to see how the Crowd reacted and just walked calmly past us.
The verdict about the X-T1
The Fuji X-T1 is a great camera. But not for things that move. 7 out of 10 shots the focus was wrong. This doesn't makes the Fuji X-T1 a bad camera, but for dance and action photography the X-T1 is not the camera. During the shoot I was wishing I brought my Nikon D800 or D610 with me. Although they are a lot heavier, the focus tracking is great.
For the portrait and street work the Fuji X-T1 one worked great. Currently I am in doubt about getting a wide angle 14 or 23 mm lens for the X-T1 for some more wide stuff or upgrading the X100 to a X100S or T. But they stay additional camera's for travel or when I need to go light. Also they are great for portrait and studio photography. But when the chips are down I rather go for the Nikons DSLR camera's.
Besides talking about camera's, trips to London are always fun. Also having the possibility to photograph two really nice ballerina's is always great! I had a great time and can't wait to go back again! Hopefully even later this year!
Review: Hasselblad 500c/m with a Phase One P30+ Digital Back
Last week I had a Phase One P30+ digital back on loan from the people of Eyes on Media Amsterdam. To start, I love working with my analog Hasselblad 500c/m camera and a Carl Zeiss 80mm 2.8 lens. But the only downfall is the speed, and not the working speed, but the time before you have your work back. So I started looking for a digital back. Since they are quite expensive (over 8k) I was glad I could loan one from Eyes on Media.
Shot with: Hasselblad 500c/m and Phase One P30+ ISO 100, 1/200 at f11
The P30+ Back
First for the spec lovers, the Phase One P30+ Was released in 2007 and has a 31.6mp, 16-bit sensor with a 100-1600 ISO range. It has a 1.25x crop factor which makes 60mm eqv on 35mm. Storage can be on a CF card or done by Firewire directly to your computer using Phase Ones Capture One. The back has a 2.2-inch 230,000px TFT display. To connect the display with the camera you need to plug a cord between the lens and the P30+ back. The V-mount back is also designed to have a seamless fit with the design of the Hasselblad 500c/m, but not as beautiful as the Hasselblad CFV-50c. Another nice thing is that you can turn the back 90 degrees to portrait mode.
Working with the Phase One P30+ back
Working with the Phase One P30+ Digital back is pretty easy, it has only5 buttons. I am not going to explain all the buttons, but believe me if I say they work intuitively.
I did two sessions with the back, the first was on location, but I didn't like the images. That was not the P30+ backs fold! I used a new Hasselblad 500c/m (another one then the one I use normally) which I did not had tested enough. The photo's where OK, but the photo's from my Nikon D610 where better. The first thing you have to learn that this is not a speedy set-up, especially with focussing. Checking focus on the back is possible but I really think the Screen is not great. Like it's there but I don't really like it.
Between the first sessions and second session I had some time to do some extra testshots to learn the system. Have the laptop to check the focus was really nice and made the proces a lot easier.
The second session was in the studio. This is where the set-up starts to shine. I did a few regulair portraits and dance portraits. The first portraits where taken on a Storm Grey background with the standard small Elinchrom Softbox with A Elinchrom RX One flash head.
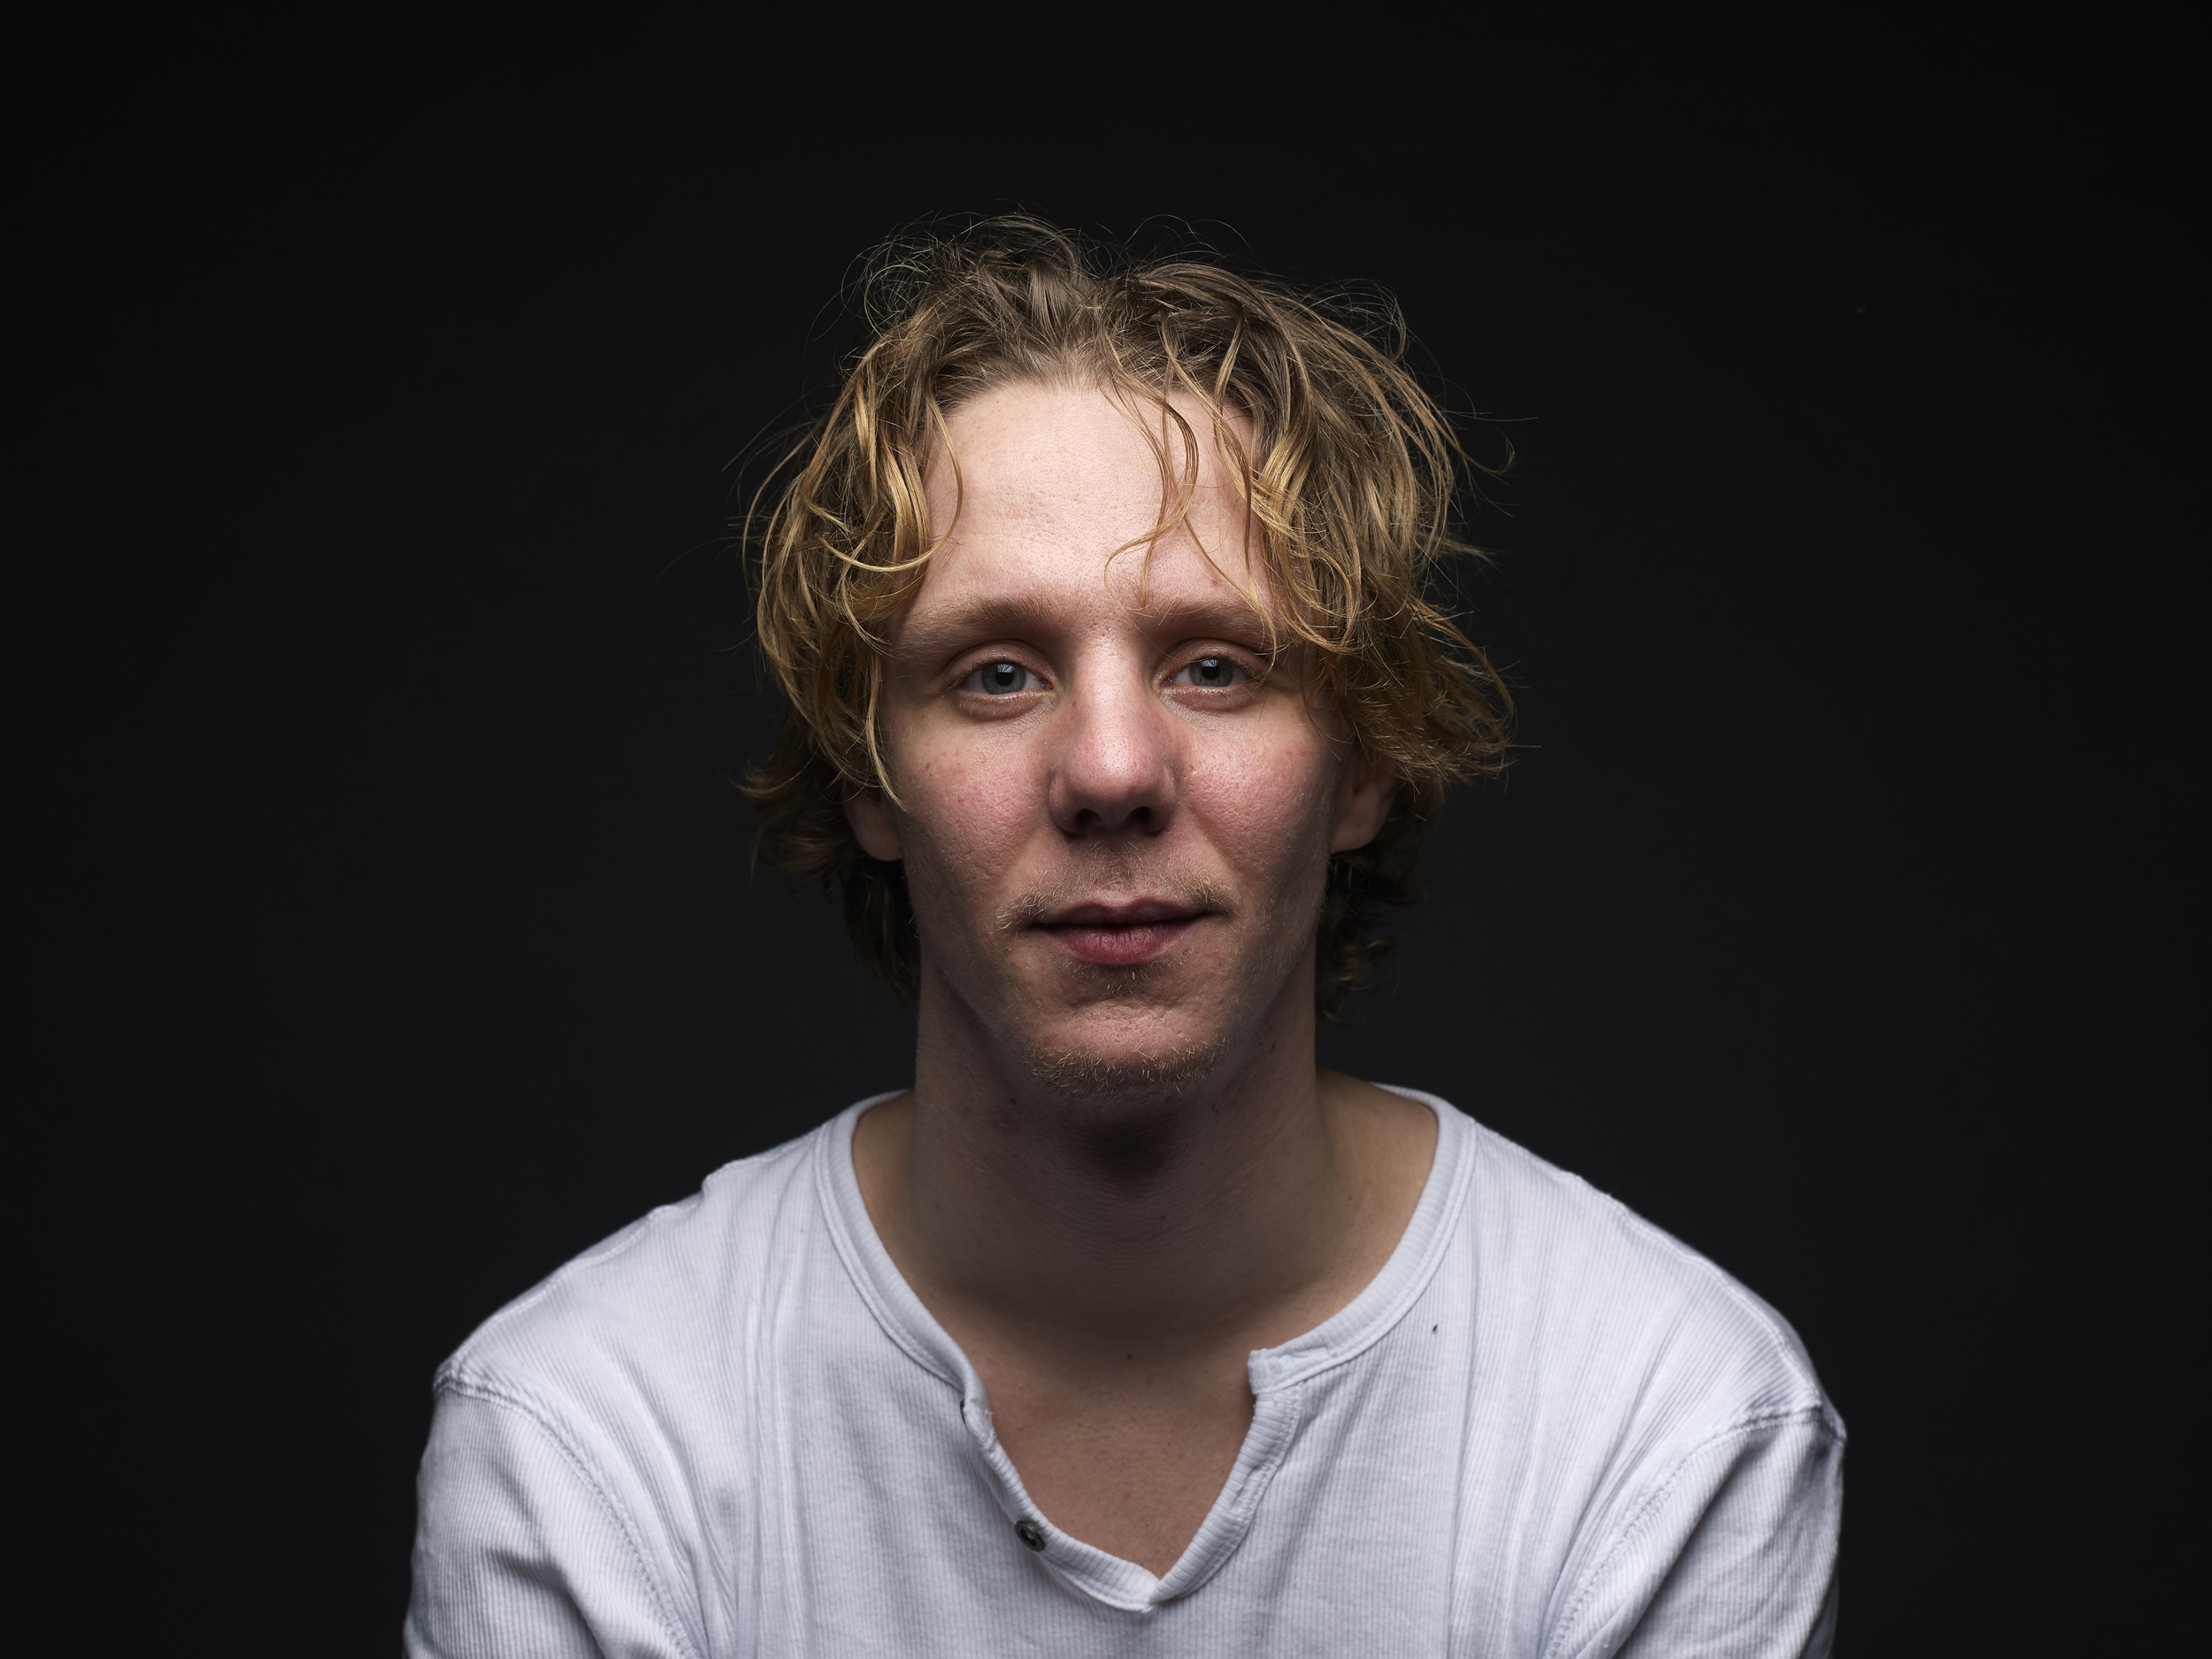
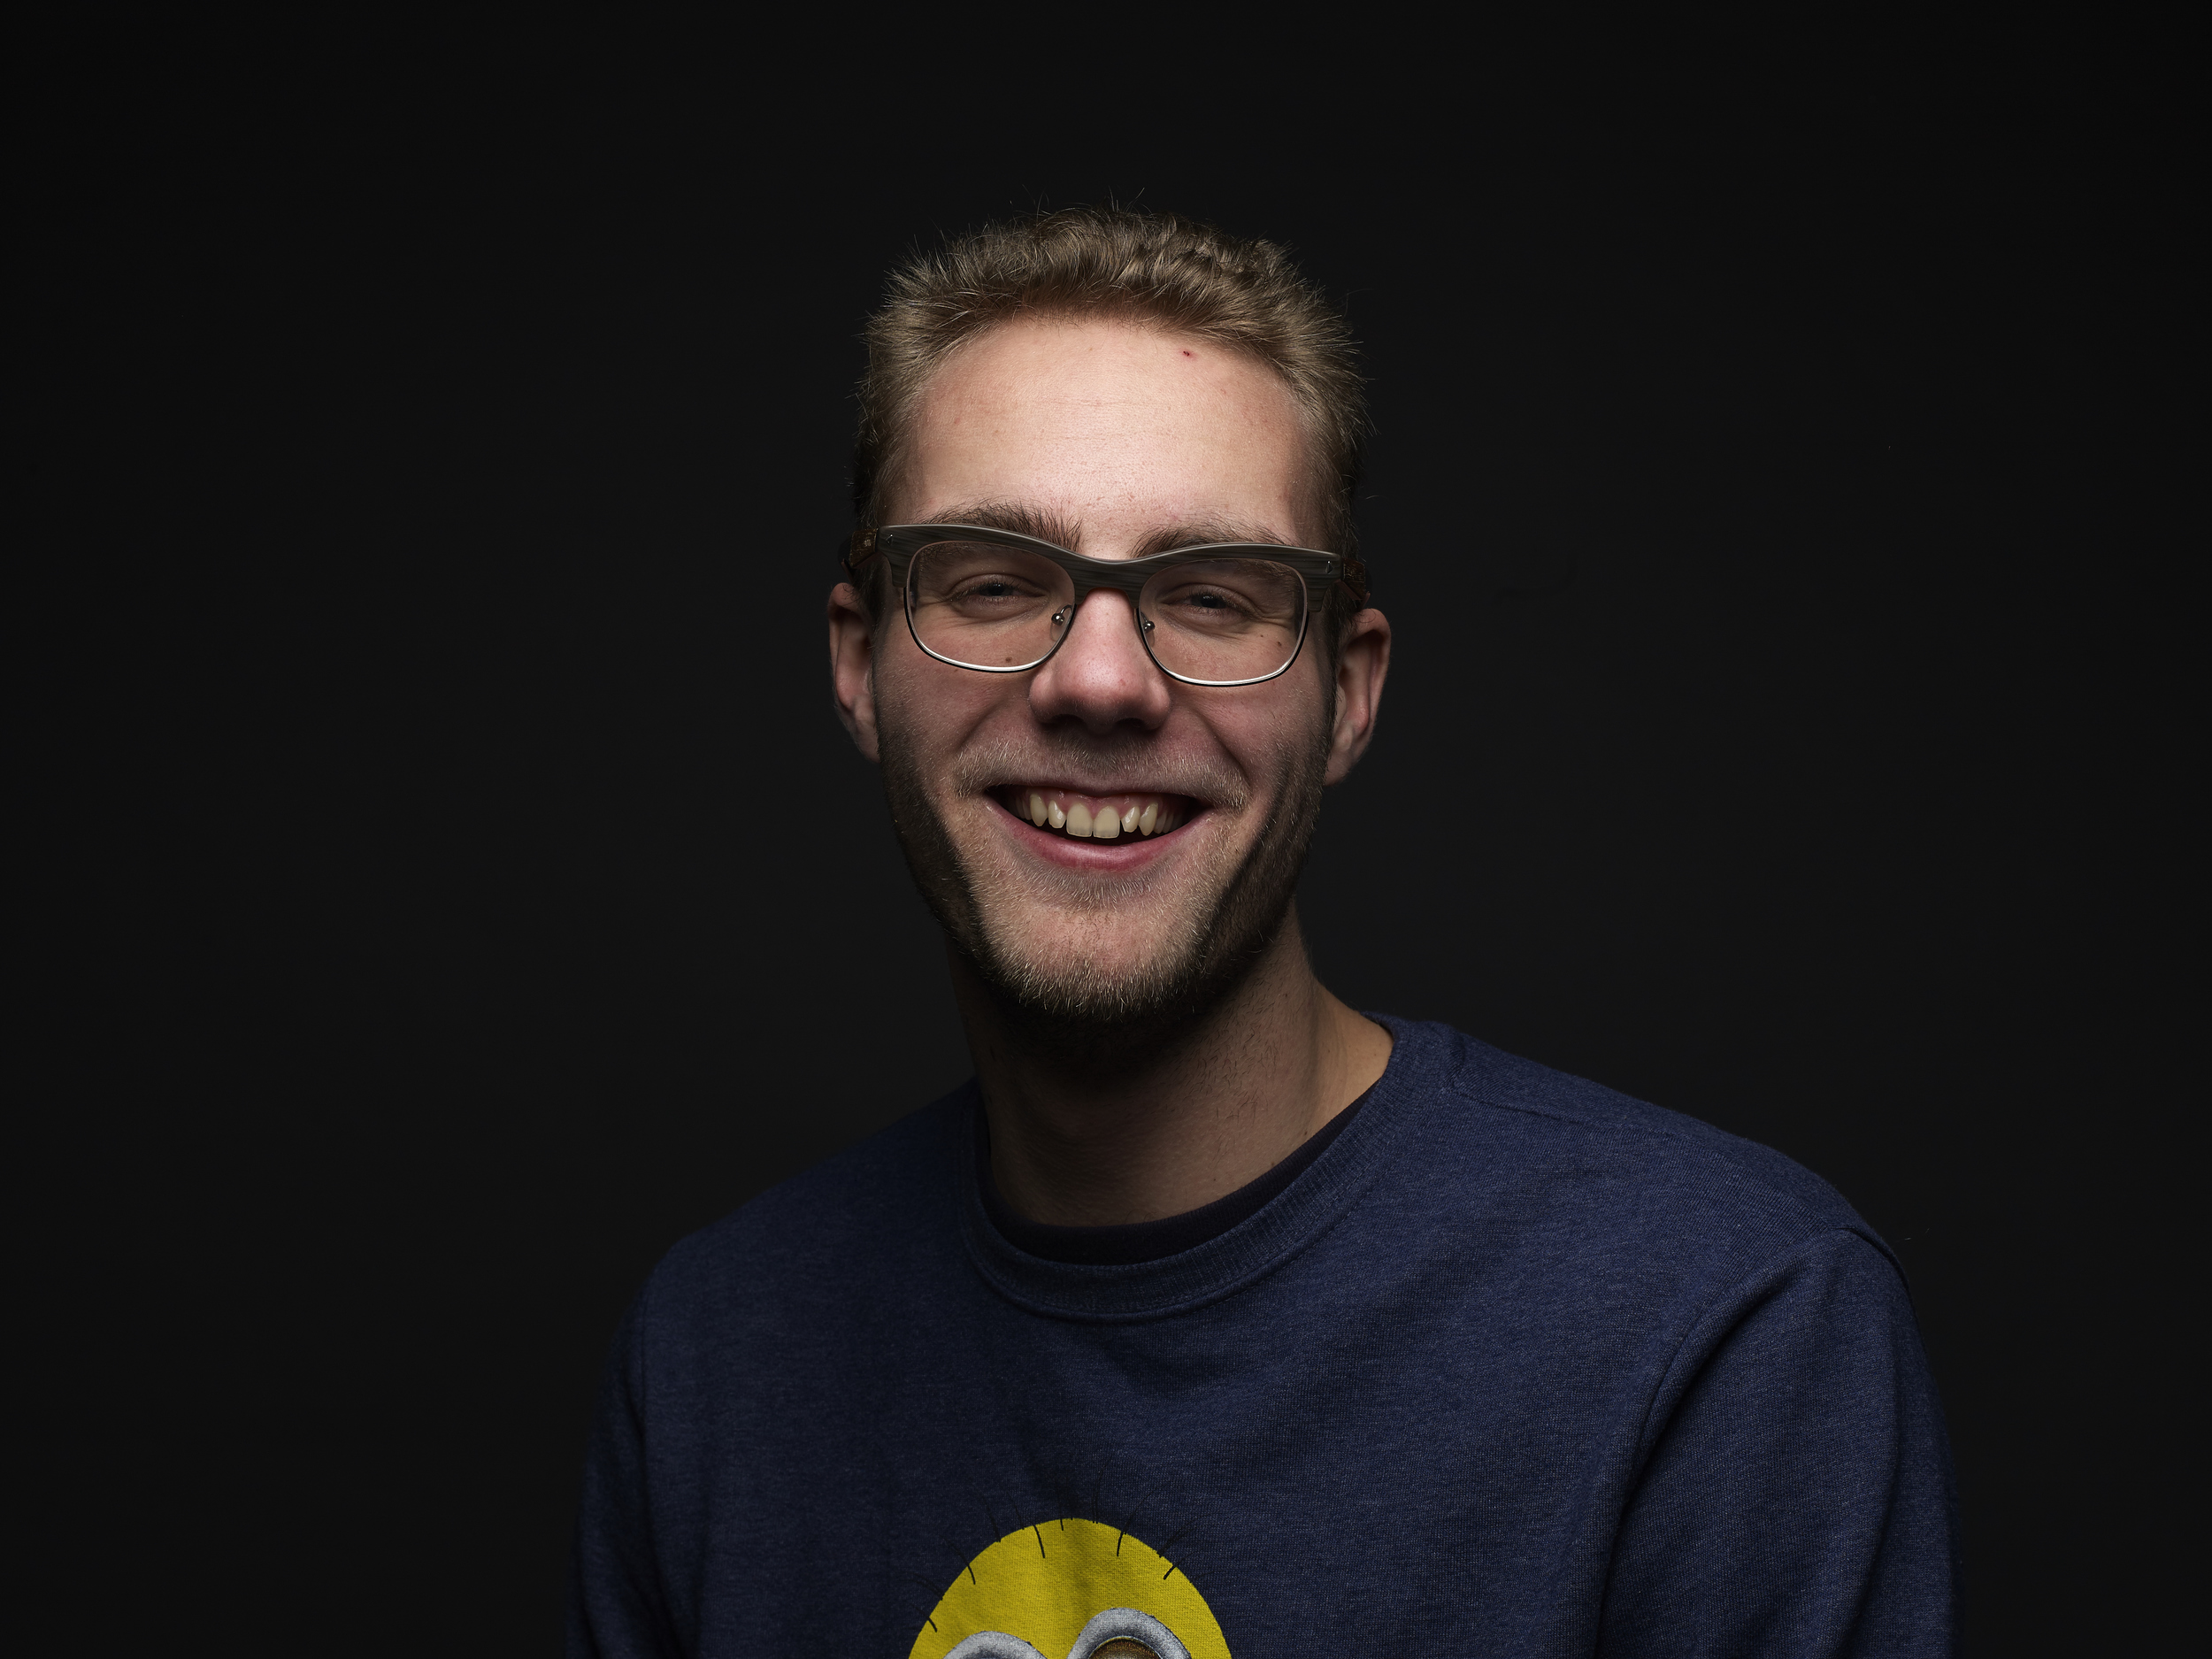
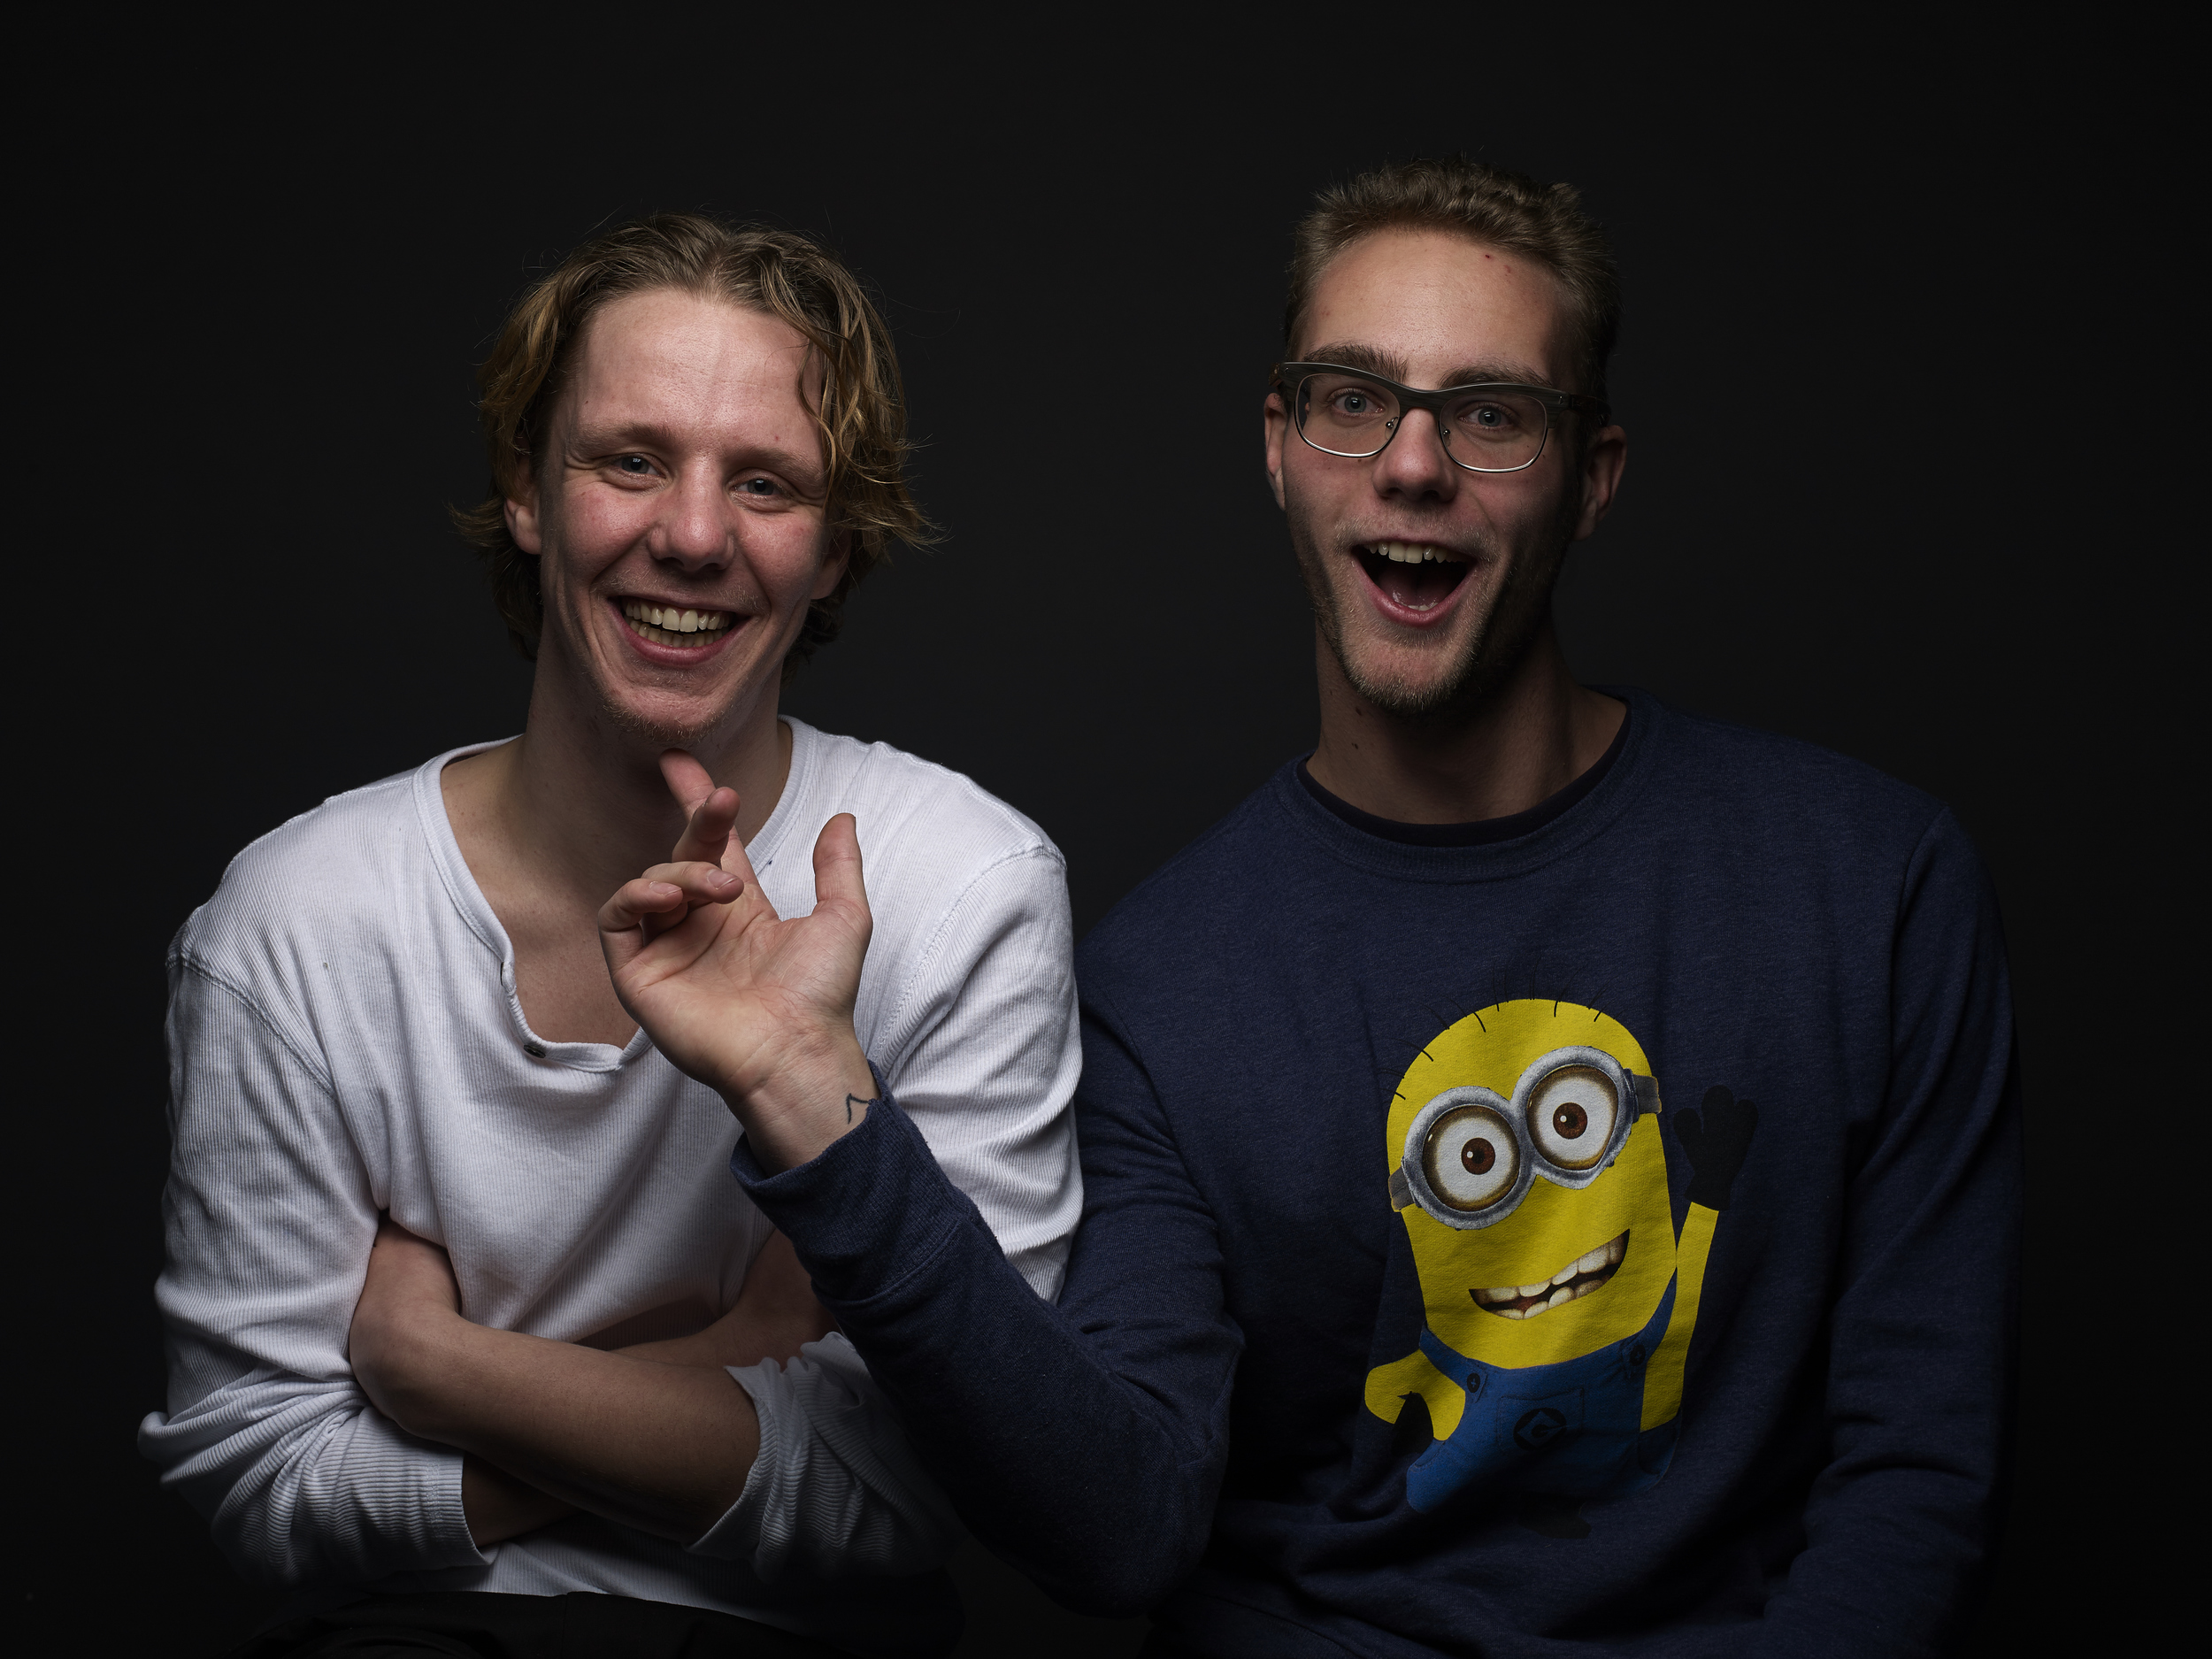
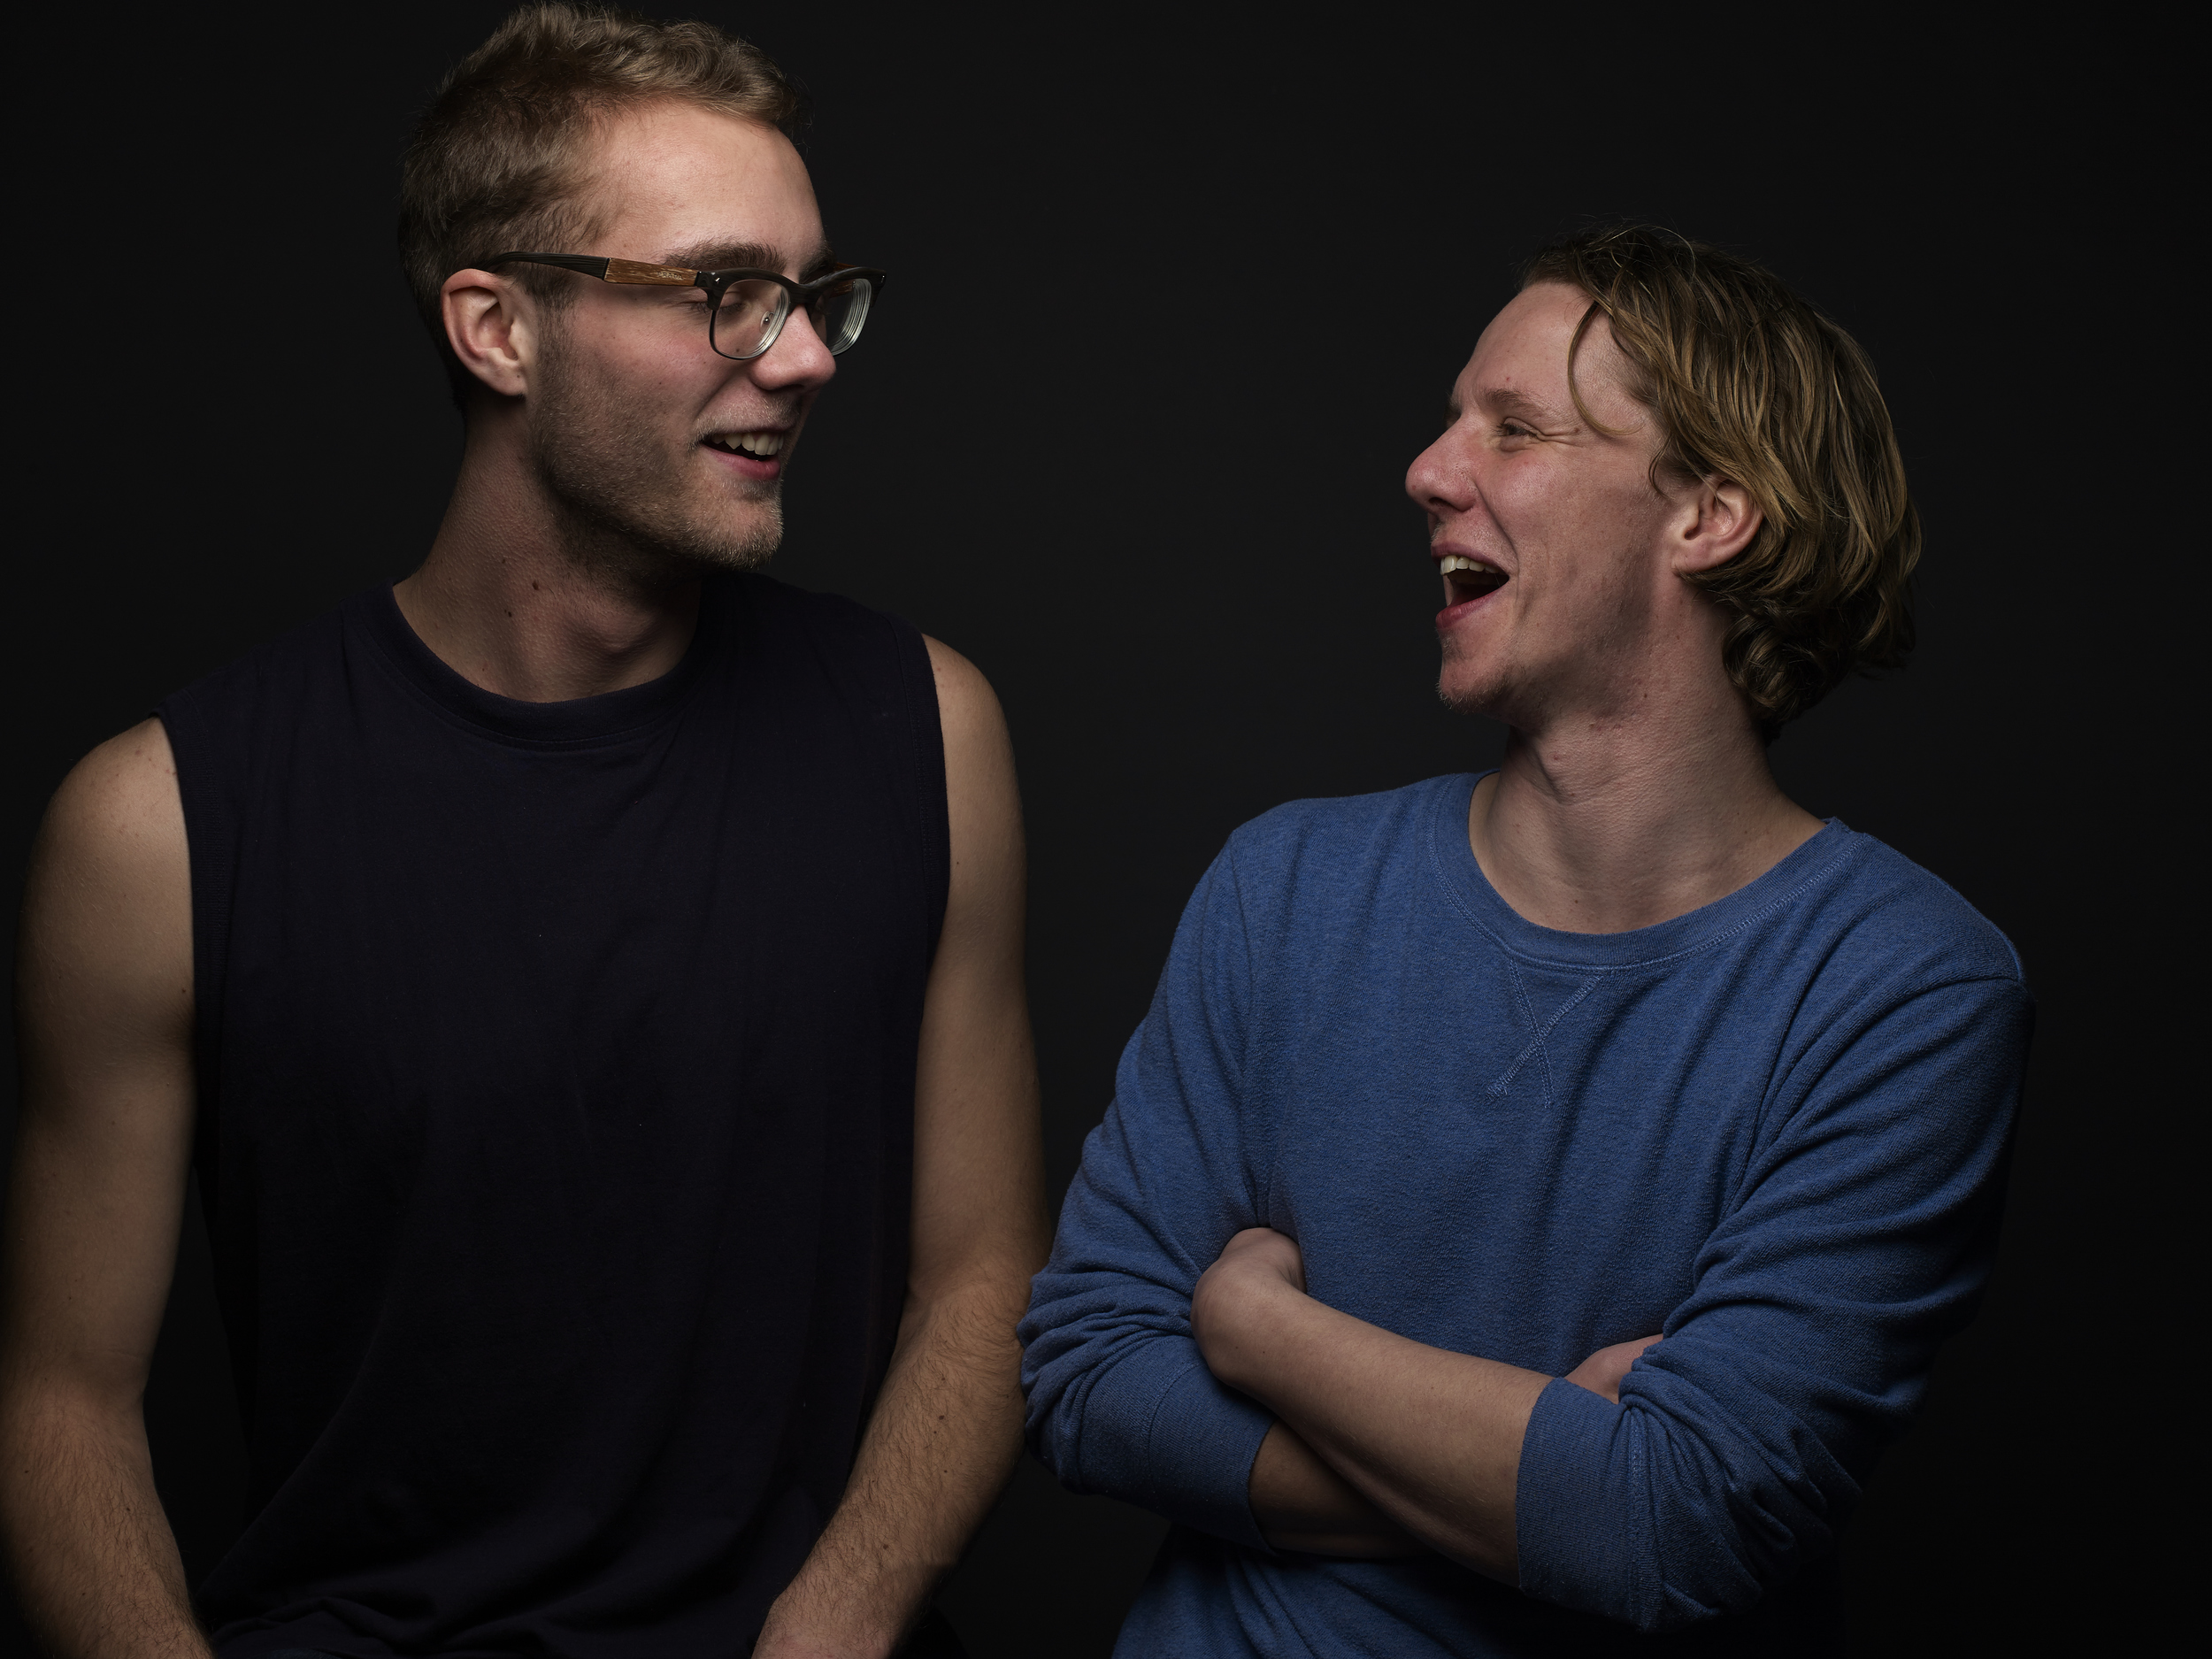
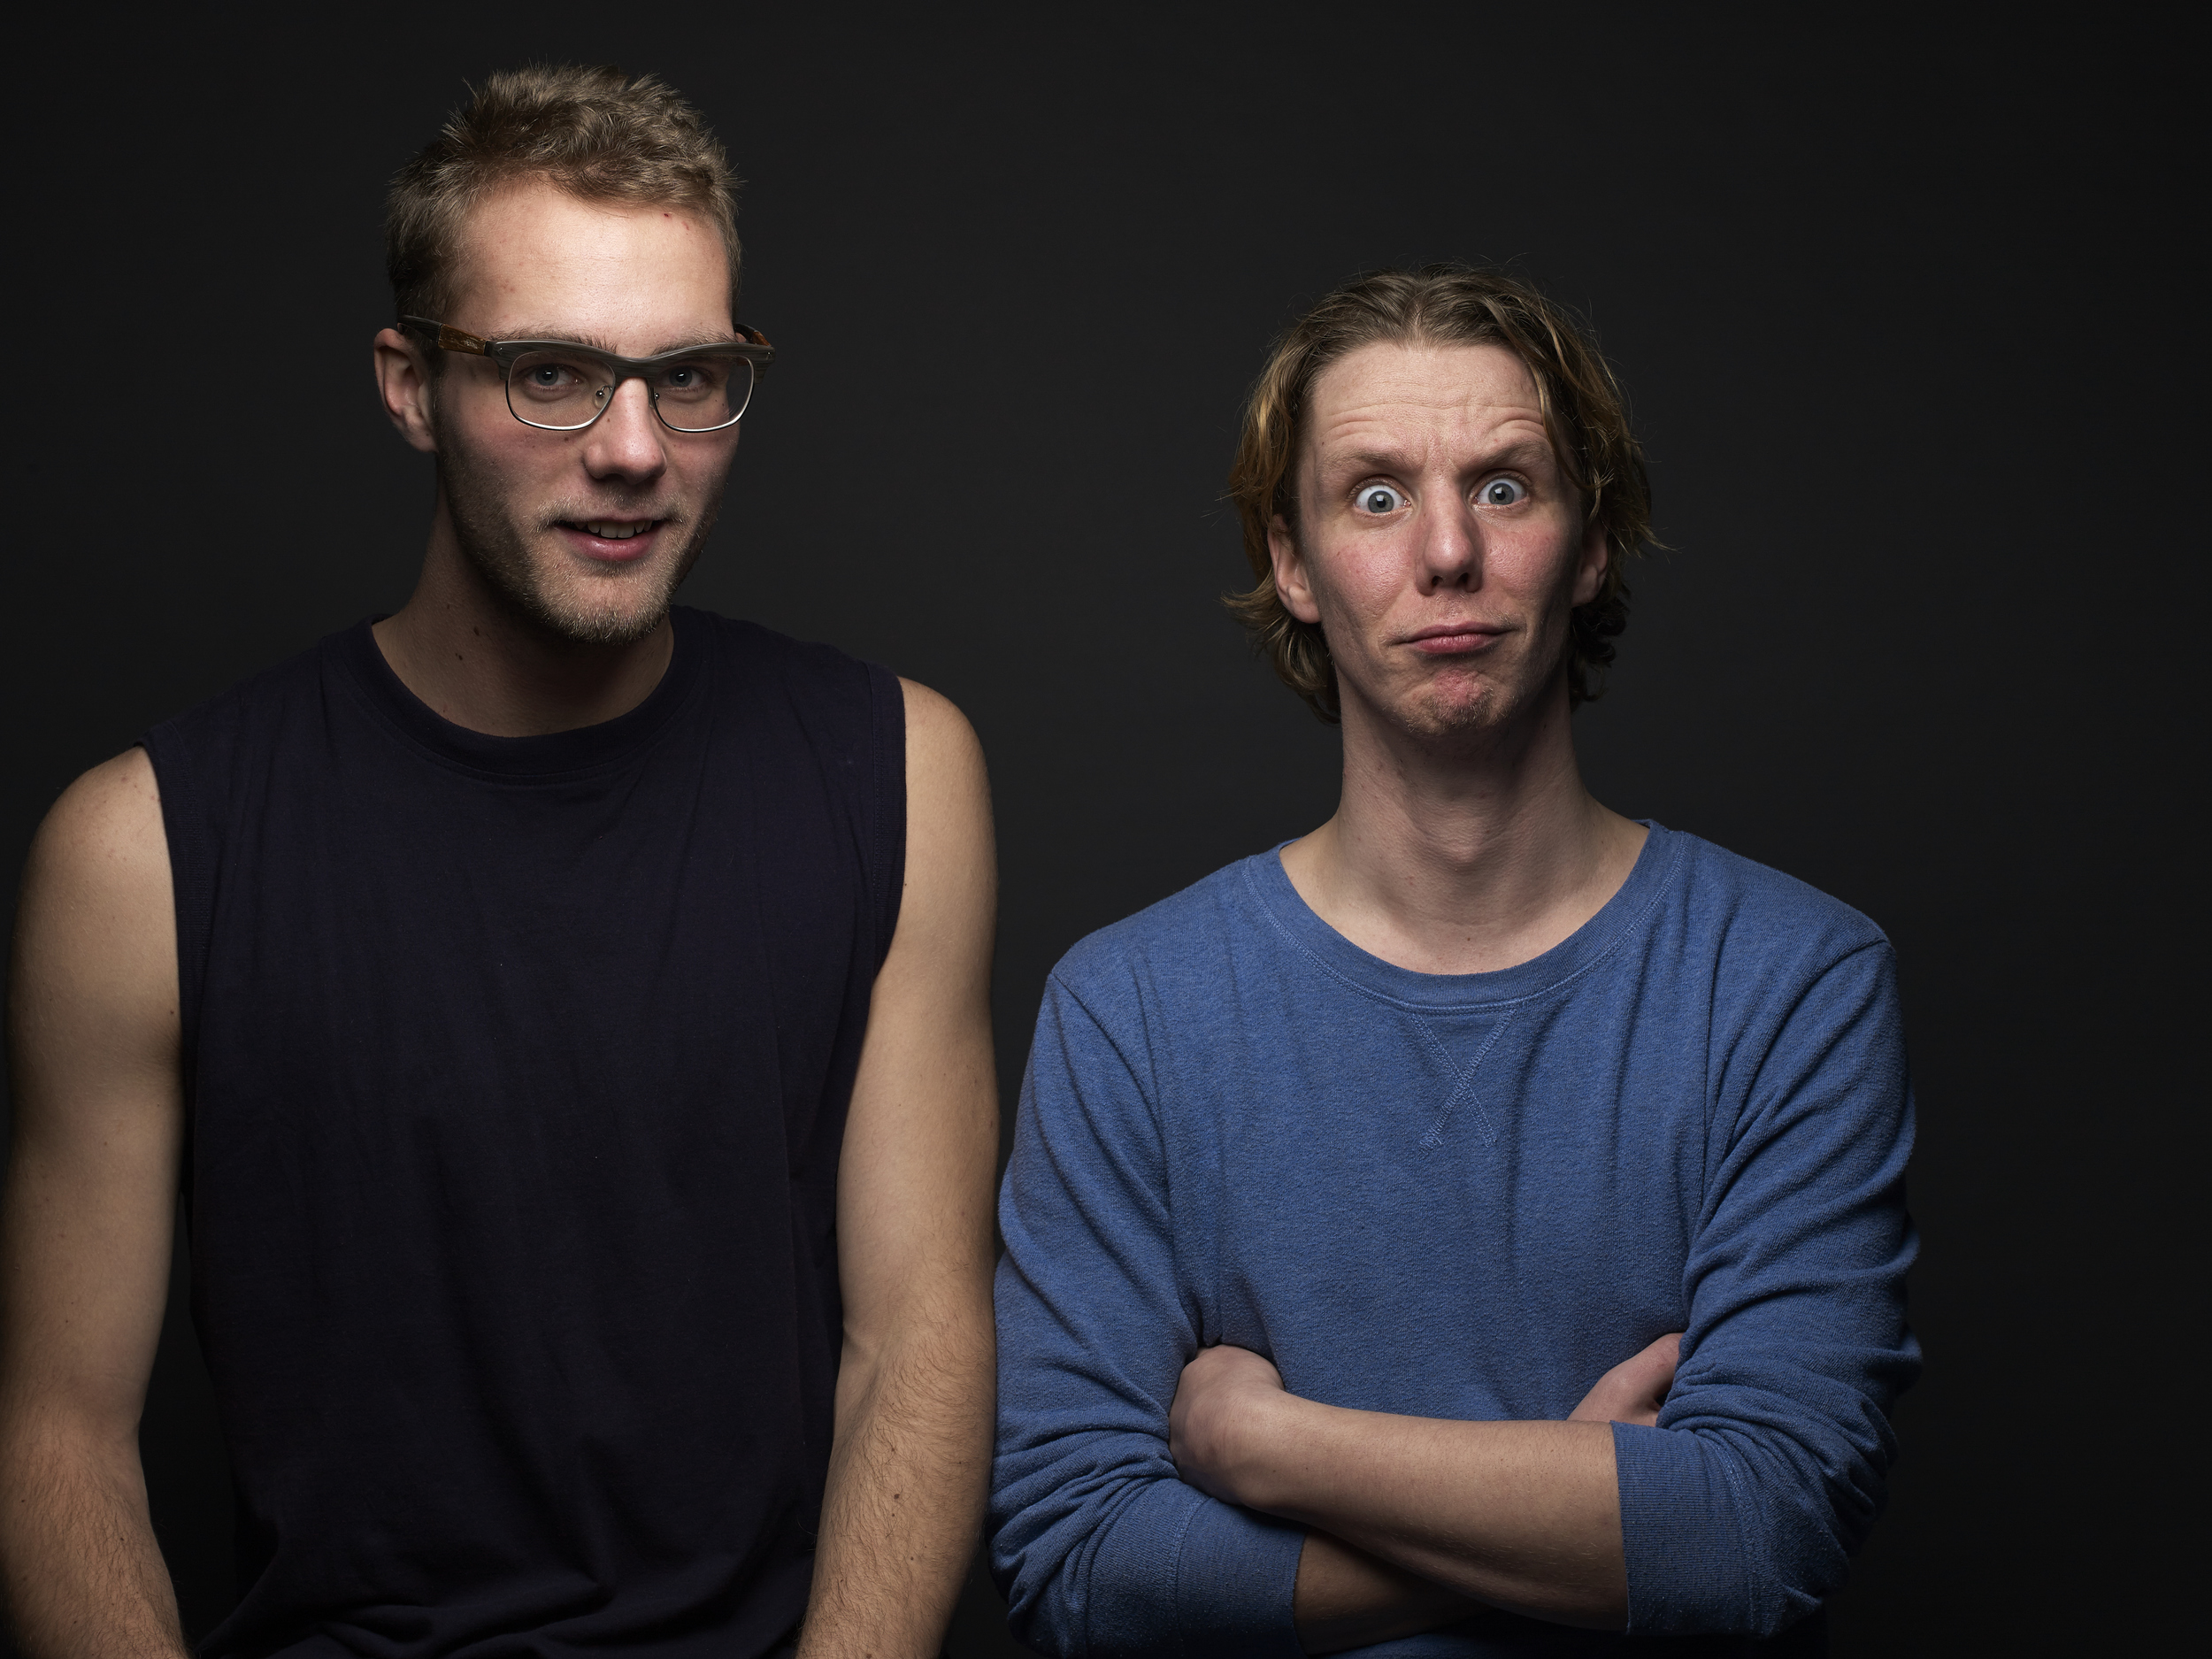
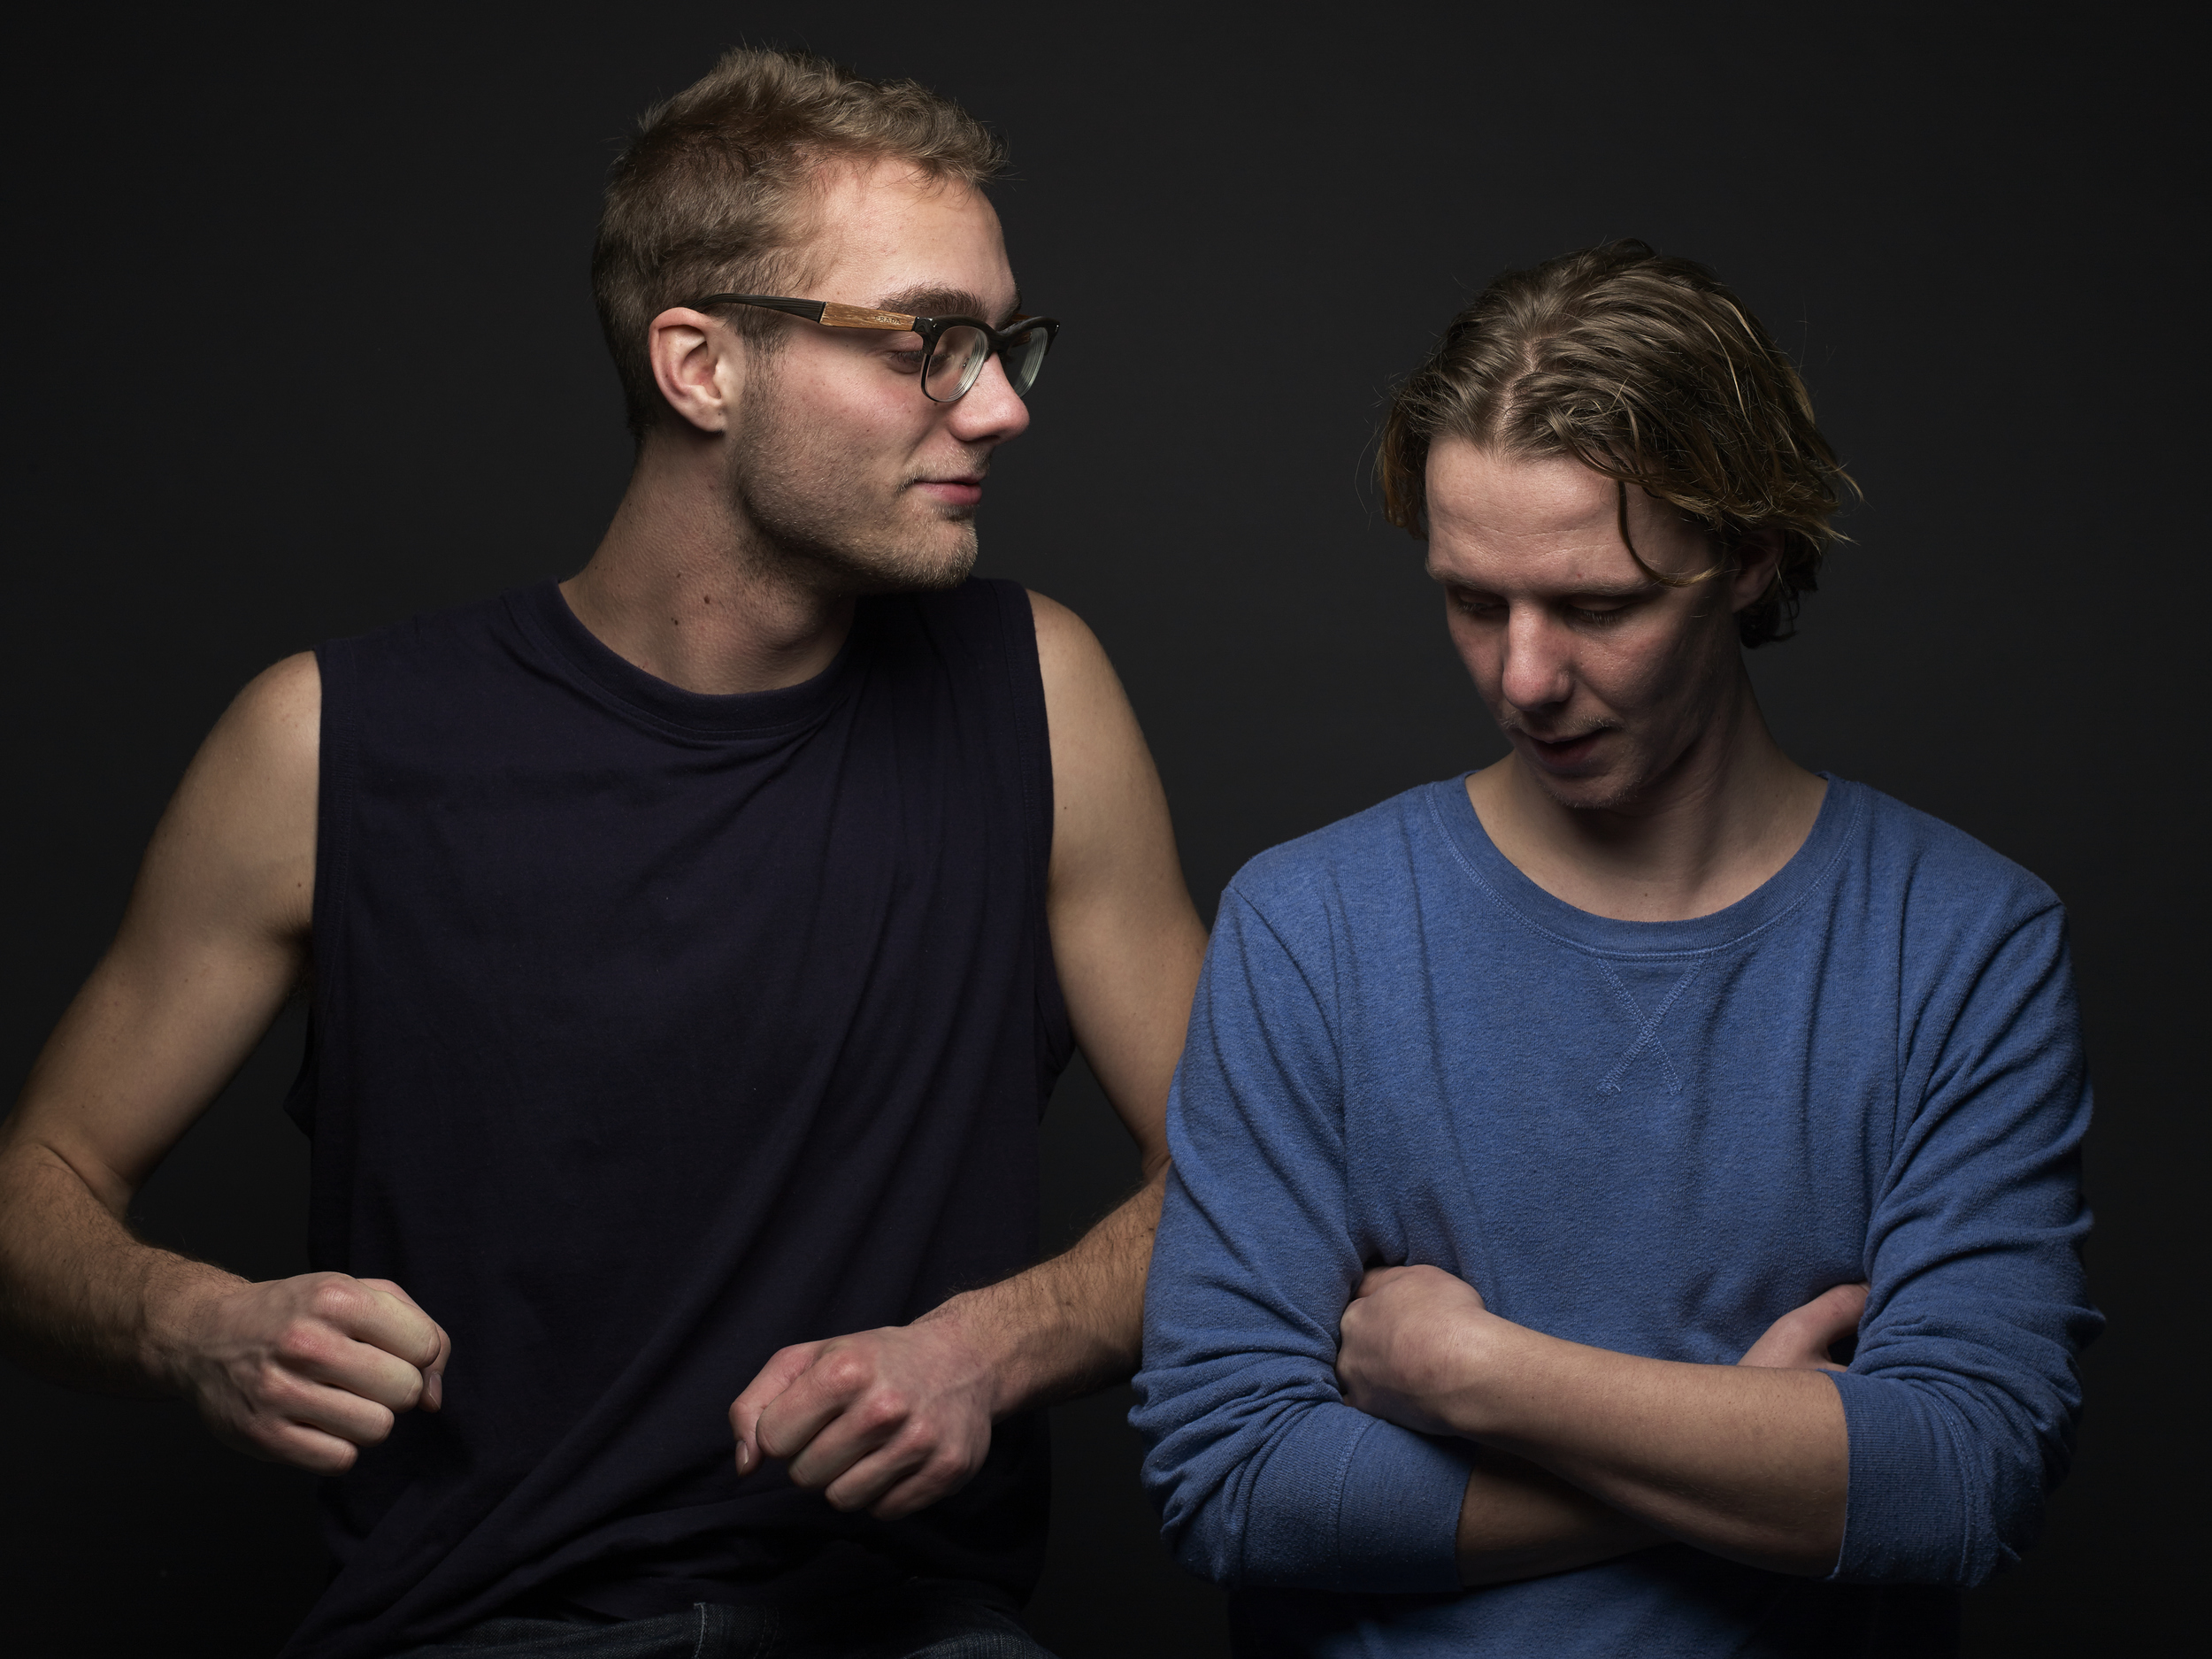
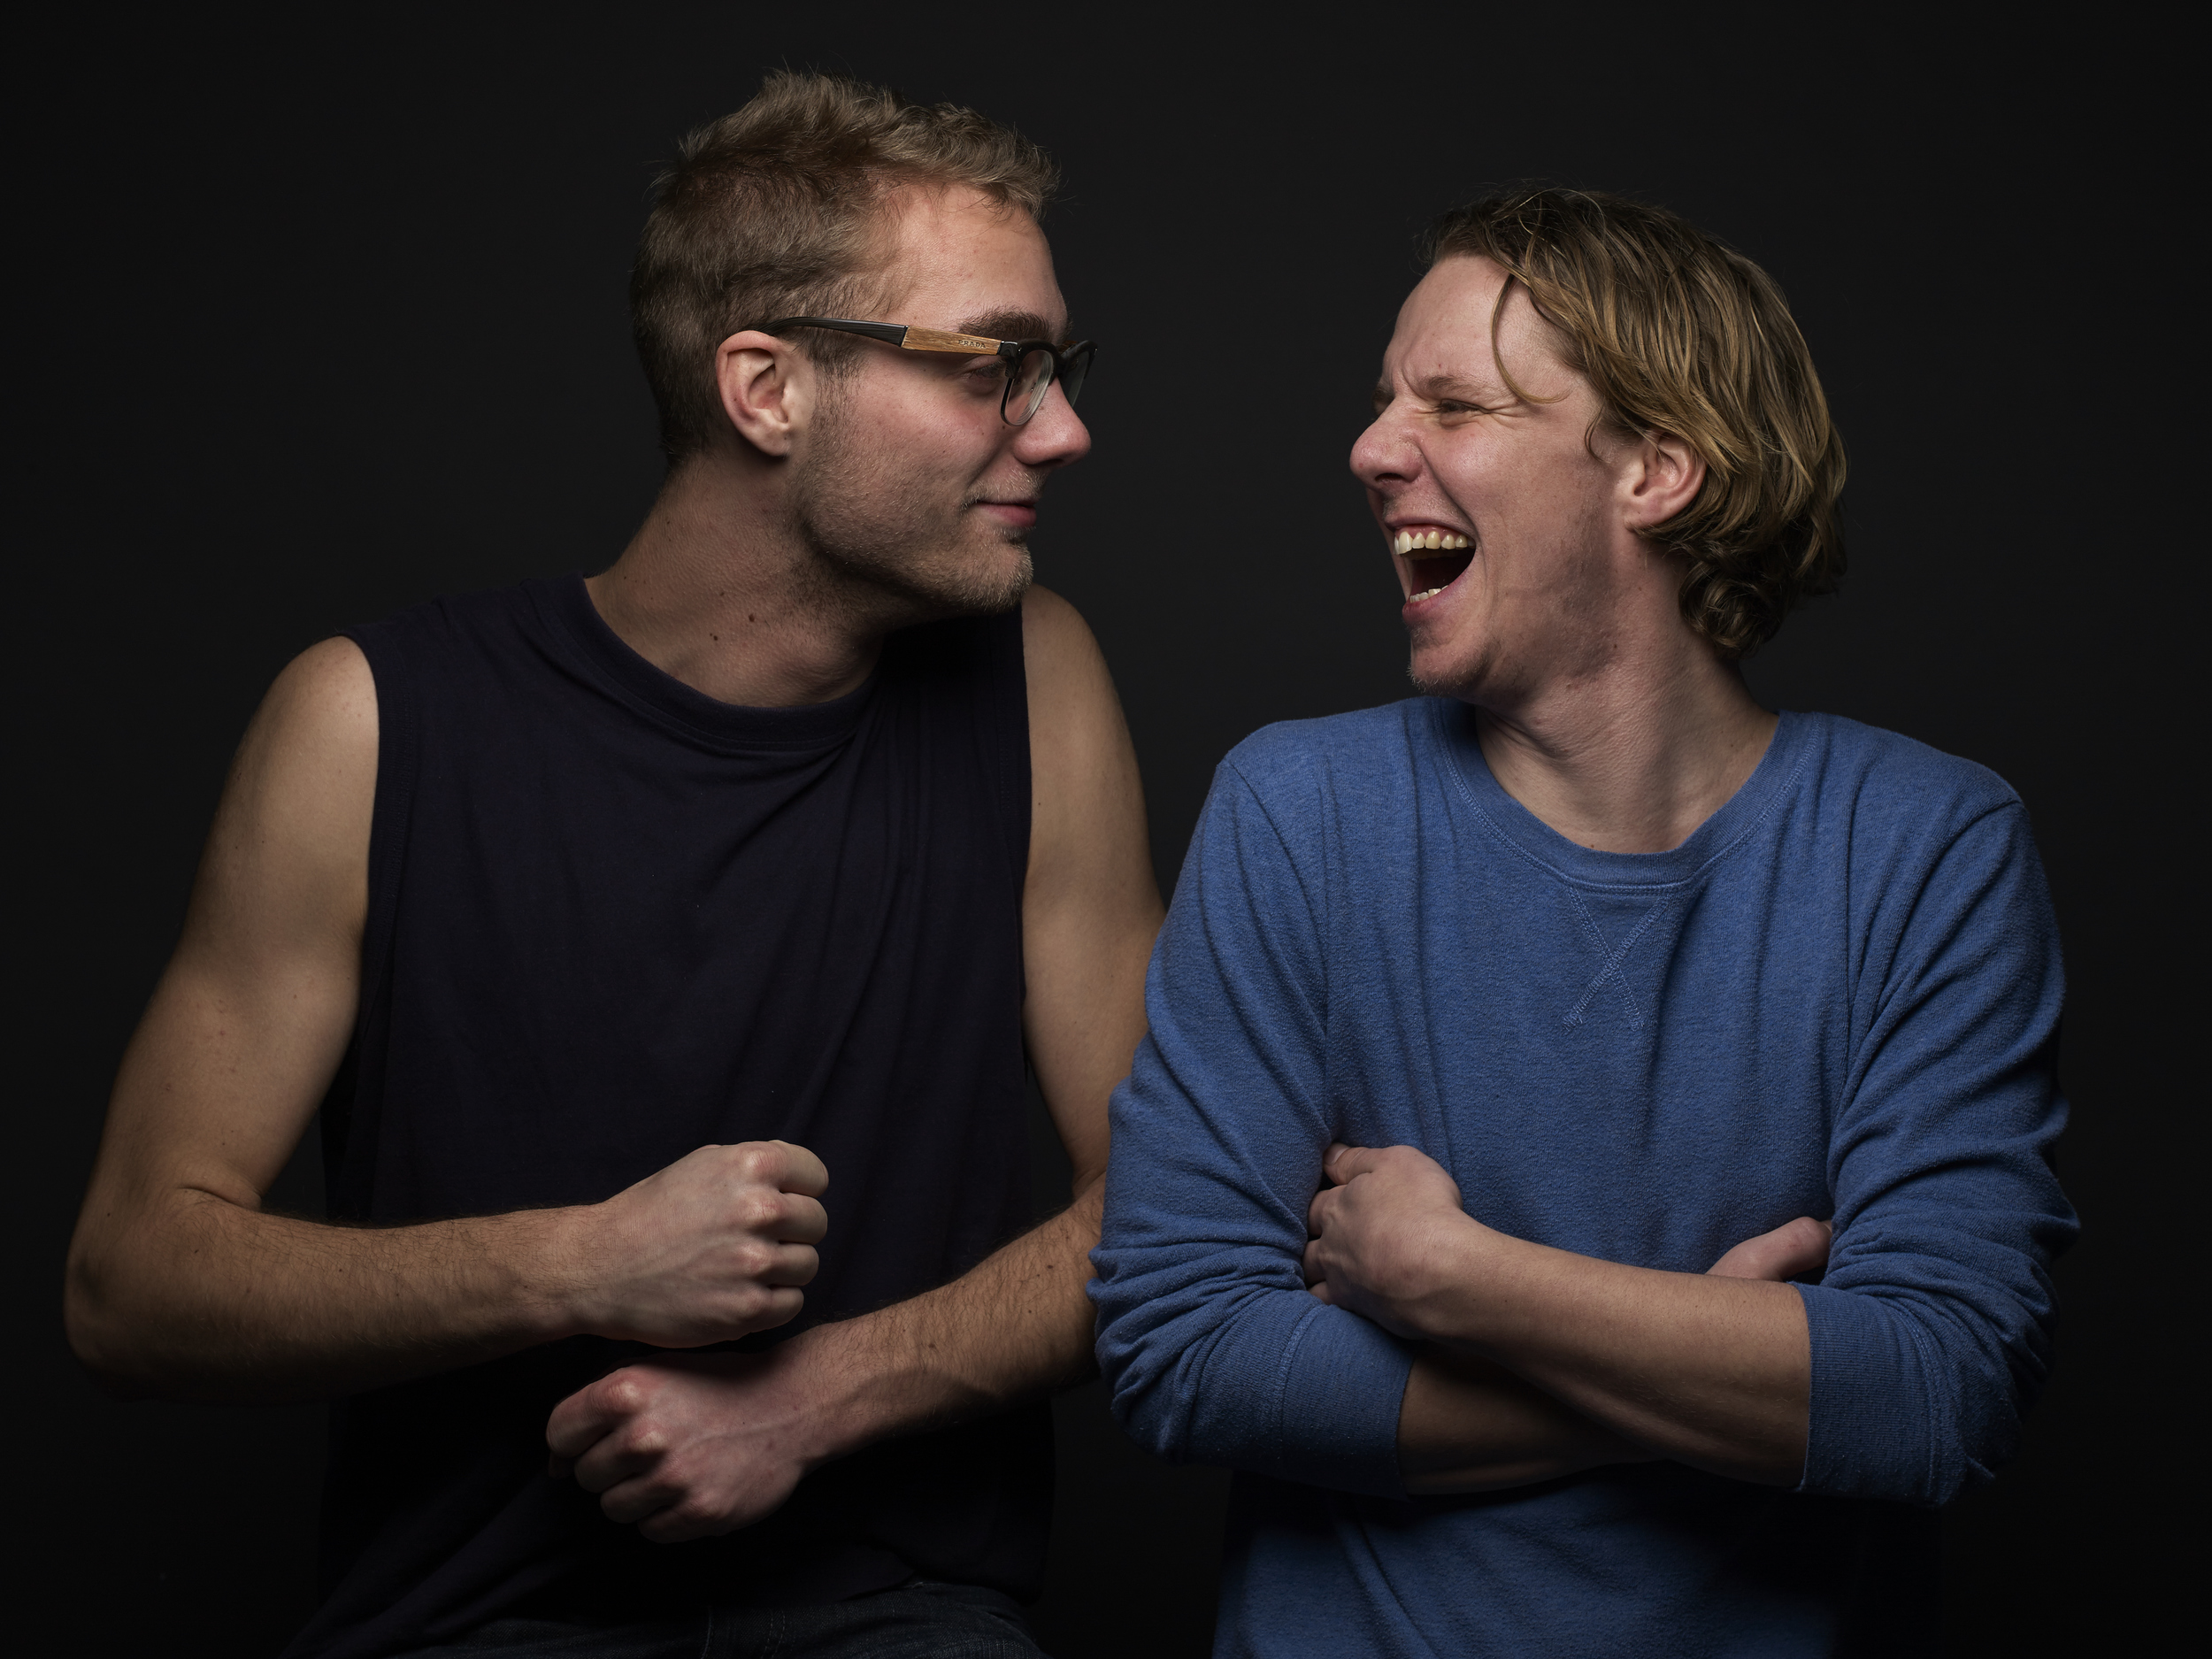
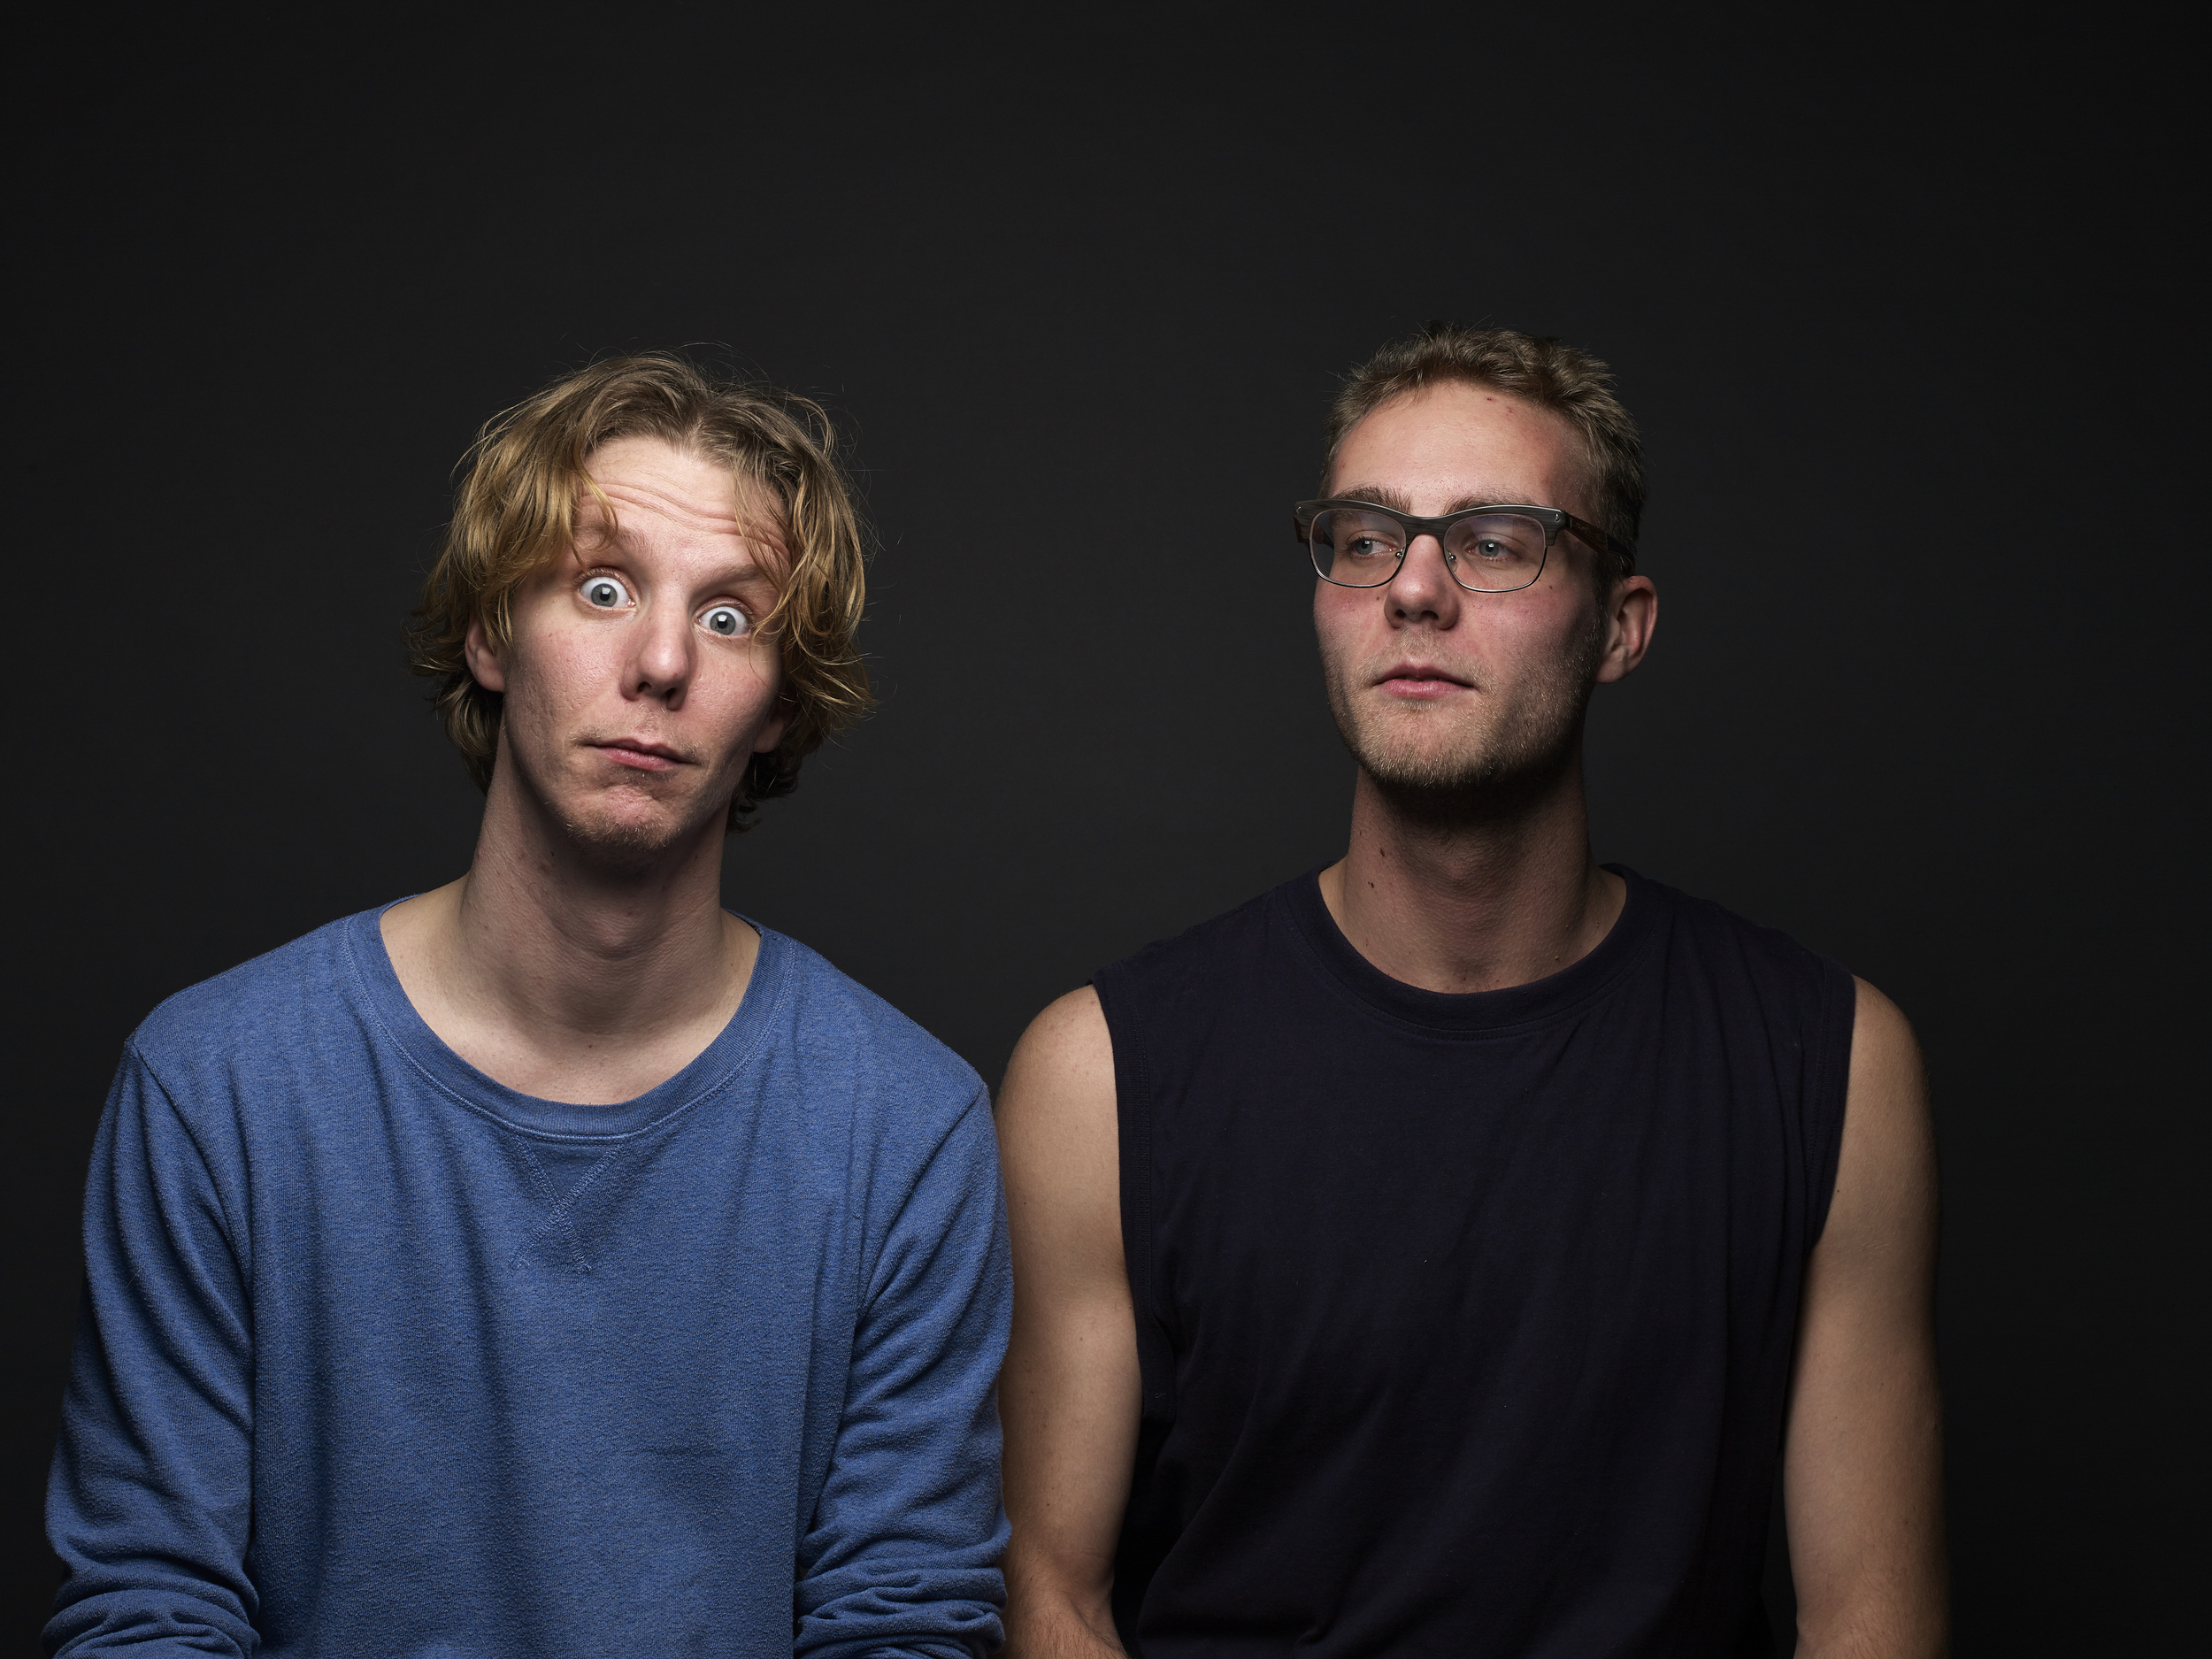
After the regular portraits we started with the dance portraits. We changed the light set-up to the Elinchrom Rotalux 150cm Deep Indirect Octa with a Elinchrom Quadra RX and the A-Head.
The Verdict
After the learning process I loved the images coming out of the Phase One P30+ Back with V-mout. But there are some cons working with the camera and back.
First the screen is really bad for a 8k+ camera back. Secondly I really disliked the cable from the lens to the back and then having to add another for triggering the flash. And lastly the focussing, although this is not the backs fold, but the body has to get a check-up. I had to slightly unfocus to get in focus.
What I liked was the old and relaxed feel of working with the camera and the image quality between ISO 100 and 400 is really lovely. The compression with working on medium format cameras is so nice!
So to finish it, will I buy it? Well no, I will keep working with my Hasselblad 500c/m but keep it analog with Kodak Tri-x, Tmax and Provia film! In the mean while I am going to save up for a digital medium Format camera this year!
FYI: All the editing was done in Capture One Pro 8 Only!
More reviews
For more blog on digitalbacks on the Hasselblad 500C/M and medium format camera's:
Christmas Ballerina
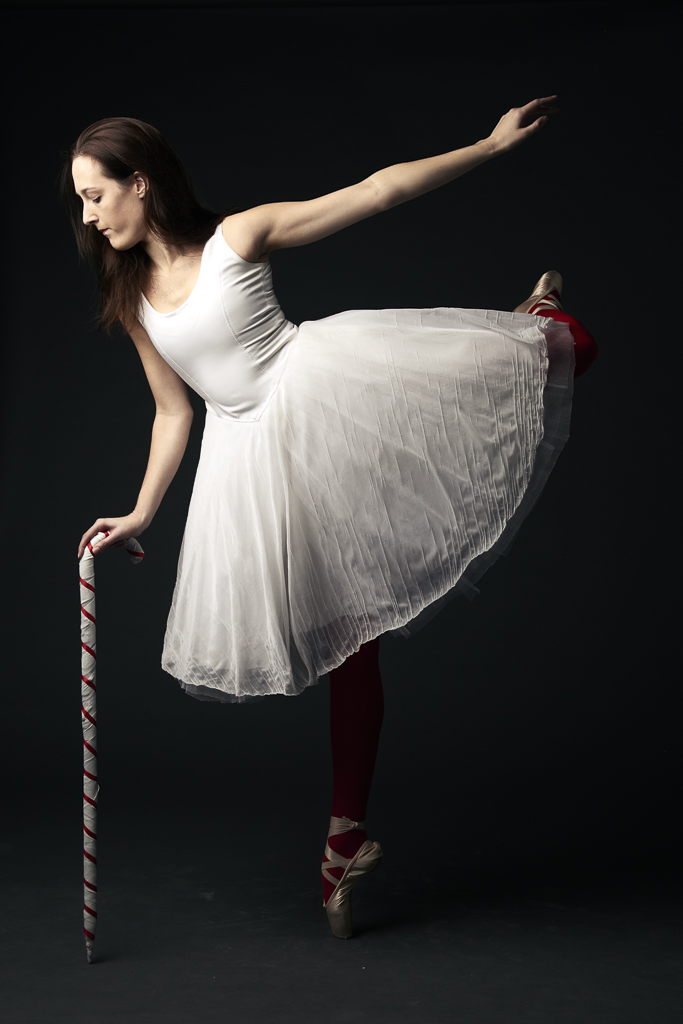
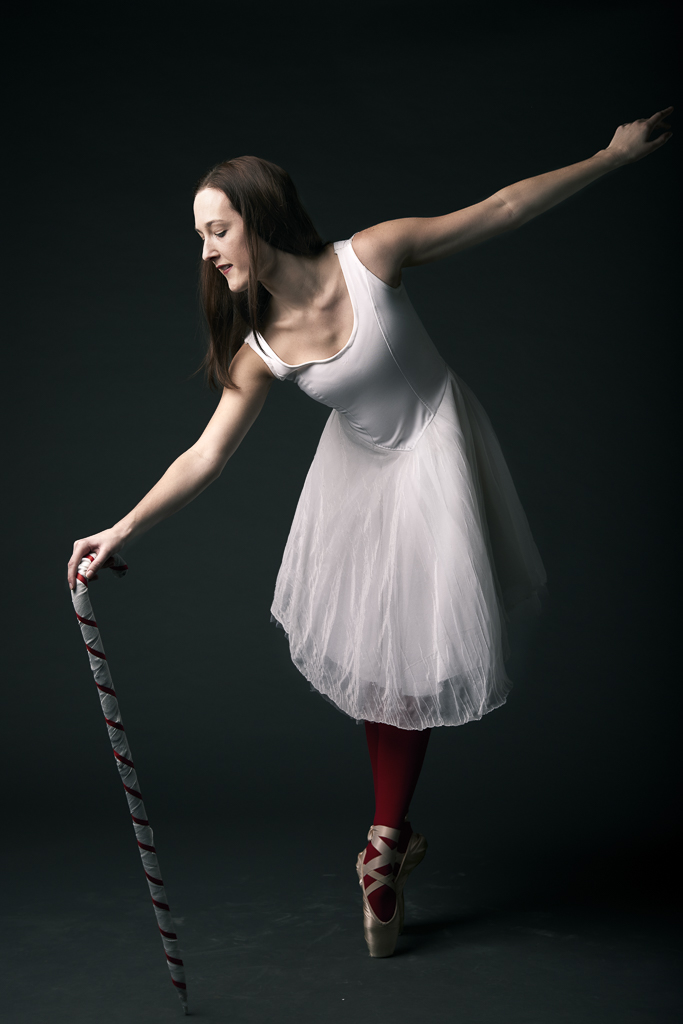
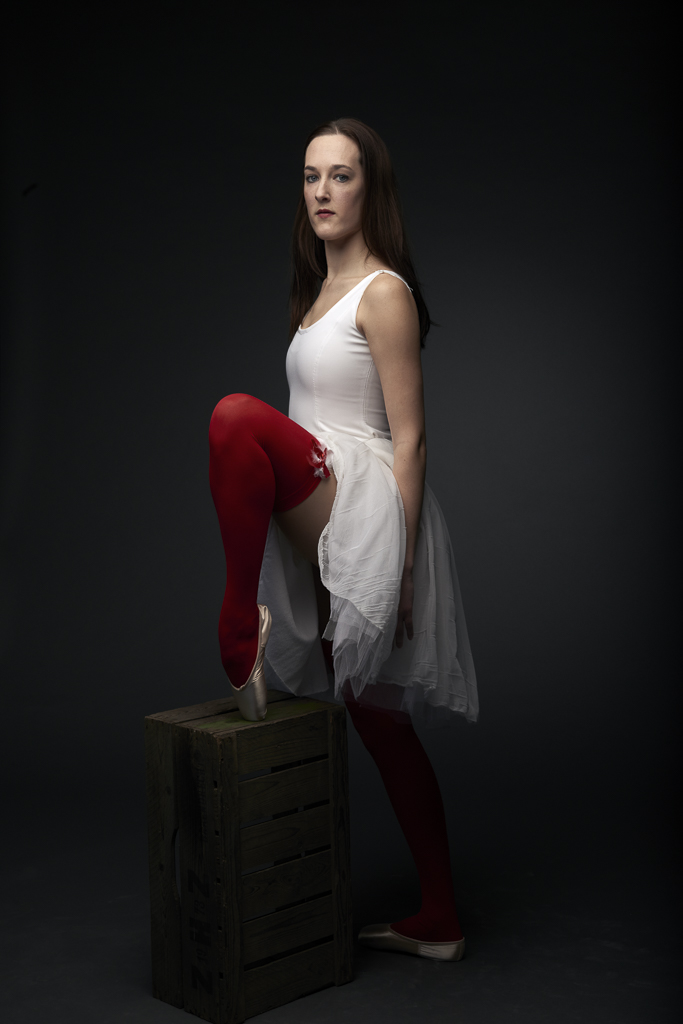
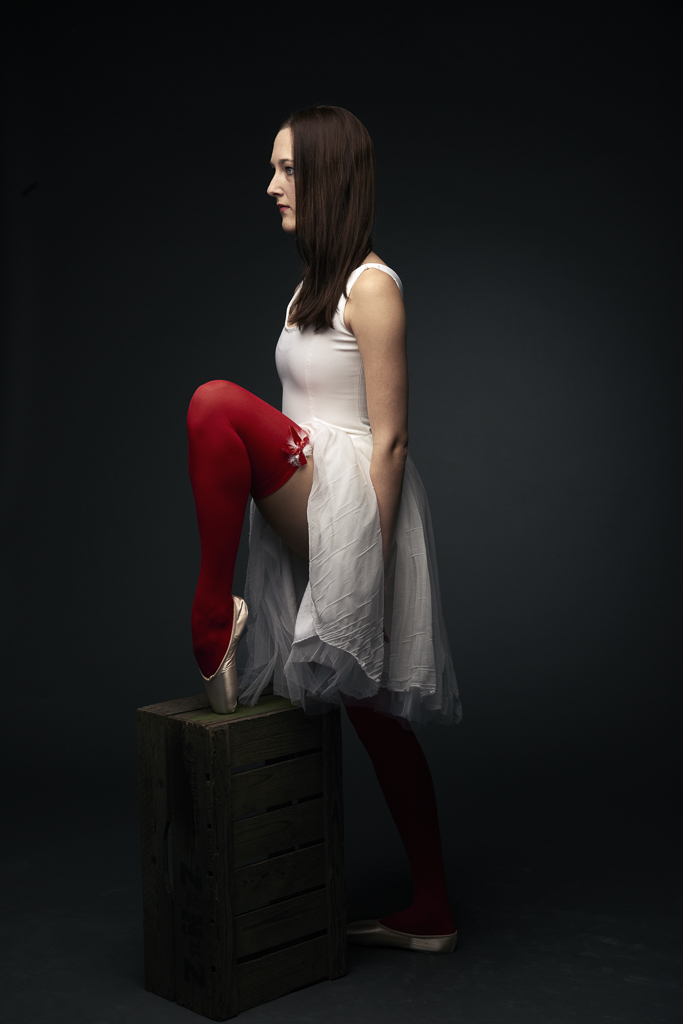
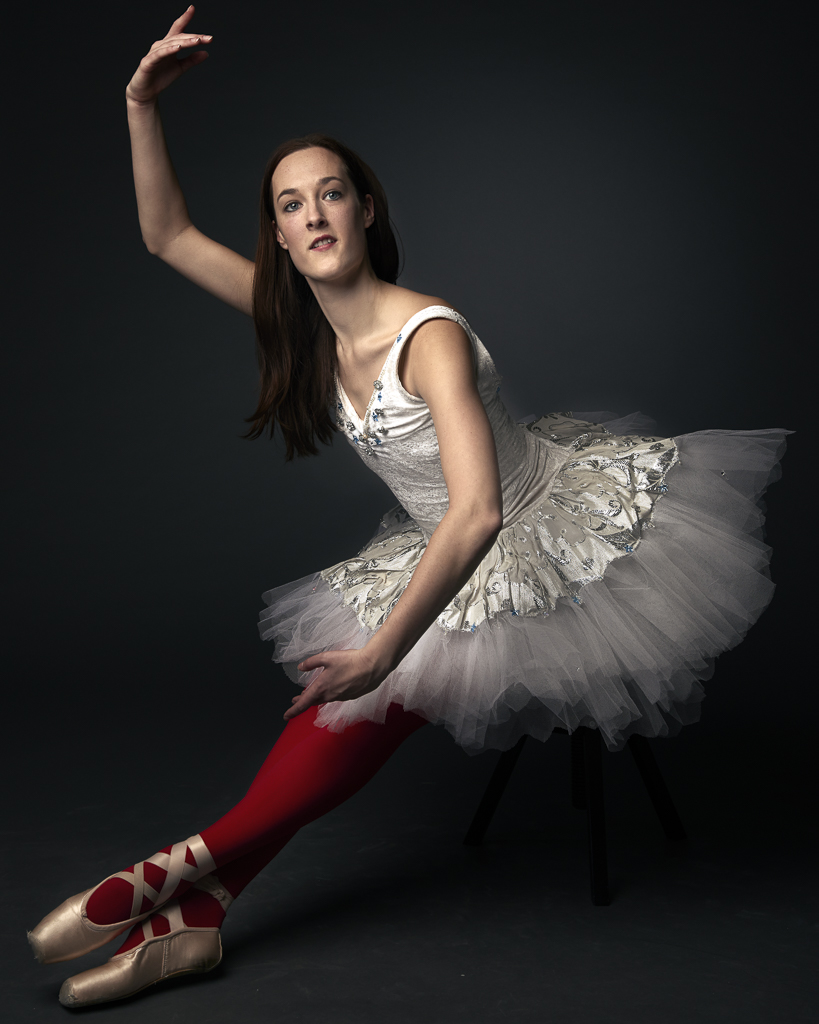
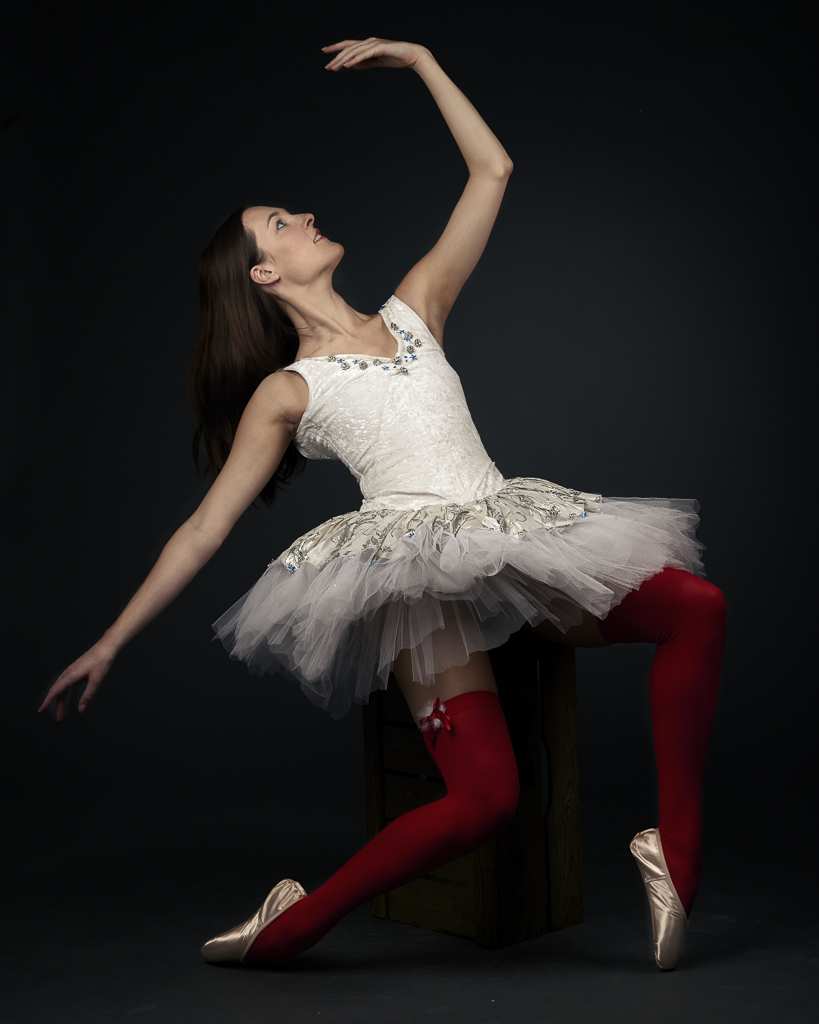
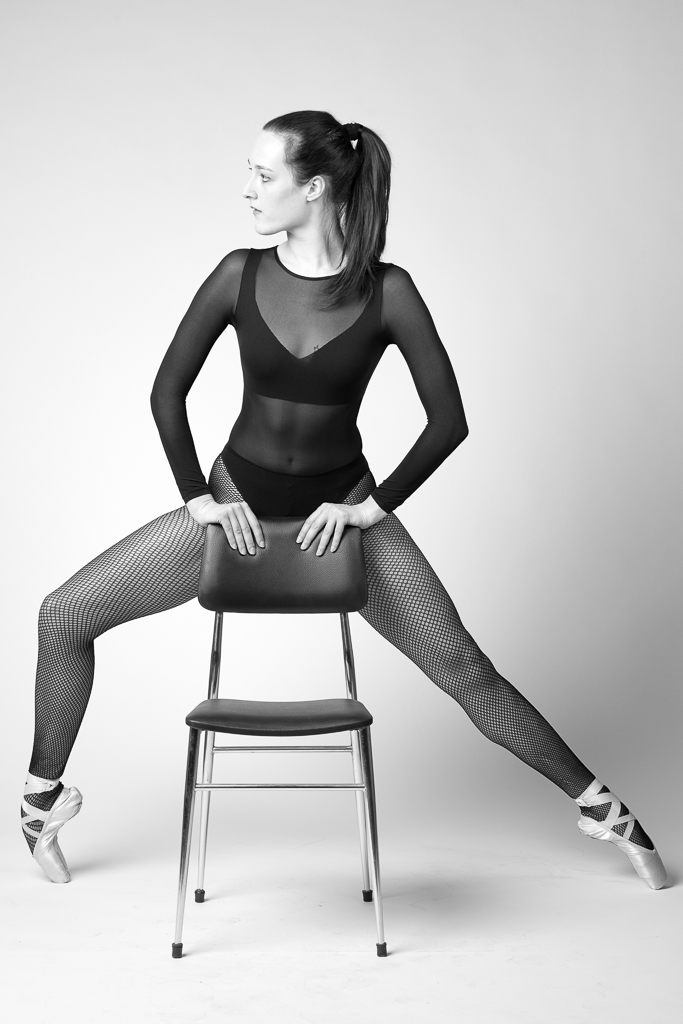
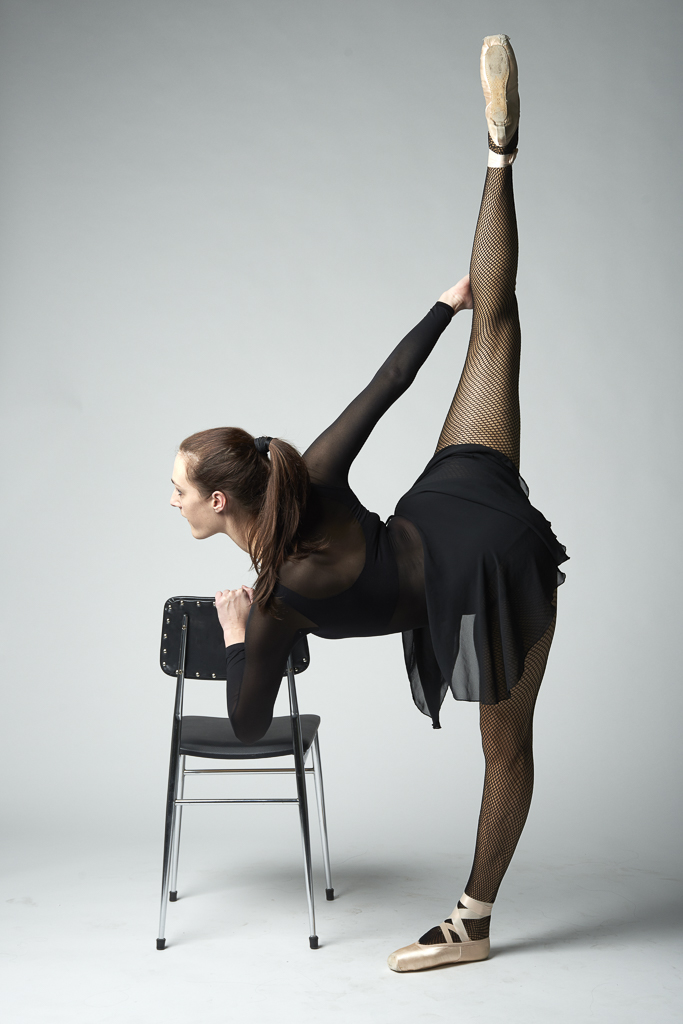
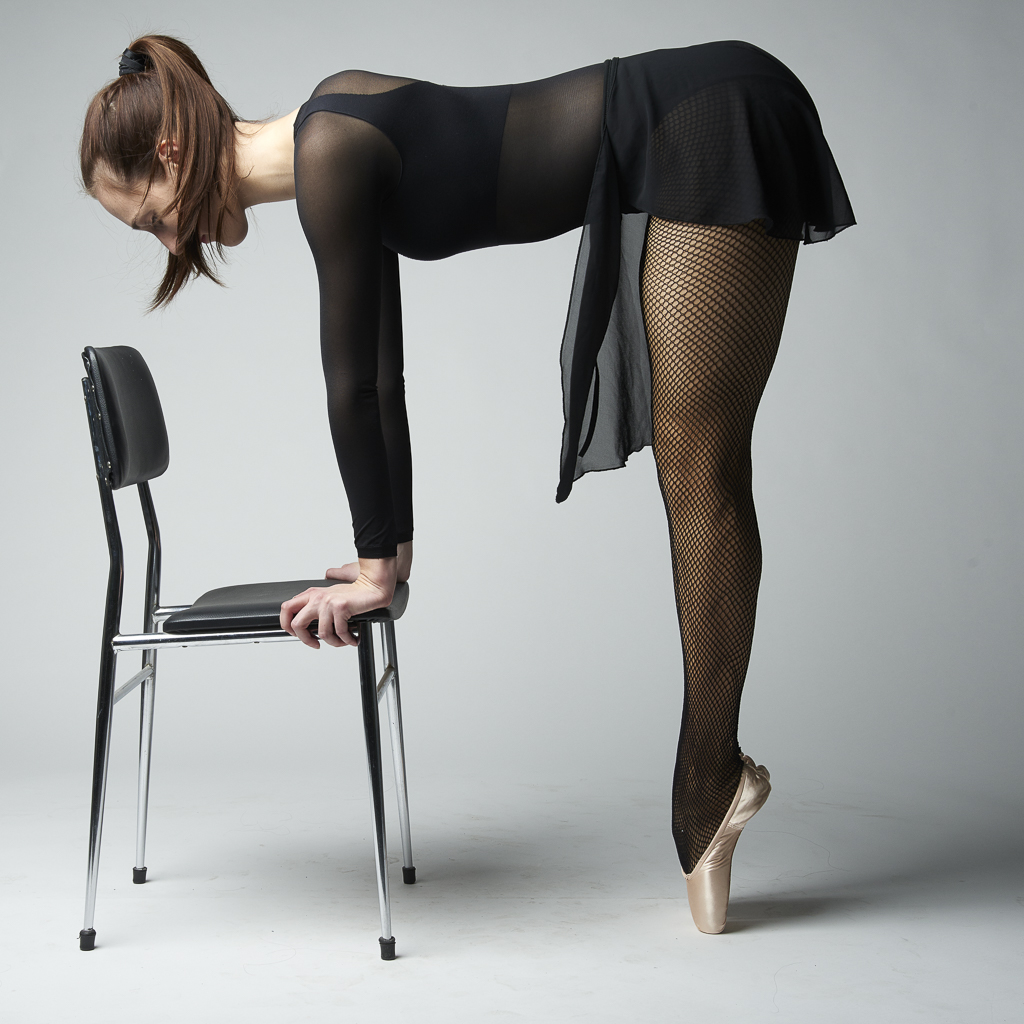
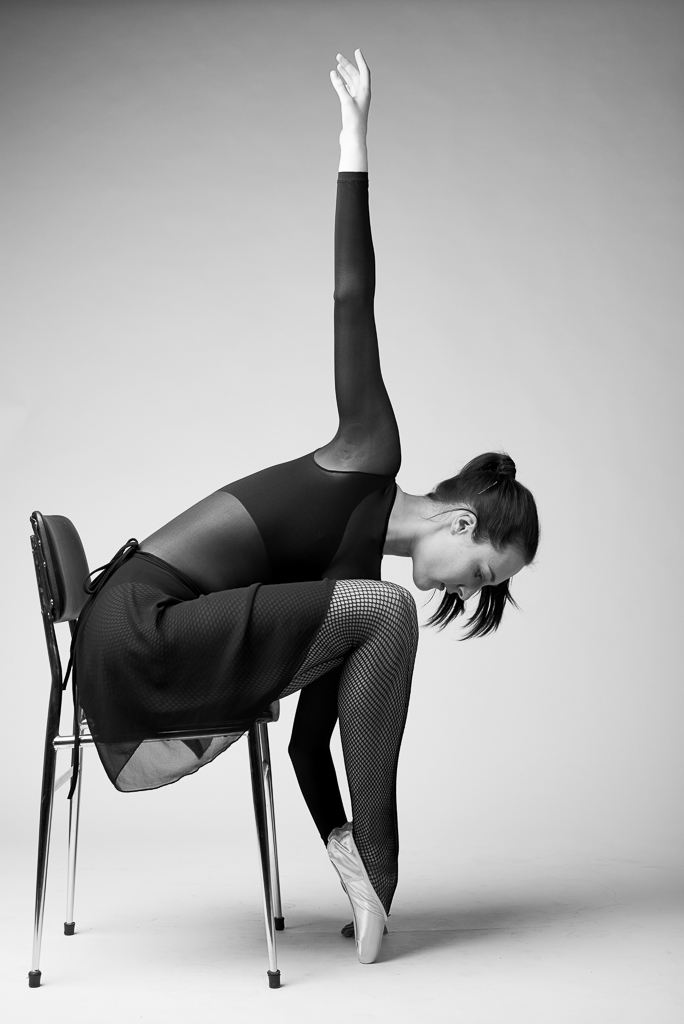
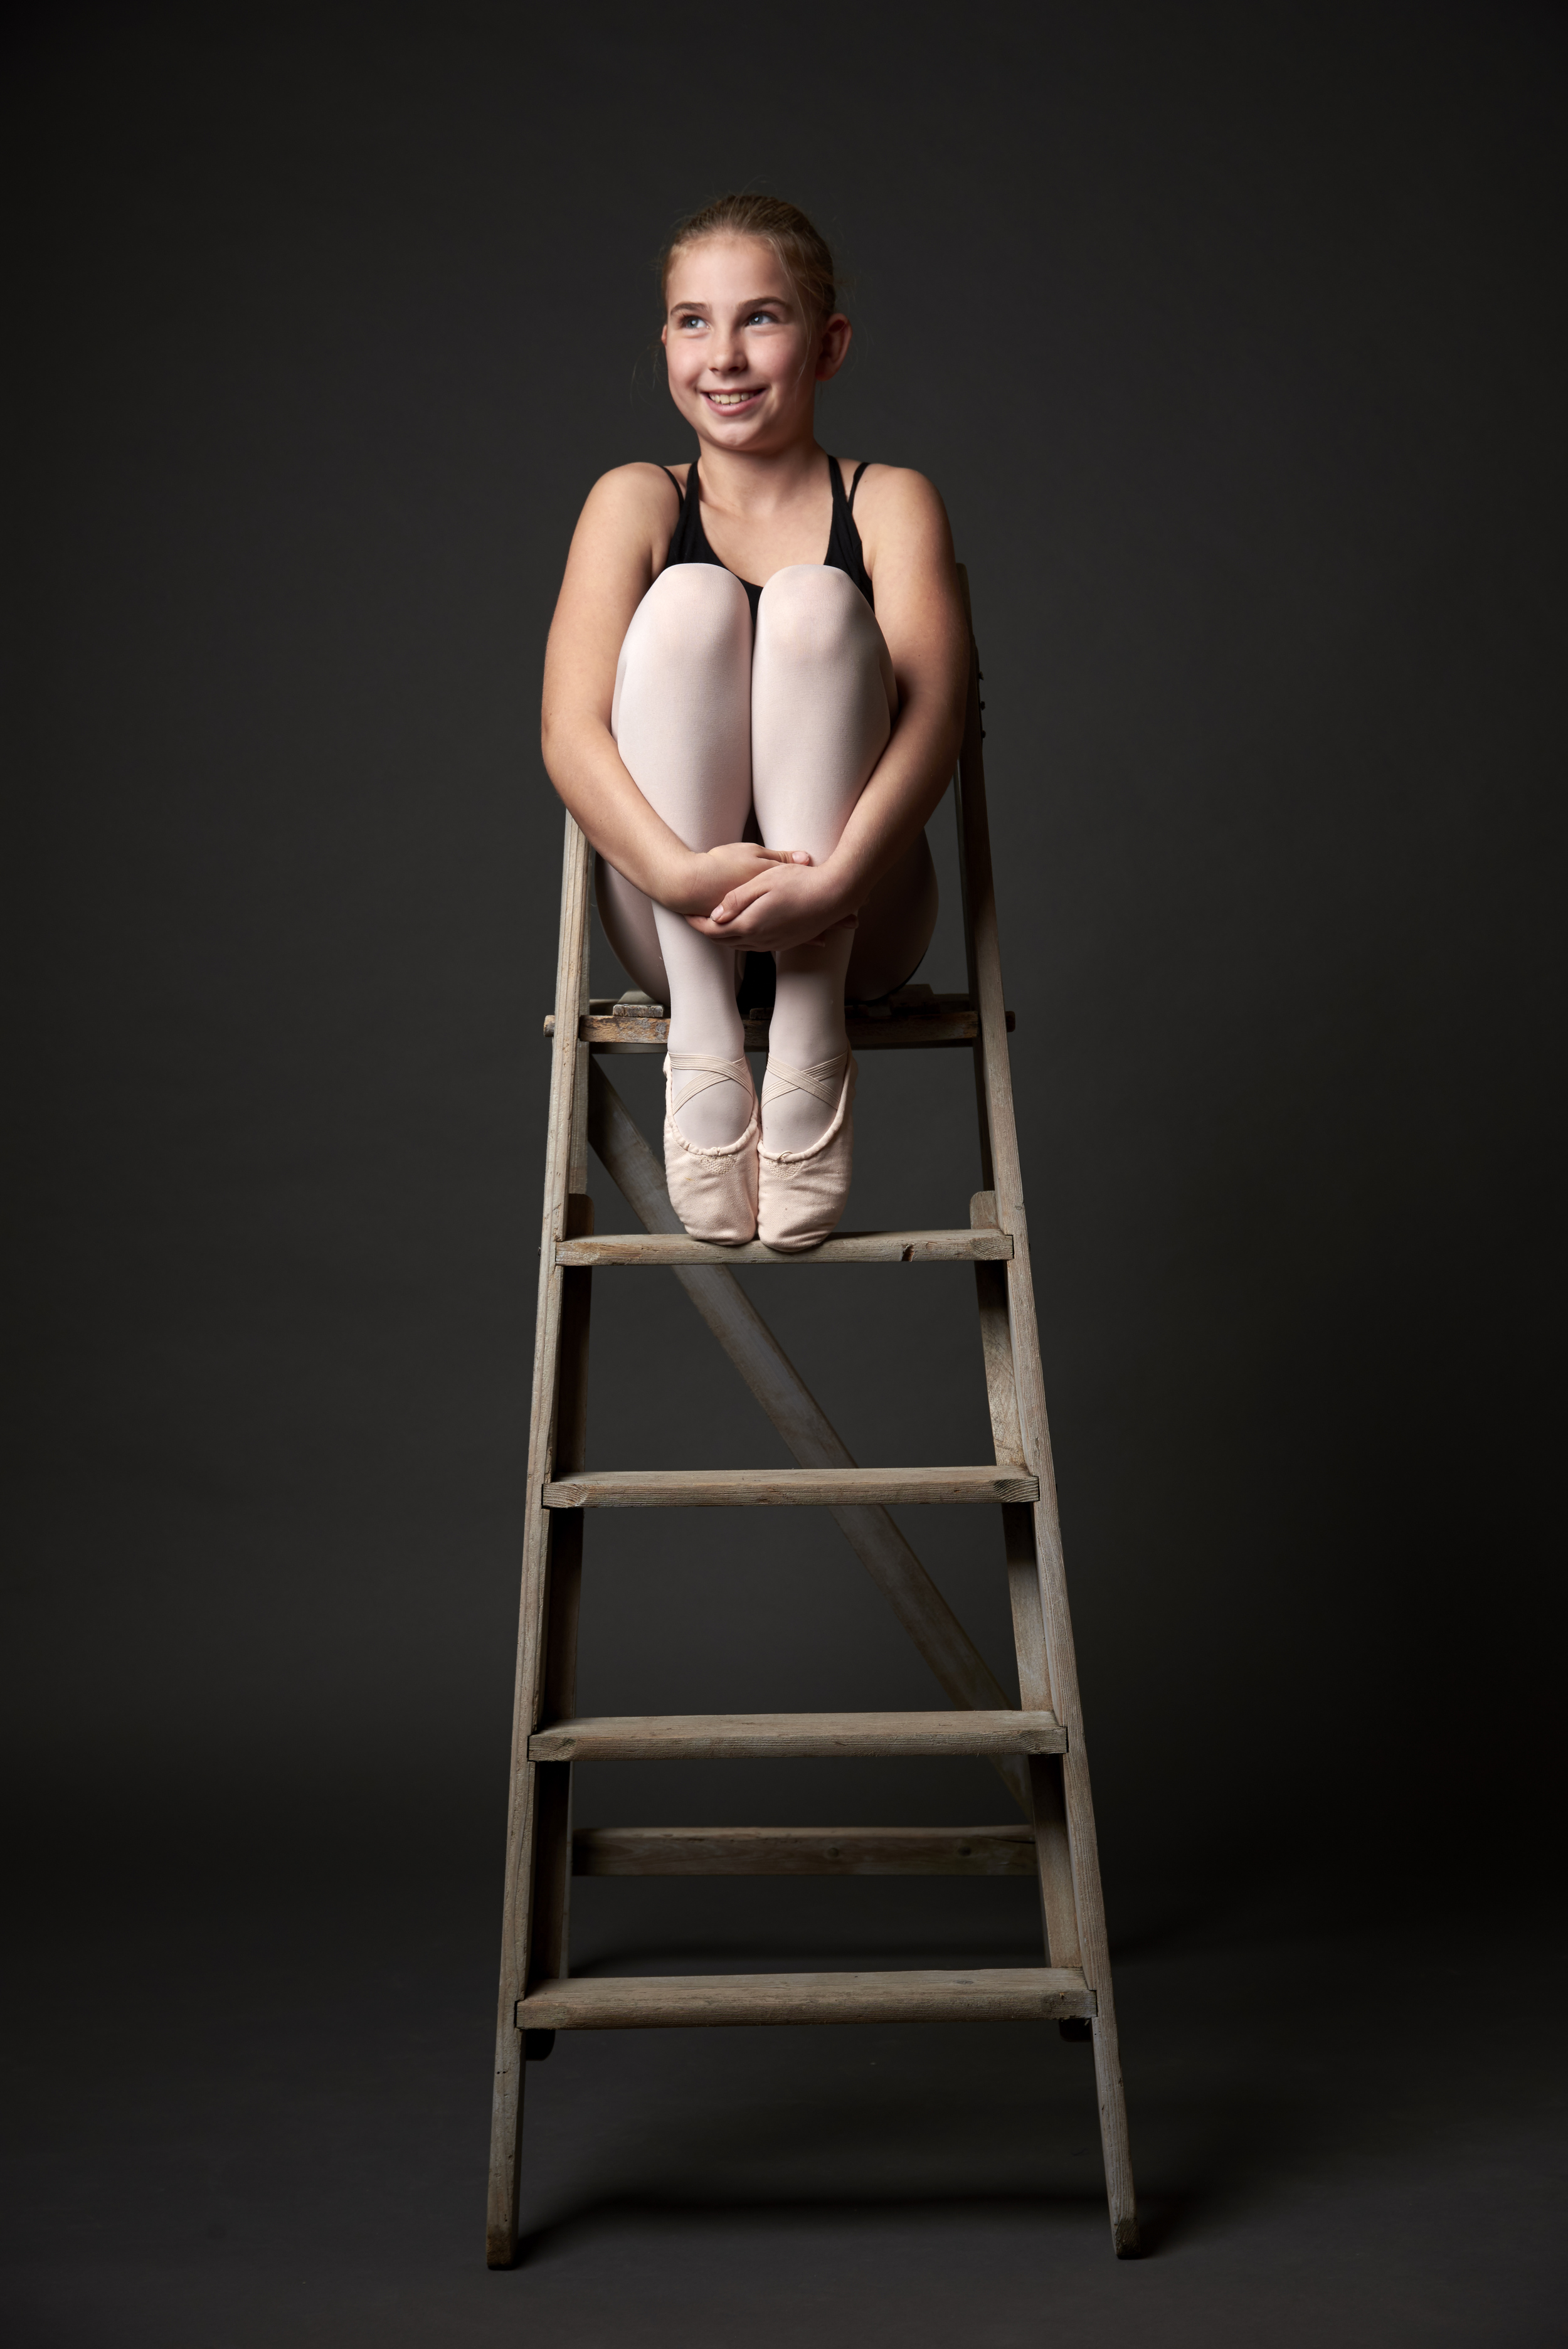
A couple of week a go I had a photoshoot with beautiful woman and ballerina Nienke Knop. We wanted to mix ballet with christmas. Below you see the results.
Specs:
Camera: Nikon D800
Lens: Sigma 24-105 Art
Light: 1 Elinchrom BRX250 with a 5' Elinchrom Rotalux deep indirect octa
After the christmas ballerina photo's we had some spare time to do some more modern Fosy like photo's. Same gear only aded a large white beauty dish as a fill.
Leica Test Drive: Leica M (Type 240)
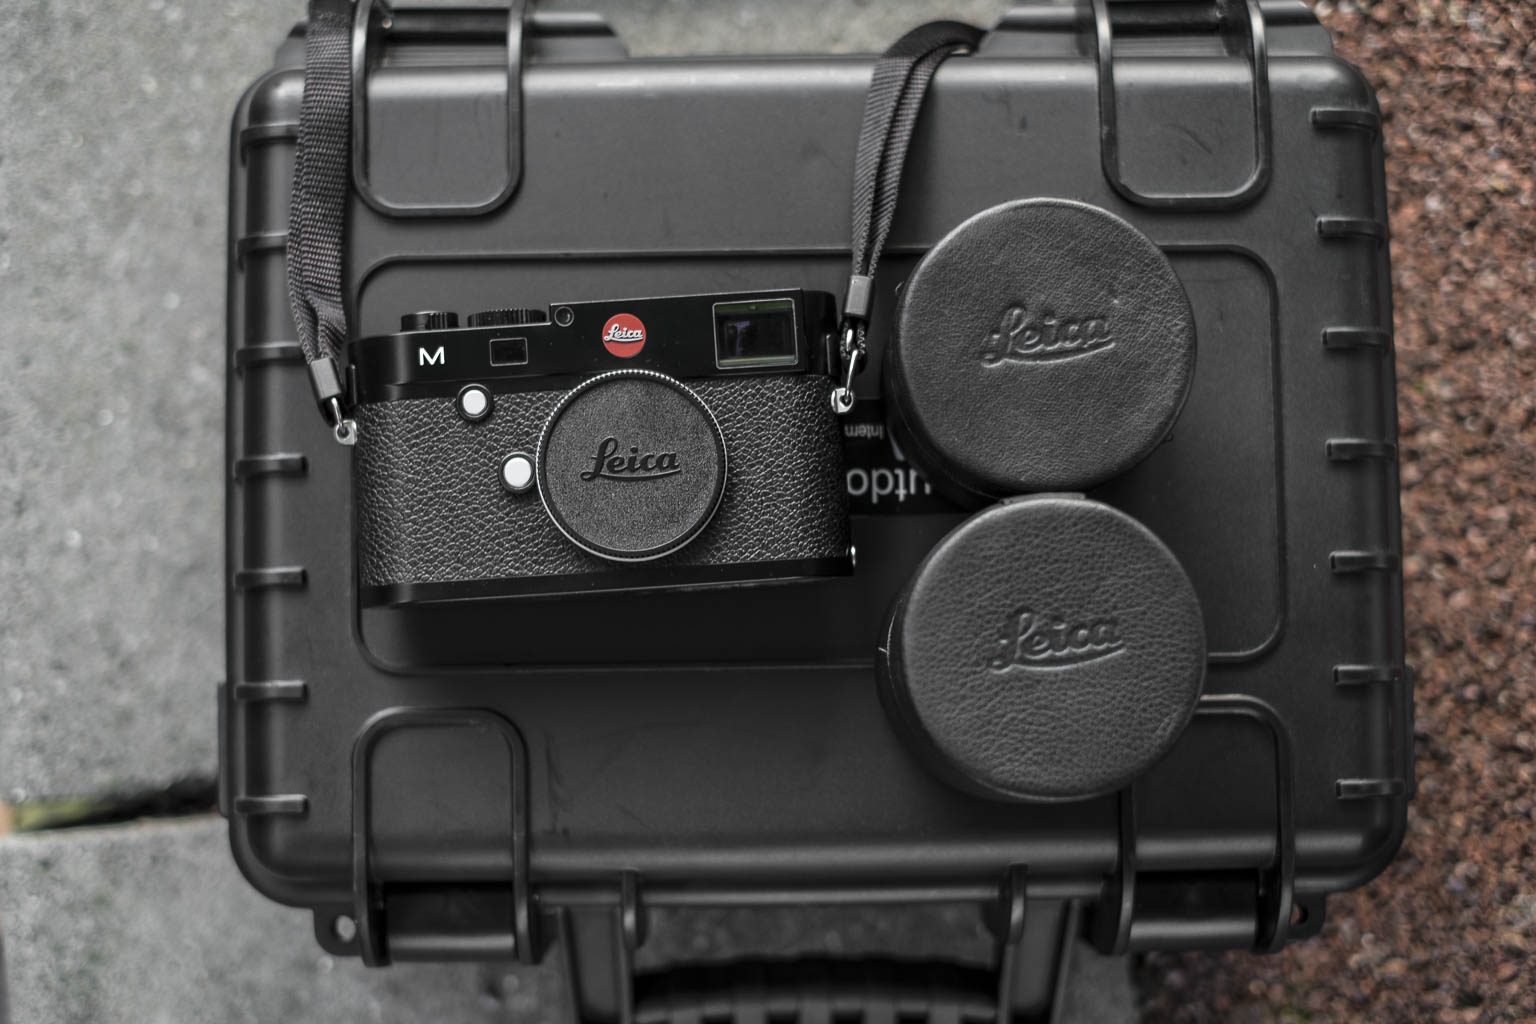
A few weeks ago Leica announced the Leica test drive. I have always been interested in Leica camera's, but never wanted to invest in it before I could test it. So the Leica test drive was the chance to test out a Leica in a real world situation. So I organised a photohoot to test it out and used it on 2 commercial jobs in the same weekend.
The Leica M (type 240) Kit
In the Leica test drive kit was the
- Leica M (type 240)
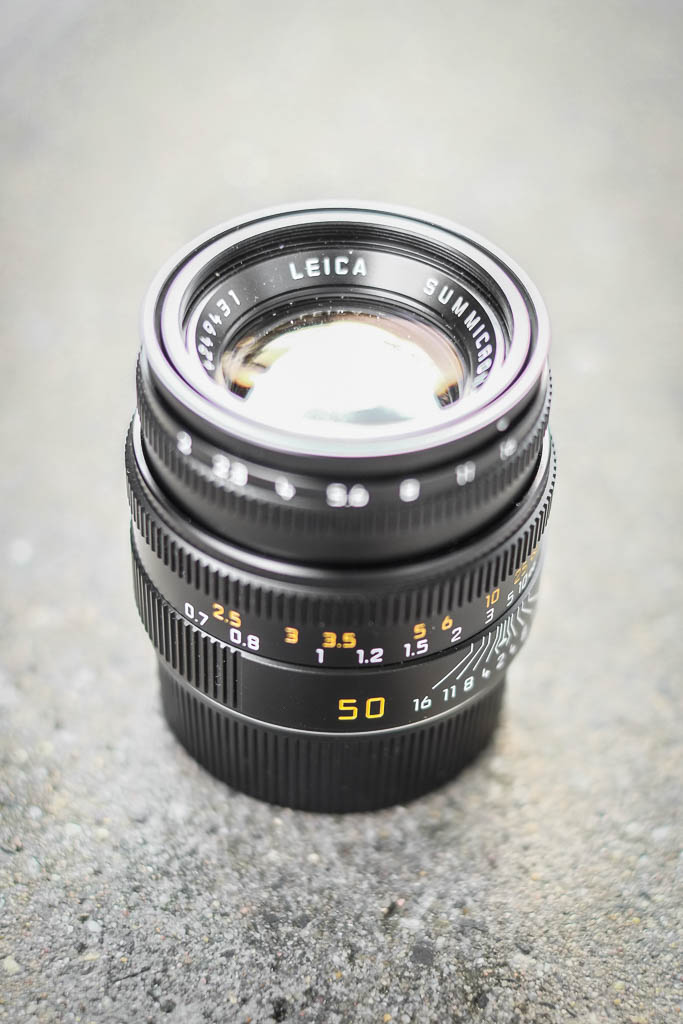
- Leica Summicron 50mm F2.0 ASPH
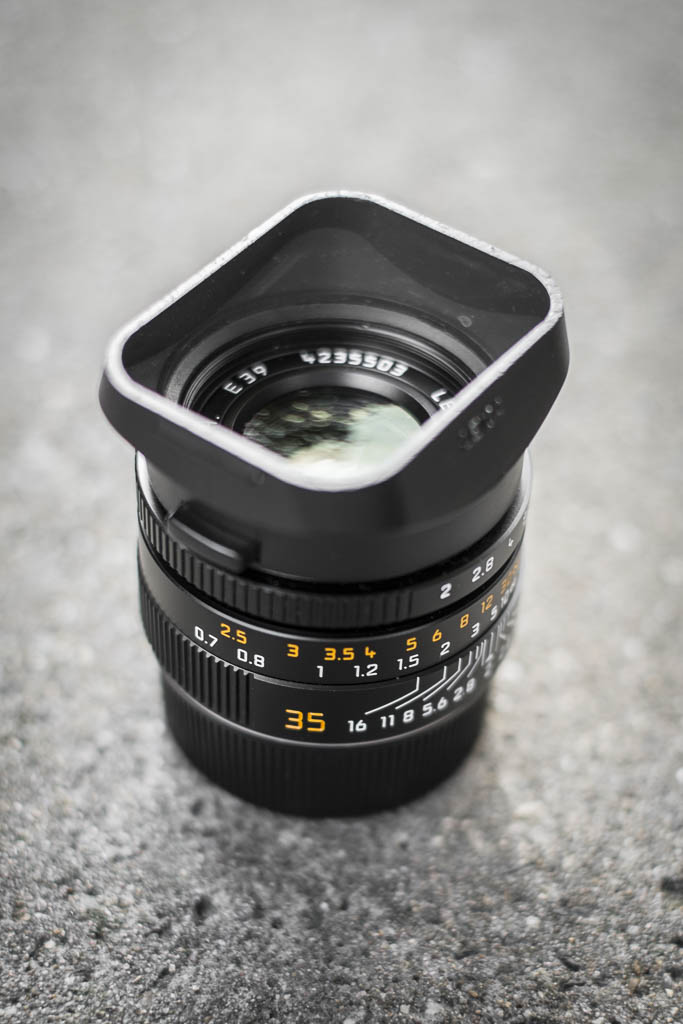
- Leica Summicron 35mm F2.0
- Leiva EVF2 Electronic Viewfinder
- Charger
- Card reader
- Case
First Look at the Leica M.
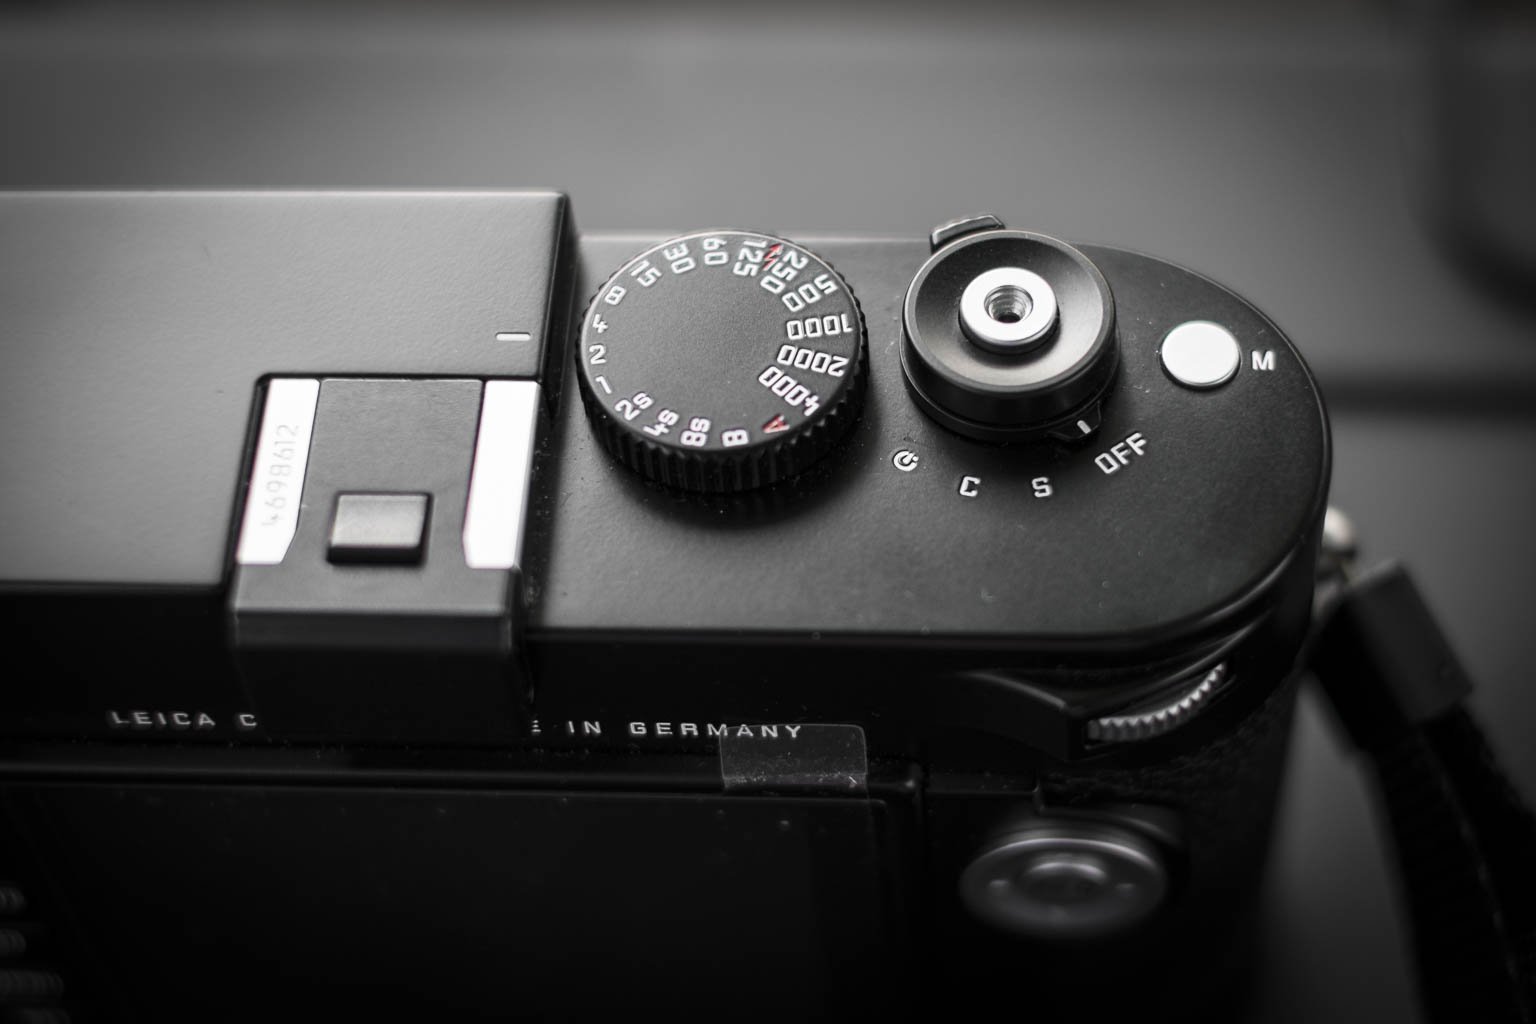
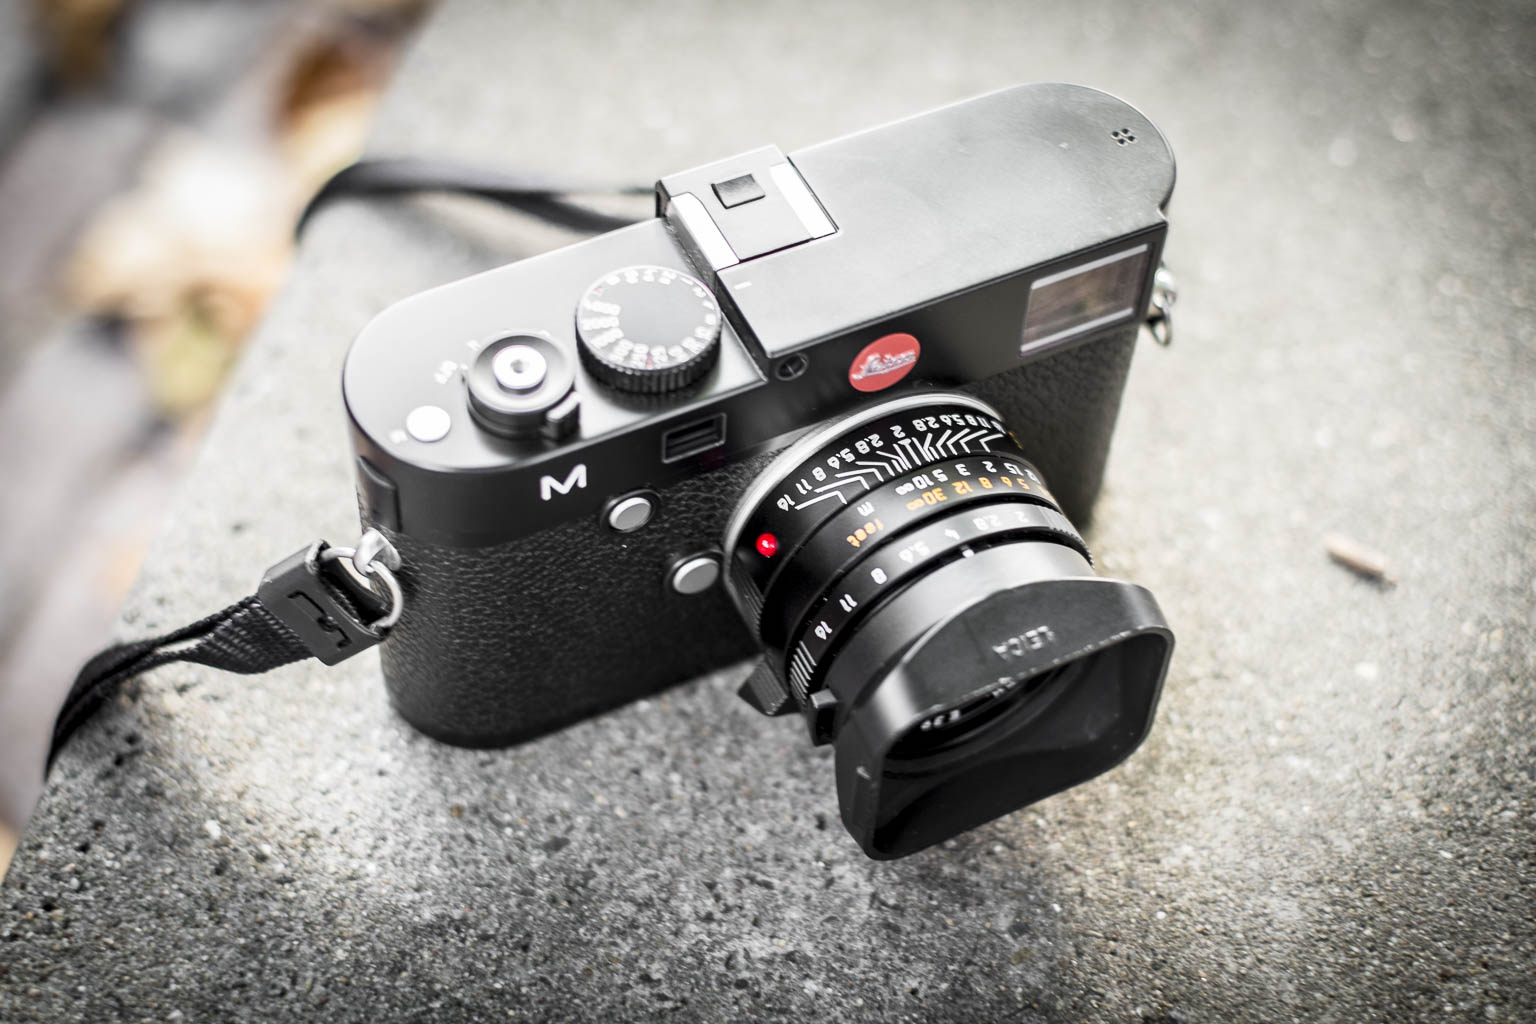
The first thing you notice when you hold a Leica is the build quality. These camera's are build like a tank. They don't look ergonomically, but are very pleasant to hold. The further lay-out is really simple. On top is the shutter time and release button, with the on/off switch. With the on/off switch you can also chance from, single to continuous or timer mode. Also there is a small button voor Movie mode which I haven't used. The Hotshoe has a nice slider to fill it up when it isn't in use.
The back panel has a kind of okay LCD screen, the buttons for LV (LiveView), Play(back),Delete, ISO, Menu, set. On the right side is the D-pad with an info button. At your thumb is a wheel for different tasks, like scrolling the menu and exposure compensation. The viewfinder has a small ring without a diopter, which for me as a glass wearing person wasn't the most comfortable.
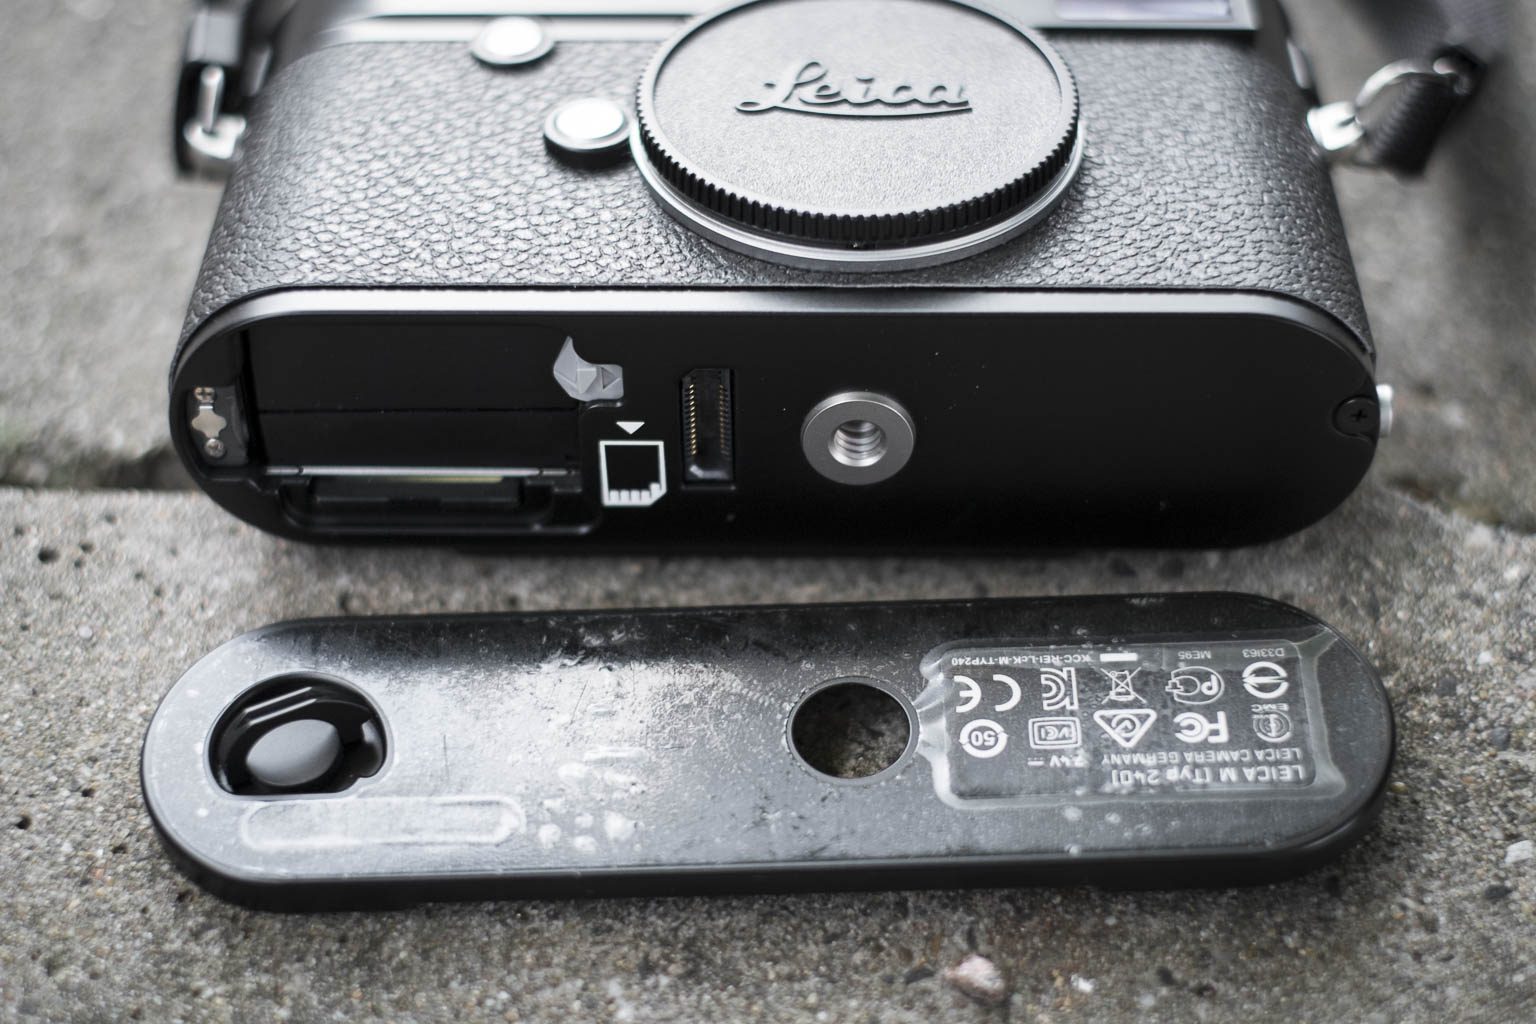
If you unlock the bottom plate you get acces to the SD card and the battery. I am not really fond with this, especially when you want to use it with a tripod. Then you have to unscrew everything before you can change the battery or the SD card.
The Leica Summicron 35
The Leica Summicron 35mm f2.0 is delivered in a greatly designed leather softcase. It had a rubbercap to put on the lens hood for if you don't want to use the lens cap, which you can store in a special part of the lens softcase. The little grip makes it easy to focus with. The focus ring is smooth as butter. The aperture ring is nice but has a little bit of a cheaper feel. I have had lenses where the aperture ring felt better.
The Leica Summicron 50 f2.0 ASPH
The Leica Summicron 50mm f2.0 has the same build quality as the 35mm. I missed the little focus thingy of the 35mm! Which made focussing a little harder. For the people who don't know. This €12.000 camera kit has NO AUTO-FOCUS. But the manual focus system with the two glasses works brilliant! Because it is a range finder you get frame lines in the viewfinder representing the area that is in your frame. The 50mm is for me the longest lens to use with this. For longer lenses I would love to have the Hybrid Viewfinder like the Fuji X-Pro1 has. But for working with the Leica Summicron 50mm is good enough!
The Photoshoot
To really test the camera I organized a small photoshoot. I had a lovely Ballerina (Charlotte Geeraerts, two assistants (Mike Foto and Riet Verwoert), a person who filmed it (Ilse van Gemert) and my MUAH Elvira Korten (Made of Make up). For location I rented the Metaal Kathedraal in Utrecht. A behind the scenes video is posted at the end of this blog!
The Images
The most important thing off any camera, the images!
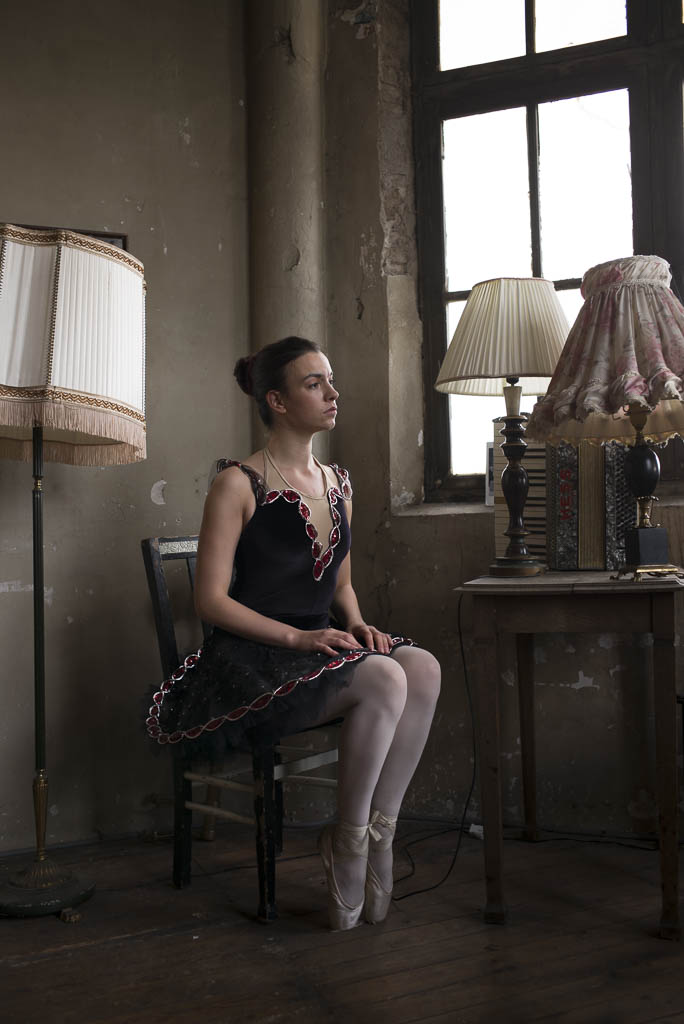
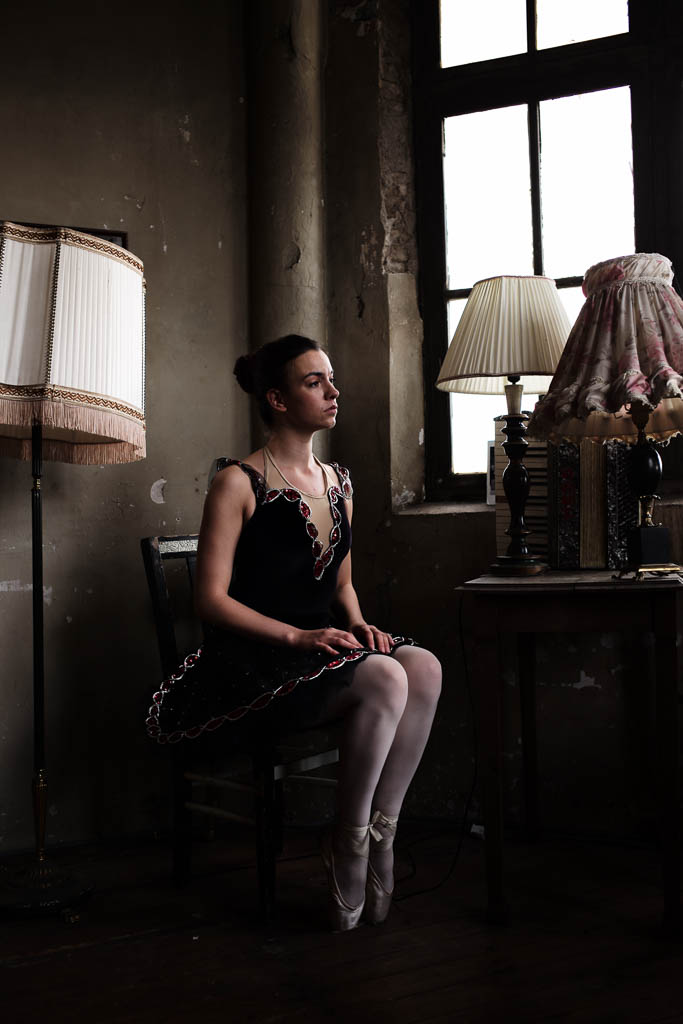
The Leica M has some film simulation. I liked the smooth color the most. It has the "Add the red chanel for contrast" in photoshop look. On the back of the camera it looked great but on the computer the shadows where to dark. Since I always shoot Jpeg+Raw (DNG in de case with Leica) there was nothing to worry about. Below are two images, one is the Jpeg and the other the raw file exported from Lightroom as a Jpeg.
For me the camera worked best in available light. Below are 3 pictures shot only with the ambient window light. Please also notice how much of a difference you can make with just walking around the model!
When I combined flash with natural light the white balance got it pretty right!
Conclusion
I loved working with the Leica M (type 240) with the Summicron 50mm f2.0 ASPH and Summicron 35mm f2.0! Allthough it is manual focussing, it works. The layout of the camera is simple. Everything you need, nothing you don't with a build like a tank body. Everything feels sturdy!
But, is it worth the €12.000 price tag? Well..... for me it's not. That doesn't mean I wouldn't like to have this camera kit, because I really do! But the price is to high for me. I don't see the extra benefit's over my current kit with the Nikon D800 and D610, and my fuji kit. I love the whole feel and look and way of working, but the image quality isn't like, 6 times better than the €2000,- Nikon D610 basic kit.
If I was a fulltime street or reportage photographer this camera would fit like a glove, it is low profile, light, portable. Also for fashion or commercial works it can do the job. It isn't an action camera. Although if you know your technique you can do it!
So my final conclusion. The camera is great, if you have the money, buy it! If you don't, then you don't miss anything. The camera is a tool, the photographers make the difference!
Watch the behind the scenes video of the ballet photoshoot in the Metaal Kathedraal
DANCE PHOTOGRAPHY SESSION PART 4: Two Light Action shot
Welcome to the fourth and last part of the Dance Photography session serie. The first shoot where all one light shots, if you haven't read the you can read them here:
- Dance photography session Part 1: The headshots
- Dance photography session part 2: The group shot on the wall
- Dance photography session part 3: One light actionshot
The Two light set-up
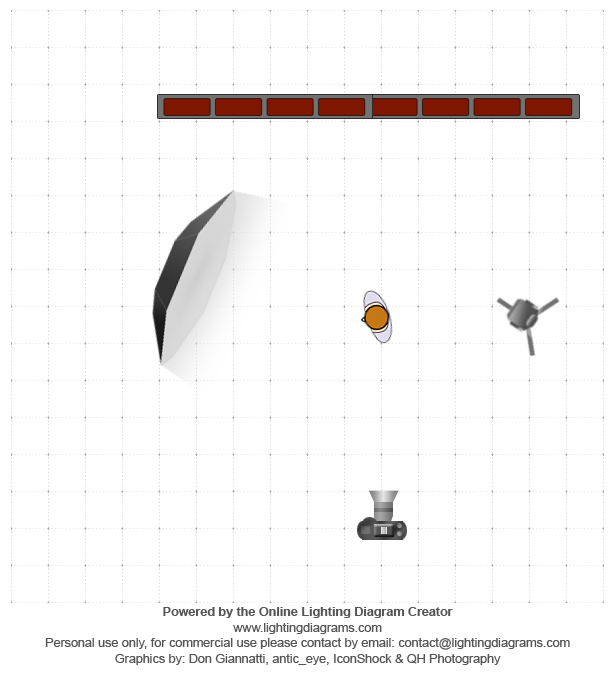
Again I started with one Elinchrom Quadra RX with the A-Head on the B-port with the Elinchrom Rotalux 150 deep indirect octa as a modifier. The reason I used the B-Port was that it has a faster Flash duration to freeze the action better. Also notice in de diagram that the light is slightly behind the subject turned toward the subject away from the wall for a more dramatic look. The downside off this was that the wall was getting really dark and I lost everything of the surroundings. It was getting to dark. So I added a small bare YoungNuo YN-560II speed light on slave mode. It was just of a 1/64 to 1/128 setting. It was just there to give a little push of light on the background.
For the Camera I used the Fuji X-pro1 with the 35mm 1.4 lens. Settings: Iso 100, 1/125 at f5.6. Because of it was getting darker on the evening and the Fuji's aren't the fastest focussing camera's I used a little trick from the old days. I made a focus zone, I positioned somebody between the flashes, focussed on this target in manual focussing mode. After that I asked the dancer to keep the jump in this zone. Remember in the old days sporting photographers used this to get good focus, there was no AF to give the blame if you had out of focus photo's!
In to Post
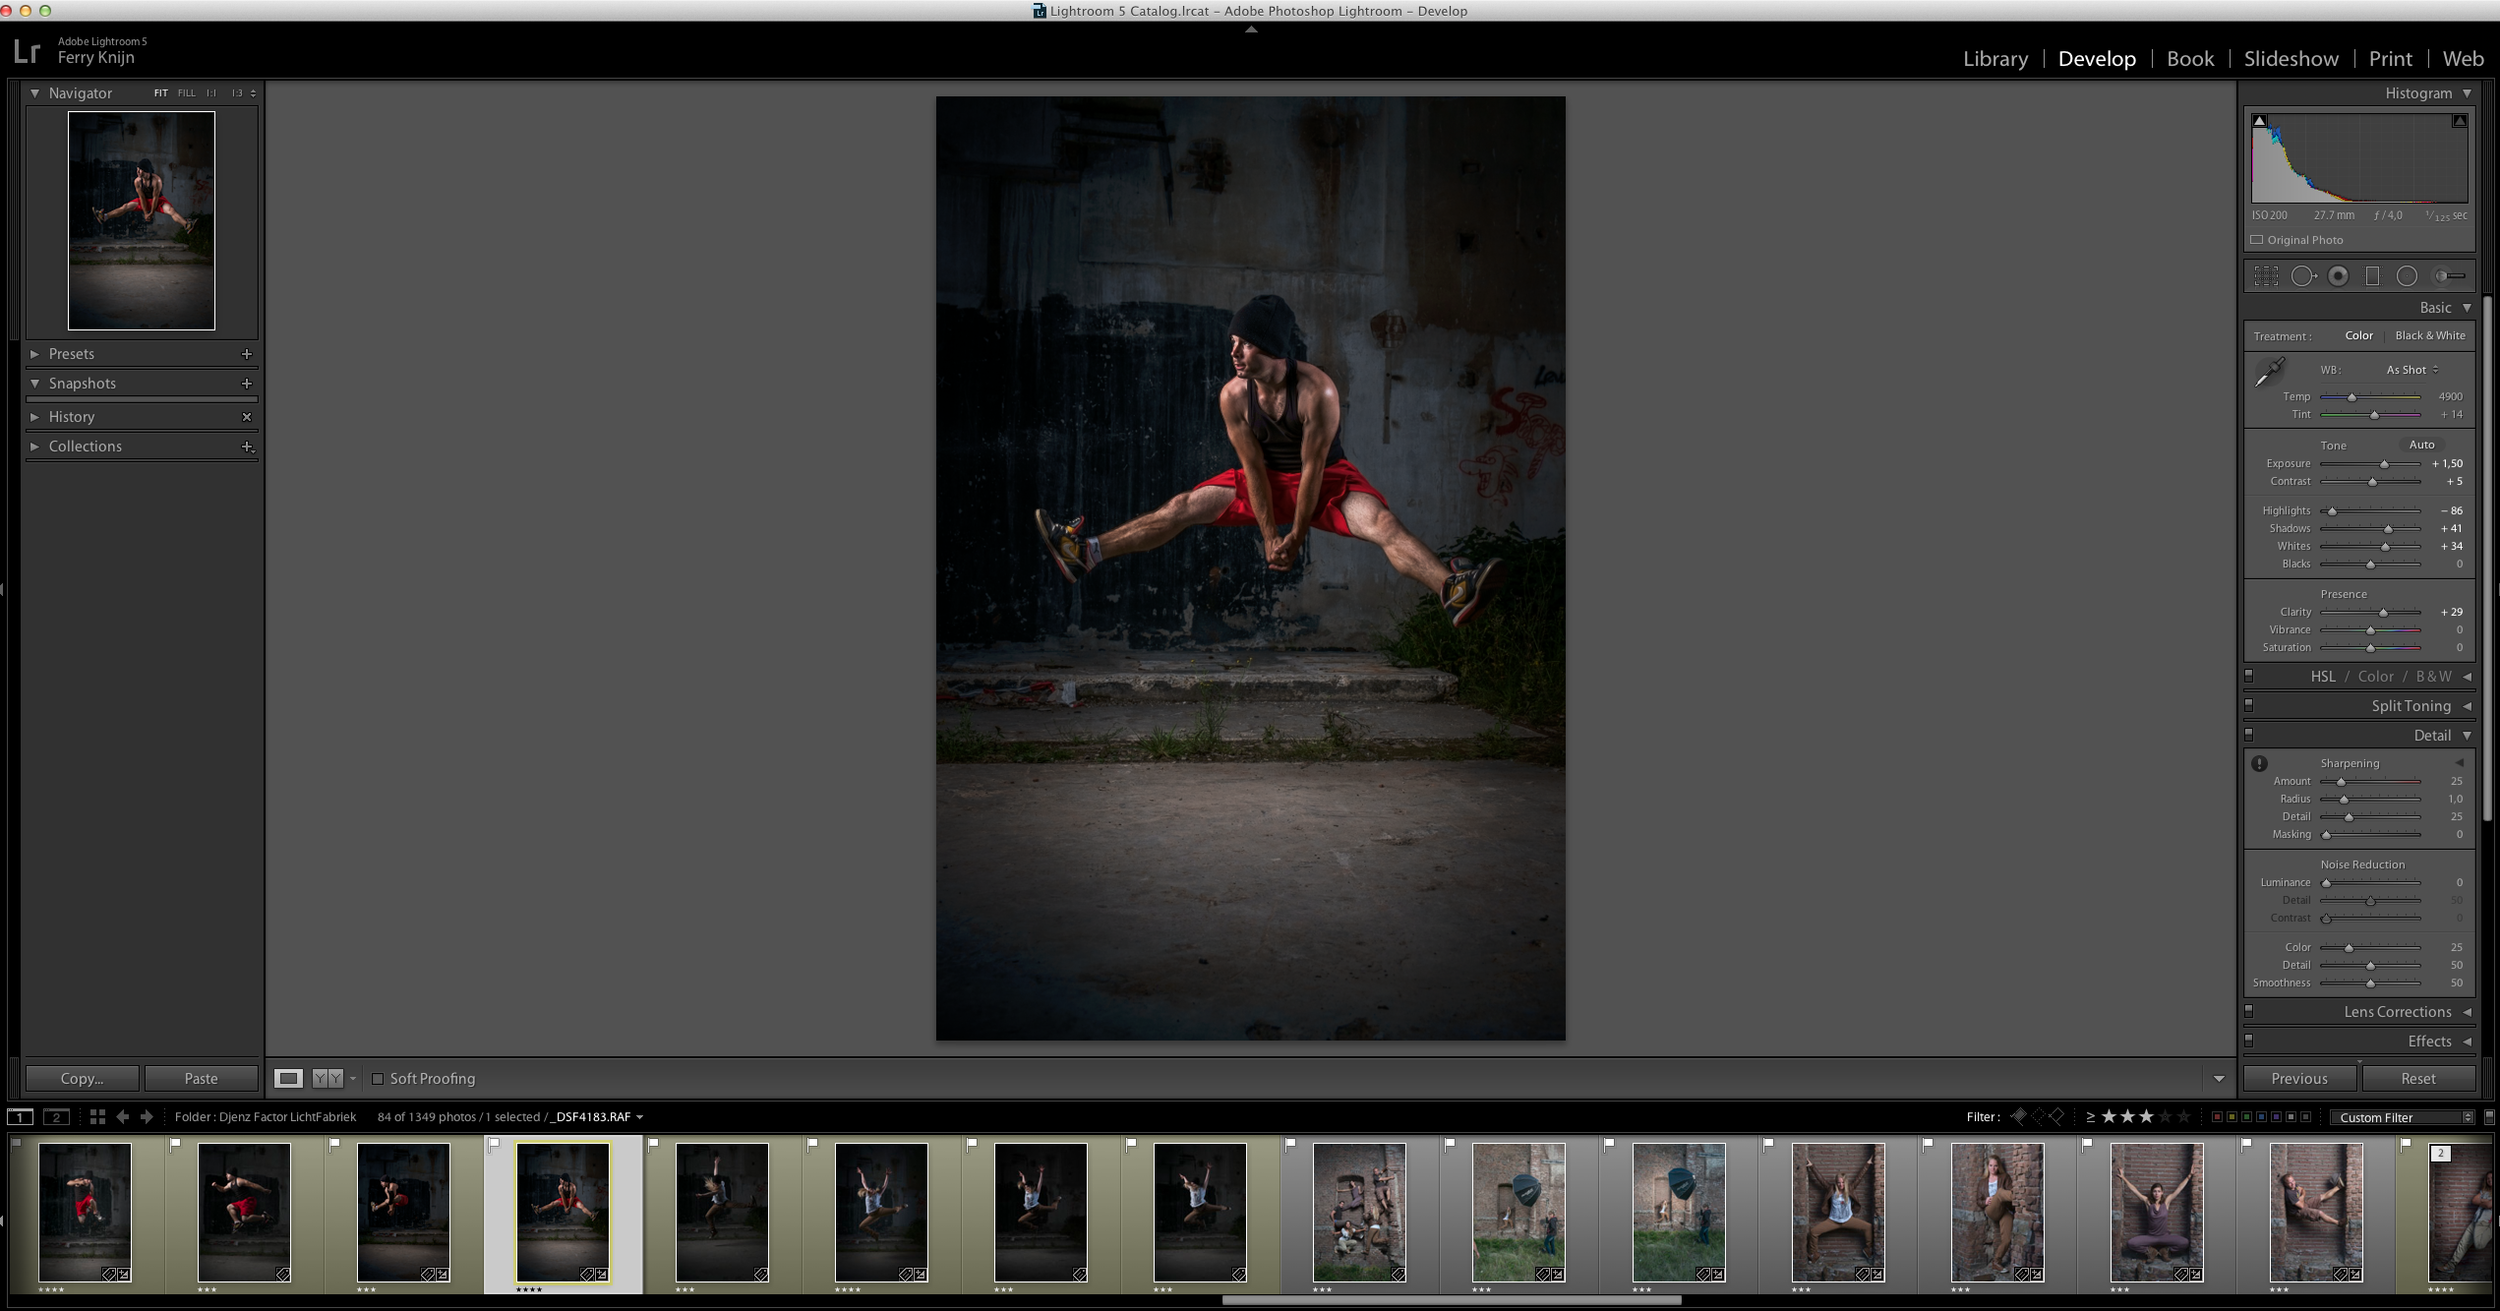
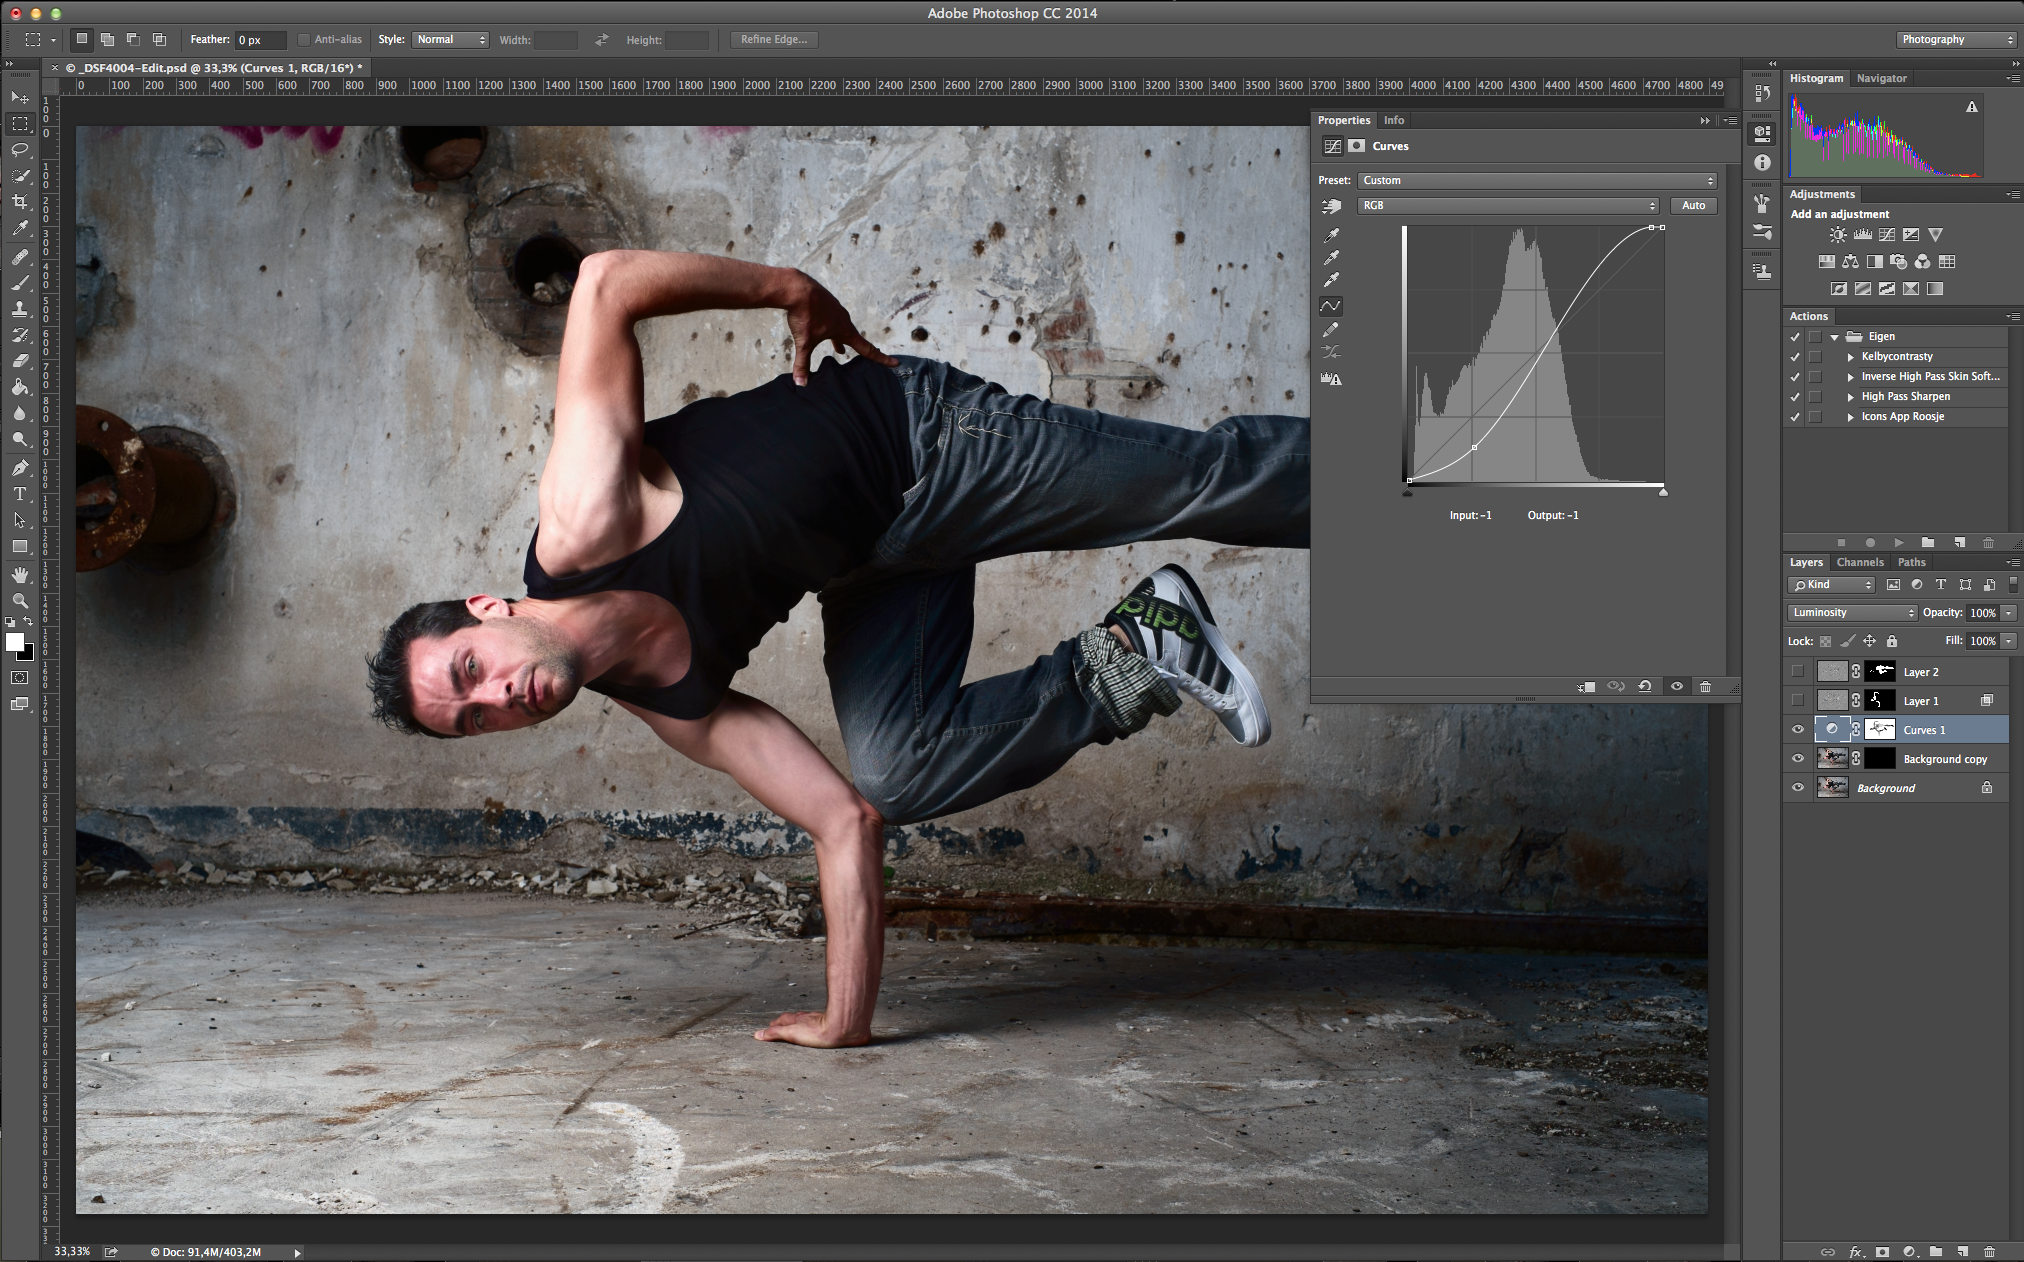
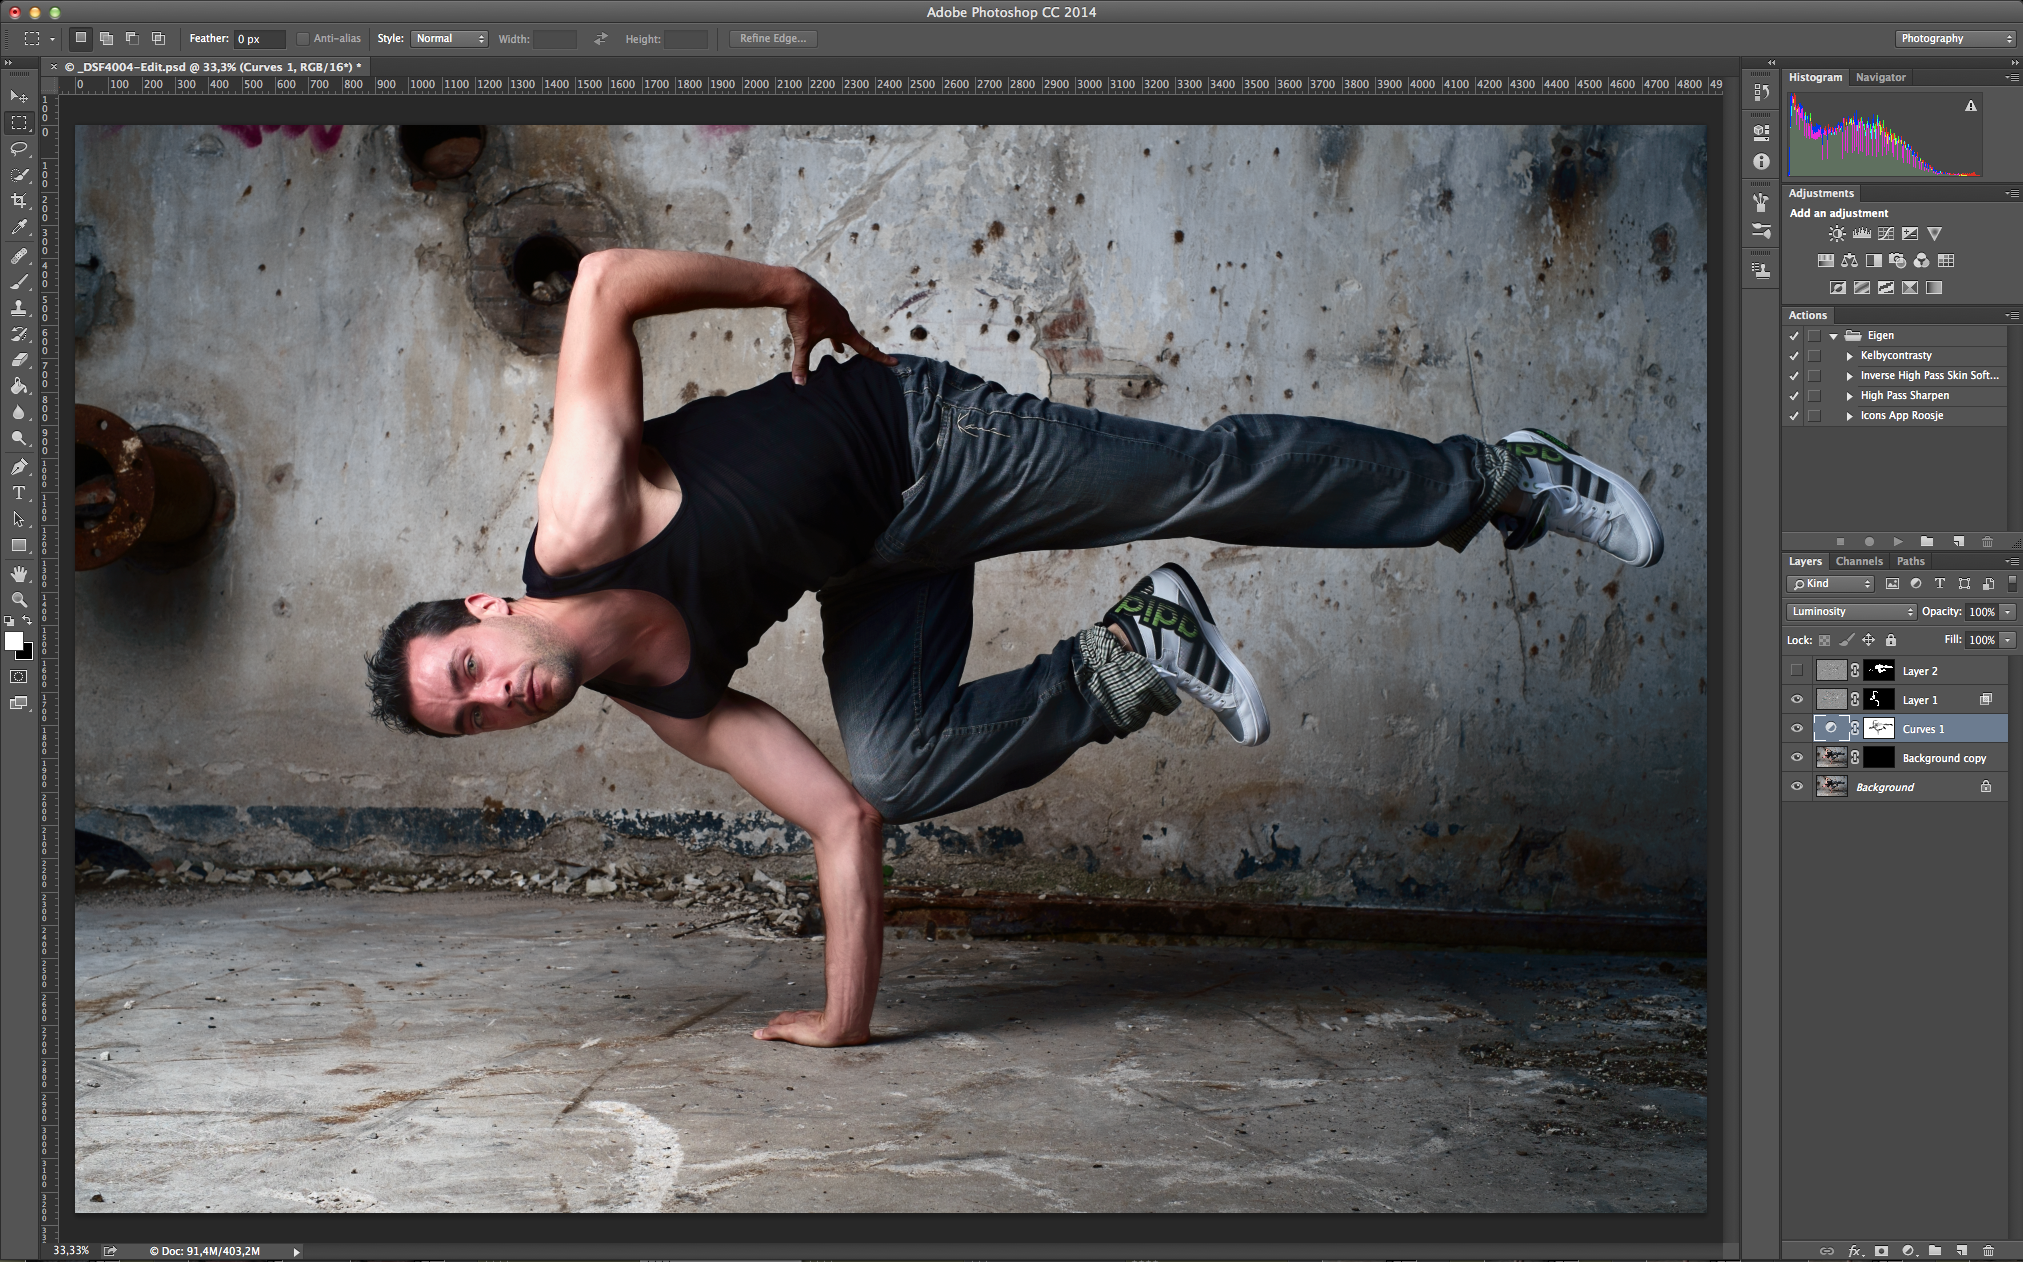
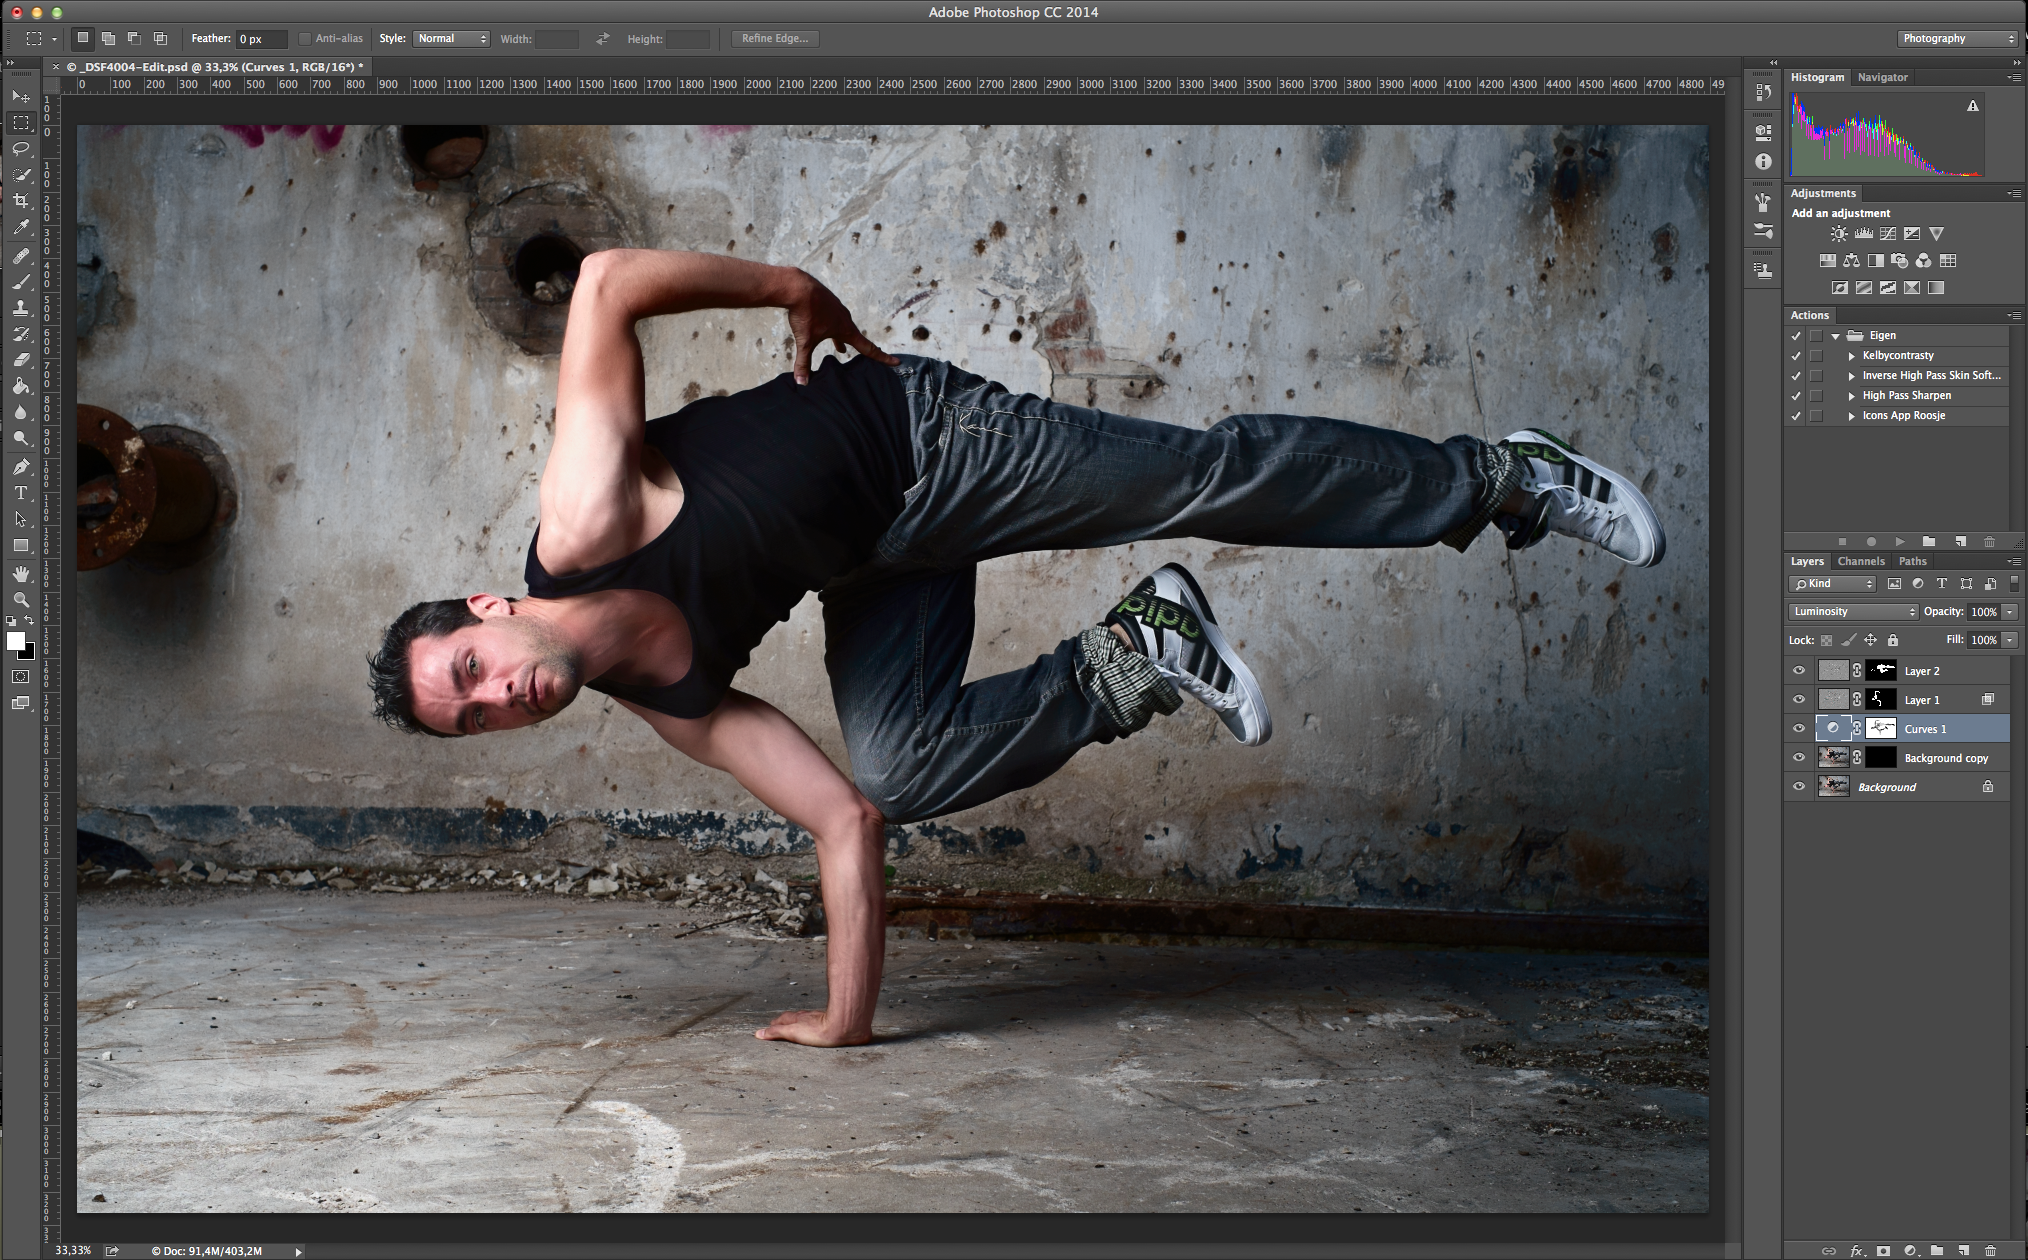
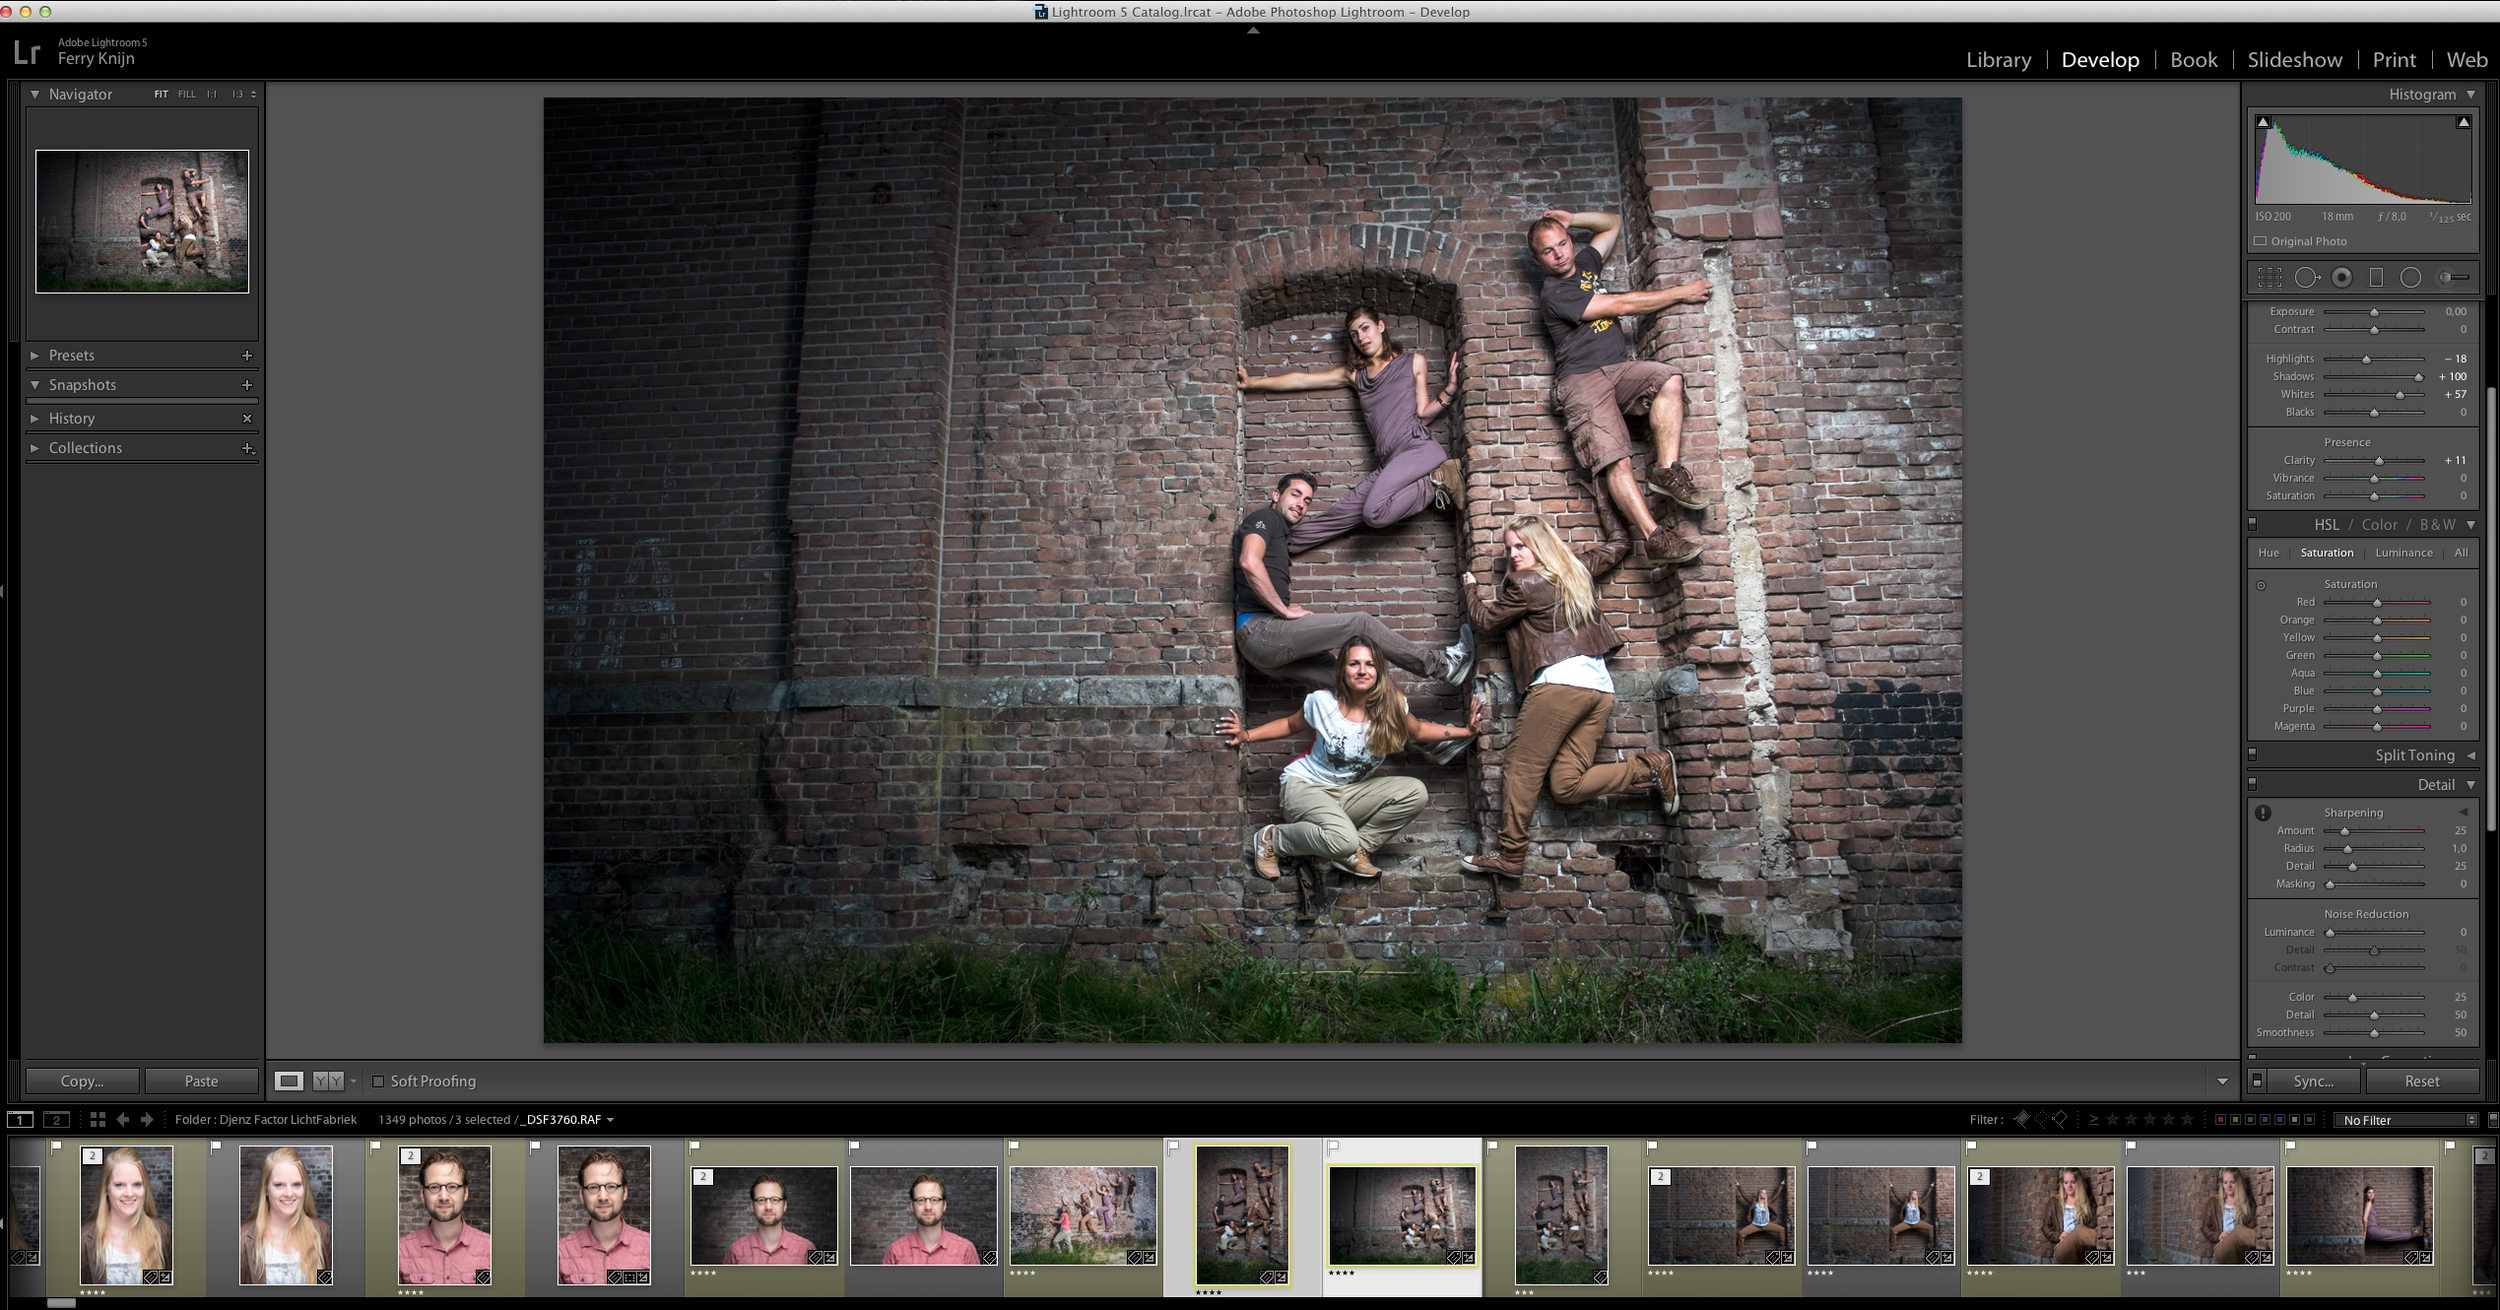
As you can see in the screen capture the only post processing where a few simple adjustments in Lightroom 5, and I added a vignette using the radial filter.
I Hope you have enjoyed this series about dance photography. If you have any questions please mail me or put a comment down below!
DANCE PHOTOGRAPHY SESSION PART 3: One Light Action shot
This week the next part in the Dance photography series. If you didn't have read the firs two part you can read them here:
- Dance photography session Part 1: The headshots
- Dance photography session part 2: The group shot on the wall
The One-light Set up
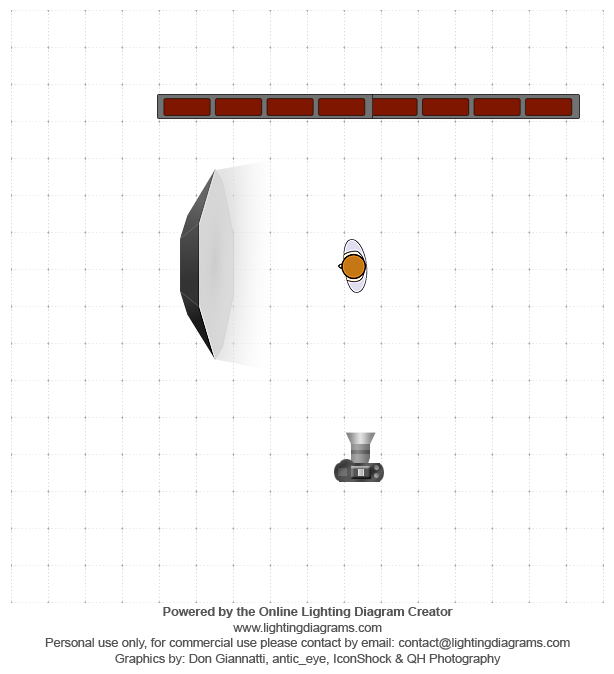
The first shot was lightning wise very simple. I Just used one Elinchrom Quadra RX with the A-Head on the B-port with the Elinchrom Rotalux 150 deep indirect octa as a modifier. The reason I used the B-Port was that it had a faster Flash duration to freeze the action more.
For the Camera I used the Fuji X-pro1 with the 35mm 1.4 lens. Settings: Iso 100, 1/125 at f5.6.
The post Production
For the post production I used a little more Ferry Dusting
The first step I did was the Eyes, Duplication the Layer, set the blend mode to screen and add a black Layer mask. Then use the white paintbrush and paint it on the irises. Then use the opacity to pull it down so you won't get scary bright eyes!
The next step is painting in the light. This is a technique I learned from Dutch commercial photographer and Hasselblad master Hans van Ommeren. It starts with darken the pictures. To do this a little more controlled I used the curves. Hans normally uses the Levels adjustment layer. After you darkened the whole picture use a layer mask and use a brush on an opacity/flow of 20/20. Then paint back the light on the places you want it. This gives a really nice and moody look. Also it really helps you focusing on the subject.
The net step is smoothing the skin out a little bit. I just used the Inverse High pass skin technique for this.
To finish it I used a little bit of high pass sharpening with a soft light blend mode painted in on the places I wanted it.
DANCE PHOTOGRAPHY SESSION PART 2: The group shot on the wall
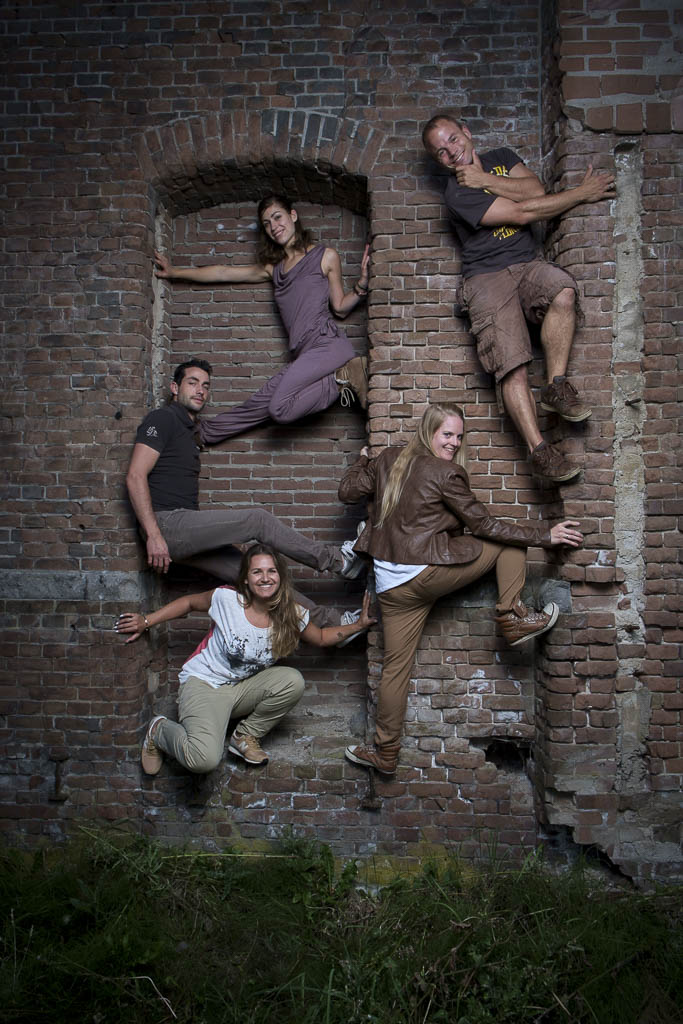
Hi and welcome to the second part of the Dance photography session. This serie is about a commercial dance photography shoot I did for Djenz Factory. If you didn't have read the first part about the Headshot, click here and read about it: DANCE PHOTOGRAPHY SESSION PART 1: THE HEADSHOTS.
The set-up
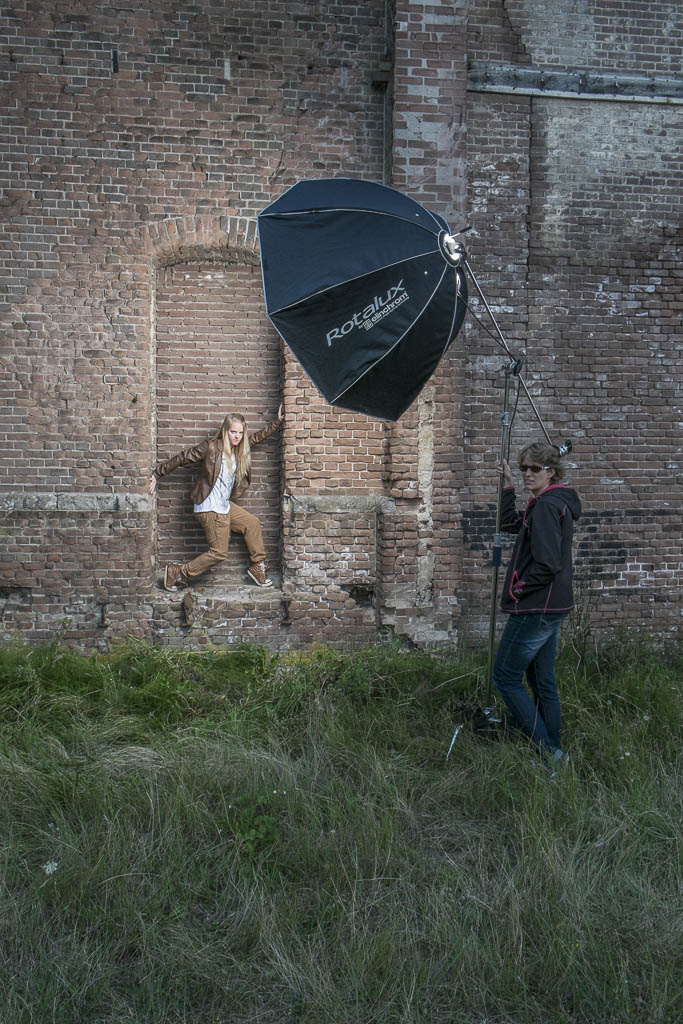
As you can see in the test production photo the whole set-up was just one light! The Elinchrom Rander RX Quadra, with an A-head in the A-port for the biggest blast of light. Everything was mounted on a C-Stand with three sandbags and my assistent holding it. It went up for the maximum height, and I didn't want to take any risk of it tipping over. The camera was the X-Pro1(ISO:200, 1/125th, f8) with the Fujinon 18-55 2.8 - 4 lens at 18mm.
Post-production
Because this was a group shot on a 16mp camera I kept the post production very simple. These shots are about the group, not about retouching every skin detail. And for doing that, there was not enough information to make the skin look better. So I just focused on getting the mood. So all I did were some basic Lightroom touches. Just some sharpening, highlight, shadows, and a vignette to focus the view on the group.
Shooting portrait and landscape
Remember always to also shoot and deliver a Portrait and a Landscape version of the photo. This way your client has the option to choose and have the highest quality for the way they want to use it.


