DANCE PHOTOGRAPHY SESSION PART 3: One Light Action shot
This week the next part in the Dance photography series. If you didn't have read the firs two part you can read them here:
- Dance photography session Part 1: The headshots
- Dance photography session part 2: The group shot on the wall
The One-light Set up
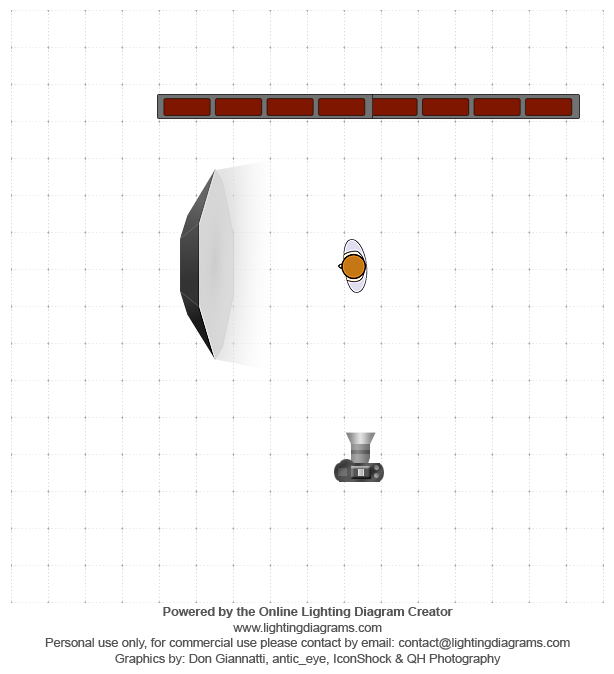
The first shot was lightning wise very simple. I Just used one Elinchrom Quadra RX with the A-Head on the B-port with the Elinchrom Rotalux 150 deep indirect octa as a modifier. The reason I used the B-Port was that it had a faster Flash duration to freeze the action more.
For the Camera I used the Fuji X-pro1 with the 35mm 1.4 lens. Settings: Iso 100, 1/125 at f5.6.
The post Production
For the post production I used a little more Ferry Dusting
The first step I did was the Eyes, Duplication the Layer, set the blend mode to screen and add a black Layer mask. Then use the white paintbrush and paint it on the irises. Then use the opacity to pull it down so you won't get scary bright eyes!
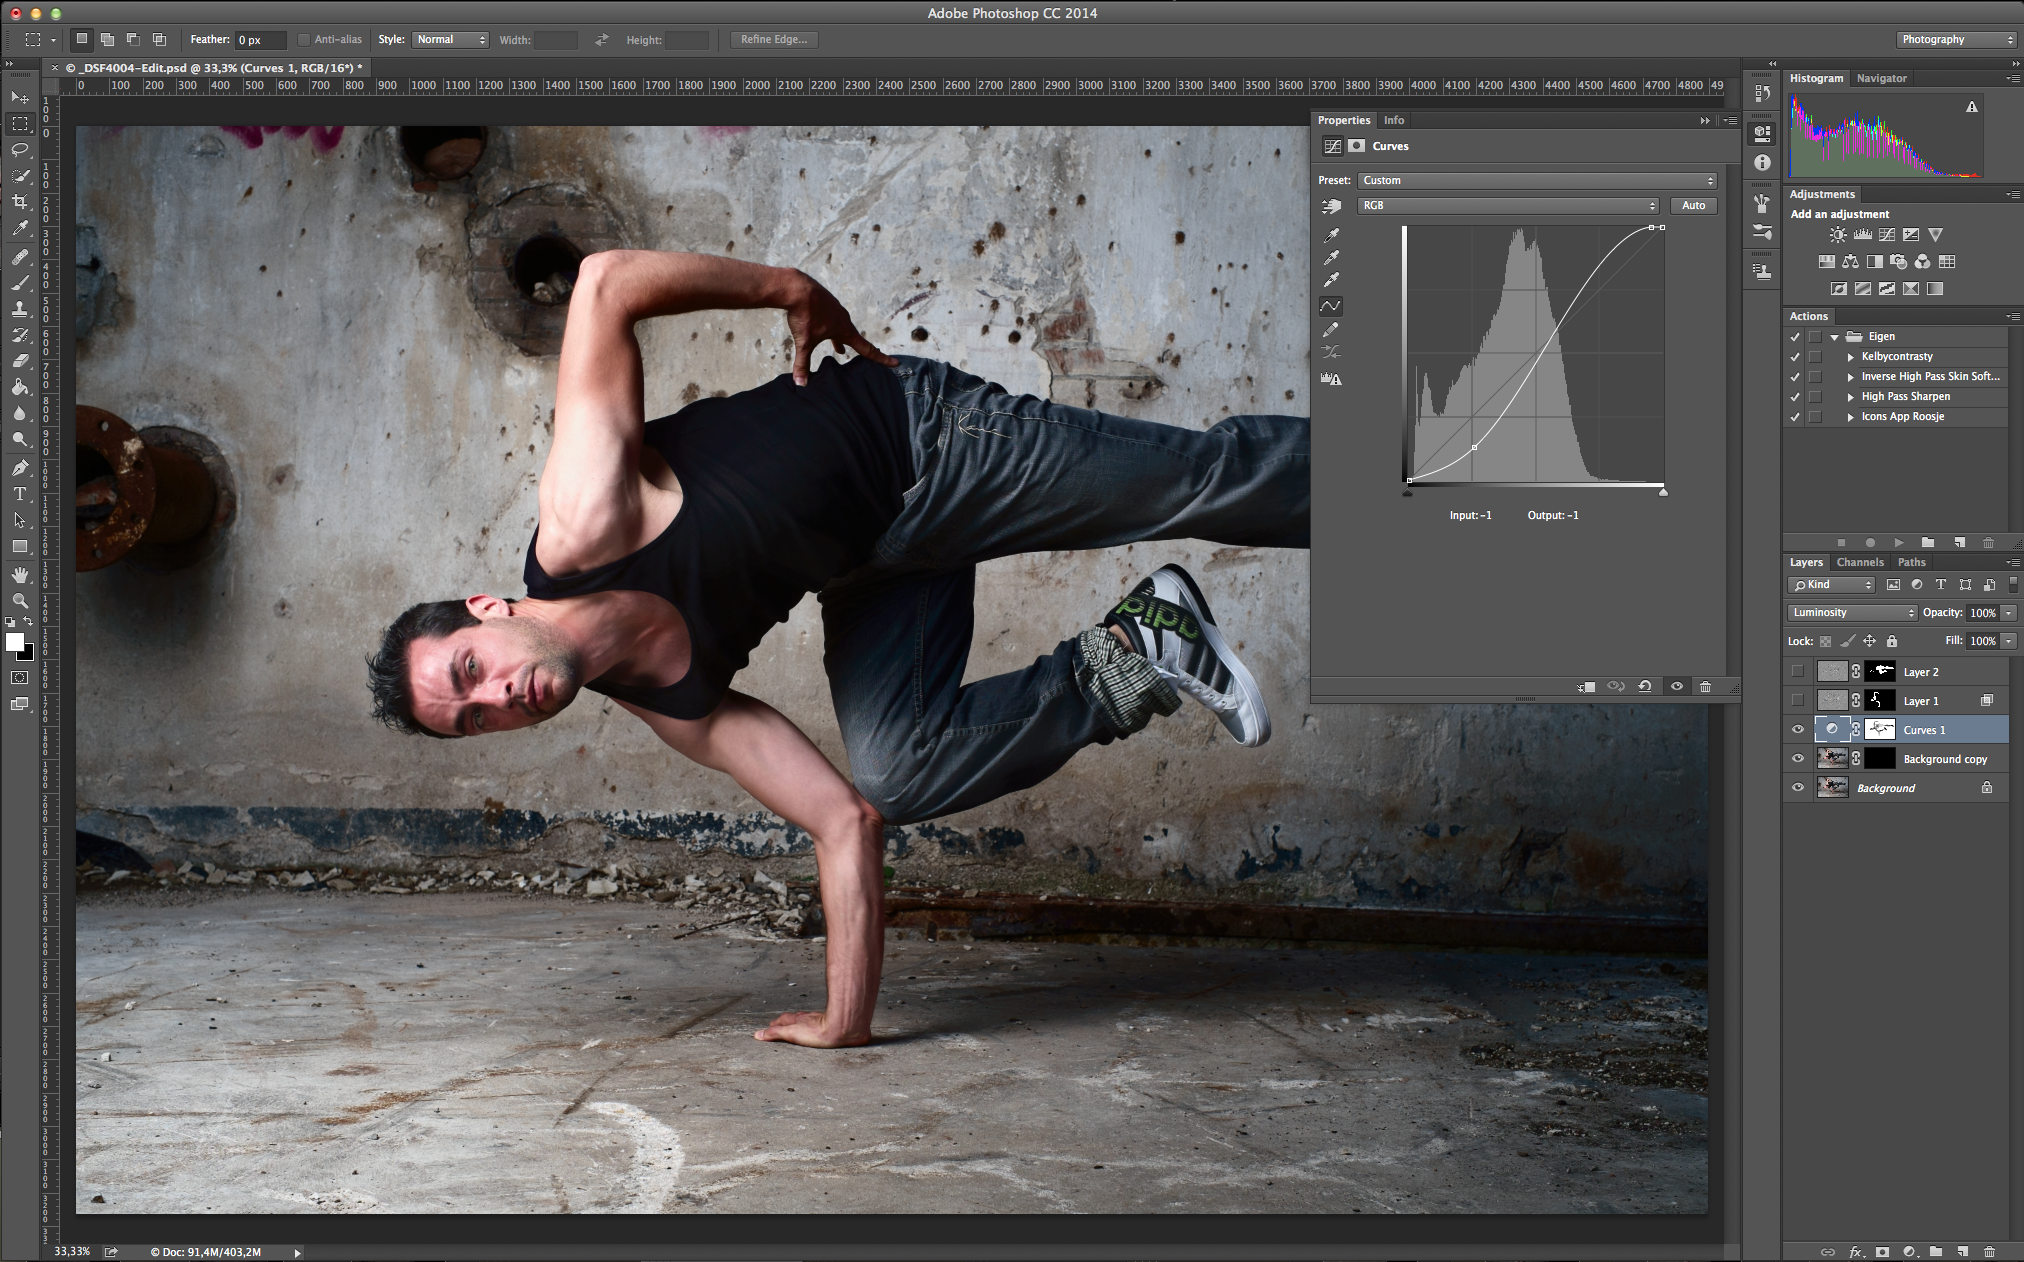
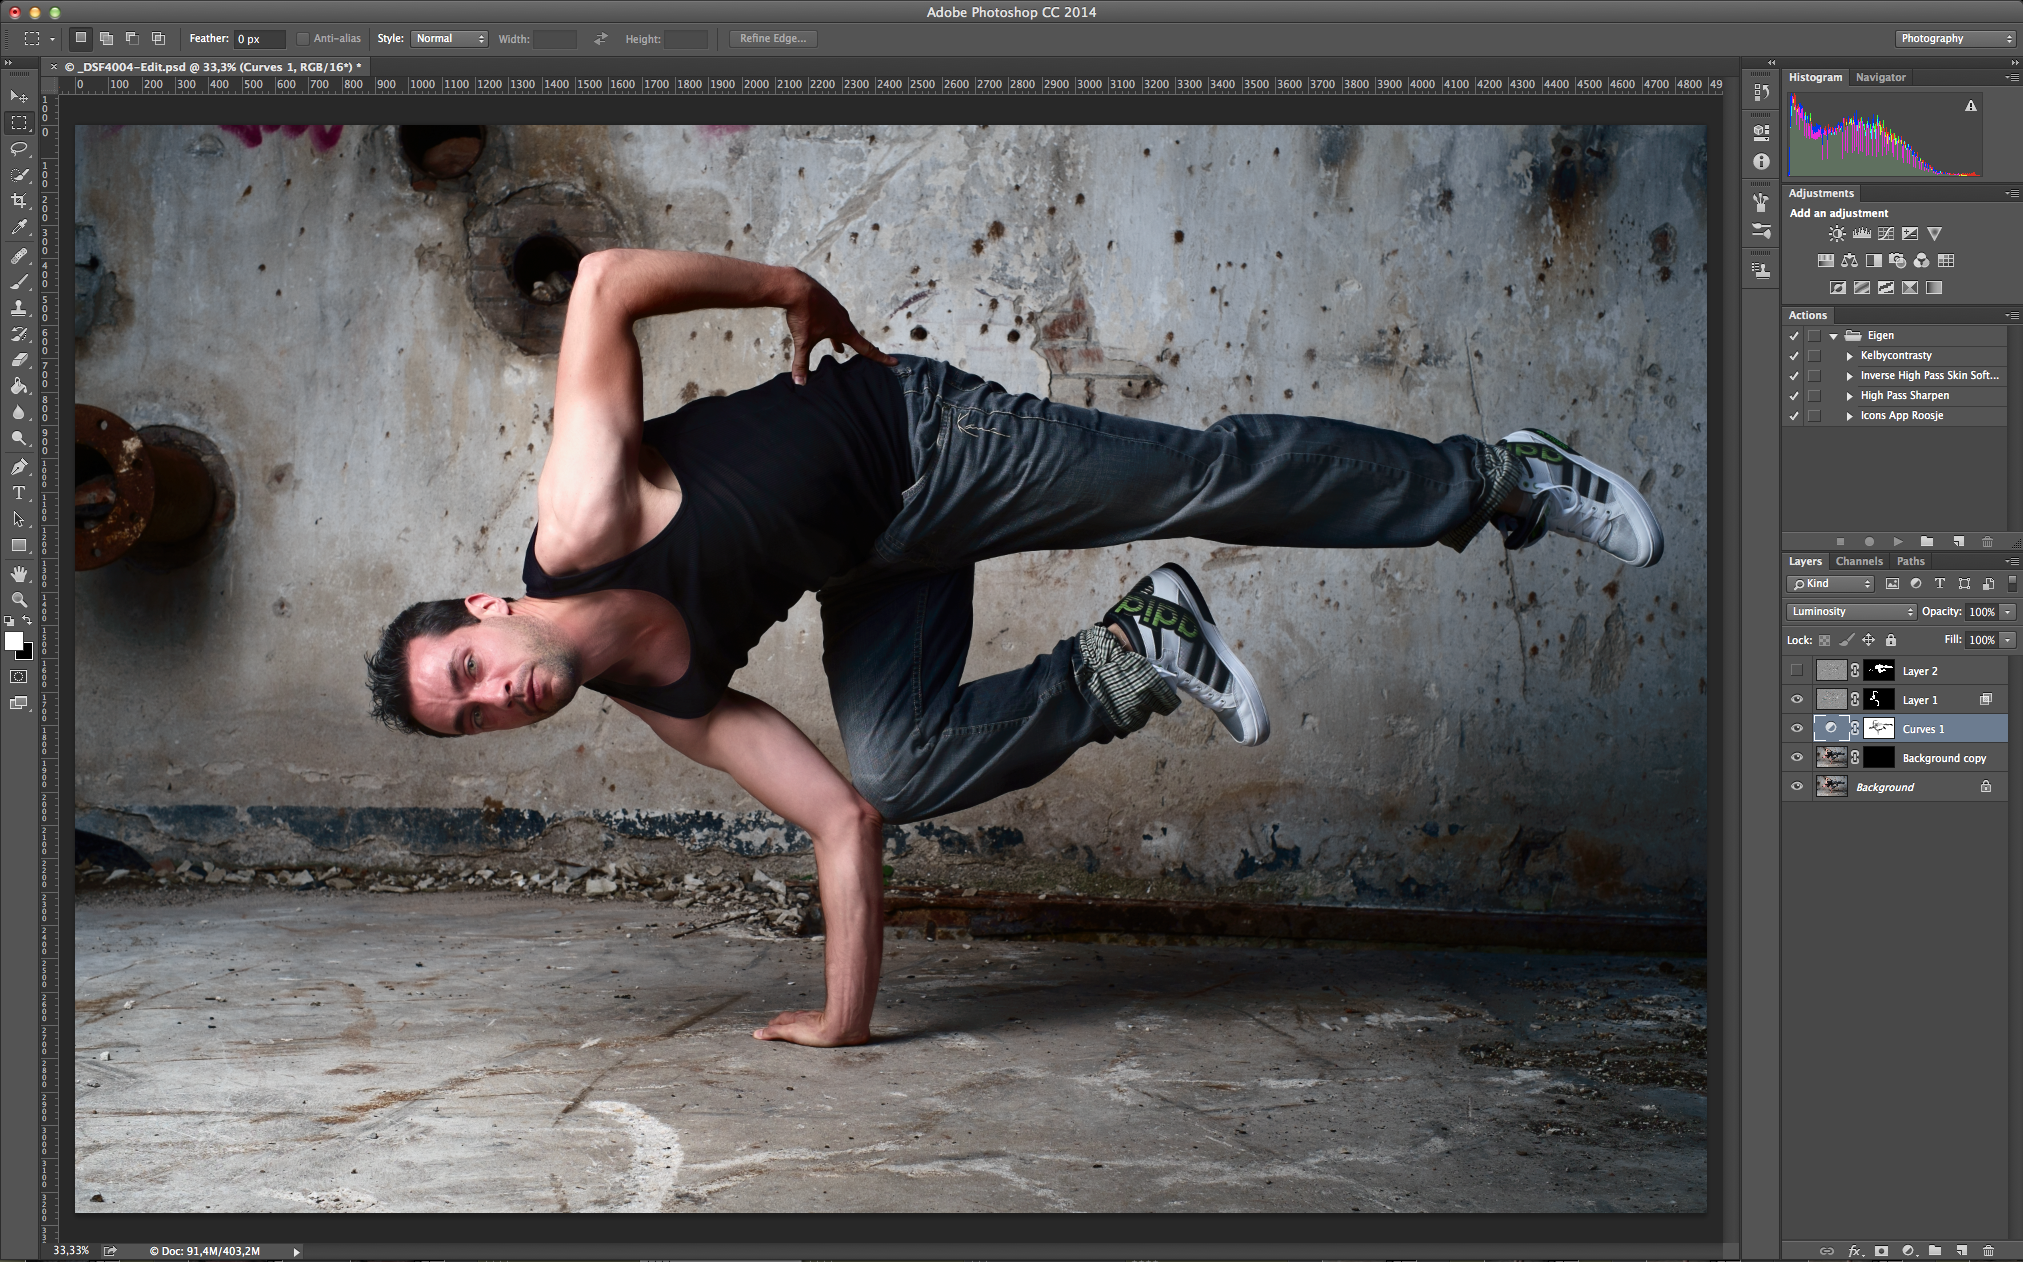
The next step is painting in the light. This is a technique I learned from Dutch commercial photographer and Hasselblad master Hans van Ommeren. It starts with darken the pictures. To do this a little more controlled I used the curves. Hans normally uses the Levels adjustment layer. After you darkened the whole picture use a layer mask and use a brush on an opacity/flow of 20/20. Then paint back the light on the places you want it. This gives a really nice and moody look. Also it really helps you focusing on the subject.
The net step is smoothing the skin out a little bit. I just used the Inverse High pass skin technique for this.
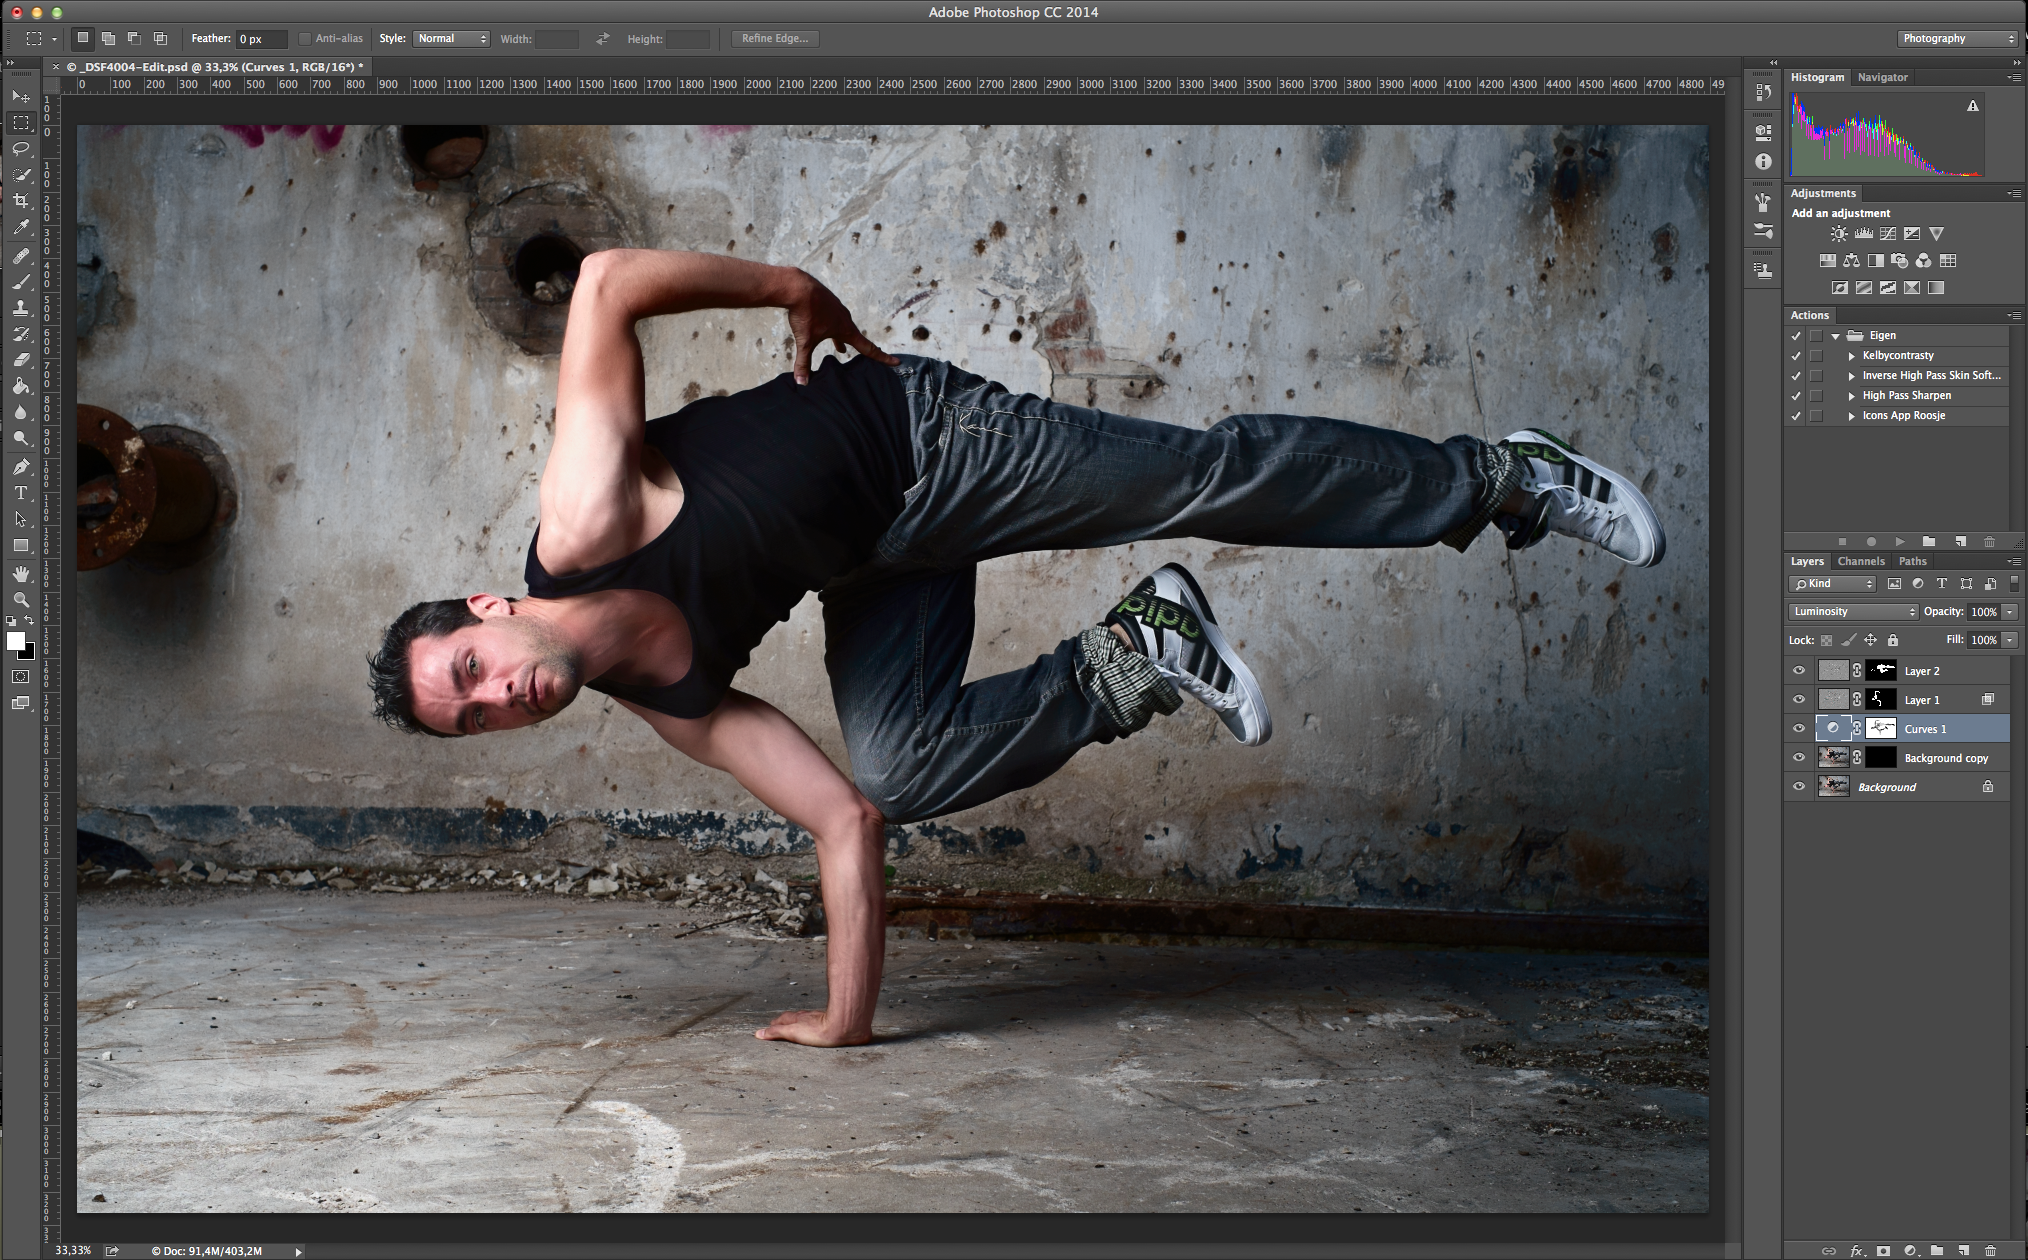
To finish it I used a little bit of high pass sharpening with a soft light blend mode painted in on the places I wanted it.


