FotoFair 2016
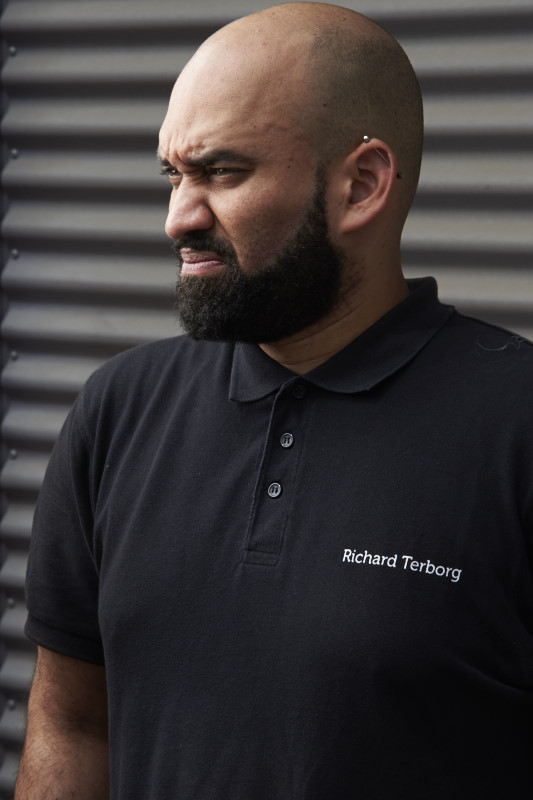
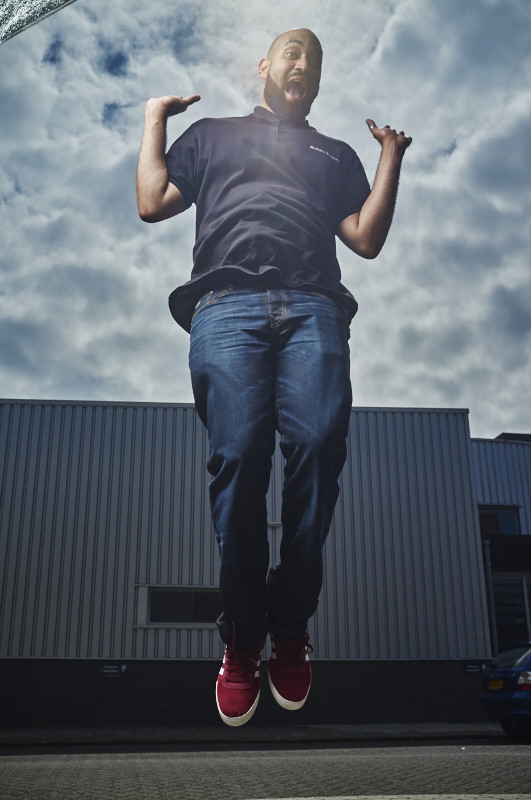
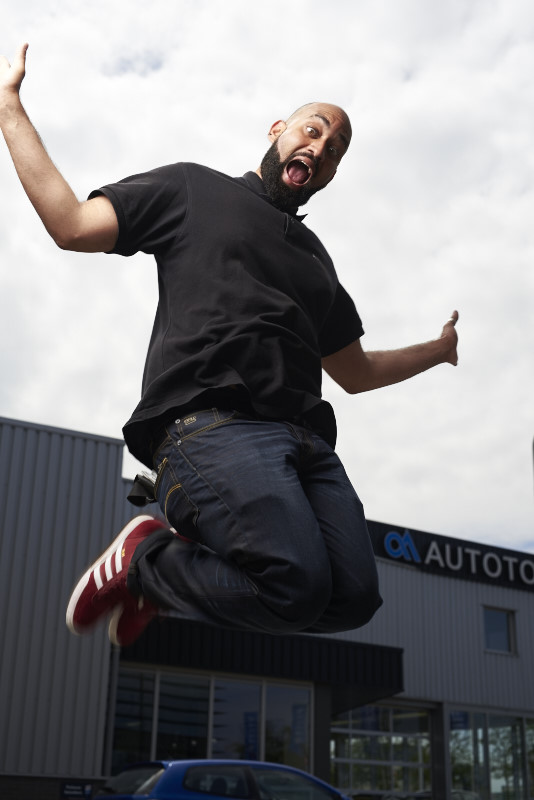
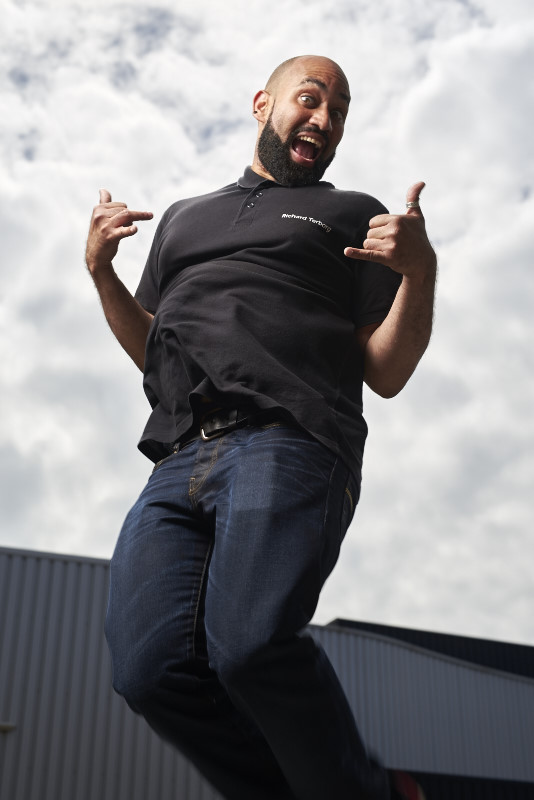
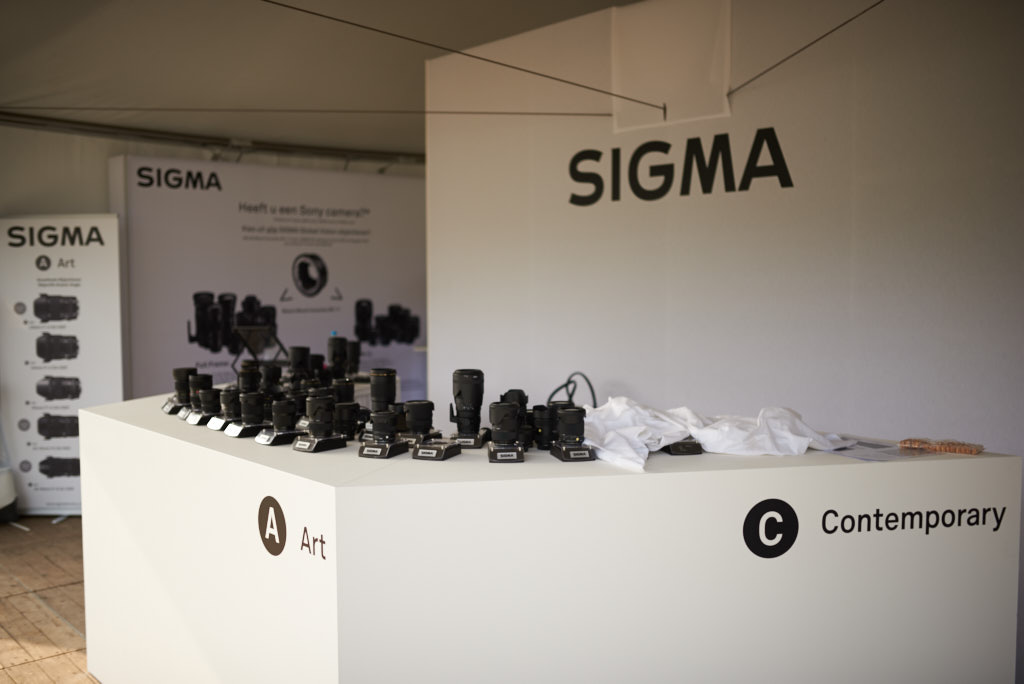
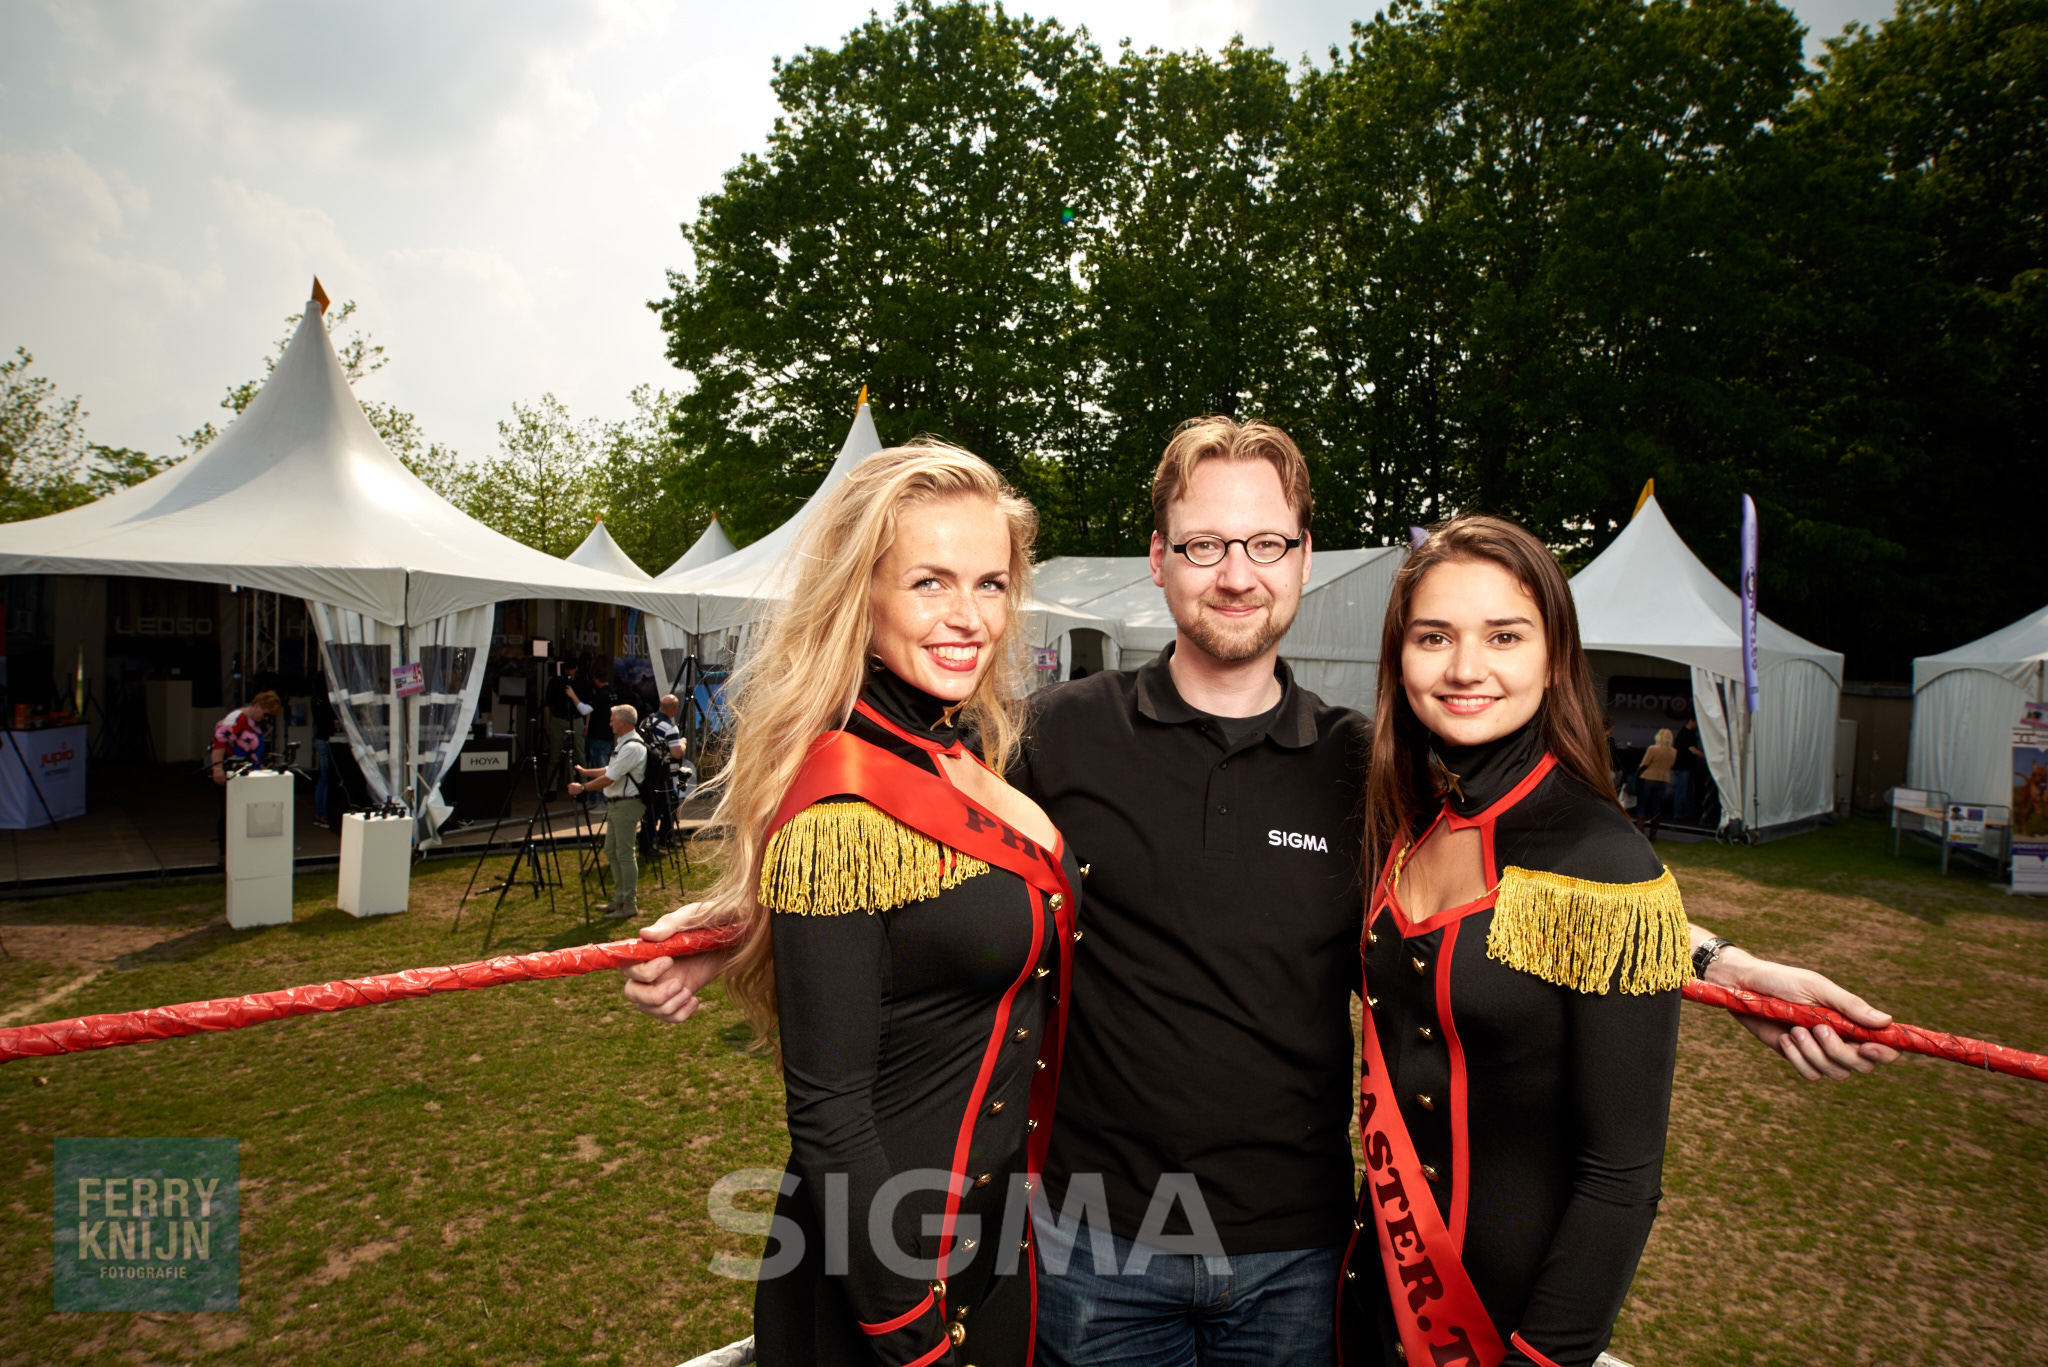
Afgelopen weekend stond ik voor Sigma Benelux op de FotoFair bij de Beekse Bergen in Hilvarenbeek. Was echt een top weekend! Veel leuke mensen en medefotografen op de foto mogen zetten. Gelukkig was er tussen door ook soms tijd om wat eigen dingen te maken van de modellen die er rond liepen en in de Worstel ring.
Steampunk
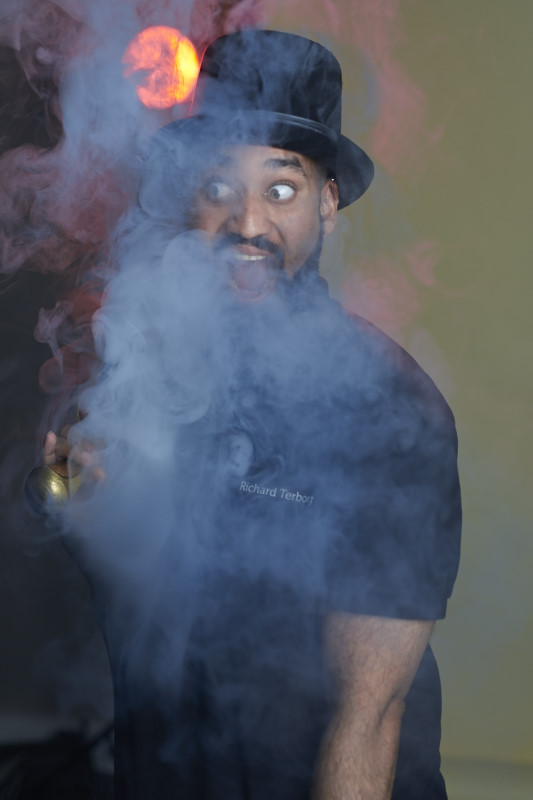
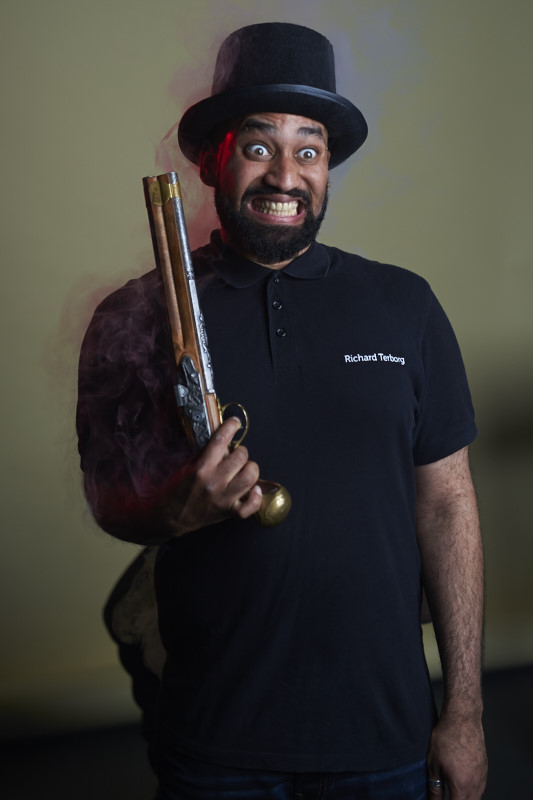
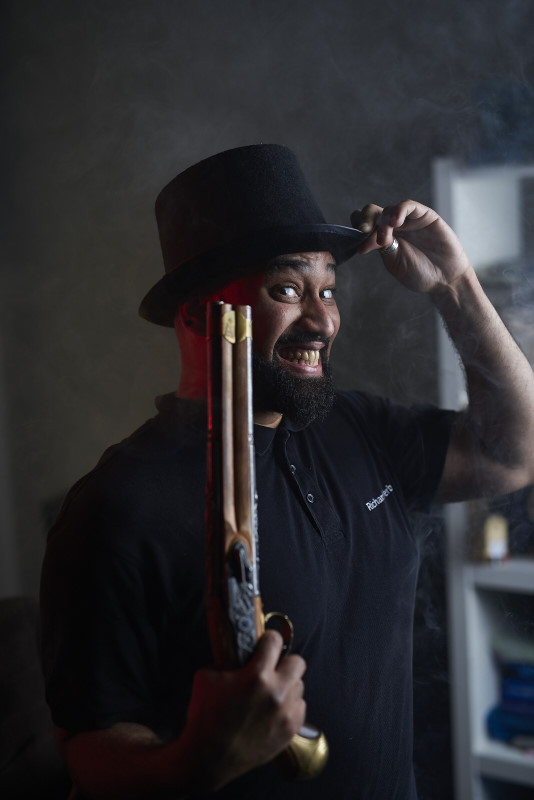
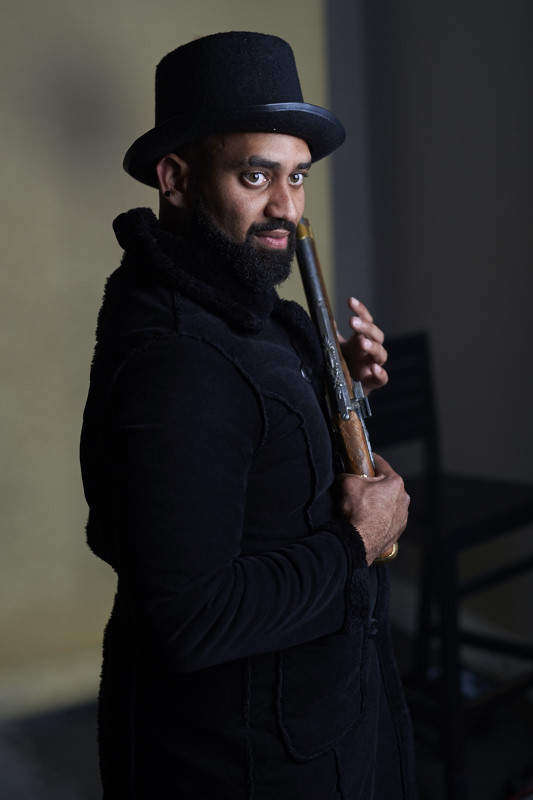
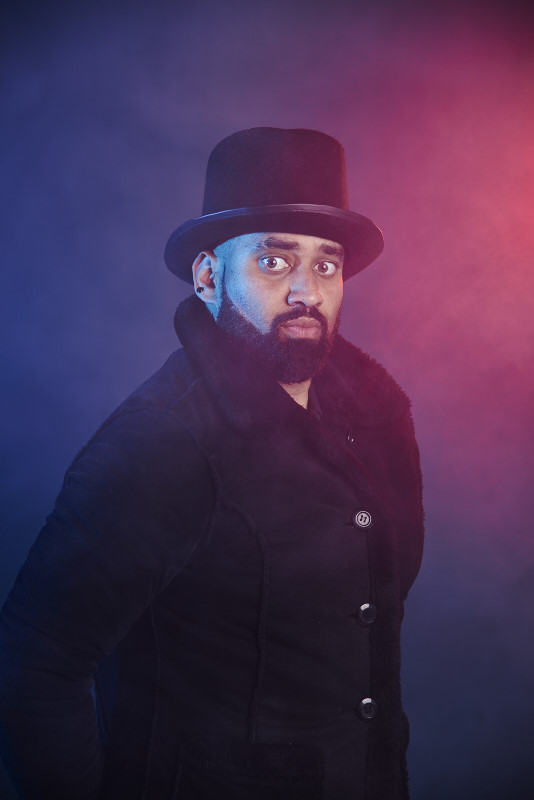
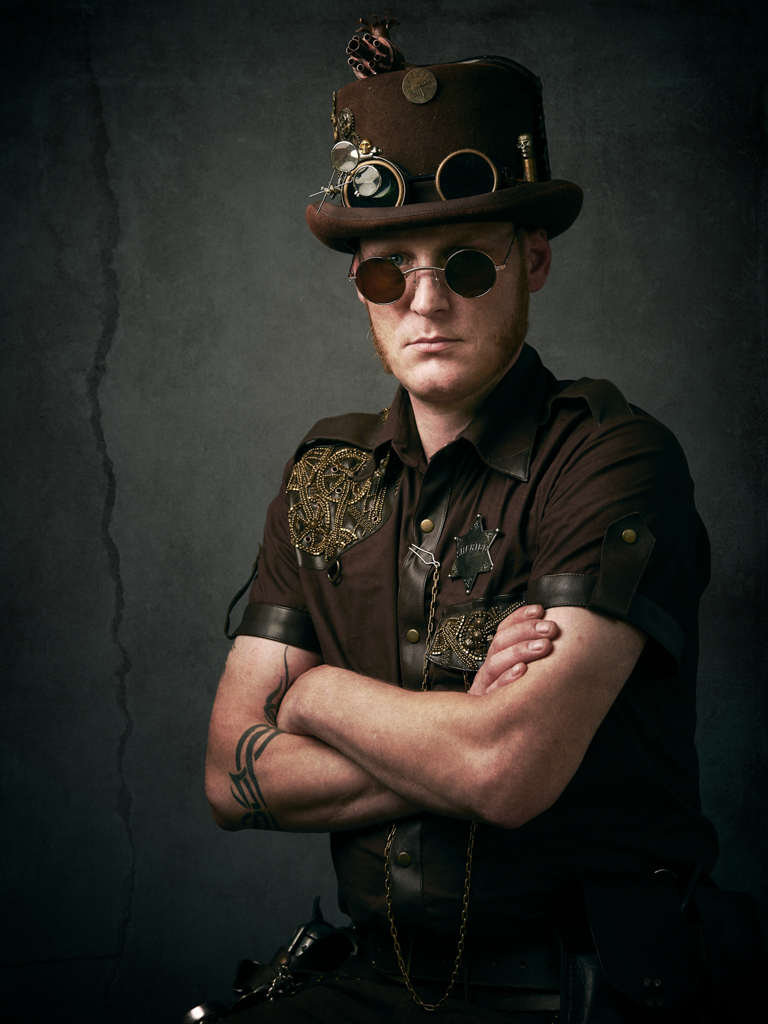
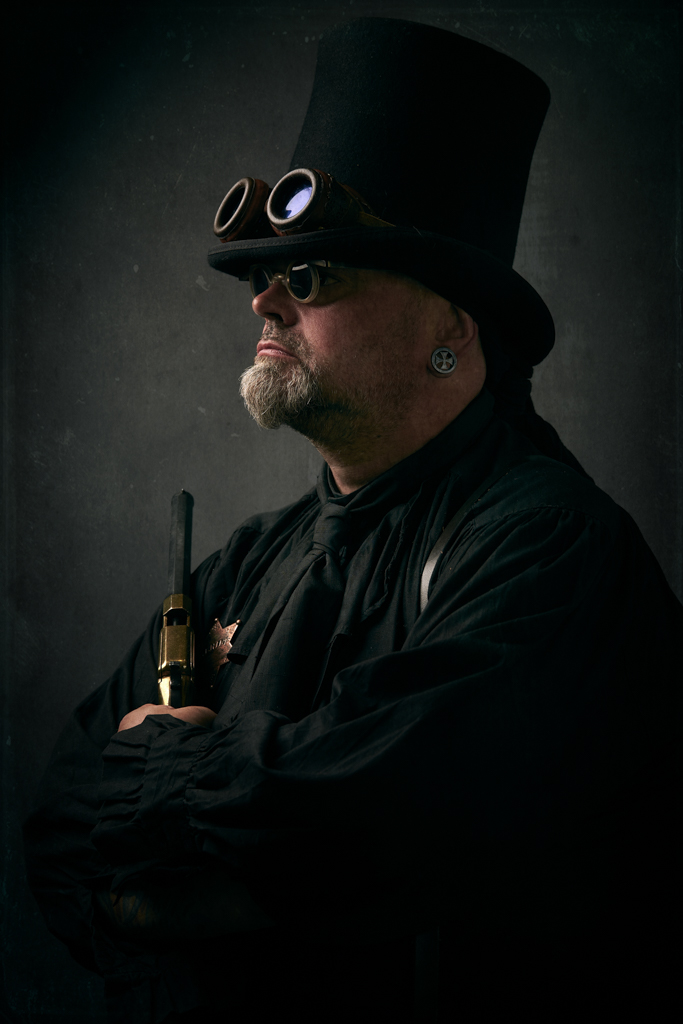
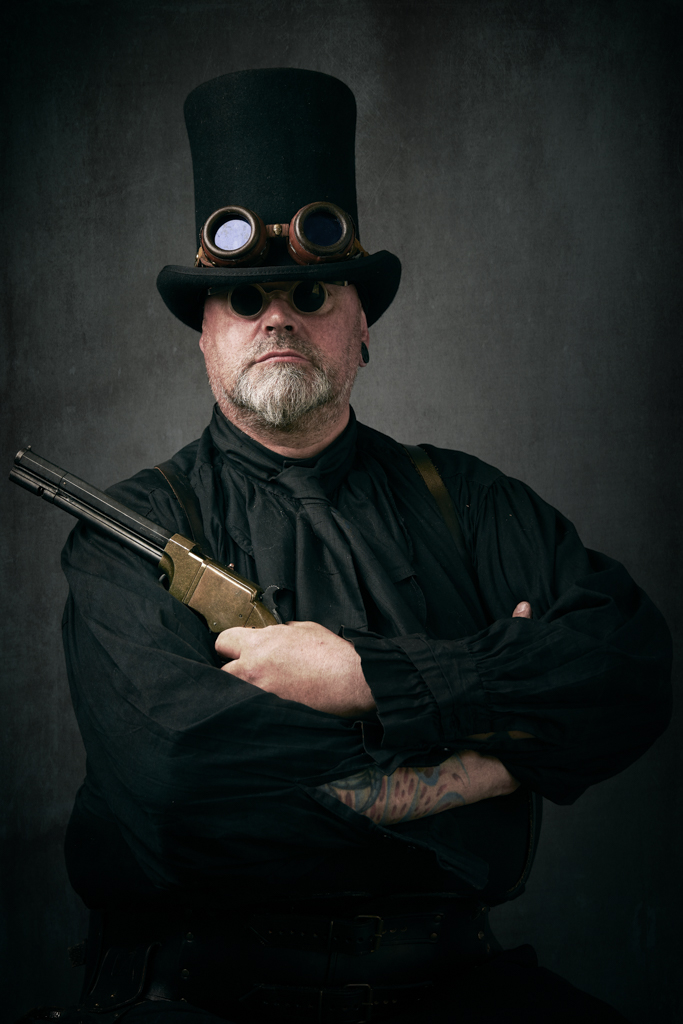
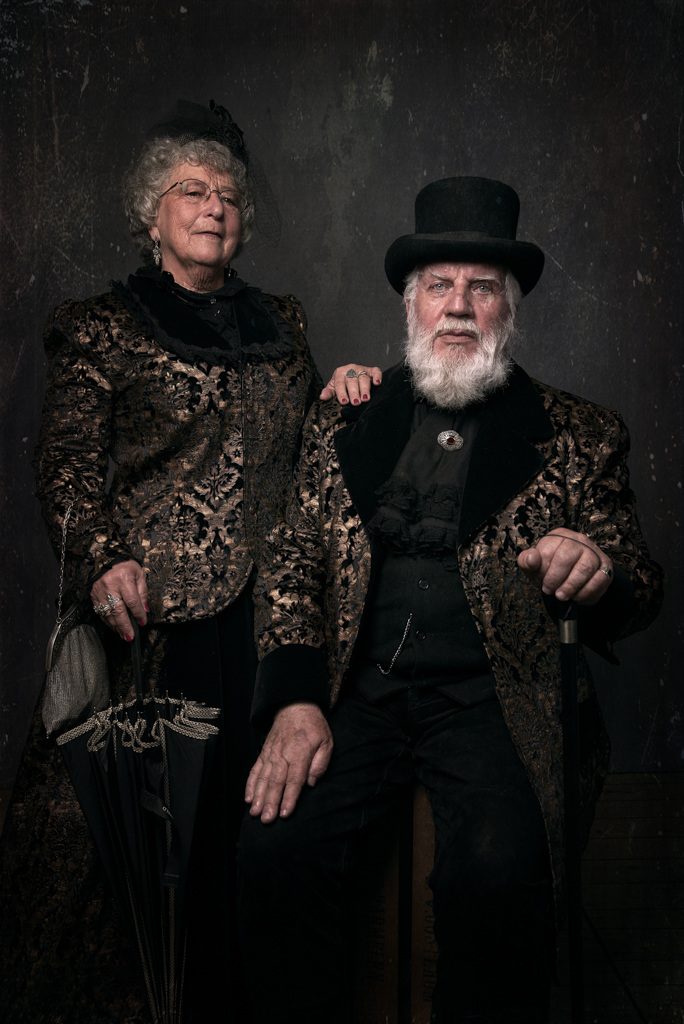
Naast de bezoekers waren er ook diverse Steampunkers aanwezig. Ik kon de kans niet laten lopen om enkele van deze uit te nodigen in de studio om ook op te gaan!


De Stand en studio
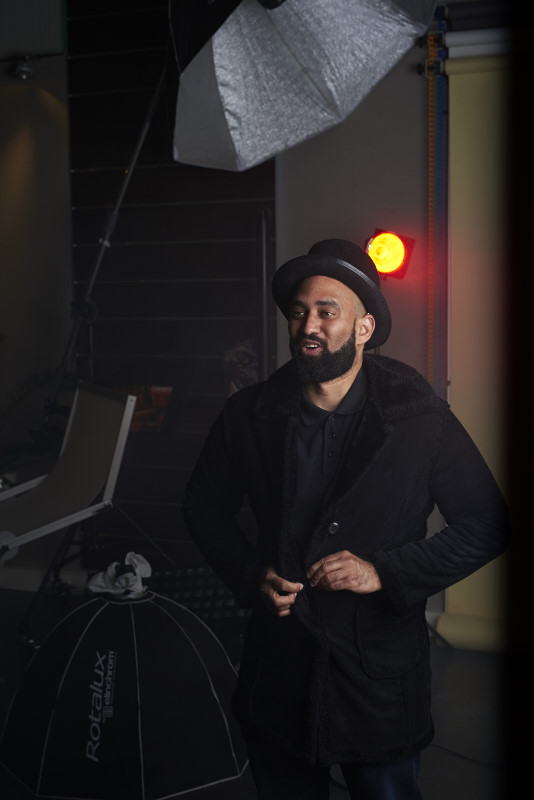
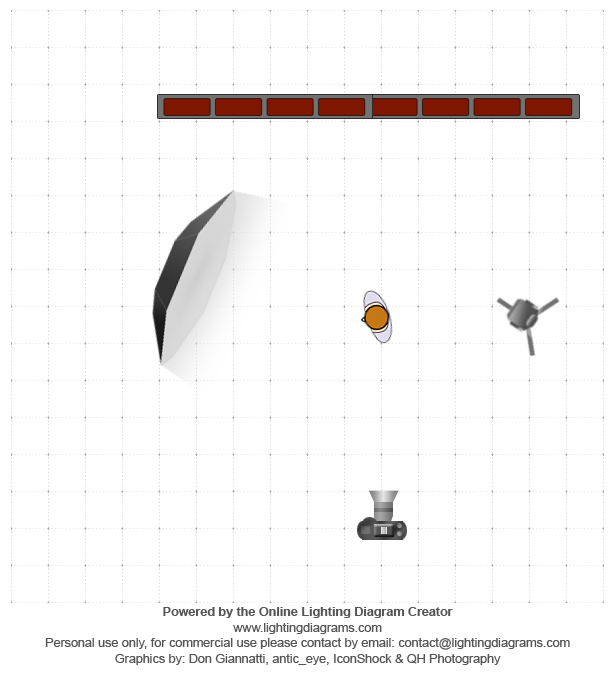
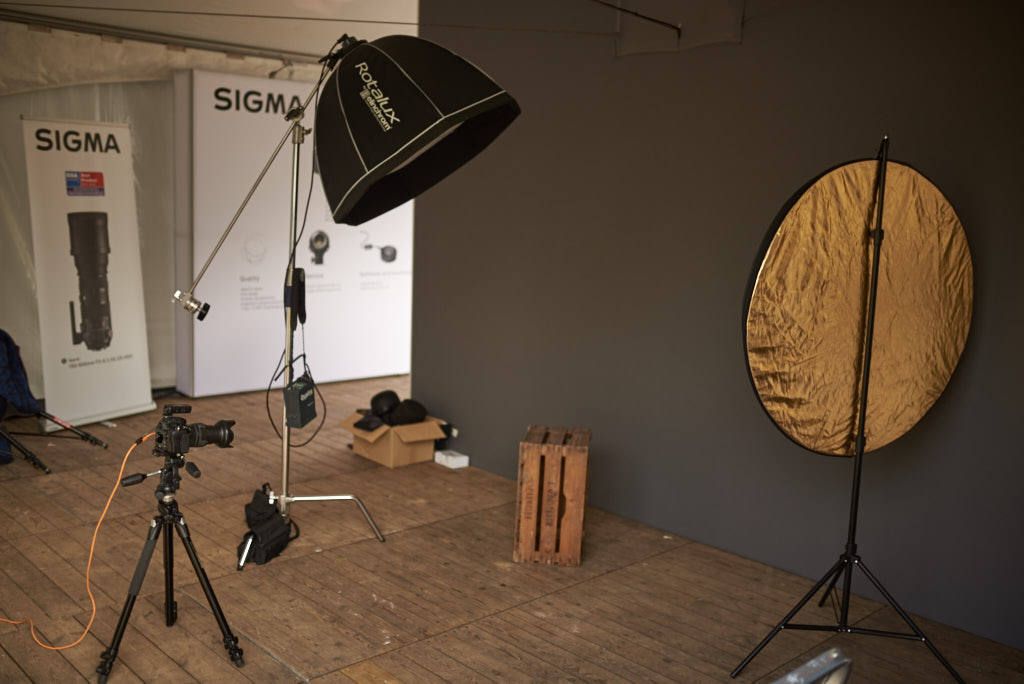
De studio opstelling was redelijk simpel. Mijn Elinchrom Quadra RX met een Elicnhrom 100cm Deep Octa en als camera een Nikon D610 met mijn werkpaard de Sigma 24-105 Art direct gekoppeld aan mijn MacBookPro waar Capture One op draaide. uiteraard was mijn kistje ook aanwezig voor de modellen om op te zitten en een grijze achtergrond!
Worstelaars!
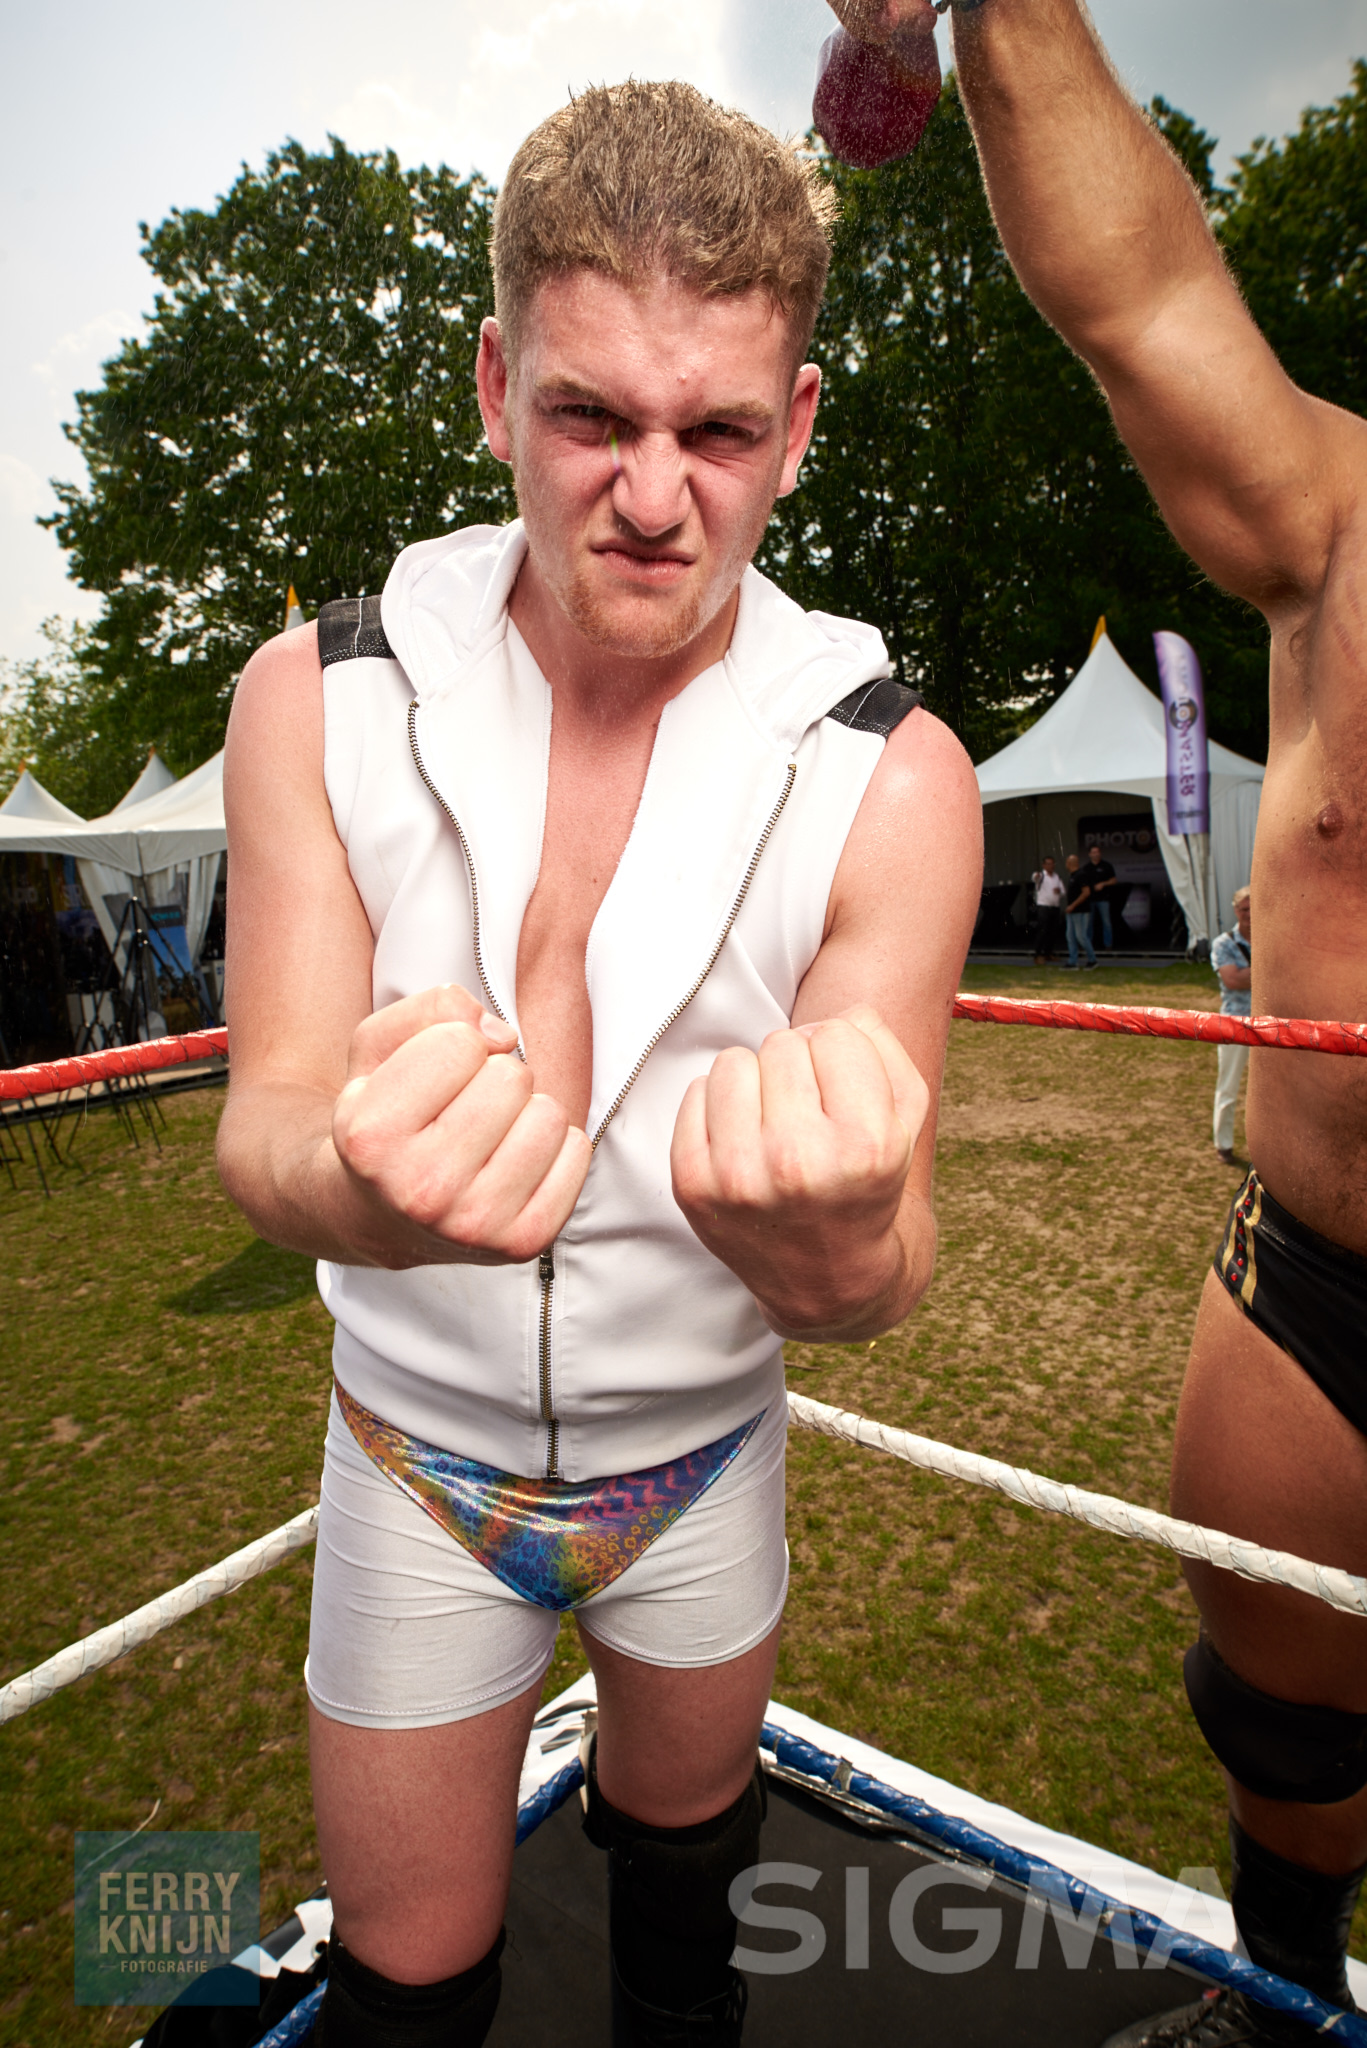
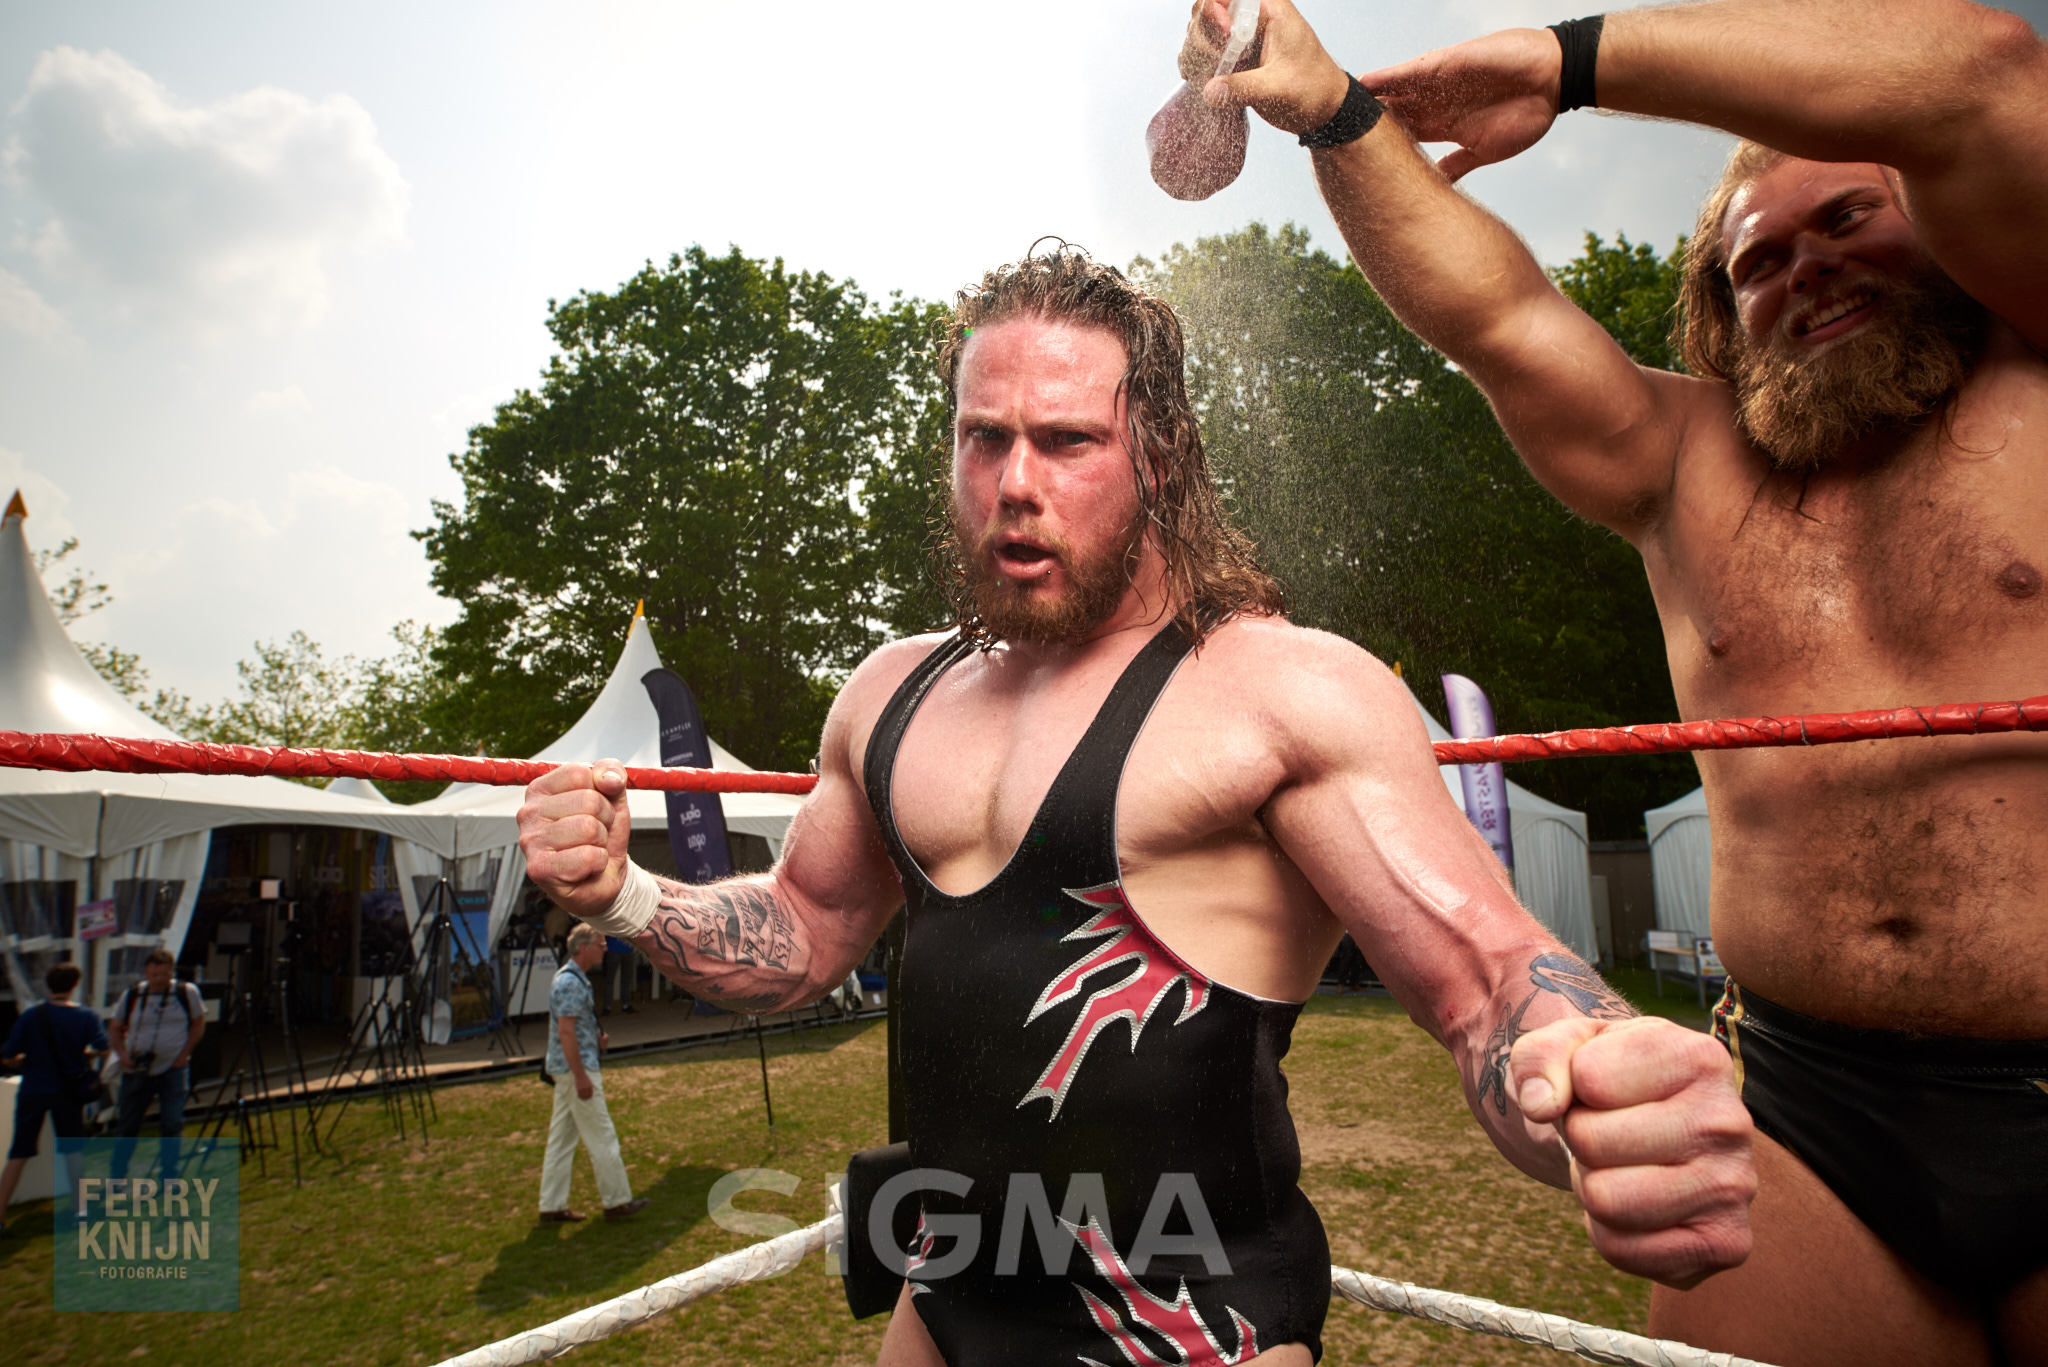
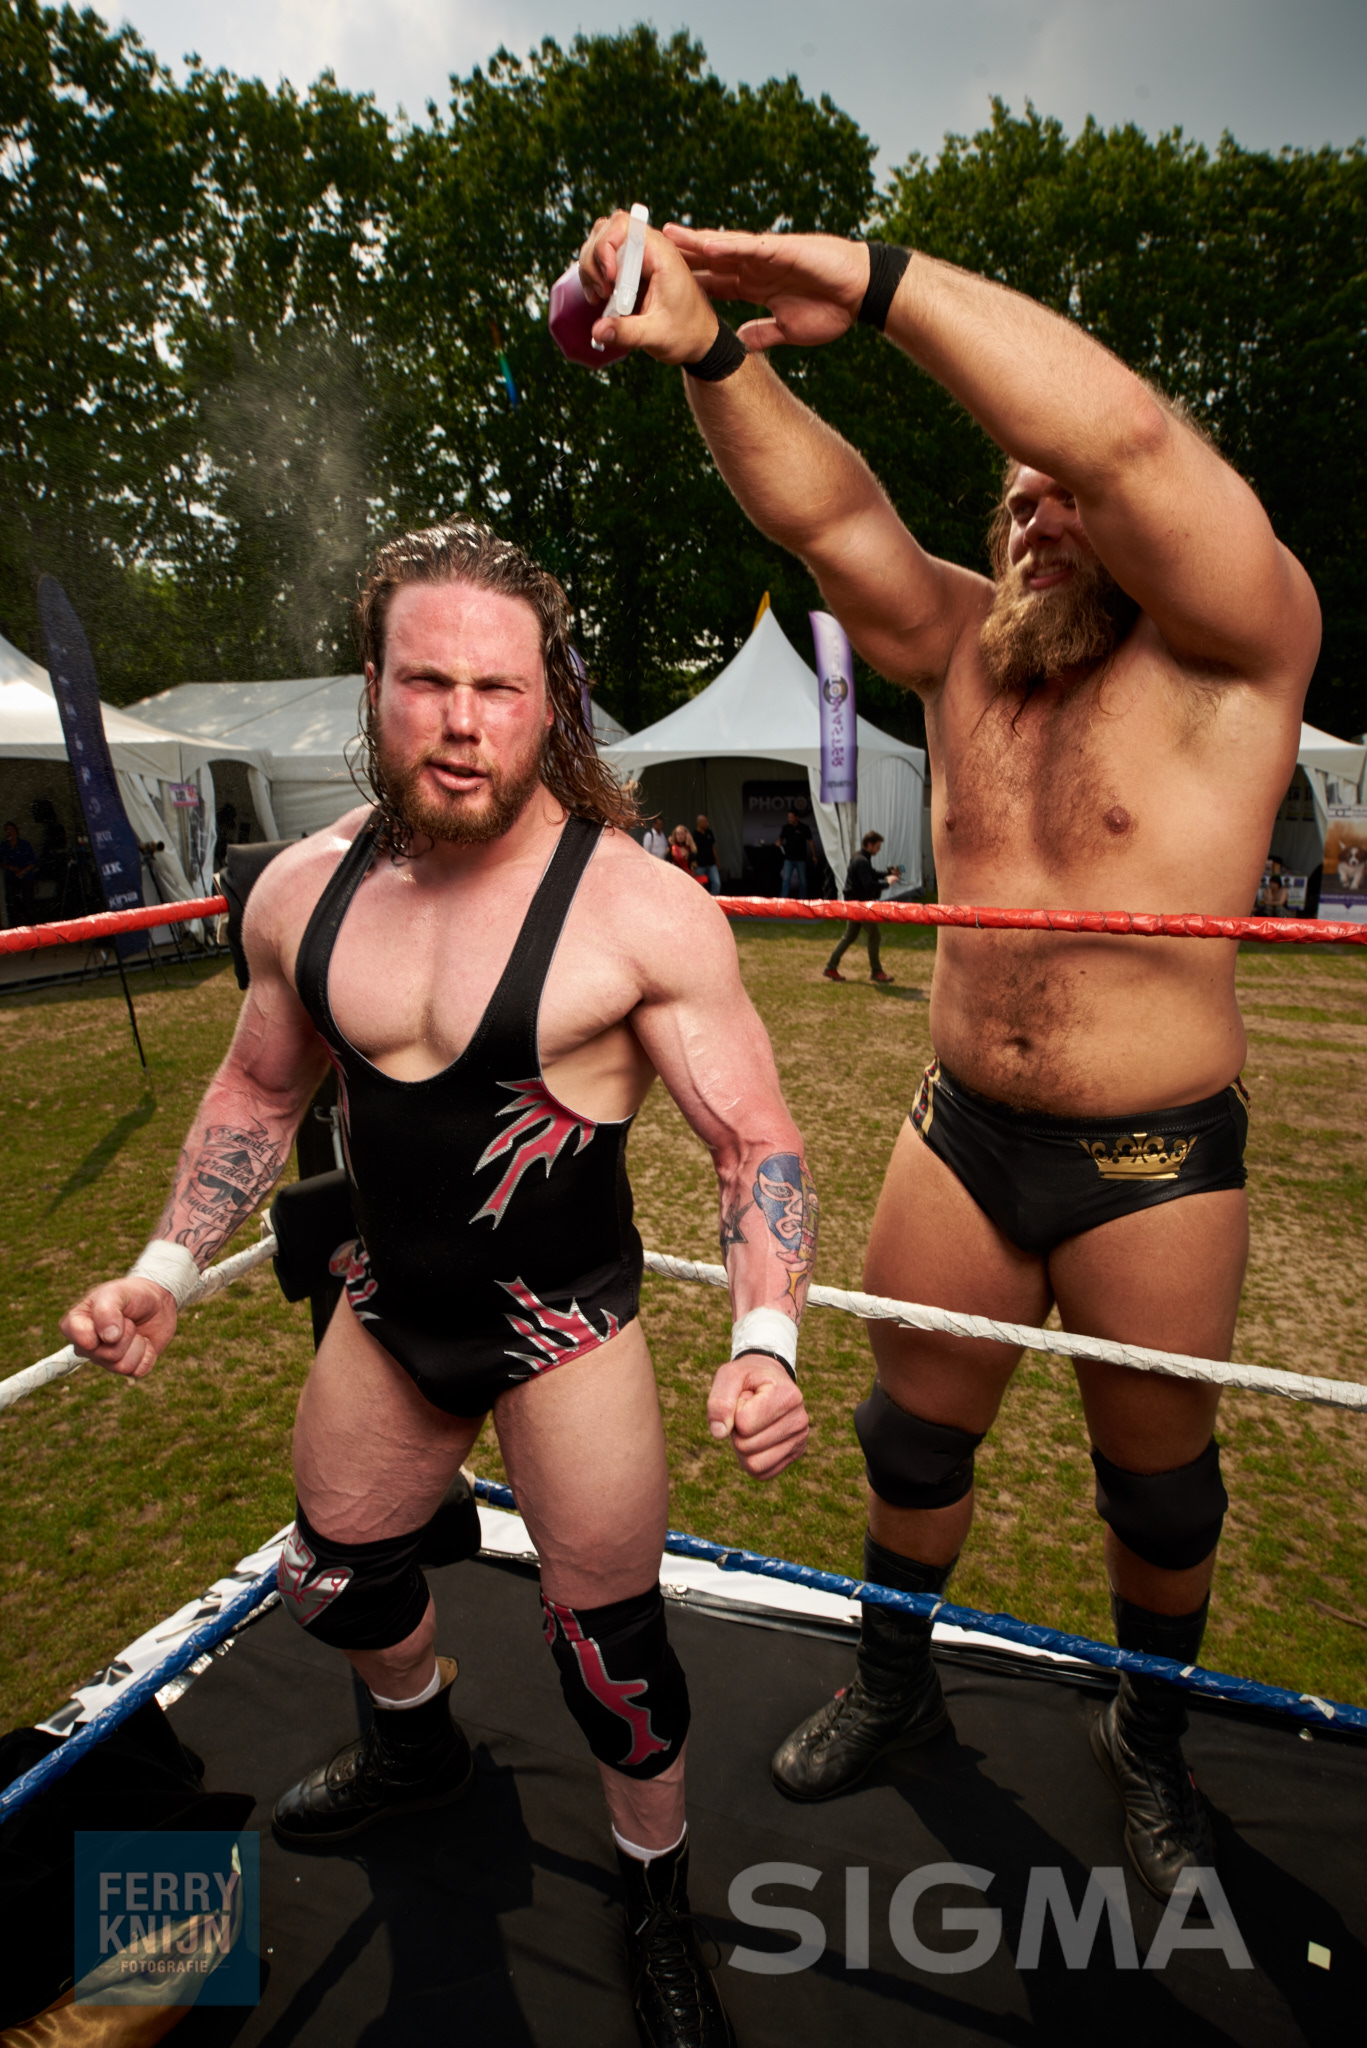
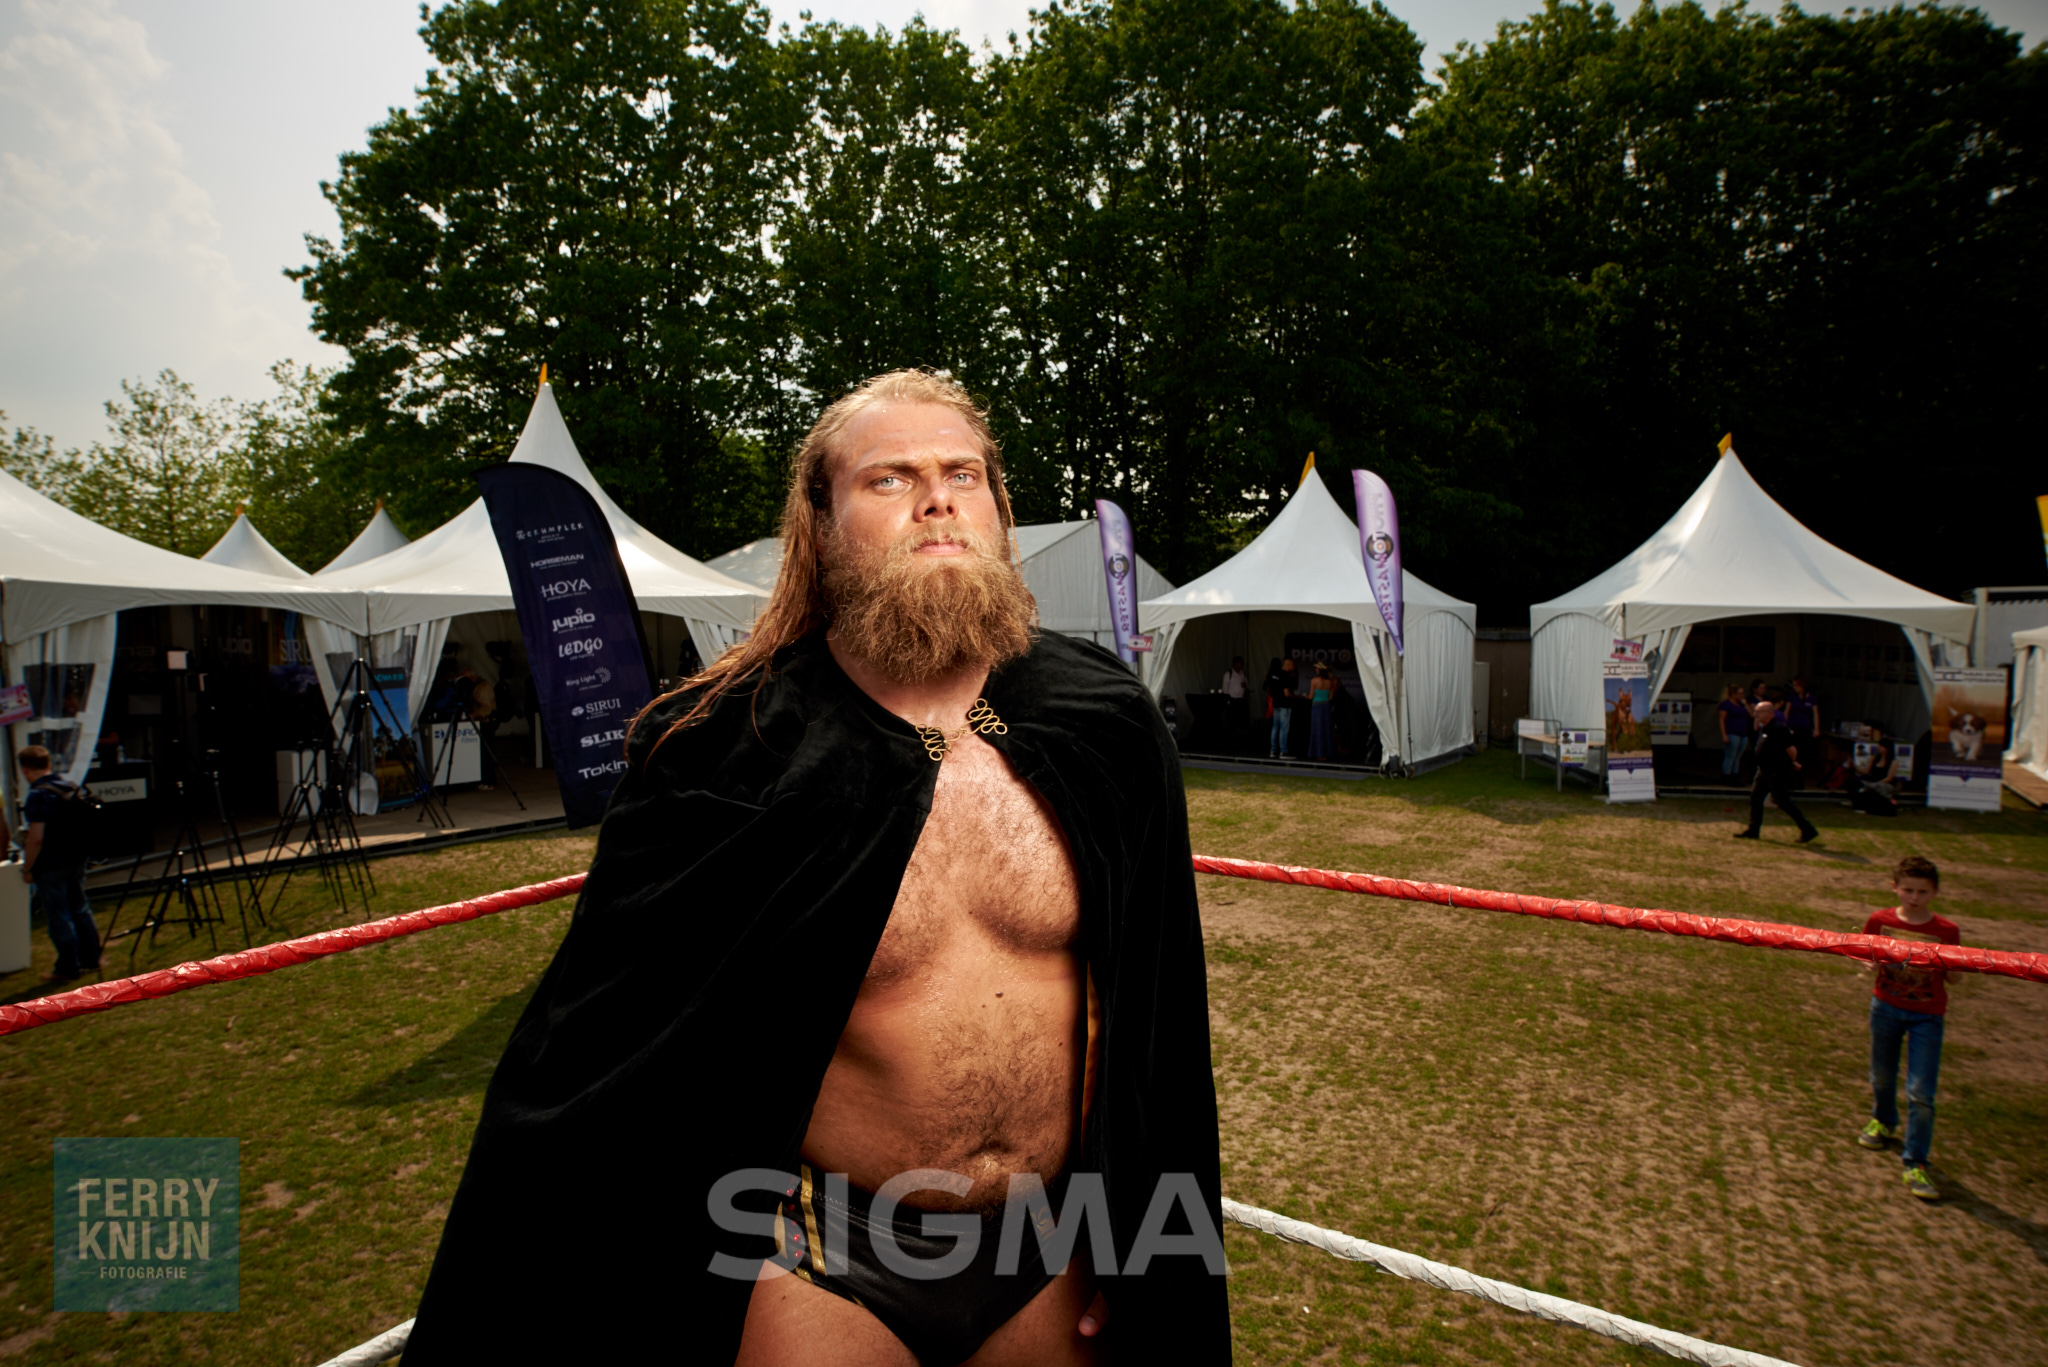
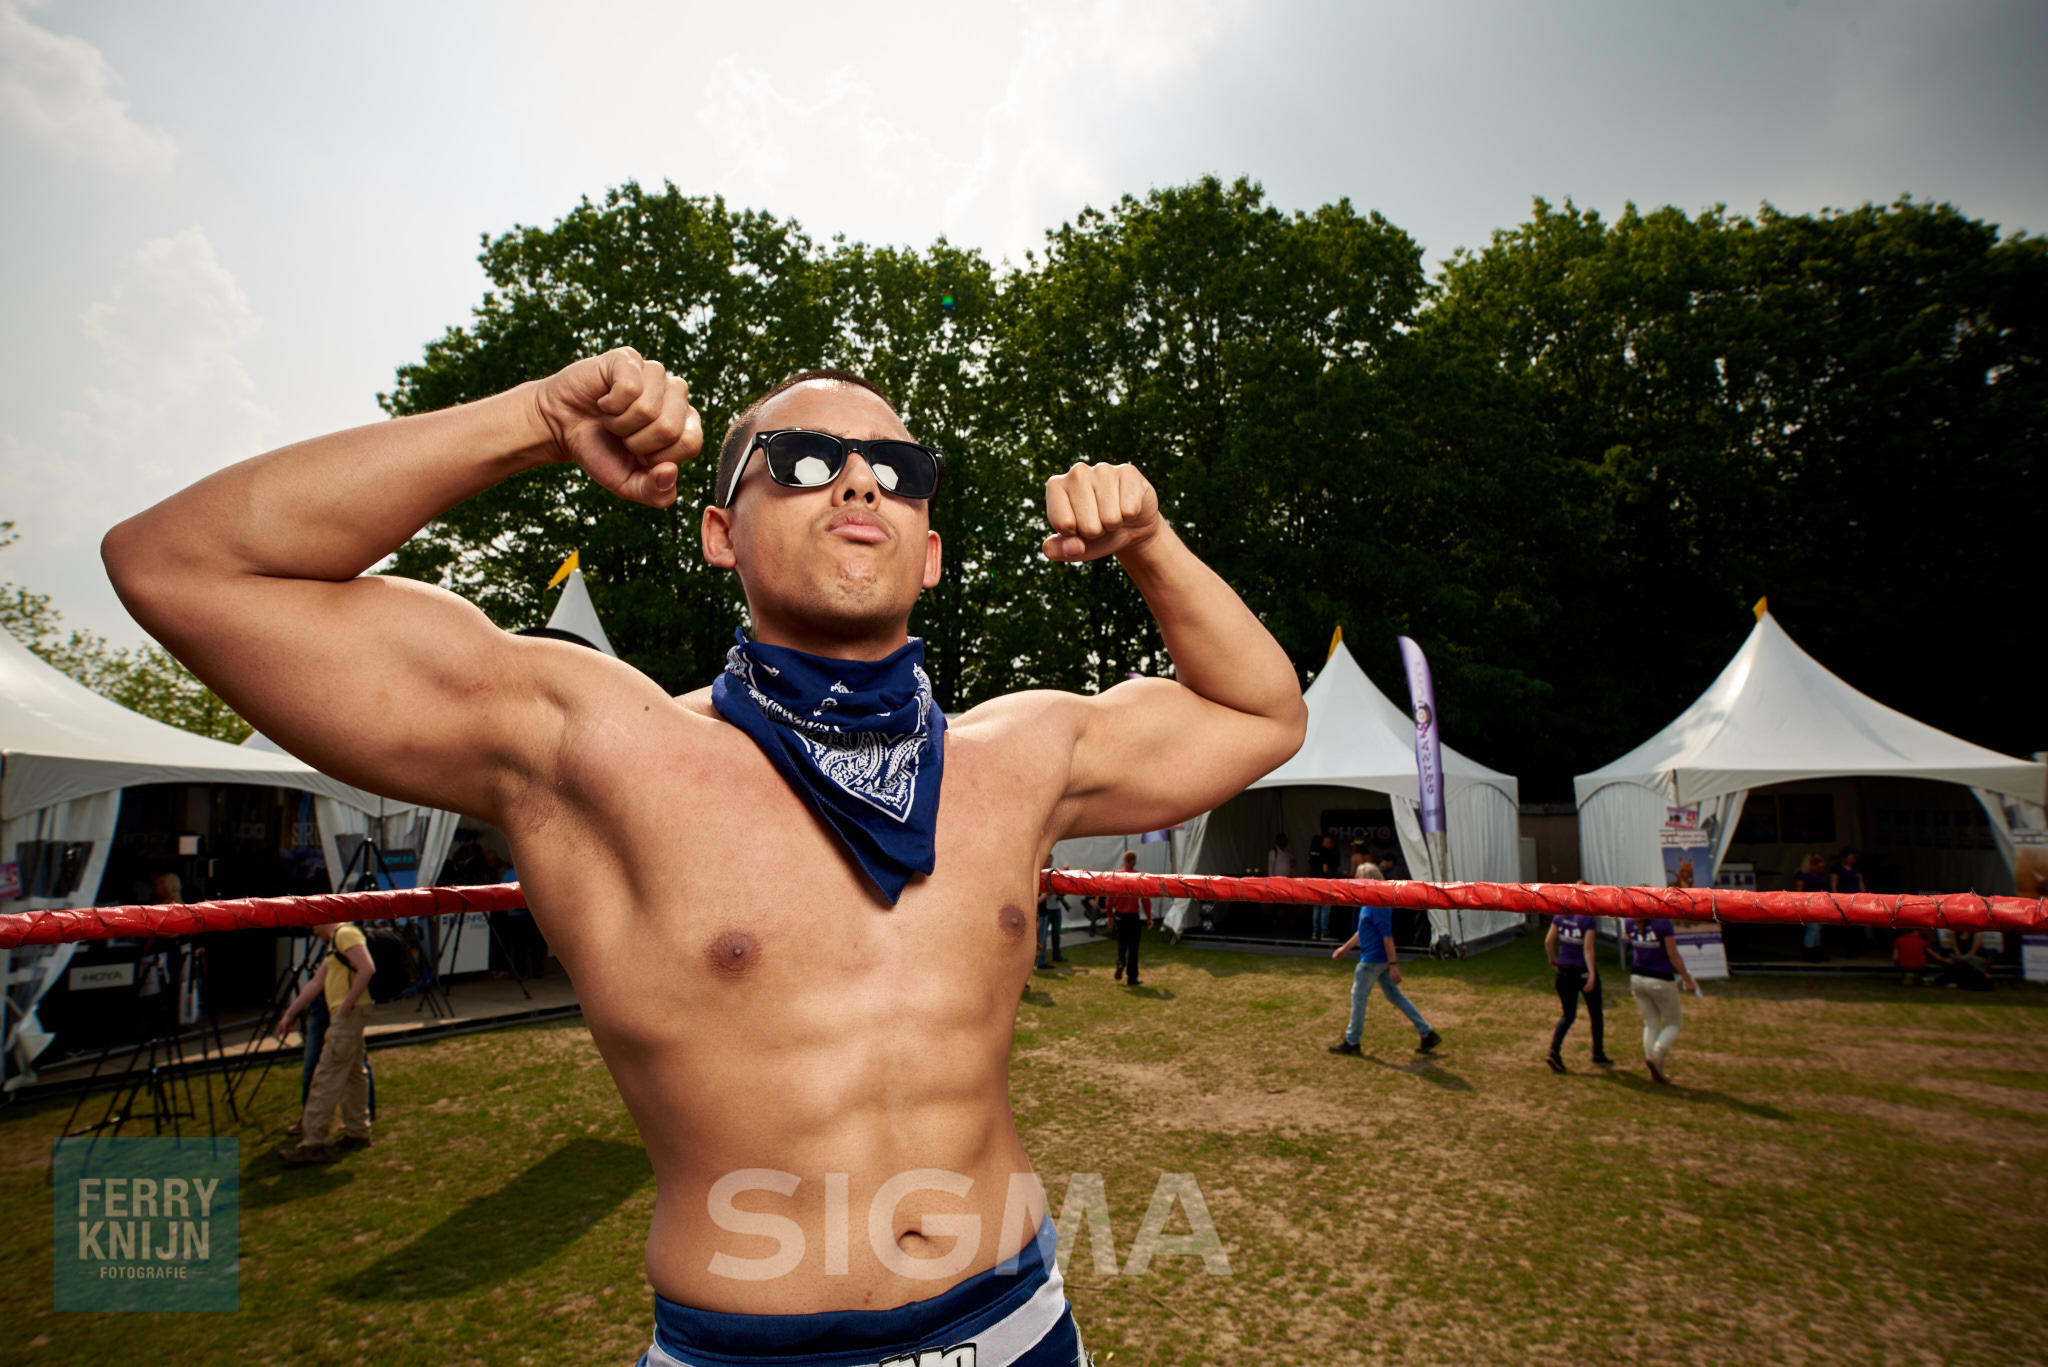
Sigma Benelux had op de FotoFair de worstelring gesponsord. Dus aan het einde van de dag ook even de kans genomen om enkele mooi portretten van de worstelaars te maken! Deze bleken trouwens hun thuisbasis in Hillegom te hebben dus binnenkort meer!



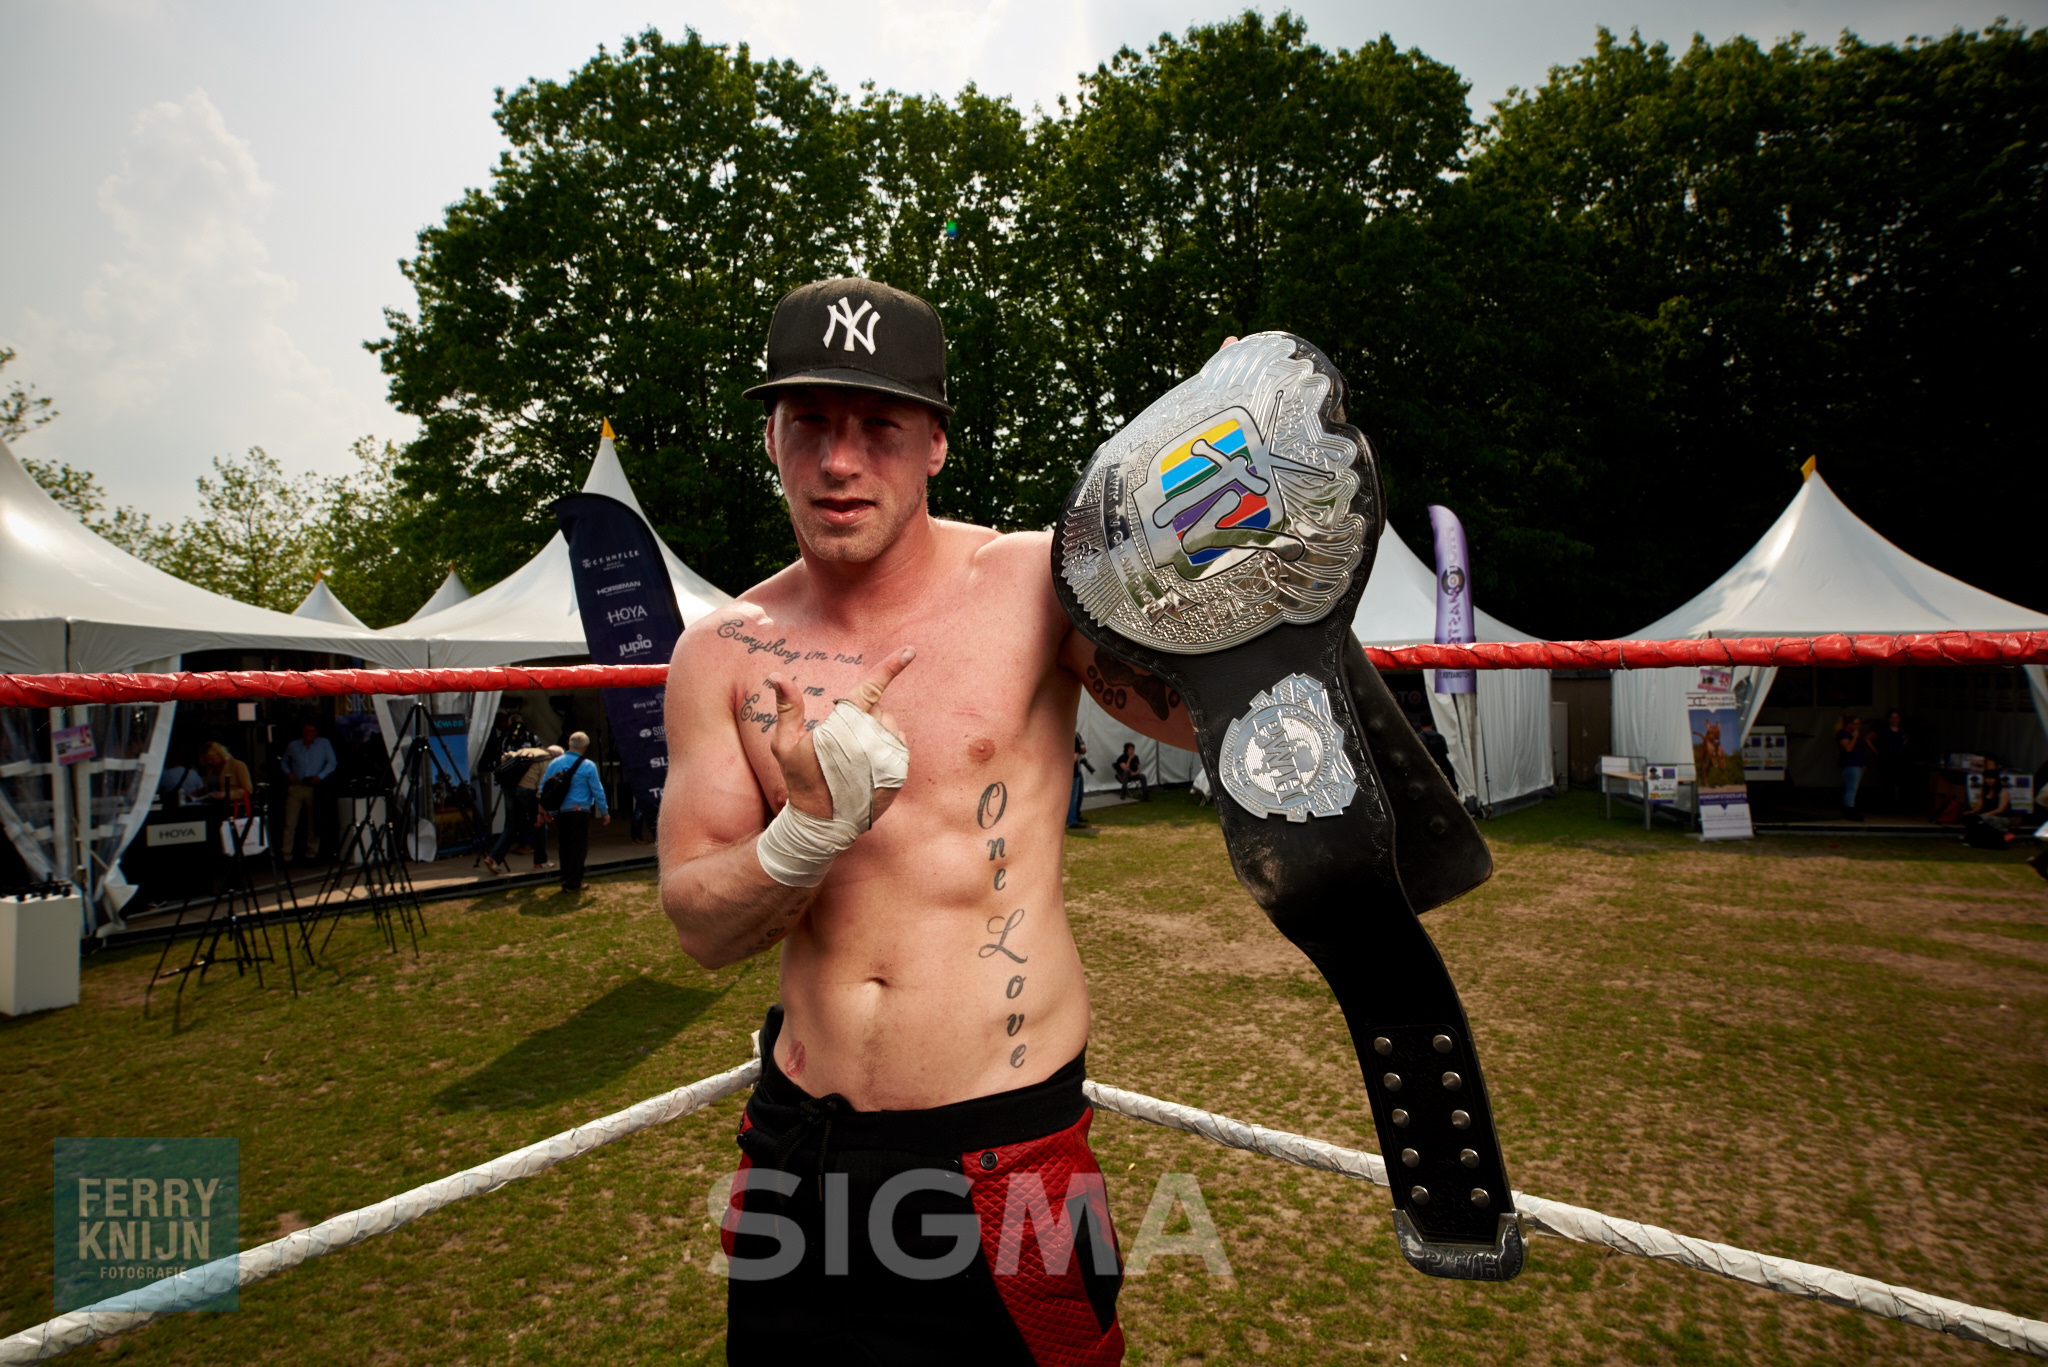
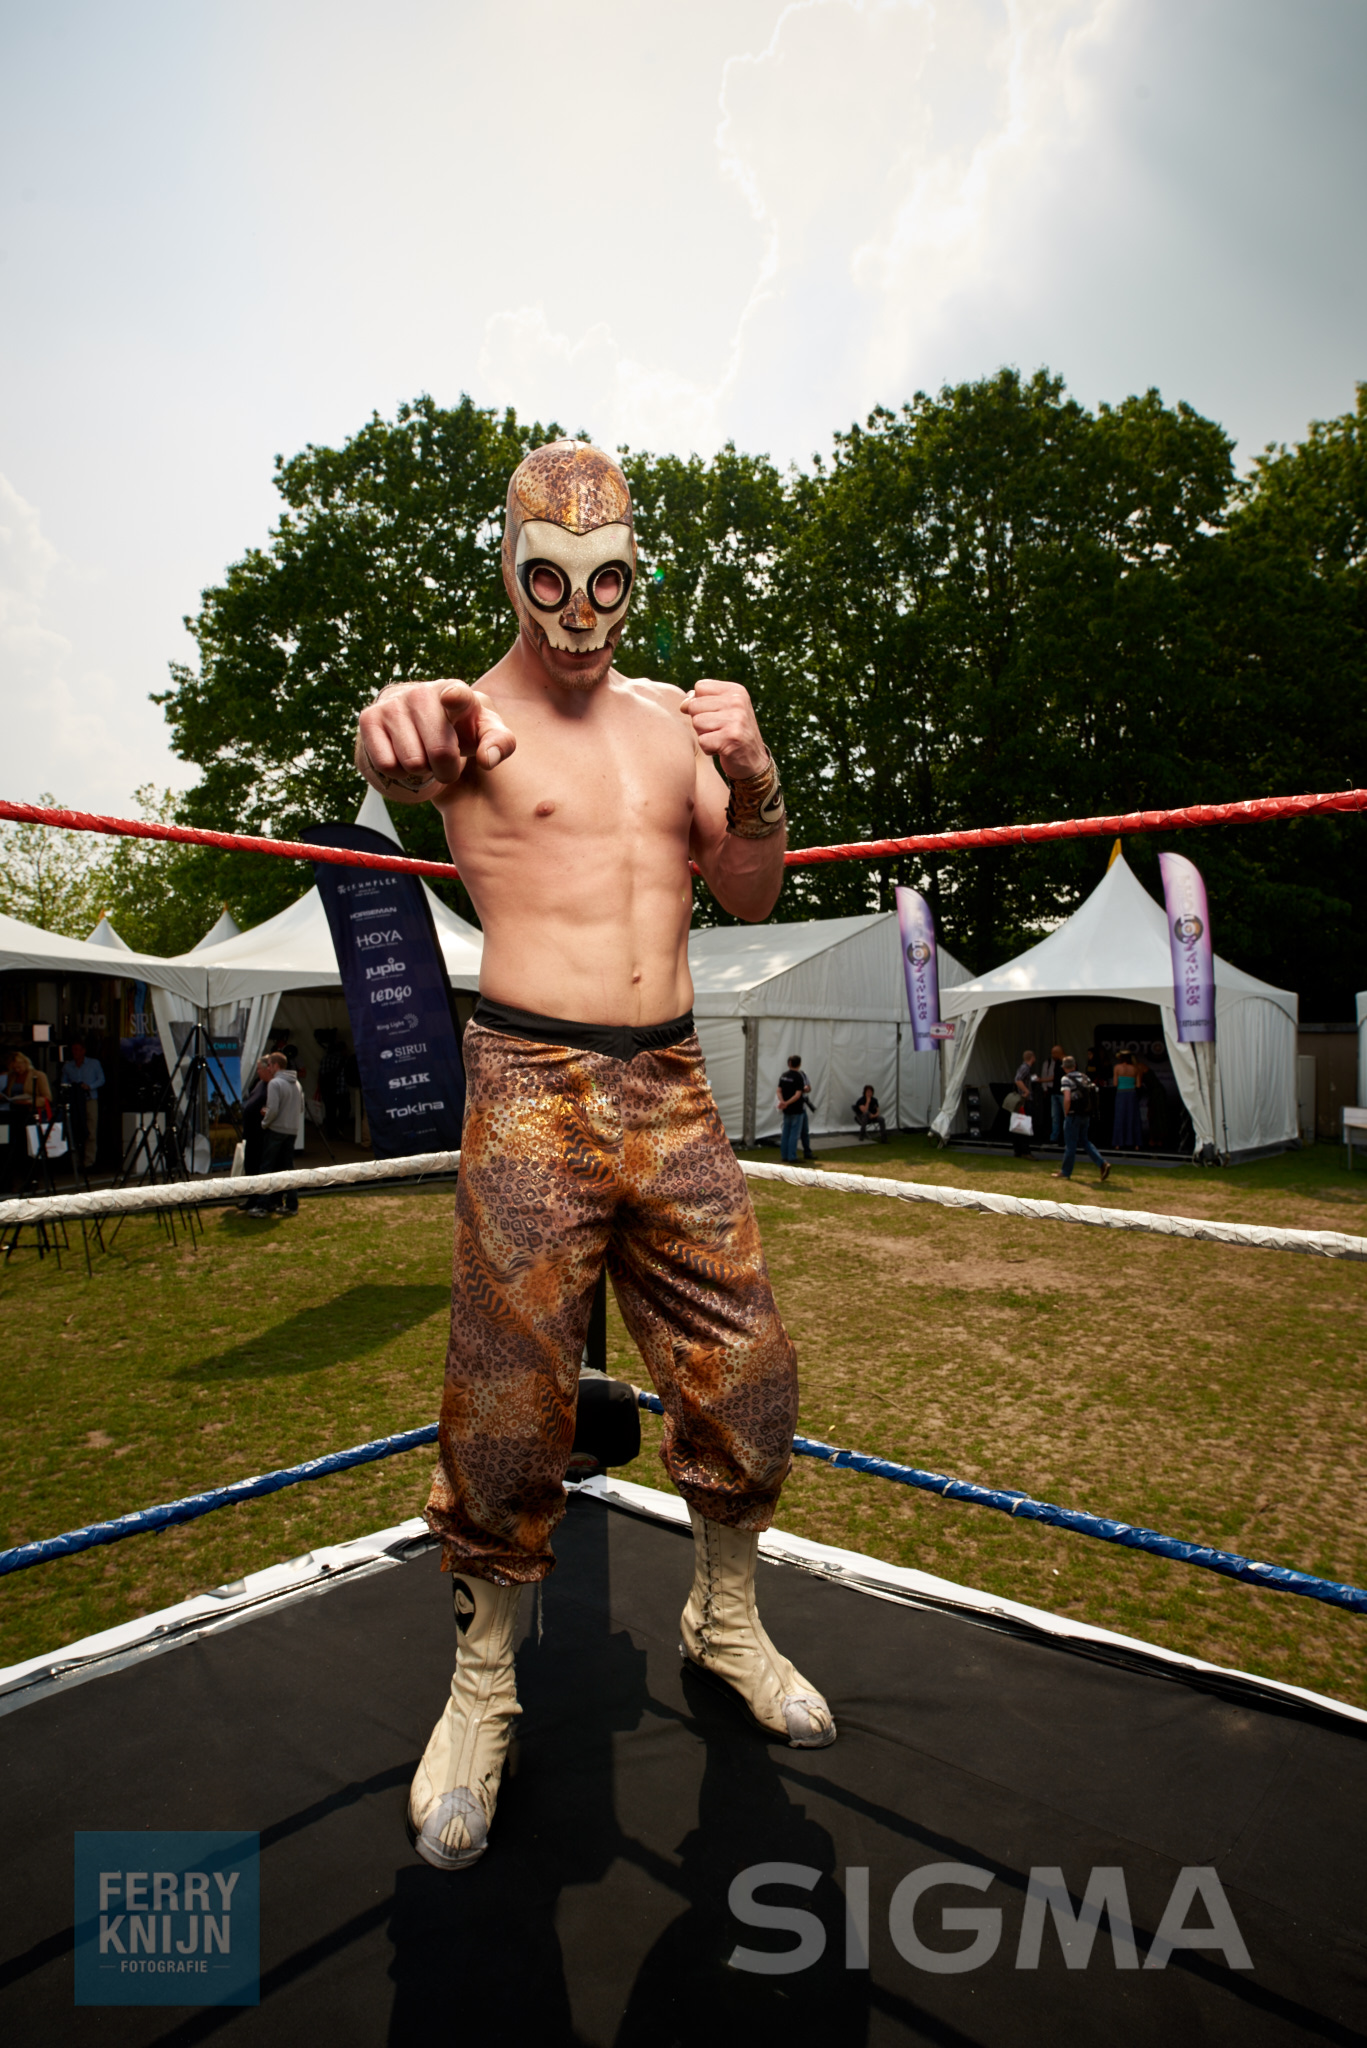

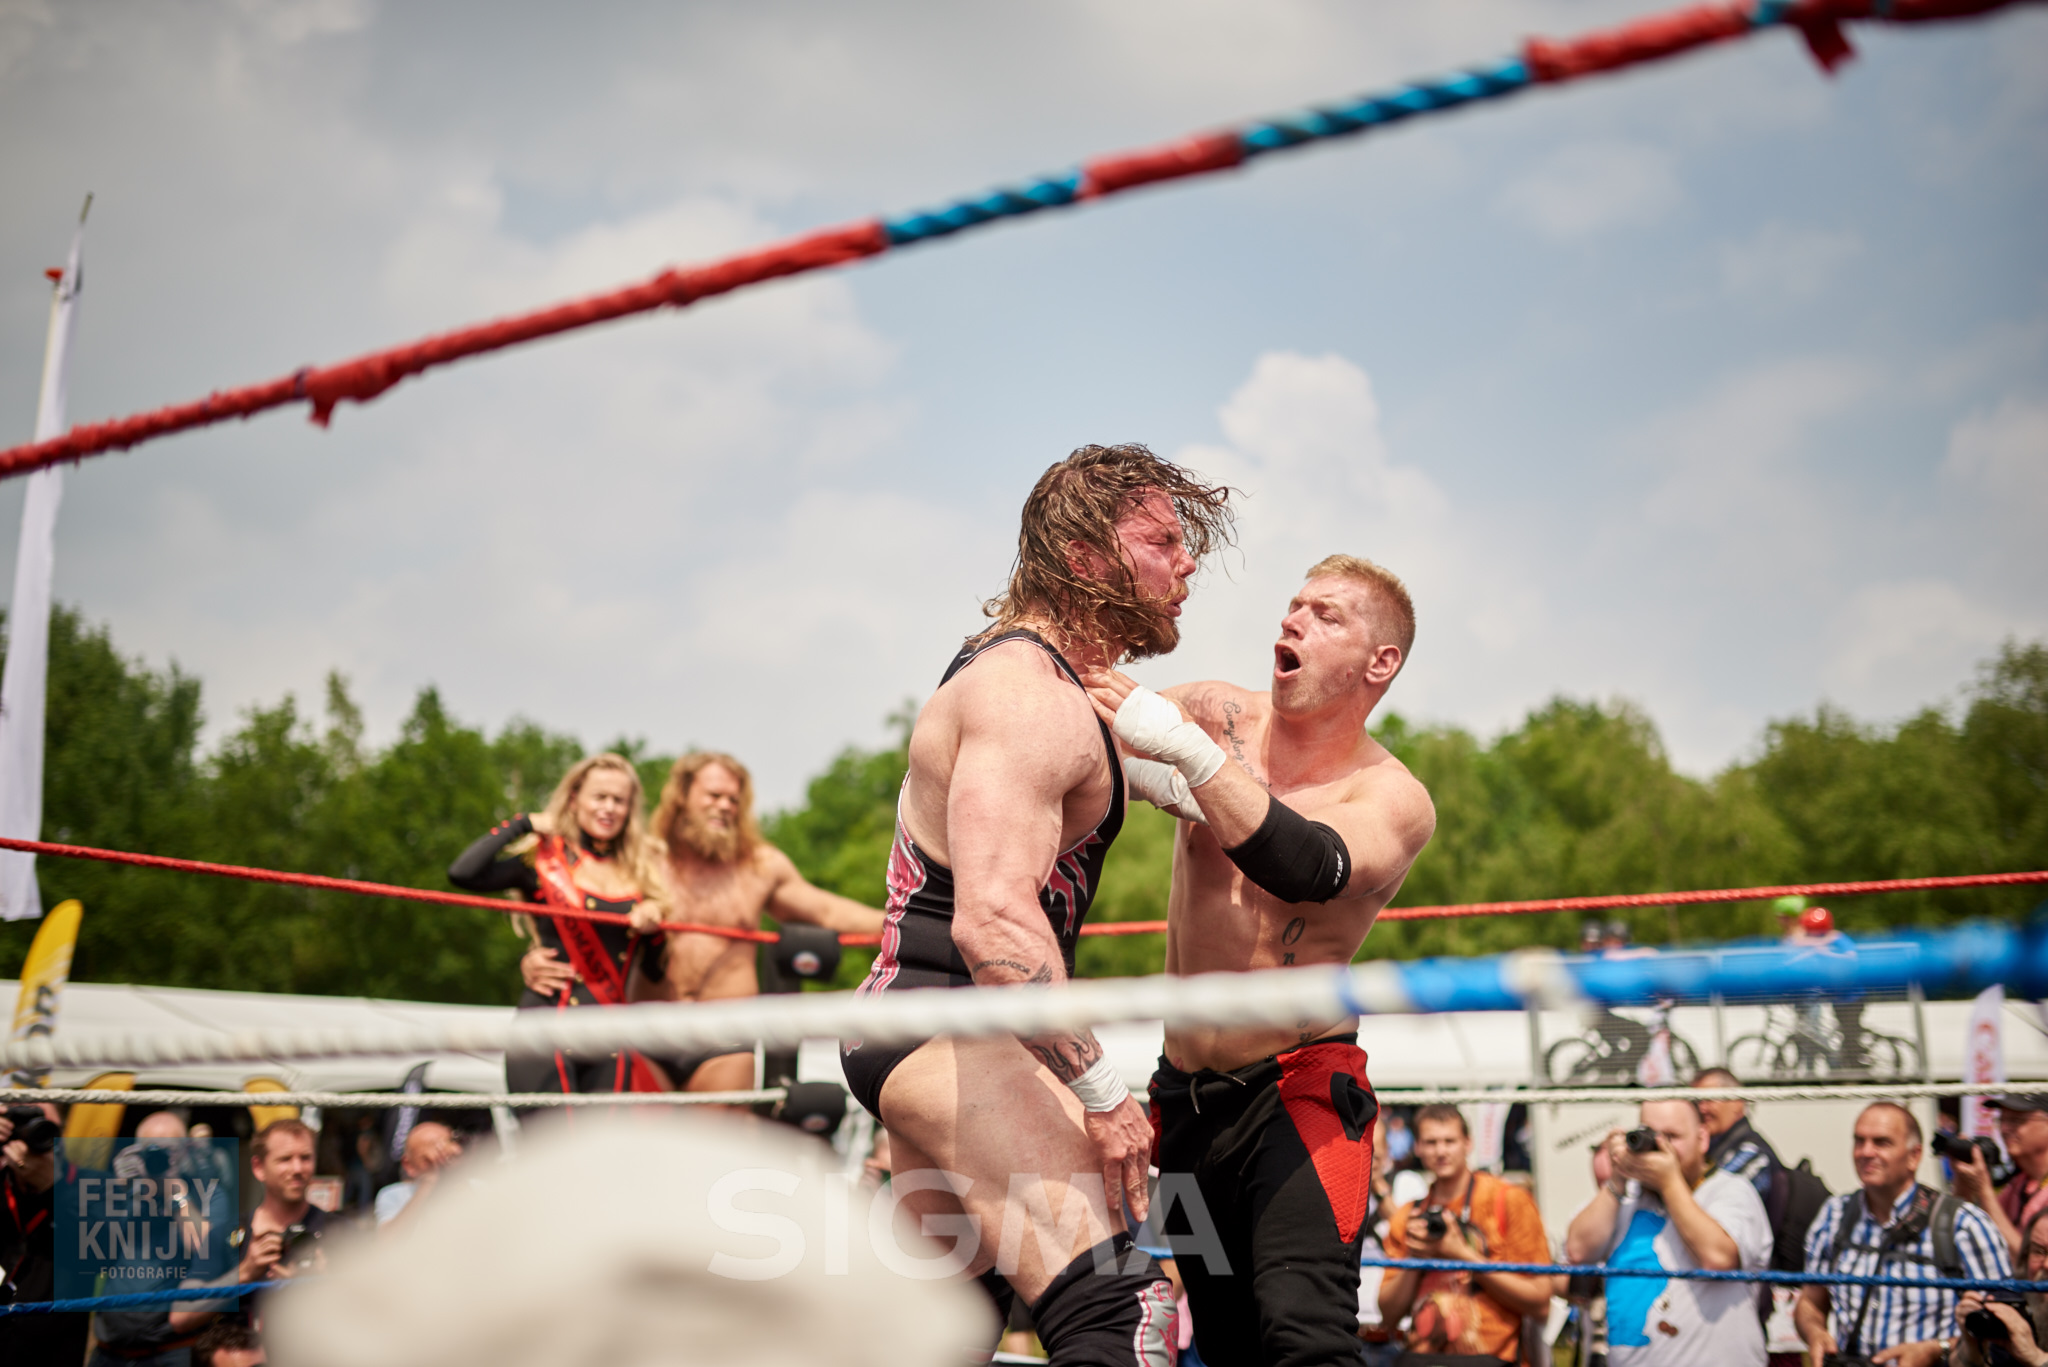
Marco en bijzondere verhalen
Ook kwam natuurfotograaf en mede Sigma-fotograaf Marco de Paauw nog langs in de stand, en heb hem naar eigen zeggen "Vast gelegd hou hij echt is" en als portretfotograaf is dat het grootste compliment wat je kunt krijgen!
ook is het leuk om bijzondere verhalen te horen als je bezig bent. Zoals van twee personen warvan de ene een nier aan de andere gaat geven!
Rythem & Jazz
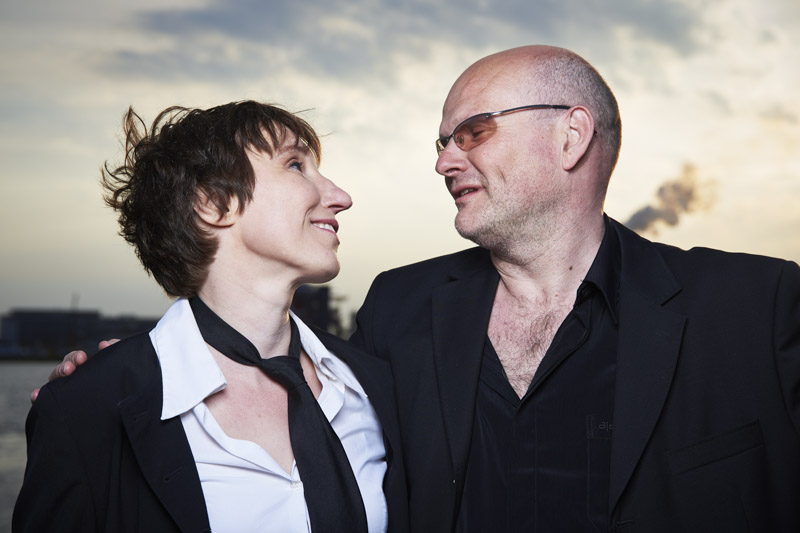
Een paar weken geleden had ik het idee om een shoot te doen met een tapdansers en een drummer. Daarom had ik Marieke van de Ven en Maarten Kruijswijk gevraagd of zij het leuk zouden vinden om hier aan mee te werken.
Voor de locatie had ik de NDSM-werf in Amsterdam in gedachten. Dit omdat het een geweldige plek is met veel verschillende achtergronden en mogelijk heden. Tevens kan je hier ook goed met de auto komen en rustig/veilig werken.
Qua belichting heb ik gebruik gemaakt van de zon im combinatie met de Elinchrom Quadra RX en een grote Soft light reflector (beauty dish) met een zilveren deflector. Voor camera de D800 en D610 met de Sigma 24-105 f4 Art en de Sigma 50mm 1.4 Art lenzen.
Na de hoofdfoto was er ook nog tijd om extra portretten te maken
Introductie Elinchrom ELB
Vandaag ben ik bij de introductie workshop geweest van de nieuwe Elinchrom ELB en LiteMotiv softboxen.
De Elinchrom ELB 400
Vorig jaar heb ik mijn eerste Elinchrom Quadra set gekocht. Dit geeft mij de mogelijkheid om met studio kwaliteit ligt te werken waar ik ook maar ben. Maar Elinchrom had ook net de nieuwe ELC serie uit. En ergens wenste ik voor een combinatie van de twee, en die is er nu in de vorm van de ELB 400.
De Elinchrom ELB 400 bied alle functionaliteiten van de ELC, maar dan in een mobiel pakket met de mogelijk waar je ook maar wilt werken door de accu. Vandaag was de kans daar om de ELB 400 uit te proberen in combinatie met de nieuwe Elinchrom LiteMotiv softboxen.
Quadra vs. ELB 400
Het voordeel van de ELB 400 boven de gewone Elinchrom Quadra RX zijn er verschillende. Ten eerste de sneller herlaad tijd voor met maken van foto's. daarnaast heeft hij de mogelijkheden voor werken met strobo (snel achter elkaar flitsen), slow (vertraging in de flits als je werkt met langere sluitertijd en je heb geen 2e curtain sync) en sequence. Daarnaast heeft ook het uiterlijk een opknapbeurt gekregen. Het grote voordeel is dat het scherm vervangen is door een OLED display, dit maakt het werken in het menu een stuk makkelijker.
Resultaten
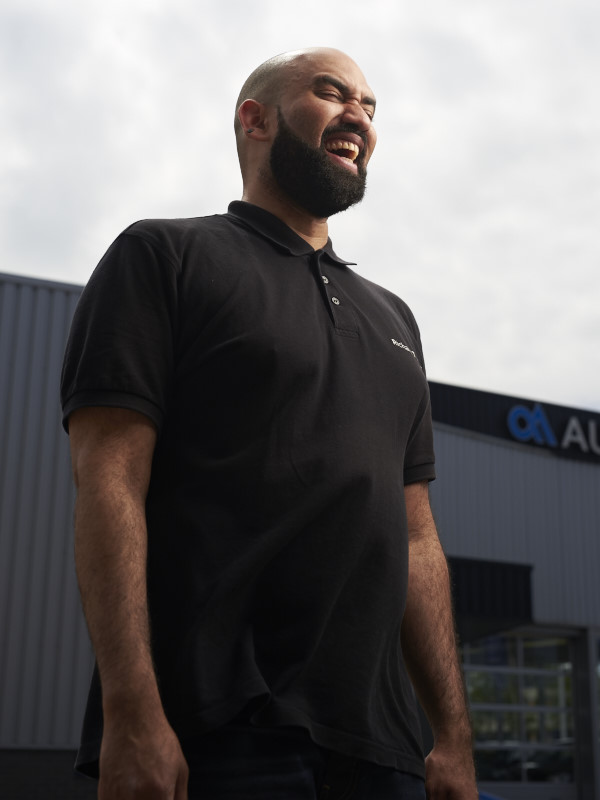
Hieronder staan een paar van de resultaten. Kleine disclaimer dit is niet mijn reguliere werk, de foto's zijn binnen en buiten de showroom genomen voor om de functies en werking te testen. Camera waren Nikon D610 met de Sigma 50mm 1.4 en 24-105 art lenzen en de Fuji X100

ELB, ELC of Quadra
Nu is natuurlijk de vraag welke moe je nemen? Dit is natuurljk per persoon verschillend.
- Wil je alle functies in een compacte set hebben neem de ELB 400 set.
- Wil je mobiele studiokwaliteit ligt hebben en niet veel waarde hecht aan de extra functies als strobo, neem de Quadra RX
- Wil je wel de speciale functie maar is mobiliteit geen vereiste neem dan de ELC's
Persoonlijk zit ik er aan te denken om voor de Elinchrom ELC 500 te gaan. De reden hiervoor is dat de speciale functies als strobo het beste werken in een studio omgeving zonder al te veel omgevingslicht. Voor op locatie heb k al de Quadra's. Daarnaast vind ik de snelle herlaad tijd an de ELC's echt geweldig! Met name op hogere vermogens zorgt dit dat je snel door kunt werken.
DANCE PHOTOGRAPHY SESSION PART 4: Two Light Action shot
Welcome to the fourth and last part of the Dance Photography session serie. The first shoot where all one light shots, if you haven't read the you can read them here:
- Dance photography session Part 1: The headshots
- Dance photography session part 2: The group shot on the wall
- Dance photography session part 3: One light actionshot
The Two light set-up
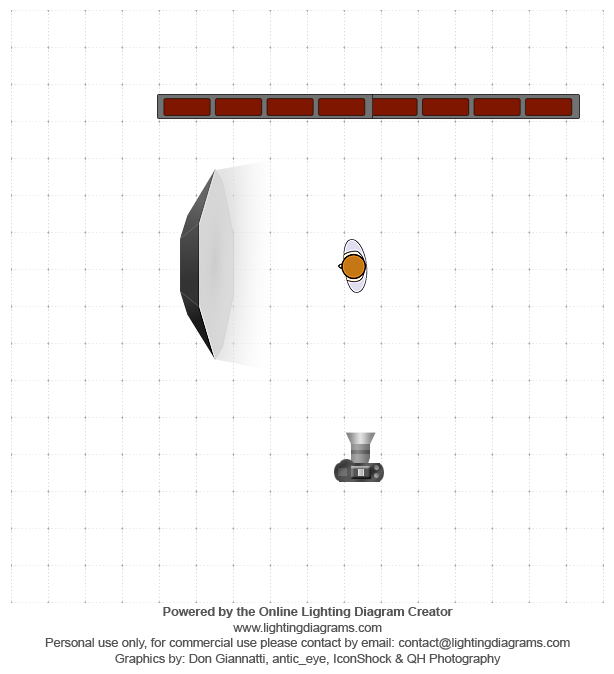
Again I started with one Elinchrom Quadra RX with the A-Head on the B-port with the Elinchrom Rotalux 150 deep indirect octa as a modifier. The reason I used the B-Port was that it has a faster Flash duration to freeze the action better. Also notice in de diagram that the light is slightly behind the subject turned toward the subject away from the wall for a more dramatic look. The downside off this was that the wall was getting really dark and I lost everything of the surroundings. It was getting to dark. So I added a small bare YoungNuo YN-560II speed light on slave mode. It was just of a 1/64 to 1/128 setting. It was just there to give a little push of light on the background.
For the Camera I used the Fuji X-pro1 with the 35mm 1.4 lens. Settings: Iso 100, 1/125 at f5.6. Because of it was getting darker on the evening and the Fuji's aren't the fastest focussing camera's I used a little trick from the old days. I made a focus zone, I positioned somebody between the flashes, focussed on this target in manual focussing mode. After that I asked the dancer to keep the jump in this zone. Remember in the old days sporting photographers used this to get good focus, there was no AF to give the blame if you had out of focus photo's!
In to Post
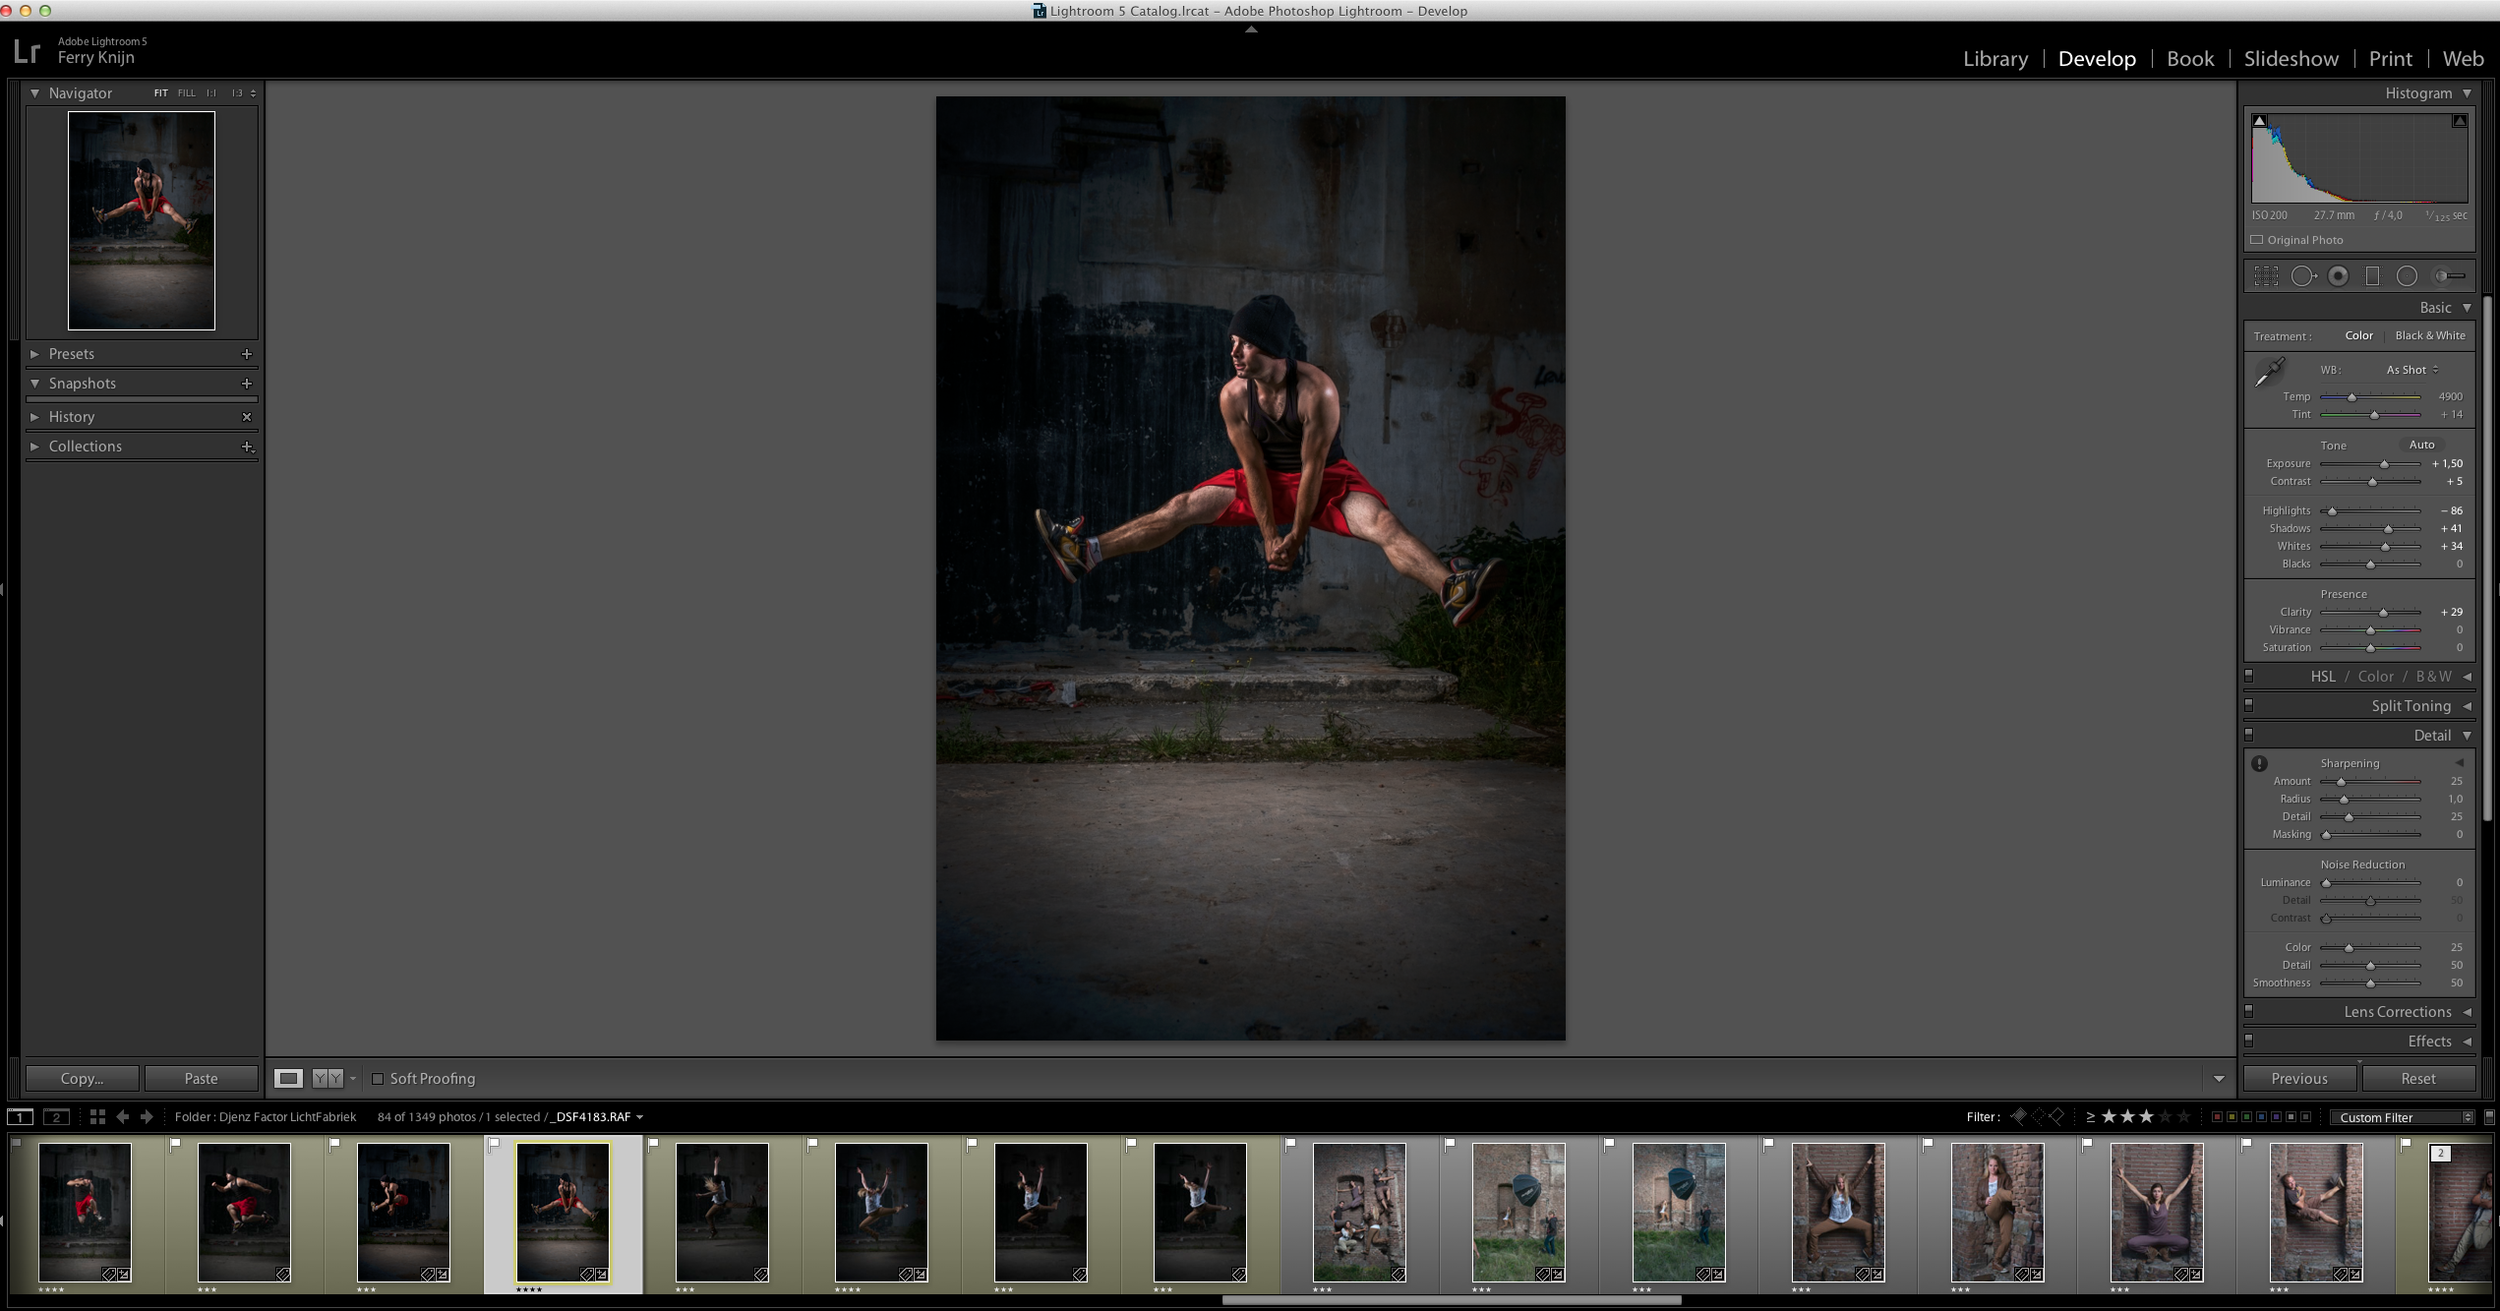
As you can see in the screen capture the only post processing where a few simple adjustments in Lightroom 5, and I added a vignette using the radial filter.
I Hope you have enjoyed this series about dance photography. If you have any questions please mail me or put a comment down below!
DANCE PHOTOGRAPHY SESSION PART 3: One Light Action shot
This week the next part in the Dance photography series. If you didn't have read the firs two part you can read them here:
- Dance photography session Part 1: The headshots
- Dance photography session part 2: The group shot on the wall
The One-light Set up
The first shot was lightning wise very simple. I Just used one Elinchrom Quadra RX with the A-Head on the B-port with the Elinchrom Rotalux 150 deep indirect octa as a modifier. The reason I used the B-Port was that it had a faster Flash duration to freeze the action more.
For the Camera I used the Fuji X-pro1 with the 35mm 1.4 lens. Settings: Iso 100, 1/125 at f5.6.
The post Production
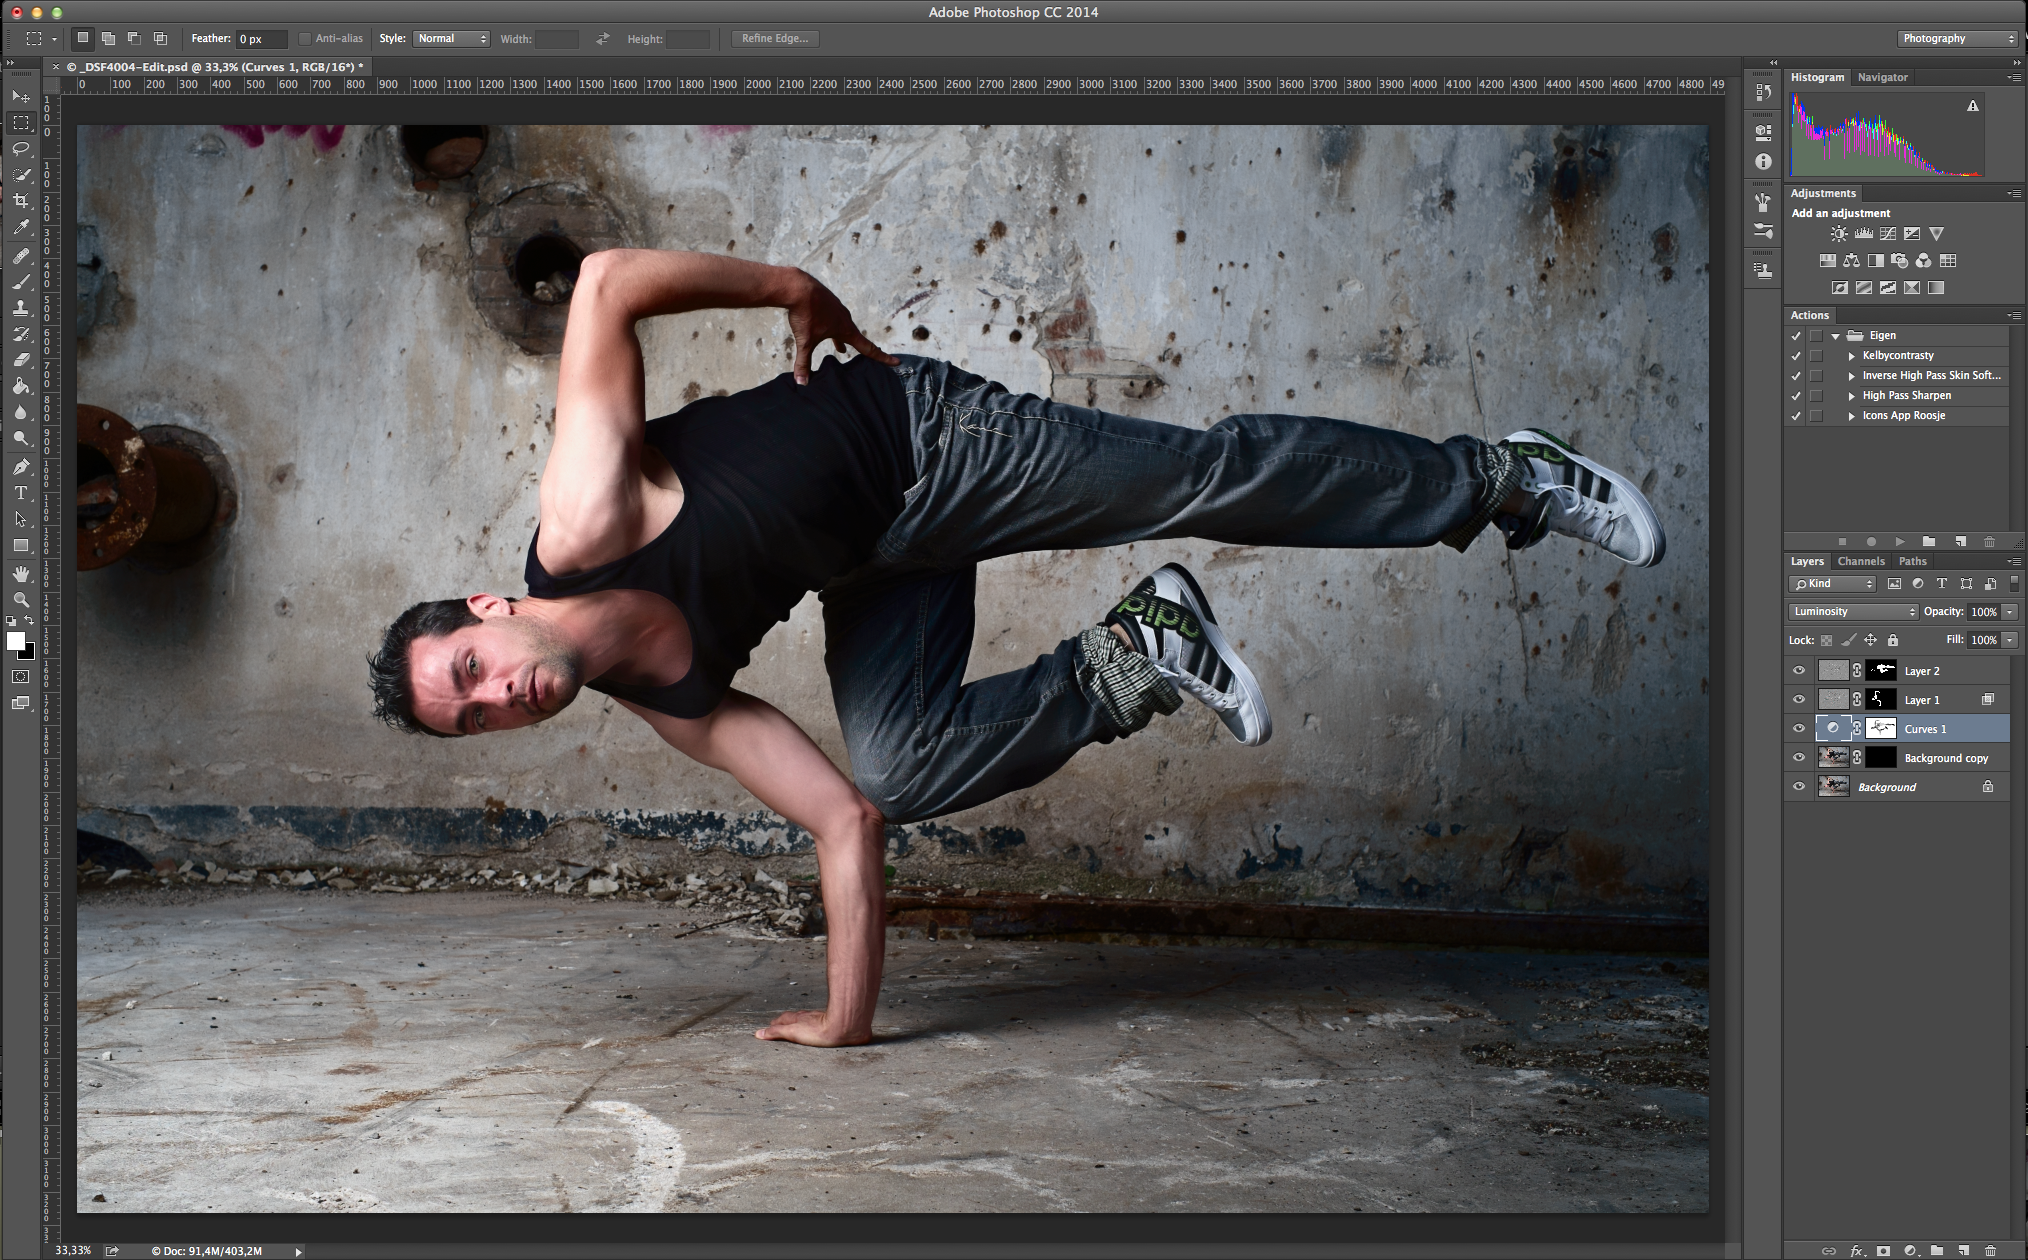
For the post production I used a little more Ferry Dusting
The first step I did was the Eyes, Duplication the Layer, set the blend mode to screen and add a black Layer mask. Then use the white paintbrush and paint it on the irises. Then use the opacity to pull it down so you won't get scary bright eyes!
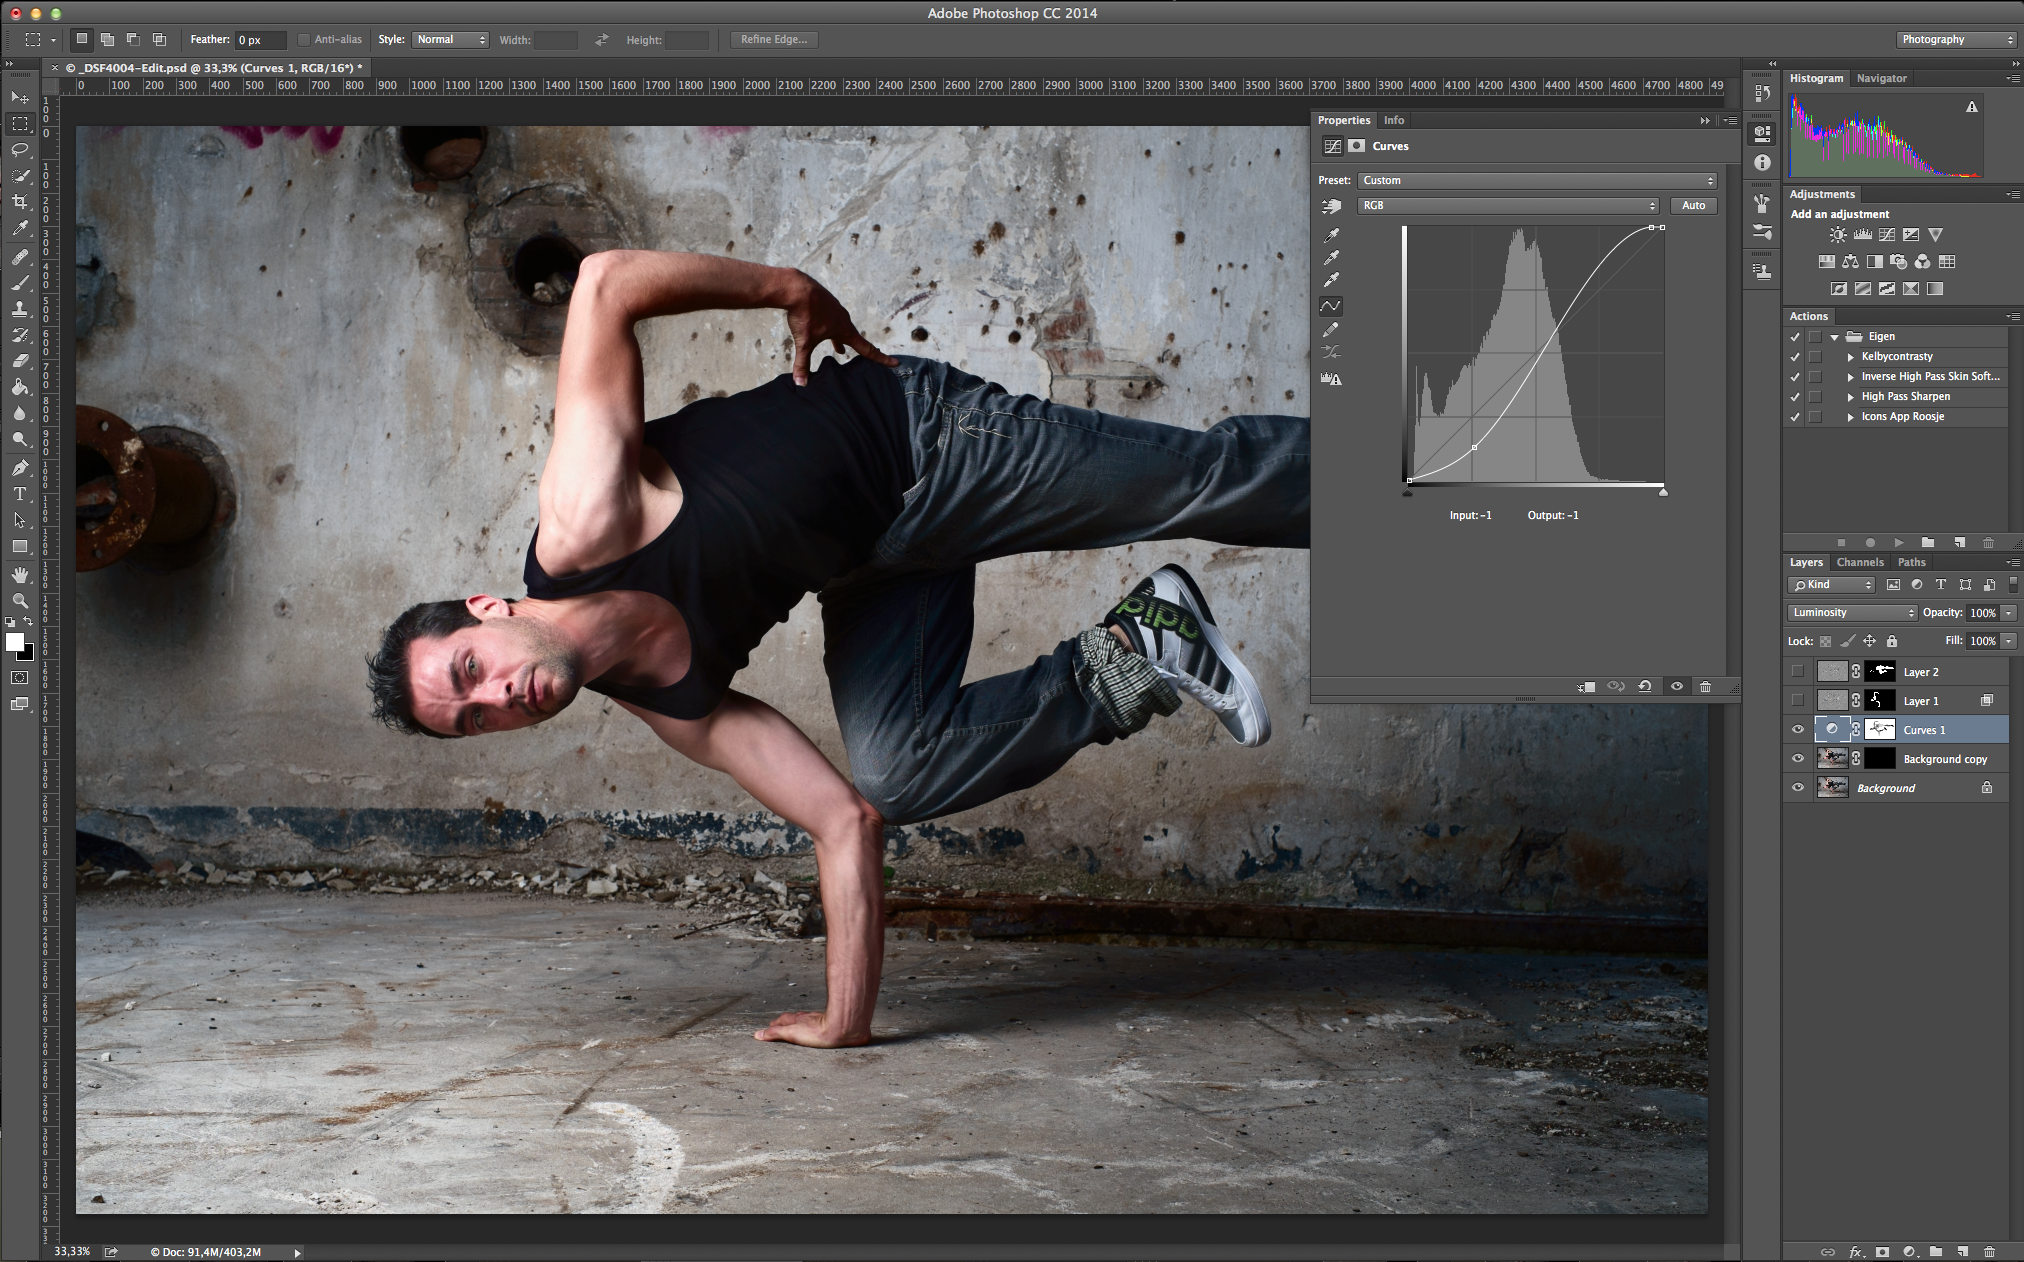
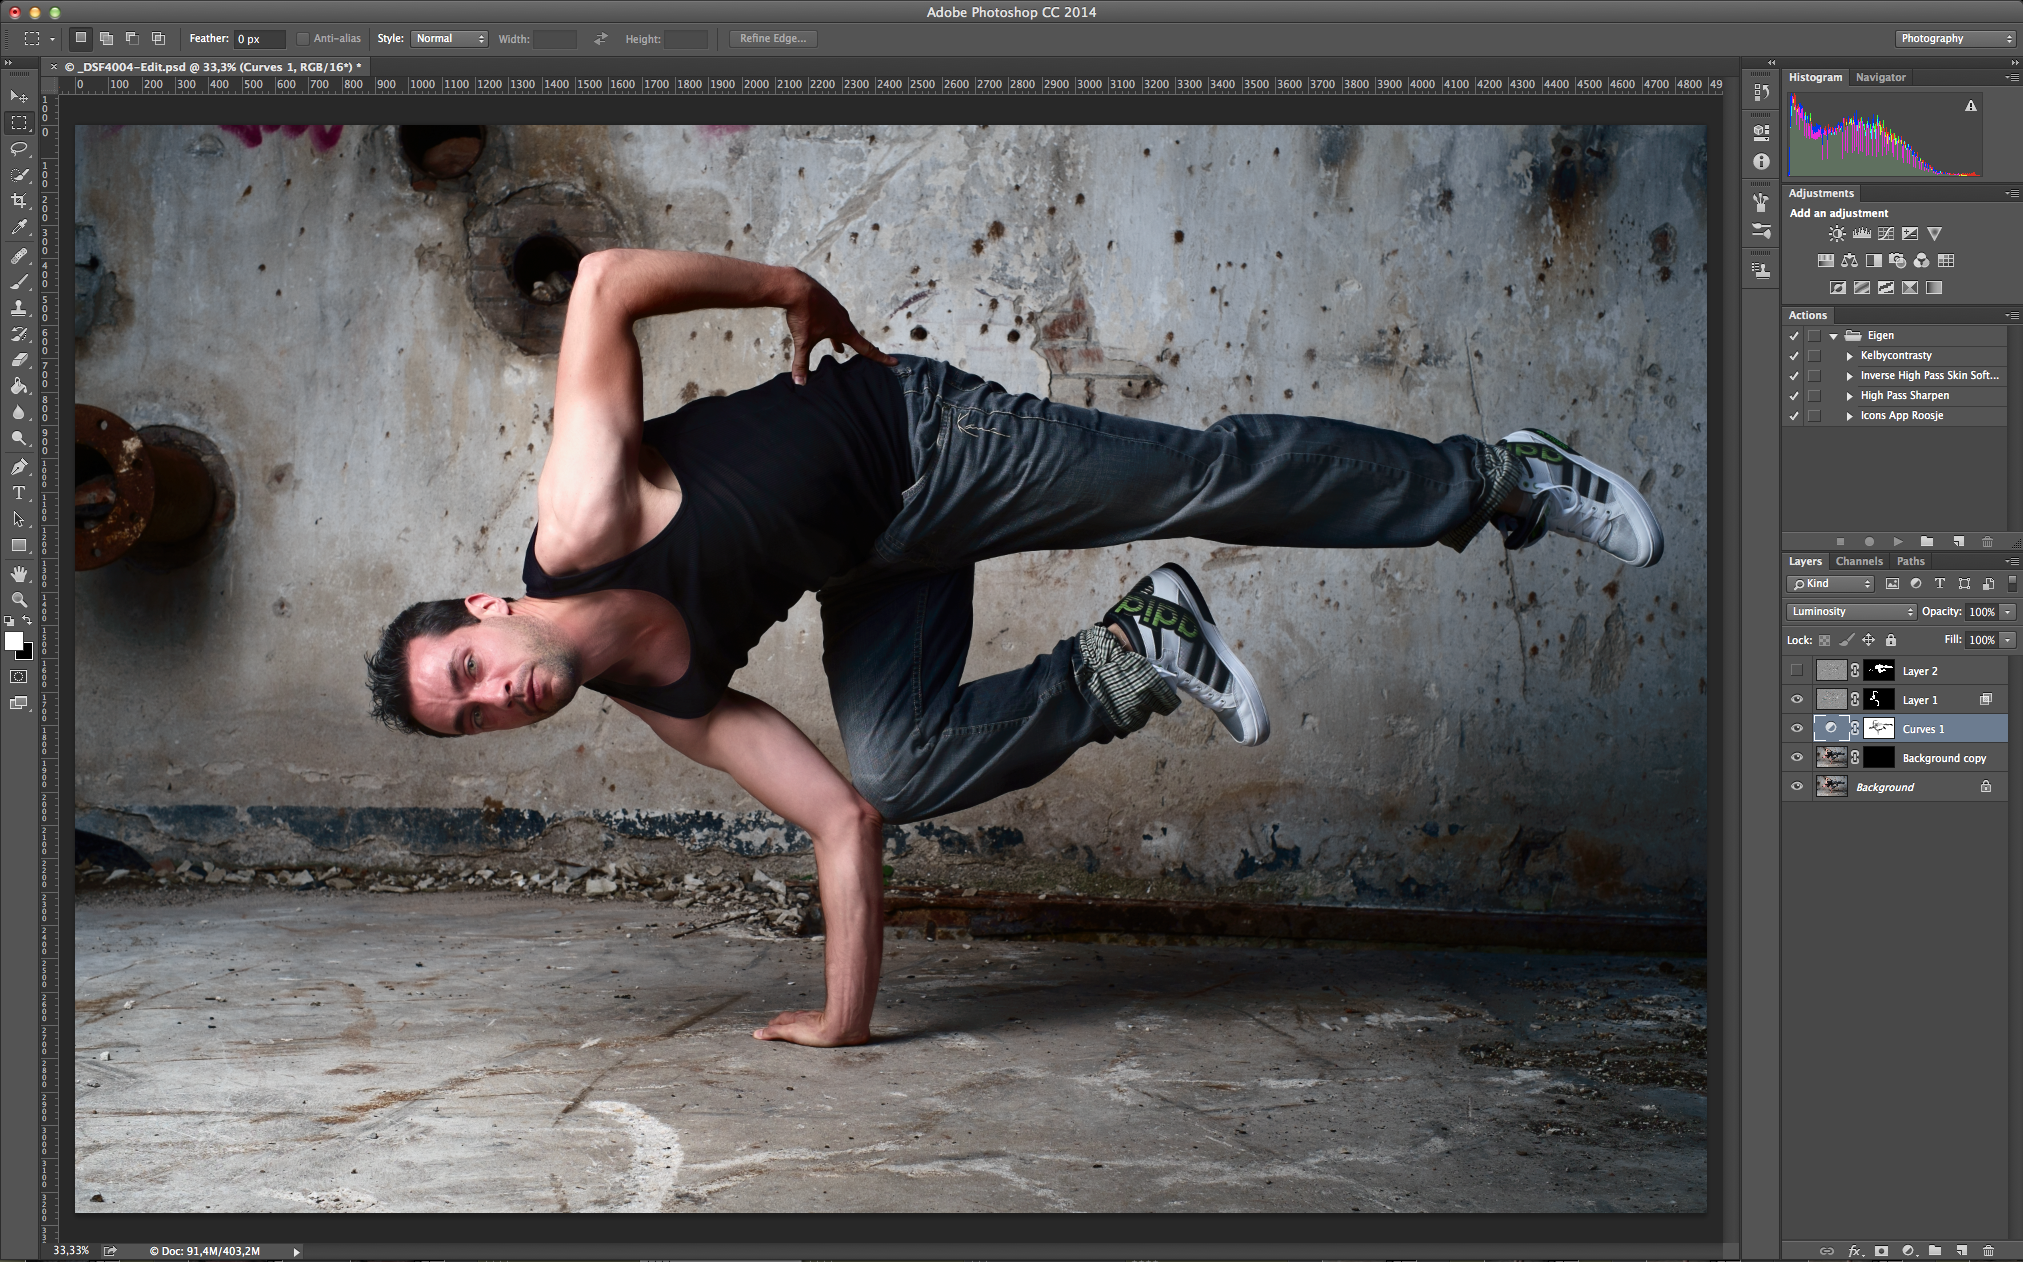
The next step is painting in the light. This is a technique I learned from Dutch commercial photographer and Hasselblad master Hans van Ommeren. It starts with darken the pictures. To do this a little more controlled I used the curves. Hans normally uses the Levels adjustment layer. After you darkened the whole picture use a layer mask and use a brush on an opacity/flow of 20/20. Then paint back the light on the places you want it. This gives a really nice and moody look. Also it really helps you focusing on the subject.
The net step is smoothing the skin out a little bit. I just used the Inverse High pass skin technique for this.
To finish it I used a little bit of high pass sharpening with a soft light blend mode painted in on the places I wanted it.
DANCE PHOTOGRAPHY SESSION PART 2: The group shot on the wall
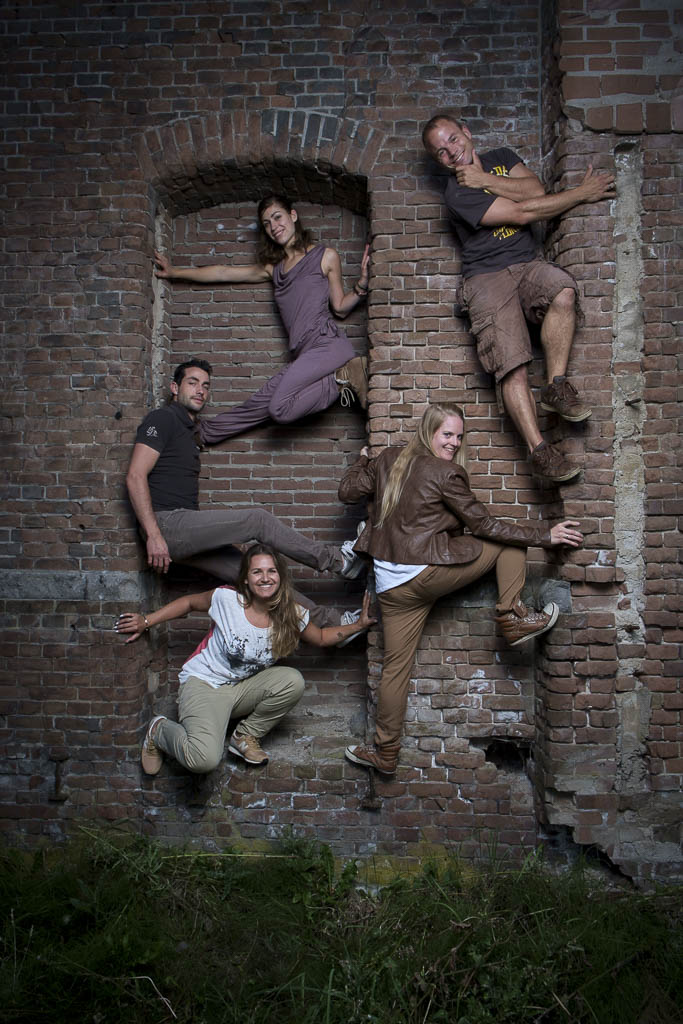
Hi and welcome to the second part of the Dance photography session. This serie is about a commercial dance photography shoot I did for Djenz Factory. If you didn't have read the first part about the Headshot, click here and read about it: DANCE PHOTOGRAPHY SESSION PART 1: THE HEADSHOTS.
The set-up
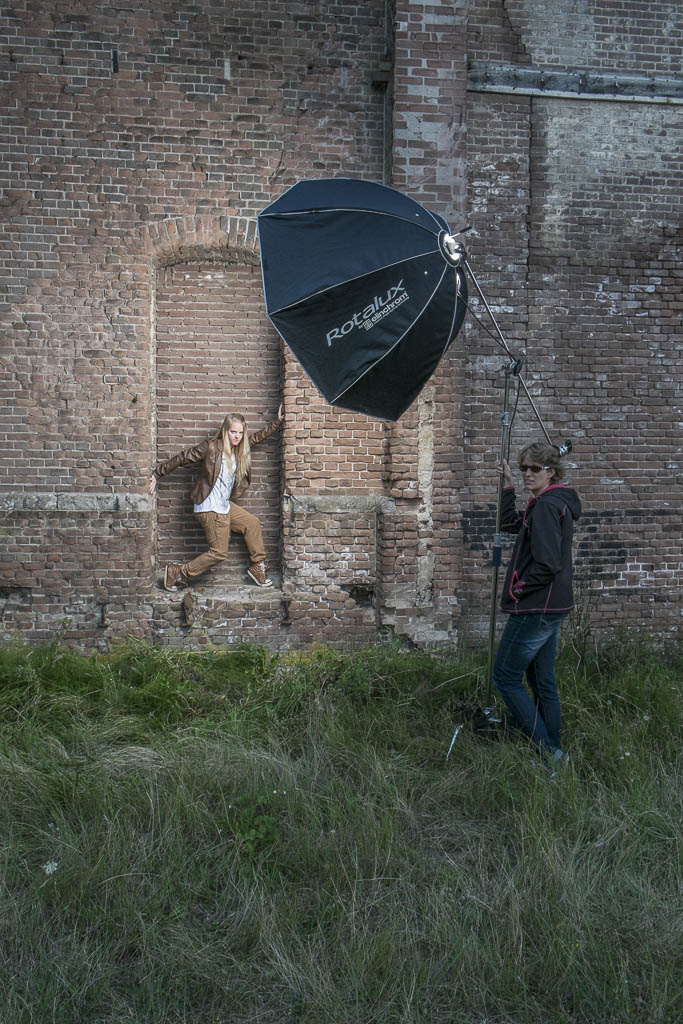
As you can see in the test production photo the whole set-up was just one light! The Elinchrom Rander RX Quadra, with an A-head in the A-port for the biggest blast of light. Everything was mounted on a C-Stand with three sandbags and my assistent holding it. It went up for the maximum height, and I didn't want to take any risk of it tipping over. The camera was the X-Pro1(ISO:200, 1/125th, f8) with the Fujinon 18-55 2.8 - 4 lens at 18mm.
Post-production
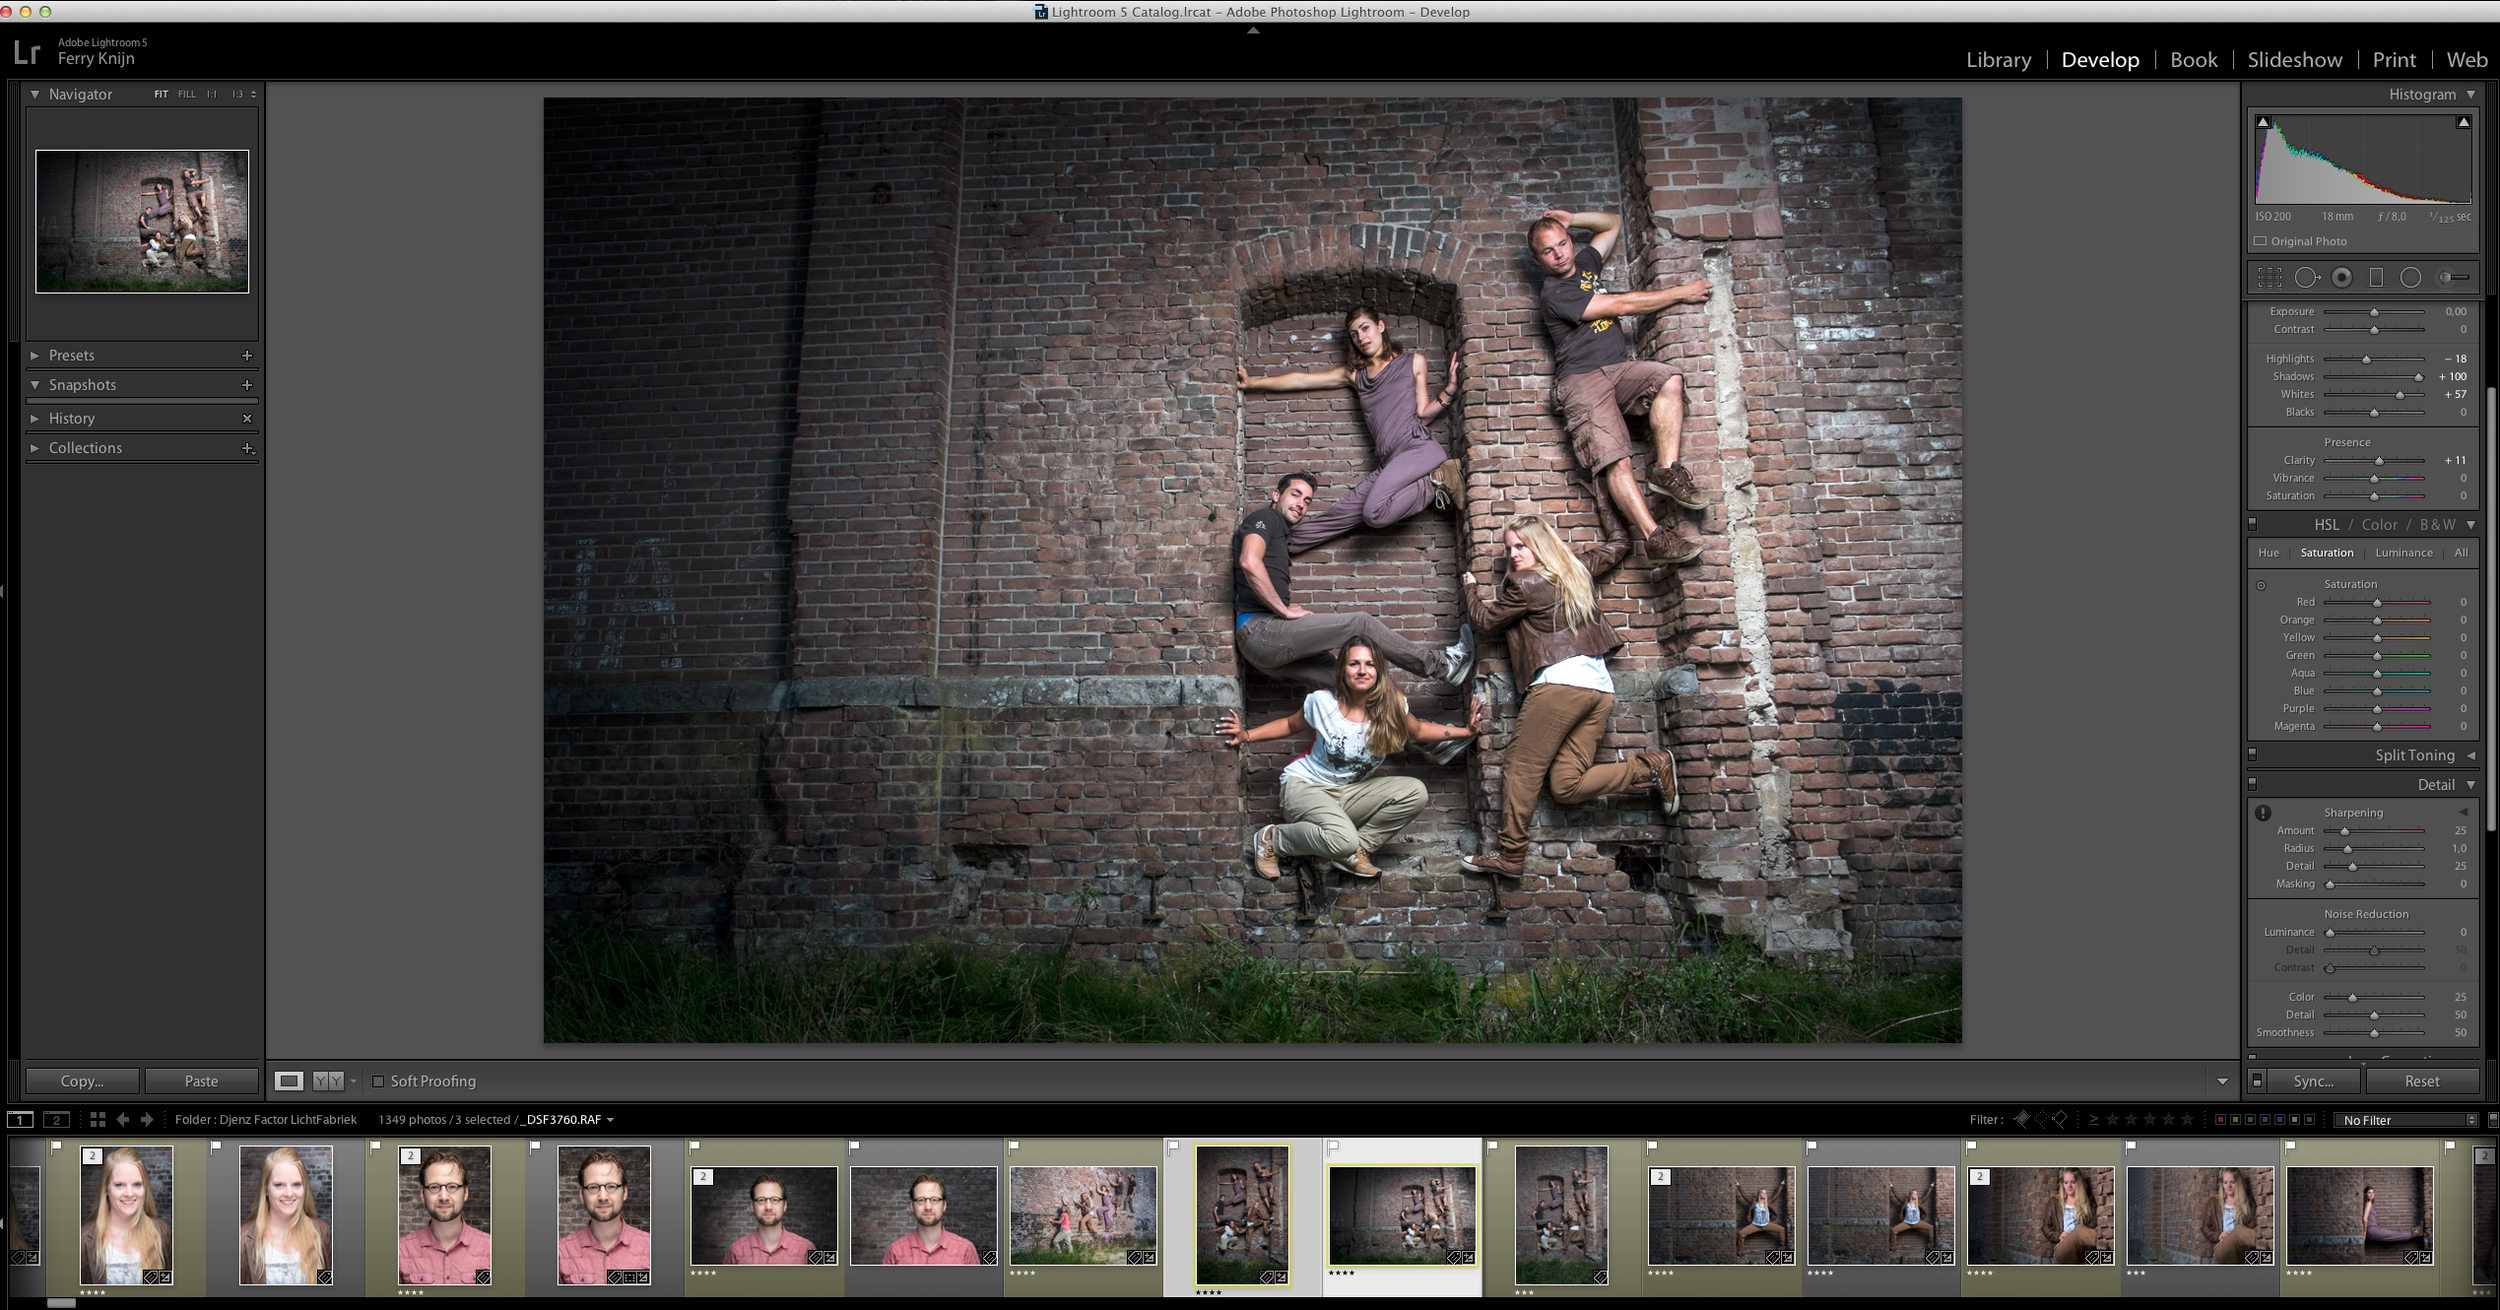
Because this was a group shot on a 16mp camera I kept the post production very simple. These shots are about the group, not about retouching every skin detail. And for doing that, there was not enough information to make the skin look better. So I just focused on getting the mood. So all I did were some basic Lightroom touches. Just some sharpening, highlight, shadows, and a vignette to focus the view on the group.
Shooting portrait and landscape
Remember always to also shoot and deliver a Portrait and a Landscape version of the photo. This way your client has the option to choose and have the highest quality for the way they want to use it.


