Documentaire maken met Marco de Paauw
Afgelopen zomer heb ik voor Sigma Benelux een korte documentaire gemaakt over natuurfotograaf Marco de Paauw. Uiteraard heb ik ook een behind the scenes gemaakt van het maakt proces. In ander halve dag hebben we alles opgenomen. Als camera voor de docu heb ik de Sigma FP gebruikt wat wel even wennen was! Bekijk making off nu de video!
Heb je de docu nog niet gezien, bekijk hem nu hier!
Fotoshoot "Gefileerd"
Een paar weken geleden mocht ik voor het nieuwe EO TV programma met Jennifer Hofman, Gefileerd de nieuwe promotie foto’s maken. Dit hebben we op locatie gedaan bij de Floating Farm in de Rotterdamse havens. Uiteraard was het weer lekker Hollands, maar dat heeft ons niet tegen gehouden bij de portretfotografie.
Gear:
Camera: Fujifilm GFX met 110 en 45 mm
Video: Fujifilm X-H1 met 16mm 1.4
Licht: Profoto B10
Klant: Evangelische Omroep
Producent: Warner Bros Nederland
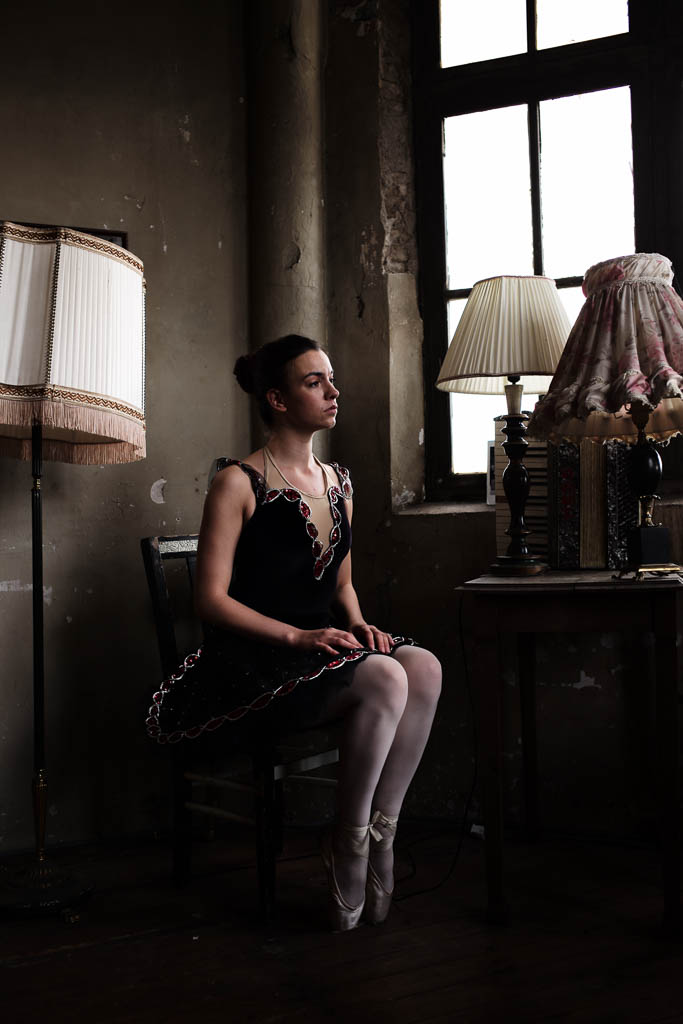
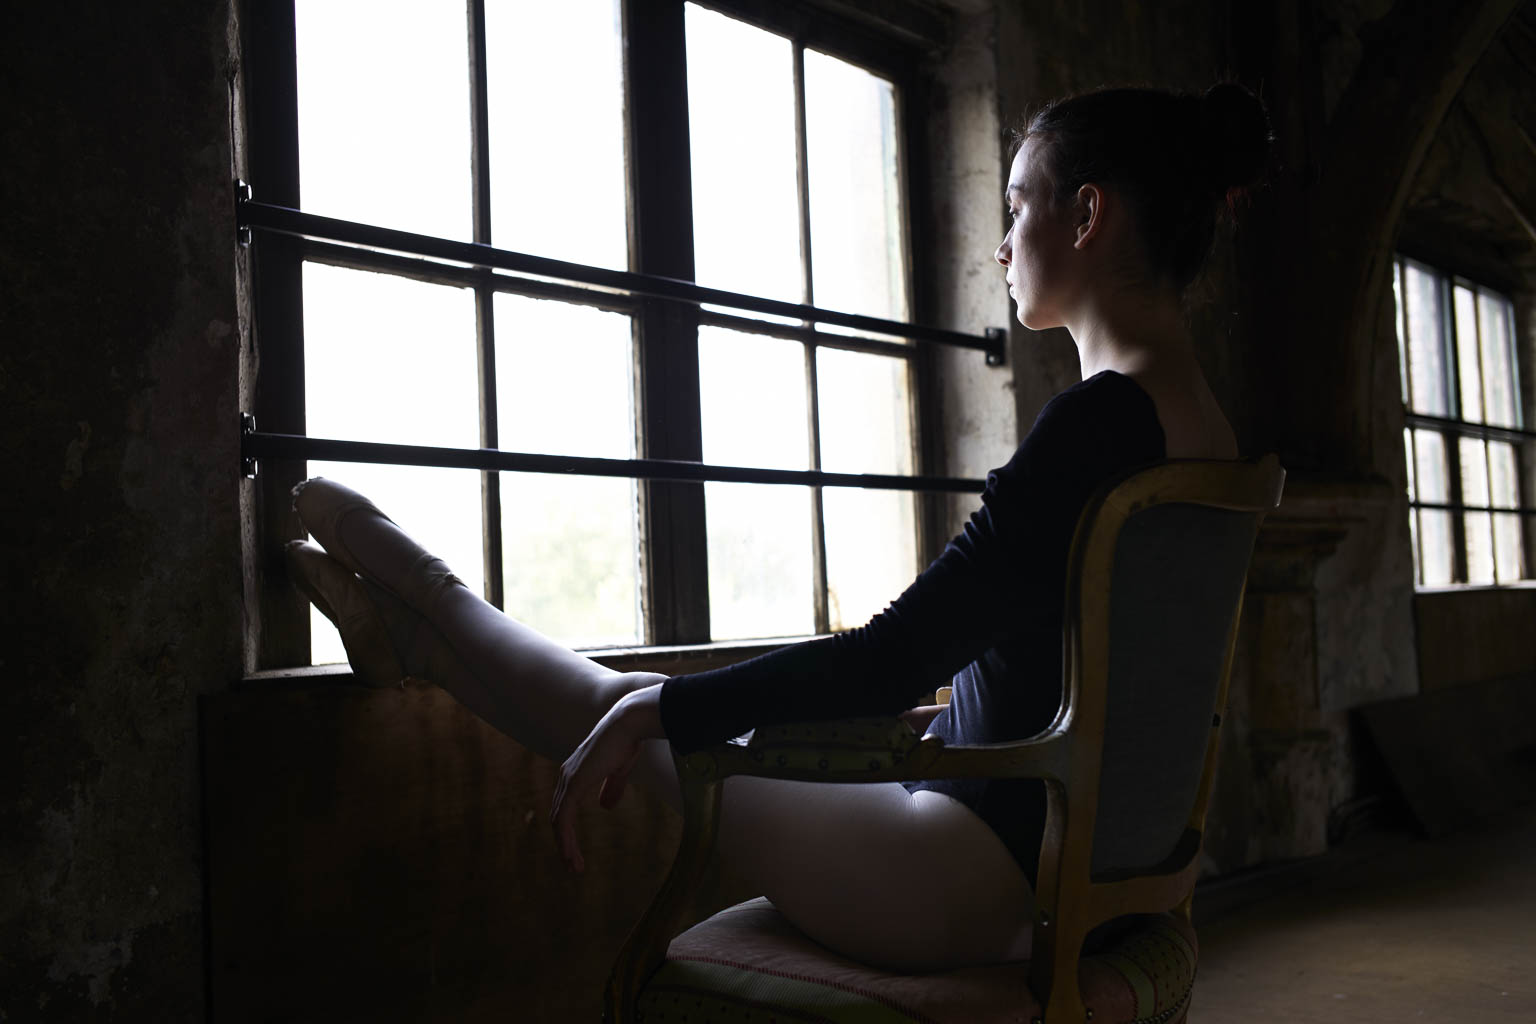
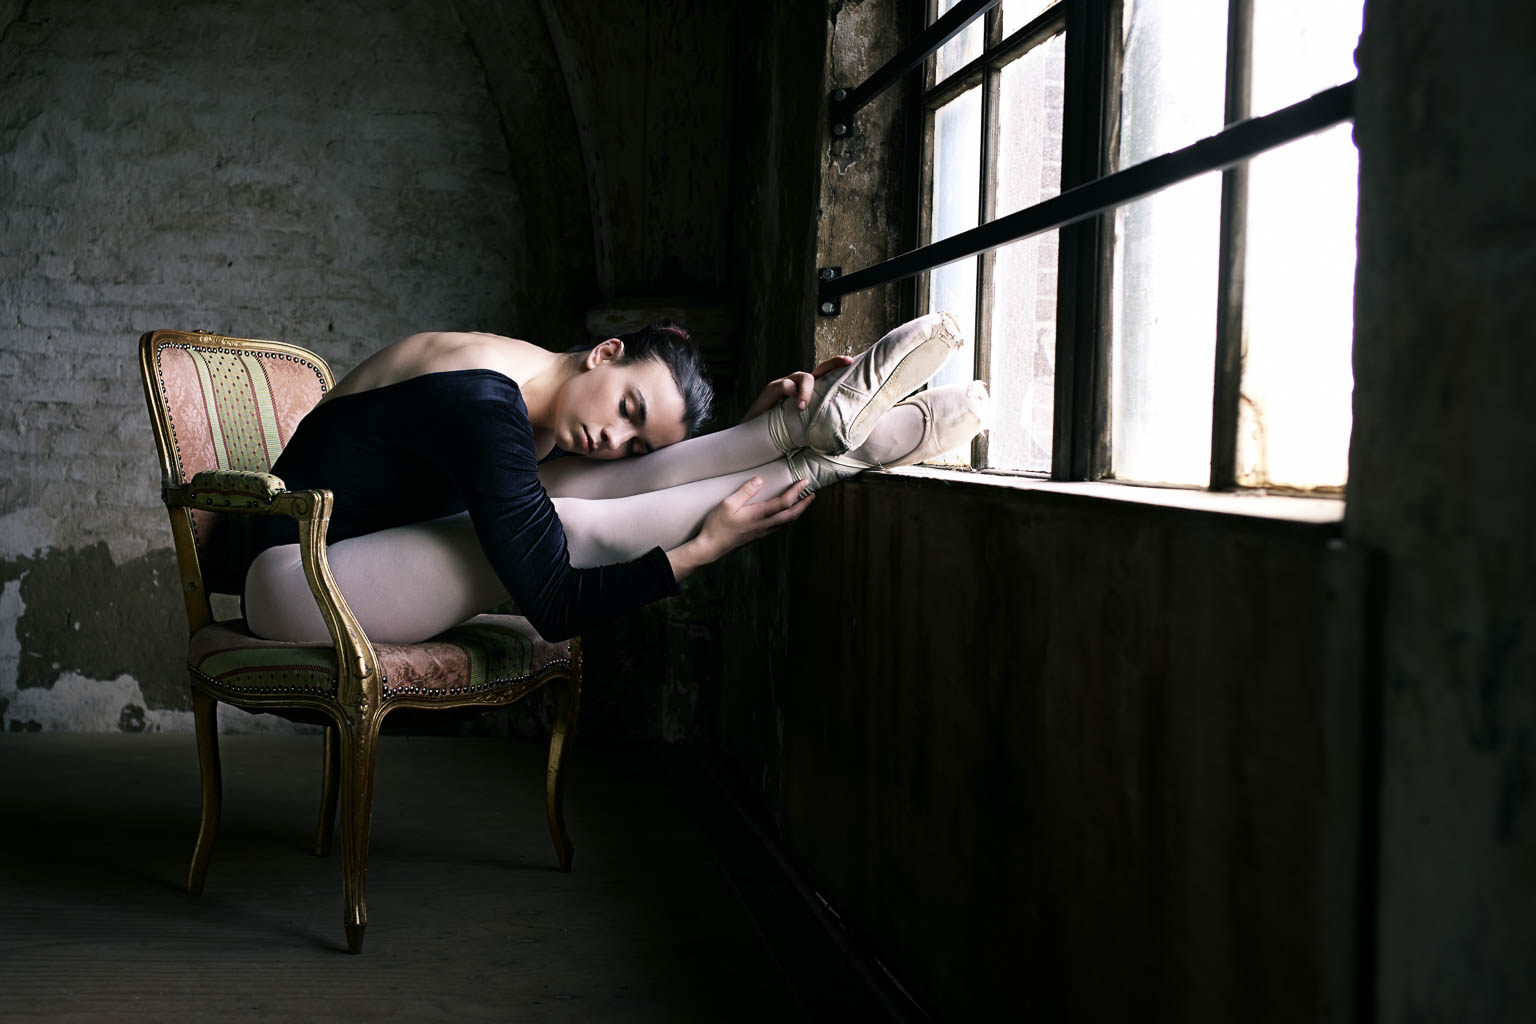
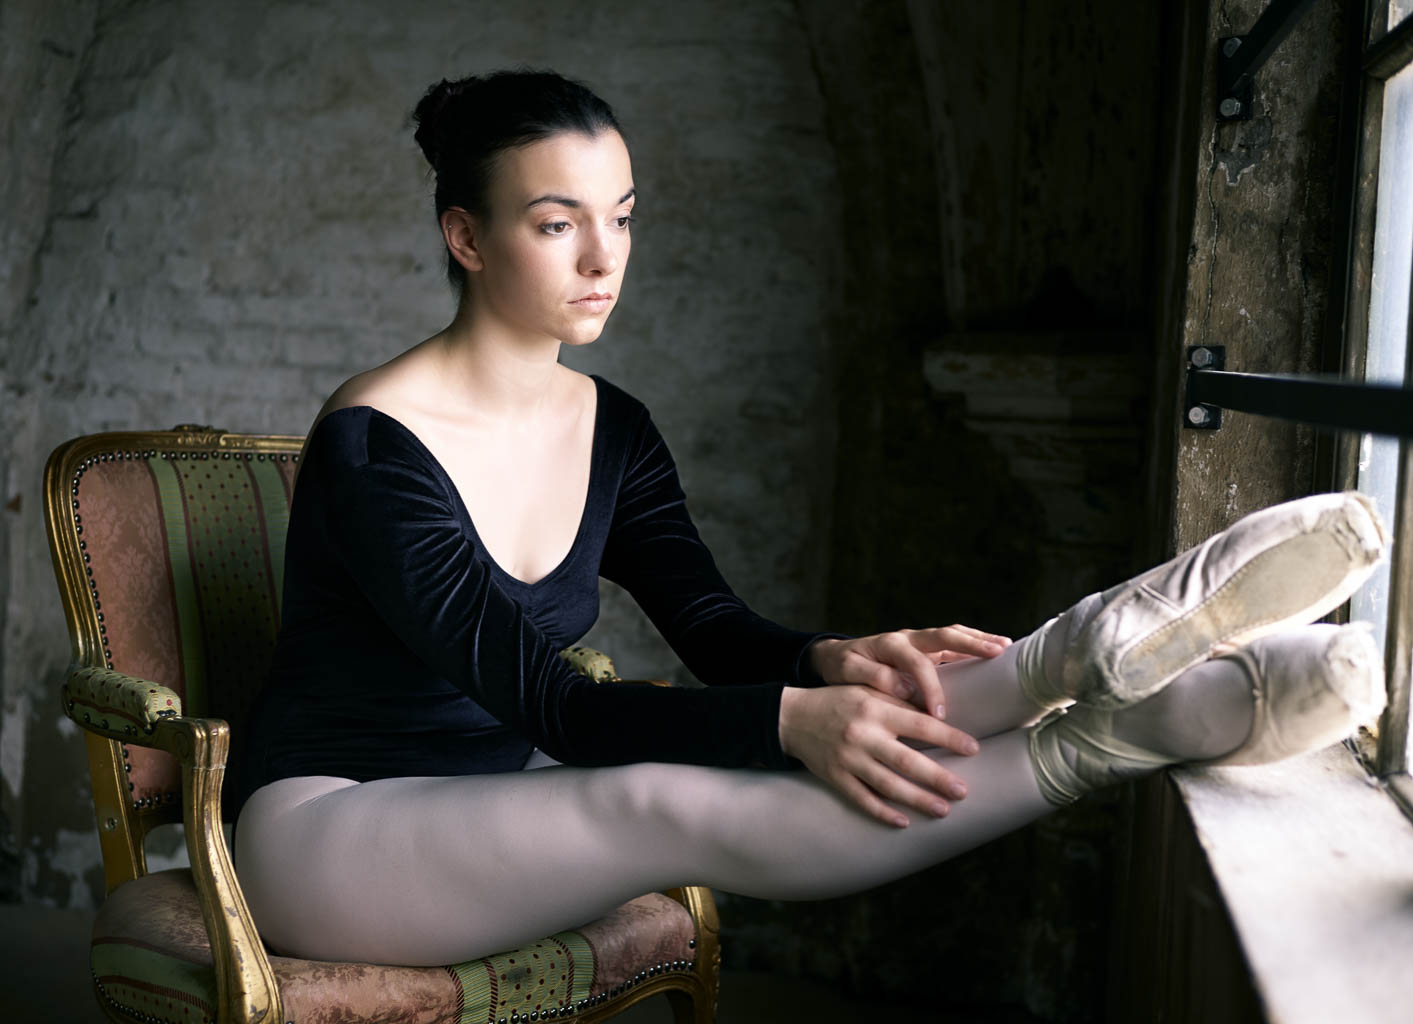
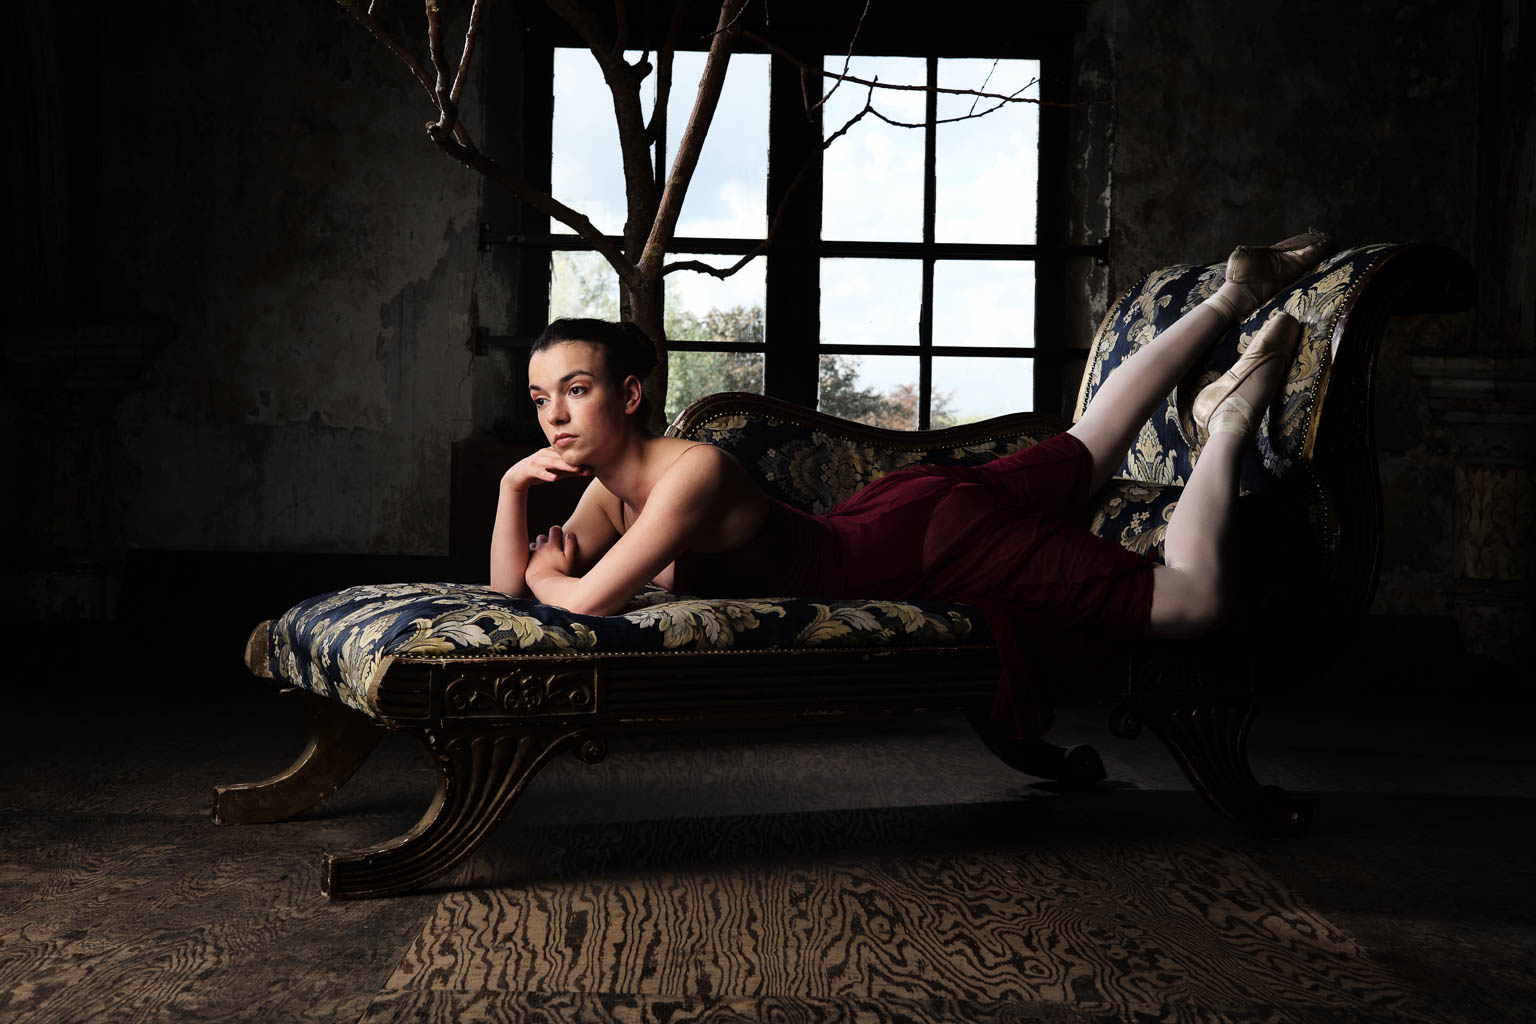
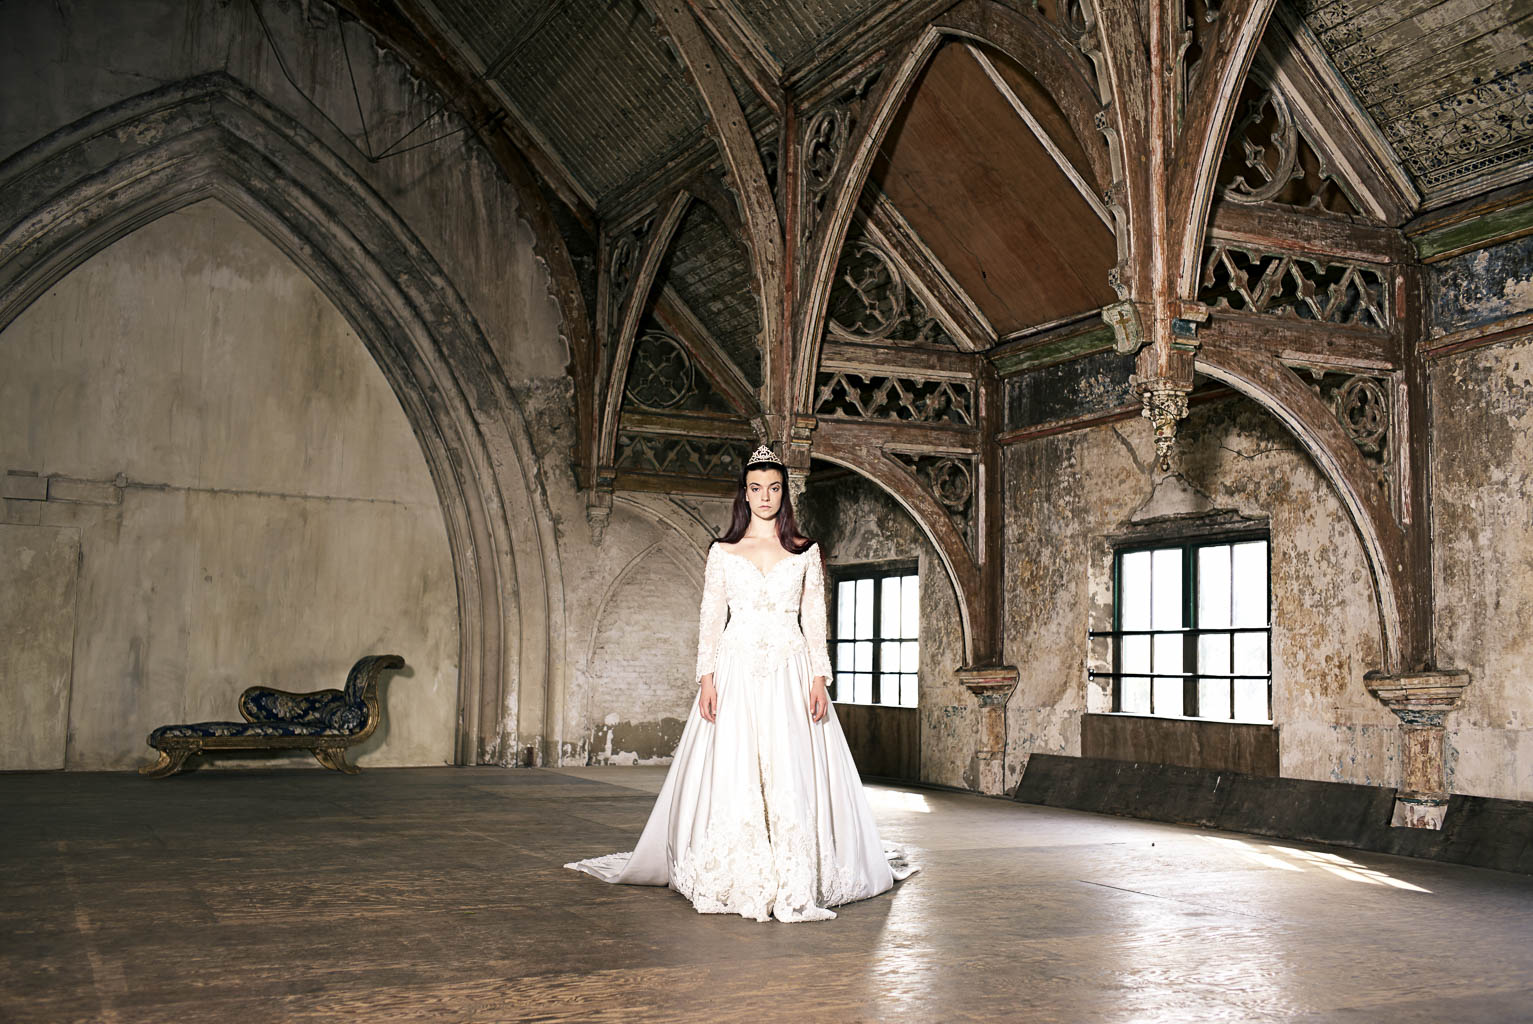
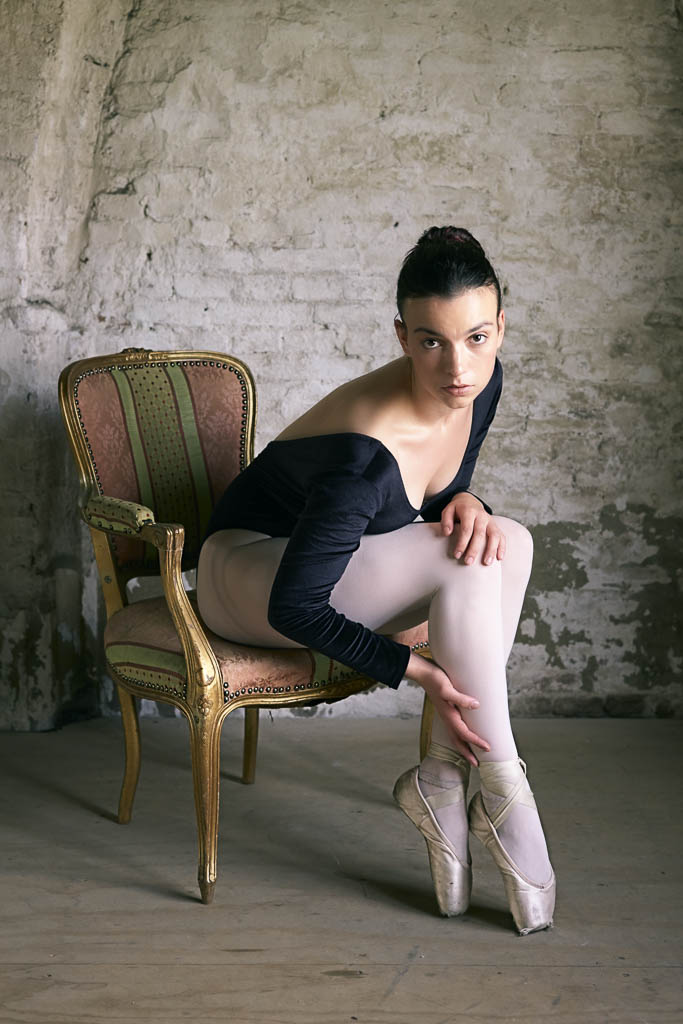
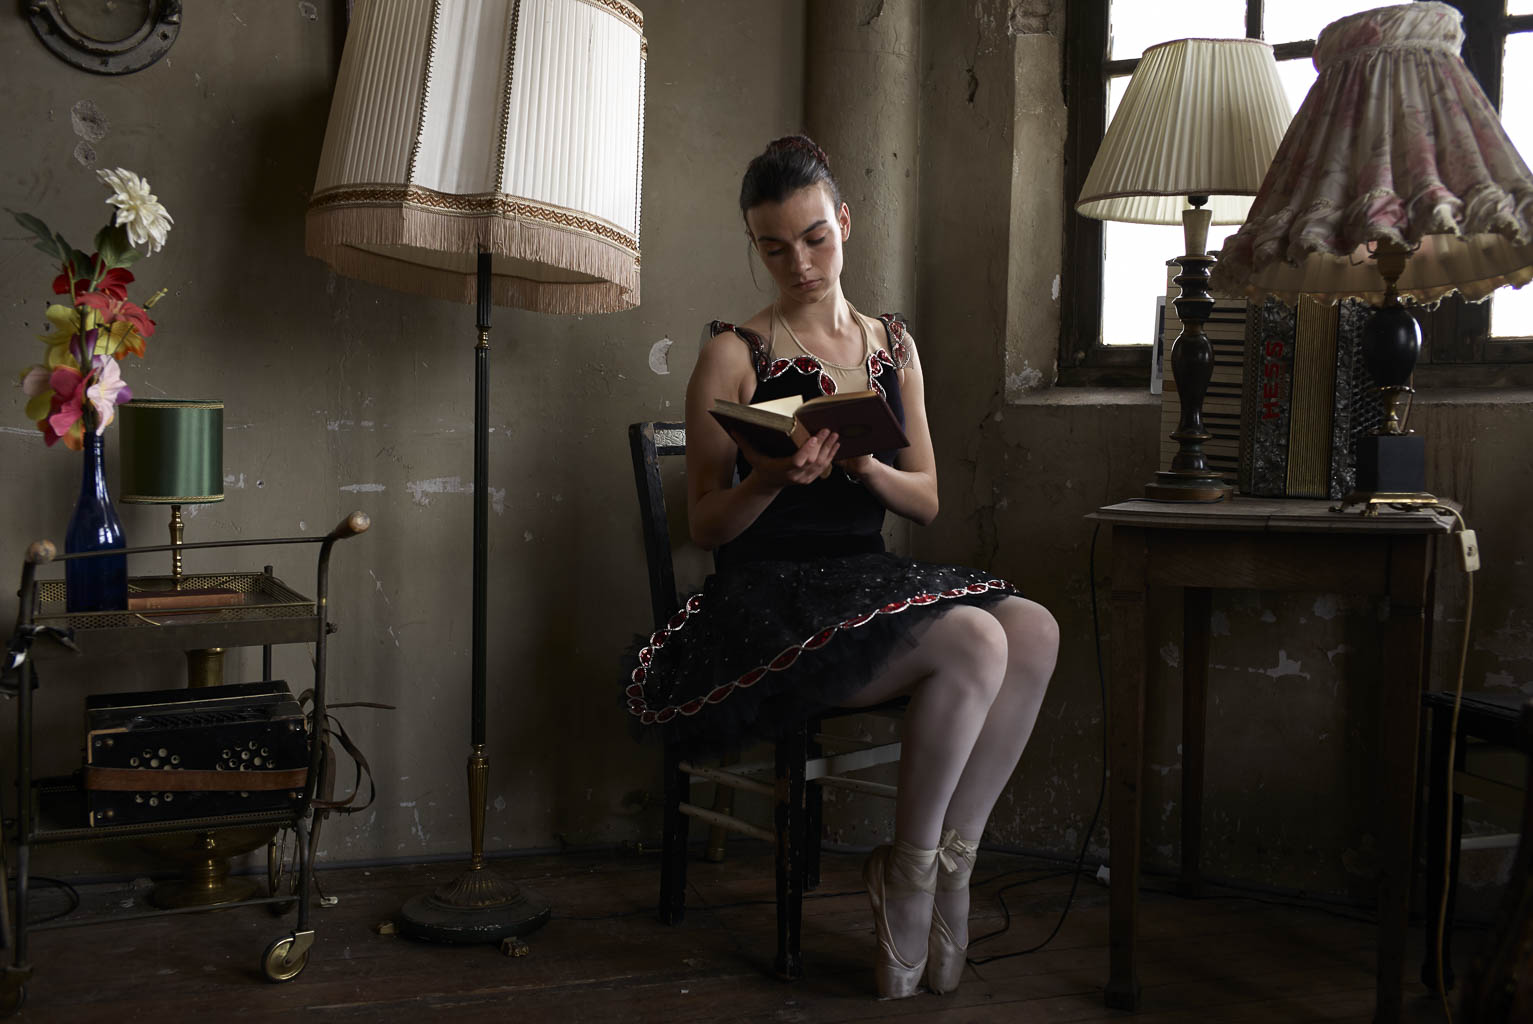
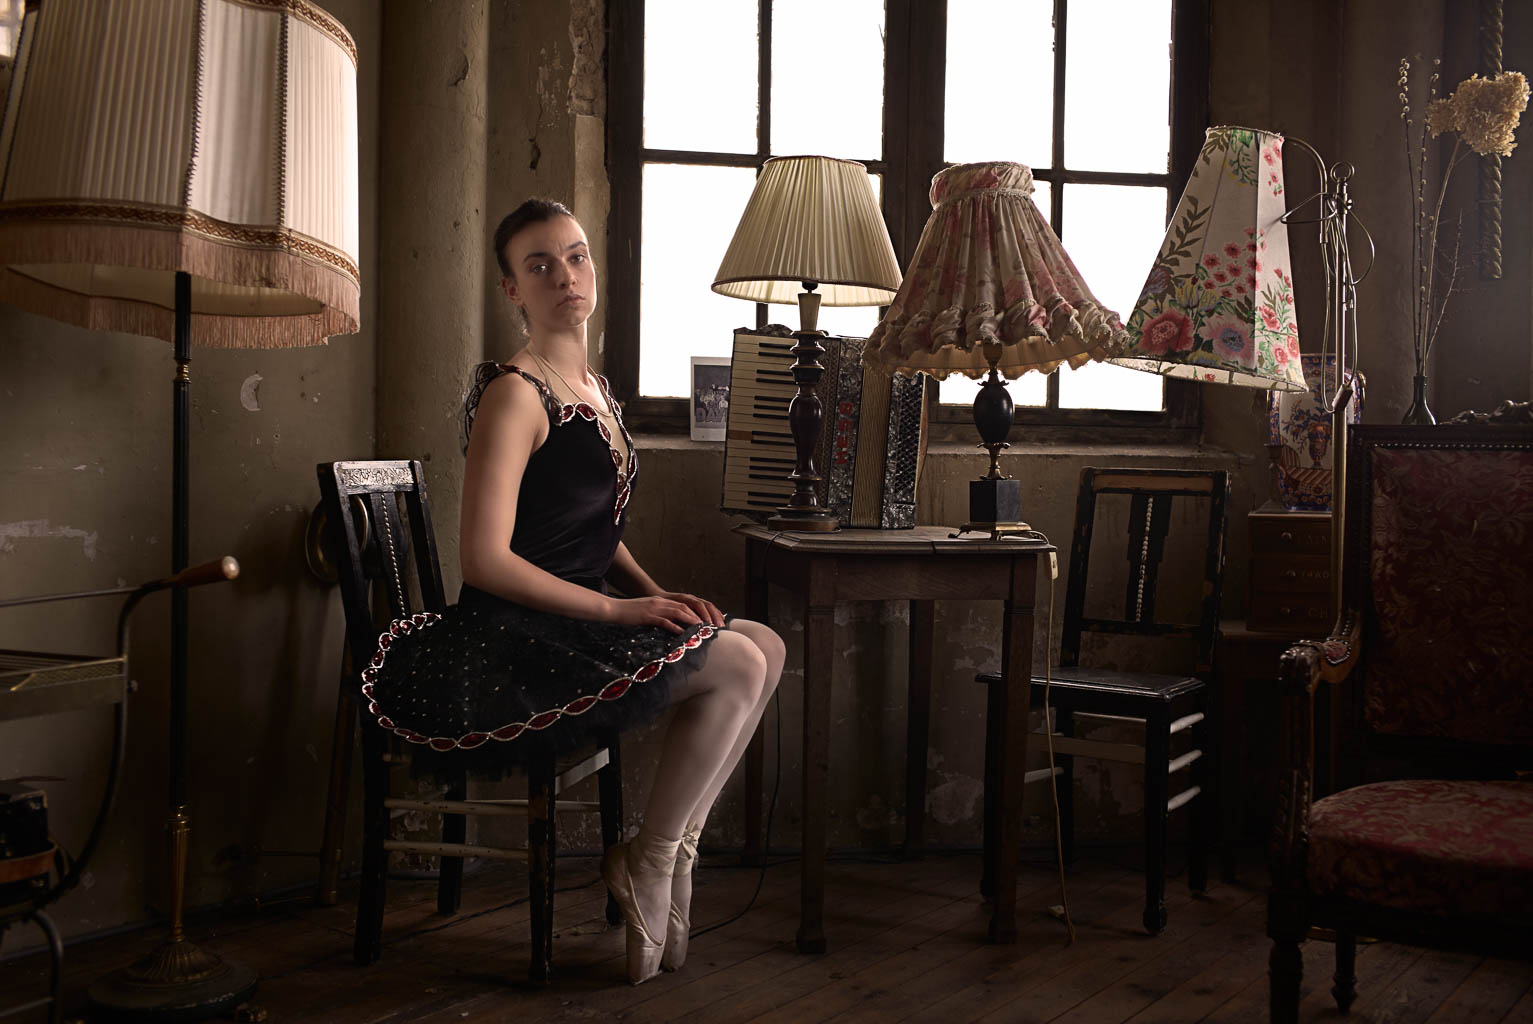
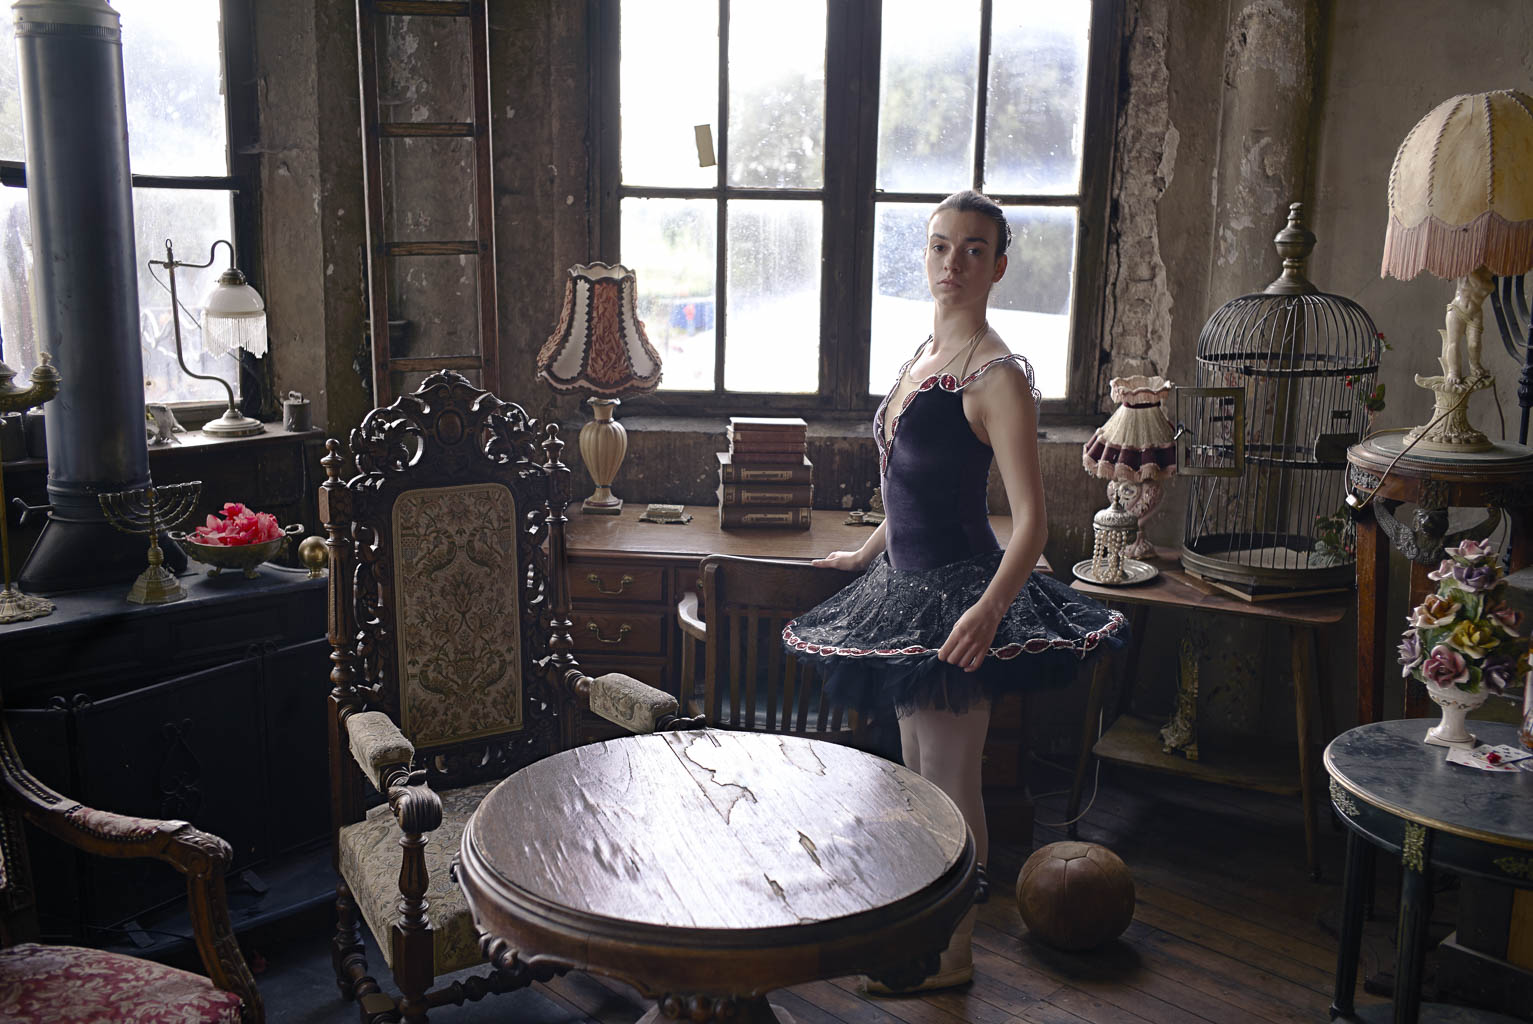
Photoshoot met danseres Jelina de Raad
Hier is hij dan, de behind the scenes met danseres Jelina de Raad
Portretfotografie uitdaging met Remco Stunnenberg
Afgelopen zaterdag was Remco Stunnenberg van Digifotopro bij mij te gast op de studio. Tijdens het gesprek kwamen we ook op het onderwerp, wat is het verschil tussen een professionele portretfotograaf en een amateur. Toen gaf ik het antwoord wat ik vaker dan geef “een amateur zeurt als hij maar een half uur krijgt en een professionele fotoraaf is blij als hij een kwartier heeft”. Om vervolgens ook te bewijzen dat je heelveel al kan doen qua portretfotografie kan doen in een kwartier heb ik een demo hiervan gedaan met Remco als model. Hier onder is de video waarin ik jullie intergraal meeneem met de portretfotografie shoot!
Qua licht opstelling gebruik ik alleen de Profoto B10 met een translucent paraplu S. Als camera gebruik ik de Fujifilm GFX samen met het 110mm en 63mm objectief. Alle nabewerking is uitsluitend in Capture One Pro gedaan.
Fotoshoot in Wenen
Twee weken geleden ben ik voor een fashion fotoshoot naar Wenen geweest. Samen met latex fahion model Dutchdame hebben we aan een kalender gewerkt. De kleding werdt verzorgt door Odd Territory en het licht kwam van Profoto, we mochten de B10 lenen.
Uiteraard heb ik ook weer een vlog gemaakt, hier zijn de eerste twee video’s
Fotoshoot in Rotterdam Easton Davy
Hi all,
Zo weer even een moment voor een blog. Afgelopen weekend druk geweest met North Sea Jazz en diverse shoots en workshops voor FujiFilm! Hier komt binnenkort meer behind the scenes materiaal van online!
Maar even terug, vorige week woensdag ben ik met mijn Amerikaanse vriend en Jazz kunstenaar Easton Davy Rotterdam in geweest om een aantal portretfoto's van hem te maken. Hier voor zijn we vanuit Ahoy met de metro naar Katendracht gereden en hebben daar de fotoshoot gedaan. Gewapend met mijn FujiFilm GFX met 63 mm en de X-T2 met 10-24 die ik aan zijn zoon Jacob heb gegeven om wat Behind the Scenes video te maken. Hier onder in de video kunnen jullie het resultaat bekijken en de portretfoto's
De gehele fotoshoot hebben we gebruikt gemaakt van uitsluitend natuurlijk licht. Ondanks het aan het begin van de avond was en niet het meest optimale licht. zijn de resultaten erg goed geworden als zeg ik het zelf. De EVf van de FujiFilm GFX maakt het ook erg makkelijk om het eindresultaat in te schatten en om daar naar toe te werken!
Photoshoot met mijn eigen GFX
Afgelopen week heb ik de grootte stap gemaakt en mijn laatste Nikon D750 en glas ingeruild op een FujiFilm GFX. Al jaren wilde ik een Middenformaat camera en nu heb ik er eindelijk één.
Waarom Middenformaat
De reden dat ik graag een middenformaat camera wil is niet alleen de resolutie. Ja, de gfx heeft een 51,4 megapixel resolutie, maar eigenlijk boeit dat me niet zo. Het is vooral de look die je krijgt door de grotere sensor. Daardoor krijg je zo'n andere perceptie van scherpte diepte. Ook de kleur en het dynamische bereik zijn mooier. Het is de "Ik weet niet wat het is, maar het geeft iets wat anders is en ik vind het heel erg mooi".
Daarnaast is het ook een andere manier van werken, je schiet grotere bestanden en moet meer nadenken over je shot. Ondanks je met de FujiFilm GFX bijna kunt fotograferen als een DSLR camera, wil ik toch benadrukken dit niet te doen.
Electronic Viewfinder
De camera heeft een elektronische viewfinder en dat is aan het begin even wennen, maar als je het eenmaal gewend bent wil je niet anders. Als je met natuurlijk licht werkt geeft de EVF continu een "What you see, is what you get" beeld, je hoeft dus niet meer te gokken op de belichten of vertrouwen op de lichtmeter en juiste compensatie instelling. Als je flitst kan je instellen dat je steeds 0.5 of 2 seconden ziet wat je hebt geschoten, wat er voor zorgt dat je niet steeds je camera van je gezicht hoeft te halen om het beeld te bekijken. Wat uiteindelijk resulteert in minder foto's en directer naar het eindresultaat toe te kunnen werken. En als je snel moet werken is dat erg handig!
Objectieven
Momenteel heb ik alleen de 63mm 2.8 R WR, maar heb ook al de 120mm f4 en 110mm f2 kunnen testen. Eind van de zomer hoop ik de 110mm f2 R WR te kunnen toevoegen en eind van het jaar de 45mm. dan heb ik mijn hele set compleet. De 63mm is een erg prettig objectief om mee te starten maar voor portret is de 110mm ook erg gaaf.
Touchscreen Scherm
Op de achterkant zit een touch-screen kantel scherm. De eerste ervaringen zijn hier erg prettig mee, zeker met terug kijken van de beelden, dan werkt het bet zoals als op je tablet.
Video
Met de GFX kan je ook Full HD filmen op middenformaat sensor formaat. Ik ben erg benieuwd hoe dit gaat werken. Momenteel heb ik nog geen echte video geschoten met de GFX maar binnenkort meer.
Behind the scenes
Hier is even een korte video van de eerste shoot die ik met mijn eigen FujiFilm GFX gedaan heb in combinatie met de 63mm 2.8 R WR en de 110mm F2 R WR. De Video is gechoten met de FujiFilm X-T2 en 35mm 1.4 R. Voor de X-T2 heb ik de dag na de shoot de 10-24 binnen gehad. Dit wordt mijn vlog objectief. Deze heeft namelijk OIS en beter focussing. Het model is Freeke den Dulk Trouwens
Even kleine tip, zoals eerder gemeld loopt bij middenformaat het scherpte diepte anders. Dit zorgt ervoor dat je als je bijvoorbeeld met de 110mm F2 met close up portretten op 1 f2 echt een hele kleine scherpte diepte hebt. Dus met een 110mm op F4 heb je de beeldhoek van ene 85 maar scherpte diepte van 1,8. Verkijk je hier niet op!
Dit waren mijn eerste gedachten en review van de FujiFilm GFX, binnenkort ga ik hem verder testen en komen er meer vlogs en blogs. Volg dus mijn blog, youtube kanaal en instagram om op de hoogte te blijven!
Workshop: Shooten en Shoppen
Afgelopen zaterdag heb ik de eerste workshop "Shooten en shoppen" gegeven. Deze workshop ging over het fotograferen en photoshoppen om schilderachtige portretten te maken. Als modellen was ik blij dat steampunkers Spike "Wolfcry mcDark en Minerva McDark mee wilde werken, Spike heb ik ontmoet op de FotoFair afgelopen jaar!
Hier onder staan enkele van de resultaten die ik gemaakt hebt:
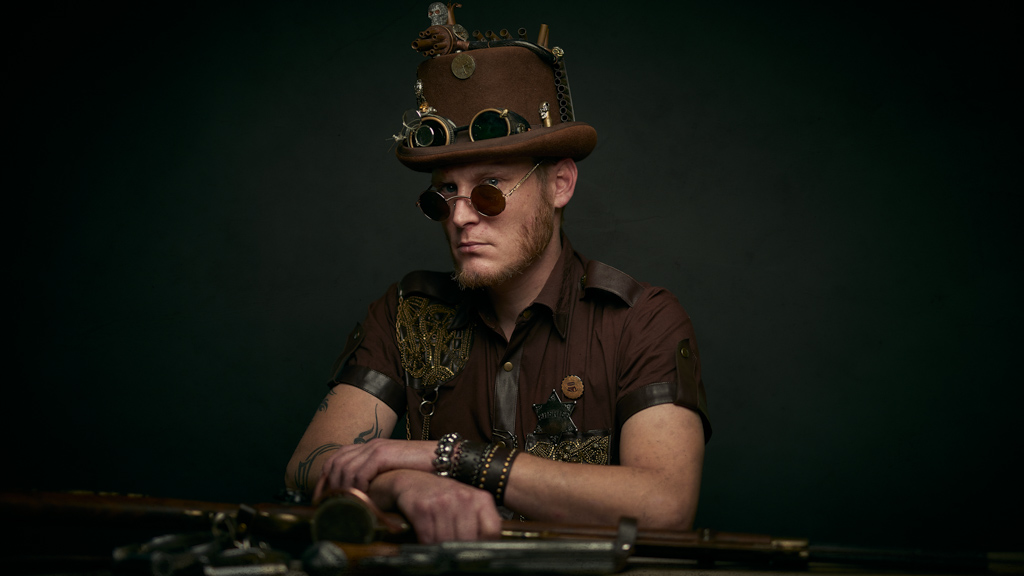

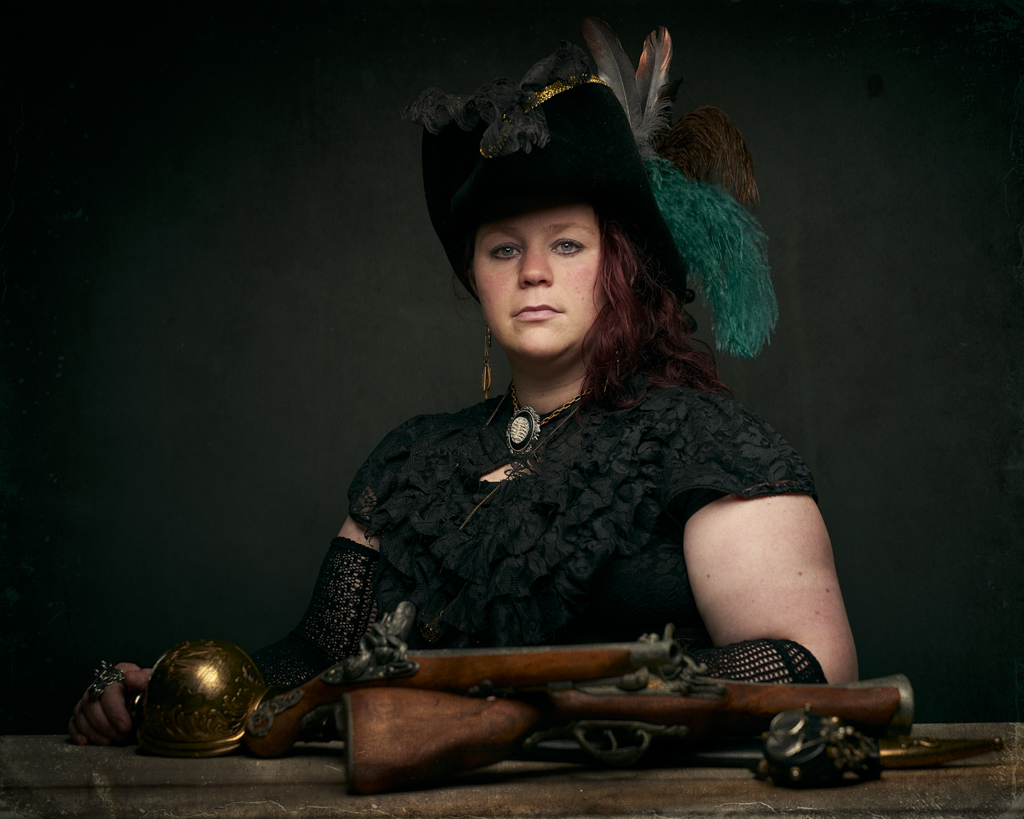
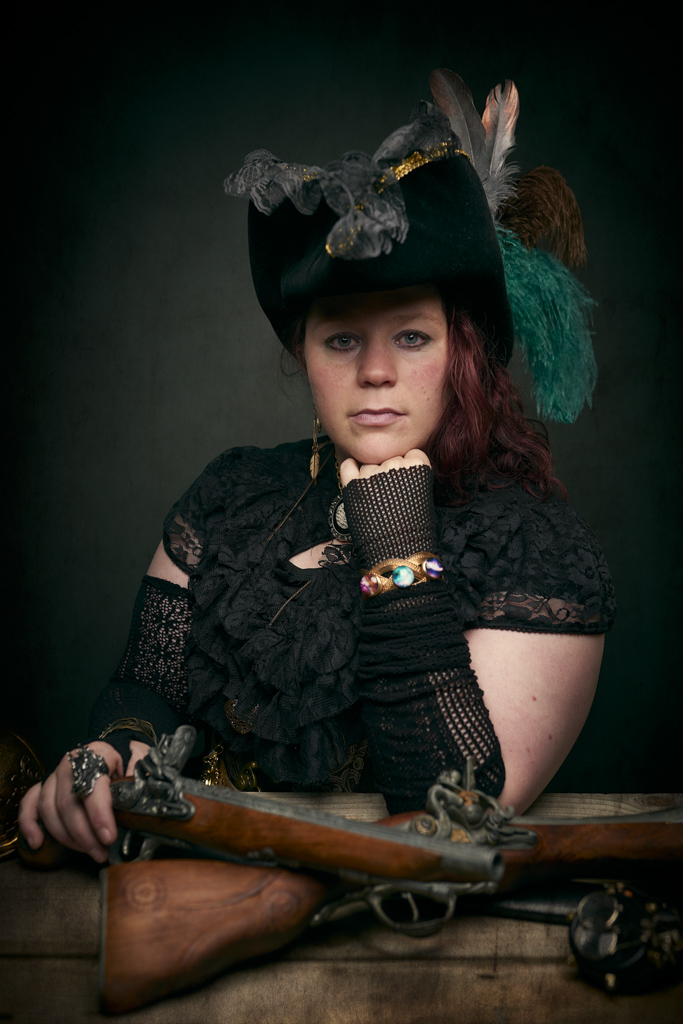
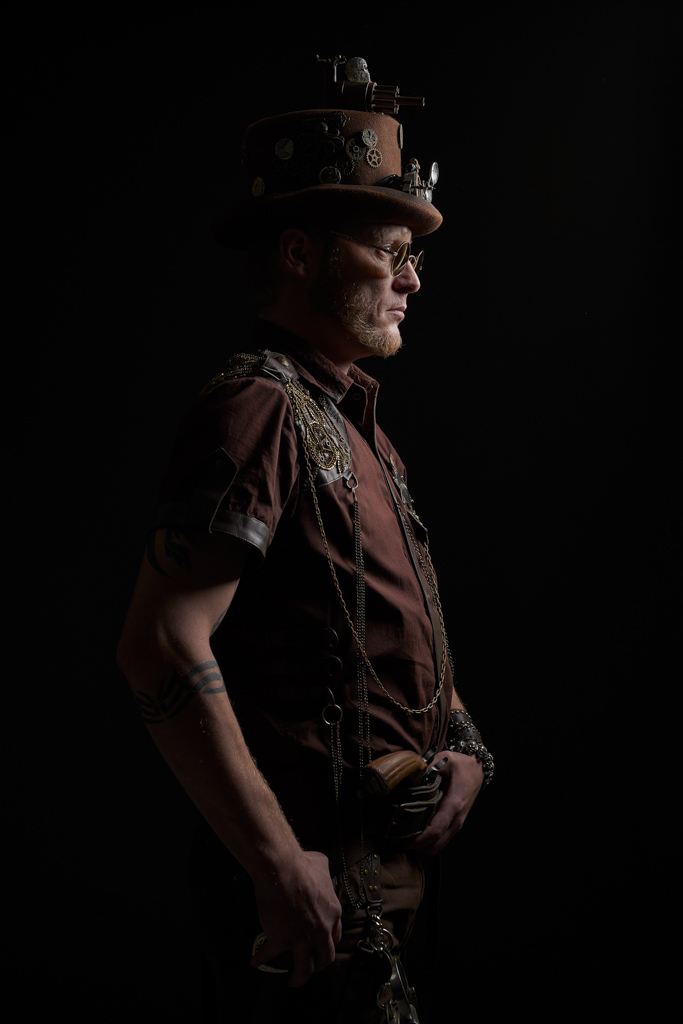
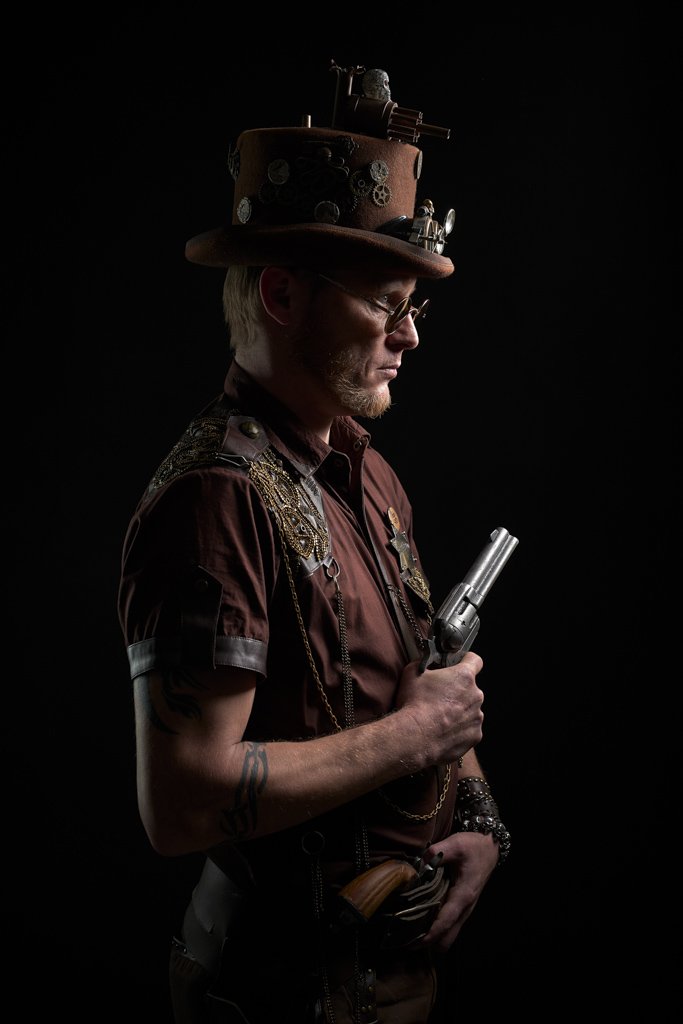
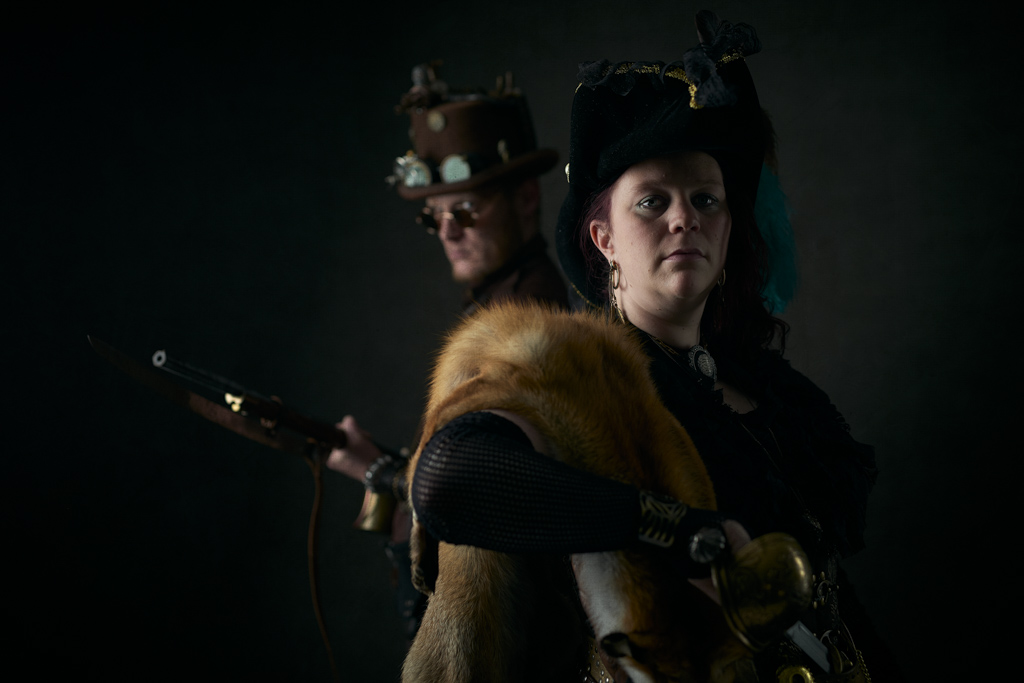
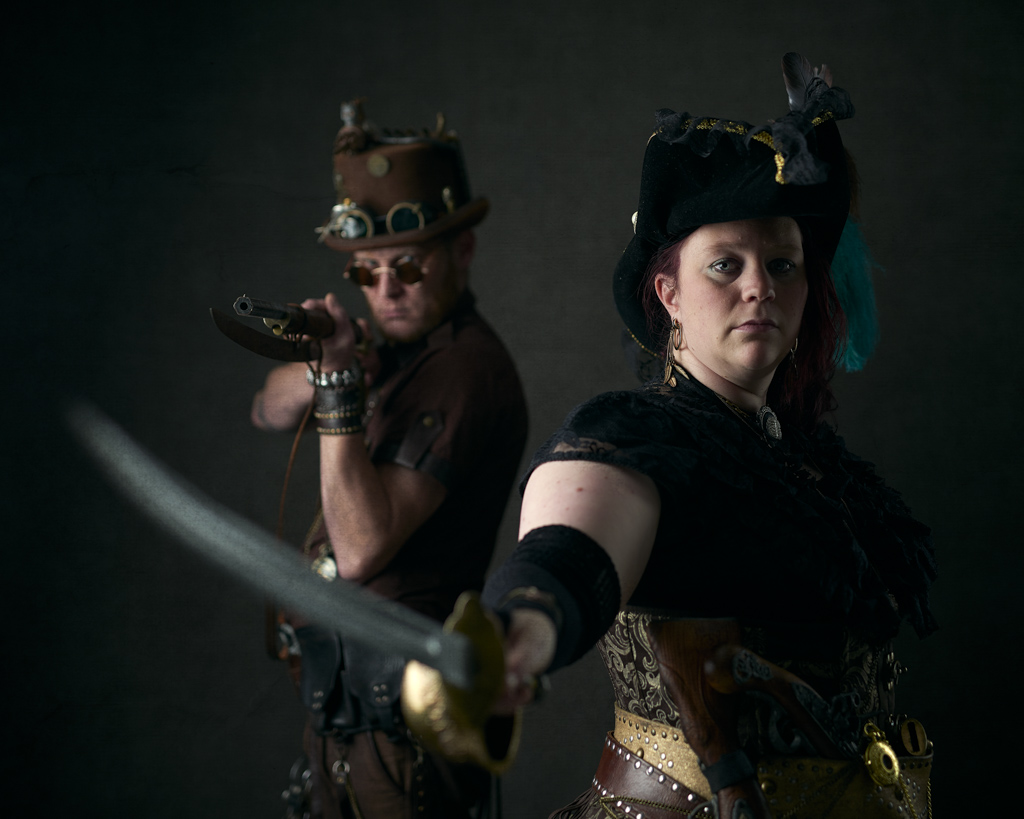
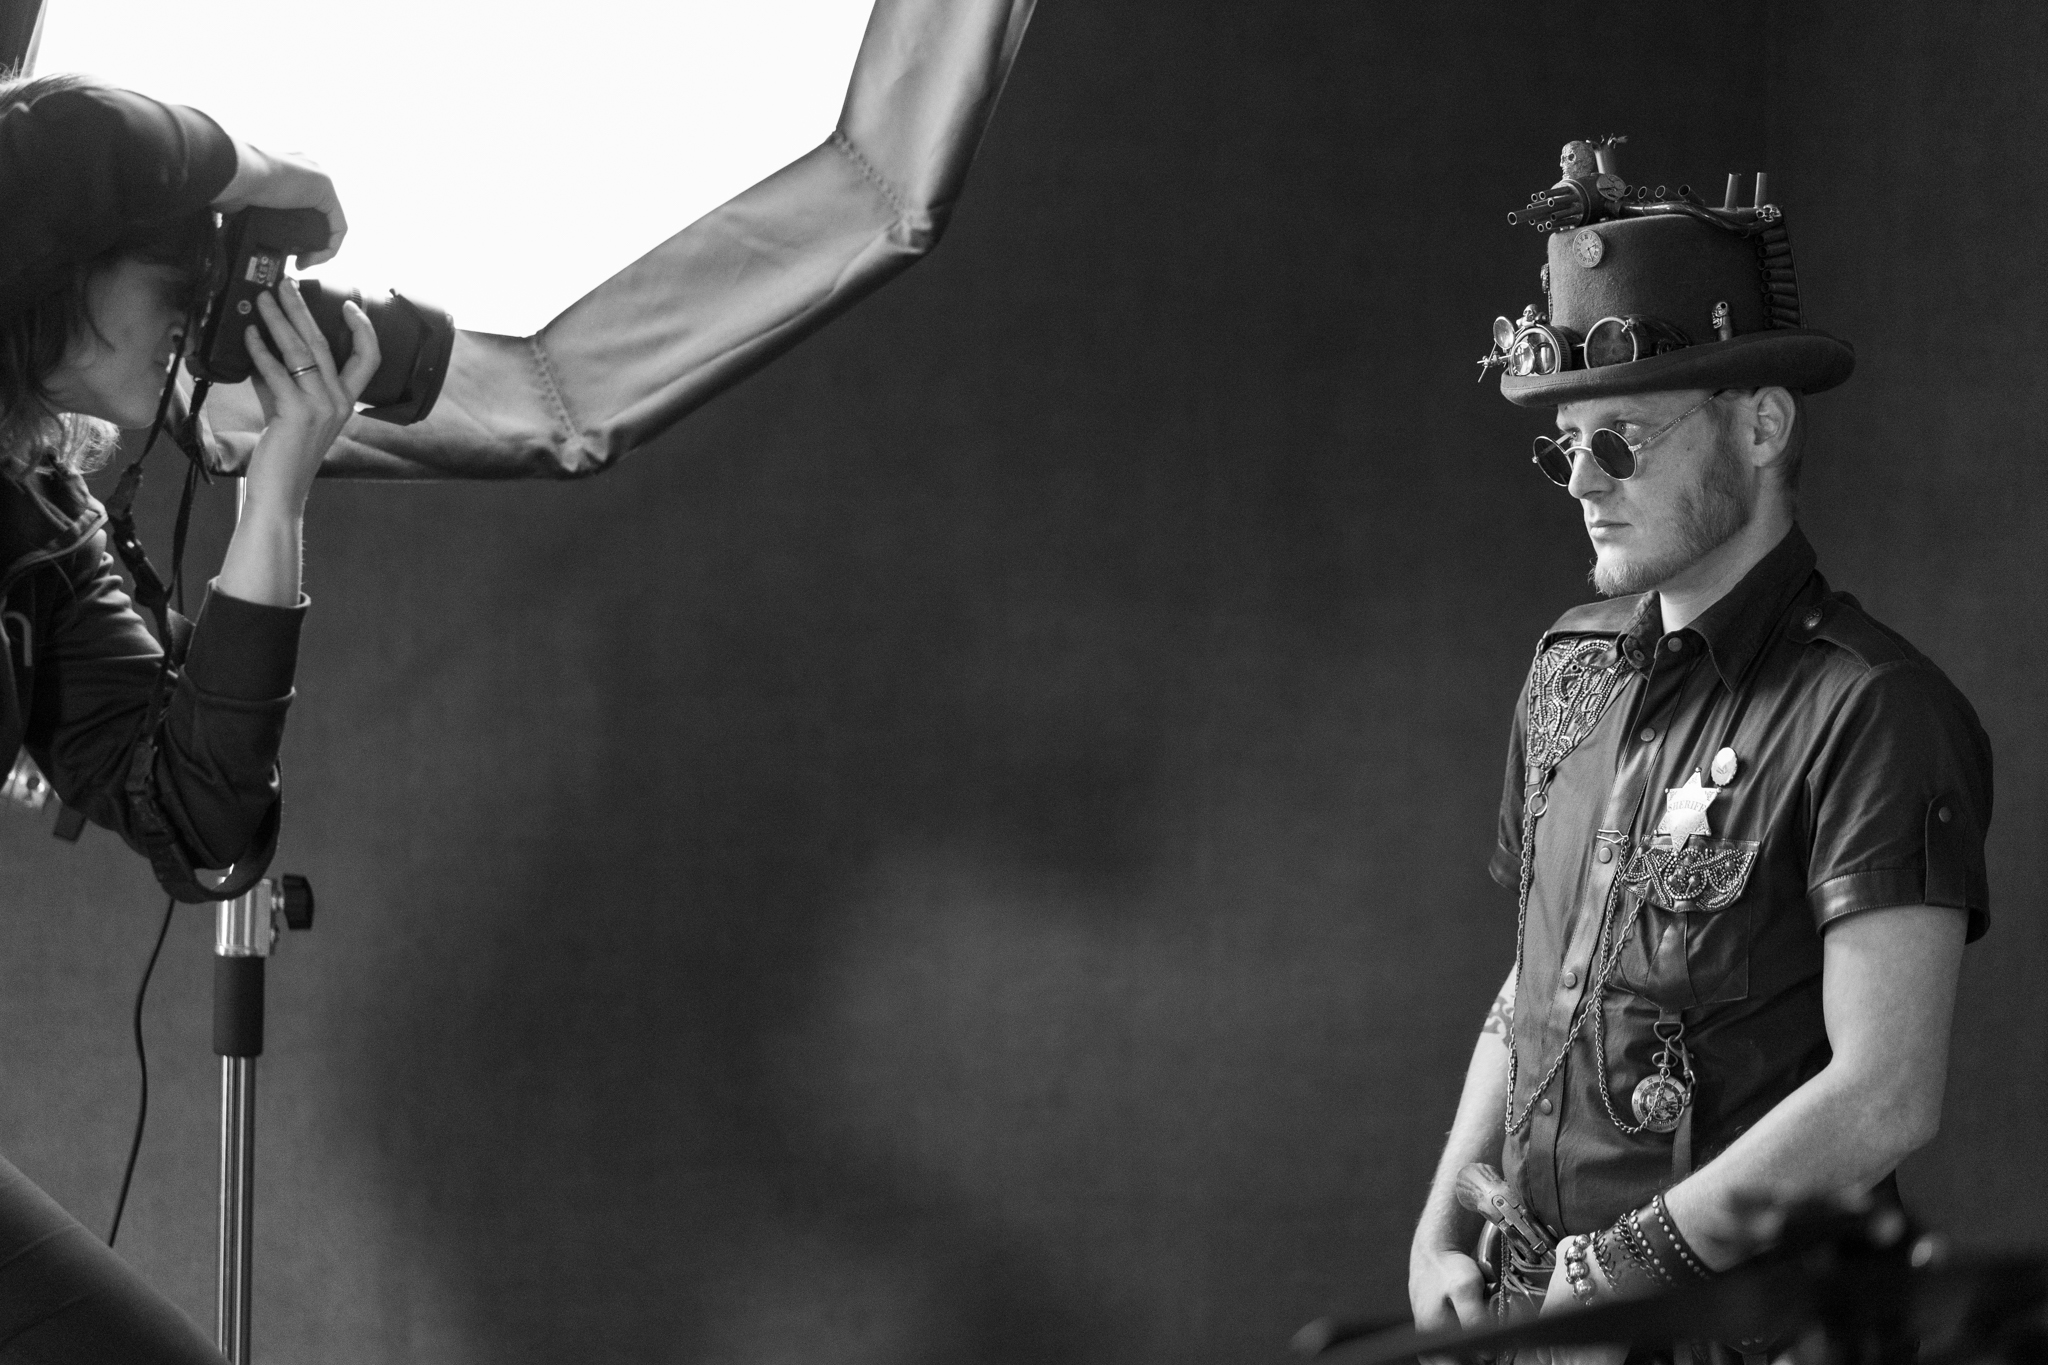
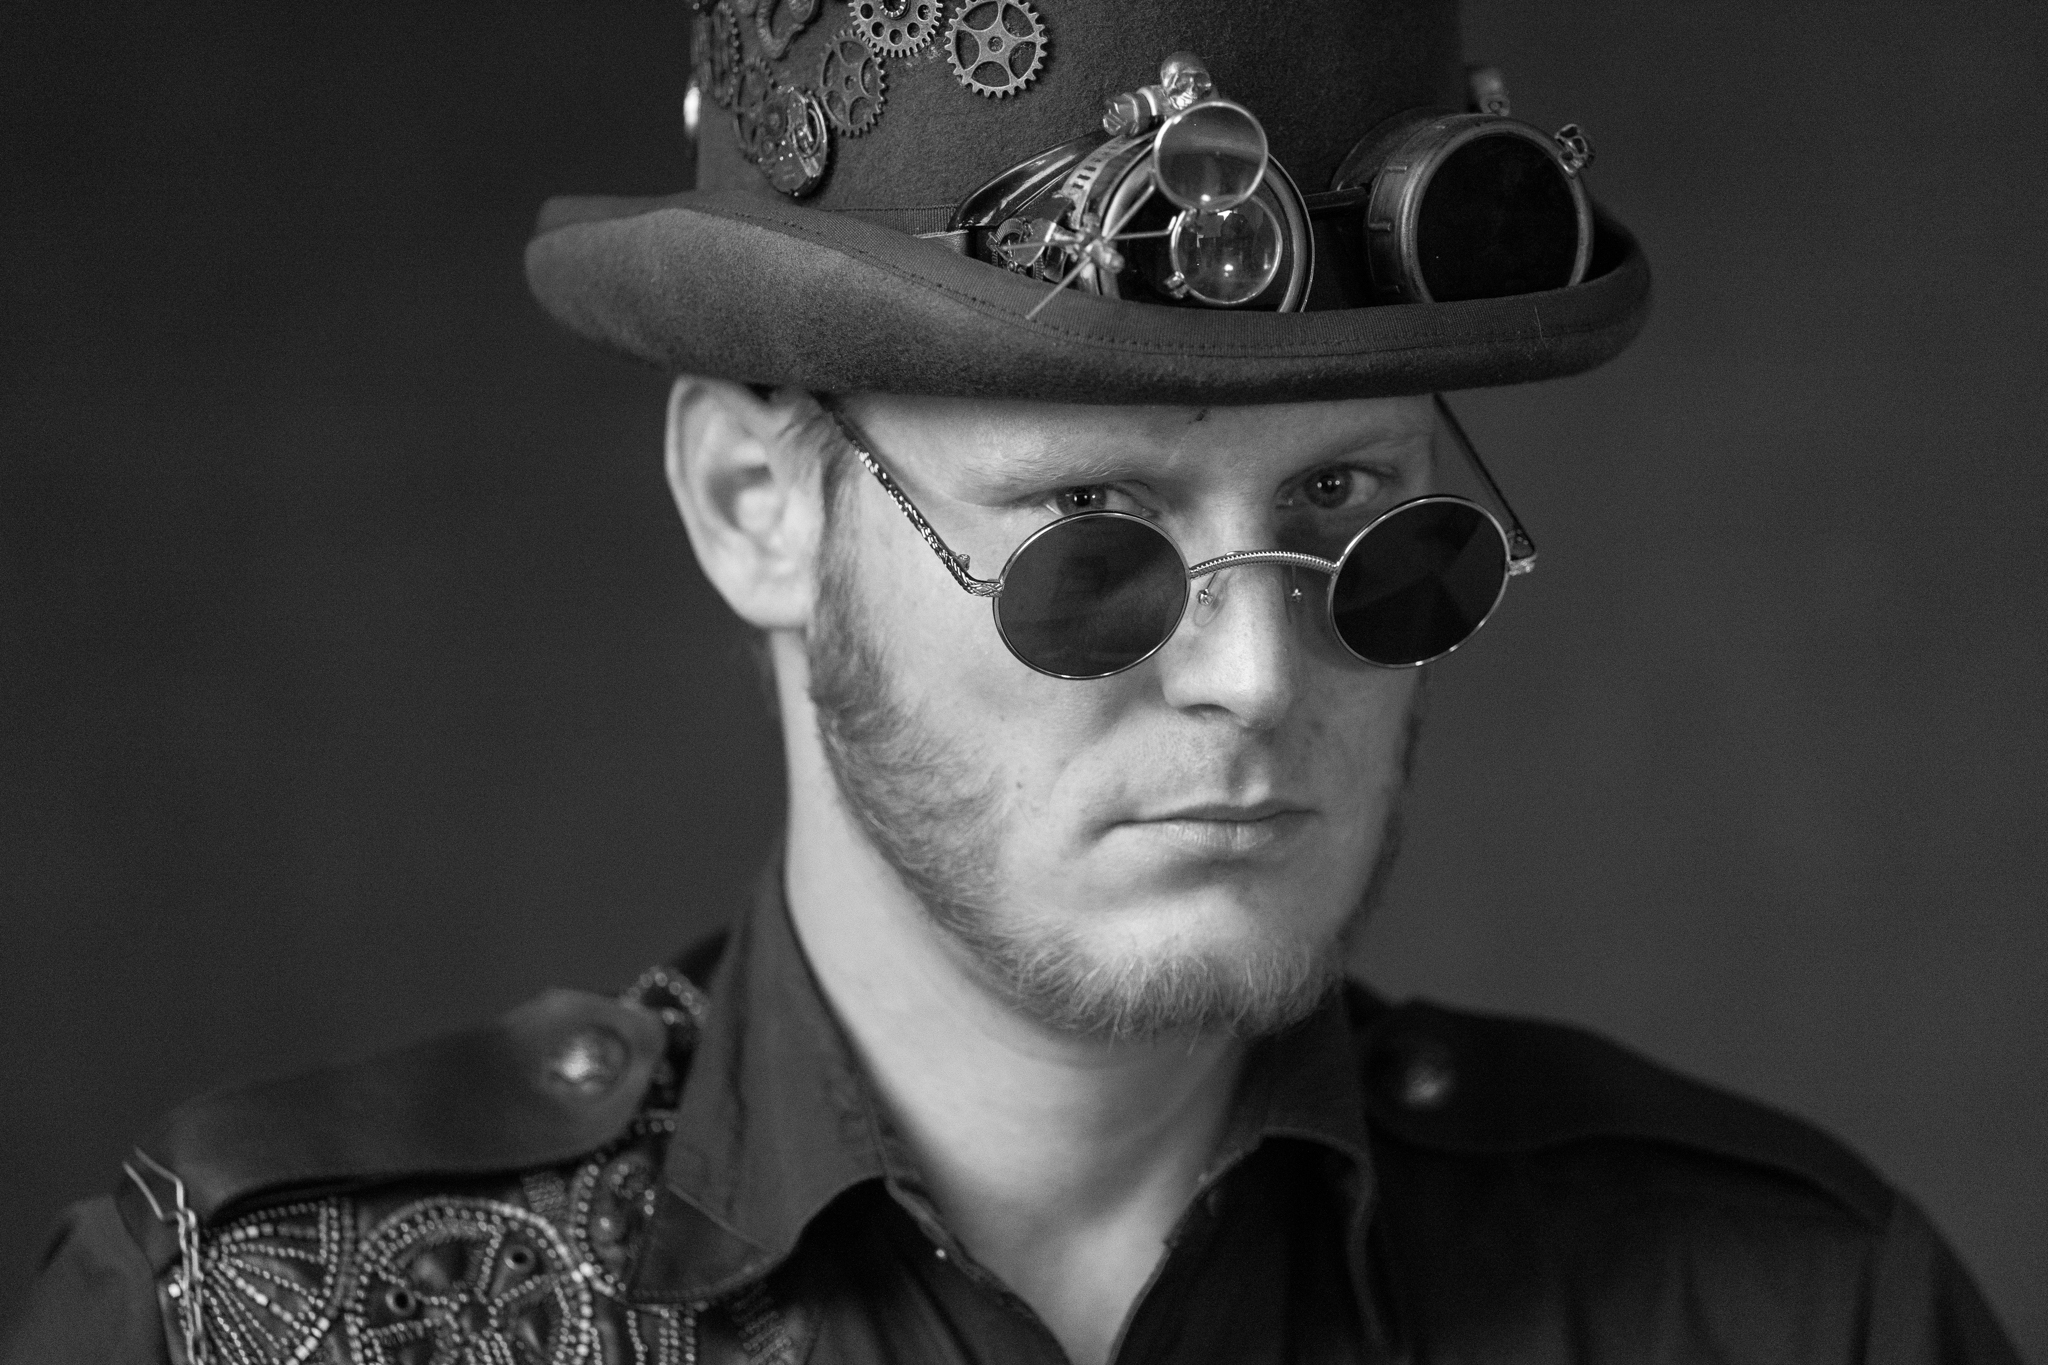
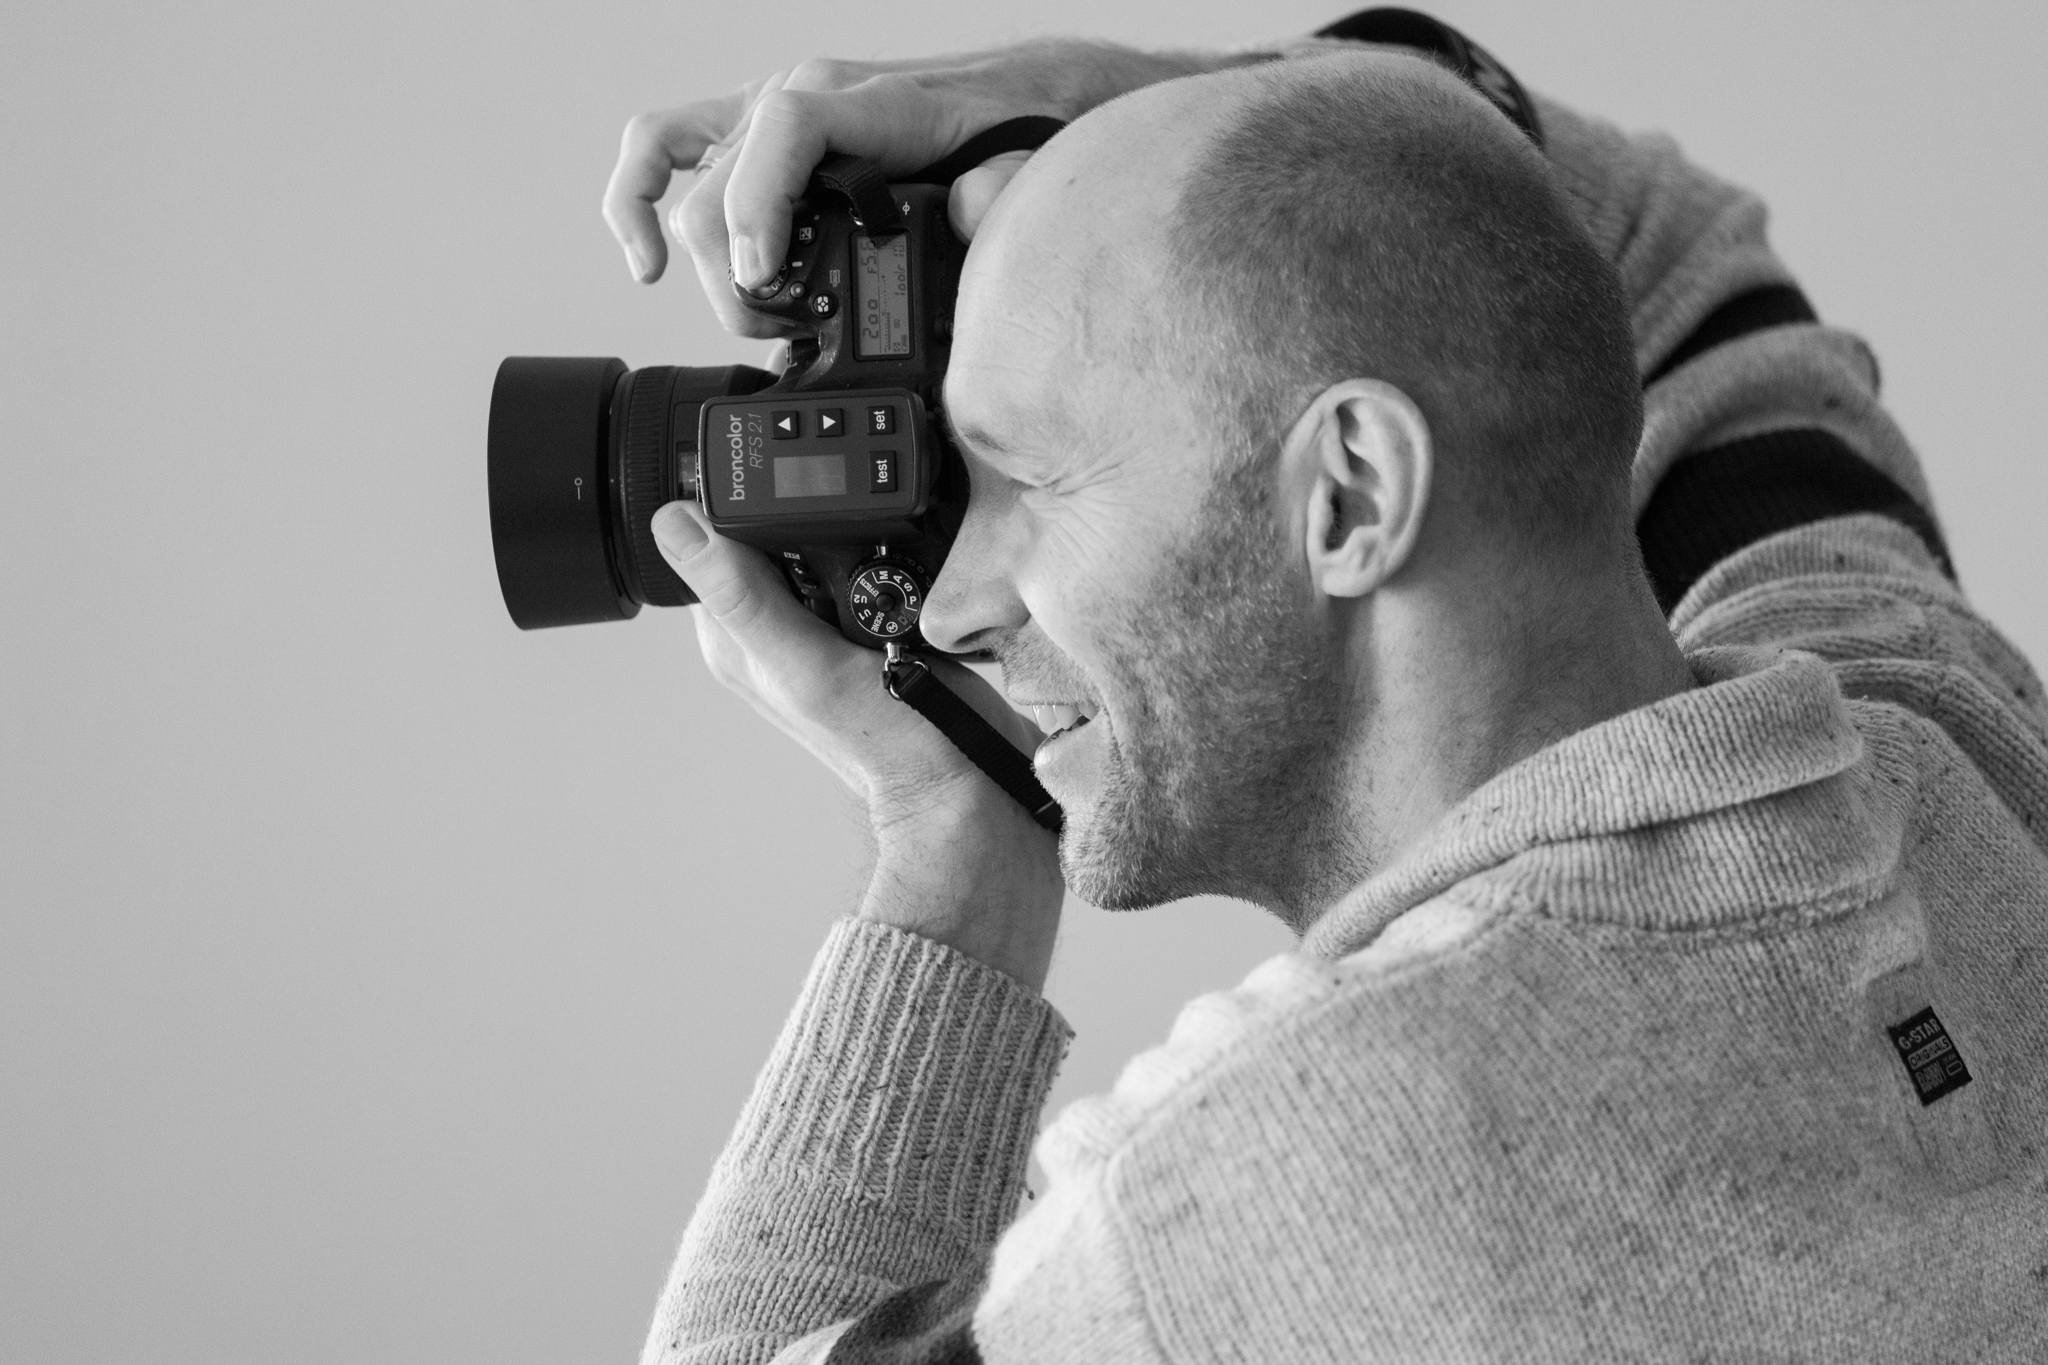
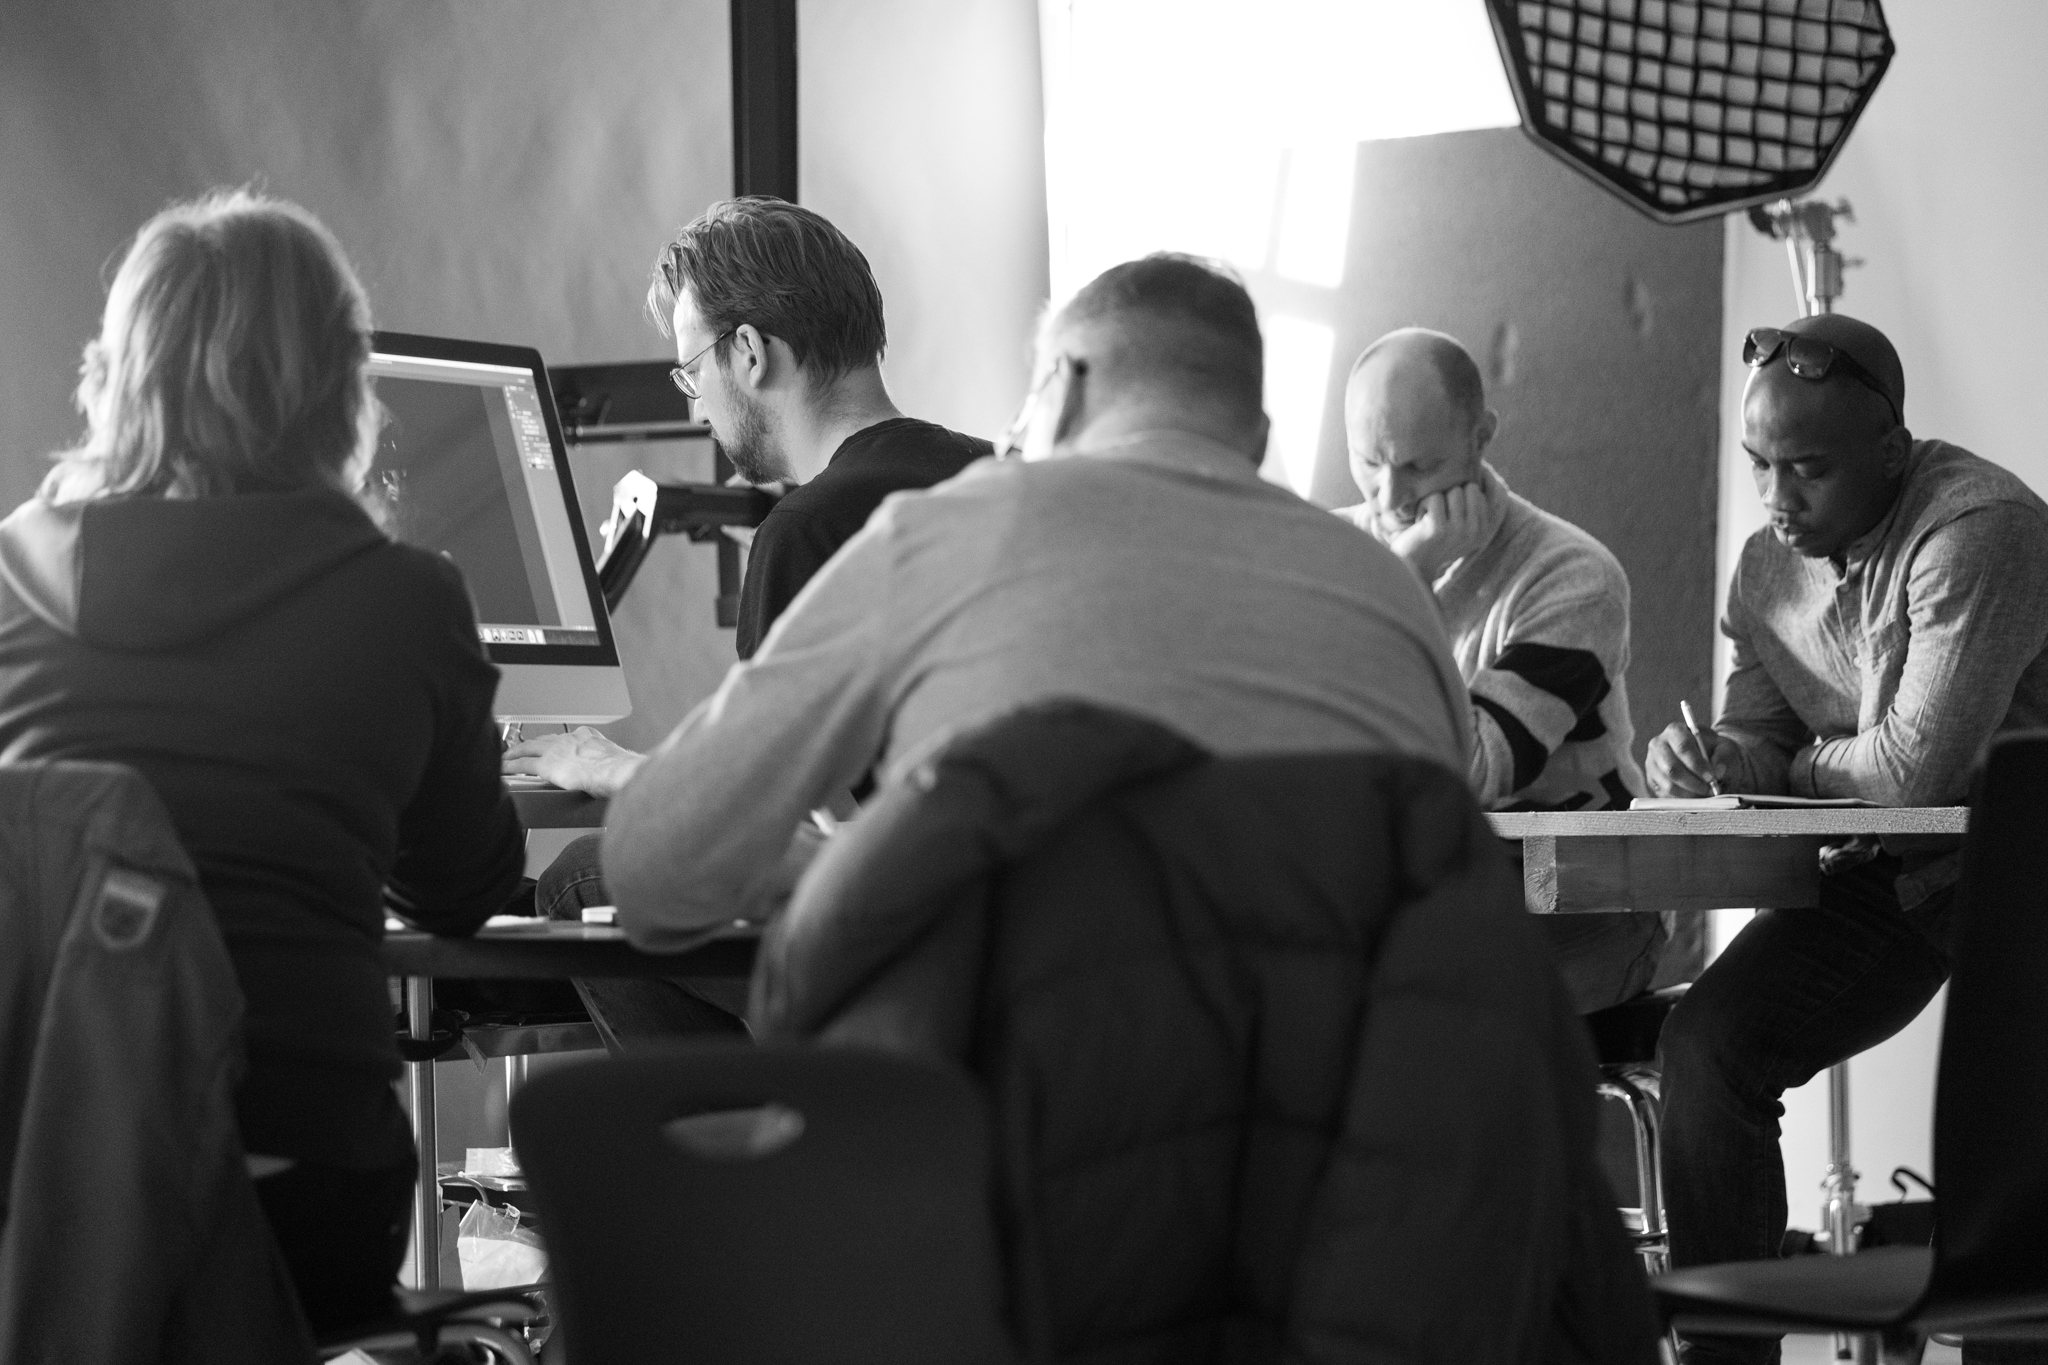
Jeroen Zelle heeft geassisteerd bij de workshop en ook wat spullen van Broncolor meegenomen zodat we zowel met Broncolor als Elinchrom konden werken. Ook heeft hij wat Behind the scene fotos gemaakt:
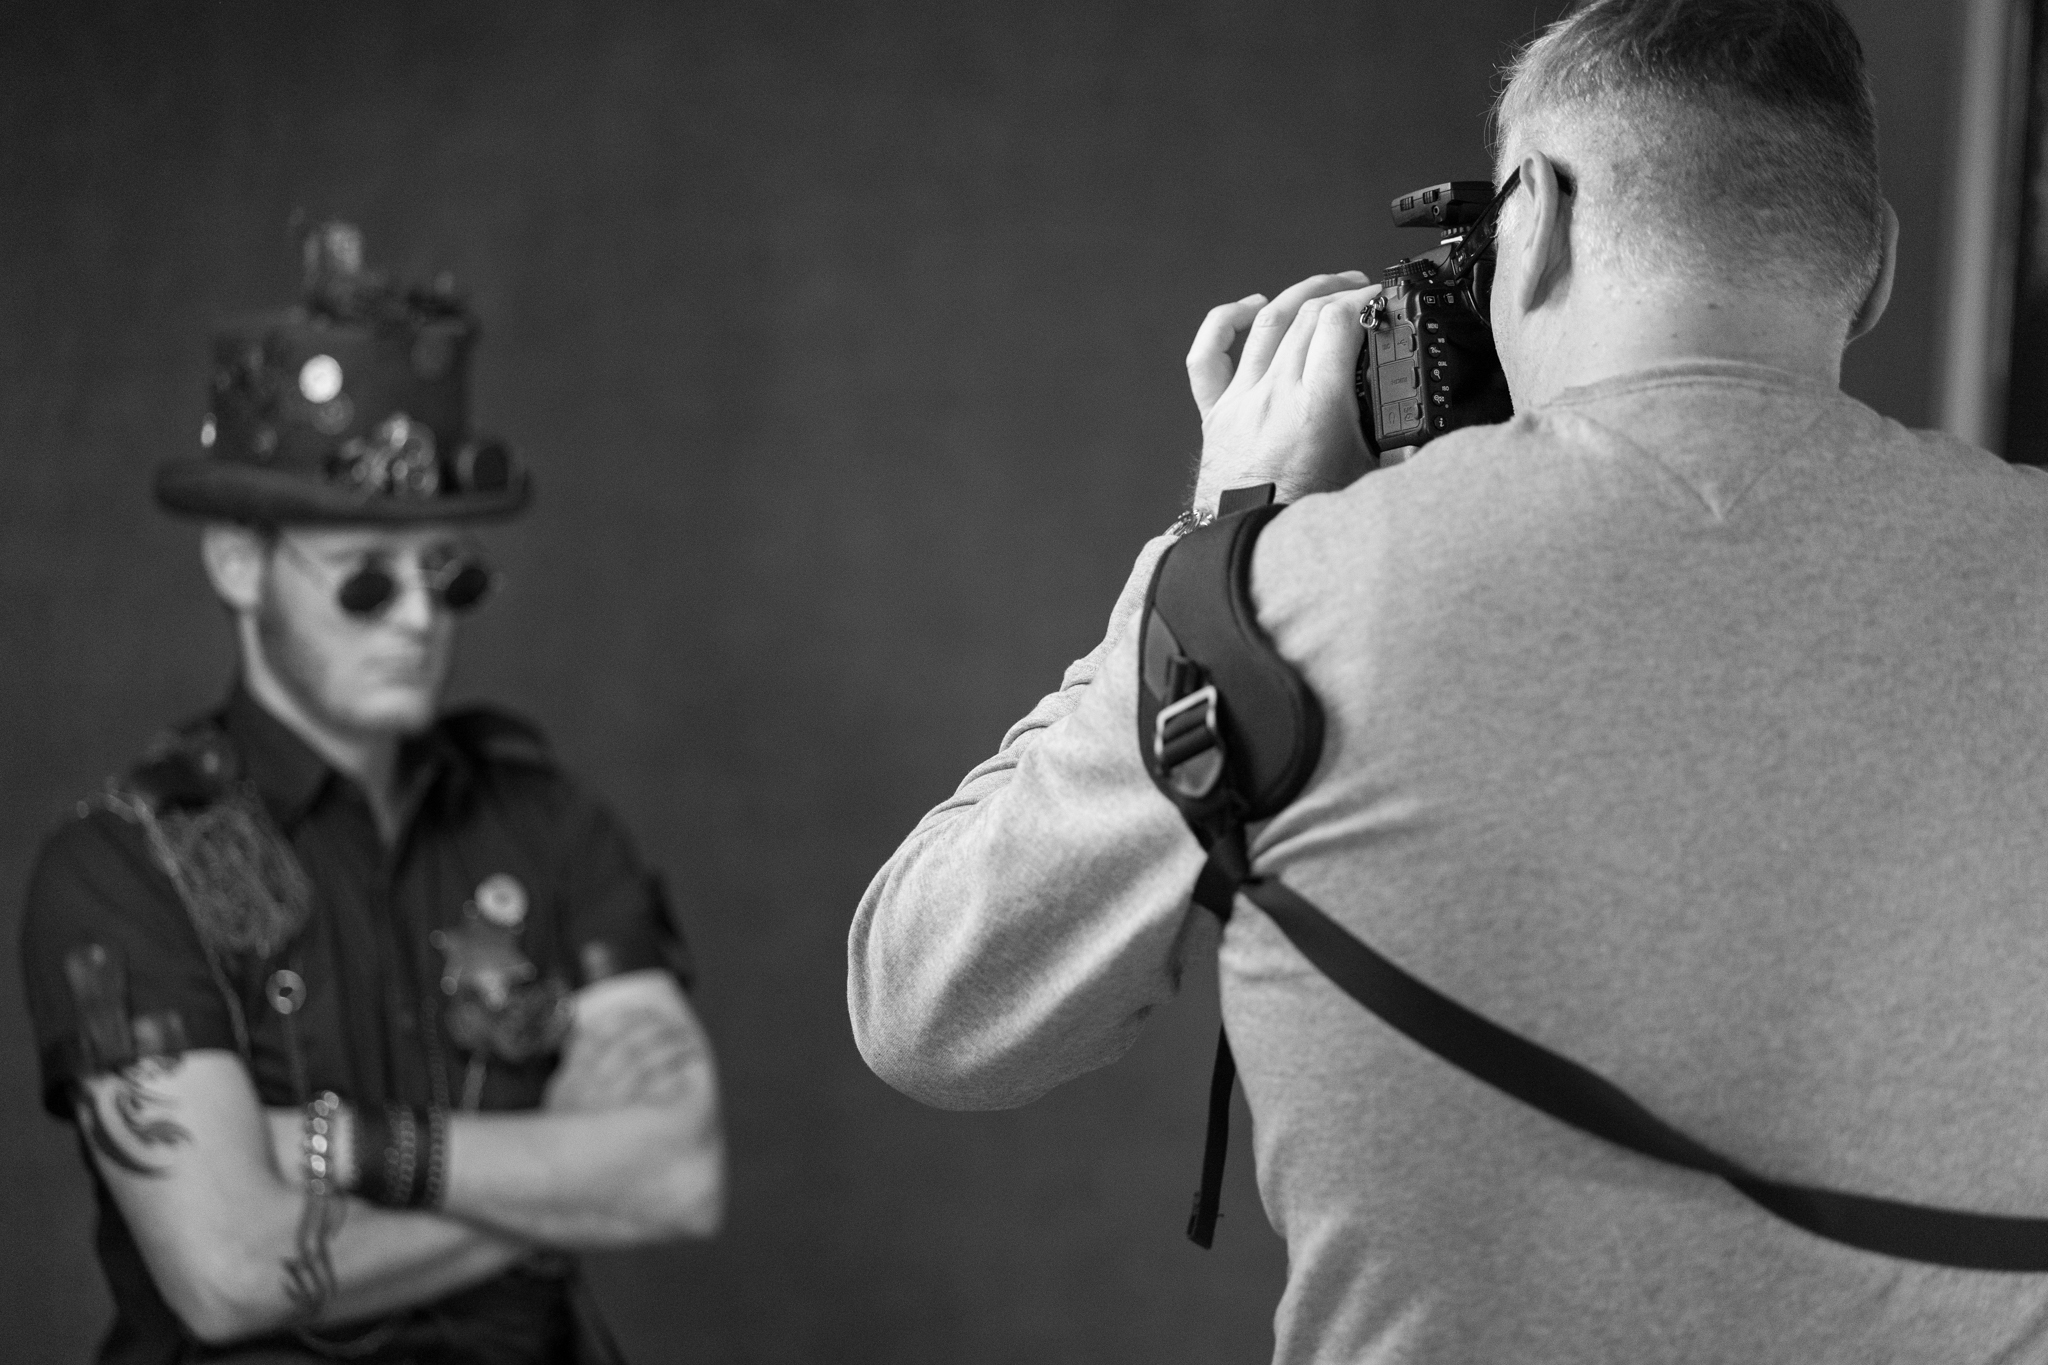
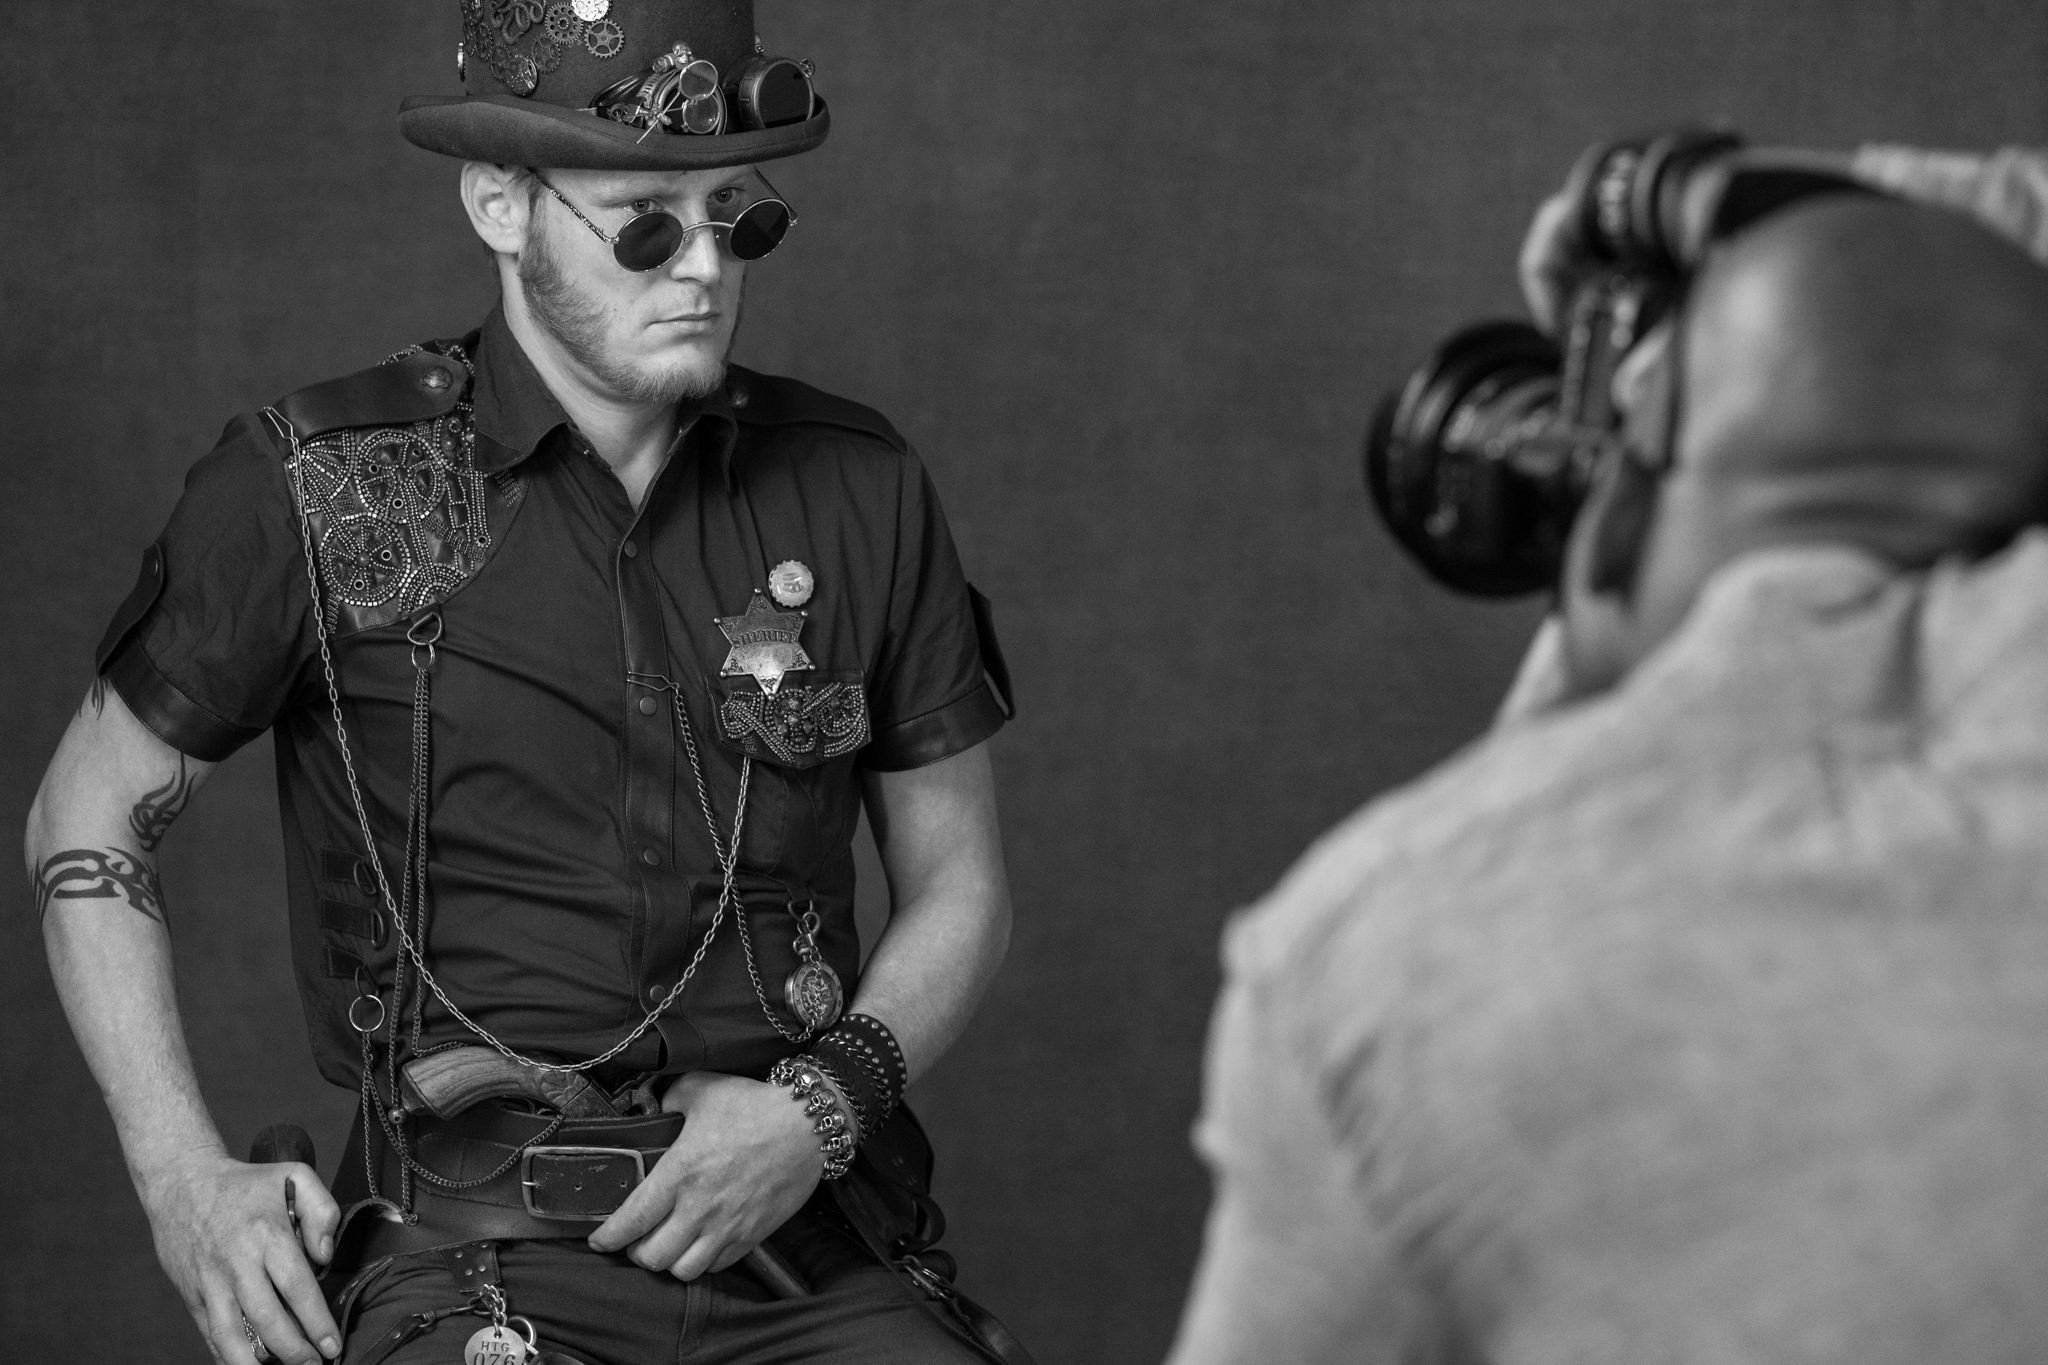
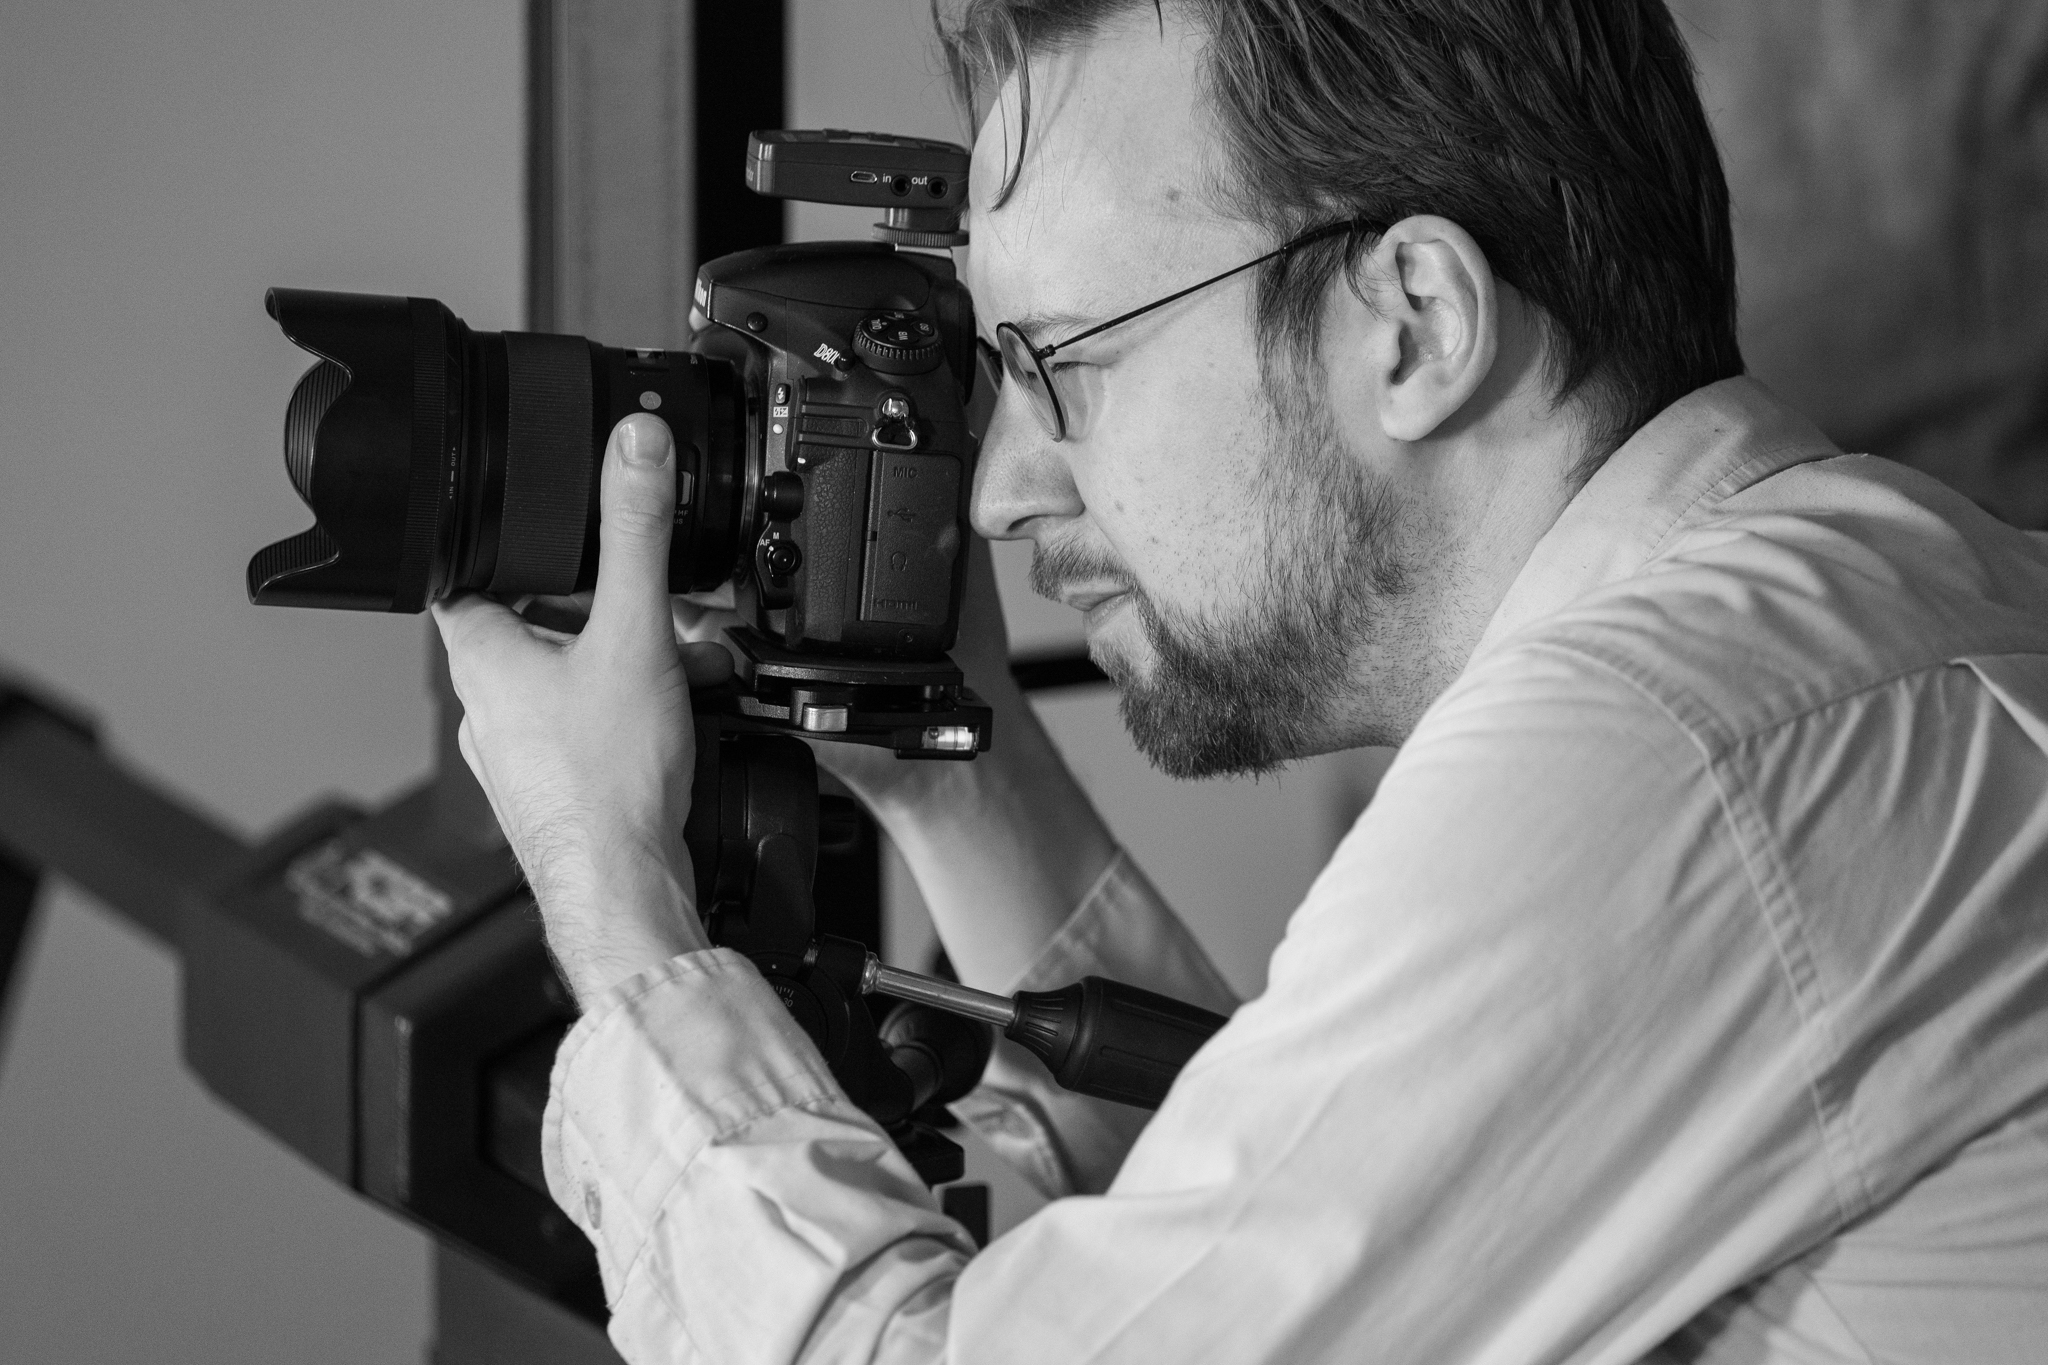
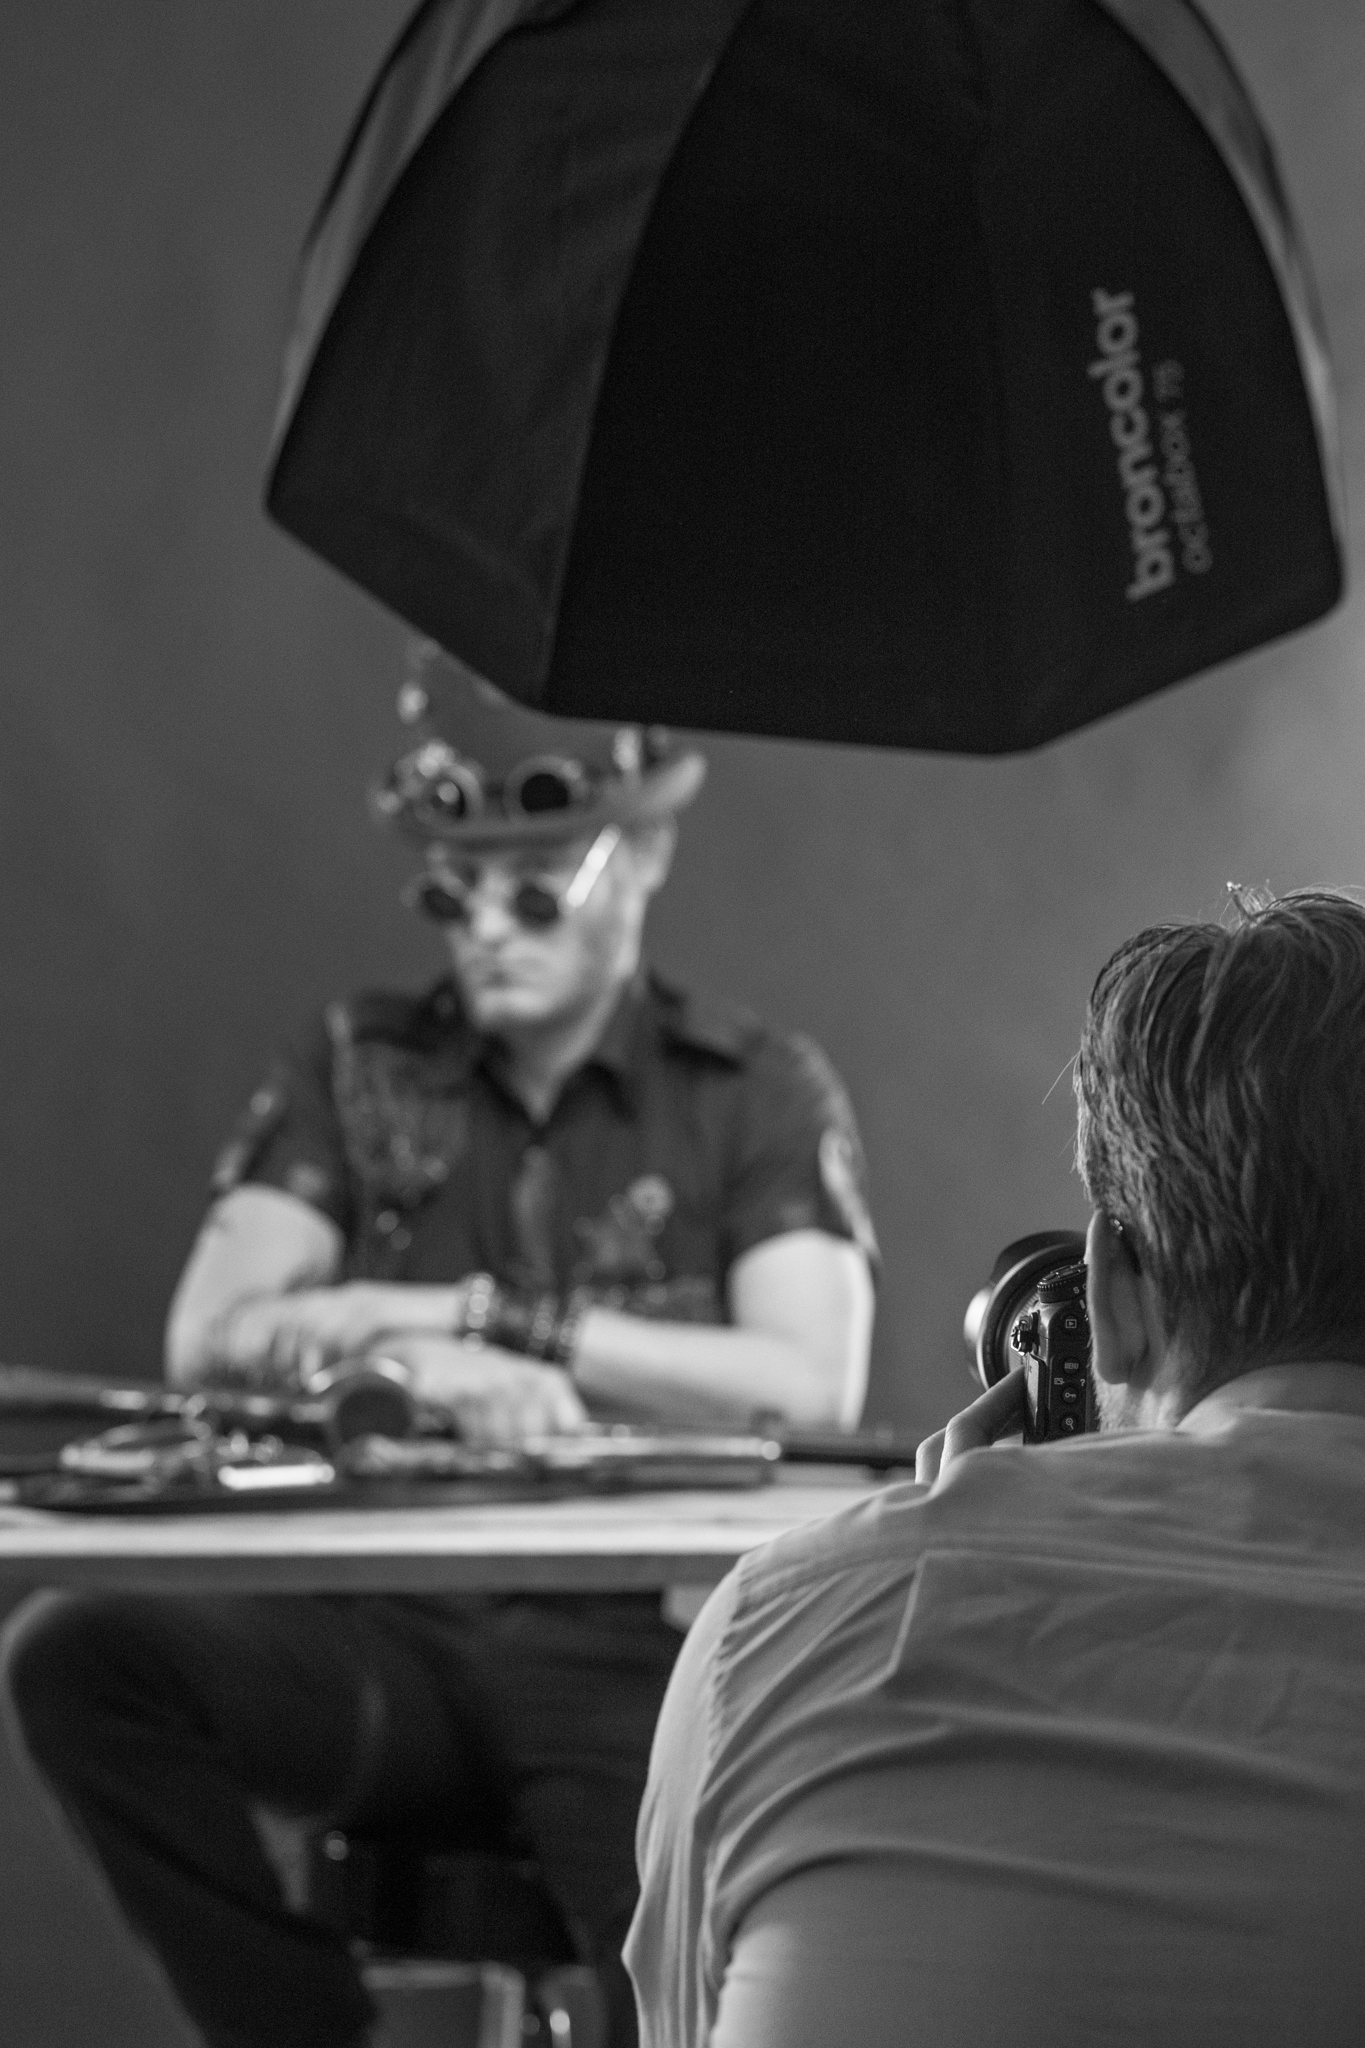
Qua gear heb ik gebruik gemaakt van:
Camera: D610 en D800
Objectieven: Sigma 24-15 Art en 50mm 1.4 Art
Behind the Scenes: Harry's Horse Photoshoot
Hi,
Sorry voor de lange stilte, heb het gewoon erg druk laatste weken. Maar vandaag eindelijke weer even een dagje rustig aan in de studio!
Even kleine update waar ik mee bezig ben geweest. De afgelopen weken ben ik met Michel Maat van Cafe Obscura een aantal video tutorials aan het maken geweest. Hiervan komt de eerste eind deze week uit! Daarnaast voorbereidingen voor het Fotografie in Beeld evenement aankomende zaterdag in de Loods in Krommenie. Ook ben k bezig met wat nu nog geheime dingen voor Sigma. Ik ben nog een digitale back voor mijn Hasselblad 500c/m aan het testen geweest. Prive ben ik verhuist van Hillegom naar Beinsdorp en ook ben ik met projecten bezig voor Sanoma. Voorbereiding van nieuwe workshops. Vandaag gaan we ook nog een Seamless Vinyl rol ophangen in de studio. Druk, druk druk dus!
Maar deze week maandag heb ik weer tijd en ik wil graag met jullie de Behind the scenes video delen die ik gemaakt heb van de photoshoot die ik voor de nieuwe komende collectie van Harry's Horse geschoten heb.
Ballerina fotoshoot in Amsterdam
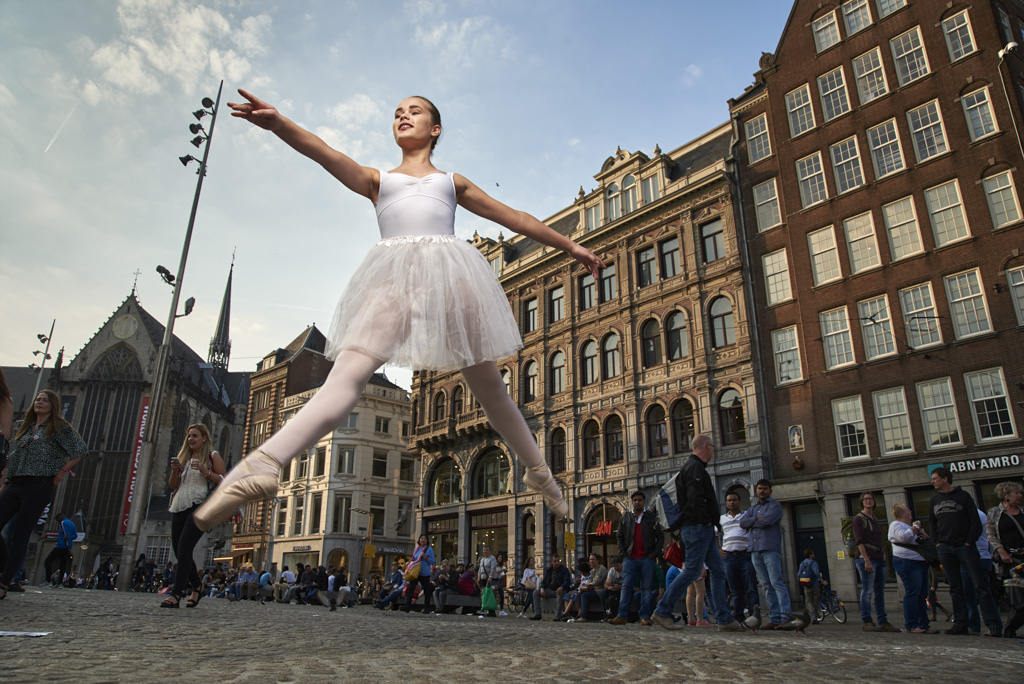
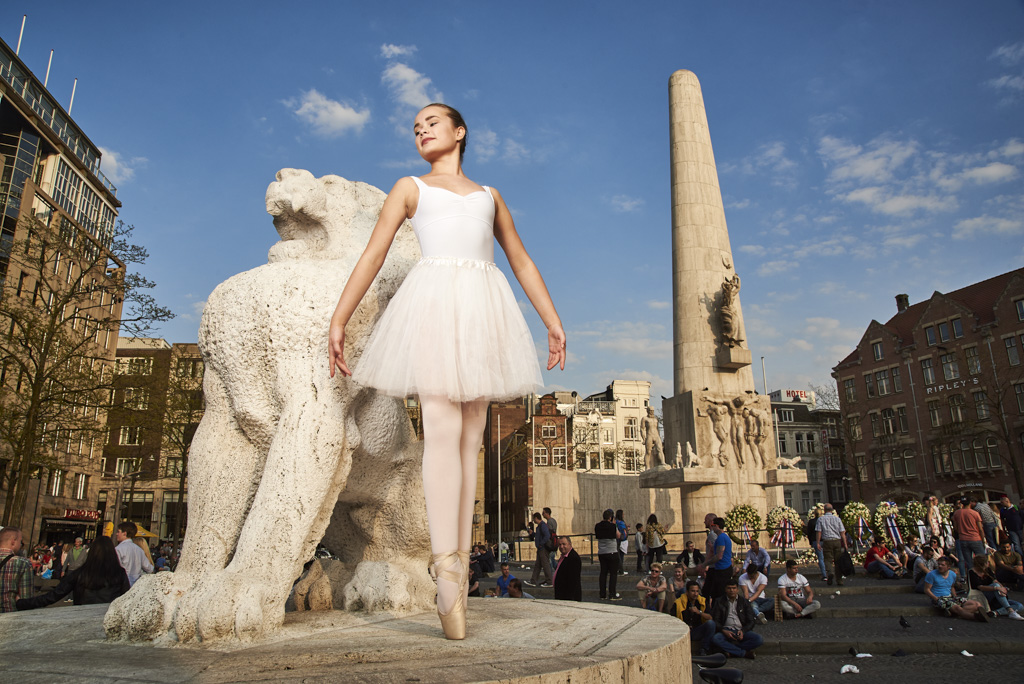
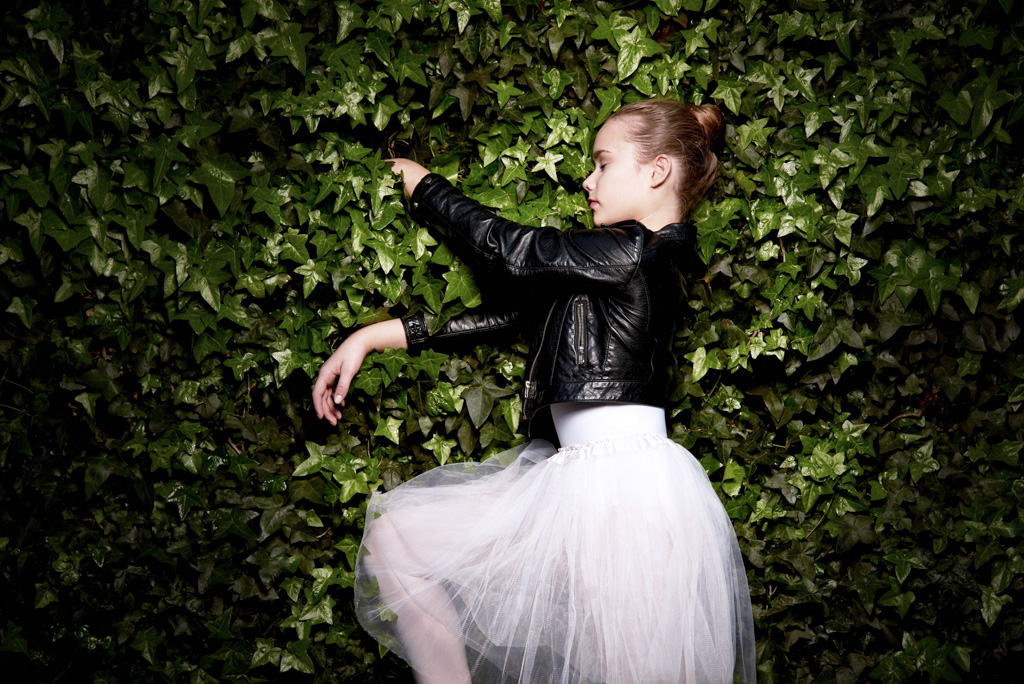
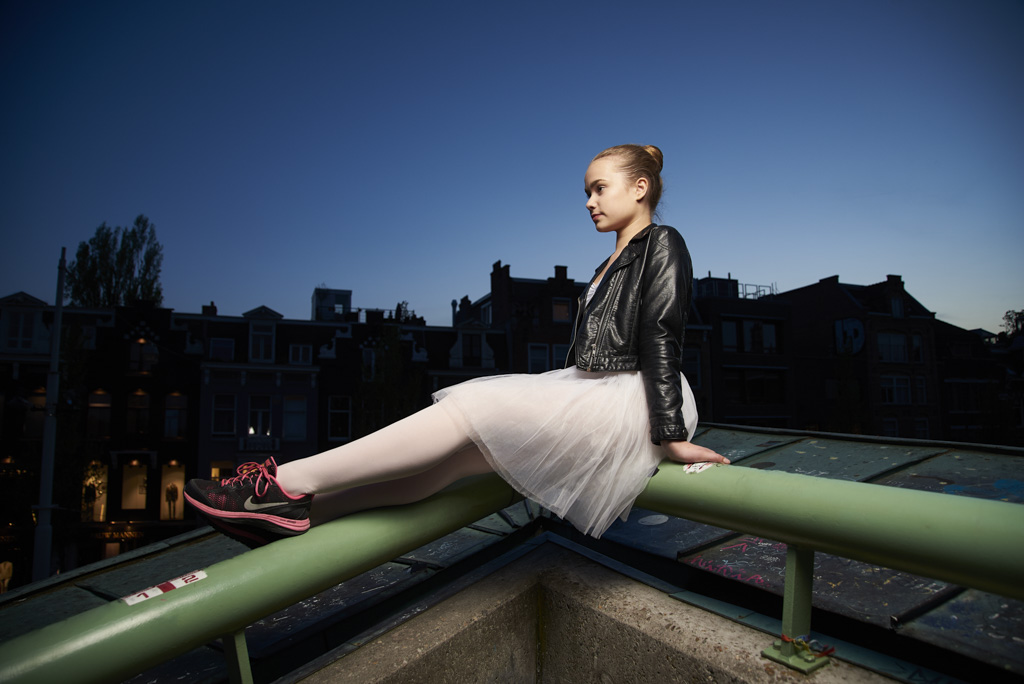
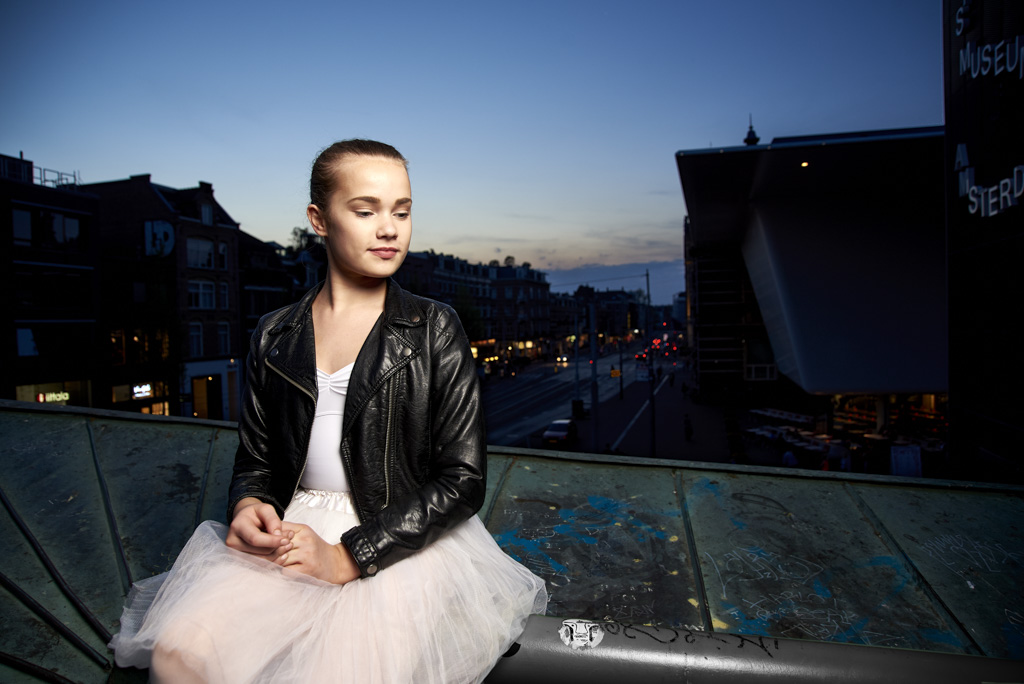
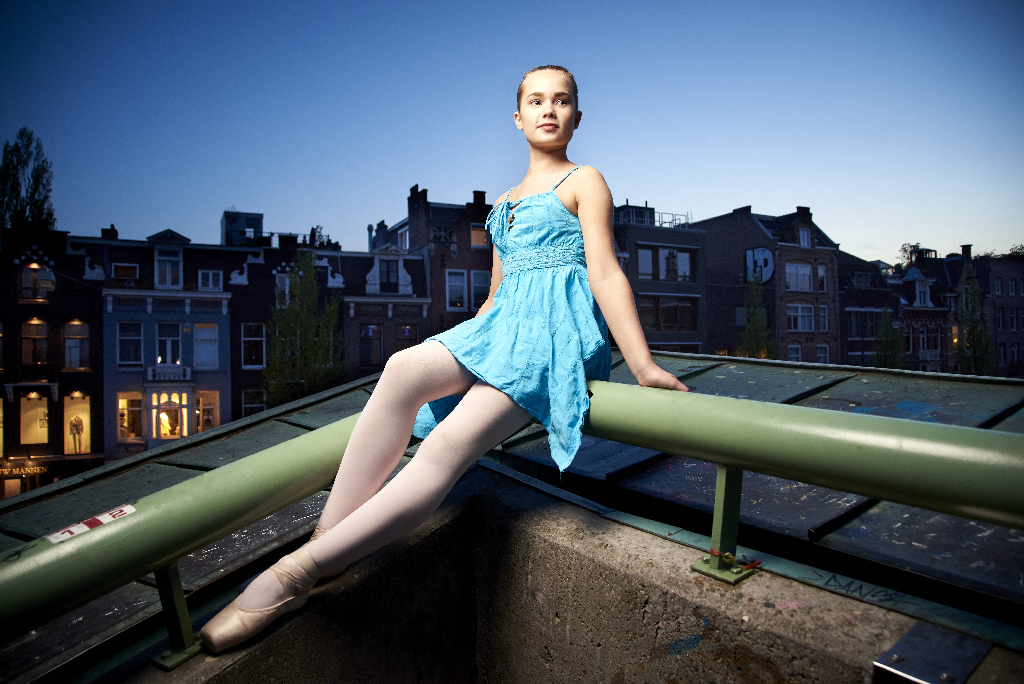
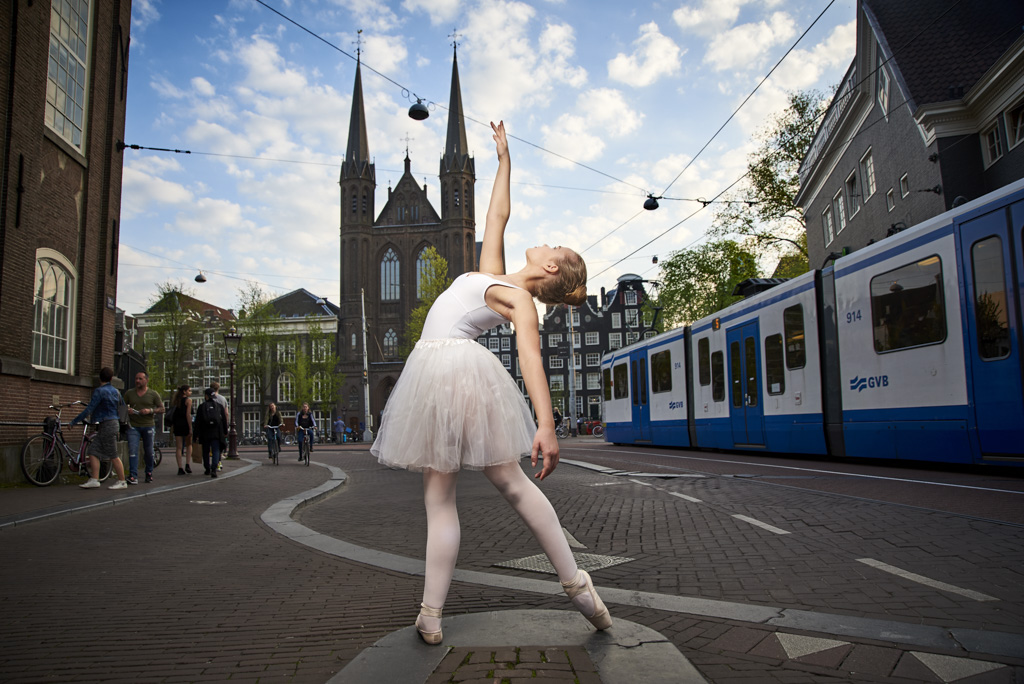
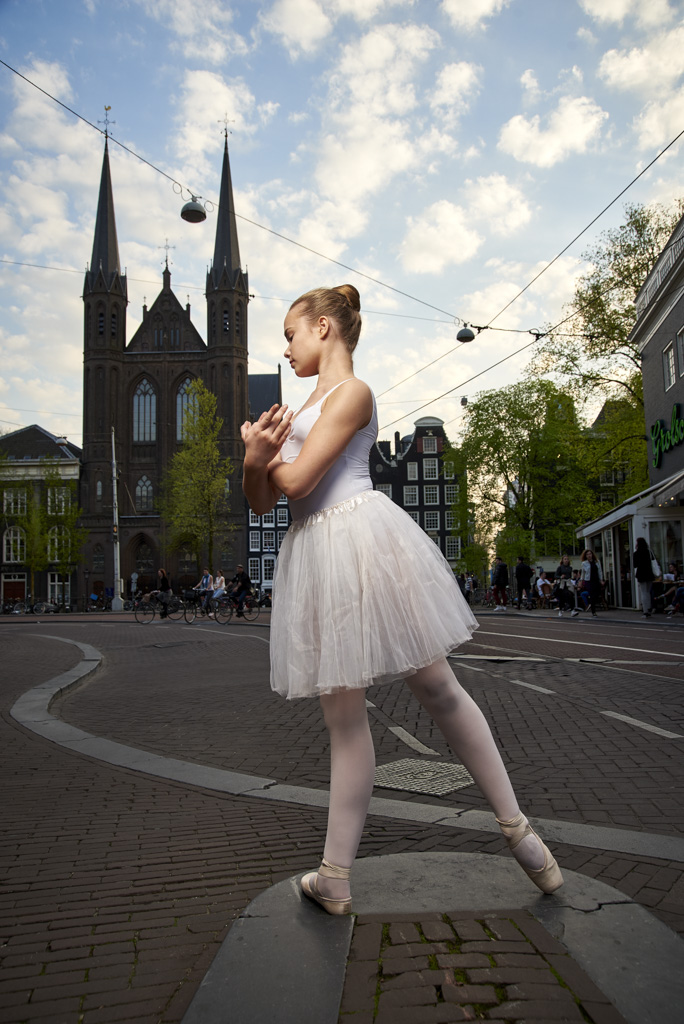
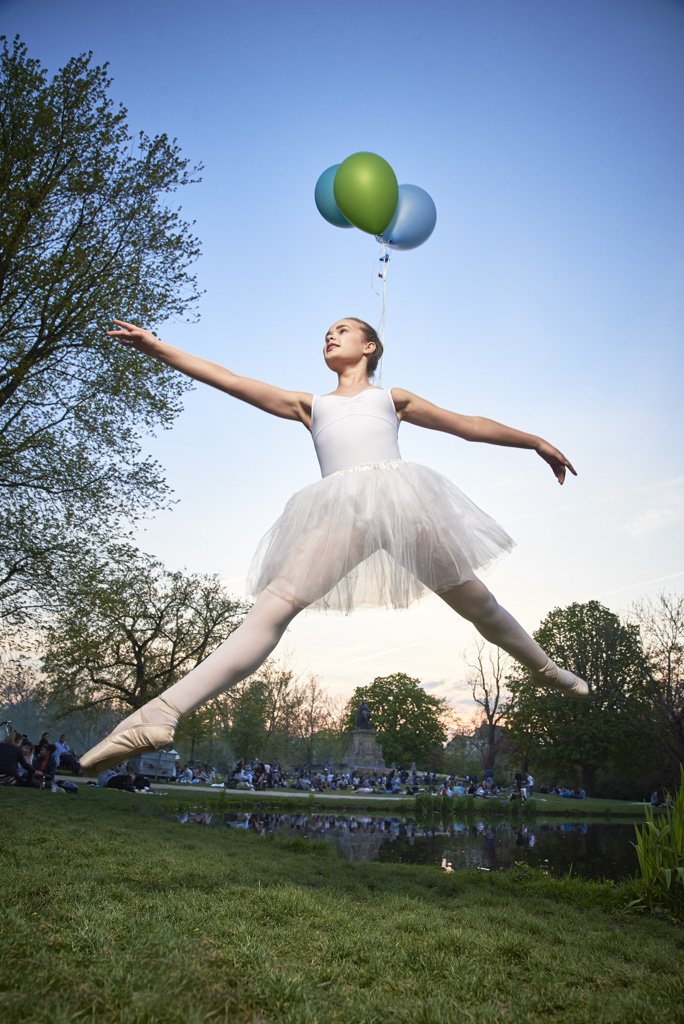
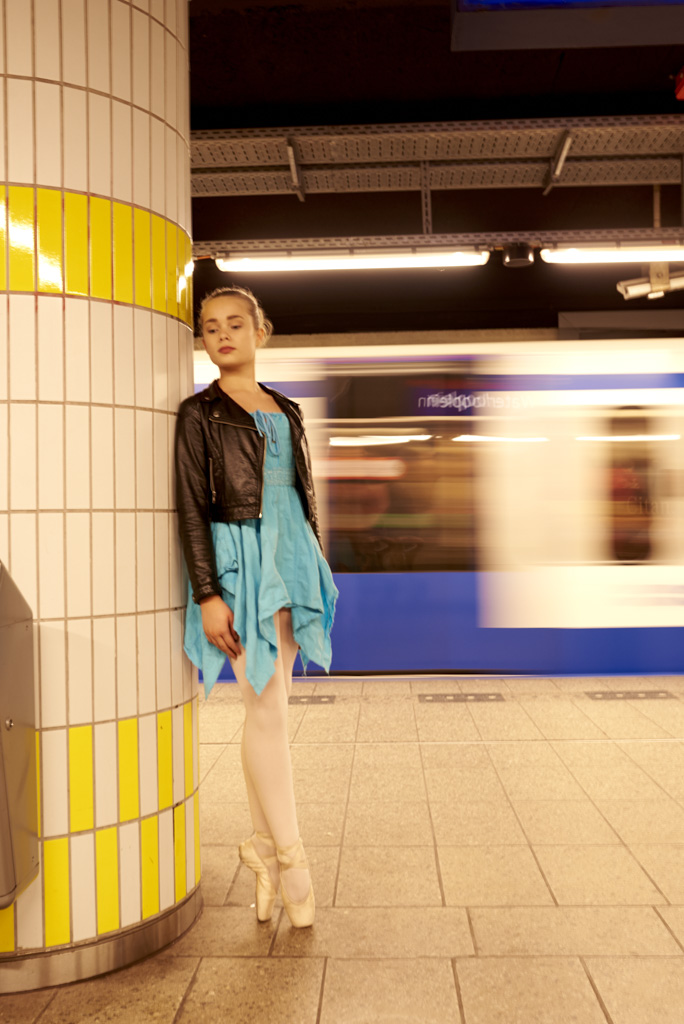
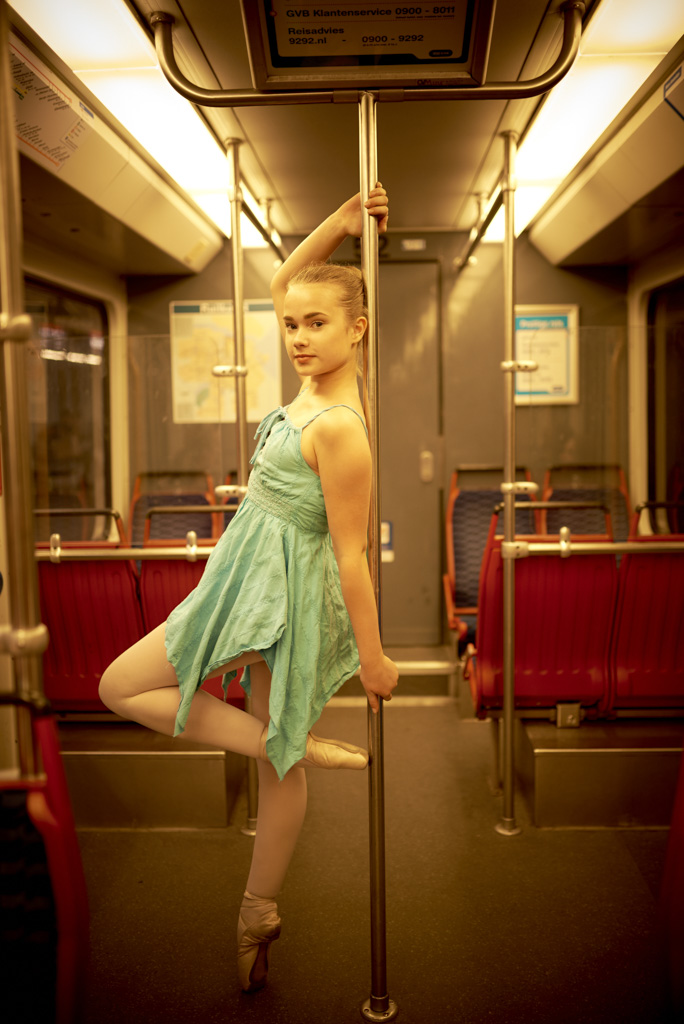
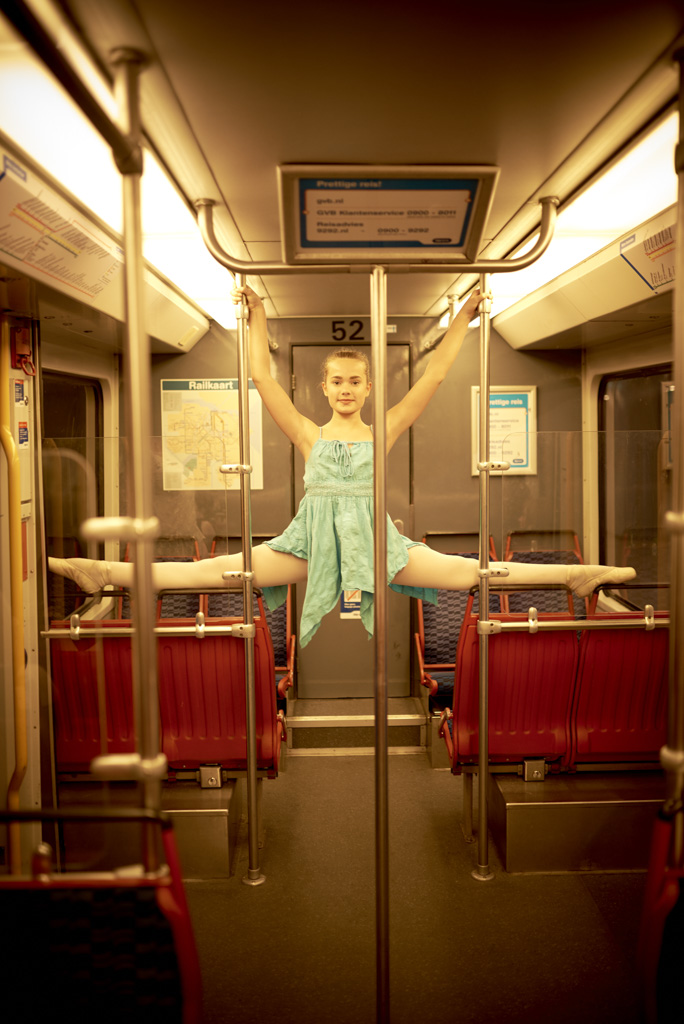
Vrijdag heb ik een ballet portretsessie gedaan met ballerina Tessa. Samen met mijn team heb ik haar op diverse plekken in Amsterdam gefotografeerd.
Foto's
Hier onder staat een selectie van de gemaakte foto' s


Behind the Scenes
Van deze shoot konden we gelukkig ook een behind the scenes video maken! Dus bij deze:
Gear
Voor de fotografen onder ons. We hebben het volgende aan apparatuur gebruikt:
Fotografie: Nikon D750 met een Sigma 24-105 Art lens en voor de belichting een Elinchrom Ranger Quadra RX met Rotalux 100cm Octa Softbox
Video: Nikon D610 met Sigma 50mm 1.4 Art.
Belle shoot
Hi all,
Currently I am working on a series of personal work called "Ferry Tales". I am going to shoot a couple of friends as there favorite fairy tale person. And not only Disney related!
As a start I did a Belle shoot a couple of months a go. Here is the Behind the scenes timelapse of the whole shoot.
As you can see, the lighting is really simple. Mainly just one big Elinchrom Rotalux 150 indirect deep octa. Sometimes I added the strip with a grid for an accent light.
You can but a limited edition art print in the shop now, click here for more information.
Working with the Leica M Monochrom.
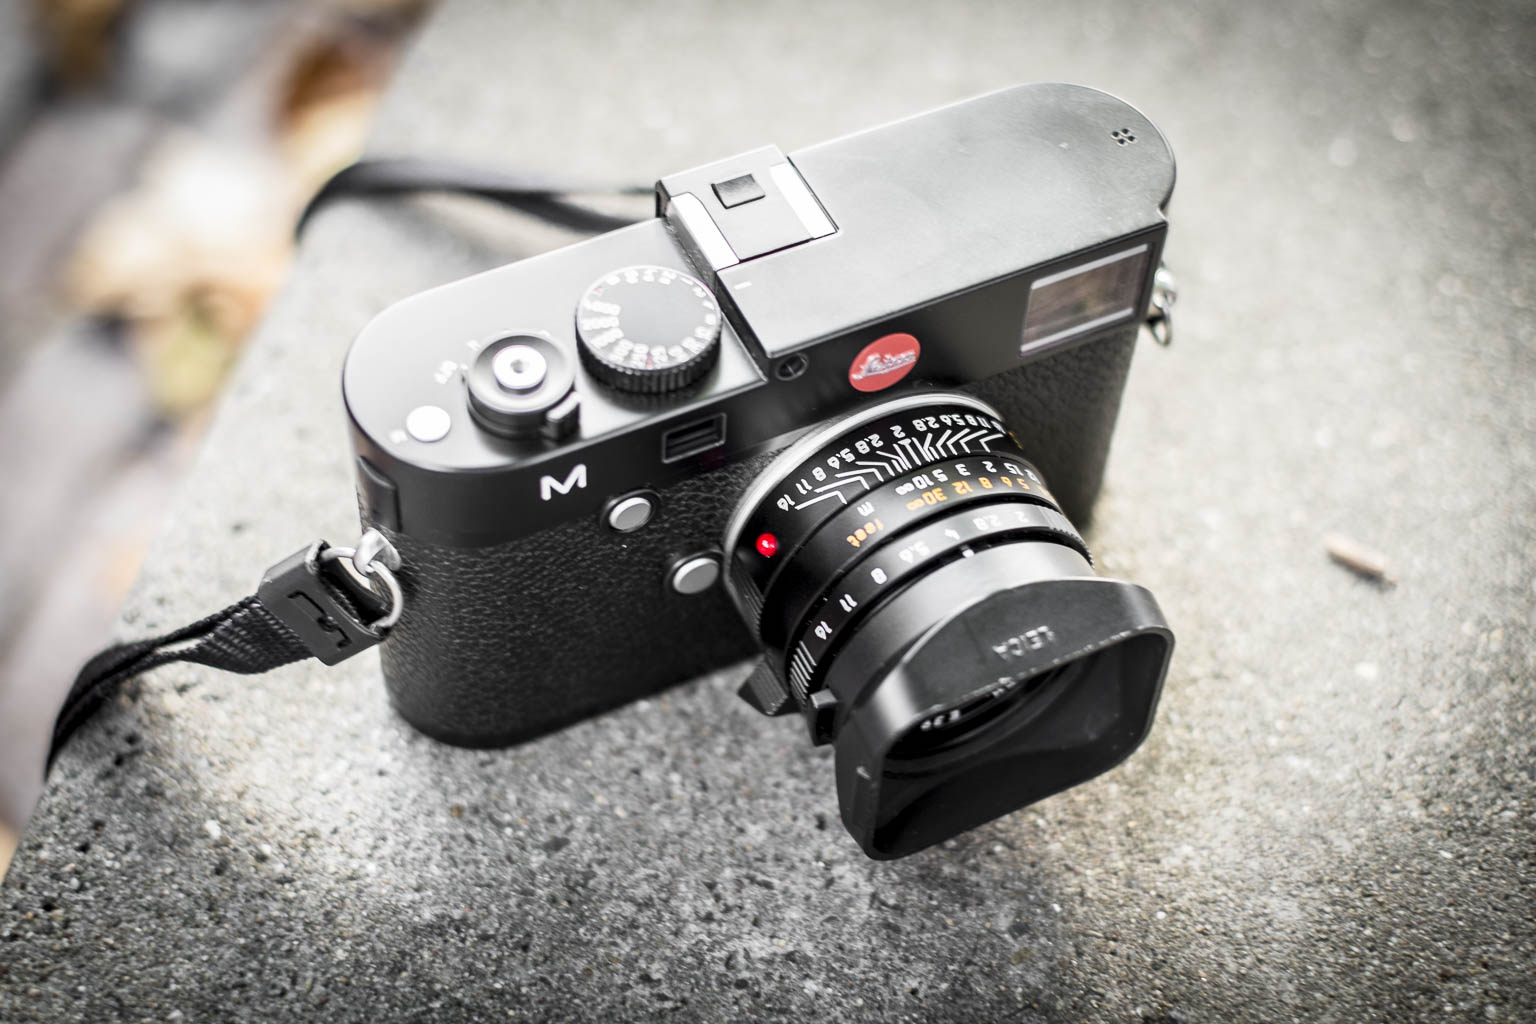
Last weekend I had the opportunity to work with the Leica M Monochrom together with the Summilux 35mm 1.4 asph and Summarit 75mm 2.4. Last year I tested the Leica M (type 240) with the Leica Summicron 35 and 50mm f2., you can read this blog here. Now it was time to test the slightly more expensive black and white only version.
Look and feel
The look and feel of the camera is like all Leica M models. Sleek, sturdy and robust, The Leica M camera’s are build like a tank! Although they don’t look ergonomically, they are really easy to hold and work with. All the buttons you need are on it and nothing you don’t. The Leica M camera’s are pretty bold. But the things they do are great and working is easy!
The packaging
This time I also got the whole packaging experience with the camera. The Packaging of the Leica M Monochrome is what packaging for an expensive camera should be! Although it starts with a simple thin cardboard grey box, it is like a Russian Matroeska. In the great box is another silver grey box, which folds open really nicely. In that box is the real packaging. The top part has a box holding the camera and under that is a door withs gives acces to two small drawers with one holding the manual and warranty papers and the other all the cables, charger and battery.
Some people will say, why spend so much on packaging, better make the camera cheaper. Well, I disagree! Yes you could make it cheaper, but this will only make it roughly 50 bucks cheaper, and on the amount you spend on this camera you want an experience! And this gives you the feel that what you payed is worth it. If you buy a Mercedes you also don’t want the dealer just give you the keys and please leave asap. You want the whole sha-bang!
The use of the camera
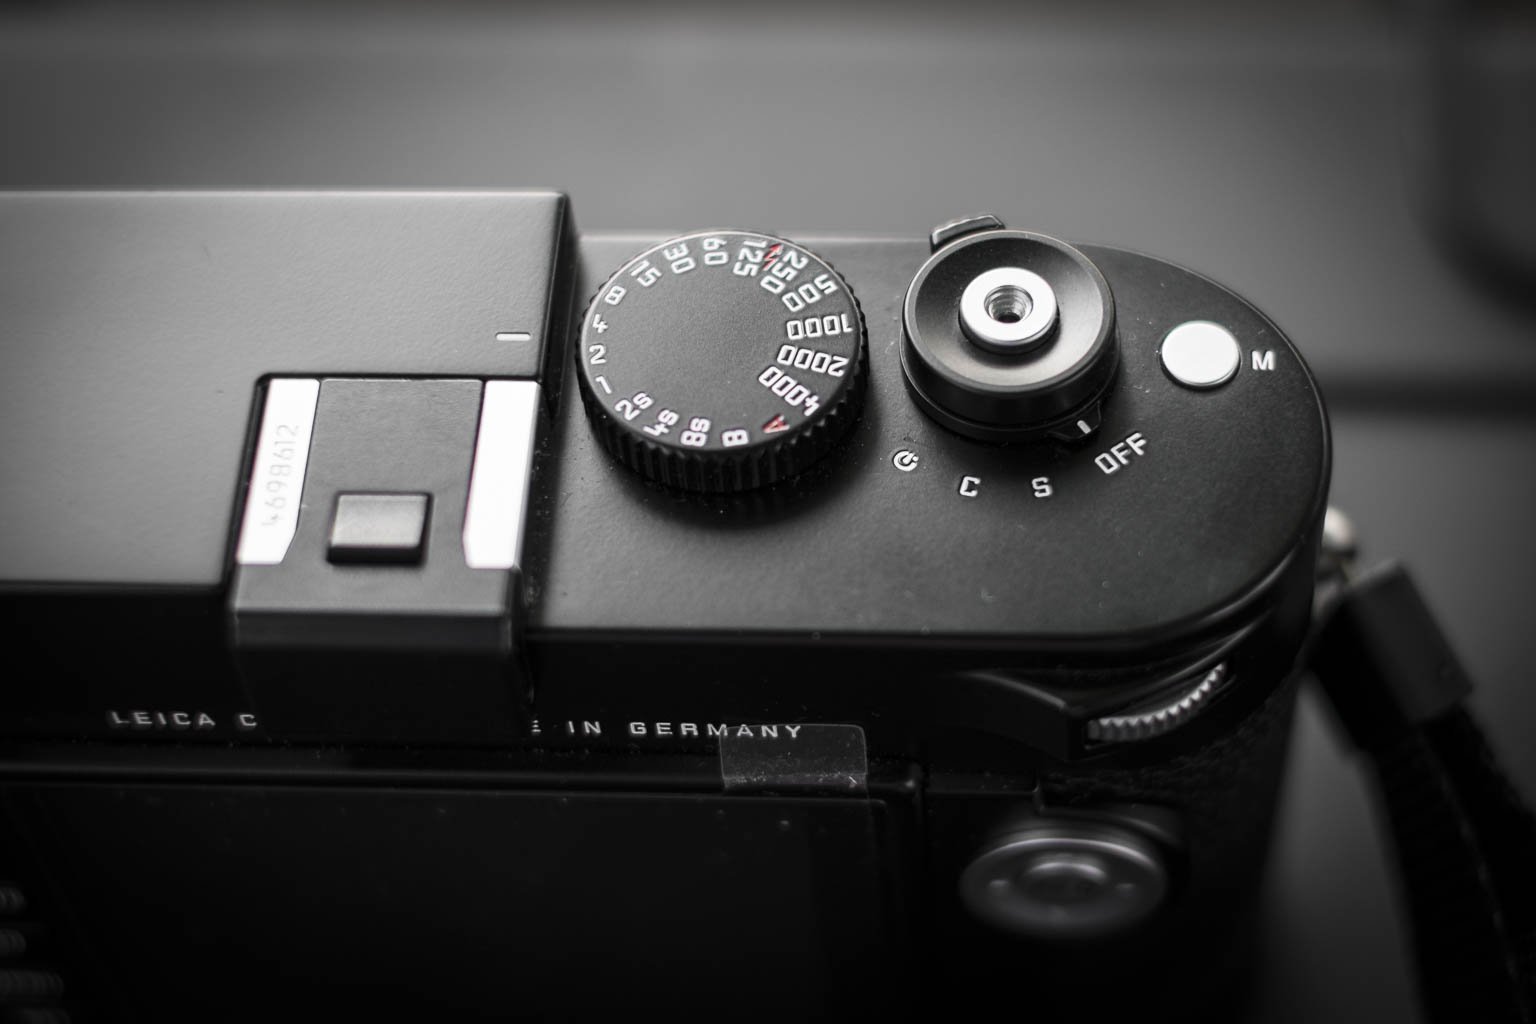
In use the Leica M camera’s are (as said before) really easy. The Leica M Monochrom is no exception on this. The body has only a few buttons. Let’s start on the top. The top of the Leica M Monochrome had the on/of switch with the shutter button in the middle of it and the shutter speed dial. With the on/off switch you can choose between, S(ingle), C(ontinuos) and timer mode. Also on the top is a small silver-gray button with the M beside it for movie mode.
On the back is the LCD-screen and on the left the button for: Live view, Playback, Delete, ISO, Menu and Set. And on the right side the D-Pad with the info button. Beside the thumb grip is a small wheel for the exposure compensation and use in the menu.
All in all: just all you need.
For the people new with the Leica M system, you set the aperture with the ring on the lens and the focus is manual!
In the menu are all the things you can set. It also has 3 different black and white toning! Sepia, Selenium and Blue as an extra option!
Working with the camera
Working with this camera was a pleasure. I really loved it. It gave me the feel/love for photography like I had starting with the Fuji X100, but without the quirkiness!
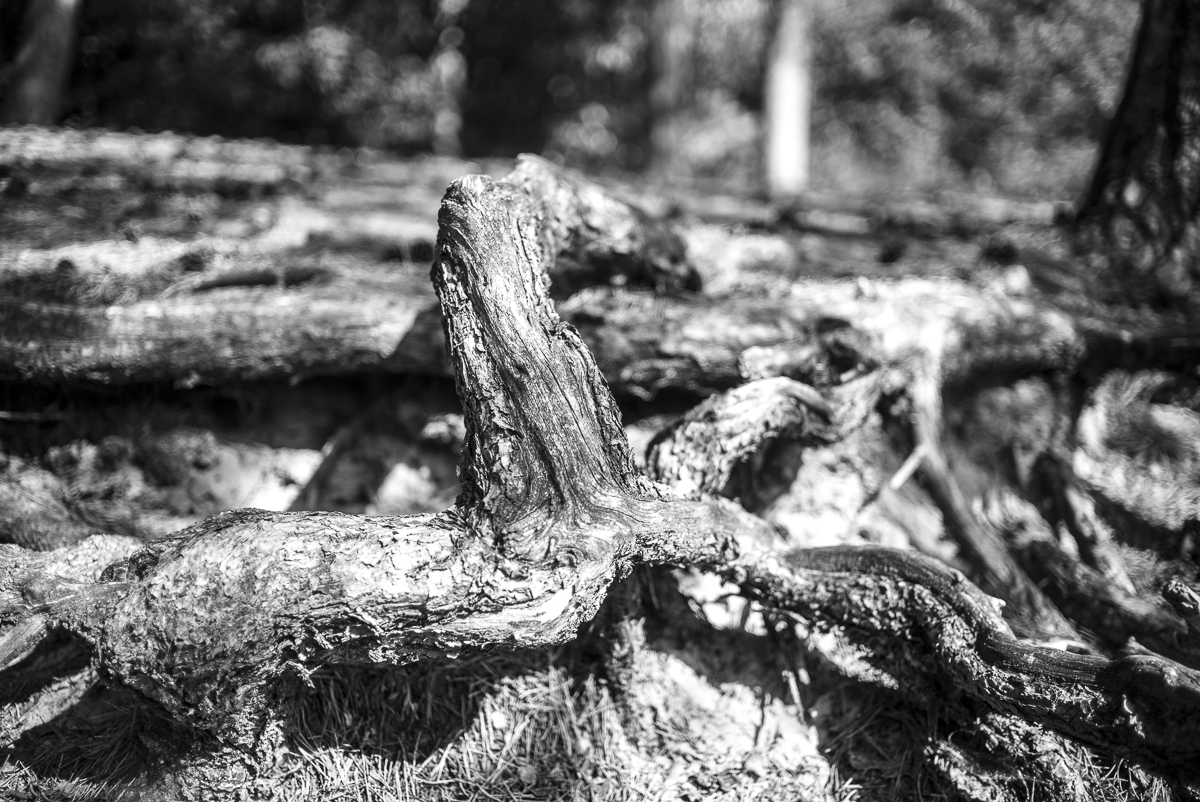
For working with a black and white only camera you need a different mindset! Because with the absence off colour, other things get more important. Now it is about subjet, structure, light, contrast and focus. This camera made me enjoy shooting nature, something I never had done before. Just walking through the forest with some music in my ears searching for structure and little pools of light was almost a zen like experience!
Speaking of focus, the Leica M lenses and focus system are a joy to work with. Even with wider aperture it was easy to get sharp images. The light meter was also easy to use. But mainly I work in Aperture priority mode by setting the speed dial on A.
The Shoot
This weekend I organized the Photo Fun Day with a couple of friends (photographers, MUA and models). The target for the day was shooting nice pictures and have fun with each other. Just a relaxed day to shoot some nice work and no pressure
I loved the camera during the day. It was great for the behind the scenes shots because of the quietness, people don’t notice you a lot working with the camera. And during the production it worked great! We did some shots with flash near the house just using the wall as a background.
For light we used the Elinchrom ELB and LiteMotiv 120 sofbox.
The only thing I don’t like about the Leica M Monochrom for studio use is that you can’t go below ISO320. This means you always have to use small aperture values. This means that you can’t work easily with smaller depth of fields using flash and balancing natural light. Also during the shots in the forrest this gave some issues and challenges.
Later during the shoots I switched back to using natural light only and the camera was killing it! This camera is really build for use with natural light. Or in the studio with studio light only.
Another dislike is the writing speed to the card. It took a while for the camera to write from the buffer to the card. Especially when shooting with small burst. But once you know this you can keep it in mind. It isn’t a camera build for speed.
(Post edit: I got the advice from that faster 90mb/s cards can help)
If you look at the Histogram keep in mind that it shows the histogram of the RAW DNG file and not the preview jpeg. So if you blow out your highlight, it is gone!
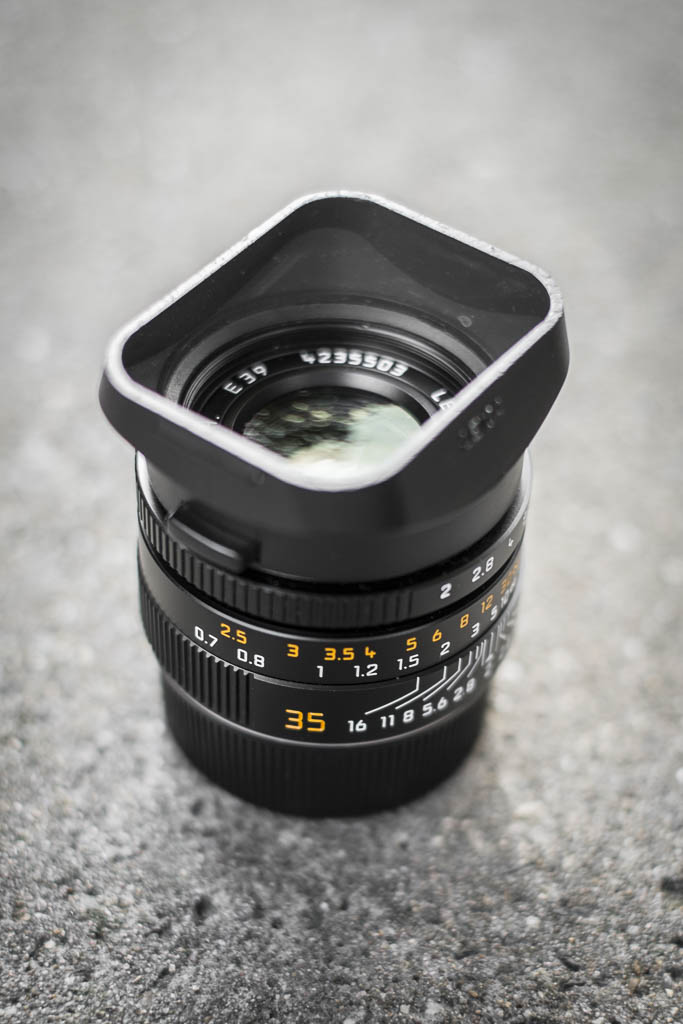
The Summilux 35mm 1.4 asph
The Leica Summilux 35mm 1.4 asph is THE lens for the Leica M system that everybody should buy or start with! I already loved and got used with the 35mm field of view with my Fuji X100. It is for me thefield of view for allround shooting. You can shoot with on the street, landscapes, portraits, wedding, reportage, fashion and everything else. And the Leica Summilux 35mm 1.4 asph is IMHO the lens for this job. It is wide enough to capture a scene, but close enough to not get to much in the scene you don’t want. Low on distortion.
The bokeh is the best I have ever seen! The details are sharp, the transition is butter smooth and the look is killer. Don’t know anything else to say beside I love this lens!!!
The Summarit 75mm 2.4
The Summarit 75mm 2.4 lens was the surprise lens for me. It is a new lens in the Leica range and is targeted as the “Budget” portrait lens. To be honest, I was a little bit skeptical with it. It has a 2.4 aperture and the 75mm focal length. But I was very pleasantly surprised with it. It was sharp, great bokeh, smooth focussing, nice depth-of-field and had a nice compression!
Although it has a 2,4 aperture it has a small enough depth of field for portraits to create a nice out of focus background and large enough to keep the important thing in focus. Especially while focussing manually. Take in mind also that in the studio I hardly never photograph below f5.6. So a really wide aperture isn’t needed.
It think that if you start with Leica and you want a portrait lens, this is the go-to lens and it is definitely on my list!
Working in post
After the shoot I imported everything in Lightroom CC. I first tried Capture One Pro 8 but I noticed it had problems reading some of the DNG files.
In Lightroom the images look a bit flat. But Rob from Transcontinental warned me for this. The DNG shows you the whole dynamic range. So you need to adjust it in LR. But with a few simple tweaks with the blacks, whites, shadows, highlights and clarity sliders the images turned into great contrastfull black and white images.
Even being digital they have a great analog feel, especially when printed. The prints from the Leica M Monochrom could easily been made years a go. But with all the advantages of working digital!
High ISO
Because the days where sunny I didn’t had a lot of chance to shoot en test the camera on high ISO. But the few I shot with it on higher ISO’s where great. No noise, just nice fine grain!
The Conclusion.
The Leica M Monochrom is one of the best camera’s I ever used! Together with the lenses they create some of the nicest photo’s I made this year! It also brought back some joy in photography and let me explore new kinds of photography. Many of this has nothing to do with the technical aspects of the Leica M Monochrom. This camera gave me a new way of thinking and working. It pushes you to higher levels with your photography. Because the camera doesn’t correct all your mistakes with auto-focus, IS, d-lighting and other tricks the only one to blame for bad pictures is yourself. And because the camera gives really detailed photo’s you get those mistakes back, hard a little bit like when I was using the Hasselblad CFV-50c (read more about this here)
Off course there are a few things I would like to improve! The ability to shoot ISO100 natively would be great for really sunny days and studio work. The writing speed to the cards would also help. But beside that I don’t know.
For the people wandering which to get the Leica M of M Monochrom, this is the question to ask: Do you need colour? Personally I would love the Leica M Monochrom, but starting with Leica I would pick the Leica M (type240) to start, because I also do a lot of colour portraits for clients. If I would shoot black and white 95% of the time go straight to the Leica M Monochrom. For the clients who want colour, say you only work black and white. And they will only book you voor black and white anyway because you won’t post any colour work anymore in a long time after buying the Leica M monochrom.
For the people who think it is a way to expensive camera….. yes it is, but a handmade Rollce Royce is also a way to expensive compared to an cheaply mass made asian made car!
If you have any feedback or questions, please post them in de comment section below!
Print for sale
An exclusive selection of pictures are now on sale in the store in limited edition. Click here for more information
Behind the Scenes: Kees Visser Portrait
Hi All,
I made a small time-lapse during the shoot with Kees Visser. It has been made with the SONY HDR AS30V Action Cam on interval modus. The timelapse had been made with Adobe After Effects and Premiere Pro.
Want to have more informative on the hotshoot? read it
Leica Test Drive: Leica M (Type 240)
A few weeks ago Leica announced the Leica test drive. I have always been interested in Leica camera's, but never wanted to invest in it before I could test it. So the Leica test drive was the chance to test out a Leica in a real world situation. So I organised a photohoot to test it out and used it on 2 commercial jobs in the same weekend.
The Leica M (type 240) Kit
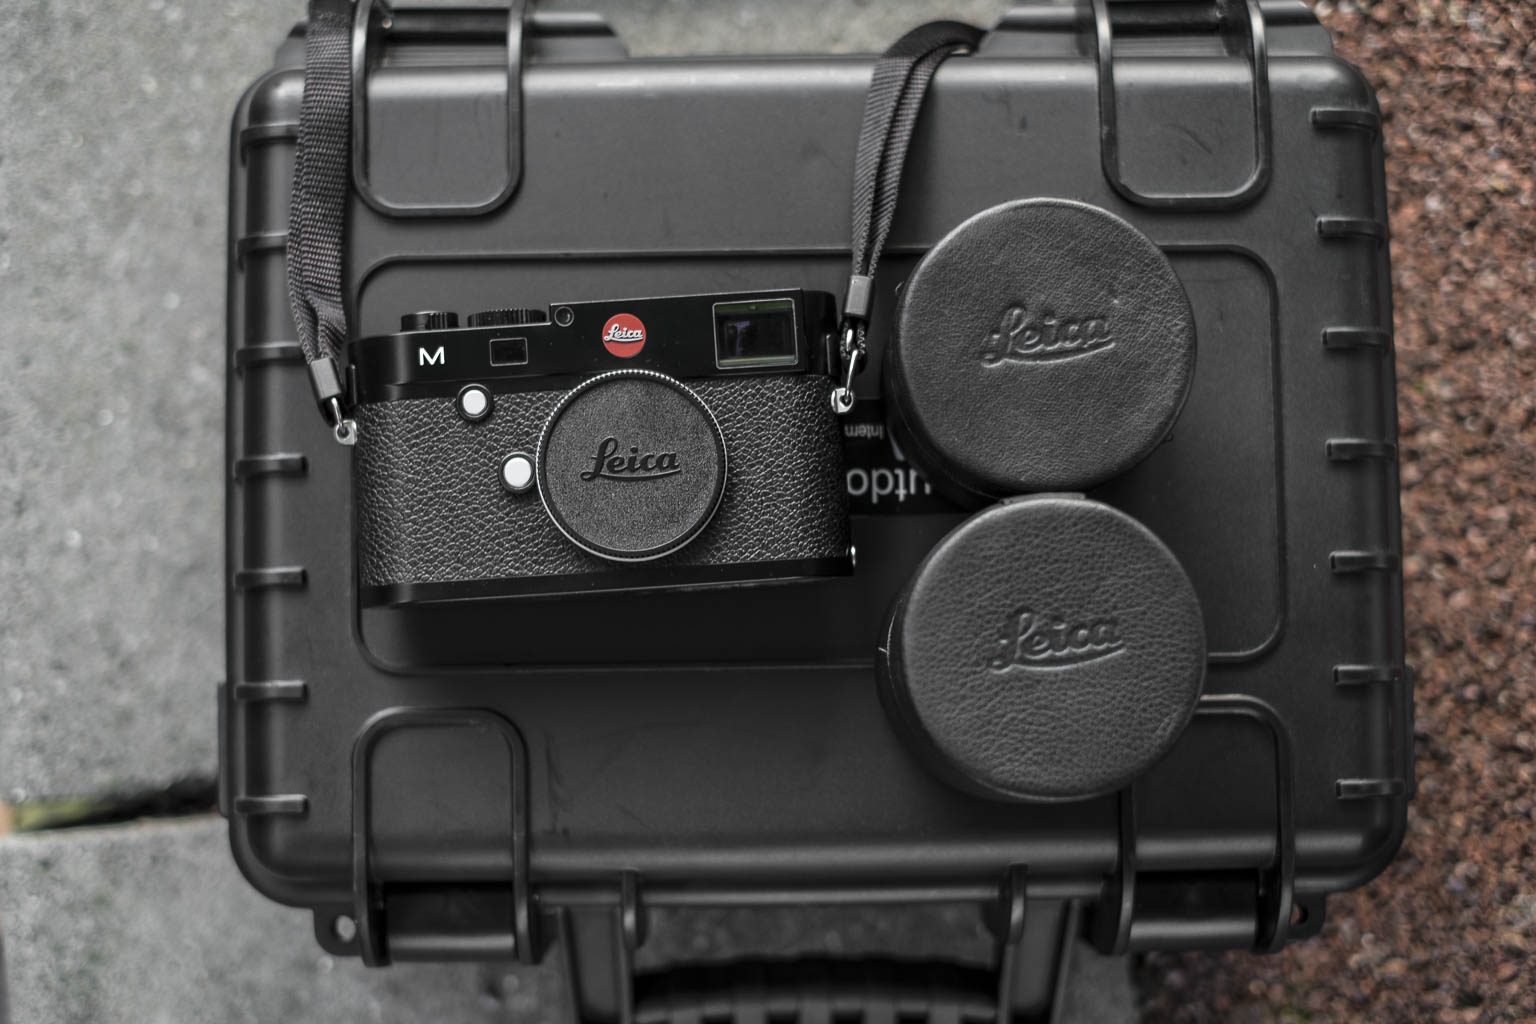
In the Leica test drive kit was the
- Leica M (type 240)
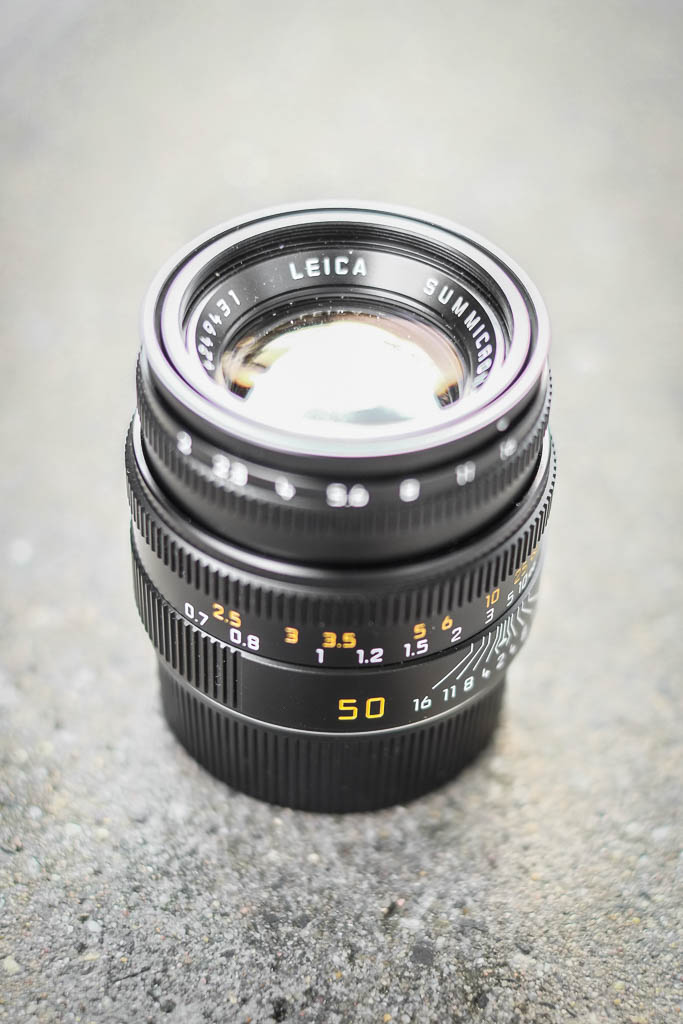
- Leica Summicron 50mm F2.0 ASPH
- Leica Summicron 35mm F2.0
- Leiva EVF2 Electronic Viewfinder
- Charger
- Card reader
- Case
First Look at the Leica M.
The first thing you notice when you hold a Leica is the build quality. These camera's are build like a tank. They don't look ergonomically, but are very pleasant to hold. The further lay-out is really simple. On top is the shutter time and release button, with the on/off switch. With the on/off switch you can also chance from, single to continuous or timer mode. Also there is a small button voor Movie mode which I haven't used. The Hotshoe has a nice slider to fill it up when it isn't in use.
The back panel has a kind of okay LCD screen, the buttons for LV (LiveView), Play(back),Delete, ISO, Menu, set. On the right side is the D-pad with an info button. At your thumb is a wheel for different tasks, like scrolling the menu and exposure compensation. The viewfinder has a small ring without a diopter, which for me as a glass wearing person wasn't the most comfortable.
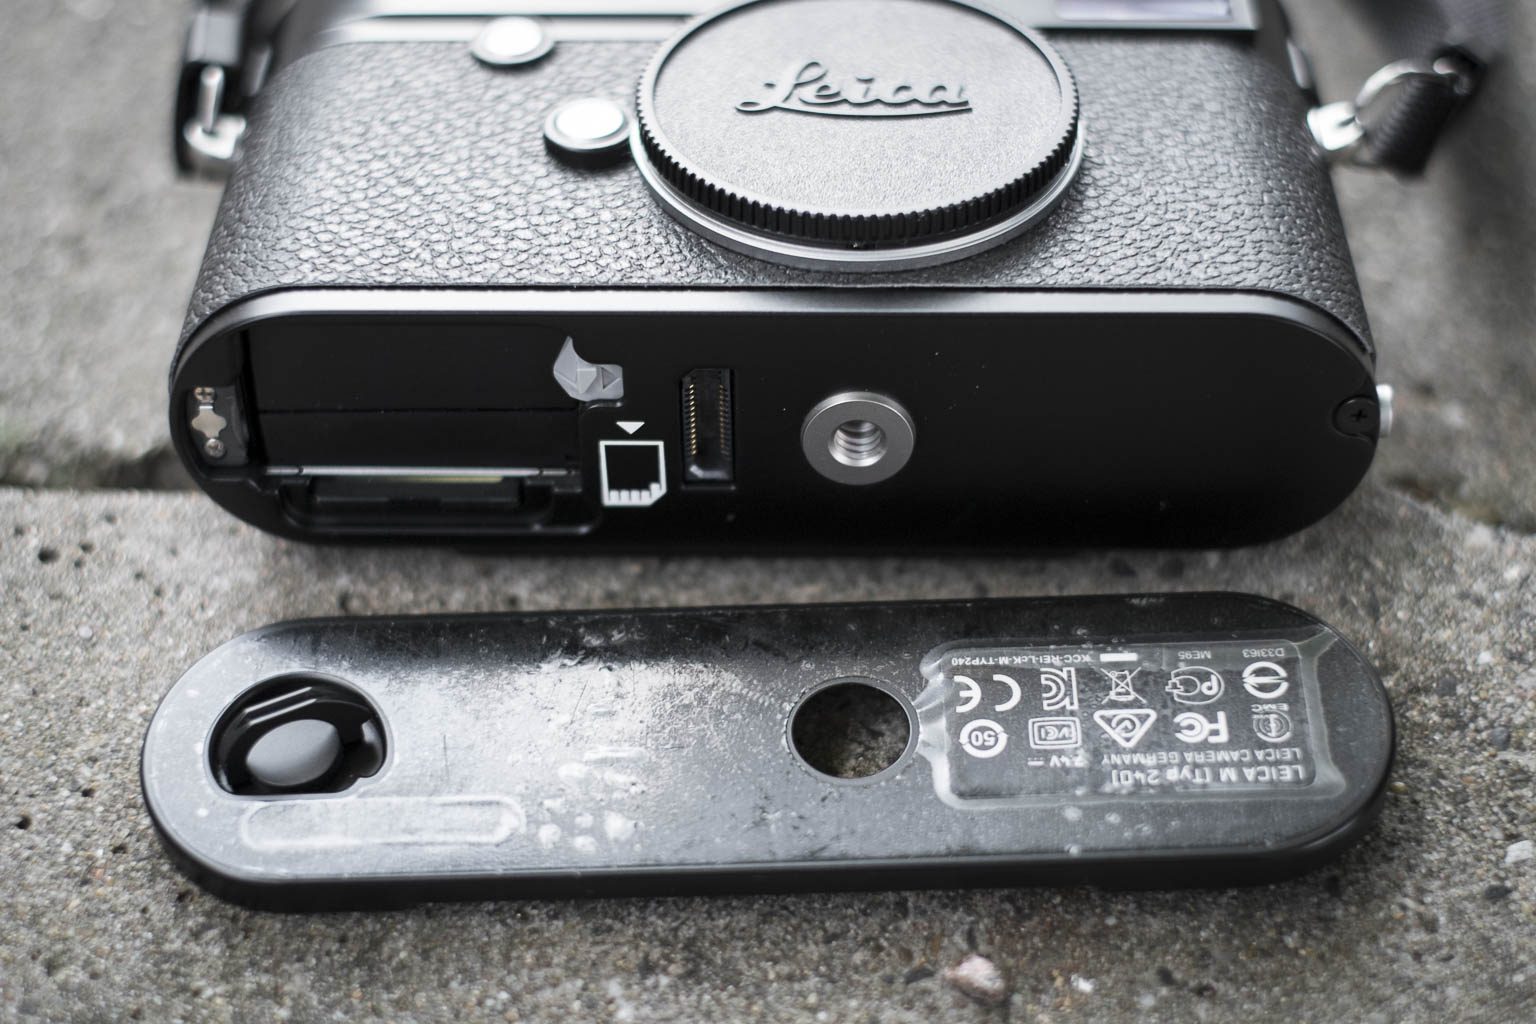
If you unlock the bottom plate you get acces to the SD card and the battery. I am not really fond with this, especially when you want to use it with a tripod. Then you have to unscrew everything before you can change the battery or the SD card.
The Leica Summicron 35
The Leica Summicron 35mm f2.0 is delivered in a greatly designed leather softcase. It had a rubbercap to put on the lens hood for if you don't want to use the lens cap, which you can store in a special part of the lens softcase. The little grip makes it easy to focus with. The focus ring is smooth as butter. The aperture ring is nice but has a little bit of a cheaper feel. I have had lenses where the aperture ring felt better.
The Leica Summicron 50 f2.0 ASPH
The Leica Summicron 50mm f2.0 has the same build quality as the 35mm. I missed the little focus thingy of the 35mm! Which made focussing a little harder. For the people who don't know. This €12.000 camera kit has NO AUTO-FOCUS. But the manual focus system with the two glasses works brilliant! Because it is a range finder you get frame lines in the viewfinder representing the area that is in your frame. The 50mm is for me the longest lens to use with this. For longer lenses I would love to have the Hybrid Viewfinder like the Fuji X-Pro1 has. But for working with the Leica Summicron 50mm is good enough!
The Photoshoot
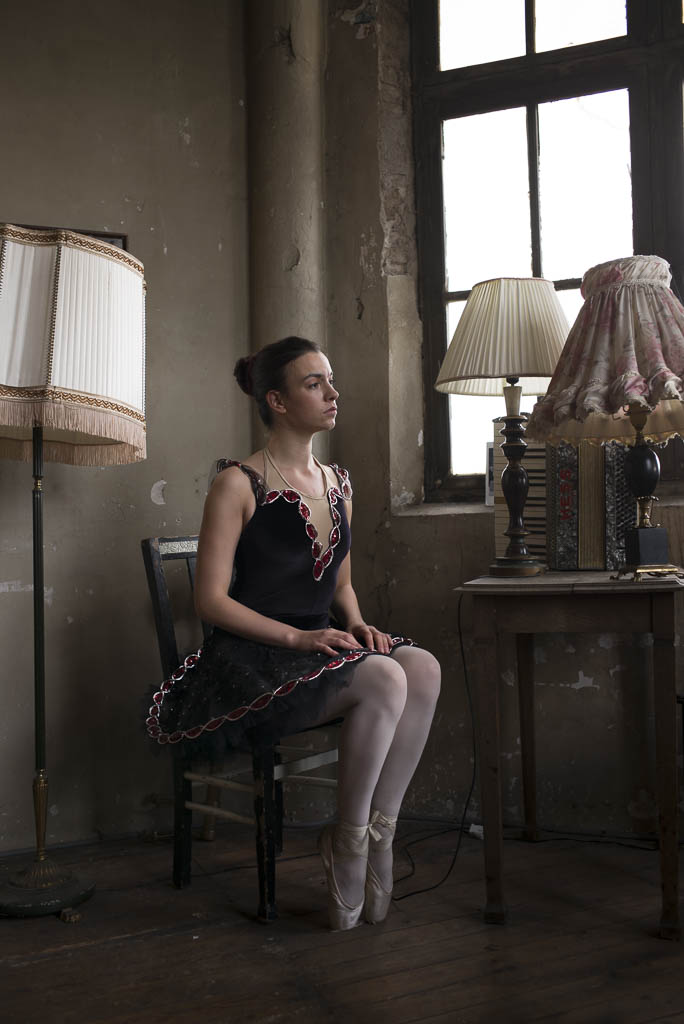
To really test the camera I organized a small photoshoot. I had a lovely Ballerina (Charlotte Geeraerts, two assistants (Mike Foto and Riet Verwoert), a person who filmed it (Ilse van Gemert) and my MUAH Elvira Korten (Made of Make up). For location I rented the Metaal Kathedraal in Utrecht. A behind the scenes video is posted at the end of this blog!
The Images
The most important thing off any camera, the images!
The Leica M has some film simulation. I liked the smooth color the most. It has the "Add the red chanel for contrast" in photoshop look. On the back of the camera it looked great but on the computer the shadows where to dark. Since I always shoot Jpeg+Raw (DNG in de case with Leica) there was nothing to worry about. Below are two images, one is the Jpeg and the other the raw file exported from Lightroom as a Jpeg.
For me the camera worked best in available light. Below are 3 pictures shot only with the ambient window light. Please also notice how much of a difference you can make with just walking around the model!
When I combined flash with natural light the white balance got it pretty right!
Conclusion
I loved working with the Leica M (type 240) with the Summicron 50mm f2.0 ASPH and Summicron 35mm f2.0! Allthough it is manual focussing, it works. The layout of the camera is simple. Everything you need, nothing you don't with a build like a tank body. Everything feels sturdy!
But, is it worth the €12.000 price tag? Well..... for me it's not. That doesn't mean I wouldn't like to have this camera kit, because I really do! But the price is to high for me. I don't see the extra benefit's over my current kit with the Nikon D800 and D610, and my fuji kit. I love the whole feel and look and way of working, but the image quality isn't like, 6 times better than the €2000,- Nikon D610 basic kit.
If I was a fulltime street or reportage photographer this camera would fit like a glove, it is low profile, light, portable. Also for fashion or commercial works it can do the job. It isn't an action camera. Although if you know your technique you can do it!
So my final conclusion. The camera is great, if you have the money, buy it! If you don't, then you don't miss anything. The camera is a tool, the photographers make the difference!
Watch the behind the scenes video of the ballet photoshoot in the Metaal Kathedraal
Dance photography session Part 1: The headshots
In the upcoming blogs I am going to take you through the process of a dance photography shoot. A few weeks a go I got the call from Djenz Factor that they needed new promotional photo's for their new website. Having worked with them multiple times before I knew this was going to be fun! For location we have been to the area of the Lichtfabriek in Haarlem. Because that is where the new dance studio is going to be. We wanted to start with an outside session. It is in an old industrial area so it is really nice. The only thing that was looking to be a problem was the weather, but it was great weather that evening! We started with the head shots of the creative team
The Set up
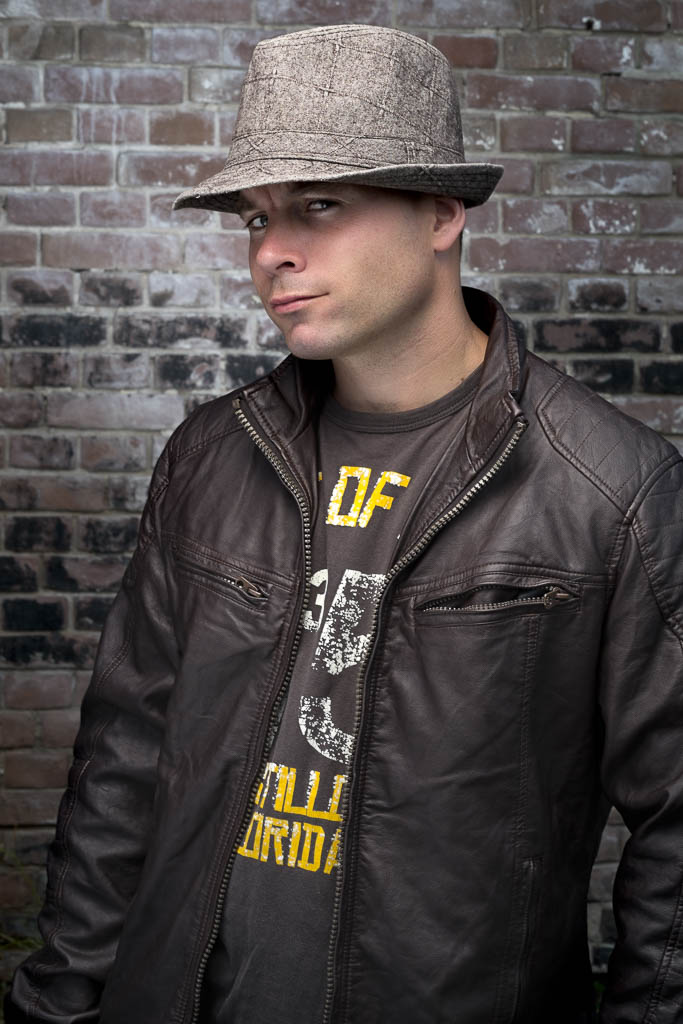
For the Headshots I used a fairly basic setup. On the location we found this lovely brick wall to use as a background. For the lighting I used my Elinchrom Quadra set with A heads. The main light was in the A port with the 100 Rotalux octa soft box. I Also placed a second light on the background, that was in the B port with the Elinchrom 18cm reflector and grid, so it had a little bit of a natural vignette. To have a little bit of fill I used a silver reflector handheld by my assistant. For camera I was using the Fuji X-pro1 with the Fuji 56mm 1.2 lens. I was really happy to use it for the first time on a job. Setting were: raw+jpeg fine, F10, 1/125 ISO 100.
Going to Post
When I first opened the files in Lightroom I was really impressed by the jpegs of the camera. They where so good that I even have delivered some pure jpeg's to my clients. I also noticed that the Lightroom Fuji profiles are still of and not matching enough for my taste. For post I really have speeded up my workflow. In the past I was using Nik Color Efex pro a lot, but the loading time was getting to long for me. When I just have to do a few pictures it is no problem, but when you have to do around 50, it is too long. So I have started to create some actions to speed everything up.
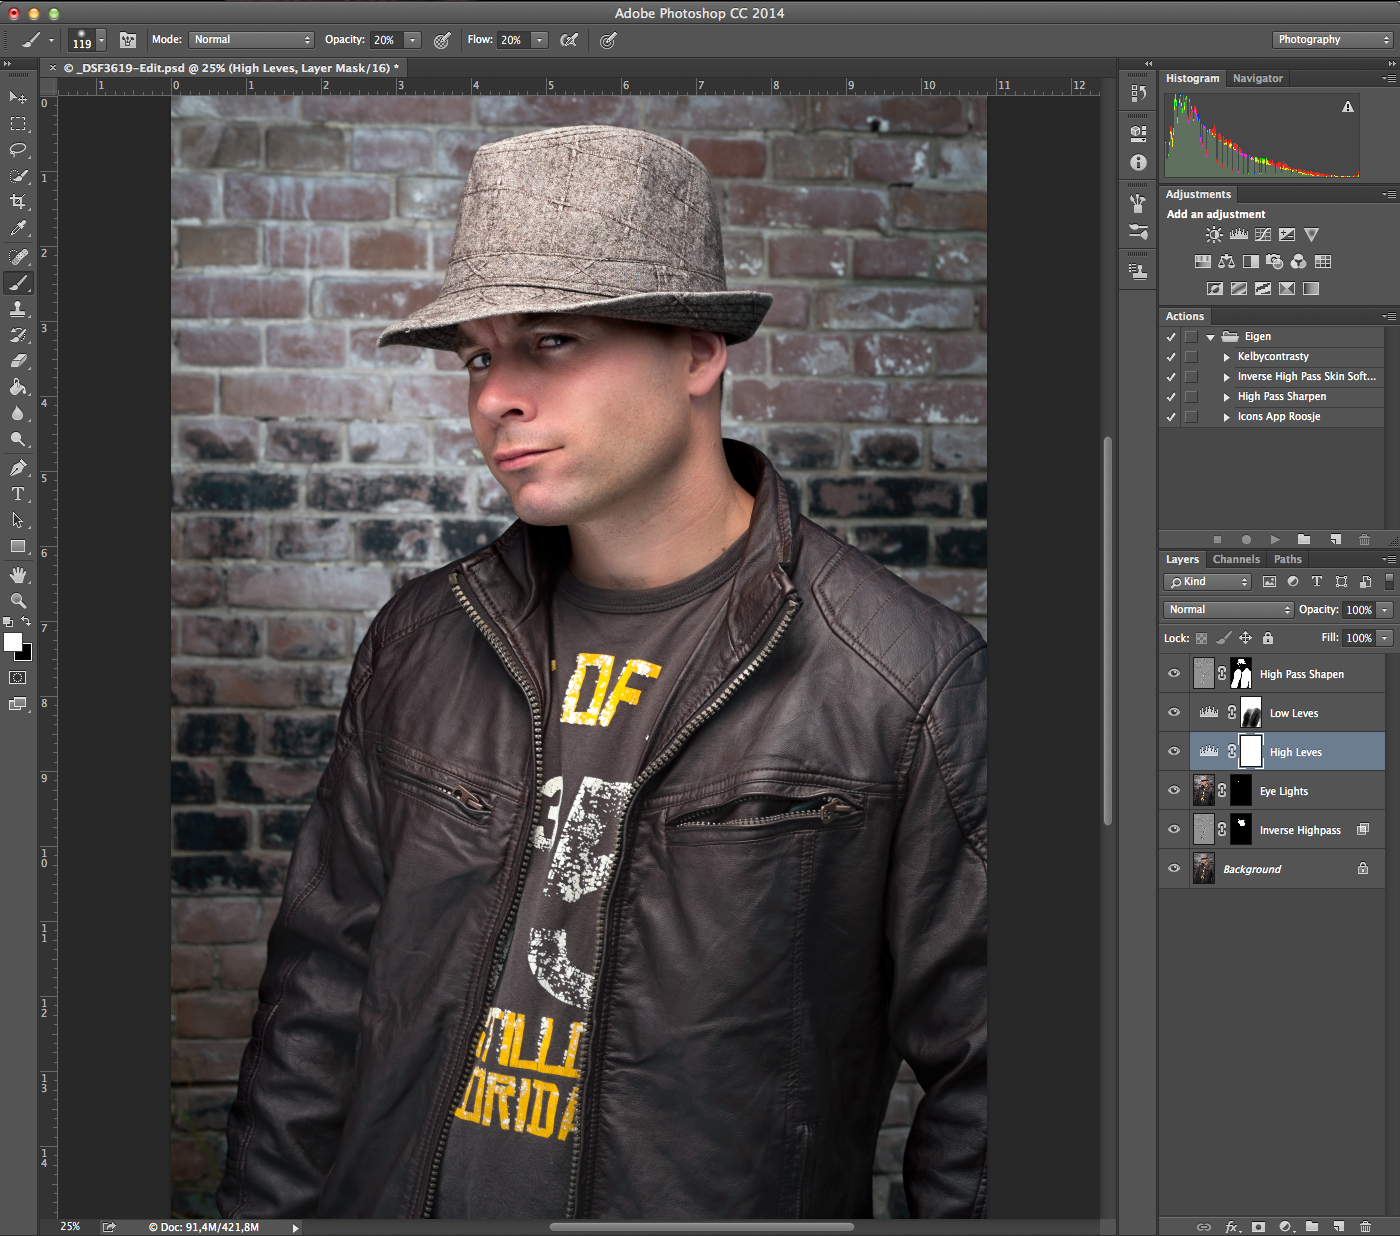
I first started to remove some of the basic blemishes with the healing brush. After that I used the Inverse High pass skin softening action. Which is based on a technique I learned from Scott Kelby on KelbyOne. It gives a nice skin in just a few seconds. After the skin was done I wanted to make the eyes pop a little more. So I created another layer, set it to screen and hidden it with a layer mask. Than used a brush to reveal it on the eyes and used the opacity to make it look more natural. To add a little more contrast I made two level adjustments and painted them in the Layer masks. To finish it off used the High Pass filter to give it a little more sharpness on some areas.
Done
And that was all I did. If you have any questions post a reaction down below!
Making-off: Sandra Radio Kootwijk
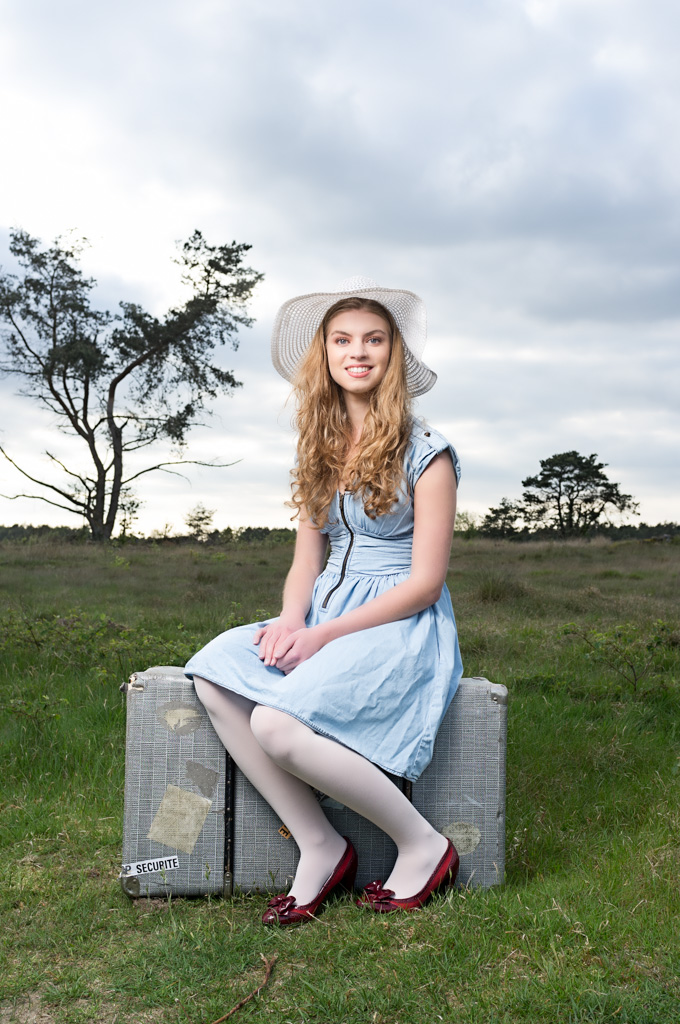
Vorige week donderdag had ik de kans om een shoot te doen bij Radio Kootwijk. Deze prachtige locatie leende zich perfect voor verschillende achtergronden. De stijling heb ik samen met het model en mijn vaste visagiste Elvira samen gesteld.
De gear die ik gebruikt heb bestond uit:
- Elinchrom Quadra A set
- Elinchrom Rotalux Octa 100cm
- Elinchrom Skyport
- Canon 5D mkII
- Canon 24-70L 2.8
- Fuji X100
- Jnbei C-Stand
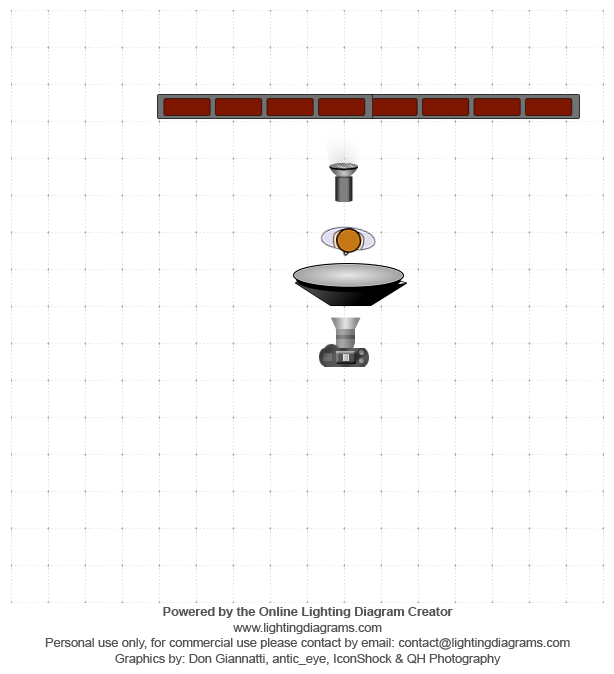
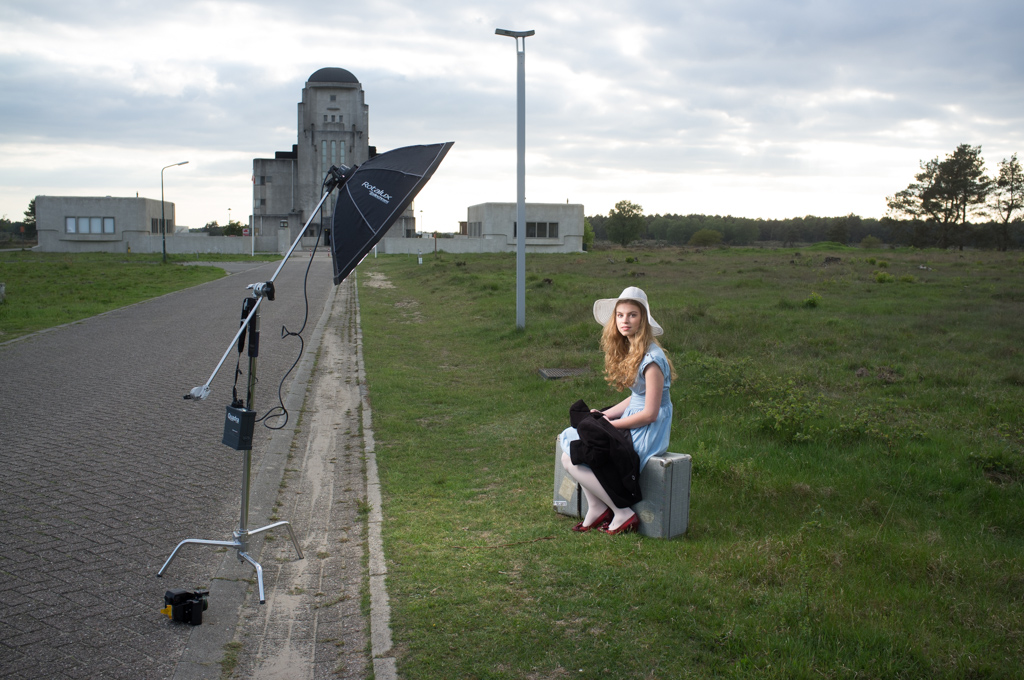
Hierboven zien jullie de opstelling. Eigenlijk en hele simpele. De Elinchrom Quadra op het B-kanaal met de Elinchrom 100cm Rotalux Octa softbox met beide diffusers.
De camera stond ingesteld op Iso 160, 1/160 op f5.6. Het balanceren van de lucht met de flitser is de grootste uitdaging. Ik heb eerst de lucht gemeten en hier de flitser op aangepast. Gedurende de shoot veranderen de sluitertijd continu door de wisselende hoeveel zonlicht. Omdat de zon zakte werd deze steeds langer en de ISO hoger.
In post is er eigenlijk niks anders gedaan dan wat verscherping en wat plekjes weg gehaald.
Time worker: How it's made
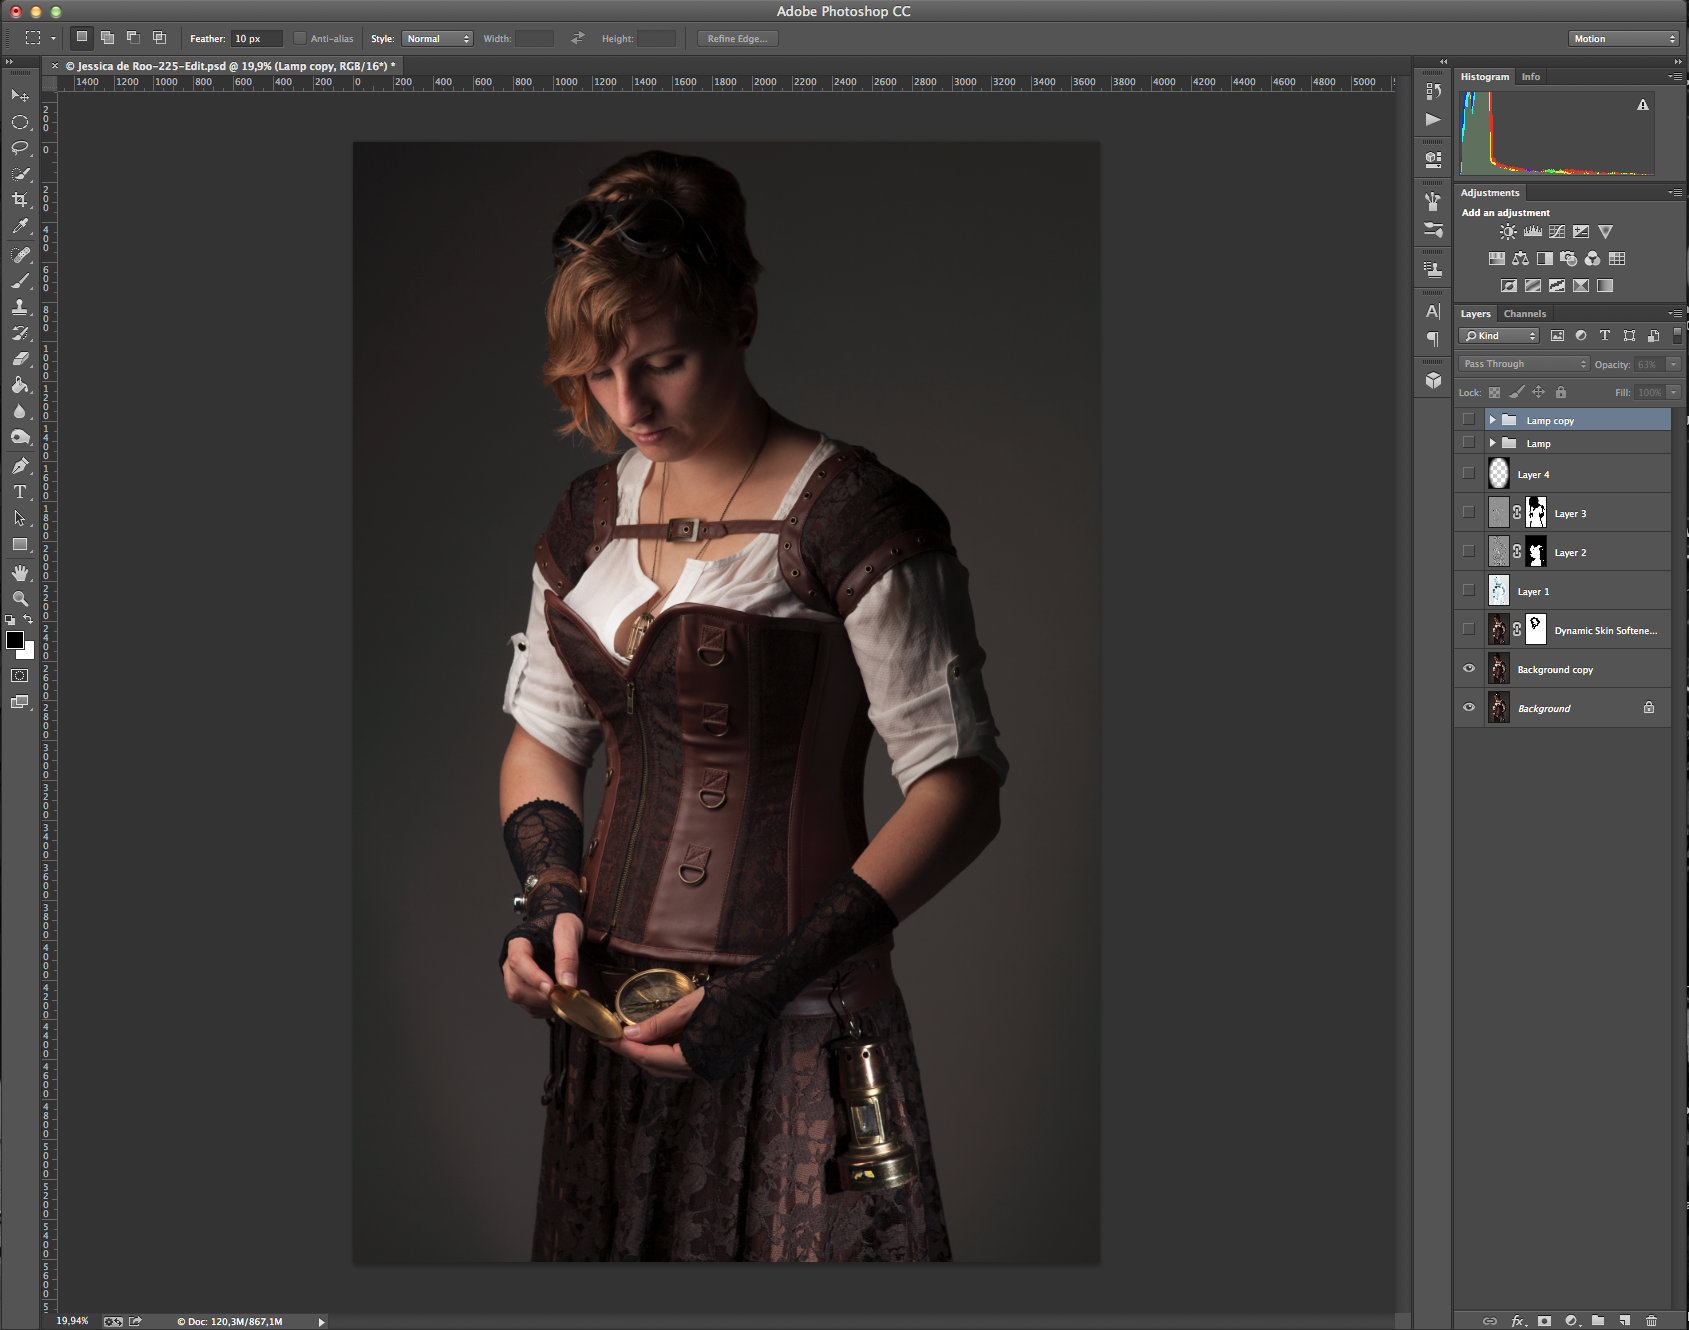
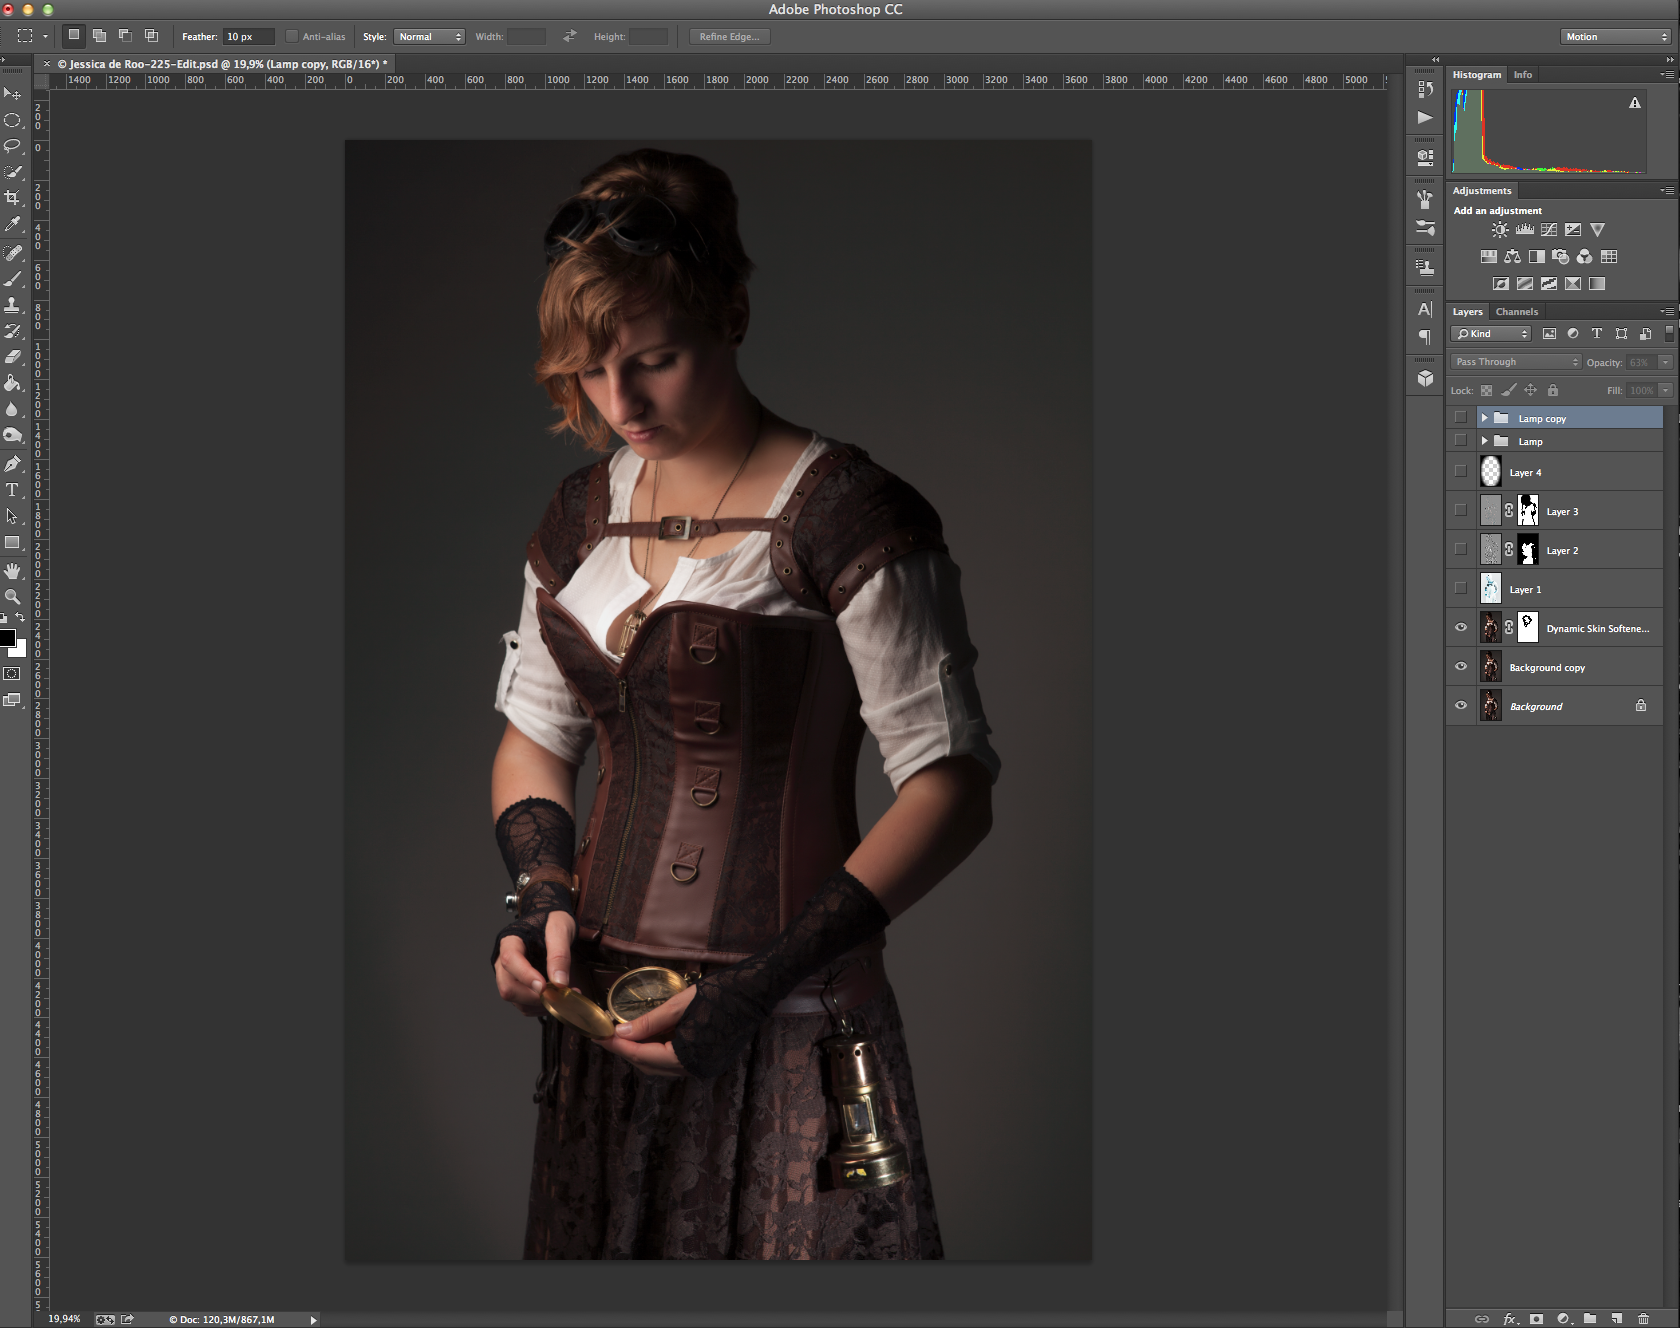
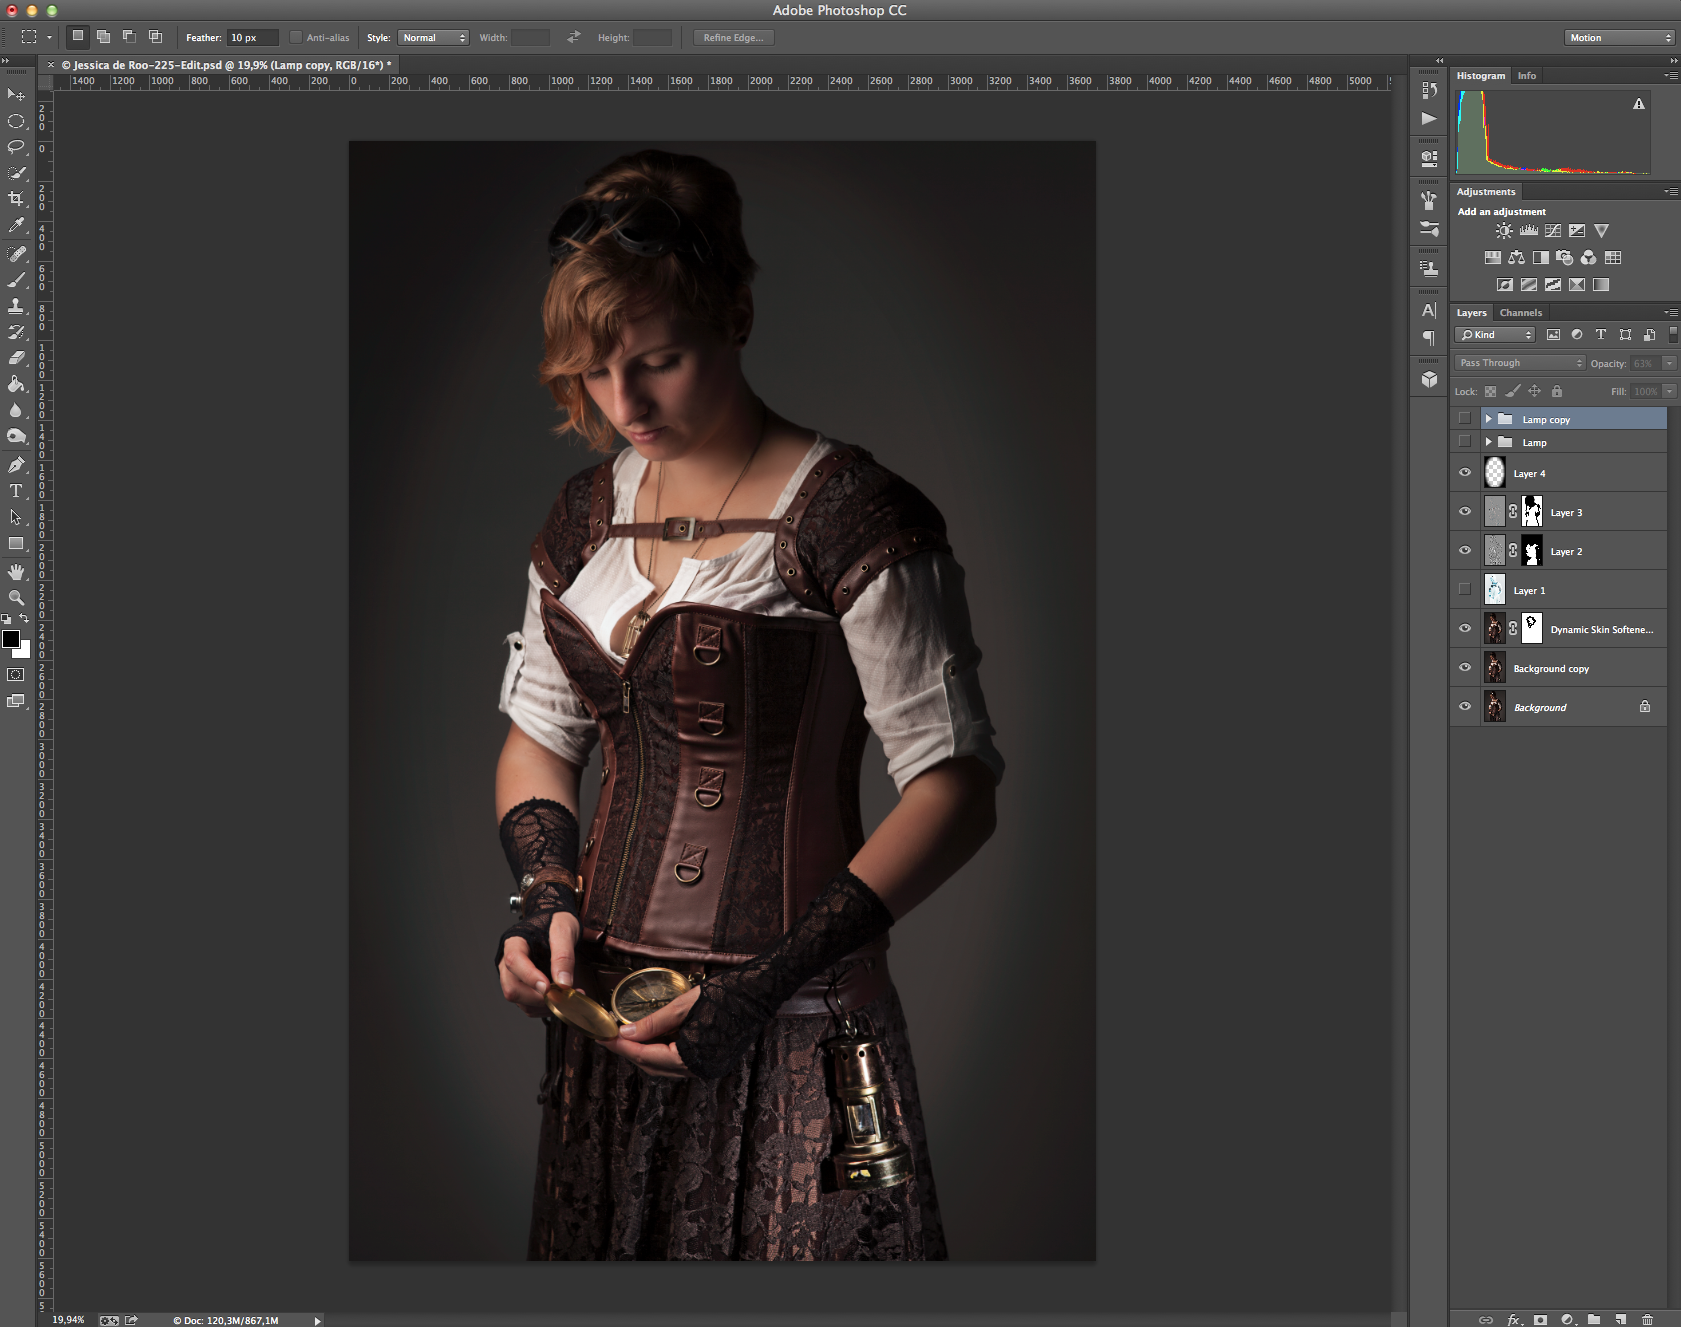
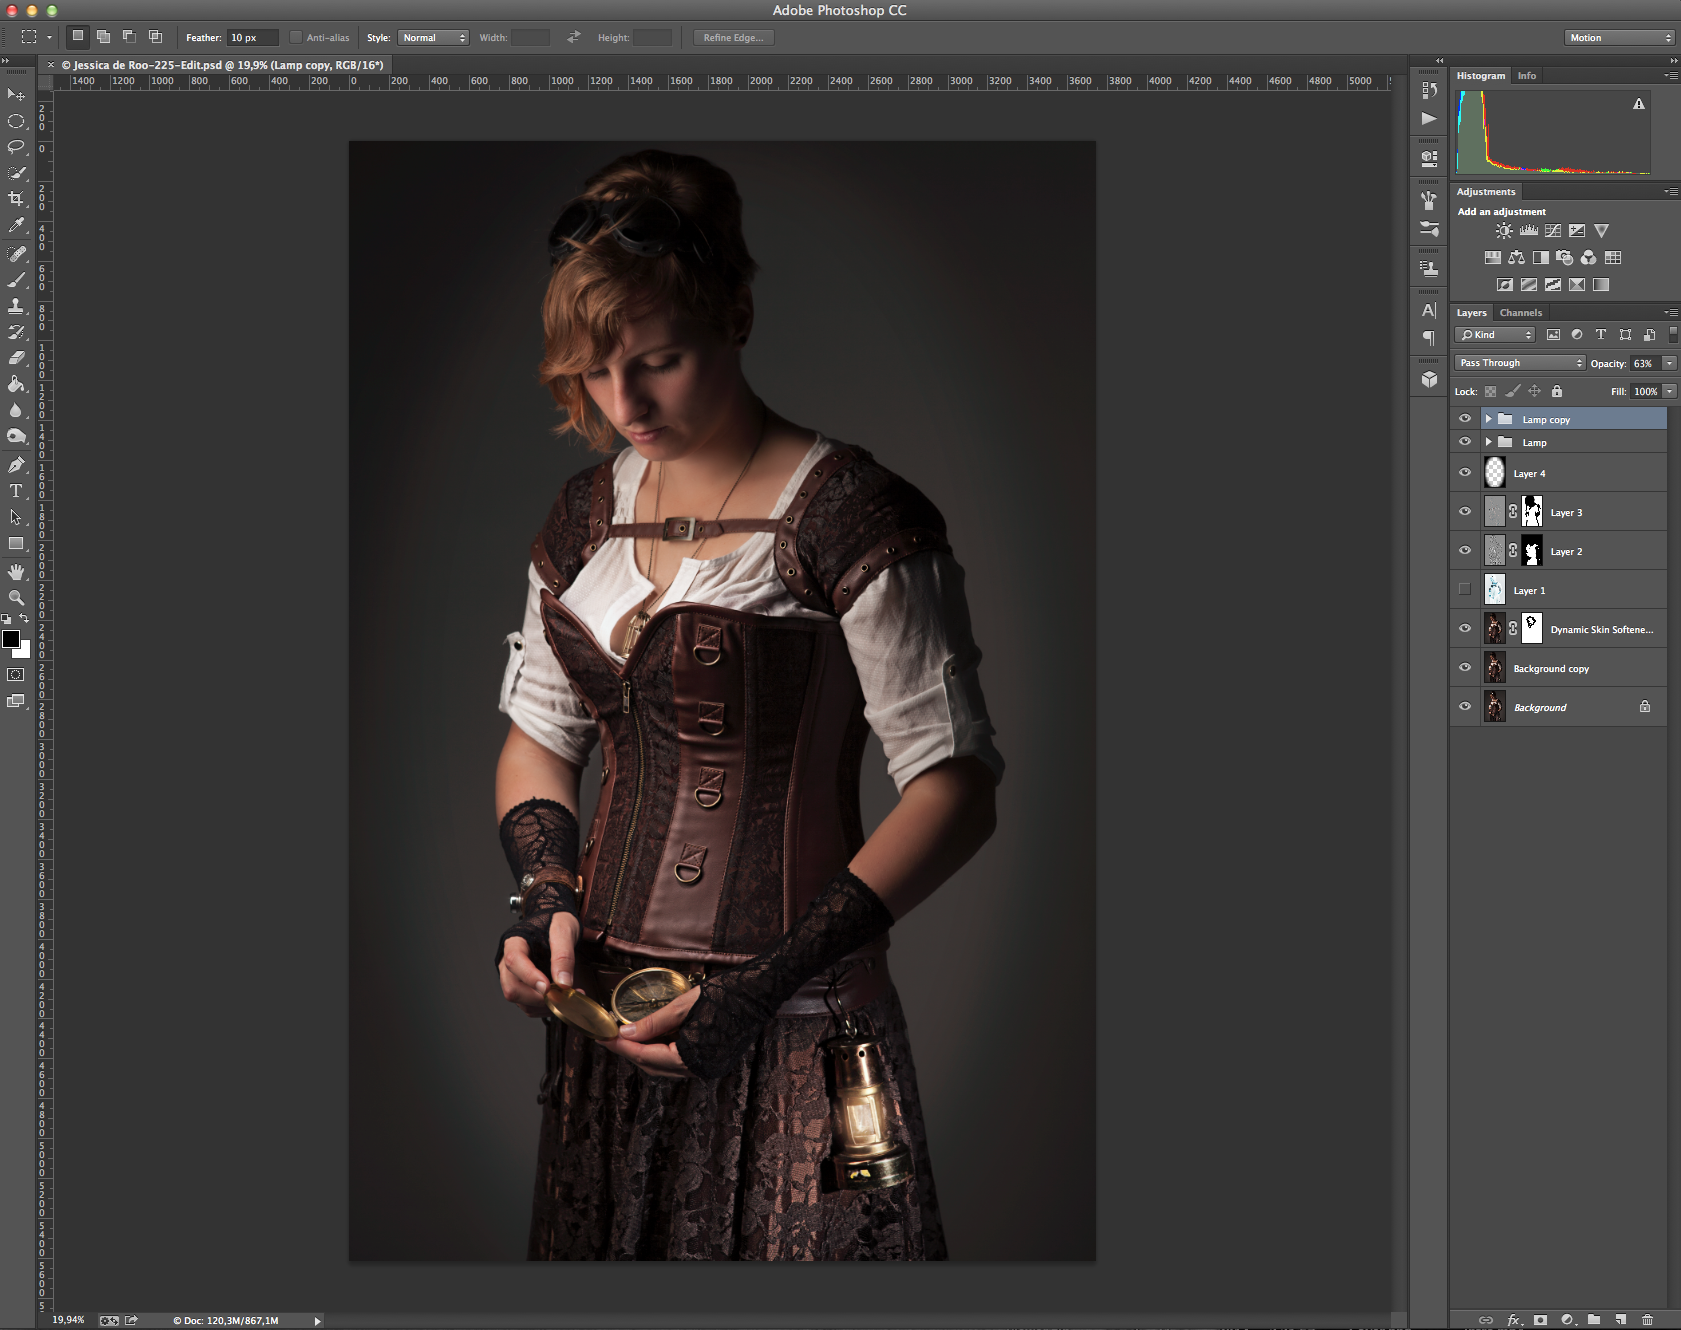
Vandaag wil ik jullie laten zien hoe ik de Time worker gemaakt heb. Het kostuum heeft het model zelf samengesteld en gebruikt zij bij role playing en fairs. Ik had haar via via op internet gevonden en het leek me leuk hier iets mee te doen.
De belichting

Een goede basisfoto is het belangrijkste wat er is. Het bouwen van de juiste belichting was even zoeken, maar de volgende opstelling heb ik gebruikt:
1. Dit is een Elinchrom BRX250 met een Elinchrom Rotalux 35x90 strip softbox. Dit was de fill die ik gebruikte omdat de grid te weinig van het kostuum belichte. 2. Dit is een Elinchrom RX One met een Elinchrom 18 cm refelector met grid. Dit was de lamp waar mee ik begon. Hij is zo gericht dat je ook goed het kompas kunt zien. 3. Om de lantaarn het effect te geven alsof deze ook echt licht geeft, heb ik een YoungNuo YN-560II flitser gebruikt in slave mode met een Honel ¼' grid.
Nabewerking
Ik ben geen grote fan van al te veel Photoshoppen en nabewerking, met een foto als dit heb je het "gevaar" snel over de top te gaan en dat wilde ik juist niet. Ik wil altijd dat het nog een beetje een echte feel blijft houden.
Stap 1: De basis foto heb ik eerst gekopieerd en de meeste vlekjes en dergelijk weg gehaald.
Stap 2: Met Nik Color Efex pro heb ik Dynamic skin softening gebruikt om de huid te verzachten
Stap 3: Ik heb het fijne contrast verhoogd met een laag en extra verscherping toegevoegd met een High Pass filter
Stap 4: Voor een wat donkerdere look en om je ook meer naar het onderwerp te brengen heb ik een vignette gemaakt
Stap 5: Als laatste finish wilde ik dat het lampje en meer glowing/brandend effect had, Dit heb ik aangebracht met curves. 1 laag voor het licht en de andere voor de kleur.
Overig gebruikte gear en instellingen
Camera: Canon 5D Mark II Lens: Canon 24-70 2.8
Instelling: Iso: 100 Diafragma: f8 Sluitertijd: 1/125 Witbalans: Flash
Trigger: Elinchrom Skyport Lichtmeter: Gossen Digisky Achtergrond: Standaard witte rol achtergrondpapier 2.75 meter breed
De Dijk Scootmobielen
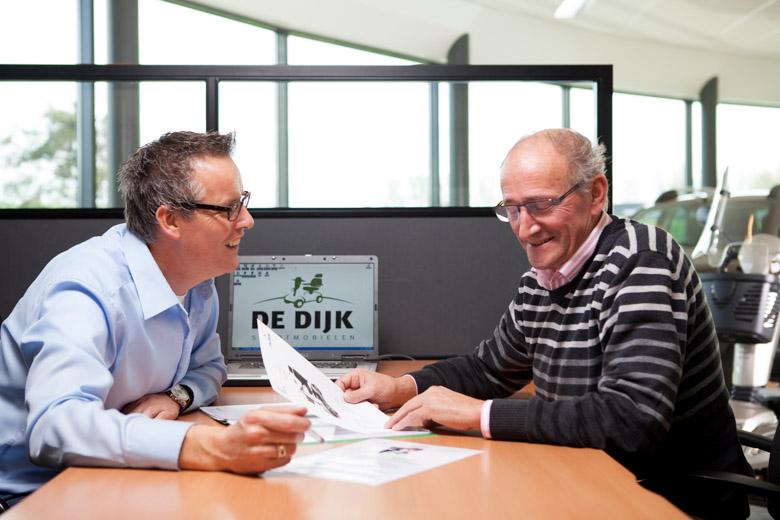
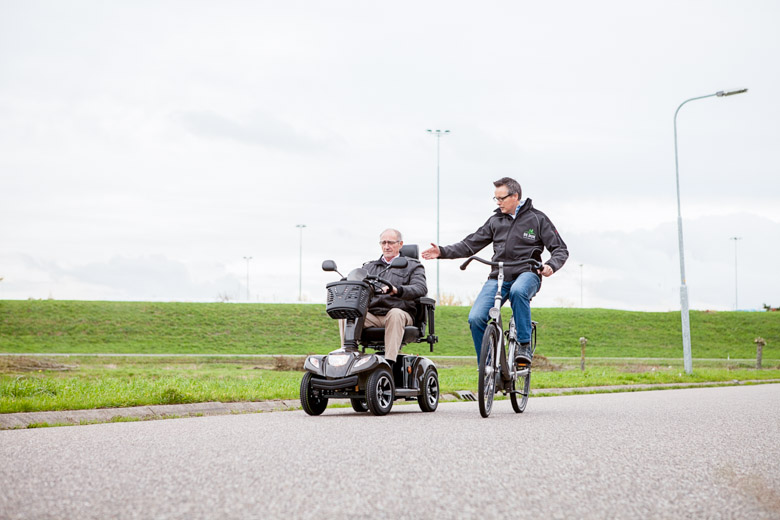
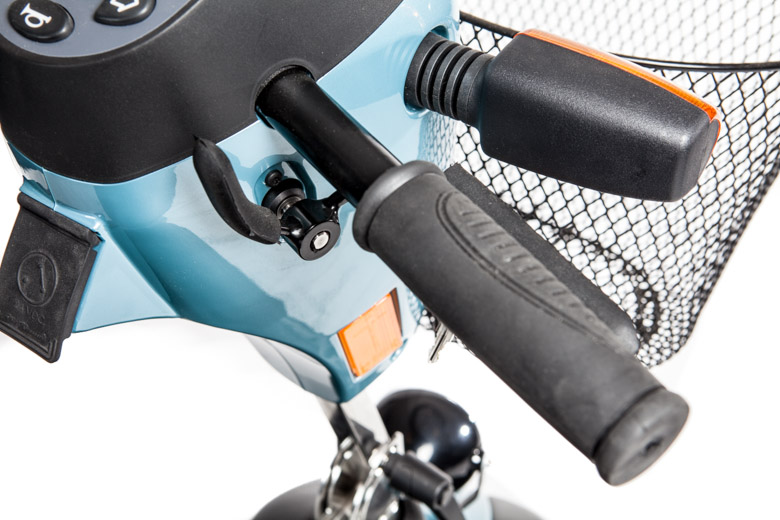
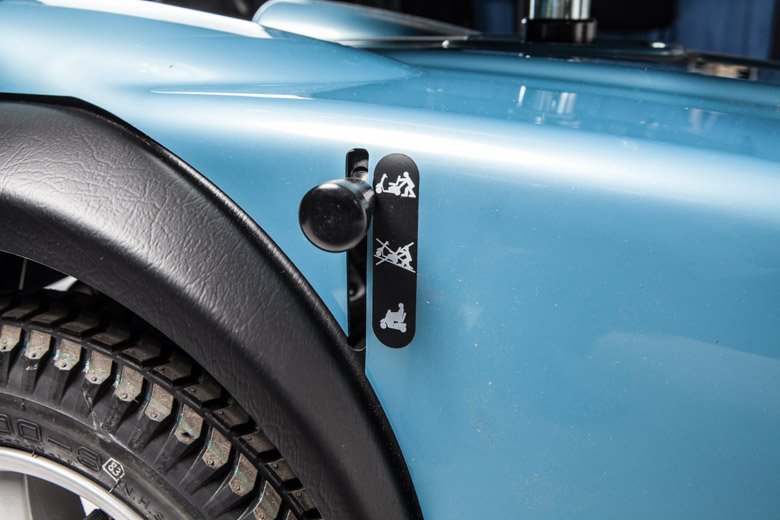
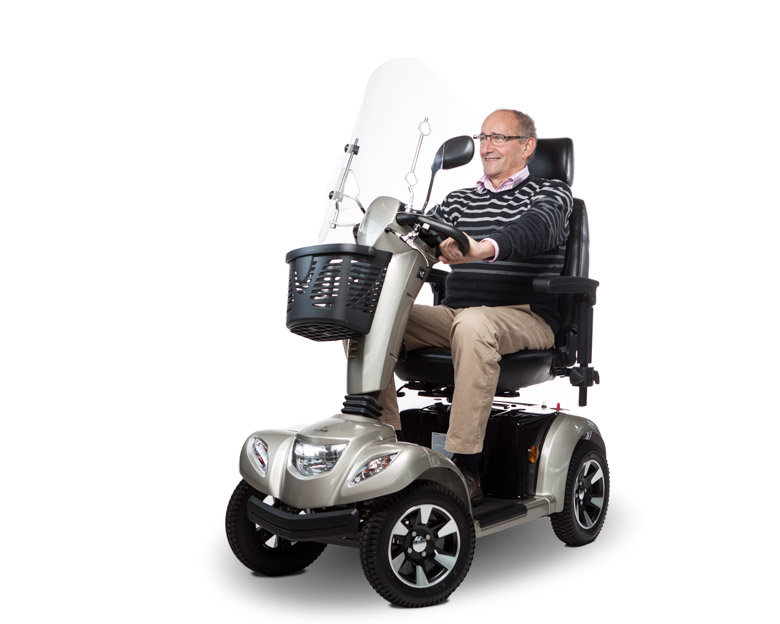
Het is al weer even geleden dat ik de shots gedaan heb, maar nu mag ik eindelijk er over posten! Naast mijn werk met muzikanten en dansers doe ik de laatste tijd ook meer commerciële fotografie voor bedrijven. De Dijk Scootmobielen is één van mijn klanten. Voor de Webshop en promotie materiaal van De Dijk Scootmobielen was er nieuw materiaal nodig. Er moesten nieuwe foto's van de scootmobiels gemaakt worden en een aantal foto's er om heen over De Dijk Scootmobielen.
Sfeer foto's
Als eerste is er een serie sfeer foto's gemaakt. Voor de foto's in de showroom is er 1 grote Elinchrom Rotalux 90 x 110 softbox gebruikt met een Elinchrom BXR250 lamp. Als eerste heb ik een balans gemaakt tussen de personen en het dag licht. Later is er nog en extra lamp geplaatst op de Scootmobiel op de achtergrond. Voor de foto's buiten is er alleen gebruik gemaakt van Natuurlijk licht
Producten
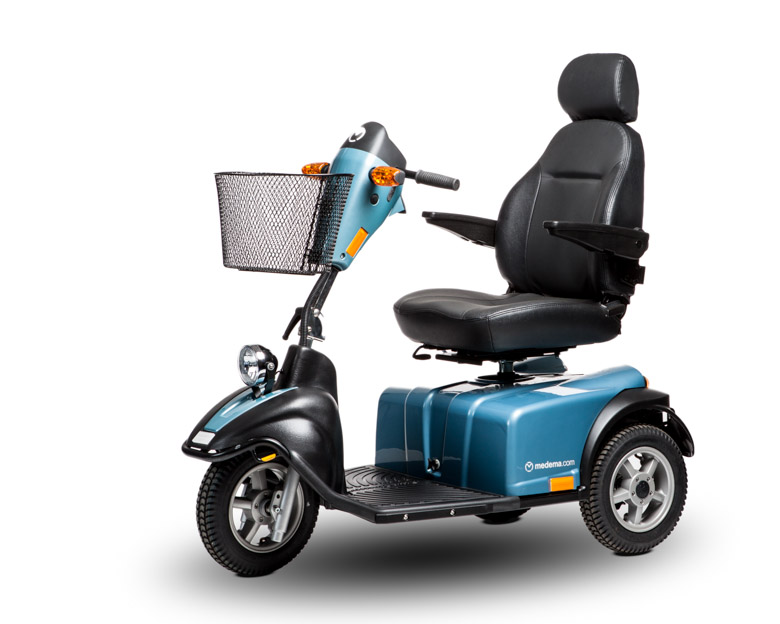
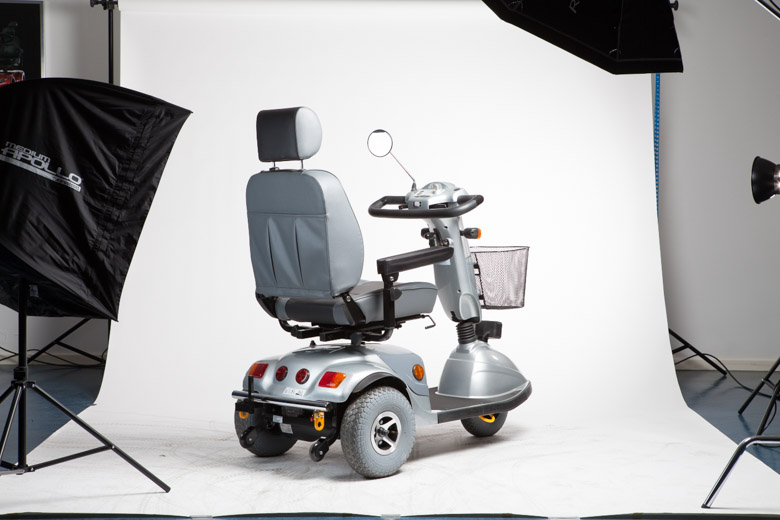
Vervolgens zijn wij verder gegaan met scootmobielen. Omdat deze niet naar de studio gebracht konden worden heb ik de studio in de showroom gebouwd. Tevens omdat niet alle modellen in de showroom stonden heb ik ook een sessie bij de importeur gedaan. Mede hierom was het belangrijk alles goed uit te meten om zo de zelfde kwaliteit te houden.
De opstelling was het volgende:
- Elinchrom BXR250 met Rotalux 90x110 softbox op een C-stand van boven
- Falcon Eyes FN-300 op de achtergrond
- YongNuo YN-560II in een Apollo 28" als extra lamp voor details
Nabewerking
Na de shoot zijn alle foto's op de zelfde manier nabewerkt.
De Sfeer foto's:
- Eerst in Lightroom 5 verscherpen en globale aanpassingen
- Daarna in Photoshop CC eventueel afleidende onderdelen in de achtergrond verwijdert.
Productfoto's
- Eerst in Lightroom 5 globale aanpassingen als verscherpen, wit balans en contrast
- Daarna in Photoshop CC alle achtergronden puur wit egemaakt en de schaduwen vervangen
Na de bewerking zijn alle foto's in web en hoge resolutie naar de klant gegaan.
Anatomie van een commerciële shoot
Deze week de anatomie van een commerciële fotosessie. Afgelopen week heb ik voor Dani Bridal haar eerste door haar ontworpen bruidsjurk gefotografeerd. De foto's gaan gebruikt worden voor de folders, website catalogus etc.
Eerste contact
Na het twee telefoongesprekken hebben wij een afspraak gemaakt bij de klant thuis. Tijdens dit gesprek hebben wij alle opties en wensen van de klant besproken. Onderdelen die hierin besproken zijn onder andere:
- wie ben ik
- wie zijn zij
- waar gaan de foto's voor gebruikt worden
- de look
- mogelijke datums
- kleding en te gebruiken rekwisieten
- het model
Dit is ook het moment waar je de klant veel ideeën kan aanbrengen voor hoe het eventueel ook zou kunnen. Of als de klant helemaal nog geen idee heeft deze aandragen. Tevens was dit ok een moment waarop ik een bevriend designster kon aandragen voor hulp bij het logo.
Week erna
De week erna begint het telefoneren. Als eerste is het belangrijk of de locaties beschikbaar zijn. Maak hierbij zowel een A, B als C plan. Vervolgens kijk welke extra personen er waneer beschikbaar zijn. Denk hier bij aan assistentes, visagie, modellen. Als je dit in kaart heb kan je met de klant de definitieve datum bespreken en vervolgens iedereen vast leggen voor dat moment.


