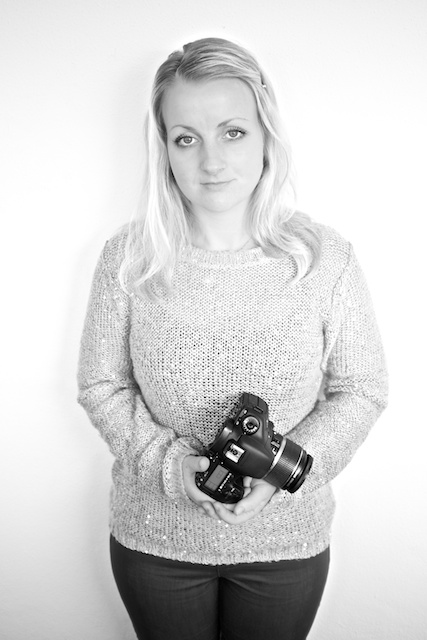
Why hire a photographer for your website?
Sometimes I get the question why they need to hire a photographer for there promotional outings while they can use Stock photography for way less. Well see the answer below!


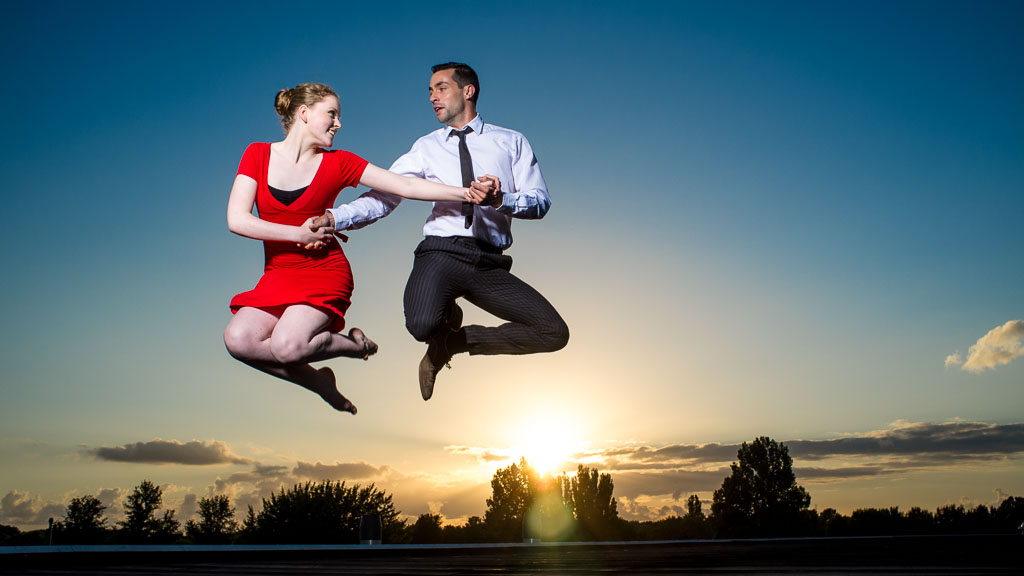
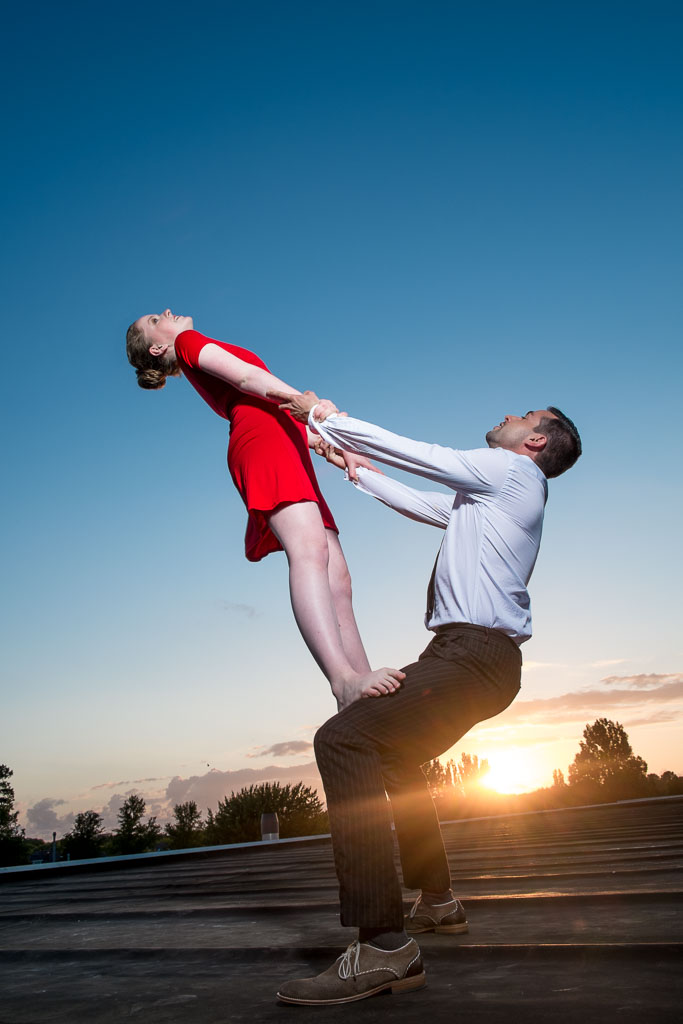
These are two completely different companies both selling websites. But both with the exact same set of images. This is where photographers come in! We (photographers) create photo's that tell your story and bring your image across to your target costumers. Without the chance that a competitor has exactly the same set of photo's.
And this is just one case of a website with the same set of images, but in everyday life I see it on a daily base. A lot of small companies with the same of the shelf logo's, business cards, websites, etc. While as a company it's important to be unique and have your own identity and image
Leica Test Drive: Leica M (Type 240)
A few weeks ago Leica announced the Leica test drive. I have always been interested in Leica camera's, but never wanted to invest in it before I could test it. So the Leica test drive was the chance to test out a Leica in a real world situation. So I organised a photohoot to test it out and used it on 2 commercial jobs in the same weekend.
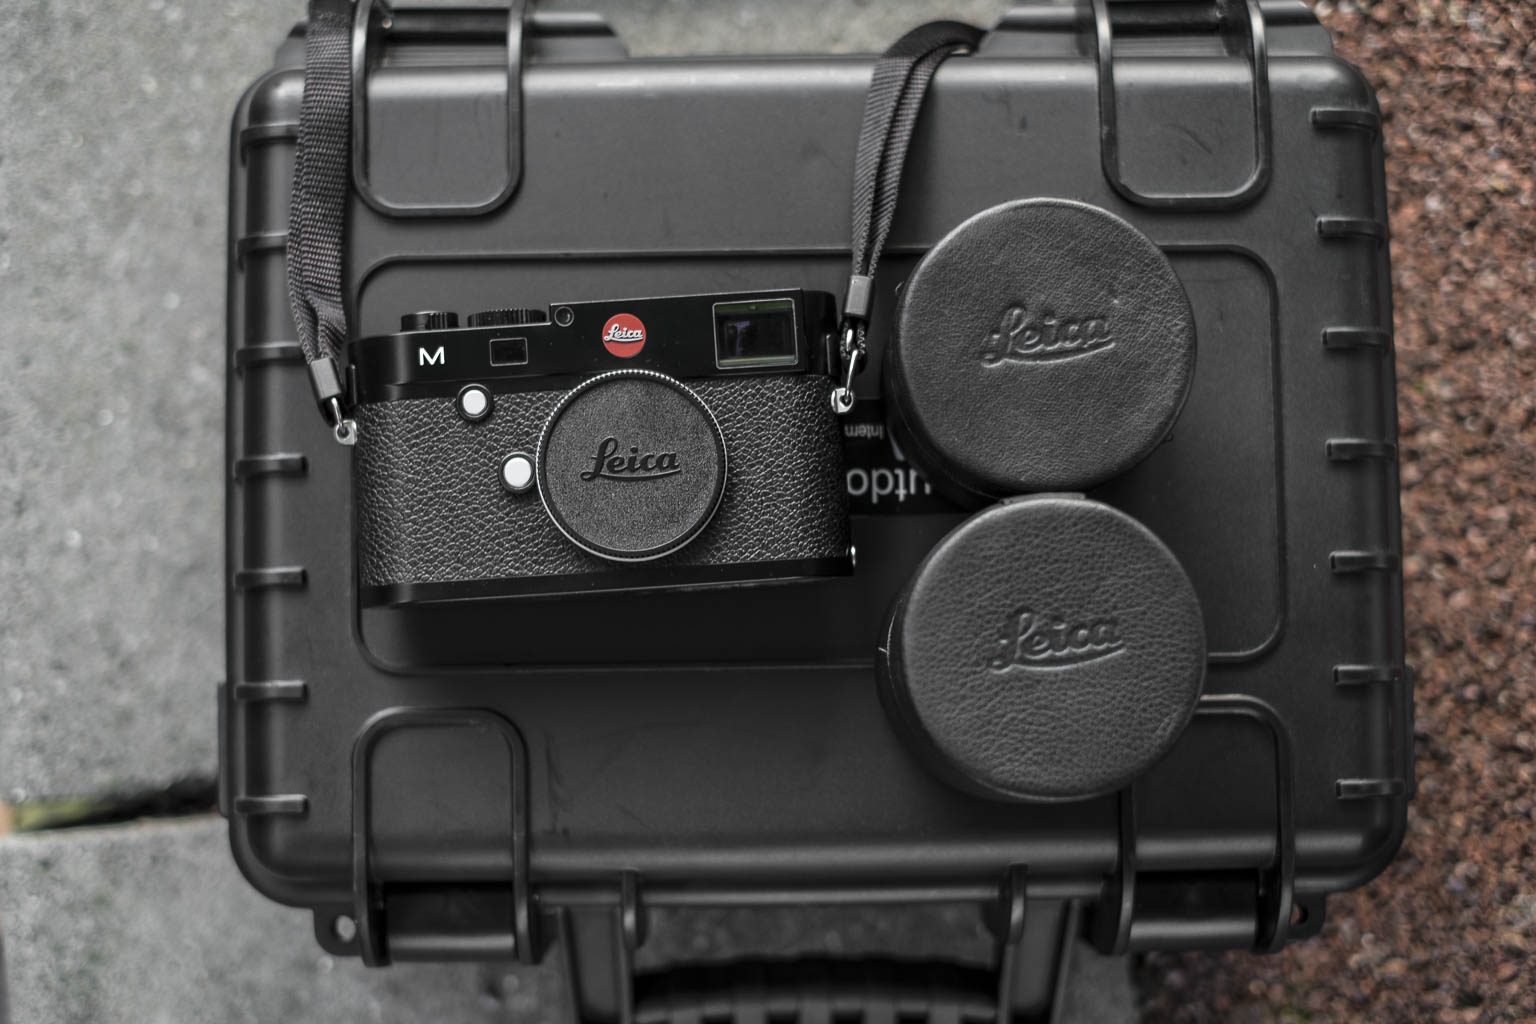
The Leica M (type 240) Kit
In the Leica test drive kit was the
- Leica M (type 240)
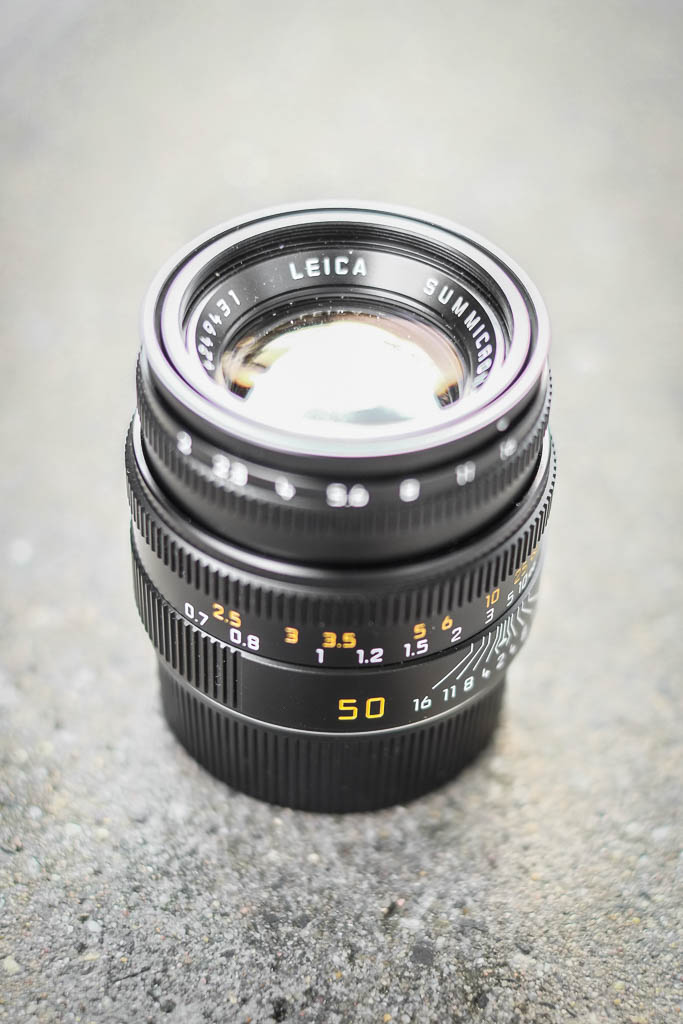
- Leica Summicron 50mm F2.0 ASPH
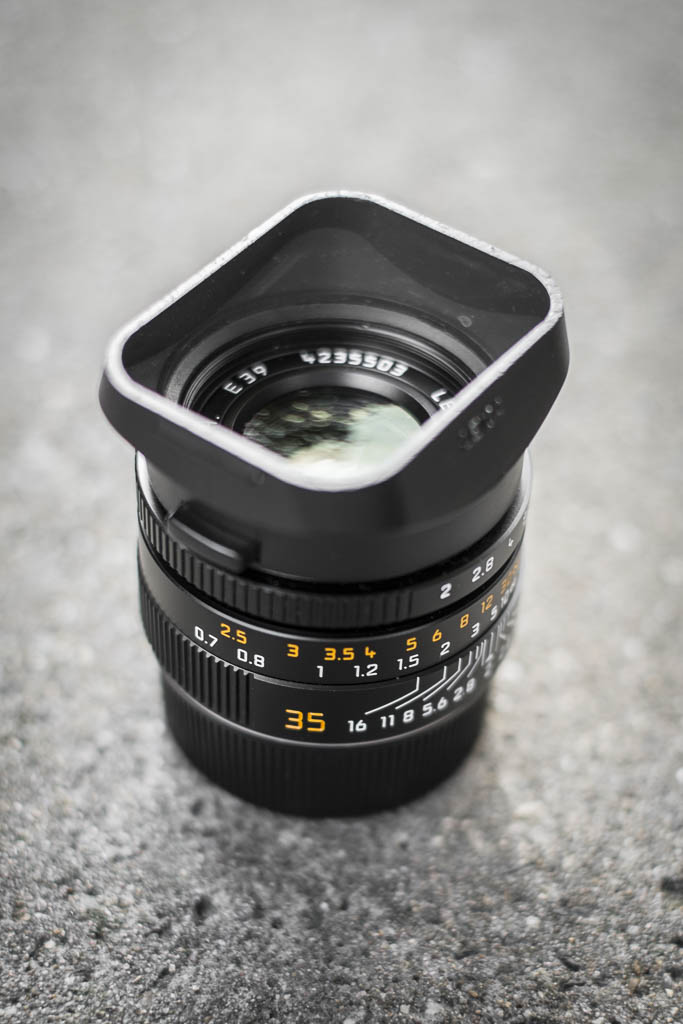
- Leica Summicron 35mm F2.0
- Leiva EVF2 Electronic Viewfinder
- Charger
- Card reader
- Case
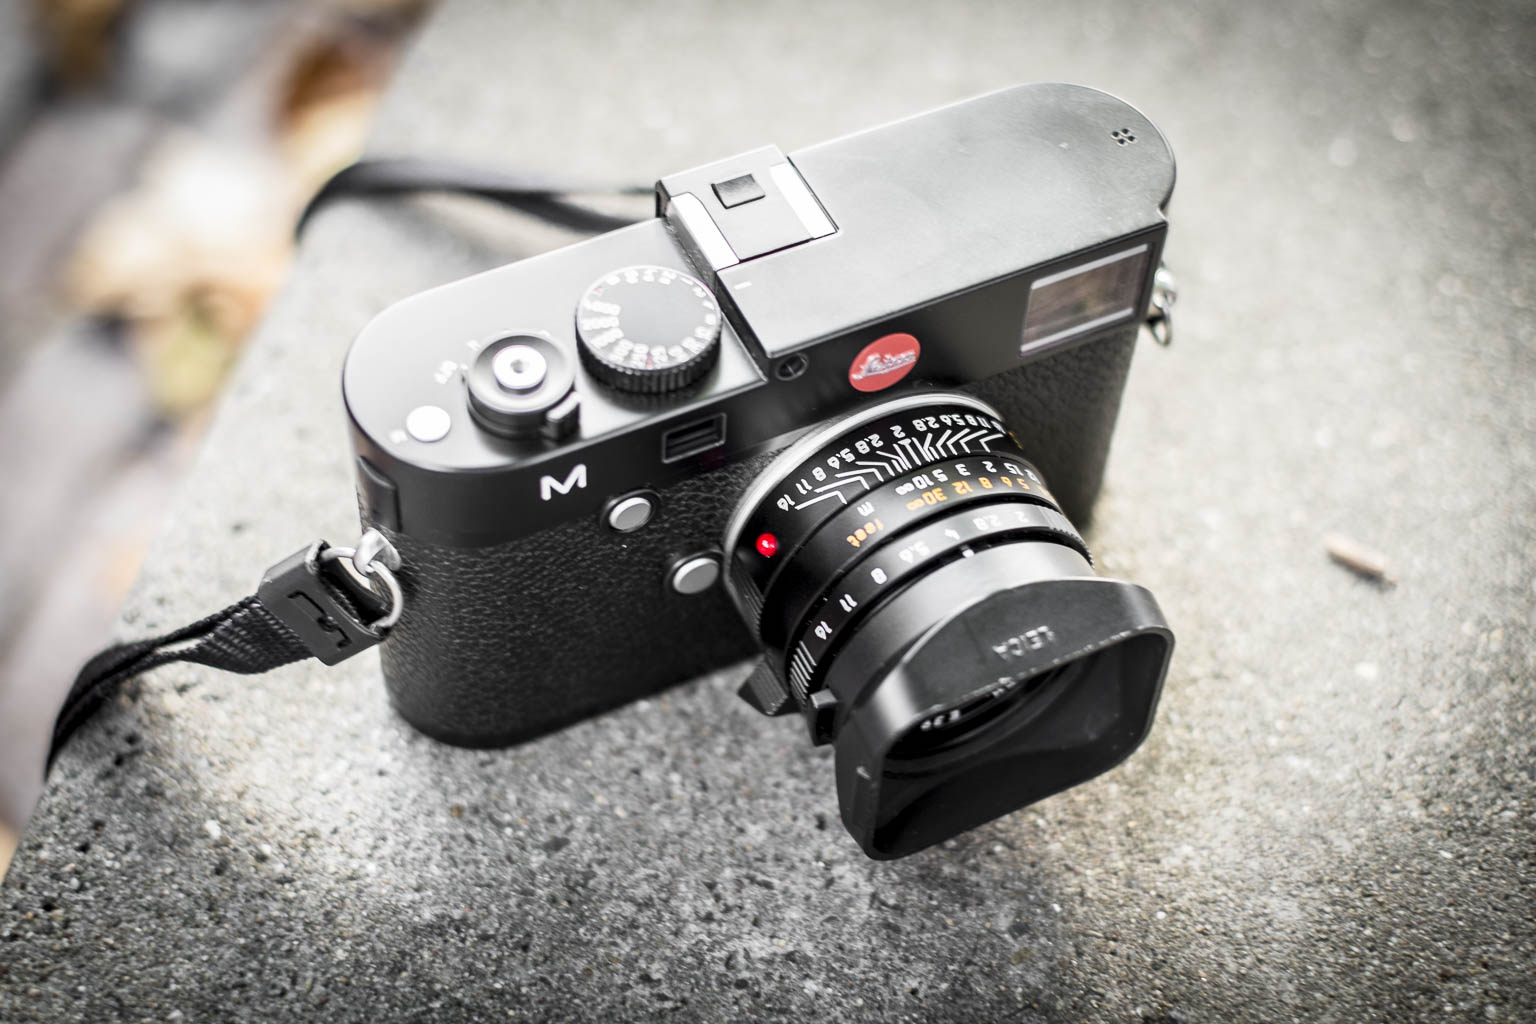
First Look at the Leica M.
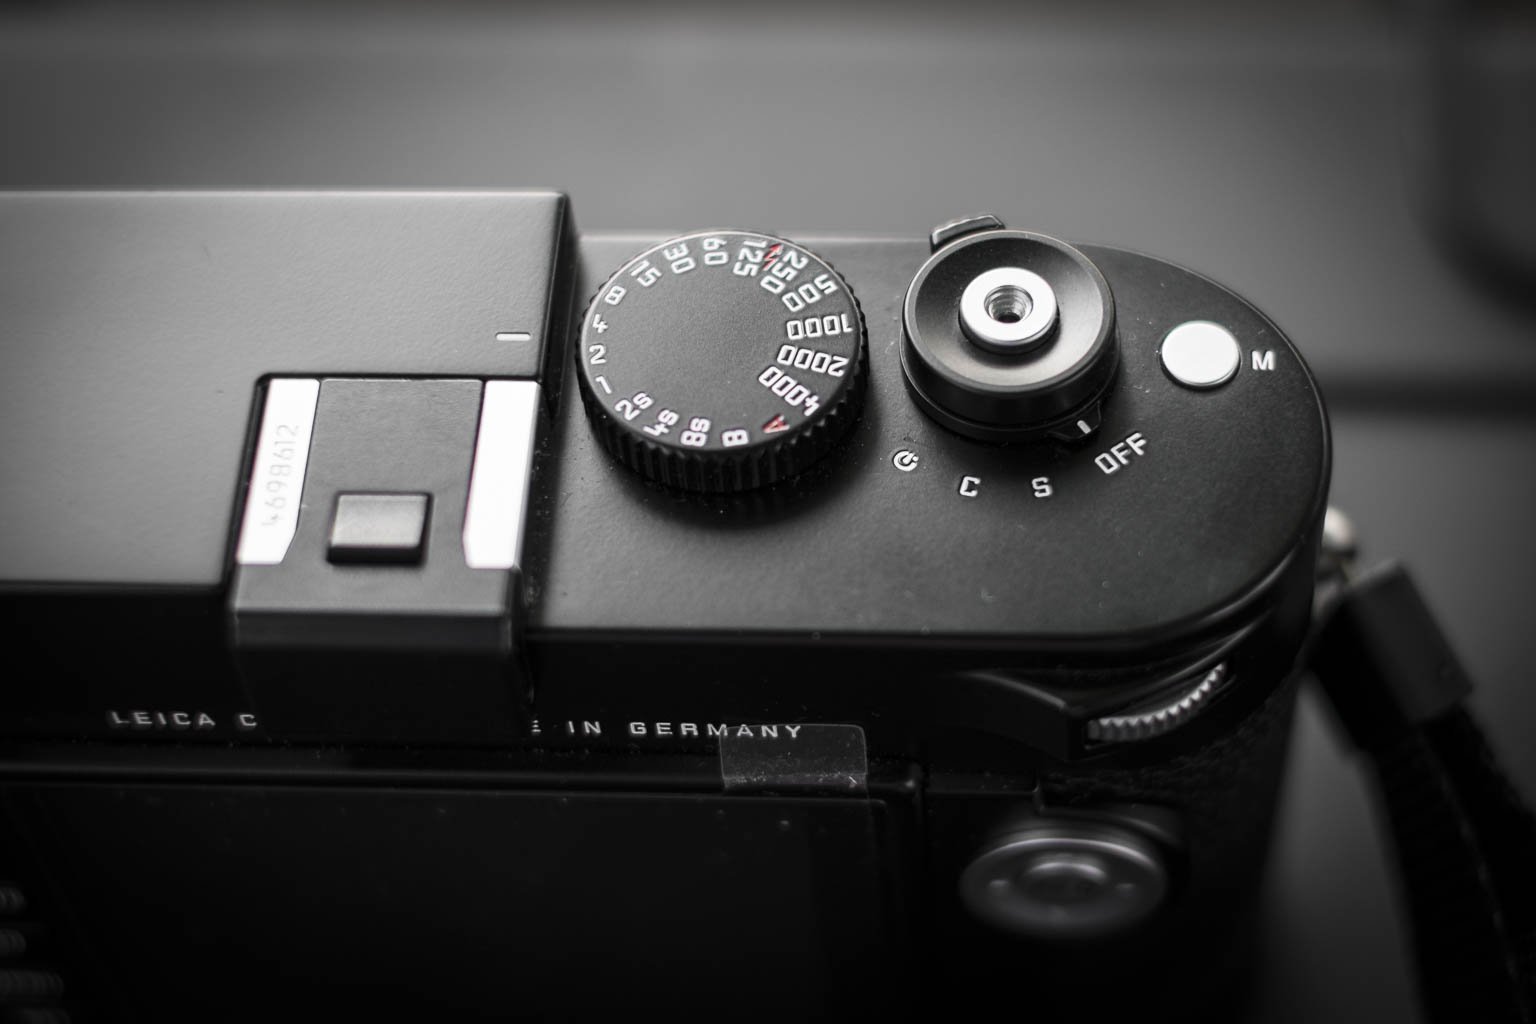
The first thing you notice when you hold a Leica is the build quality. These camera's are build like a tank. They don't look ergonomically, but are very pleasant to hold. The further lay-out is really simple. On top is the shutter time and release button, with the on/off switch. With the on/off switch you can also chance from, single to continuous or timer mode. Also there is a small button voor Movie mode which I haven't used. The Hotshoe has a nice slider to fill it up when it isn't in use.
The back panel has a kind of okay LCD screen, the buttons for LV (LiveView), Play(back),Delete, ISO, Menu, set. On the right side is the D-pad with an info button. At your thumb is a wheel for different tasks, like scrolling the menu and exposure compensation. The viewfinder has a small ring without a diopter, which for me as a glass wearing person wasn't the most comfortable.
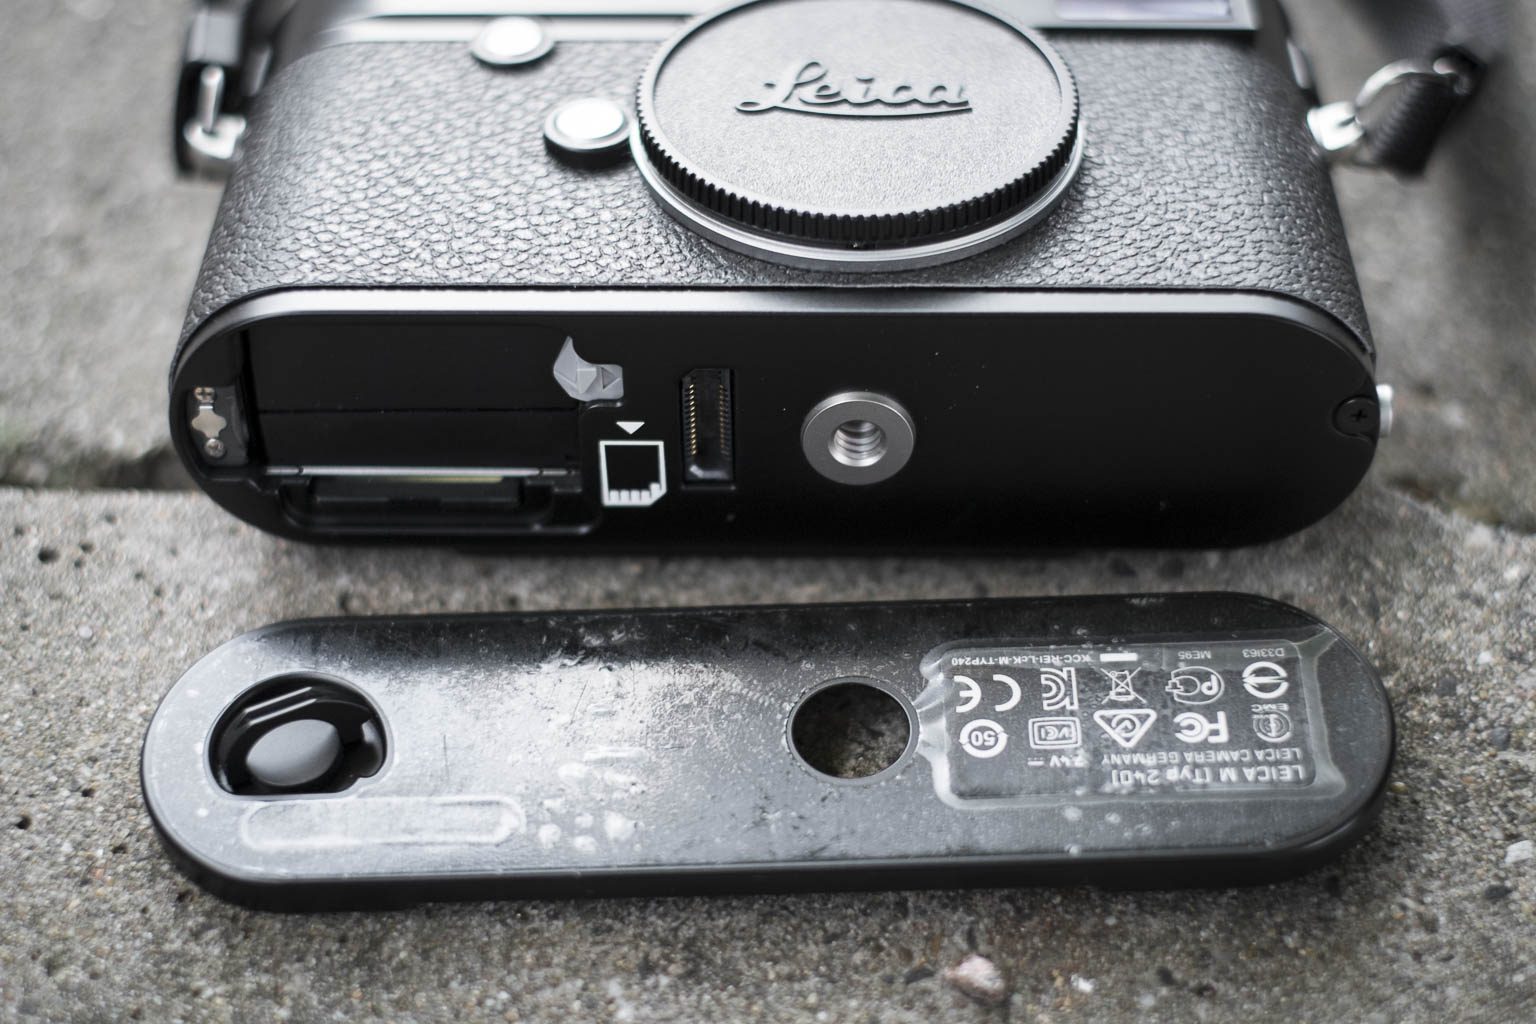
If you unlock the bottom plate you get acces to the SD card and the battery. I am not really fond with this, especially when you want to use it with a tripod. Then you have to unscrew everything before you can change the battery or the SD card.
The Leica Summicron 35
The Leica Summicron 35mm f2.0 is delivered in a greatly designed leather softcase. It had a rubbercap to put on the lens hood for if you don't want to use the lens cap, which you can store in a special part of the lens softcase. The little grip makes it easy to focus with. The focus ring is smooth as butter. The aperture ring is nice but has a little bit of a cheaper feel. I have had lenses where the aperture ring felt better.
The Leica Summicron 50 f2.0 ASPH
The Leica Summicron 50mm f2.0 has the same build quality as the 35mm. I missed the little focus thingy of the 35mm! Which made focussing a little harder. For the people who don't know. This €12.000 camera kit has NO AUTO-FOCUS. But the manual focus system with the two glasses works brilliant! Because it is a range finder you get frame lines in the viewfinder representing the area that is in your frame. The 50mm is for me the longest lens to use with this. For longer lenses I would love to have the Hybrid Viewfinder like the Fuji X-Pro1 has. But for working with the Leica Summicron 50mm is good enough!
The Photoshoot
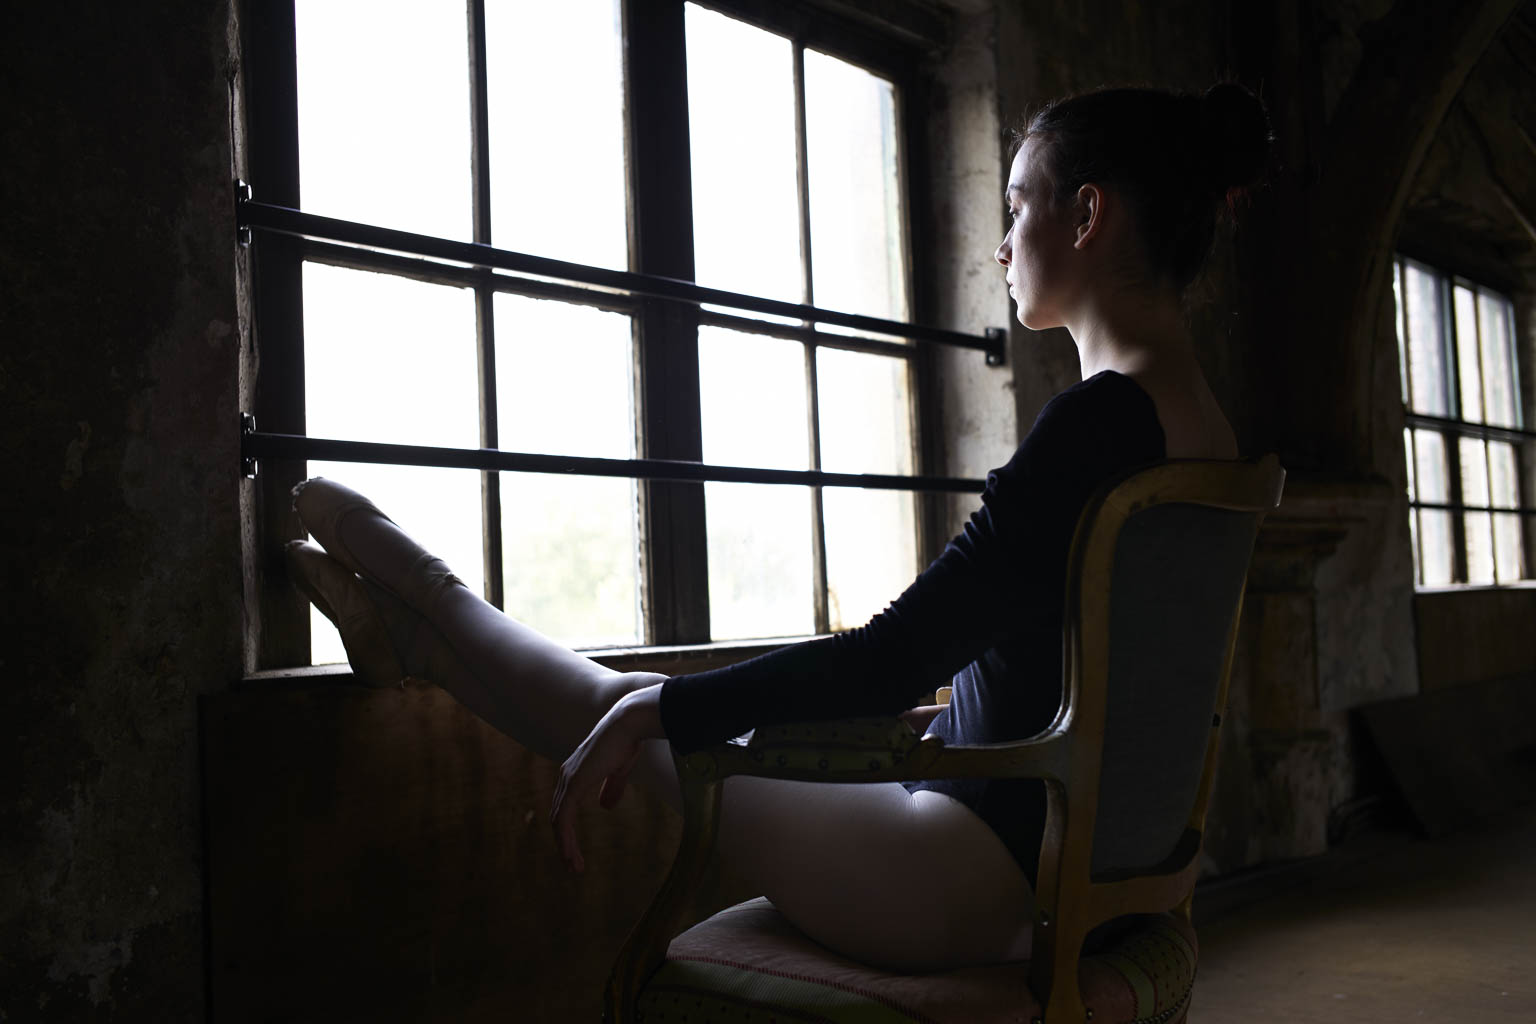
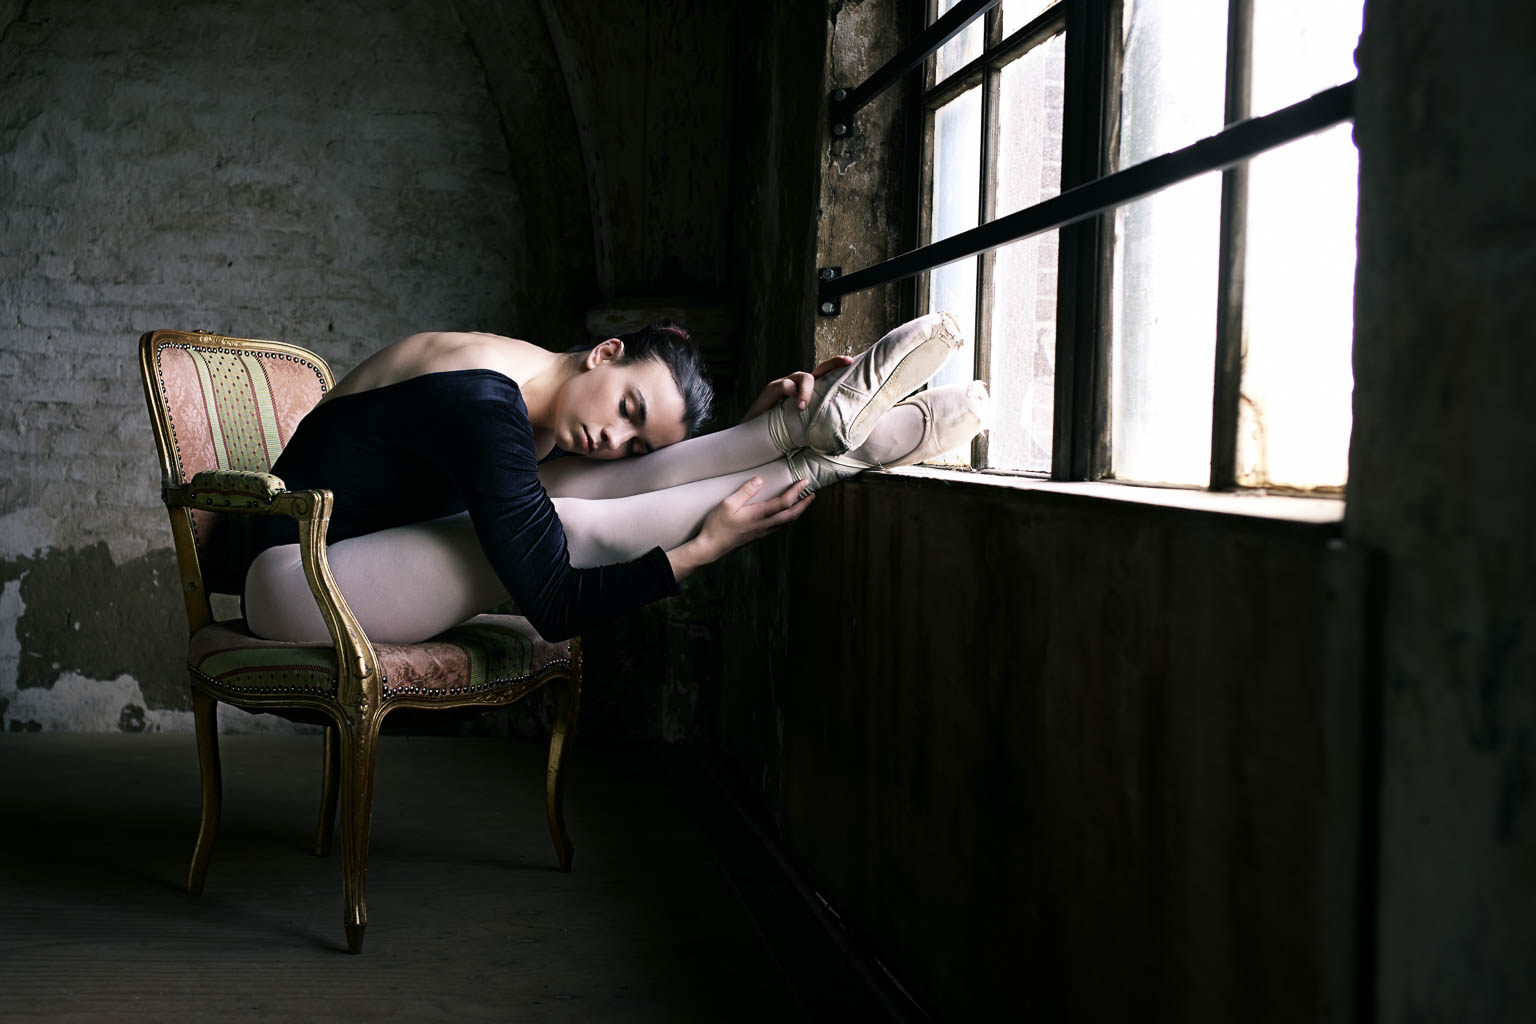
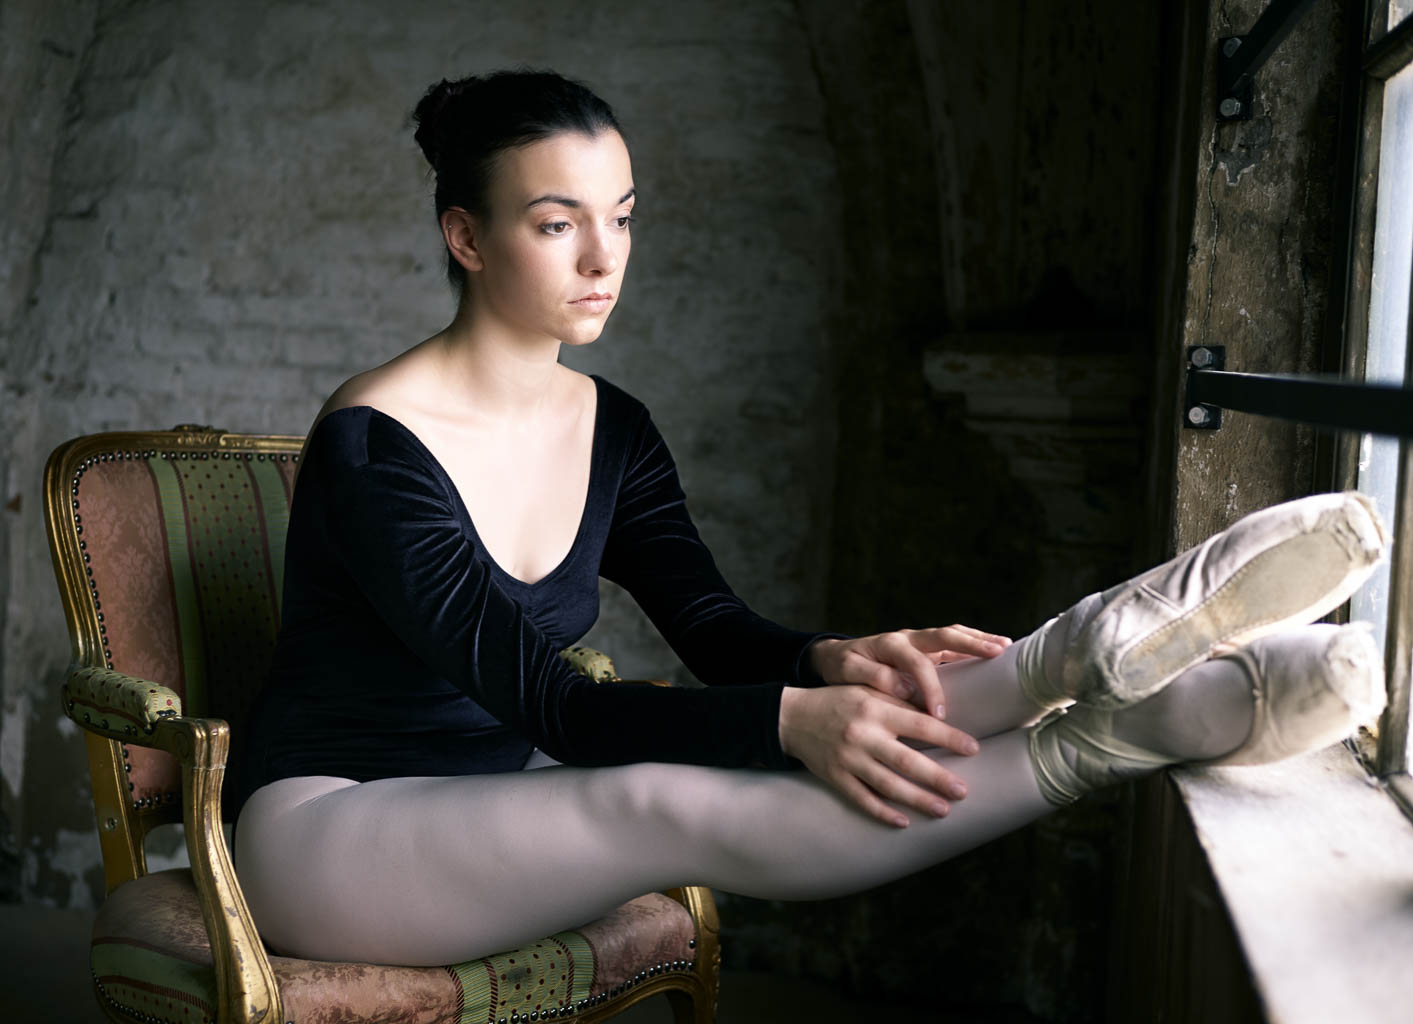
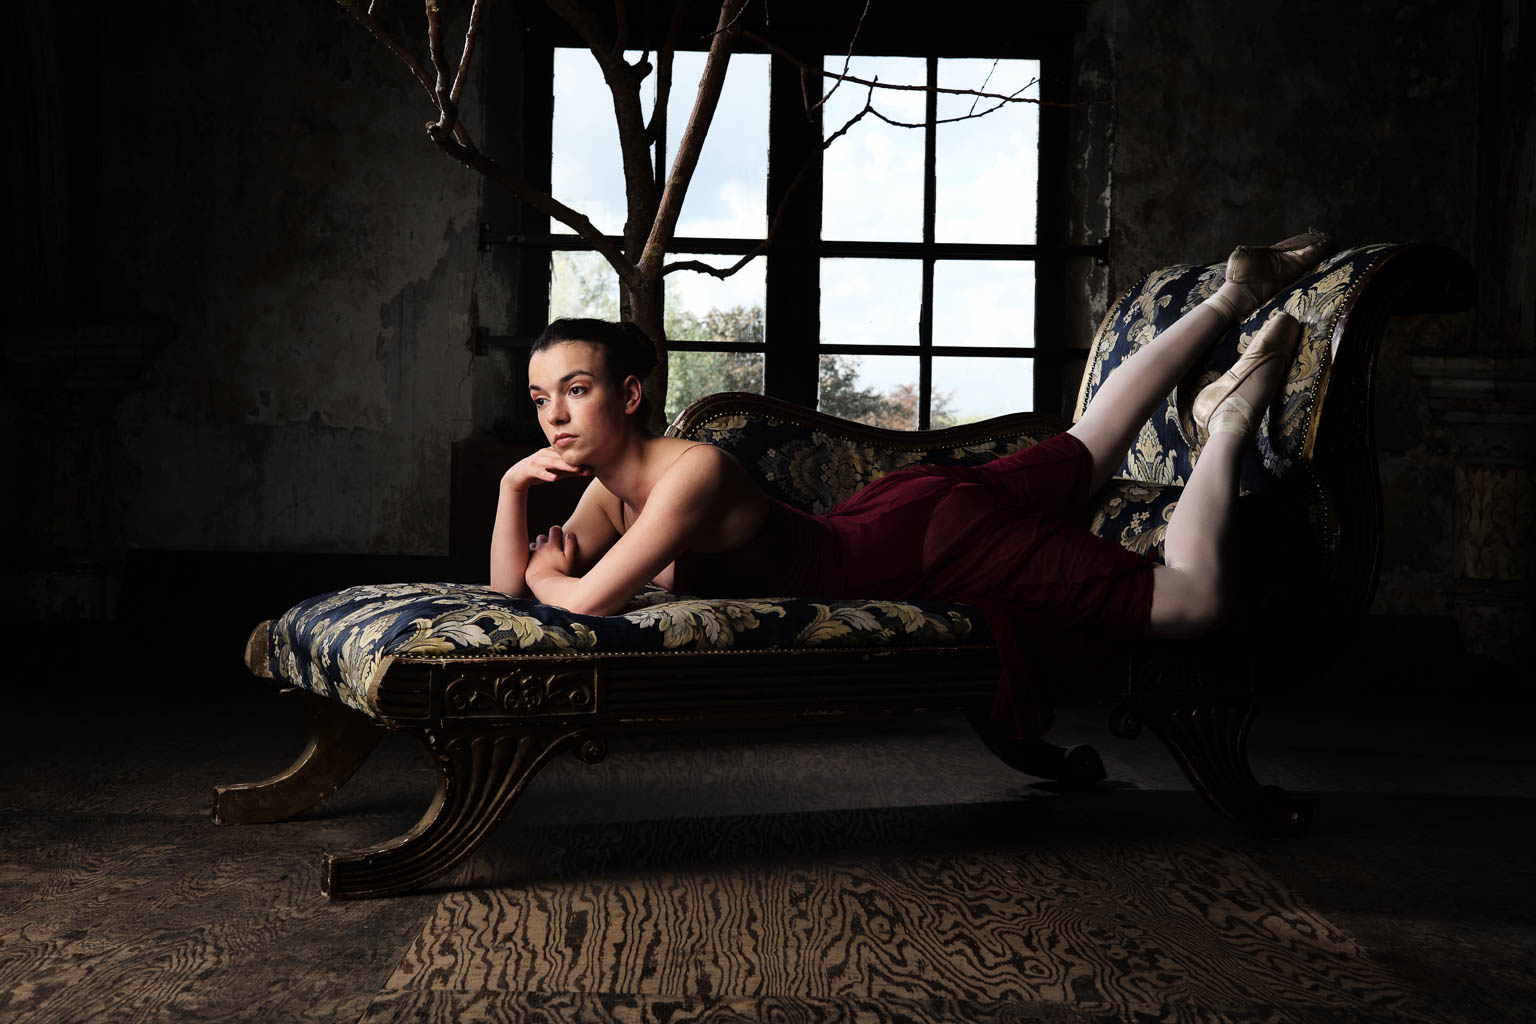
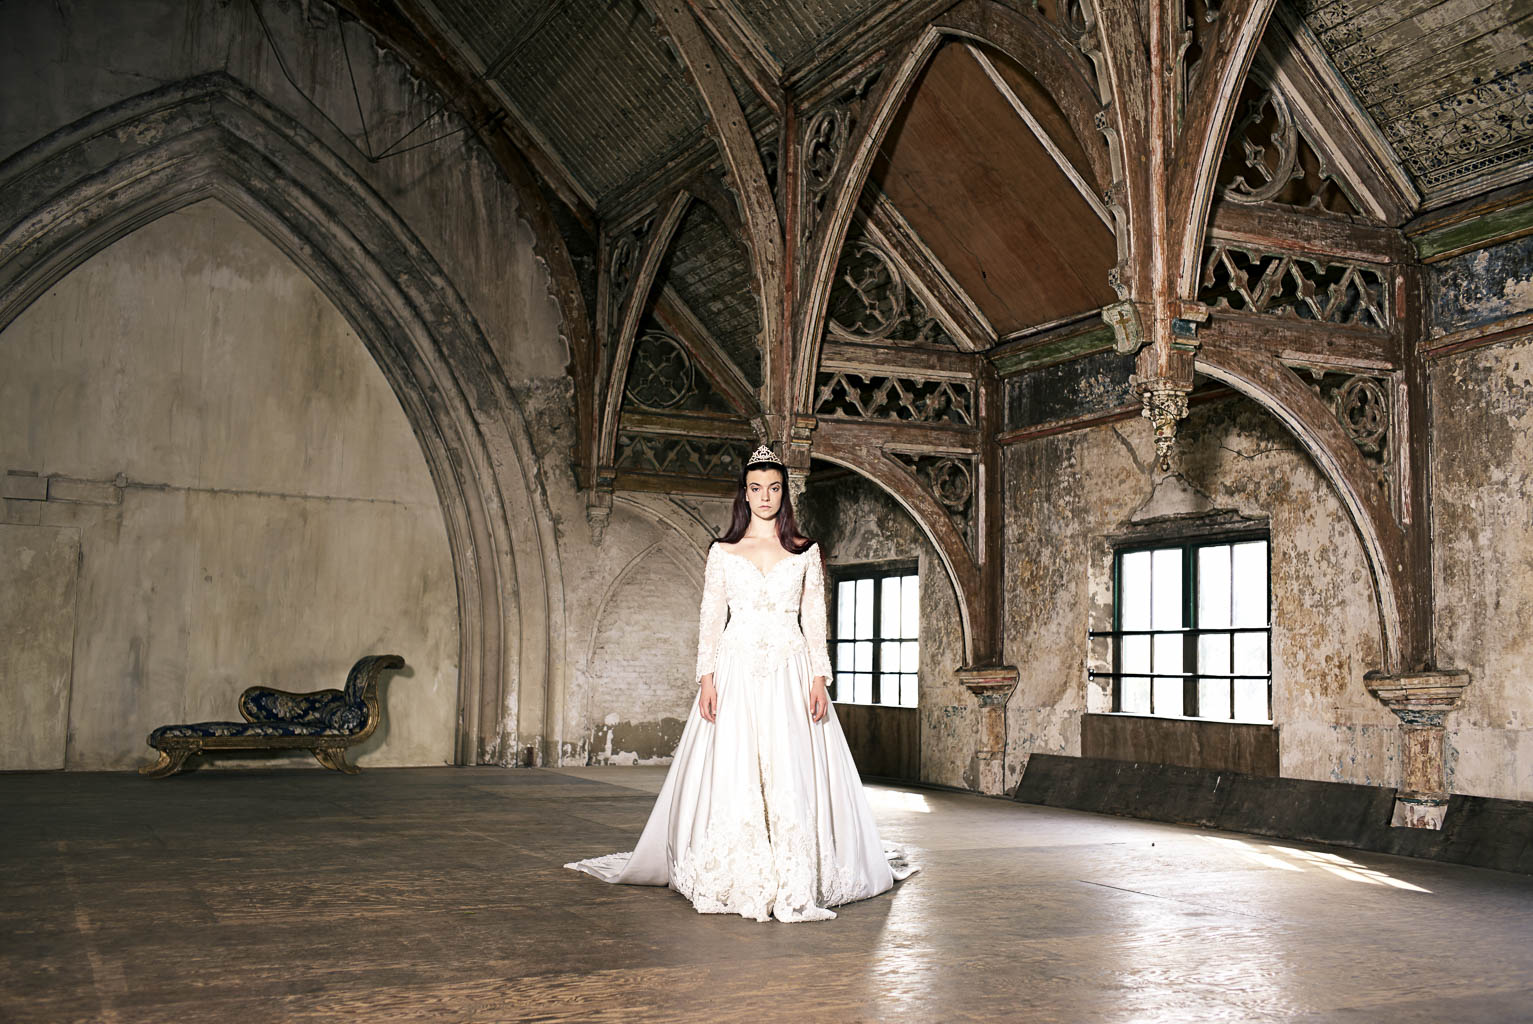
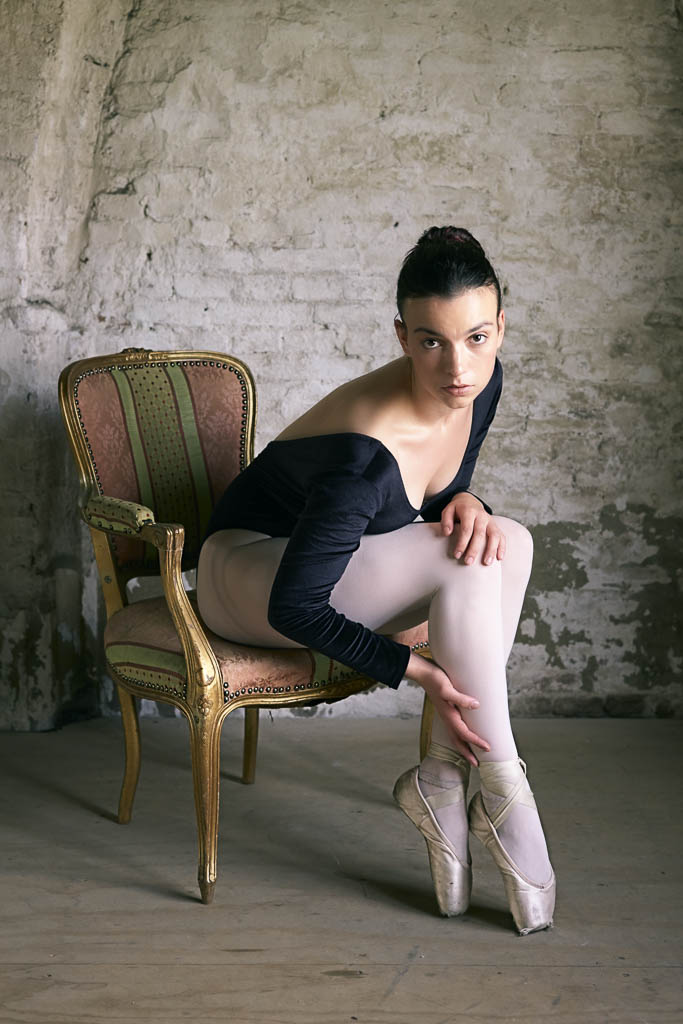
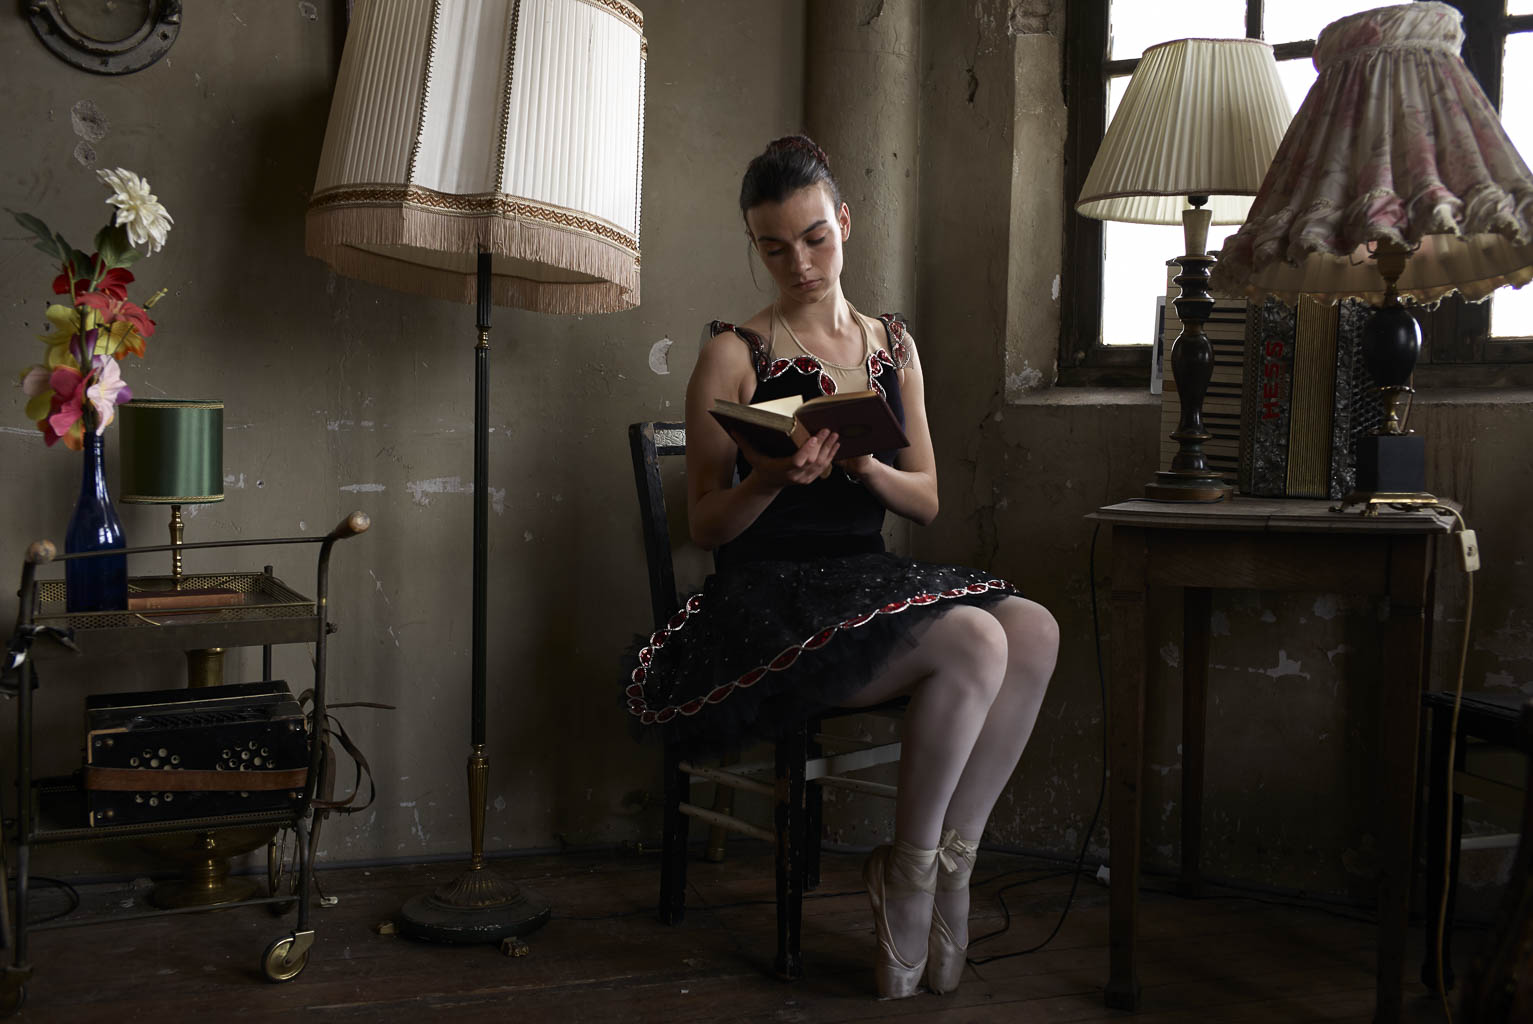
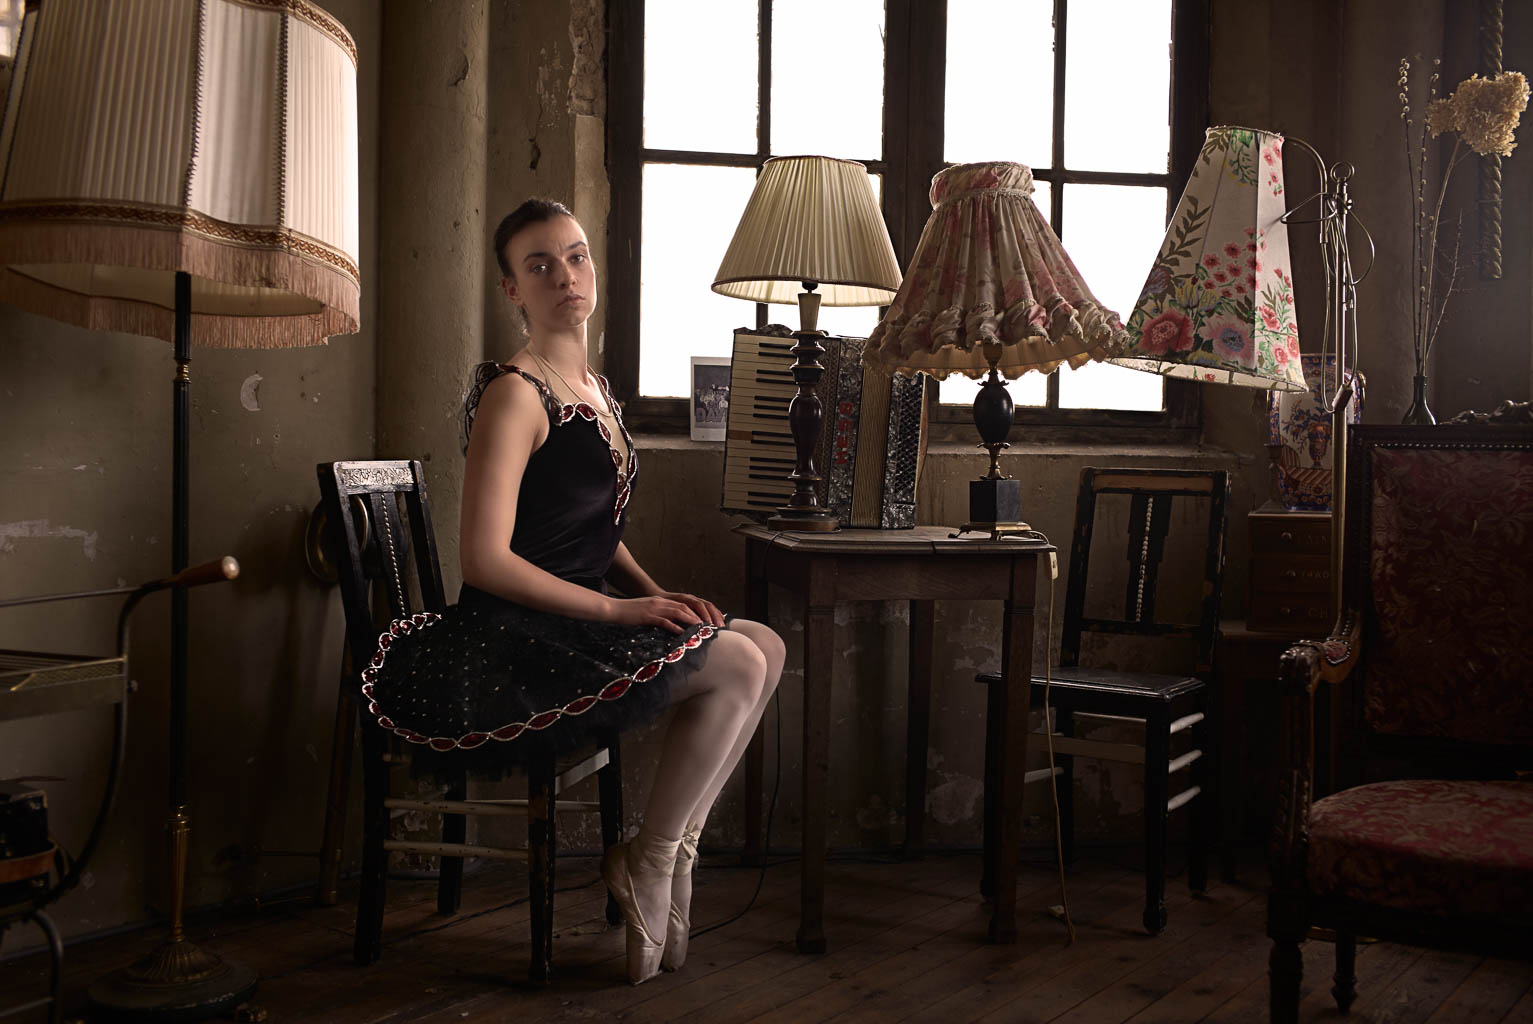
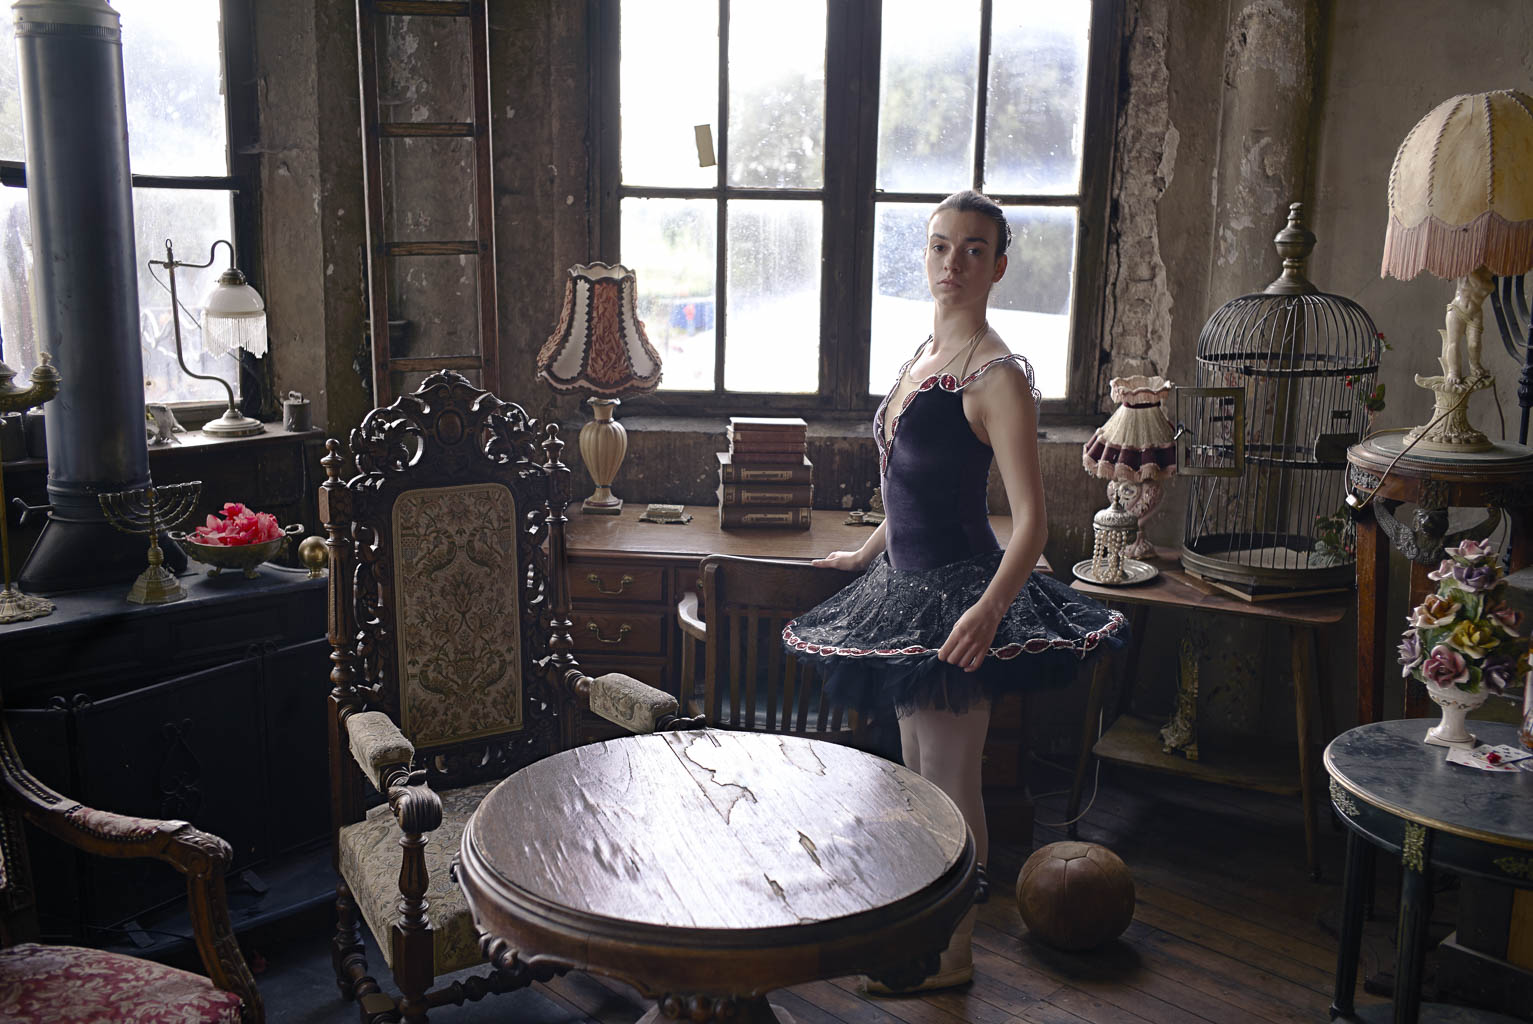
To really test the camera I organized a small photoshoot. I had a lovely Ballerina (Charlotte Geeraerts, two assistants (Mike Foto and Riet Verwoert), a person who filmed it (Ilse van Gemert) and my MUAH Elvira Korten (Made of Make up). For location I rented the Metaal Kathedraal in Utrecht. A behind the scenes video is posted at the end of this blog!
The Images
The most important thing off any camera, the images!
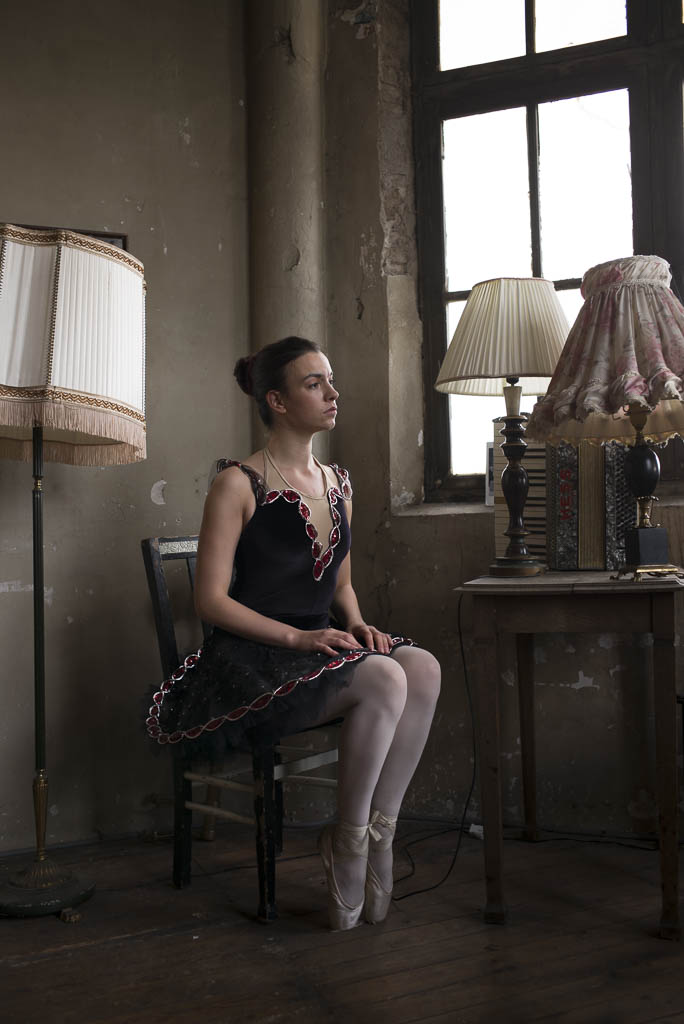
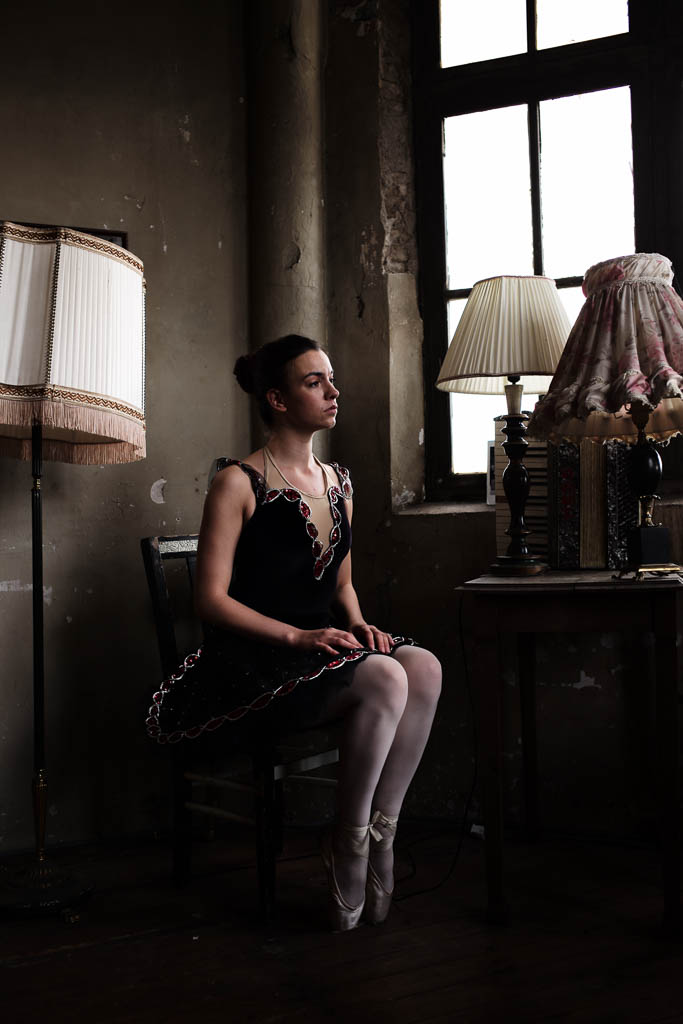
The Leica M has some film simulation. I liked the smooth color the most. It has the "Add the red chanel for contrast" in photoshop look. On the back of the camera it looked great but on the computer the shadows where to dark. Since I always shoot Jpeg+Raw (DNG in de case with Leica) there was nothing to worry about. Below are two images, one is the Jpeg and the other the raw file exported from Lightroom as a Jpeg.
For me the camera worked best in available light. Below are 3 pictures shot only with the ambient window light. Please also notice how much of a difference you can make with just walking around the model!
When I combined flash with natural light the white balance got it pretty right!
Conclusion
I loved working with the Leica M (type 240) with the Summicron 50mm f2.0 ASPH and Summicron 35mm f2.0! Allthough it is manual focussing, it works. The layout of the camera is simple. Everything you need, nothing you don't with a build like a tank body. Everything feels sturdy!
But, is it worth the €12.000 price tag? Well..... for me it's not. That doesn't mean I wouldn't like to have this camera kit, because I really do! But the price is to high for me. I don't see the extra benefit's over my current kit with the Nikon D800 and D610, and my fuji kit. I love the whole feel and look and way of working, but the image quality isn't like, 6 times better than the €2000,- Nikon D610 basic kit.
If I was a fulltime street or reportage photographer this camera would fit like a glove, it is low profile, light, portable. Also for fashion or commercial works it can do the job. It isn't an action camera. Although if you know your technique you can do it!
So my final conclusion. The camera is great, if you have the money, buy it! If you don't, then you don't miss anything. The camera is a tool, the photographers make the difference!
Watch the behind the scenes video of the ballet photoshoot in the Metaal Kathedraal
Last workshop for this Year
Due my busy schedule the last workshop this year will be on October 1 at Fotoflits this year. If you want to enroll for the workshop click here. In this workshop you will learn how to get the most out of your flash light. If you do portraits of more action work, you can do more than you think!
North Sea Jazz festival 2014
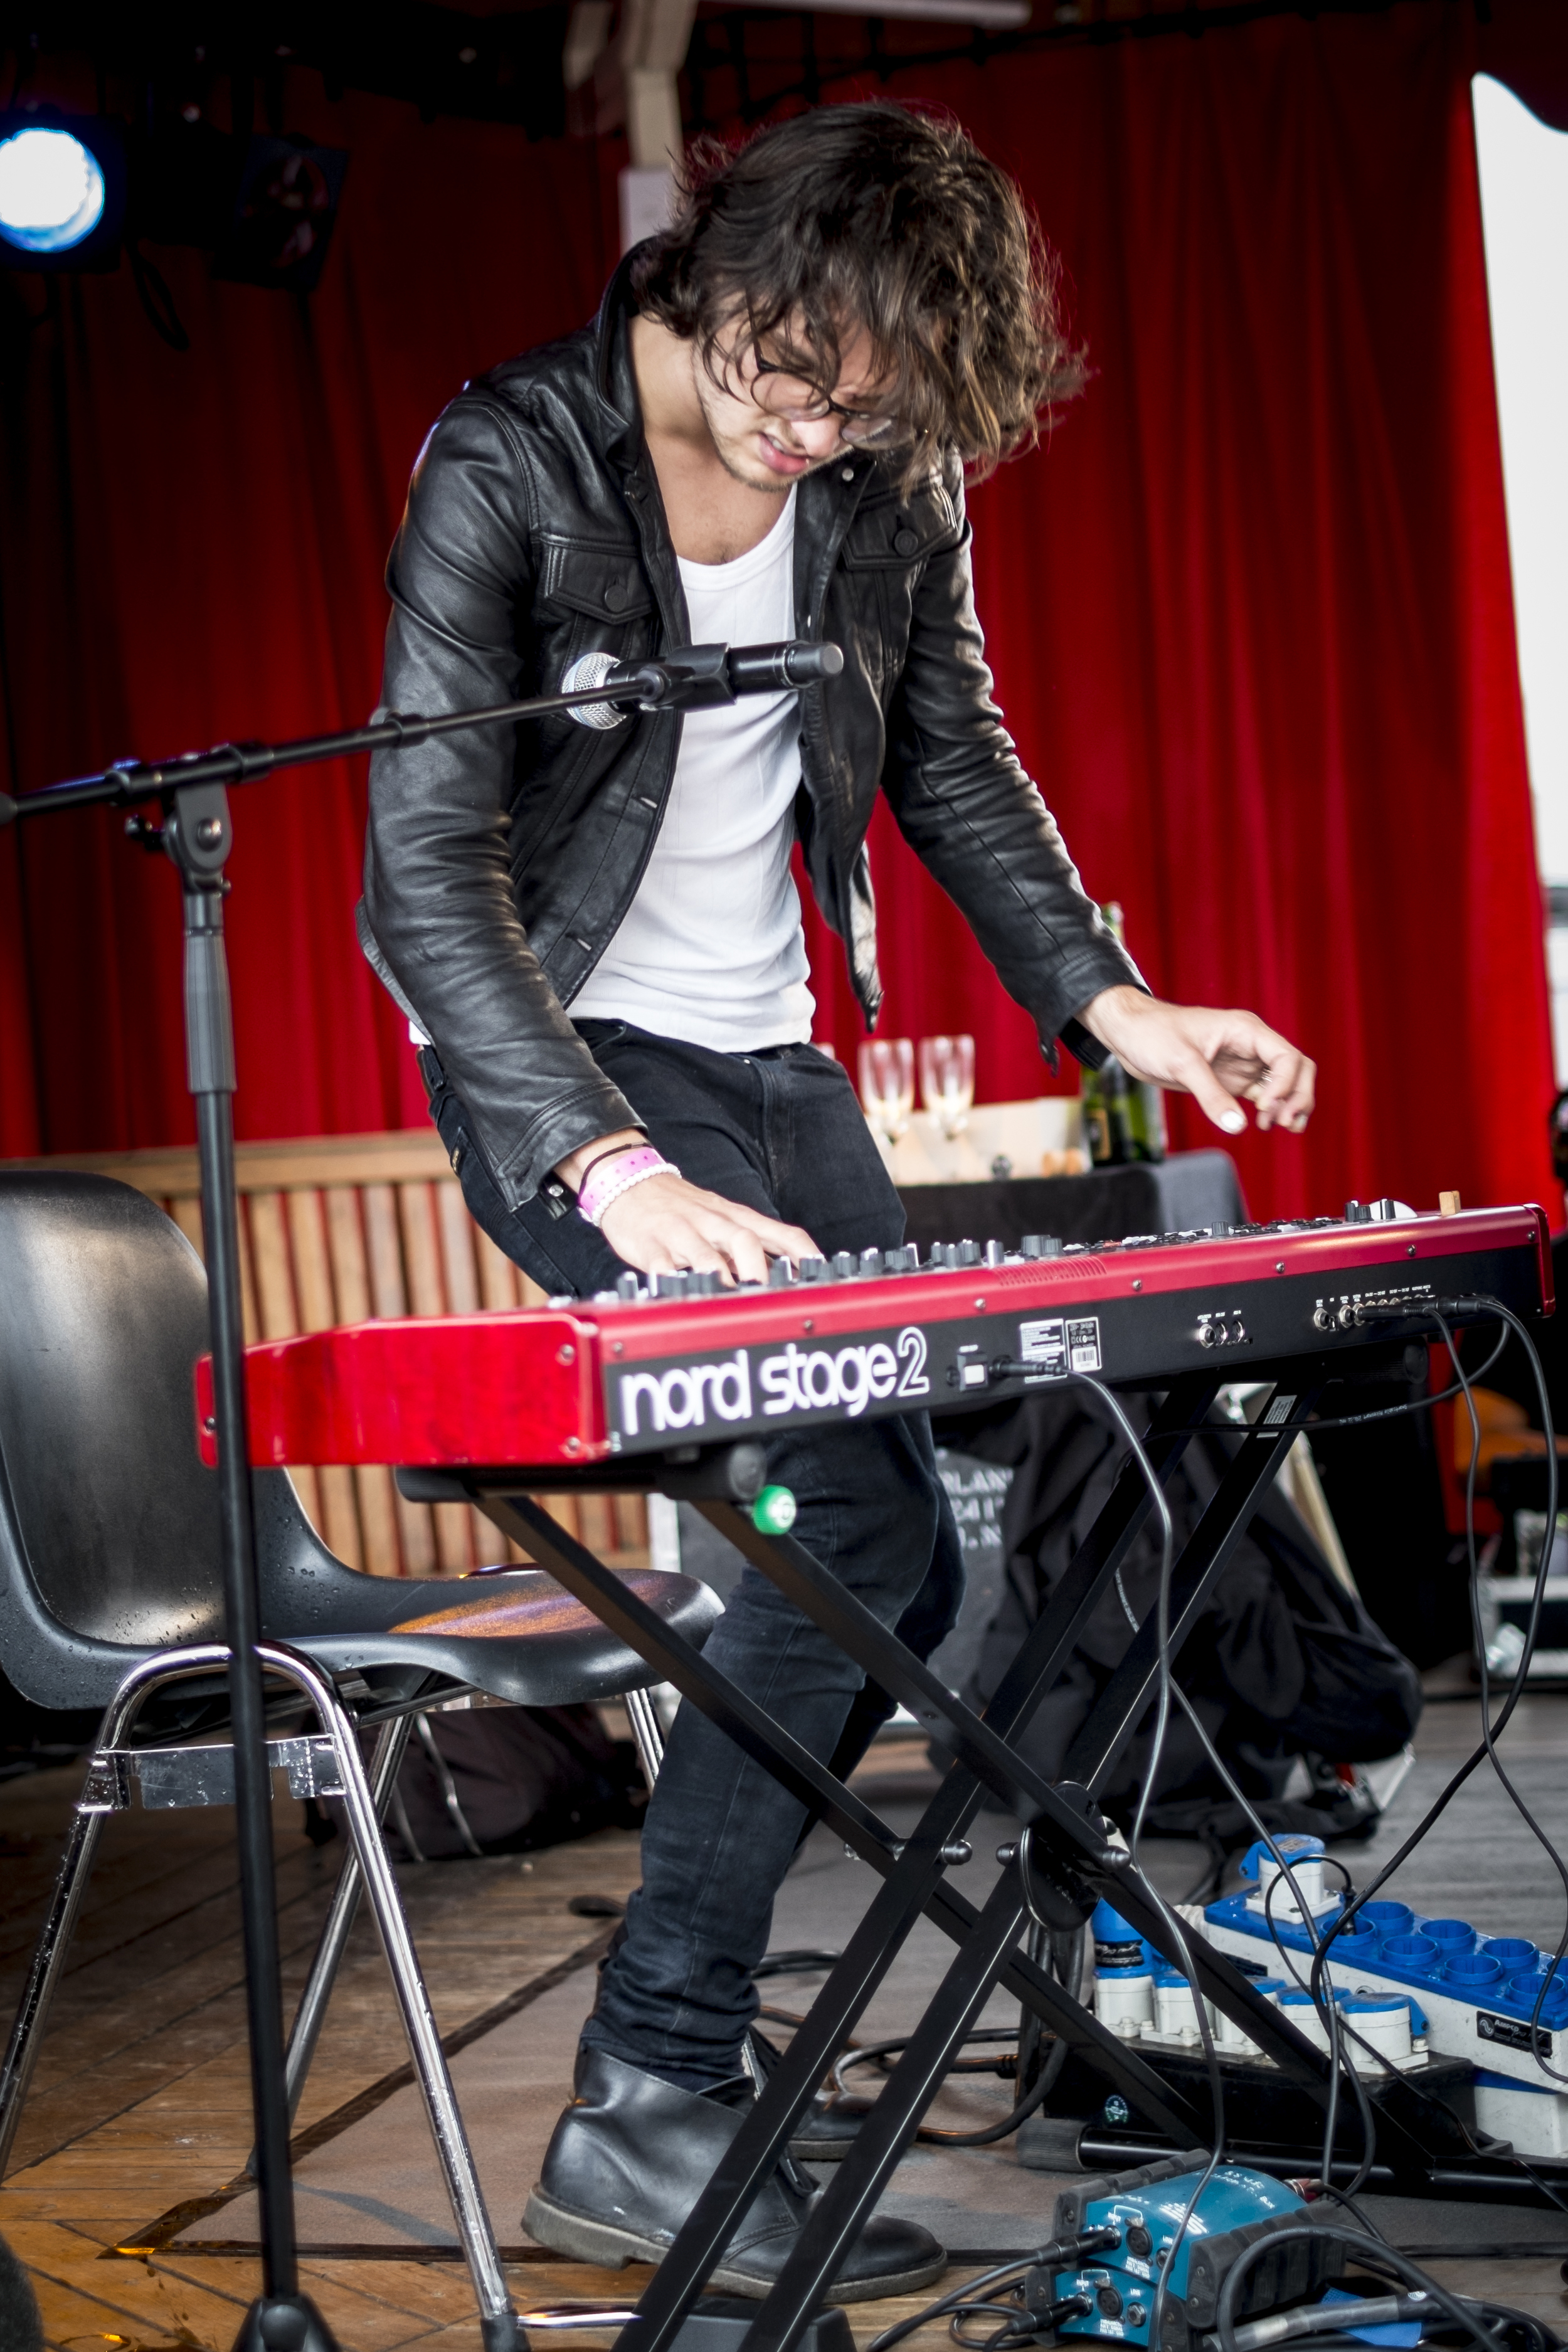
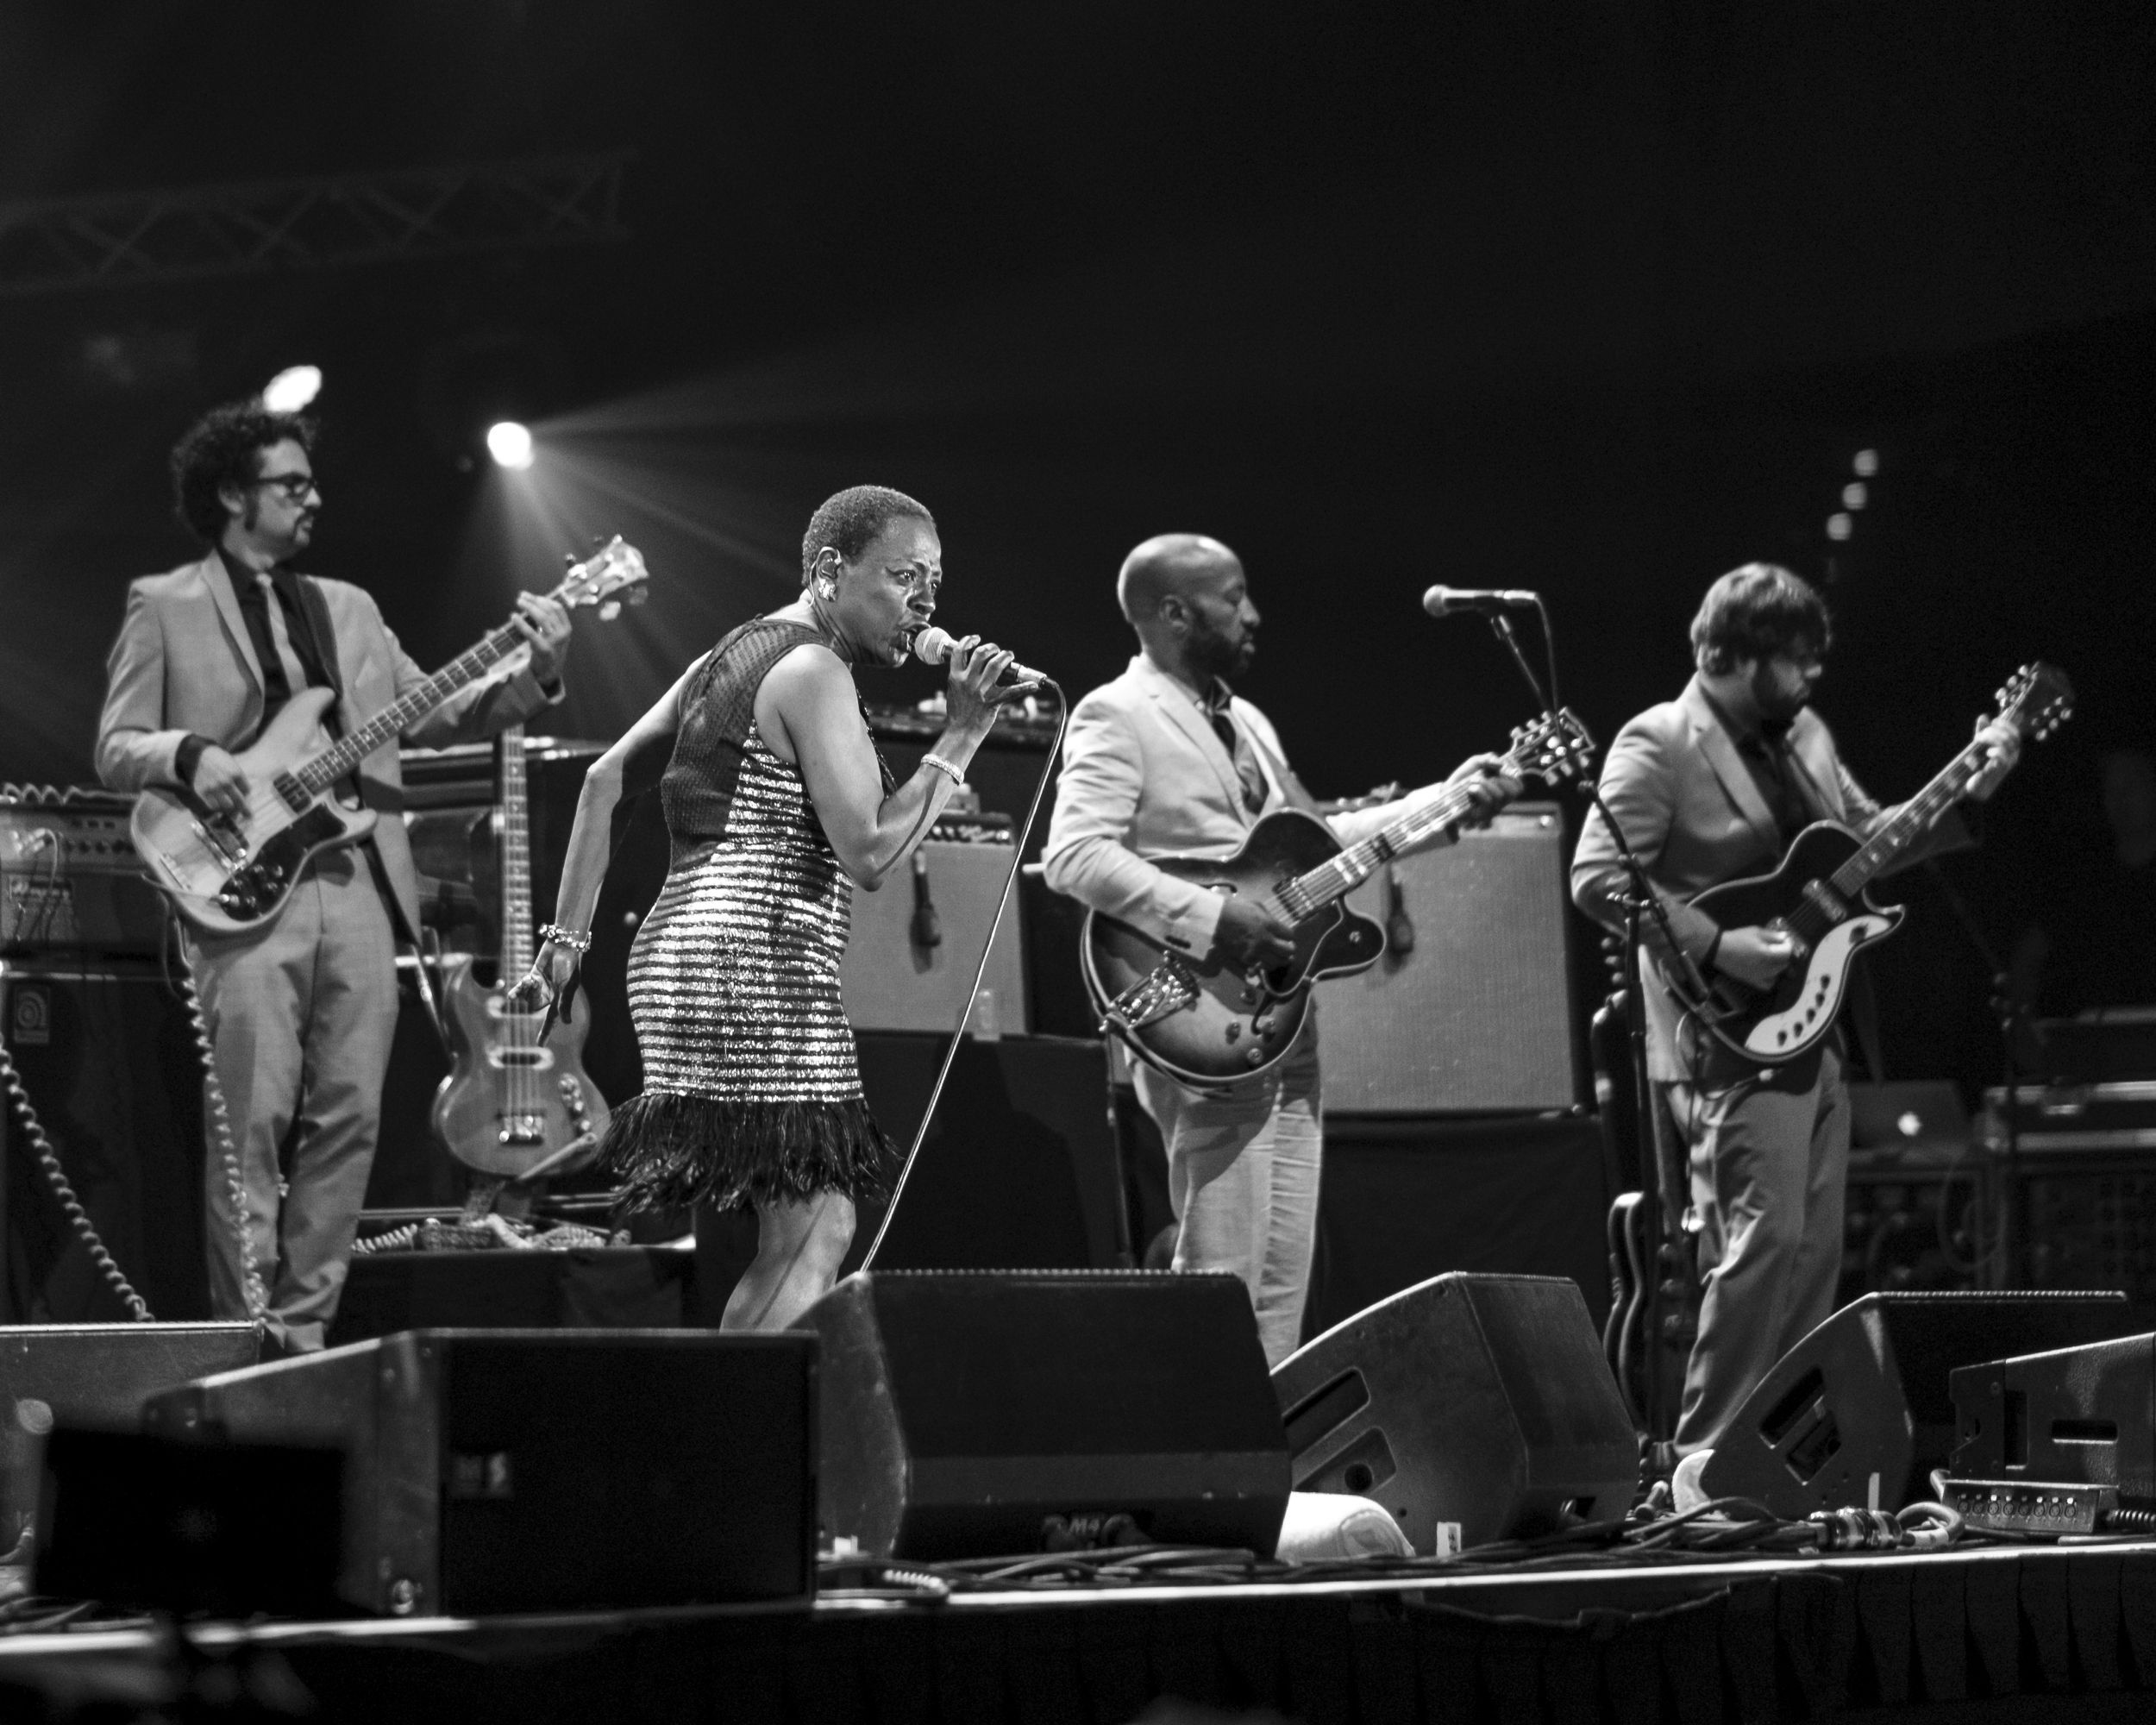
Some of you may have already heard it on Facebook but I had the privilege to expose at the North Sea Jazz Festival 2014 in Ahoy Rotterdam with my Dutch Jazz Portraits project. It was a heavy but fun week. A lot of getting in bed around 3 and waking up at 11 and get back to Rotterdam.
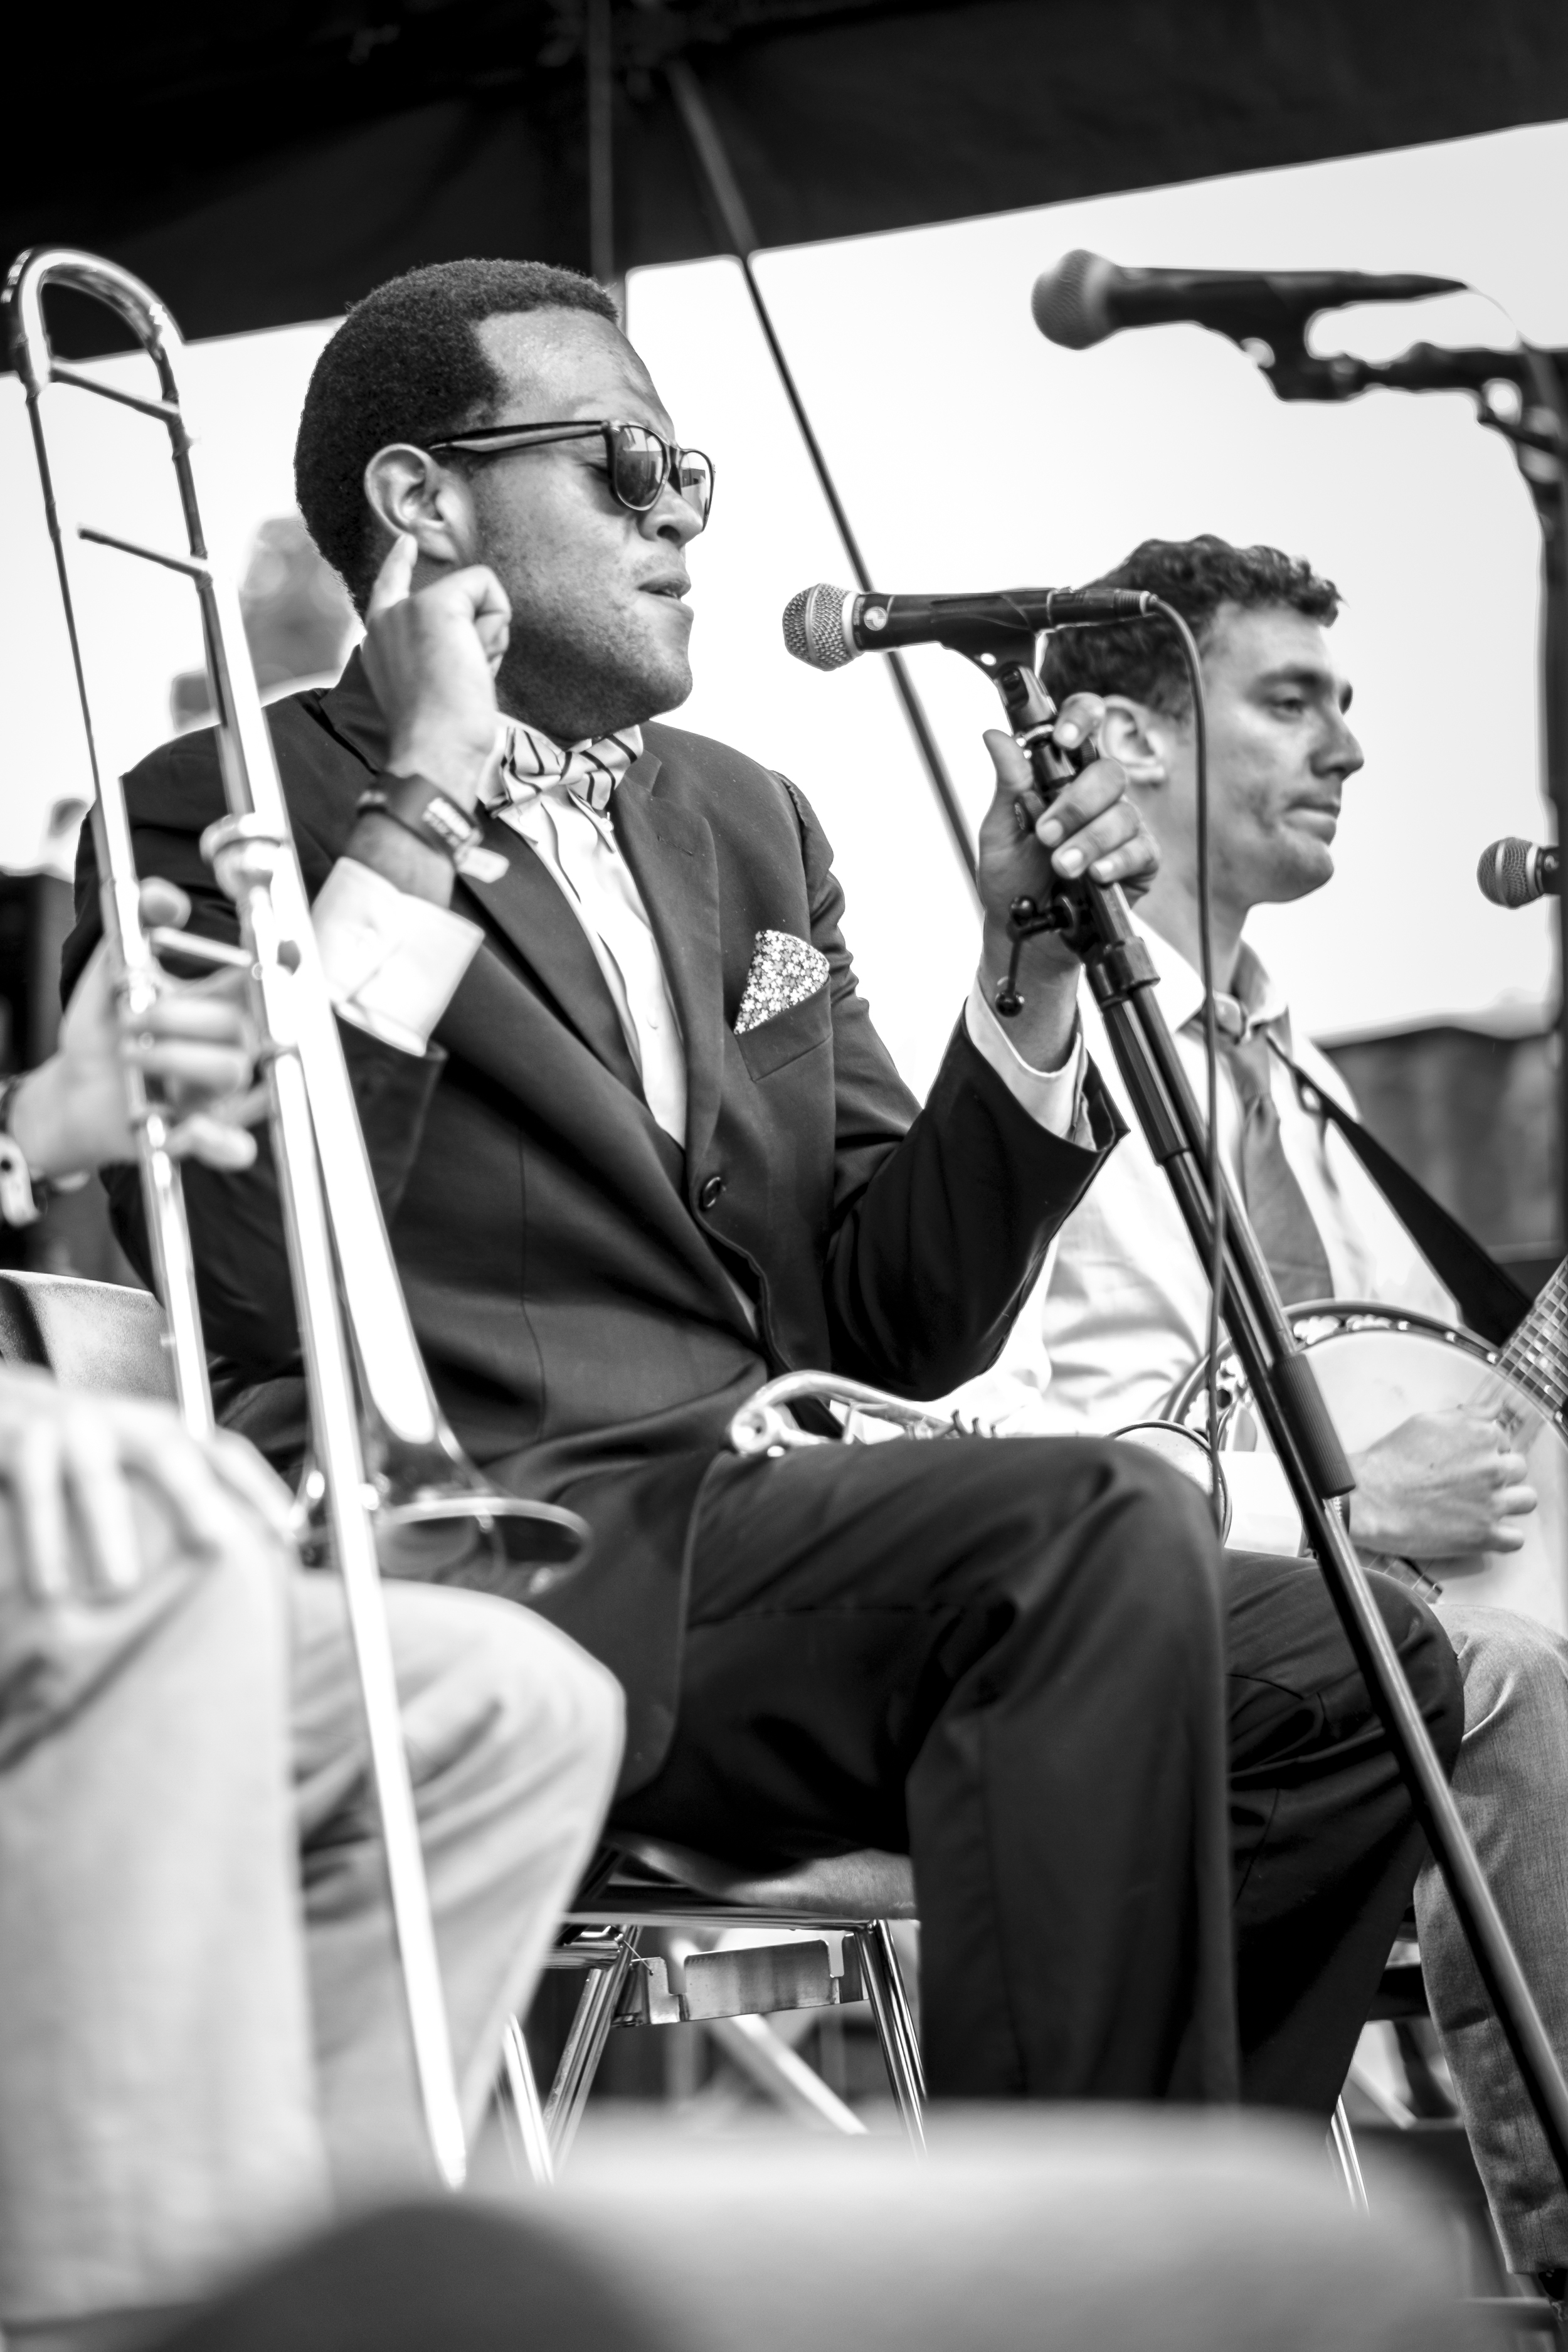
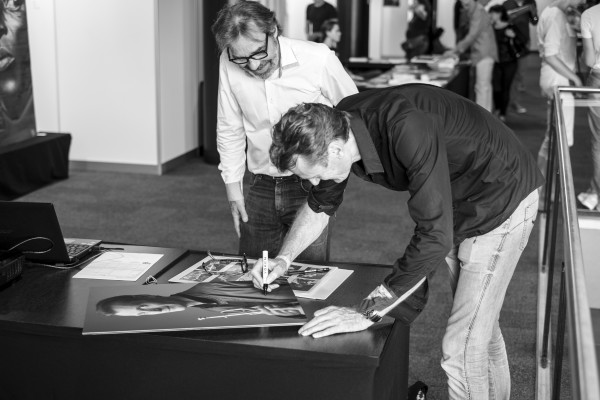
The music was great and I have met some great people. Also I have met new artist who will get into the Dutch Jazz portraits. Also some of the artists who are already been photographed for the Dutch Jazz Portraits project signed their photo at the North Sea Jazz Festival 2014. Guys like Benjamin Herman and Ruud Breuls.
For gear I used my Fuji;s only, mainly the X-E1 with the 35mm and the X-pro1 with the 56 1.2 which I bought the morning of the first day of the festival. And is a great lens, I used it sunday on it's first commercial dance photoshoot.
Crop or Crap factor
For everybody who thinks APS-C is to small or who wants to know the difference between sensor sizes. Zack Arias has made a video which explains it in plain/bold english. So watch, learn and enjoy it!
Dance photography with Fuji Camera's
Last week I did a dance photography sessions with the Fuji X-pro1 and X100. I Asked two dancers to model for the shoot, One is a classical ballerina and the other a break- and zouk dancer.
In studio
I started in the studio with just one light. I recently bough a Elinchrom Rotalux 150cm Deep Indirect Octa soft box on a white background. But it was to light for my taste so I changed to a light grey background just for some more moody feel.
For light I started with the Elinchrom RX one, But this was to weak to over power the ambient light in the studio in the 150 Deep octal, It is a big softbox!!! So i changed it to the Quadra. Because the ISO starts at 200 with the Fuji's and they have APS-C sensors, I didn't wanted to much light, for a smaller depth off field (f5.6 to f10/f11).
After some solo portraits and dance photo's it was time to put them together
I am starting to love my Fuji's more and more, The only things I really dislike is the waiting until all the photos are written to the card before you can watch them back. Because I was working with dancers this was getting anoying. They want to look them back fast so they can check if the position is right. Especially the feet. If you never have worked with dancers then it is good to know that, the light and emotion can be perfect an you go, "WHOOOO GREAT PHOTO JEEEEJJJ!!!!", but the feeds or hands are a few degree of..... It is not a good photo. Because people who know dance see it and you will get your butt kicked!
Also I would love to have the option to shoot ISO100 Raw. Just to be able to work with smaller aperture to get a smaller depth of field.
Going Outside
For the outside shots the Fuji X100 is still a killer. Because of the Leaf Shutter you can get a really fast X-sync to get a darker sky. I switched to the Elinchrom Maxilite because it has a higher output, so I didn't had to stress the battery off my power pack so much. I was working with the Elinchrom Ranger Quadra RX with an A-head on the B-port. This has 33% of the A port. So with the Elinchrom Maxispot I had enough light and stopping power to freeze the action! Also when I switched to the X-pro1.
Back to the Studio
After the rooftop shoot I wanted one other shot I saw in a Joe McNally Kebly training video. I just used a Single Quadra head in the B-port on full power in a Small Elinchrom Rotalux strip soft box. This was on a C-Stand at max hight, The dancer was slightly behind the head to feather the lighting.
Into The Dark Lightroom
Into lightroom I do just a little bit of FerryDusting on the imaging. I am not a big photoshopper. I want it to by stylized but still had to be real. So I did just a shapening, a bid of Pumping up the shadow, Drop the blackpoint. Opening in shadows, somehow adds some blue's in black, so especially with the studio shots I pulled down the blue saturation completely. Also some vignetting to finish it.
The Fuji's
Some say the Fuji's are not fast enough for shooting sports or action. But I think these pictures proof different! Getting your techniques down is the clue to good photo's, camera's are tools like a hammer is for a carpenter. And Photoshop and Lightroom is just the cream to finish of the dessert. Getting it good in camera with the light is the most important thing.
Review: Elinchrom Rotalux 35x90 strip softbox
Vlak nadat ik mijn Elinchrom BX500ri kit gekocht had kwam de Scott Kelby kit uit. Onderdeel hiervan was de Elinchrom 35x90 strip softbox. Met een speciale deal mocht ik mijn kit aanvullen met de extra onderdelen uit de Scott Kelby Kit. Hier zat onder andere de rotalux 30x90 strip softbox bij. De oorsprong van de strip sotbox ligt bij ramen. De softbox is zo ontworpen om het licht wat uit een raam komt te immiteren. tegenwoordig wordt hij op verschillende manieren gebruikt.
Hier onder heb ik hem als overhead light gebruikt. De gebruikte camera was een 5dMkII met 24-70 2.8, Iso 100, 1/125 op f8
Wat ik erg prettig vind is de zachtheid van deze softbox. Het heeft iets liefs. Zeker als je hem featherd zoals hier boven gedaan is. Ook omdat het een rechthoekige vorm heeft, geeft hij een mooie fall of naar de achterkant. Met dansers mag ik hem met sprongen ook graag als overhead gebruiken (moet ik wel toegeven dat ik dat van Joe McNally heb afgekeken).
Hier onder heb ik de lamp gebruikt als lamp van schuin voor (camera rechts) een andere favoriete positie
Kortom de Elinchrom 35x90 strip softbox is voor mij één van mijn basis tools. Als klanten in mijn studi okomen heb ik meestal de Elinchrom Beauty dish klaar staan op een C-stand en de Elinchrom Rotalux 35x90 strip softbox rechts van mij staan om te dienen als eerste basis. Hiermee kan ik snel twee goede portret belichtingen maken!
Tevens gebruik ik de Elinchrom Rotalux 30x90 strip softbox ook vaak als lamp voor de achtergrond:
Paar extra shots gemaakt met de alleen de Elinchrom Rotalux 30x90 strip softbox:
Voor de gene die nog de specificaties willen weten:
Formaat: 35 x 90 cm Diepte: 25 cm Gewicht: 0,97 cm Perfecte kwaliteit van het licht Twee diffusers: binnen- en front diffuser Rotalux speedring adapter, voor snelle 'paraplu' opbouw Rotalux speedring biedt mogelijkheid om de softbox te roteren in elke gewenste hoek Optionele Elinchrom hooded diffuser verkrijgbaar Optionele Elinchrom Rotagrid verkrijgbaar Optionele Lighttools grids verkrijgbaar in de gradenhoek 30˚, 40˚ en 50˚
Hij kost €179,- bij fotoflits
Disclaimer: De genomen foto's zijn genomen voor deze review daarom zo min mogelijk nabewerkt. De nabewerking bestond uit: lightoom 4 en 5 en kleur correctie via de Colorchecker, vervolgens naar Photoshop CS6, daar zijn er paar plekjes weg gewerkt, Nik software Dfine2 ruis uit de achtergrond te halen, Nik software Color Efex pro met de Dynamic skin softening preset voor wat verzachting van de huid, in lightoom soms een beetje extra Clarity met de brush optie voor wat meer detail in de jurk. De gebruikte camera was een 5dMkII met 24-70 2.8, Iso 100, 1/125 op f8
Wouter Kiers, de Hendrix onder de saxofonisten
Vandaag wegens drukte nog geen nieuwe aflevering van The ONE Light Show deze week. Wel is het is al weer bijna 2 jaar geleden dat de bakermat van het Dutch Jazz Portraits project begon. De Mini-documentaire die ik destijds gemaakt heb van Wouter Kiers. Voor de gene die hem nog niet gezien hebben, bij deze!
The ONE Light Show Aflevering 4: 100cm Octa Softbox
Deze week in The ONE Light Show het fotograferen met een Elinchrom Rotalux 100cm Softbox softbox, daarnaast gebruik we deze softbox ook on een beauty dish look te creëren. Mocht je liever eens in de echte praktijk willen leren om gaan met flitslicht schrijf je dan in voor een workshop!
Alle foto’s in de show tijdens de uitleg zijn onbewerkt uit de camera
Gebruikt in deze aflevering
- Elinchrom D-Lite RX One
- Elinchrom Rotalux 100cm Softbox
- Elinchrom Deflector set
- Elinchrom Skyport Speed
- Gossen Digisky Lichtmeter
- Canon 5D Mk II
- Canon 24-70 3.8
- Canon 85 mm 1.8
Voor advies voor advies over flitsapparatuur mag je altijd contact met mij opnemen!
Disclaimer Ik wordt niet gesponsord door Fotoflits en/of Elinchrom. Ik gebruik Elinchrom omdat dit het merk is wat ik graag gebruik vanwege de zeer goede prijs/kwaliteits verhouding en service!
The ONE Light Show aflevering 3: Softbox 1
Deze week in The ONE Light Show het fotograferen met een standaard softbox, daarnaast gebruik we deze softbox ook on een beauty look te creëren. Mocht je liever eens in de echte praktijk willen leren om gaan met flitslicht schrijf je dan in voor een workshop!
Alle foto's in de show tijdens de uitleg zijn onbewerkt uit de camera
Gebruikt in deze aflevering
- Elinchrom D-Lite RX One
- Elinchrom 66 x 66 cm Softbox
- Elinchrom Skyport Speed
- Gossen Digisky Lichtmeter
- Canon 5D Mk II
- Canon 24-70 3.8
- Canon 85 mm 1.8
Voor advies voor advies over flitsapparatuur mag je altijd contact met mij opnemen!
Disclaimer Ik wordt niet gesponsord door Fotoflits en/of Elinchrom. Ik gebruik Elinchrom omdat dit het merk is wat ik graag gebruik vanwege de zeer goede prijs/kwaliteits verhouding en service!
Jaleel King
Deze video kwam ik laatst tegen op Youtube. Jaleel King werd op zijn achtse geraakt door een schot hagel dat werd afgevuurd door zijn boze buurman. Hij was daarna verlamd. was een stuk long kwijt, lever en nog meer interne schade. Nu jaren later is Jaleel een succesvolle fotograaf. Deze video verteld zijn verhaal in het kort en laat zijn werk zien wat echt het aanraden waard is!
Mijn Helden: Mark Seliger
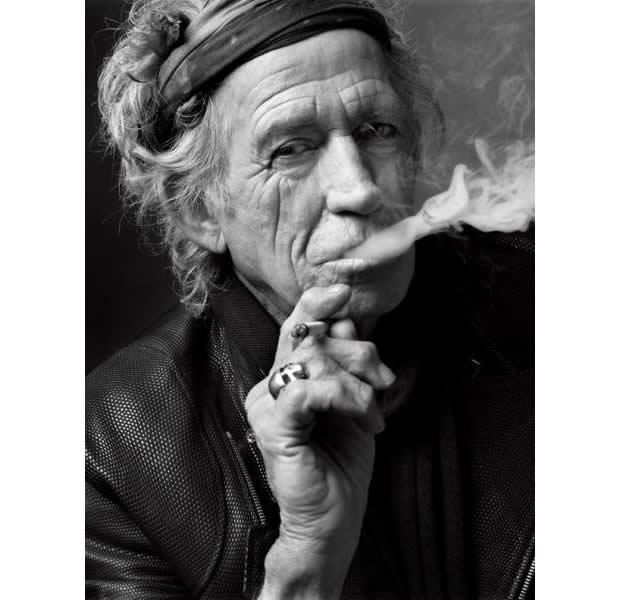
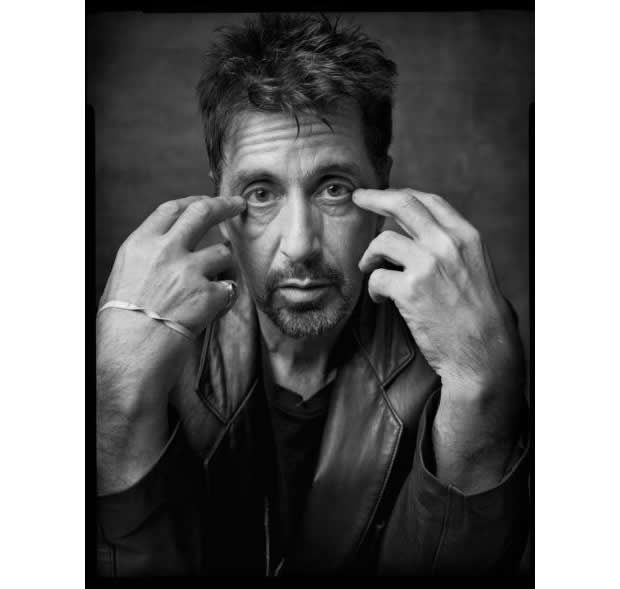
Eens per maand wil ik graag wat aandacht geven aan mijn fotografische helden. Als eerst wil ik graag aandacht geven aan Mark Seliger. Mark Seliger is in 1959 geboren in Armarillo, Texas. In 1964 ging hij naar de High School for the performing and visual arts in Houston. Hij verhuisde in 1984 naar New York. In 1987 bgon hij te werken voor Rolling Stone magazine en is daarvan de hoofd fotograaf geweest van 1992 tot 2002 en heeft in die tijd meer dan 100 covers geschoten. Sinds 2010 leeft mark stelliger weer in New York and werkt hij voor Conde Nast Publications. Hij heeft sinds die tijd menig cover gefotografeerd voor onder andere GQ en VaniYi Fair.
Persoonlijk ben ik het meeste fan van zijn portretten. Veel al in zwart. Vele zijn gemaakt in zijn studio. De studio van Mark Seliger heeft een bijzondere plek. Mark Seliger zit boven in een gebouw en heeft in de oude lichtschacht een vloer en een licht koepel laten bouwen. Dit zorgt voor mooi natuurlijk licht in de relatief kleine ruimte. Dit geeft een vorm van intimiteit die ik erg aantrekkelijk vind.
Kortom ik kan iedereen aanraden eens het werk van Mark Seliger te bekijken.
Review: Elinchrom 70cm Beauty Dish Wit
andaag een review van de Elinchrom 70cm Beauty Dish Wit. De Elinchrom 70cm Beauty Dish is mijn favoriete licht modifier voor in de studio. Het is de modifier waar ik bijna elke sessie mee start. De reden? Heel simpel: hij ziet er bijna op iedereen gelijk goed uit! Het is een heel prettige lichtbron. De grote van de beauty dish geeft een mooie zachtheid met een crispy randje. Mede de witte binnenkant en de "sock" zorgen hiervoor. Nu moet ik zeggen dat ik de "sock" vooral bij vrouwen gebruik. Mannen kunnen (beetje afhankelijk van de leeftijd) ook zonder Sock gefotografeerd worden.
Hieronder staan 3 foto's, elke is met een andere interne Elinchrom deflectors gemaakt. De eerste is met de zilveren, de tweede de witte en de derde de gouden.


De zilveren Elinchrom deflector was vroeger de enige deflector die ik gebruikte. Dit omdat ik met name "jonge" mensen fotografeerde.
De witte Elinchrom deflector is mijn nieuwe favoriet. Dit komt omdat hij een iets zachter licht geeft en ik dat iets meer prefereer.

De laatste is de gouden Elinchrom deflector. Deze geeft een iets warmer beeld. Dit werkt met name erg goed bij oudere mensen en mensen met ene dokere huid. Als je echt bijna zwarte mensen fotografeert is dit de truck om hun huid nog mooier uitte laten komen.
Kortom koop een Elinchrom 70cm Beauty Dish. In de set zitten ook de deflectoren. Deze beauty dish werkt altijd. Voor zowel hoofdportretten als meer full body foto's. In mijn portfolio zitten vele foto's de Elinchrom beauty dish gemaakt zijn.
http://www.fotoflits.com/elinchrom-softlite-reflector-wit-82-deg-70-cm-o
Gestolen Flitslampen weer terug
30 september 2013 waren mijn flitslampen gestolen tijdens het laden van mijn auto voor een fotoshoot. 2 tassen met daarin mijn Elinchrom BXRi 500 lampen en achtergrond statieven set waren door een onbekende meegenomen. Wegens onvoldoende aanknopingen punten kon ik helaas geen aangifte doen. Bij toeval keek ik zondag avond op marktplaats, en wat zag ik daar? Mijn lampen en de statieven set bij een winkel in Haarlem. Na wat overleg gelijk het 0900-8844 nummer van de politie gebeld. Daar kreeg ik het advies de volgende ochtend te bellen om een afspraak te maken.
De volgende ochtend vroeg mijn wekker gezet om gelijk een afspraak te maken. Om 1 uur mocht ik bij Bureau Haarlem langs komen. Op het bureau ben ik bijna twee uur bezig geweest met het regelen van de aangifte.
De volgende ochtend mocht ik weer komen om samen met hen naar de winkel gaan om de spullen terug te vorderen. Dus om 10 uur zat ik weer op het politiebureau. Daar samen met de wijkagent en de agent van de aangifte een plan van aanpak gemaakt en nog even de procedures doorgenomen en extra kopieën van eigendom papieren gemaakt.
Vervolgens zijn wij naar de winkel gereden. Daar zijn eerst de agenten naar binnen gegaan. Even later kwam de wijk agent naar buiten met het goede nieuws, dat het inderdaad mijn Elinchrom BXRi500 waren! Tevens mocht ik ze na overleg met de OvJ gelijk weer mee naar huis nemen.
U begrijpt hier zit een gelukkige fotograaf. Graag wil ik bij deze mijn dank uitbrengen naar de agenten van regio Haarlem voor hun hulp!
De overgang
Vorige week is de grote verandering begonnen. 55k Fotografie wordt Ferry Knijn Fotografie. De reden dat ik dit gedaan heb is omdat ik mijn fotografie meer persoonlijk wil gaan maken. Fotografie heeft voor mij iets persoonlijks. Dat wilde ik niet langer meer achter een algemene naam verschuilen. De nieuwe site is nu zo goed als klaar. Het nieuwe logo wordt ook aan gewerkt. Dus binnenkort kunnen jullie op deze site het geheel nieuwe Ferry Knijn Fotografie vinden.
Ook zal ik meer gaan bloggen. Er staat een reeks geplant van diverse les video's op het gebied van fotografie. Daarnaast blijf ik dit jaar ook door werken aan mijn Dutch Jazz Portraitst project. Wil je dus op de hoogt blijven kom dan regelmatig terug voor, blogs, nieuw werk, gratis lessen en nog veel meer!
Portret met Natuurlijk licht
Vandaag nog even een voorbeeld van de workshop van afgelopen zaterdag. Deze foto is gemaakt met een Fuji X100 op ISO400 F4 1/120. In Apple Aperture is de foto zwart wit gemaakt. Het enige licht wat gebruikt is was het aanwezige licht. Door de witte ruimte en het zonlicht krijg je een hele egale zachte look.
Nieuwe Site
Welkom op de nieuwe website van Ferry Knijn fotografie (voorheen 55k Fotografie). Momenteel ben ik druk met de migratie van de website. Kom dus snel om het eind resultaat te bekijken. Voor informatie kunt u ook altijd contact met mij opnemen via het formulier of op 06 52 62 73 34


