Capture One versie 20 is er!
De laatste versie van Capture One is zojuist gereleased, ik heb er al even mee kunnen werken en er zijn weer paar fijne toevoegingen.
Heb je nog geen Capture One klik dan HIER om een gratis 30-dagen proefversie te downloaden
Wil je Capture One versie 20 kopen klik dan hier en gebruik code FERRY om mijn kanaal te helpen!
Nieuw in Capture One versie 20
Pin tools
Je kan nu tools die je vaak gebruik vast zetten, zodat als je door de tools scrolled deze boven aan blijven staan en je er altijd snel bij kunt
Save default adjustment for camera
Heb je standaard instellingen die je altijd gebruikt op foto’s uit een bepaalde camera, dan kan je deze opslaan via de “Save default adjustment for camera” functie, vanaf dan zal Capture one deze aanpassing doen op alle foto’s van dat type camera.
New Basic Color Editor
Vergelijkbaar met de HSL sliders uit Lightroom en Photoshop zit er nu een nieuwe New Basic Color Editor in, waarmee je per kleur de Hue, saturatie en lightness kunt aanpassen. Uniek is dat je het bereik van de kleur aanpassing zelf kunt aanpassen. Ook is er een Direct Color editor toegevoegd, hiermee kan je een kleur aanpassen door op de kleur te klikken, en terwijl je deze ingedrukt hou de muis te bewegen hem kan aanpassen.
Noise reduction
De Noise reduction (ruisonderdrukking) is ook aangepast voor betere resultaten
Nieuwe High Dynamic range sliders
Naast de standaard schaduw en hooglichten schuiven zijn nu ook de wit en zwart aanpassingen toegevoegd, dit is niet het zelfde als het witpunt, en zwartpunt schuif in Lightroom Deze doen het echt op contrast zoals de curve en levels. De zwart en wit slider in Capture one “duwen” alleen de hoog en laag lichten in hun gedeelte van de histogram wat voor natuurlijkere resultaten leid.
Crop tool
De croptools heeft ook een nieuwe aanpassing waar ik heel blij mee ben! Zodra je hem gebruikt zitten er op de randen en hoeken een paar randen die duidelijk aangeven waar de crop loopt zodat je deze duidelijk ziet ook op donkere achtergronden.
DNG Ondersteuning
De DNG ondersteuning is ook verbeterd. Echter gebruik ik dit bijna niet, dus kon ik dit niet testen
Verder kleine aanpassingen
Versimpelde activatie op basis van licentie code
Nieuwe en aangepaste iconen
Achtergrondkleur aanpasbaar
Hogere resolutie van thumbnails
Verbeterde witbalans prikker
Verwerk knop naar betere plaats
Nieuwe shortcuts
Capture One 12.1.4. Update
This afternoon Capture One dropped there latest update version 12.1.4 and here are the highlights of the new version!
This afternoon Capture One dropped there latest update and here are the highlights of the new version!
New Camera’s added
The following camera’s have been added in the latest version on Capture One Pro
Sony
Sony a9 II
Sony RX100 VII
Sony RX0 II
Sony a6600
Sony a6100
Fujifilm
Fujifilm X-Pro3
Fujifilm X-A7
Leica
Leica Q2
New Lenses added
The following lenses have been added in the latest version on Capture One Pro
Sony
Sony FE 35mm F1.8 (SEL35F18F)
Sony FE 200-600mm F5.6-6.3 G OSS (SEL200600G)
Sony FE 600mm F4 GM OSS (SEL600F40GM)
Canon
Canon RF 24-105mm f/4
Leica
Leica APO-Summicron-SL 1:2/50 ASPH
Sigma
Sigma 35mm F1.4 DG HSM | A (Canon EF)
Bugs and support
Then there have been some minor bug fixes and in now support s fully on the latest MacOS Catalina.
Wedding workspace
Now the most interesting update with Capture One Pro 12.1.4 is the wedding workspace. They have added a special workspace with the workflow of a wedding photographer in mind. So why is this such a great new workspace? Well……
At first the order of the tools has changed. The first is just importing and folders. The nest one is styles. Since a lot of times editing of weddings is done with styles (presets) so you can handle and color grade/stylish a lot of images fast. The next one is Common, with the base tools for correcting you images on exposure, contrast, white balance and vignette. After that you get the cropping tools, the colour tools, corrections and the the layers. The layers is also interesting, this one has the most used local adjustments bundeld together for some quick local adjustments. and after that you get the export tools.
So overall I totally get the way the Capture One engeneer designed this and would fit my Wwedding photography workflow!
Get Capture One now
If you are interested in Capture One there are some nice discounts going on!
First if you want to but it today (31 october 2019) you can still use the octobre campaign, use the code Oktober-AF-S2P3 for a 10% discount on everything.
If you buy Capture One Pro 12 now you get a free upgrade when version 20 is released.
Click HERE to go to the Capture One store directly
10 reasons why is Capture One Pro Better than Lightroom
A lot of people know I am always raving about Capture One Pro and how much I like it better than Lightroom. And if you want to know why I like Capture One Pro over Lightroom, I made a video with the first ten reasons why I like Capture One more for my portrait photography than Lightroom, especially with my Fujifilm GFX Camera.
Reason one: Sessions and Catalogs
Capture One Pro gives you the option between working with sessions or a catalog. I love working with sessions because it is fast, and easy to back up and keeps your import, selects and outputs together in one folder, easy to back up. But if you like catalogs, you can use that to, and you can import your sessions in your catalogs.
Reason two: Speed
Capture One Pro is way faster with importing files, I did a test importing 40 GFX Raw files. Lightroom took 1.58 minutes for importing and creating a preview image and Capture One Pro only took 1.02 minutes, so is almost twice as fast.
Reason three: Fullscreen mode
Like you could do with Apple Aperture (Loved that program) you have a real fullscreen edit mode, so the only thing you see is your is you image and editing tools
Reason four: tethering
With Capture One Pro setting up a tethering shoot is easier, just plug in a USB cable and go!
Reason five: Working with Layers
Instead of working with the pins with brushes in Lightroom you can work with layers and brush the effects in. This is way it is easier to keep track of what you did with editing and undo/see what you have done.
Reason six: Color balancing
Like you have when color grading video you can use color wheel when you use the Color balancing tool in Capture One Pro. This is a really great way for color toning your photo’s.
Reason seven: Customizing
With Capture One Pro you can really customize all you editing screens and set it up in a way you like. Making it easier and faster to edit you images
Reason eight: the luma curve
Beside the RGB curve and Red, Green and Blue curves you also have the Luma curve. The advantage of the Luma curve is that it only adjusts the luminosity in the image and keeps you color naturel.
Reason nine: Clarity
The clarity function is also better in Capture One Pro. The biggest advantage is that when you add Clarity it does not boost your saturation like Lightroom does.
Reason ten: Grain
The grain function is also really good. Instead of adding a image of the structure of grain it really calculates how grain would appear with the color and setting, making it really looks like real grain.
So these are the first ten reasons why I love Capture One Pro more then Lightroom. There are more. But these are the first ten I could think of. So maybe soon more!
Fotoshoot in Wenen
Twee weken geleden ben ik voor een fashion fotoshoot naar Wenen geweest. Samen met latex fahion model Dutchdame hebben we aan een kalender gewerkt. De kleding werdt verzorgt door Odd Territory en het licht kwam van Profoto, we mochten de B10 lenen.
Uiteraard heb ik ook weer een vlog gemaakt, hier zijn de eerste twee video’s
Tethered fotograferen met FujiFilm naar Capture One Pro 11
Zoals de meeste van jullie waarschijnlijk weten ben ik gek op Capture One voor mijn nabewerking van mijn RAW-bestanden. De enige reden dat ik nu veel met Lightroom werk is dat ik niet tethered kon fotograferen met Capture One en mijn FujiFilm camera's en omdat Capture One niet standaard mijn FujiFilm GFX bestanden ondersteund.
Maar voor het probleem dat ik niet Tethered kon fotograferen naar Capture One heb iik voor mijn FujiFilm X-series camera's nu een oplossing gevonden!
- Van de FujiFilm website kan je gratis FujiFilm Acquire downloaden. Klik HIER om gelijk naar de pagina te gaan.
- Start na het installeren van FujiFilm Acquire Capture One Pro op en maak een sessie aan.
- Start FujiFilm Acquire op en verbind je camera via een Tethering kabel (Ik raad die Tether Tools aan, eerder goedkopere gehad maar slechte ervaringen mee).
- Als FujiFilm Acquire opstart moet je een map kiezen waar je wil dat FujiFilm Acquire de bestanden plaatst. Kies nu de Capture map in de sessie map die je net hebt aangemaakt met Capture One.
- Als je nu foto's maakt komen ze gelijk in de capture map van je Capture One sessie en kan je ze bekijken als je aan het fotograferen bent.
Wat niet werkt is dat als je eenmaal een instellingen maakt voor een basis look dat deze over alle binnenkomende foto's automatisch laadt en overlay functies of je camera vanaf de computer bedienen. Maar voor mij is dit al voldoende om tijdens sessies er mee te werken omdat ik de look voor 90% in camera die en de grading achteraf.
Toch blijf ik hopen dat Capture One FujiFilm eens goed gaat ondersteunen en volledige Tetheringfunctionaliteit in gaat bouwen. Ook het gewoon ondersteunen van de GFX zou fijn zijn. Ik weet dat Capture One zoiets heeft van wij gaan geen Middenformaat camera's van andere merken ondersteunen, maar laten we eerlijk zijn er zijn zeer weinig mensen die een 30k camera kunnen en willen kopen, de gene die dat wel willen en kunnen zullen dat ook blijven doen en met de software verkoop kunnen ze meer en continuer geld verdienen dan met de camera verkoop. Maar dat even ter zijde.
Verder was dit de laatste blog van dit jaar. Dus iedereen alvast de beste wensen voor het nieuwe jaar!
En oh, had ik het hier ook al verteld? Als ik 100 abonnees haal op mijn Youtube kanaal geef ik een gratis workshop weg, dus volg mij ook op youtube!
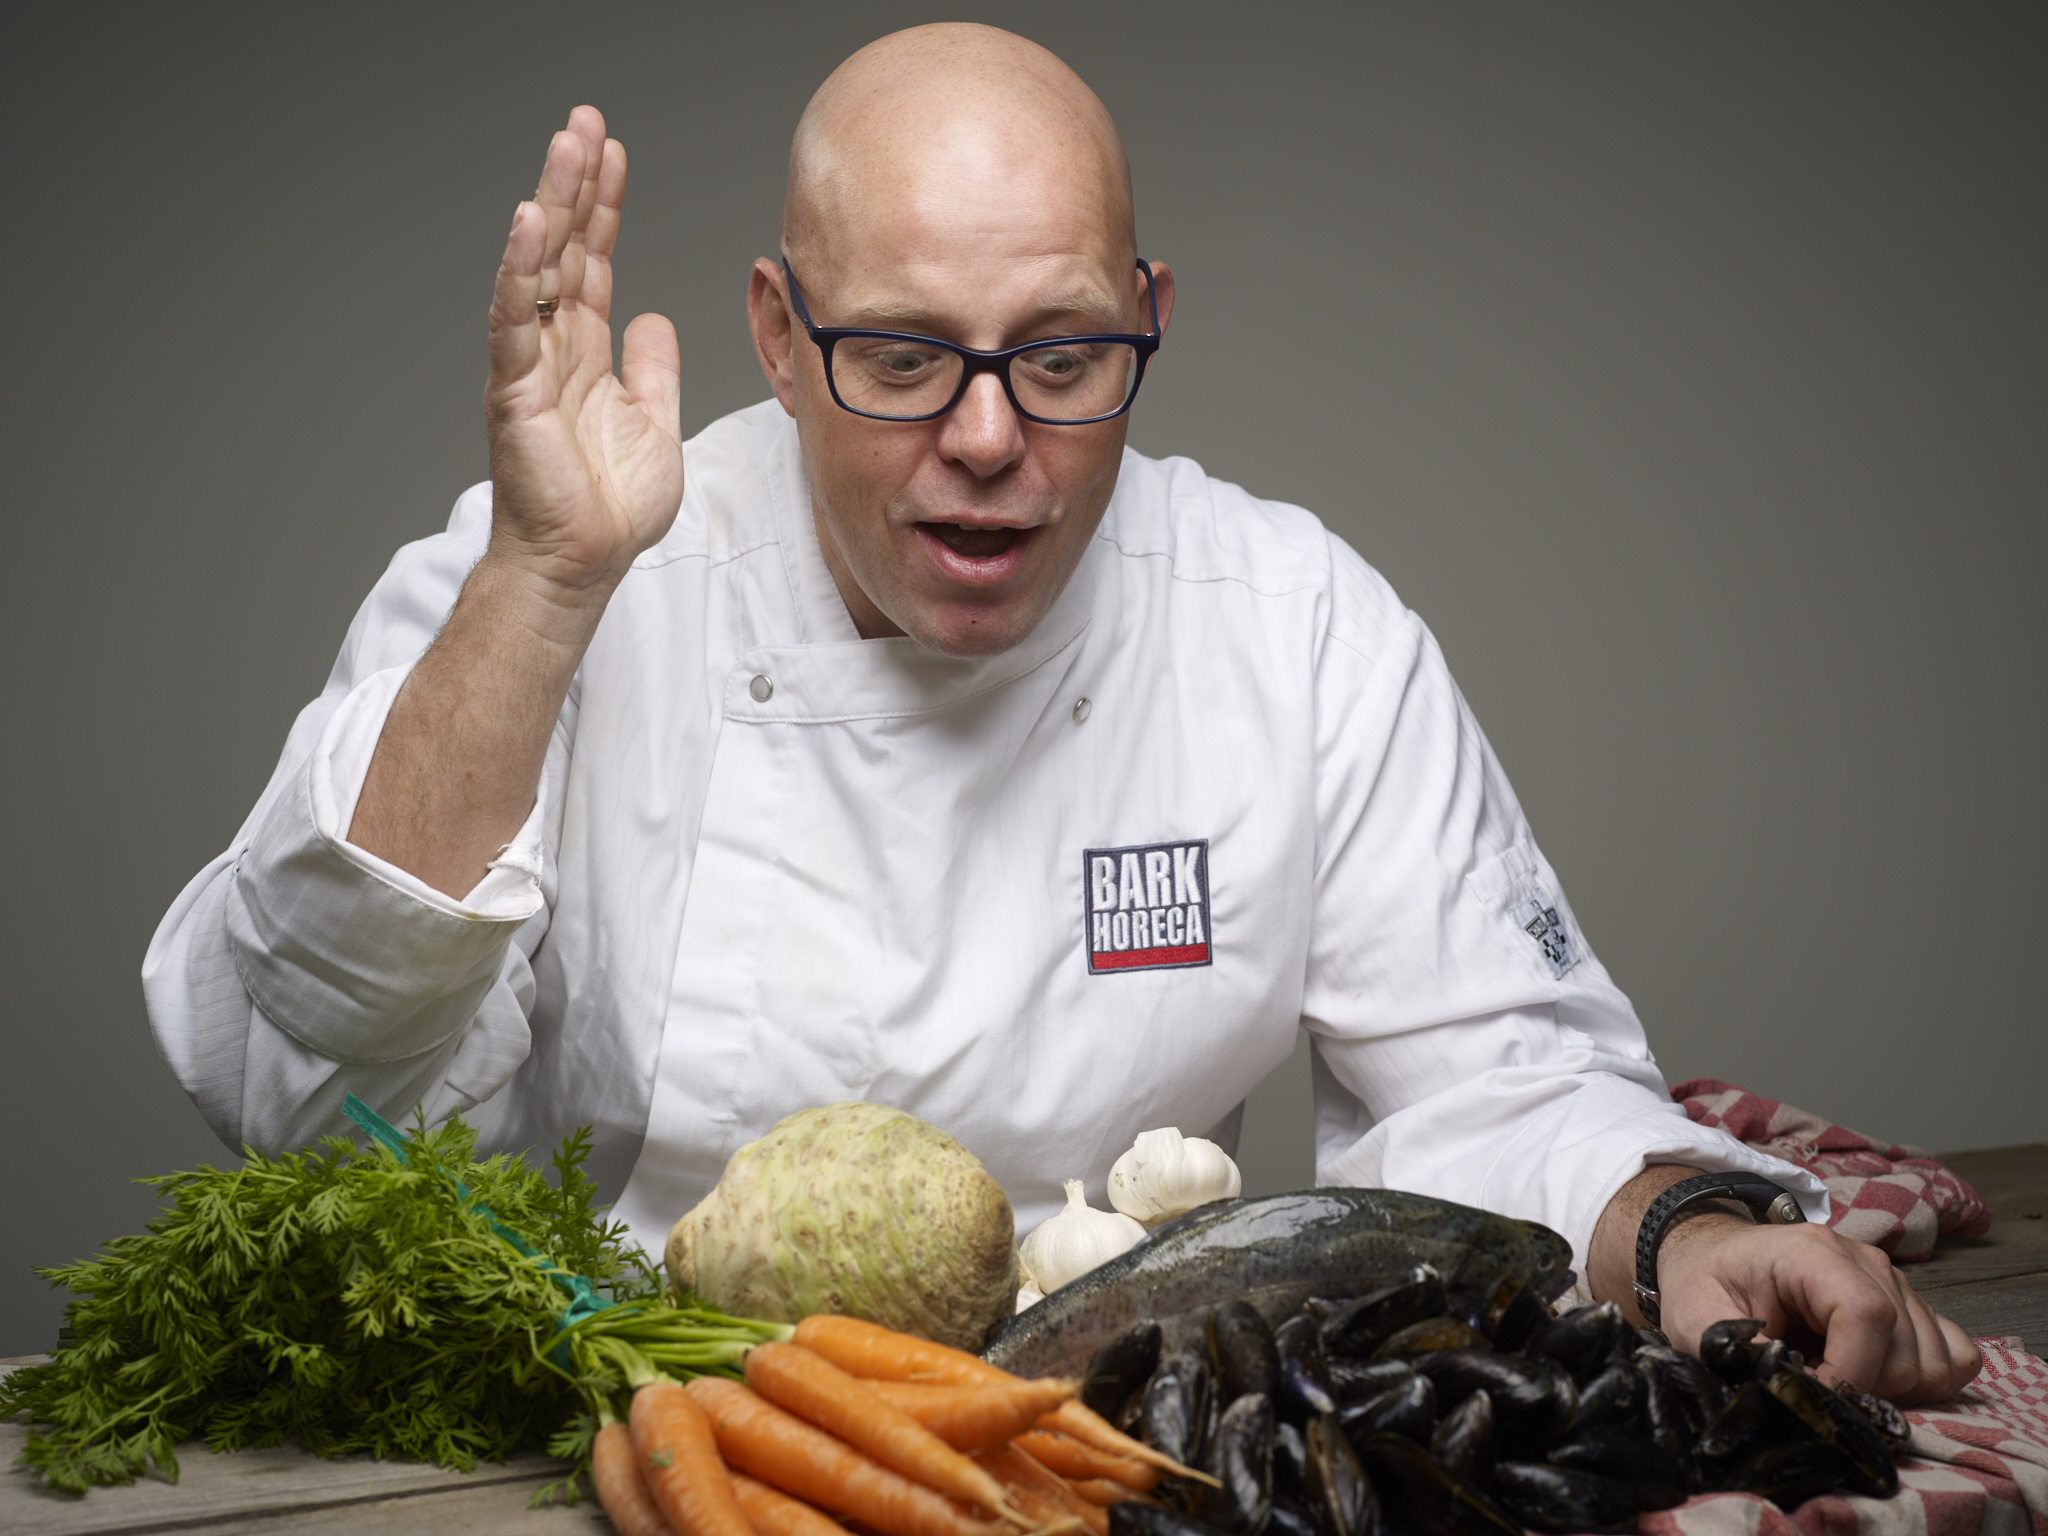
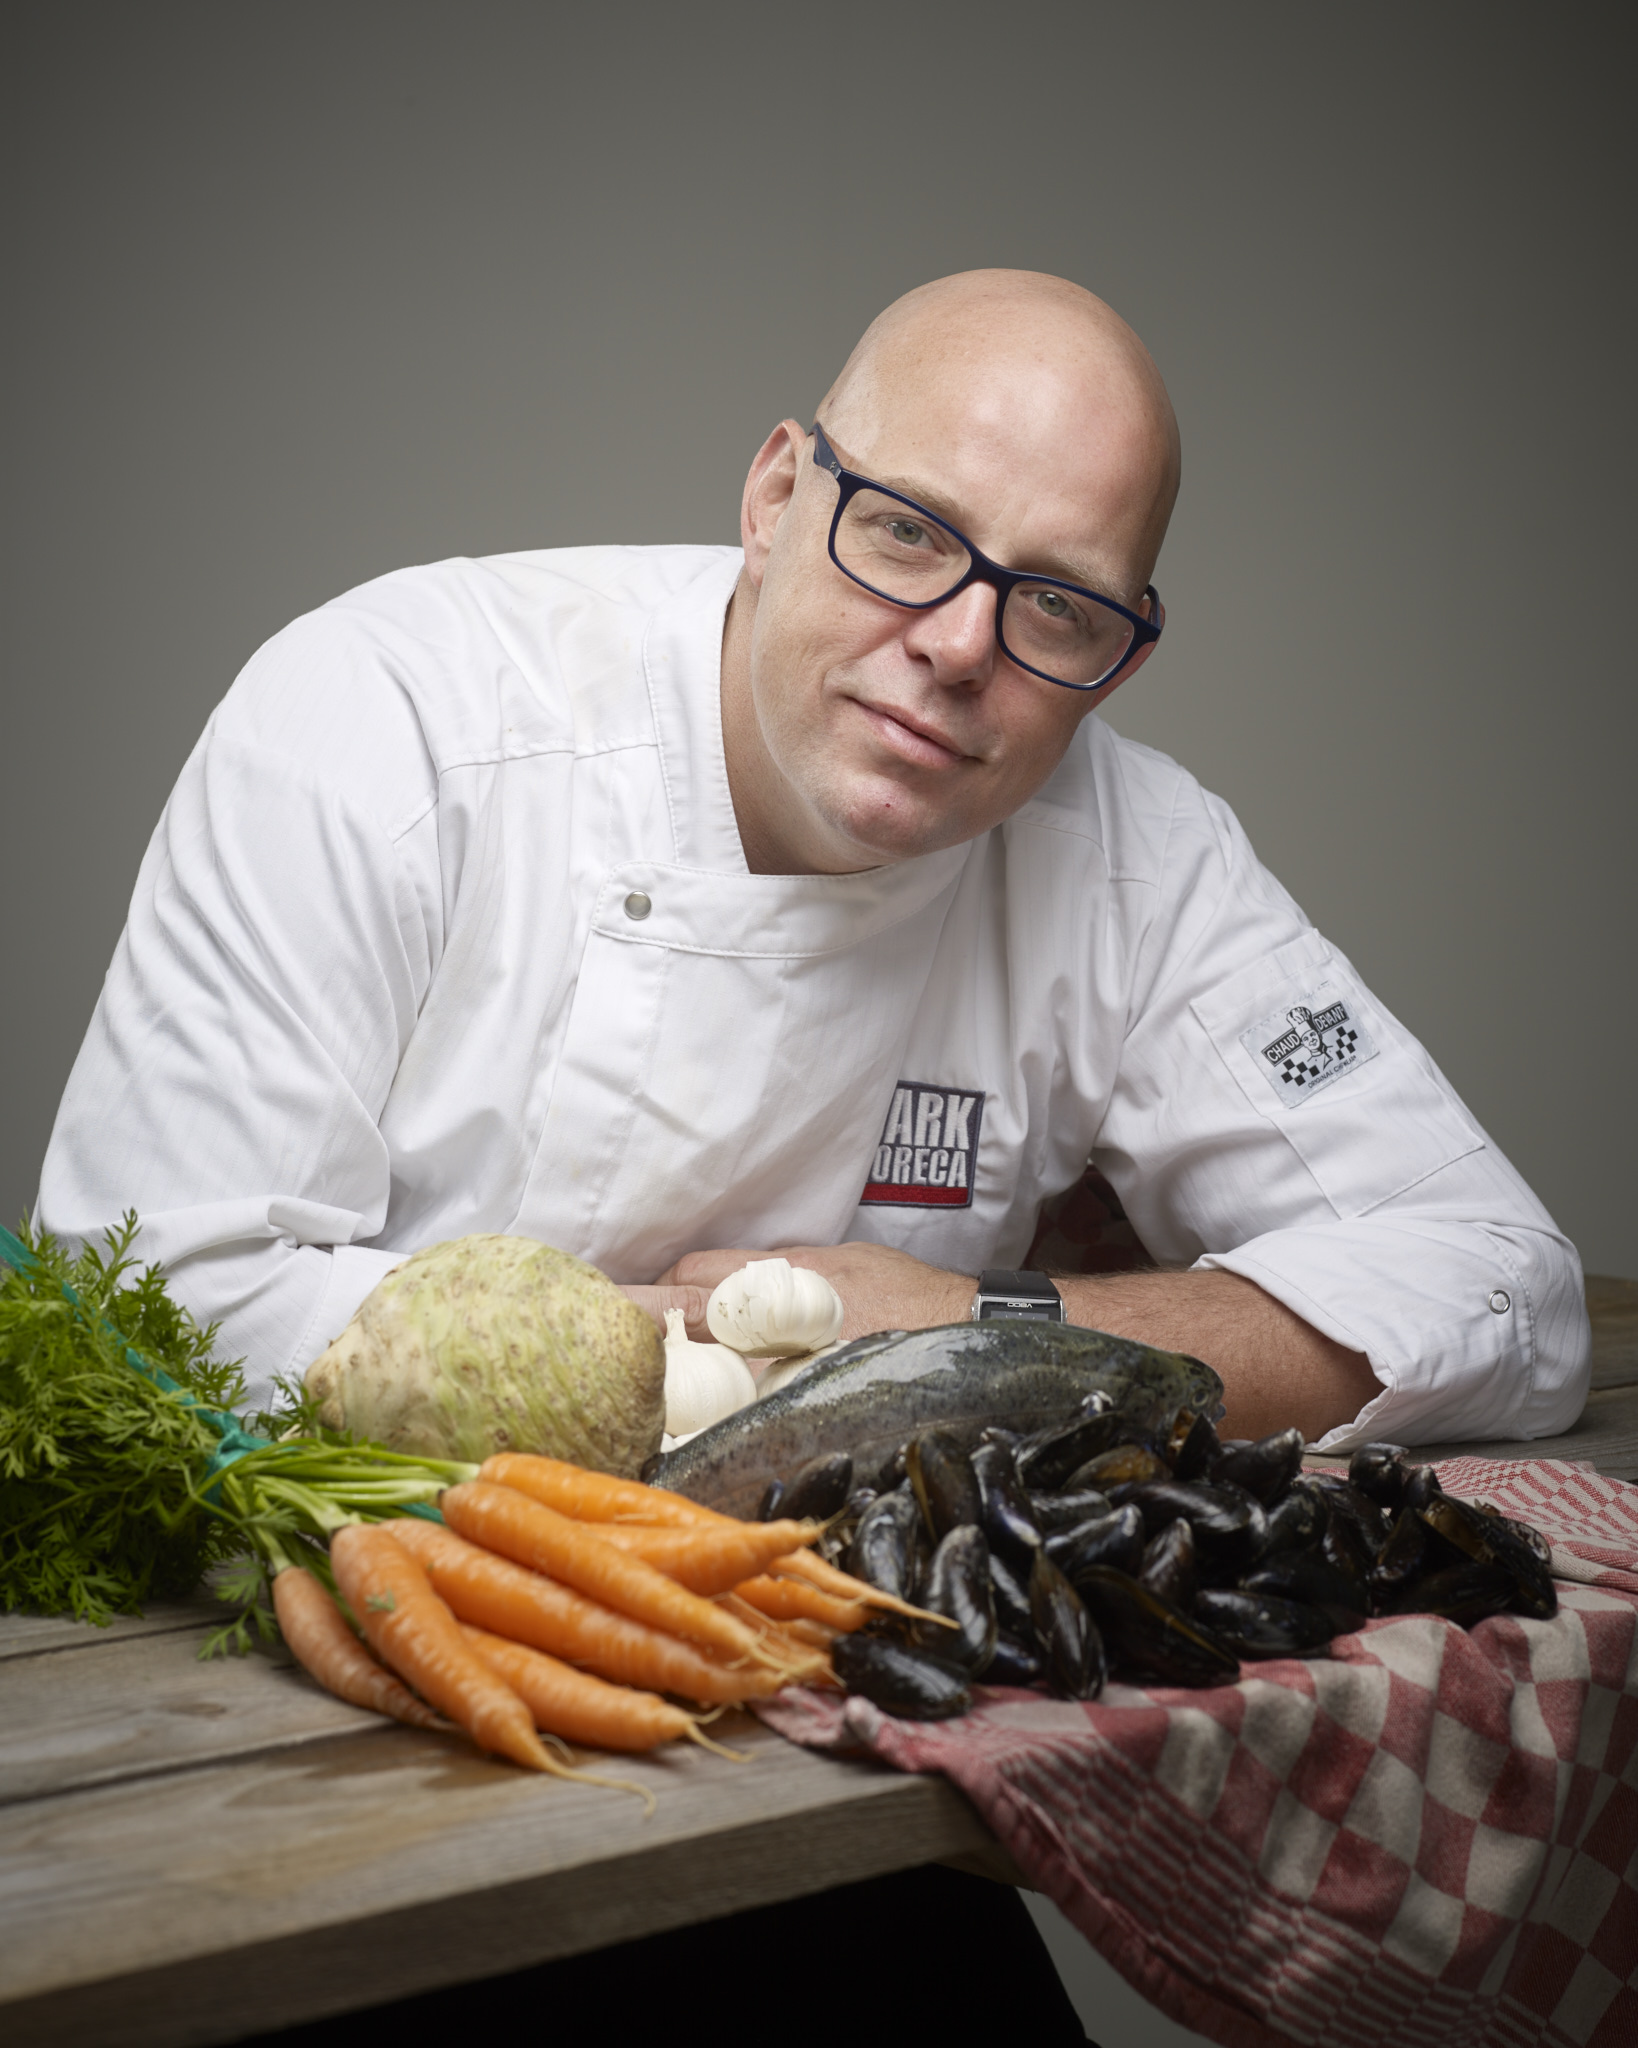
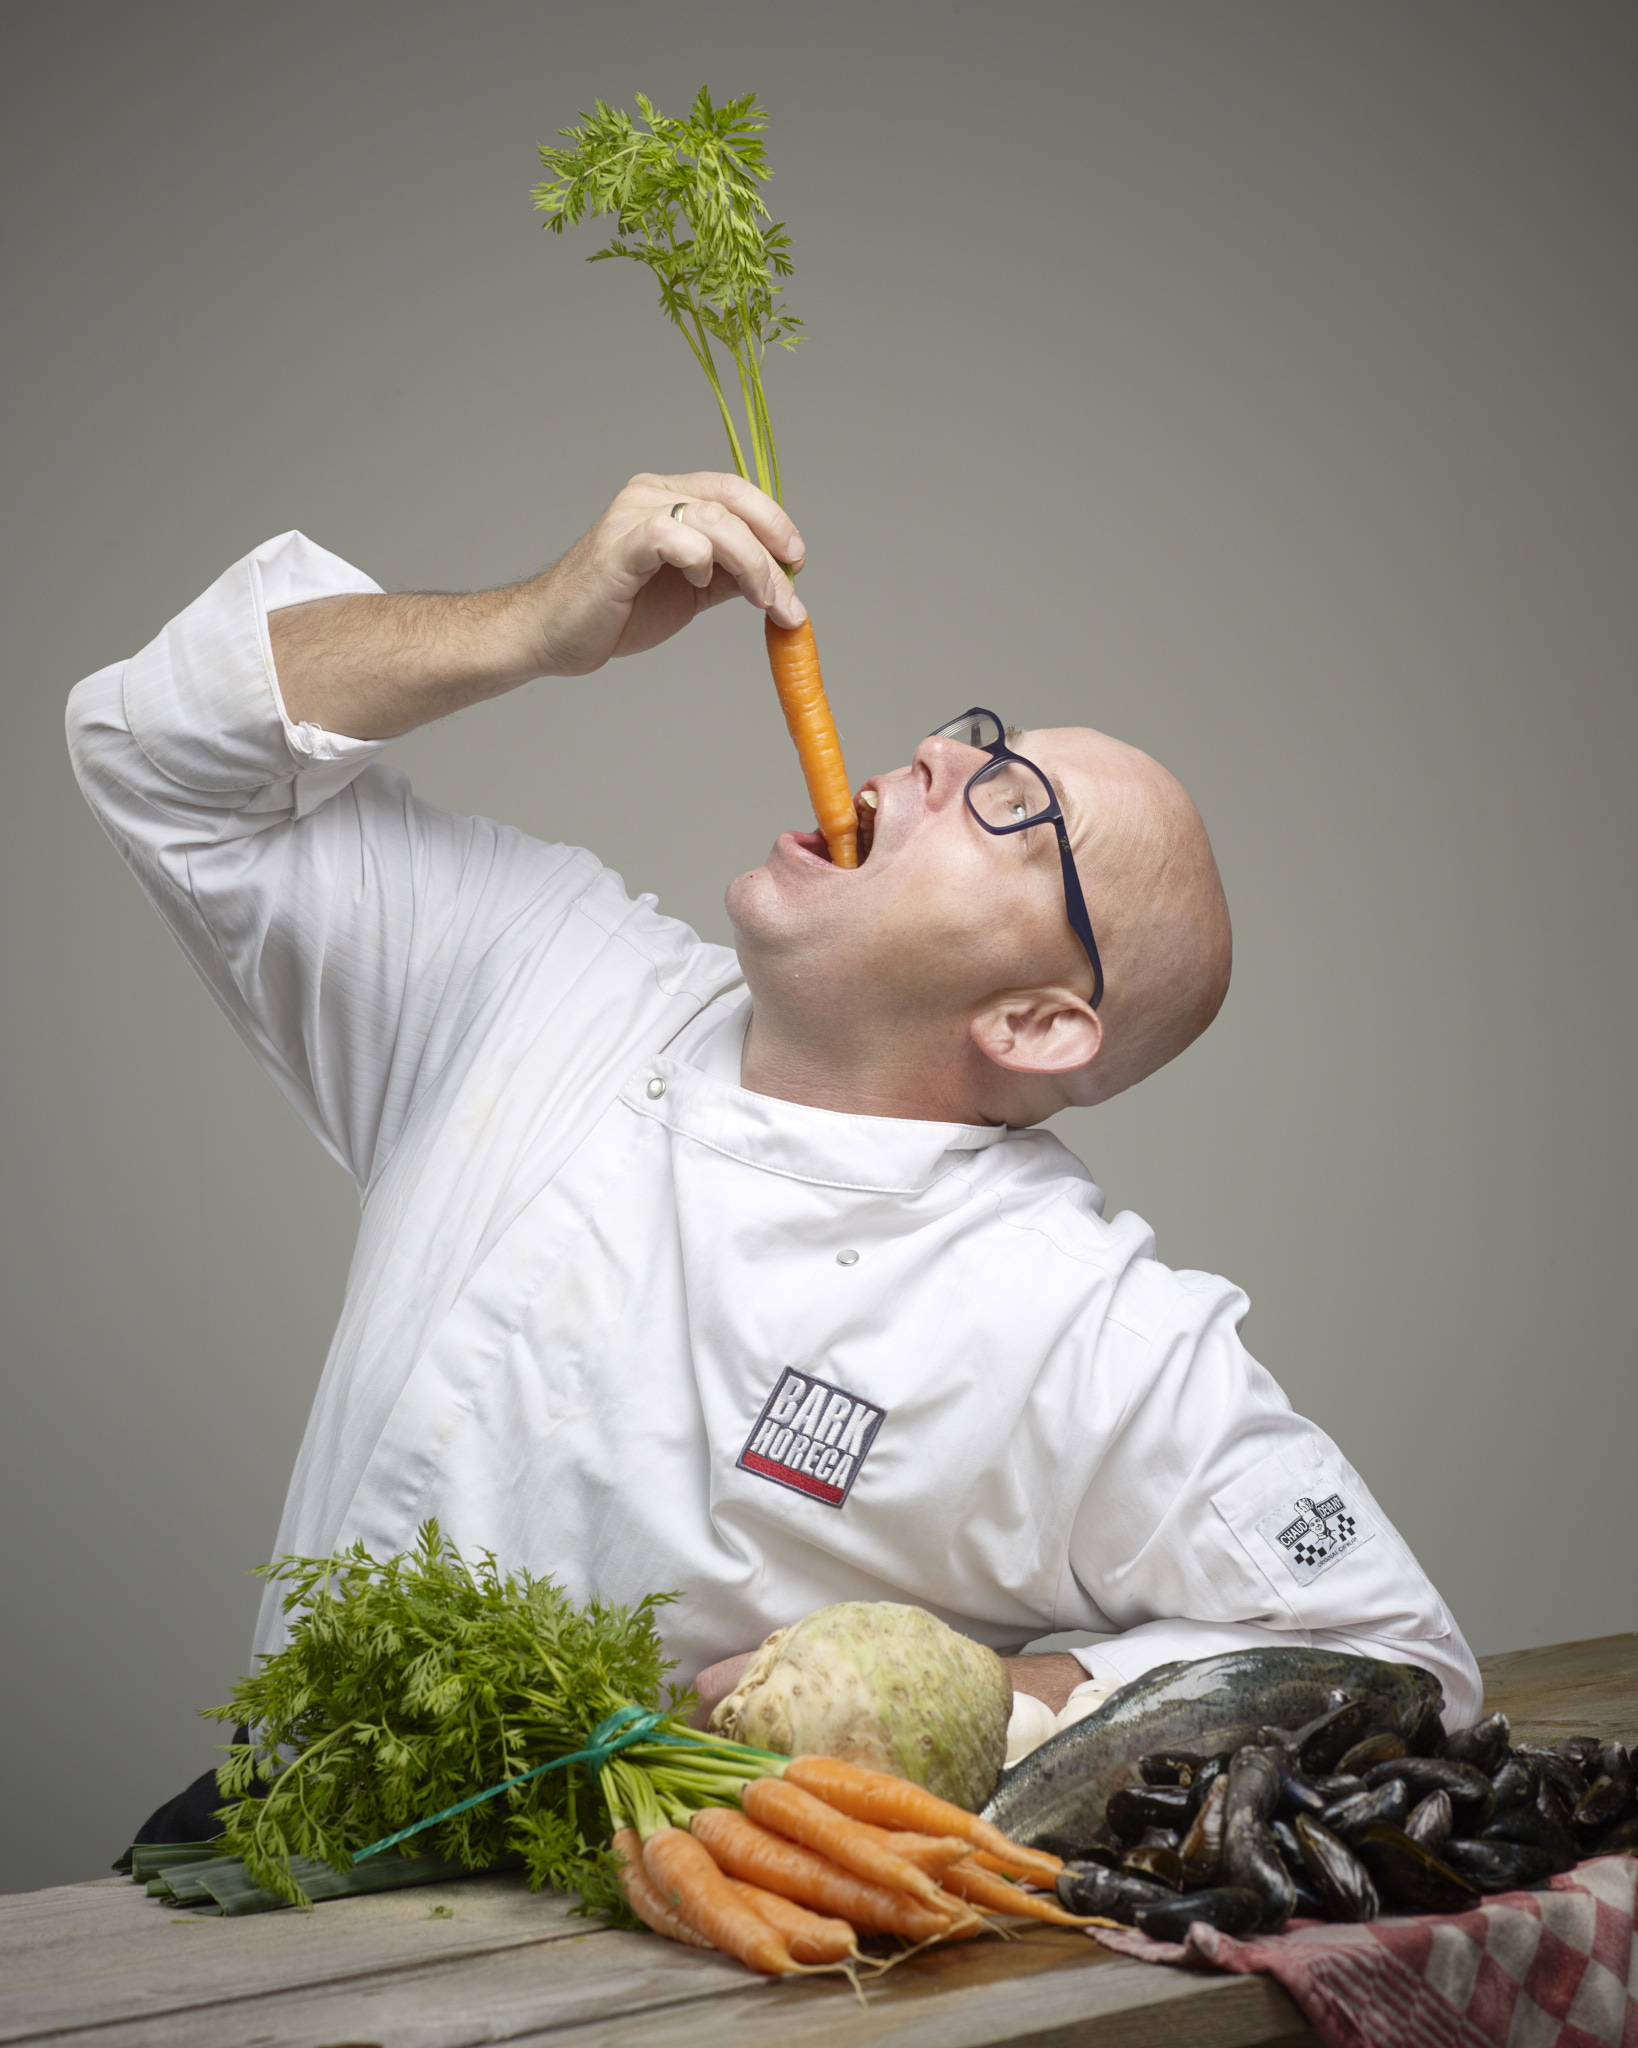
Editorial photoshoot with a chef cook and (review of) a Phase One P30+
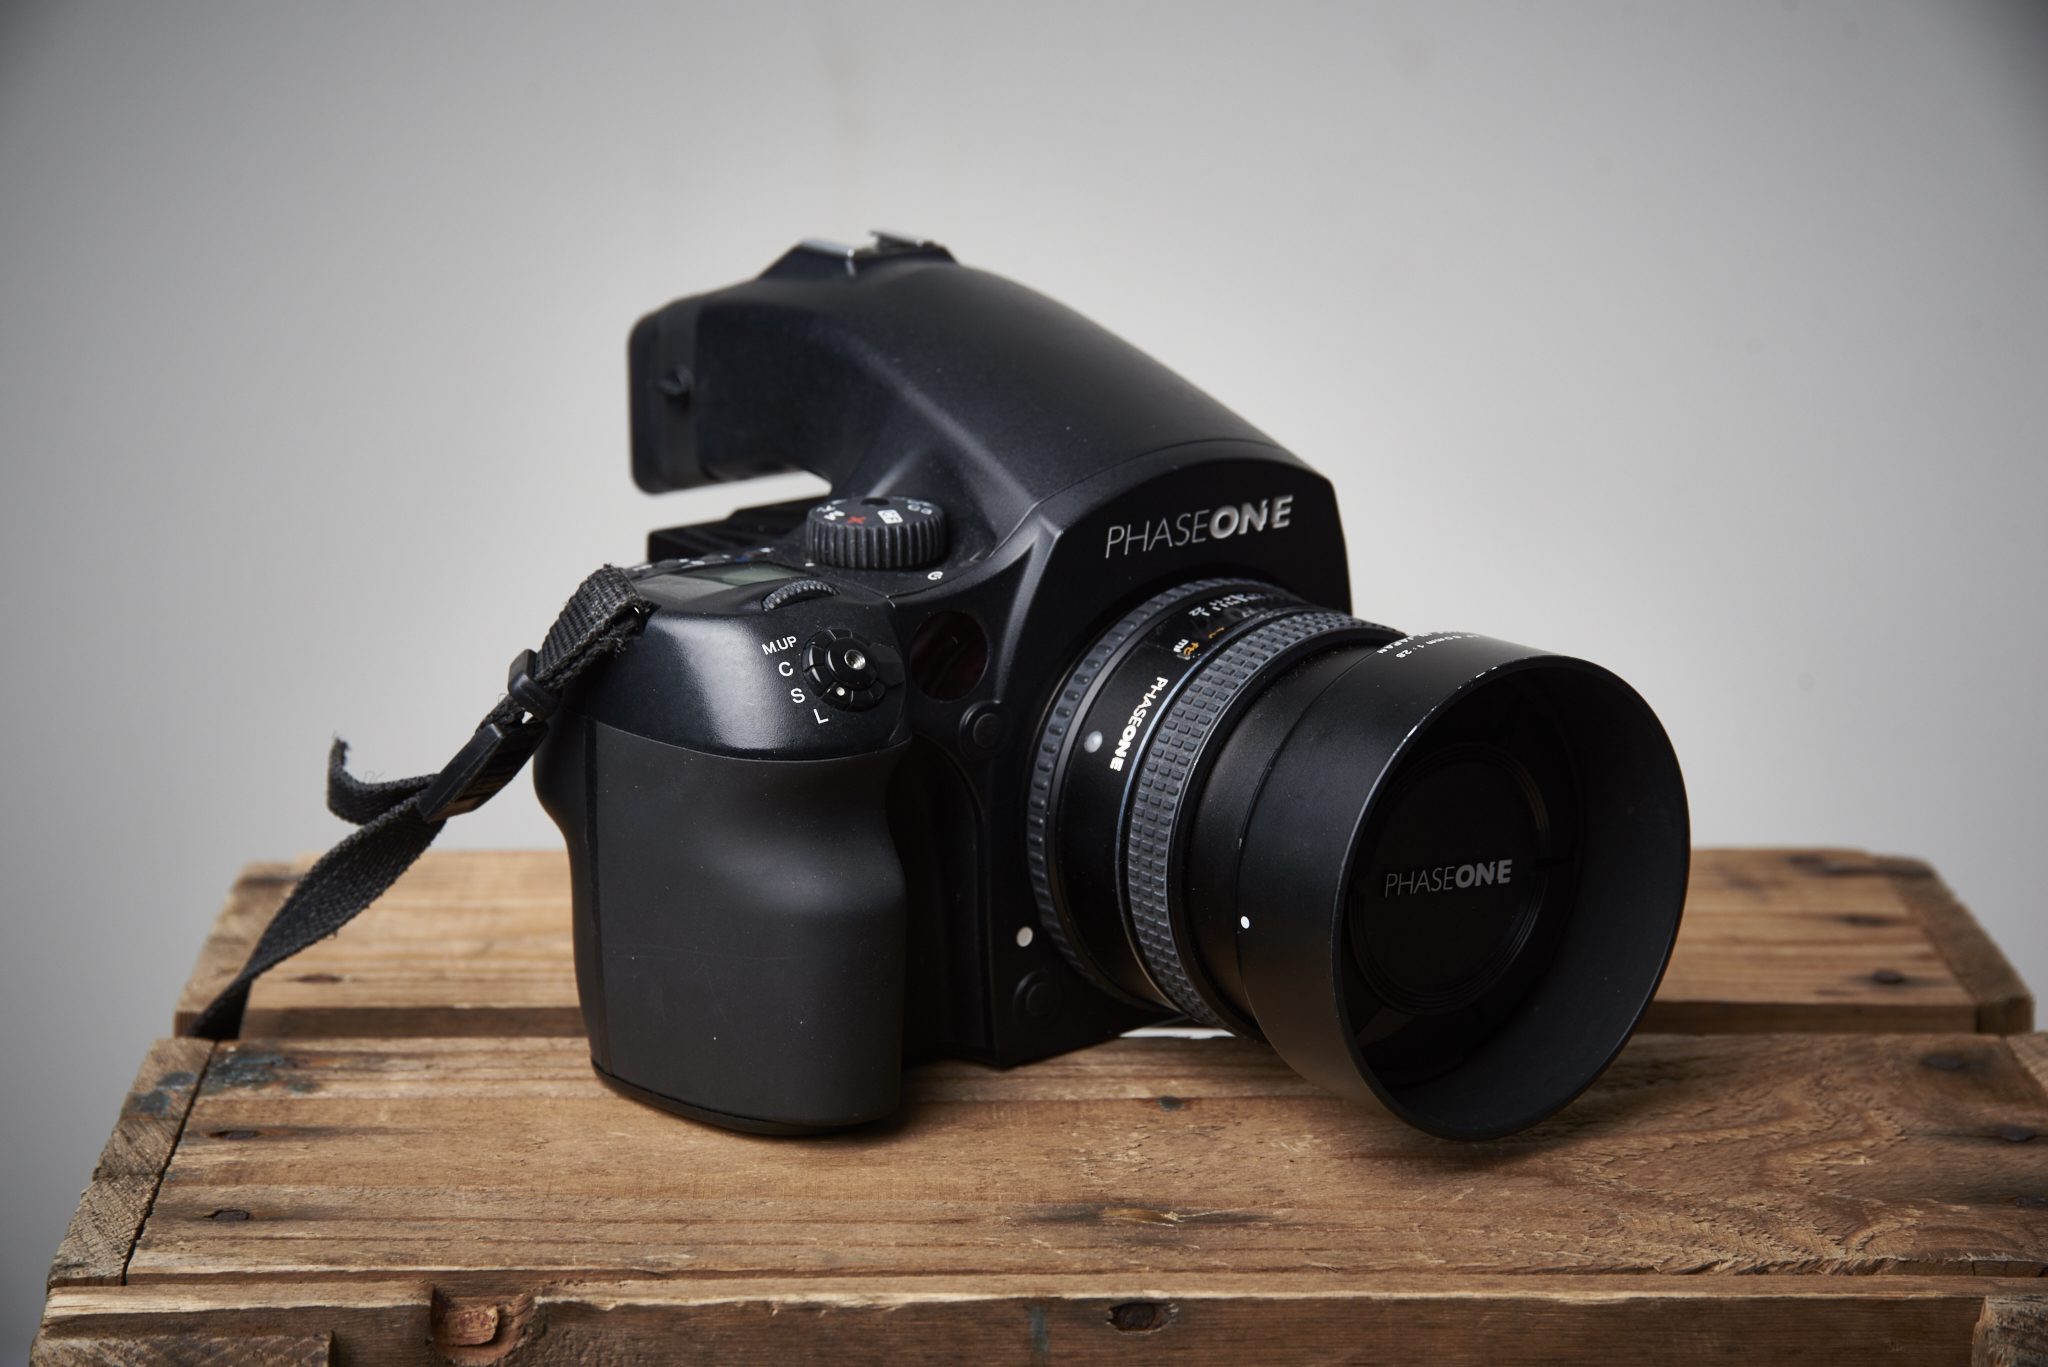
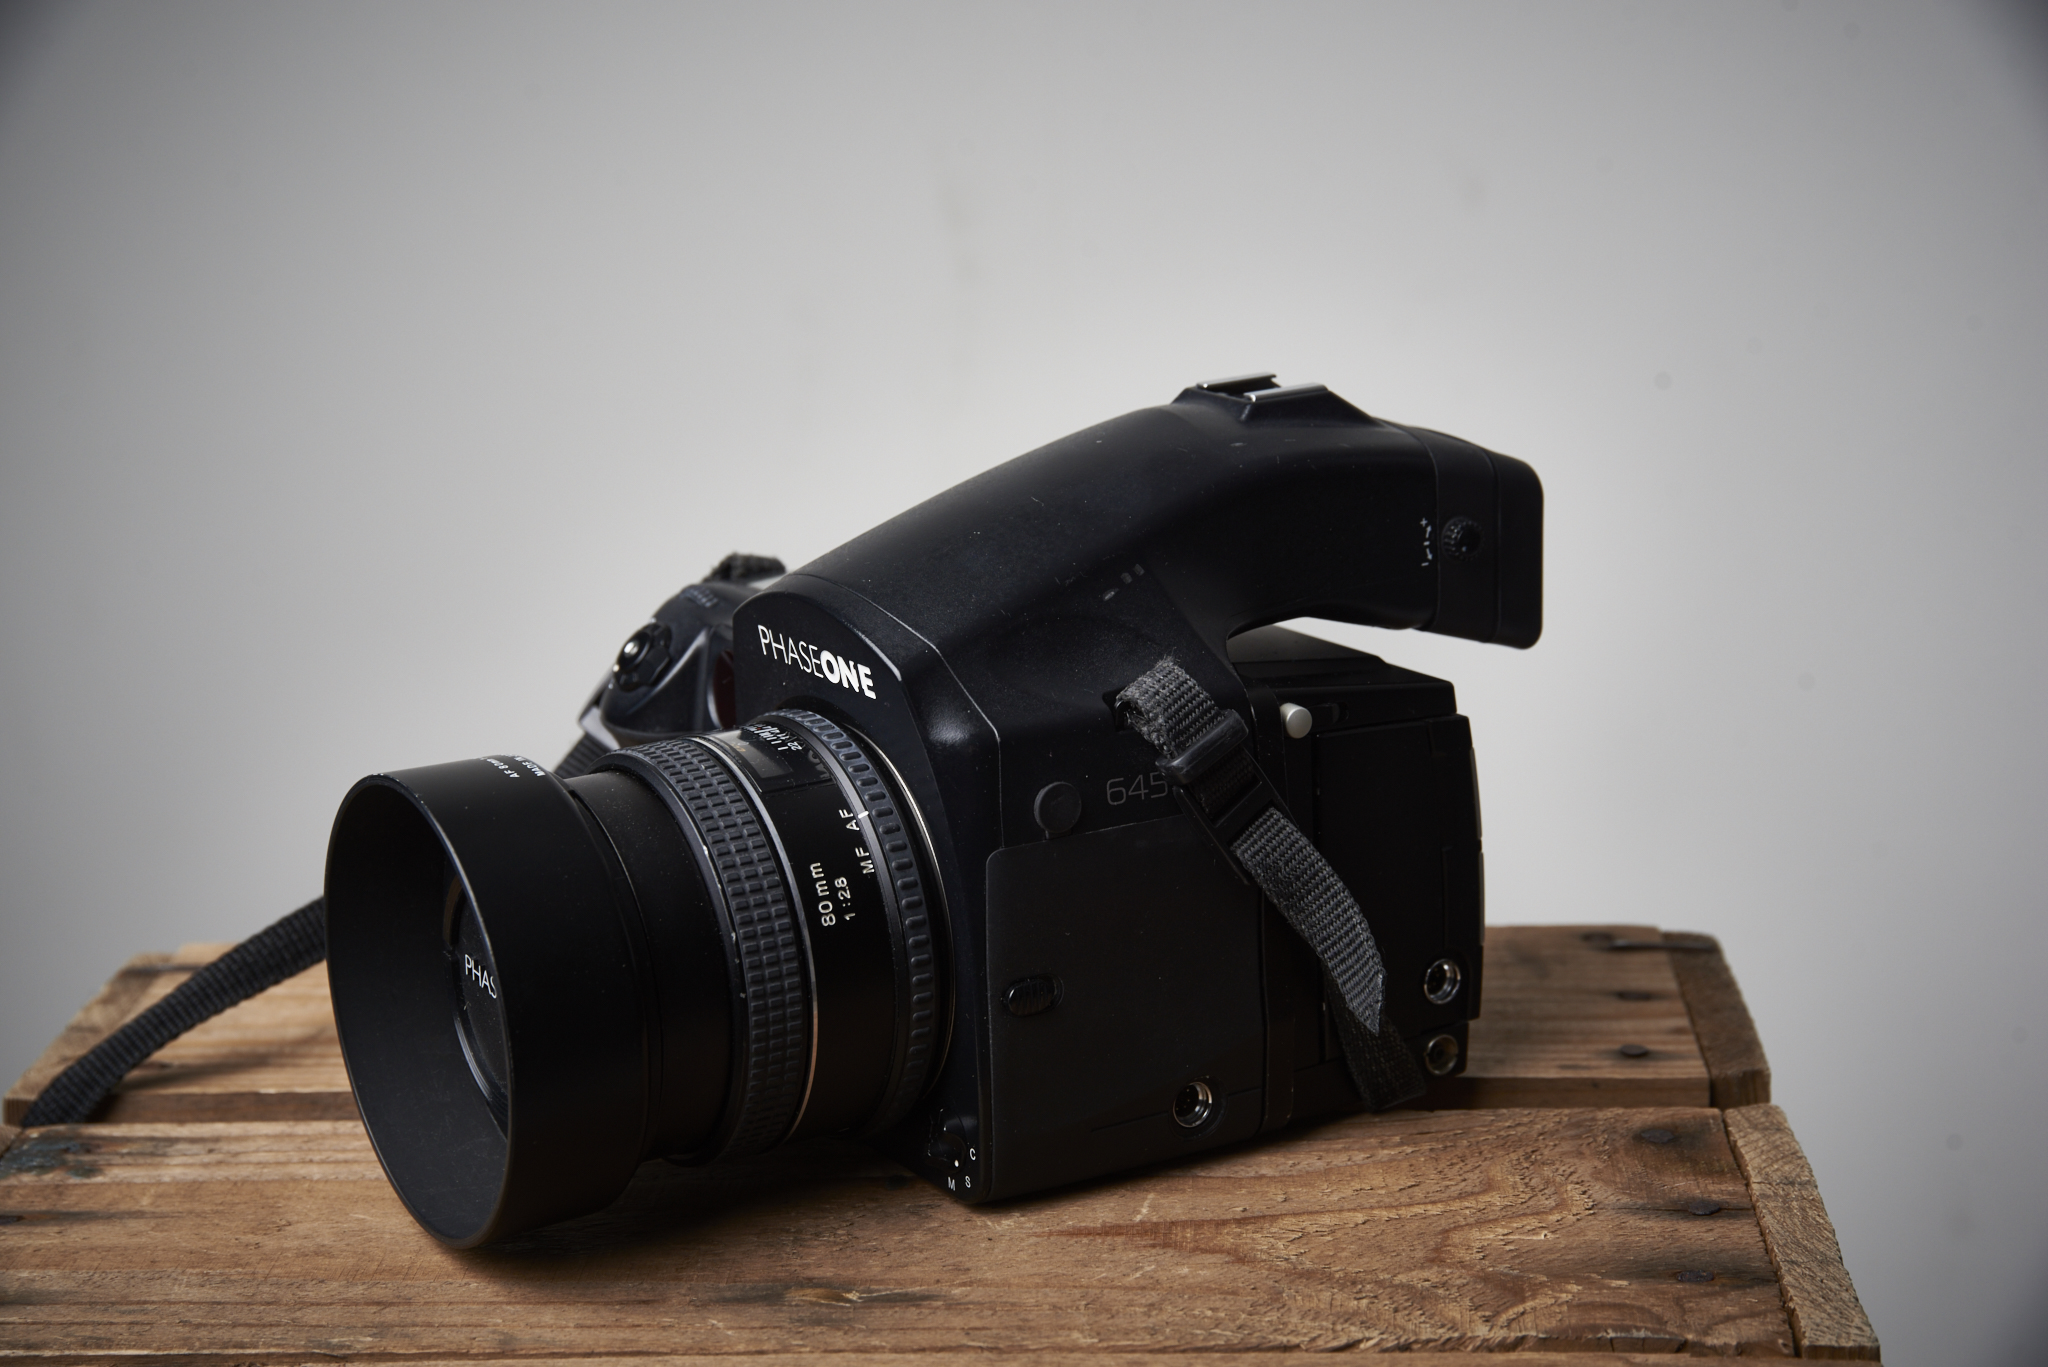
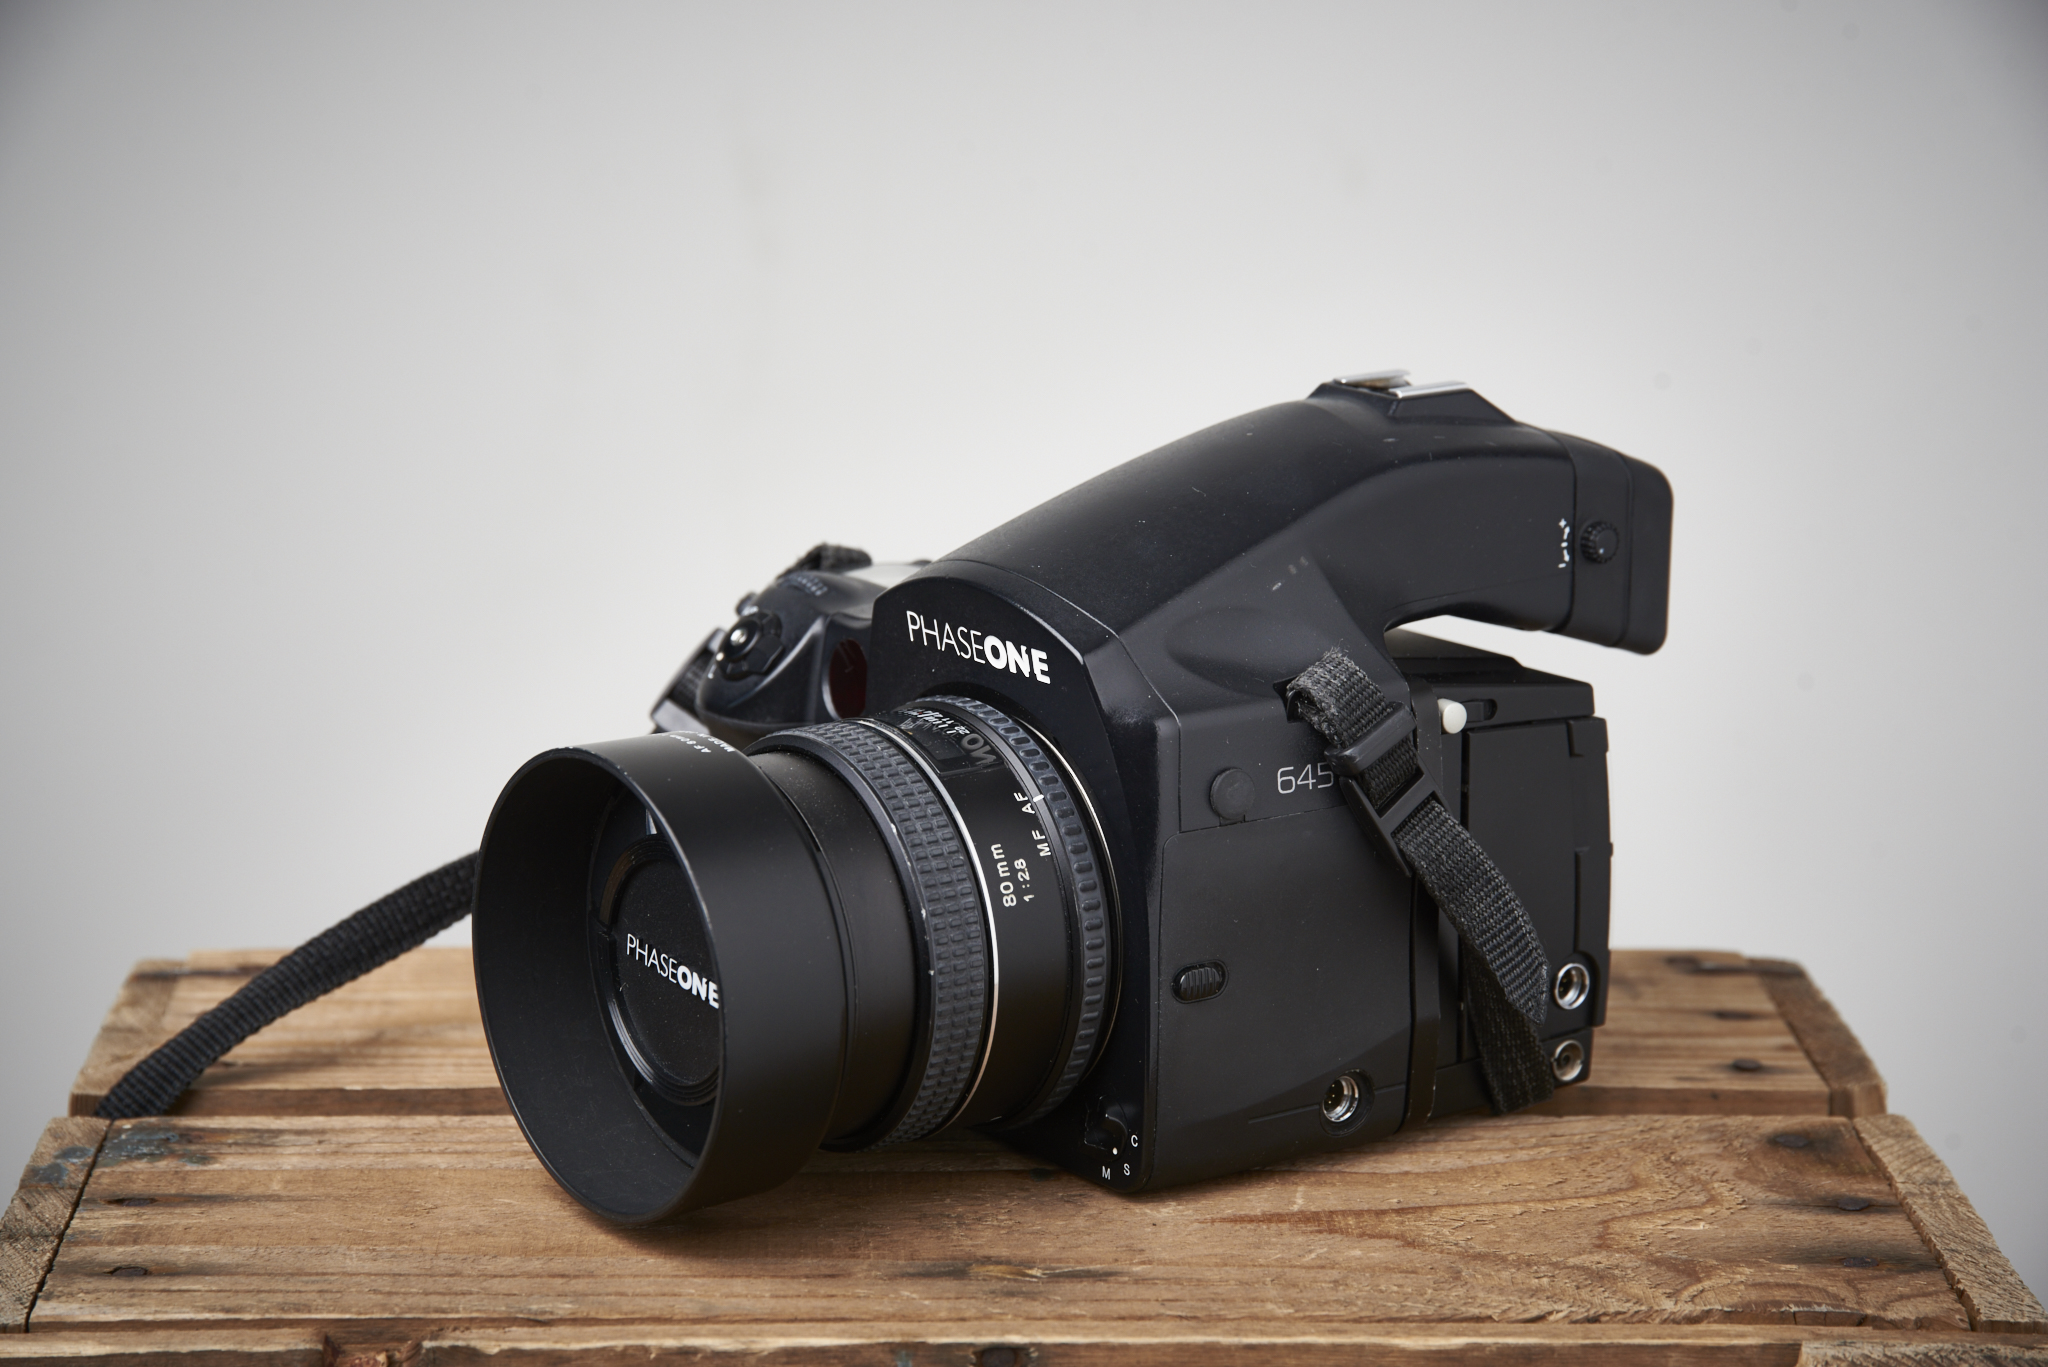
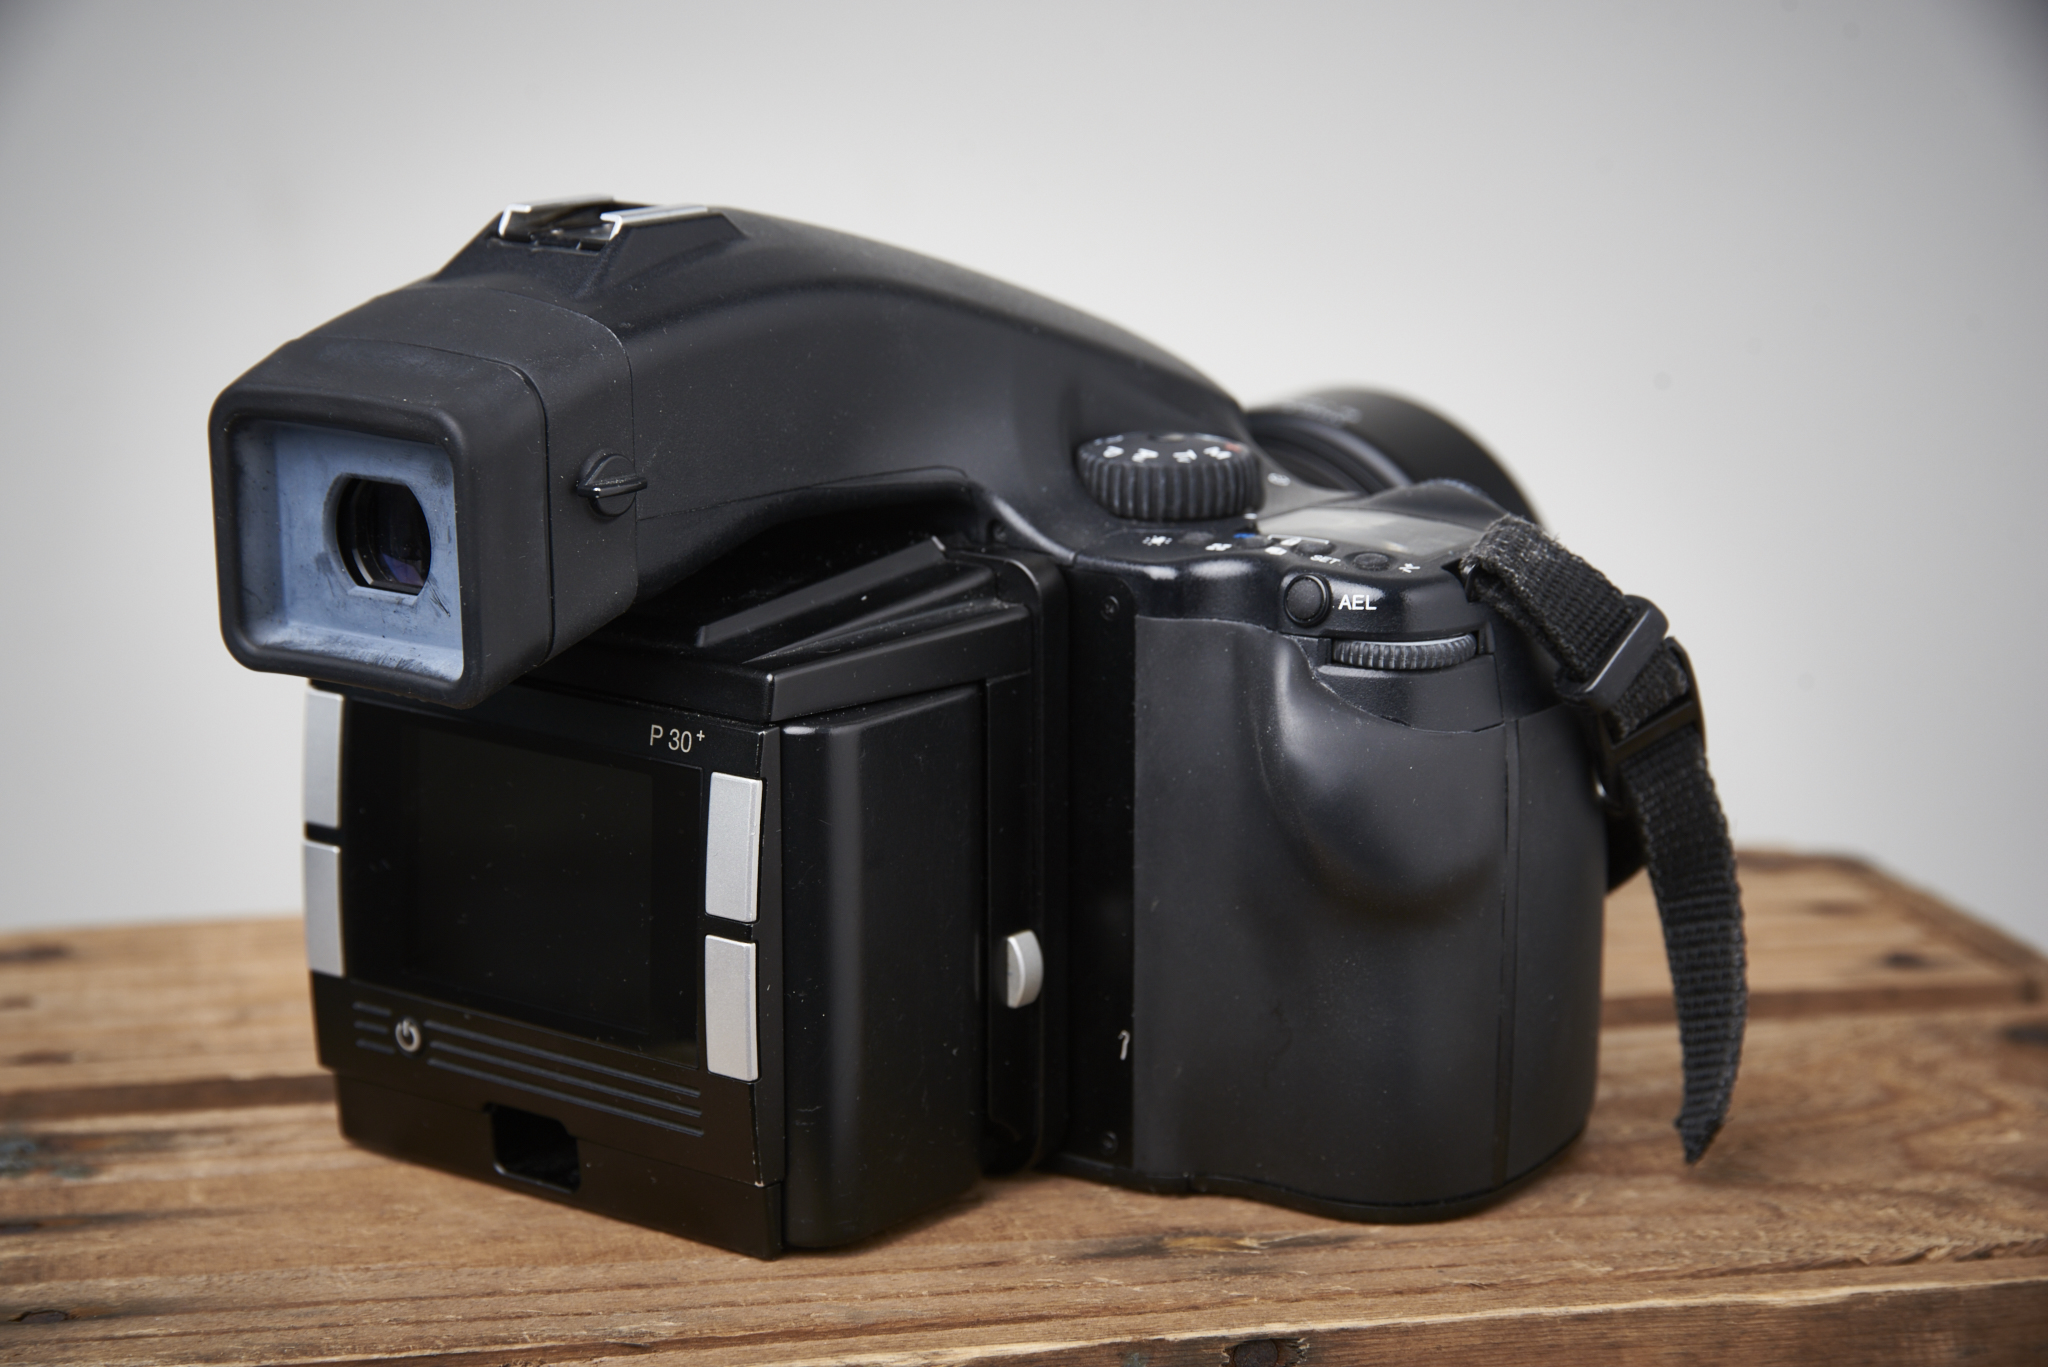
Last friday I did an editorial style portrait shoot with chef cook Marcel Bark of de Rijd in Nieuwe Niedorp. For this photoshoot I borrowed a Phase One DF body with a P30+ digital back and a 80mm lens. For a while I am searching for an affordable way to get into medium format photohraphy. I have tested a P30+ back in the past (Read review here), the CVF-50c (click here) and the Hasselblad H5D-40 (Click here).
The set-up
Beside the Phase One set I am also trying out some Broncolor gear. I love my Elinchrom gear and especially there softboxes, but the bron are just a little more stable on output and white balance throughout the whole powerrange and have a faster flash duration for when you are working with speed/dance. So I had a Siros 400L with the 75 octabox as a key light, the Siros 400S with a strip and a grid as a kicker and a Siros 400 S with the 150 octa box as a fill.
The Phase One P30+ was connected with a firewire cable to my iMac runing Capture One Pro 9. All editting of teh photo's have also only be done in Capture Pro One 9. I love using tethering during shoot. It helps communication with the client and is a real visual way to get to the result you want.
Styling
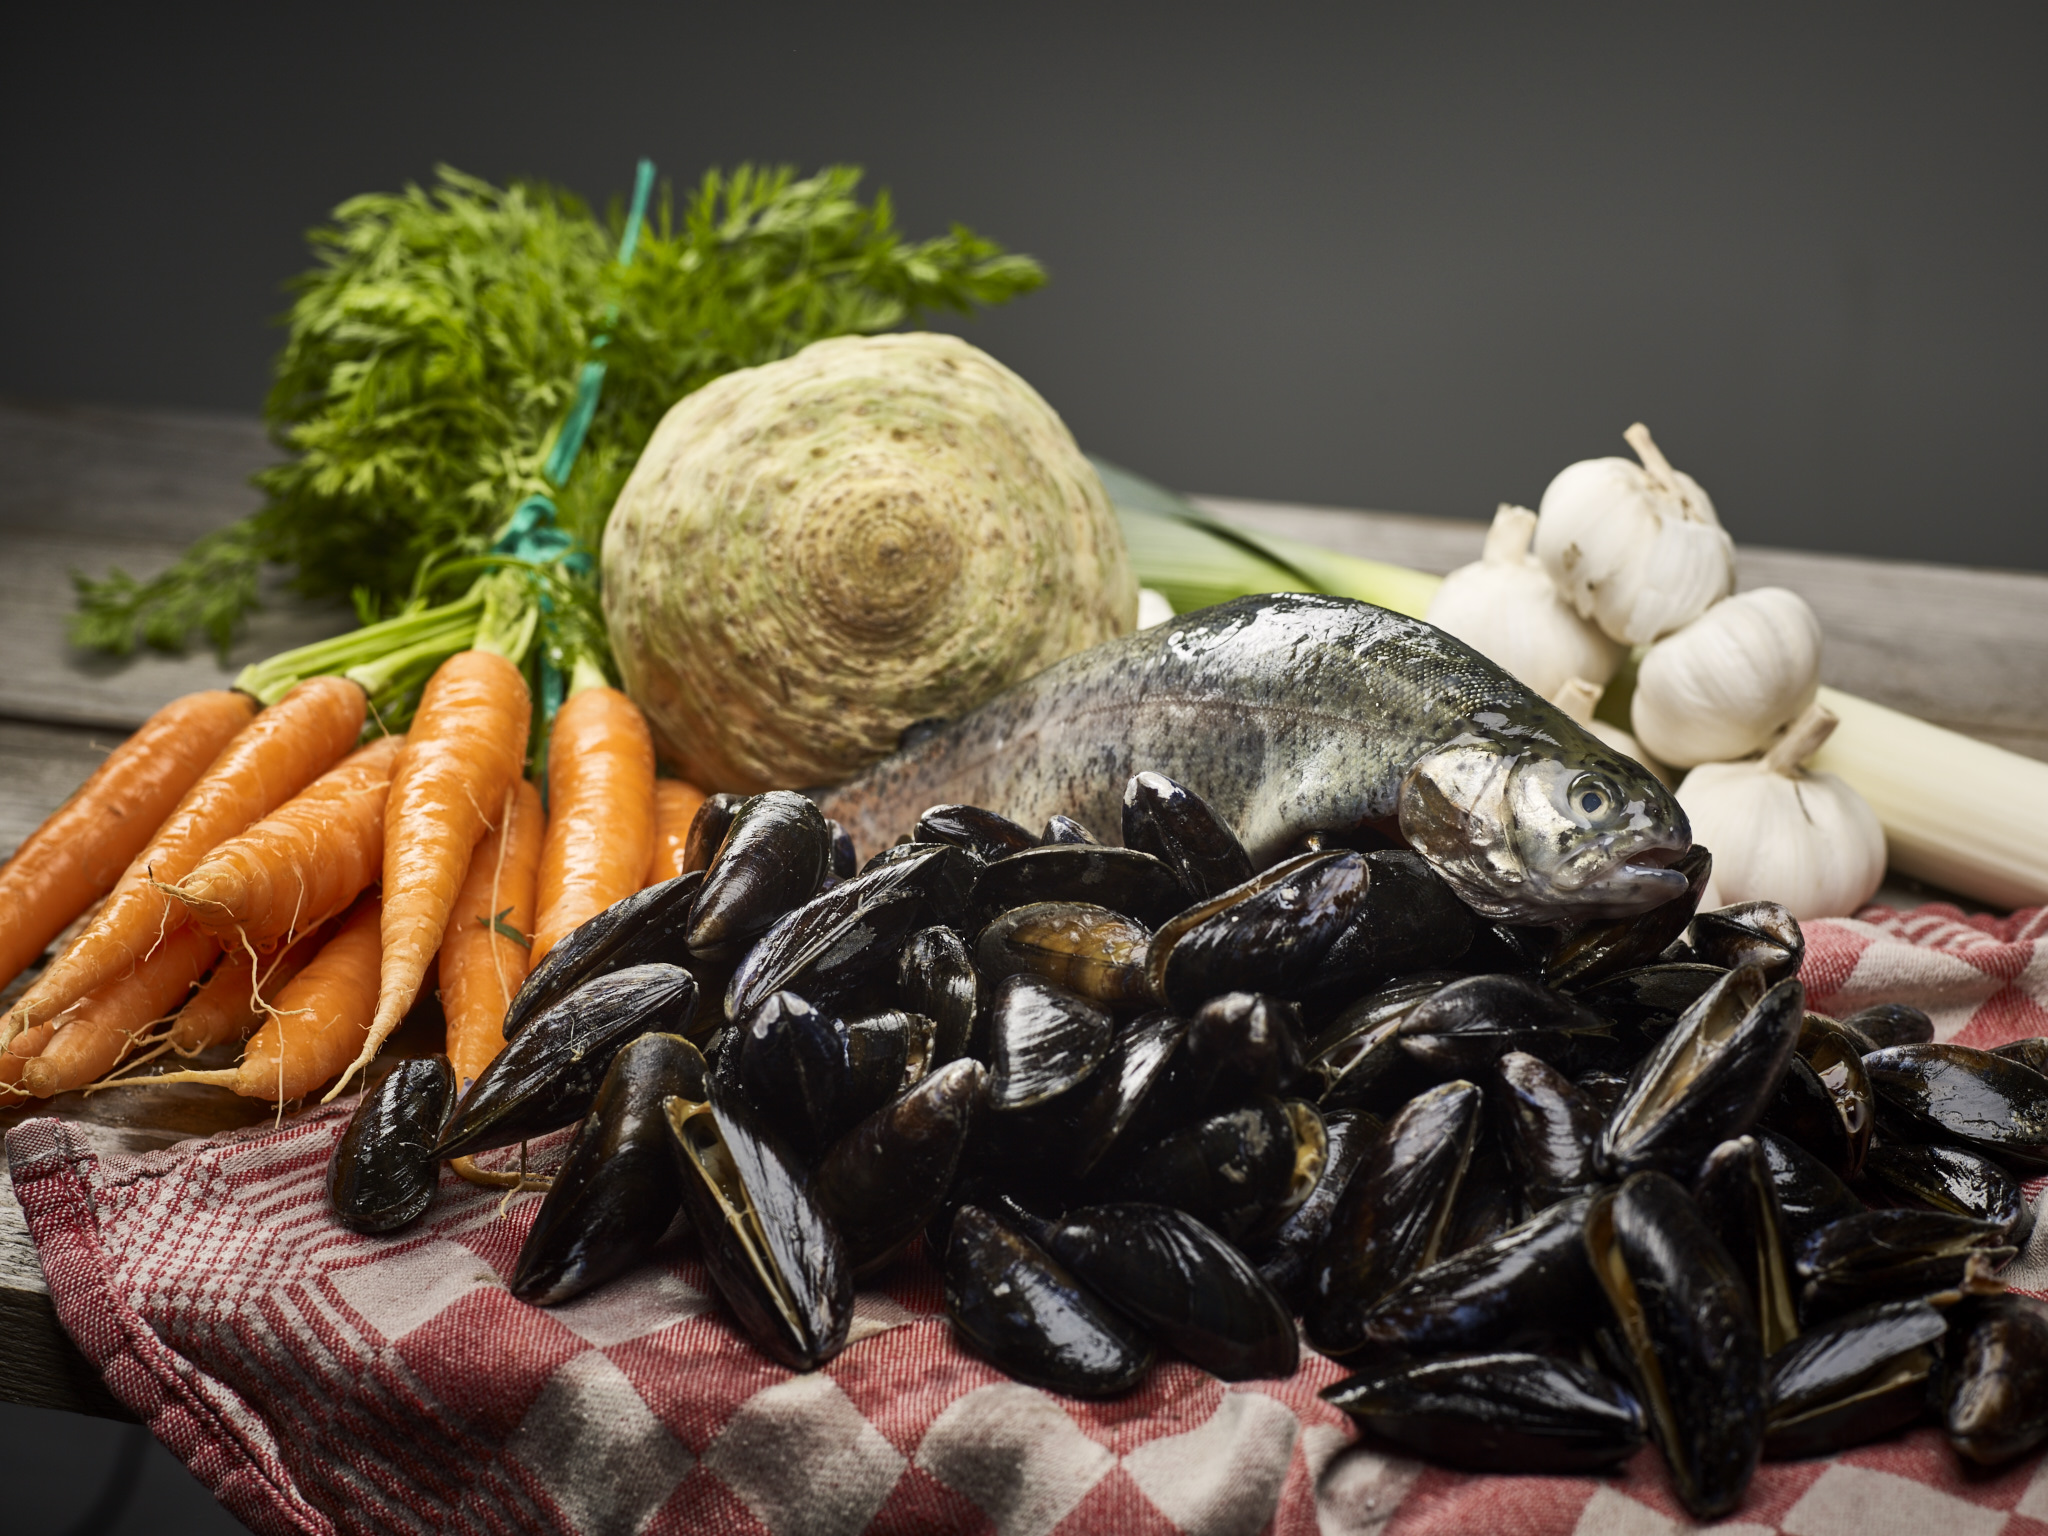
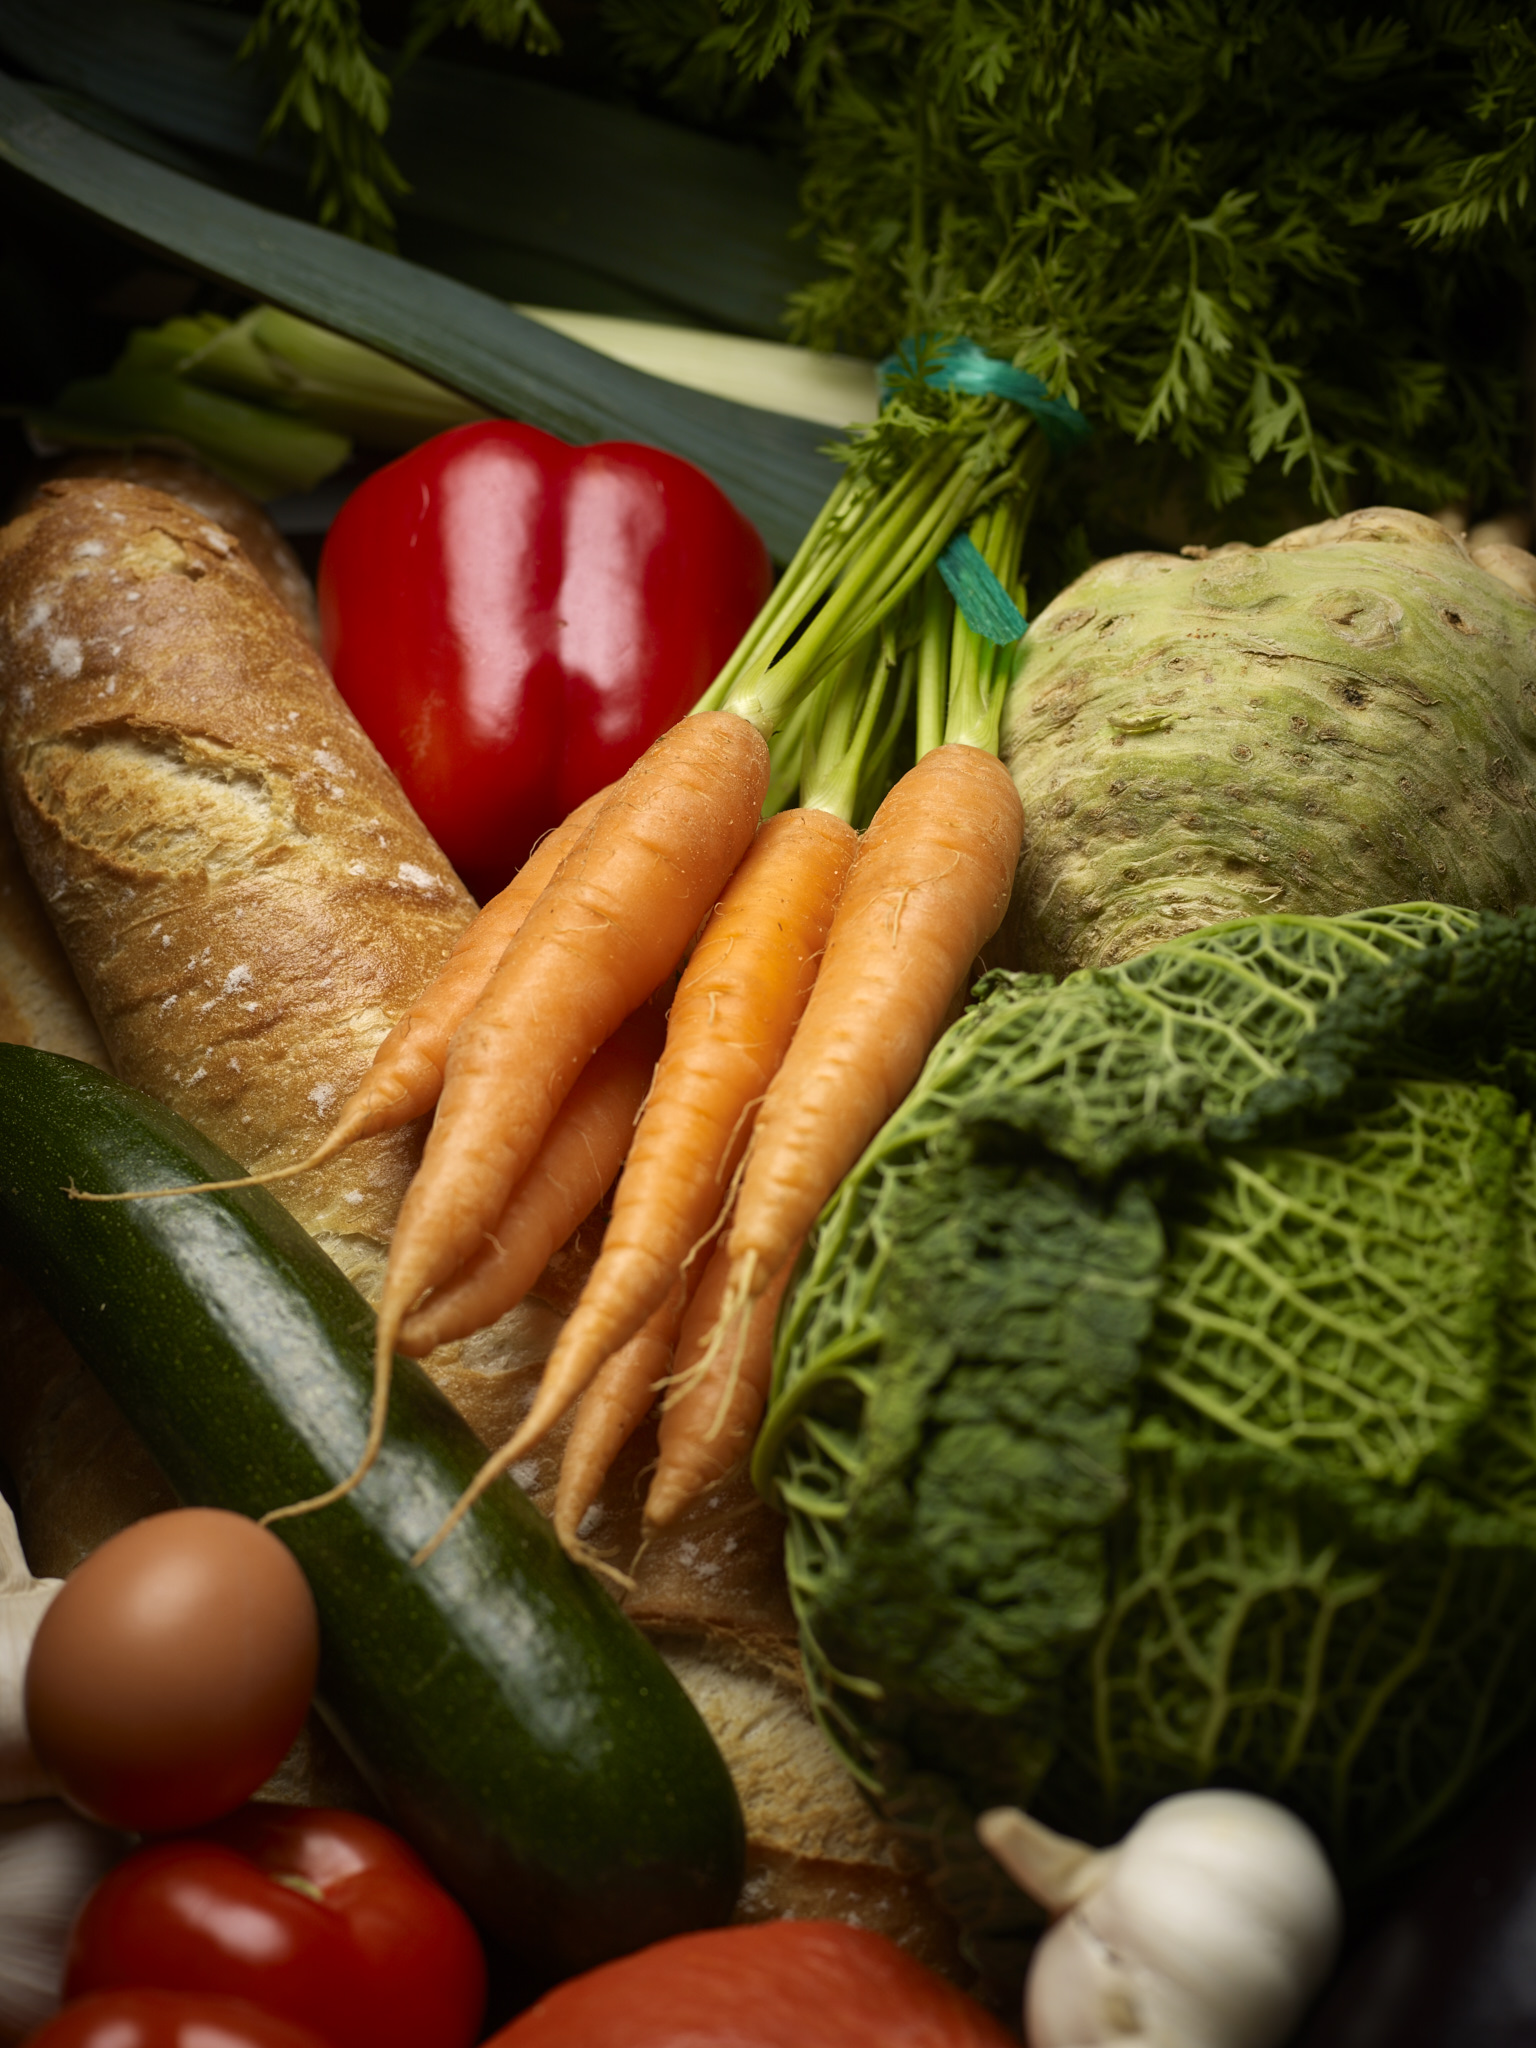
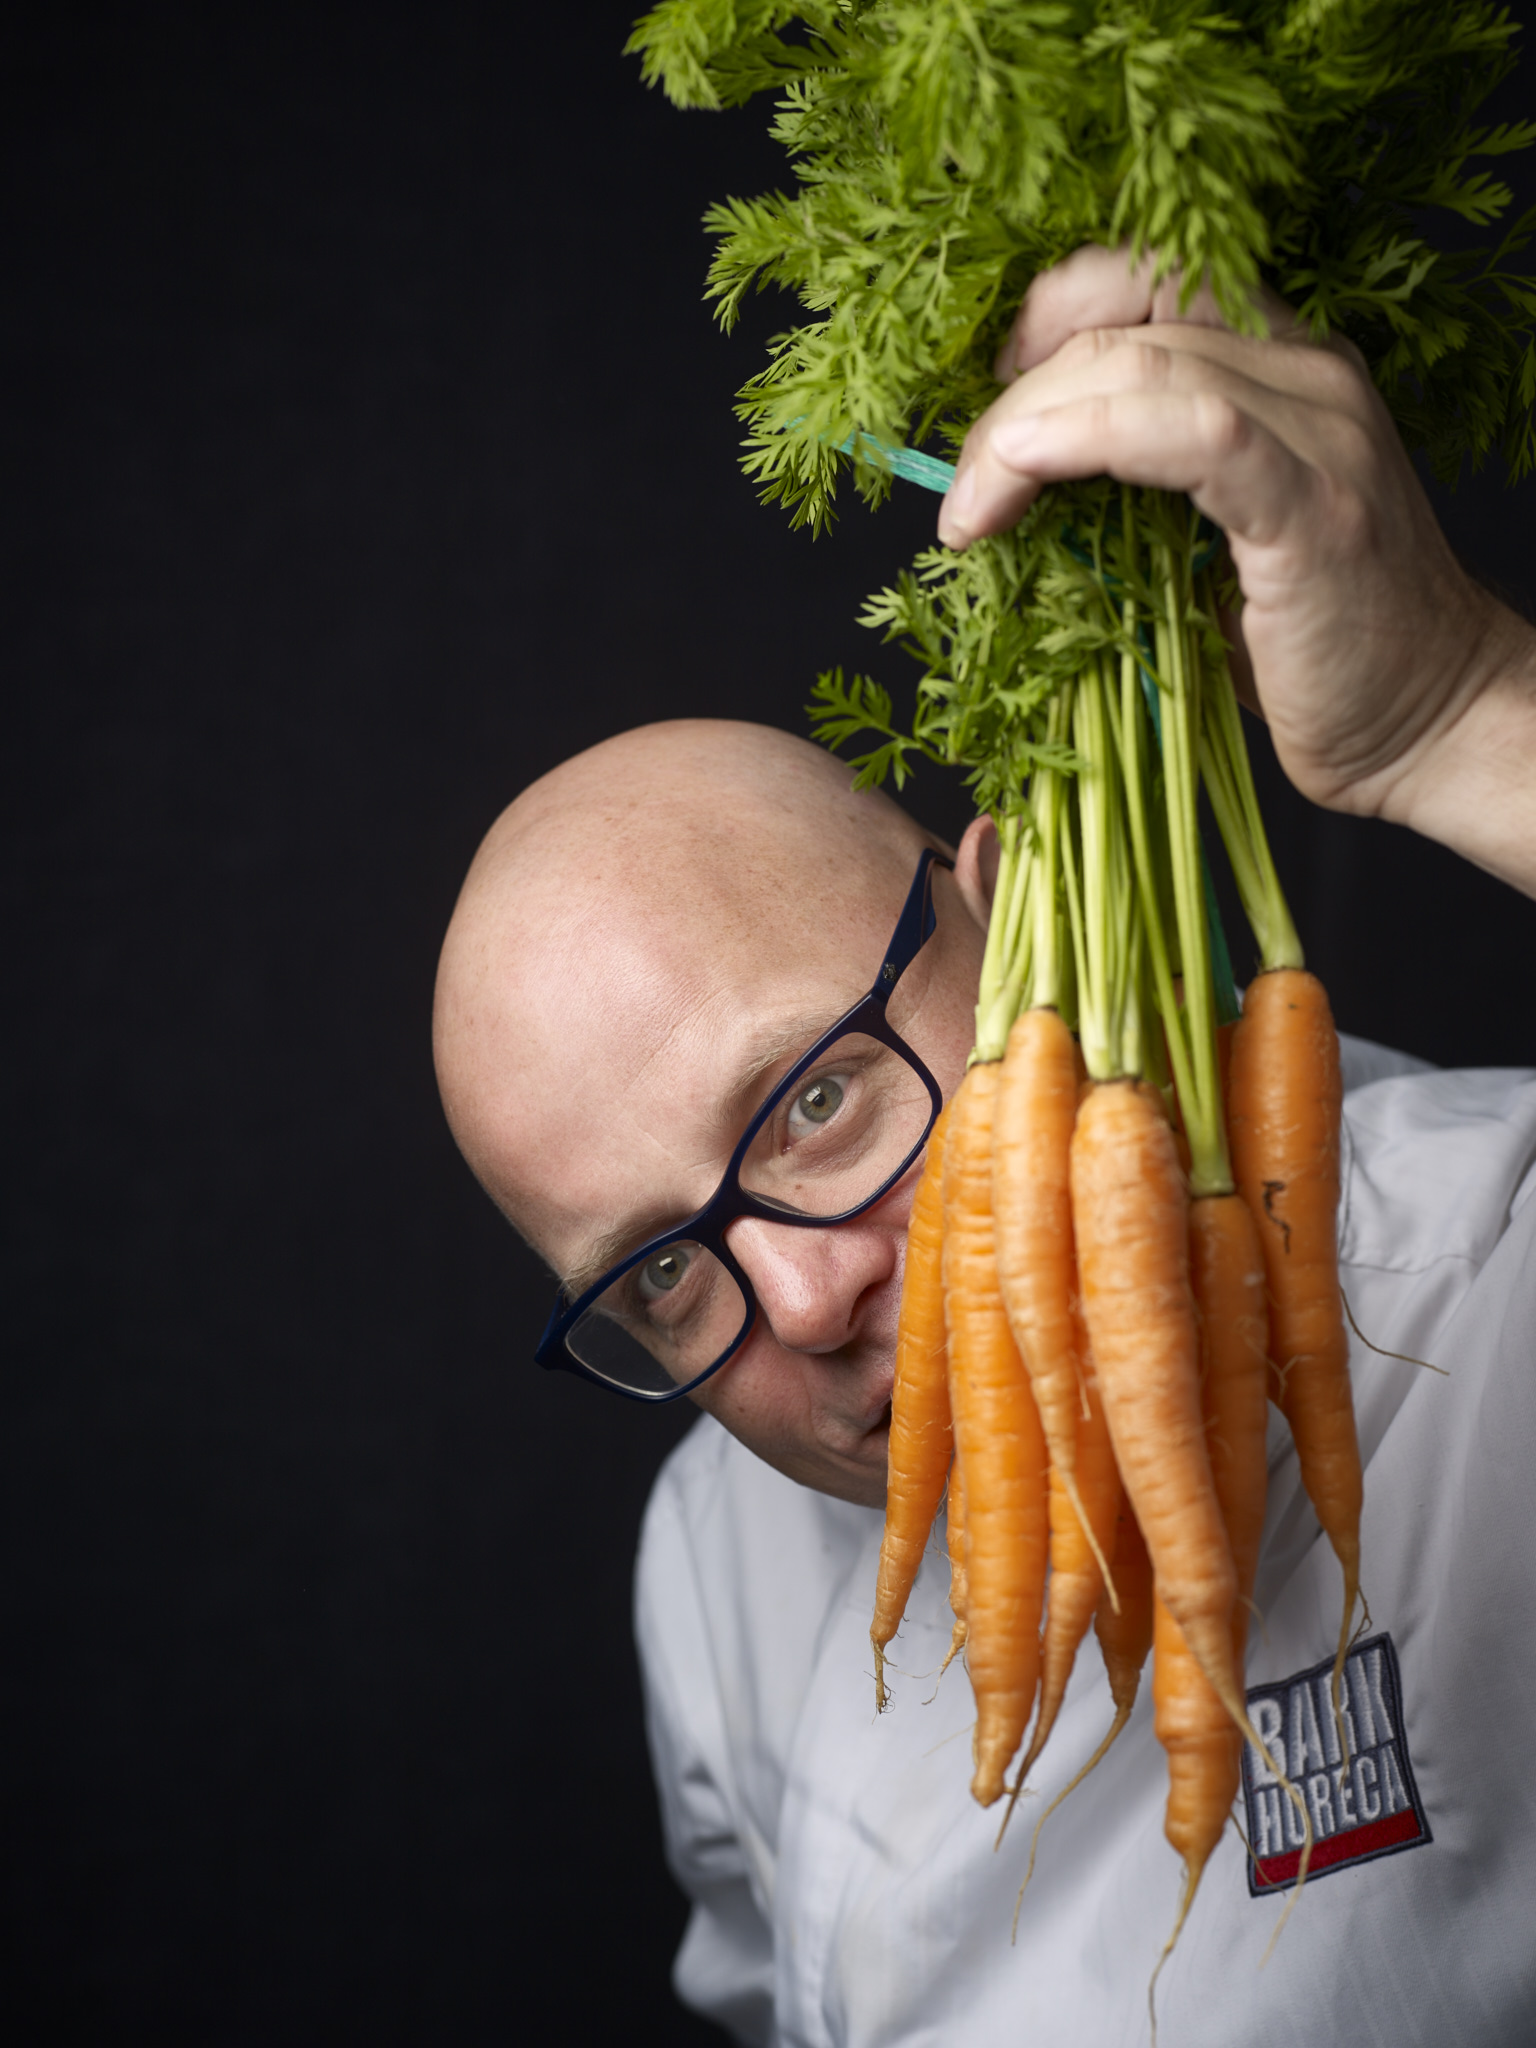
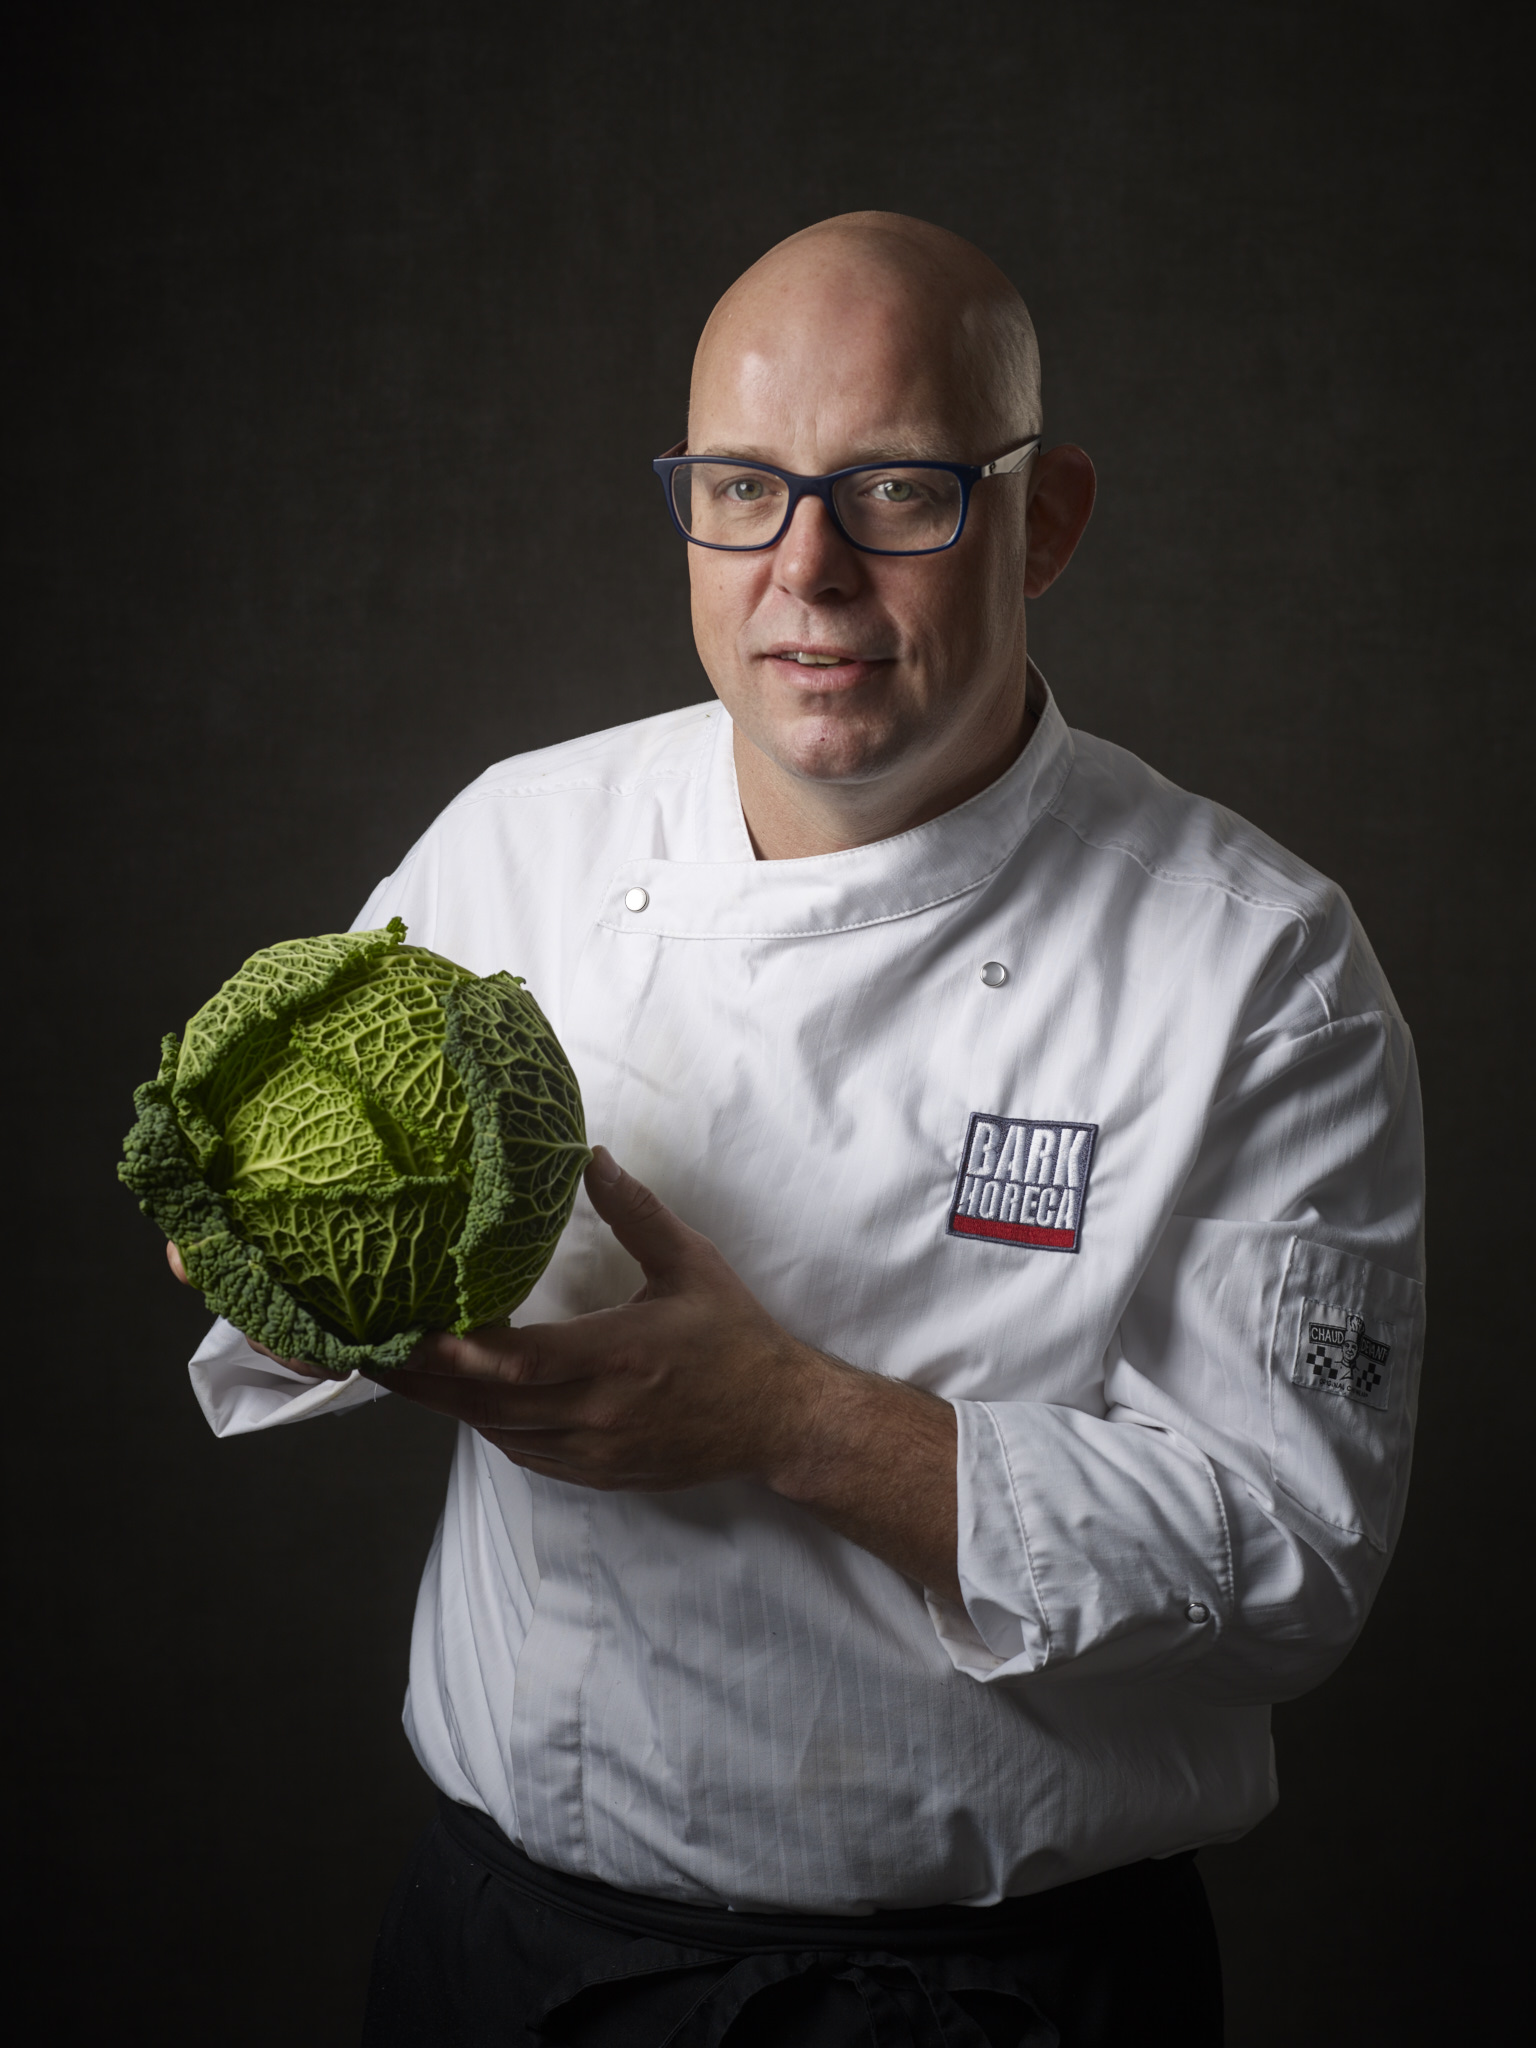
For the styling we went to the local supermarket and bought some nice food to shoot. Marcel loves working with Fish so a fresh fish and some clamps couldn't be left out of the photo's! Marcel is also really font on green cabbage, so we also photographed him with just the green cabbage!
The Shots
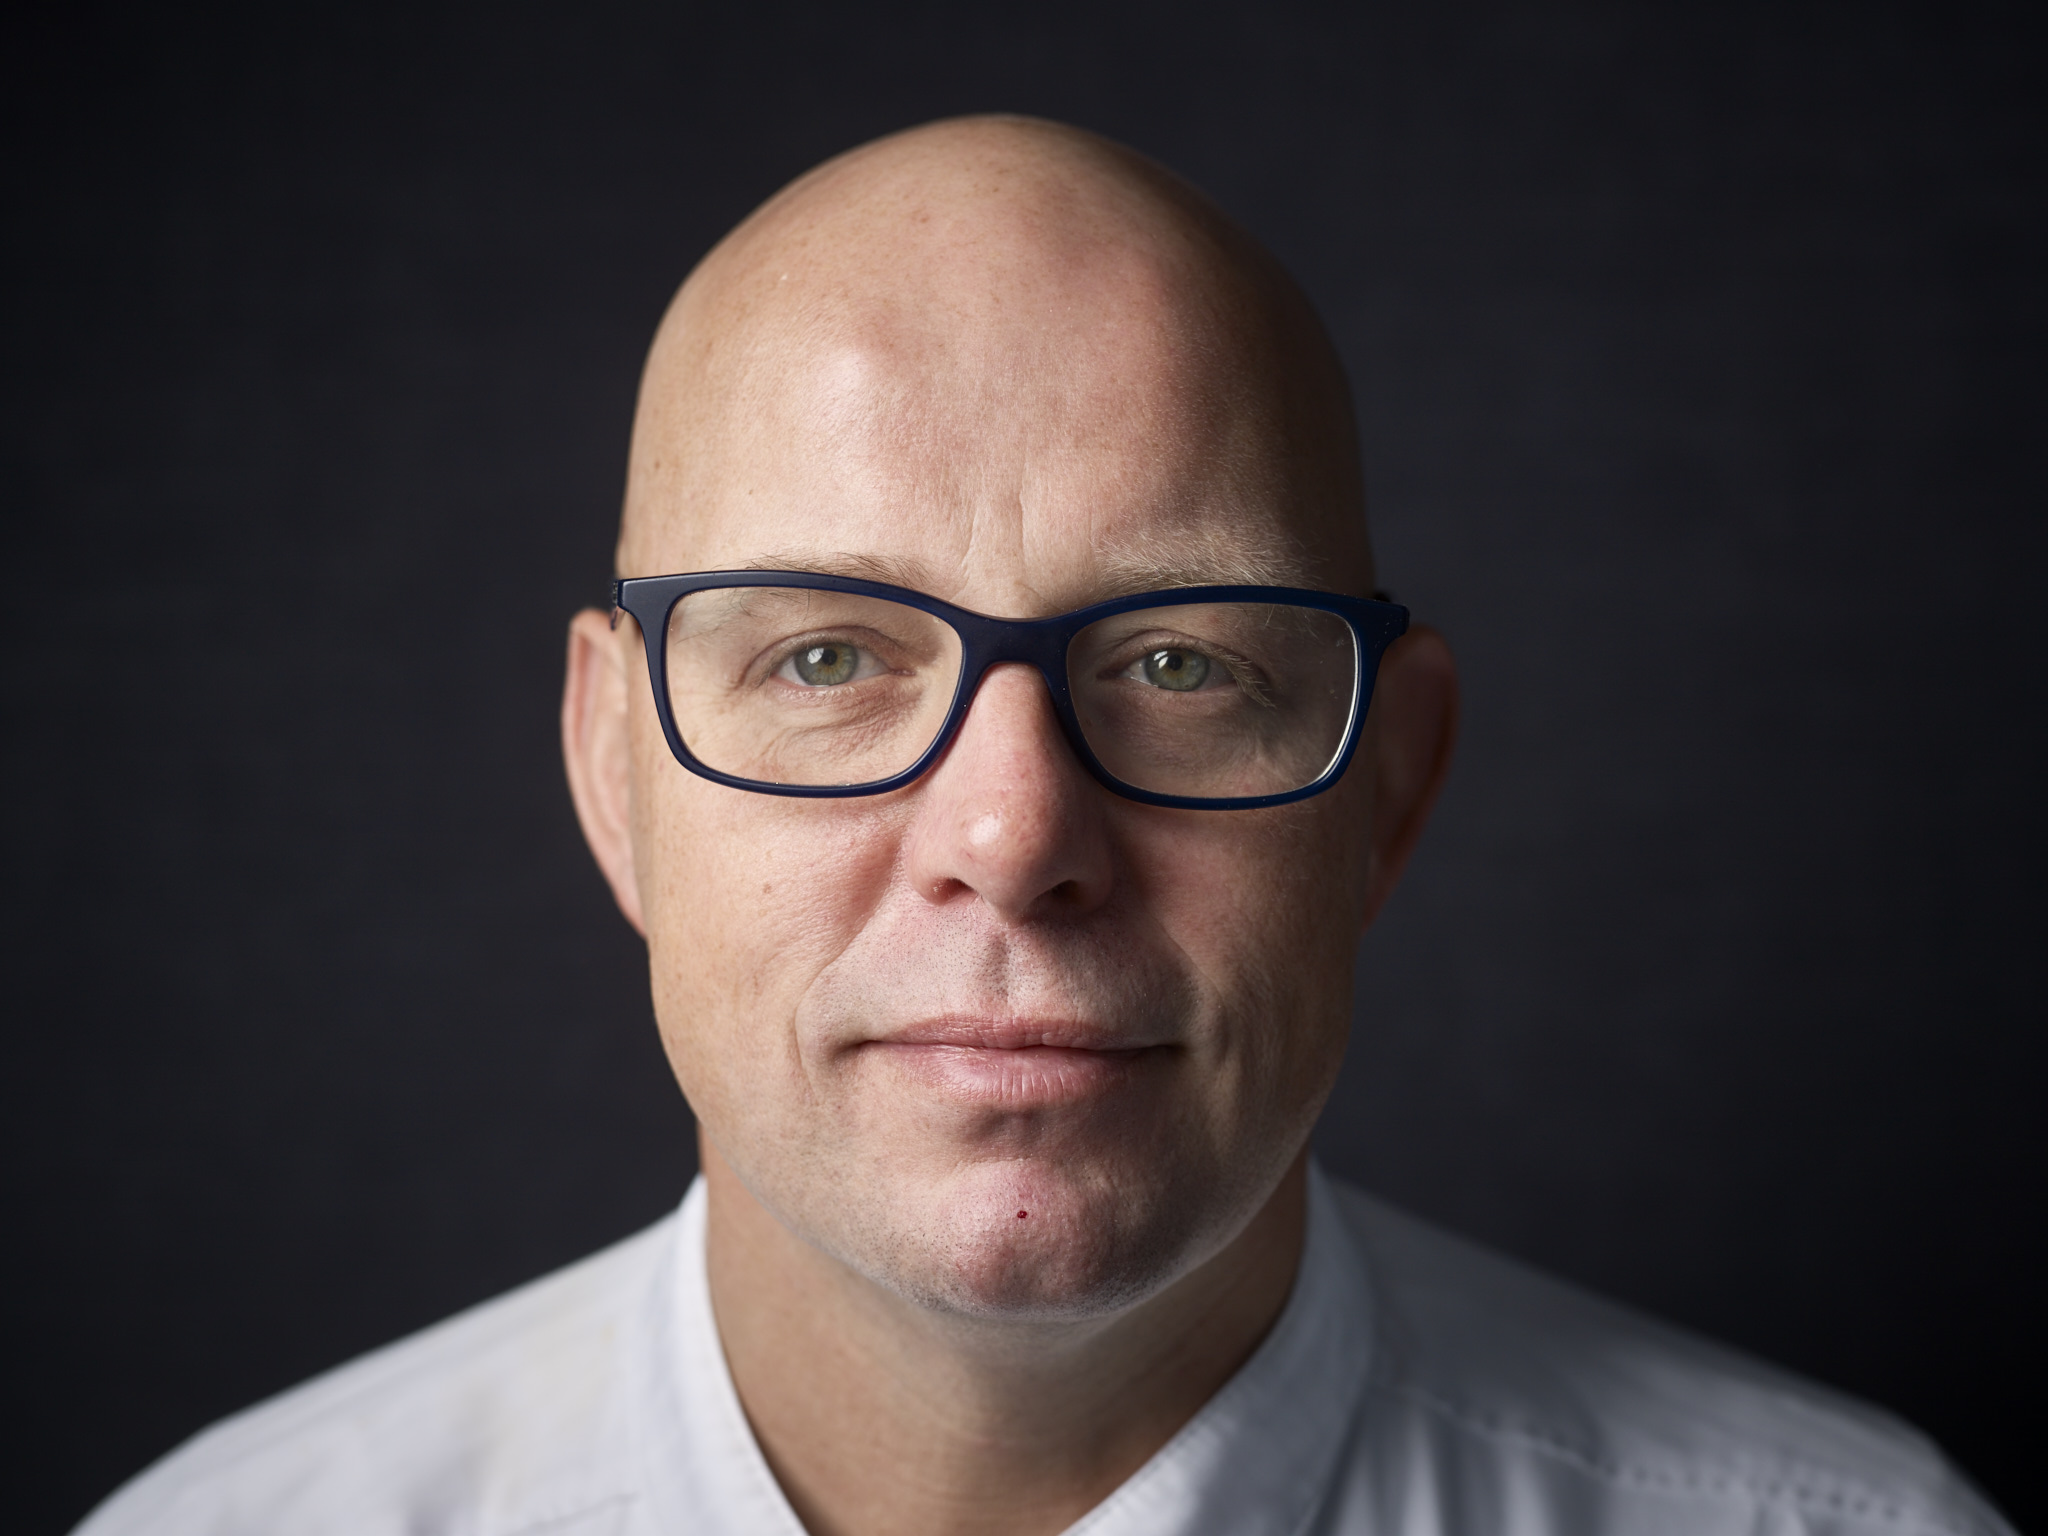
Here a a couple of the final shots of teh editorial photoshoot.
The Phase One P30+ Back
The Phase One P30+ is a great digital medium format back. The colors are so natural and lovely. It has (only) 31 megapixels. which was huge in the time it was released and is still more than enough. Normally I shoot around 24mp with my Nikon D610 en D750 and rarely use the 36 of the D800, only when I need to print big.
The point for me for Medium Format is not the megapixel count but the sensor size and look. I don't know what it is but Medium Format photography has a look which is just so much more lovely then 35mm Full Frame photography. I has the look of the photographers I admire like Mark selliger, Martin Schoeller, Erwin Olaf and Anne Liebovitz. They also use Phase One camera's/backs,
The set up of the back is simple. The menu has just a few options, like ISO, white balance, power performance, and some basic information. just all you need.
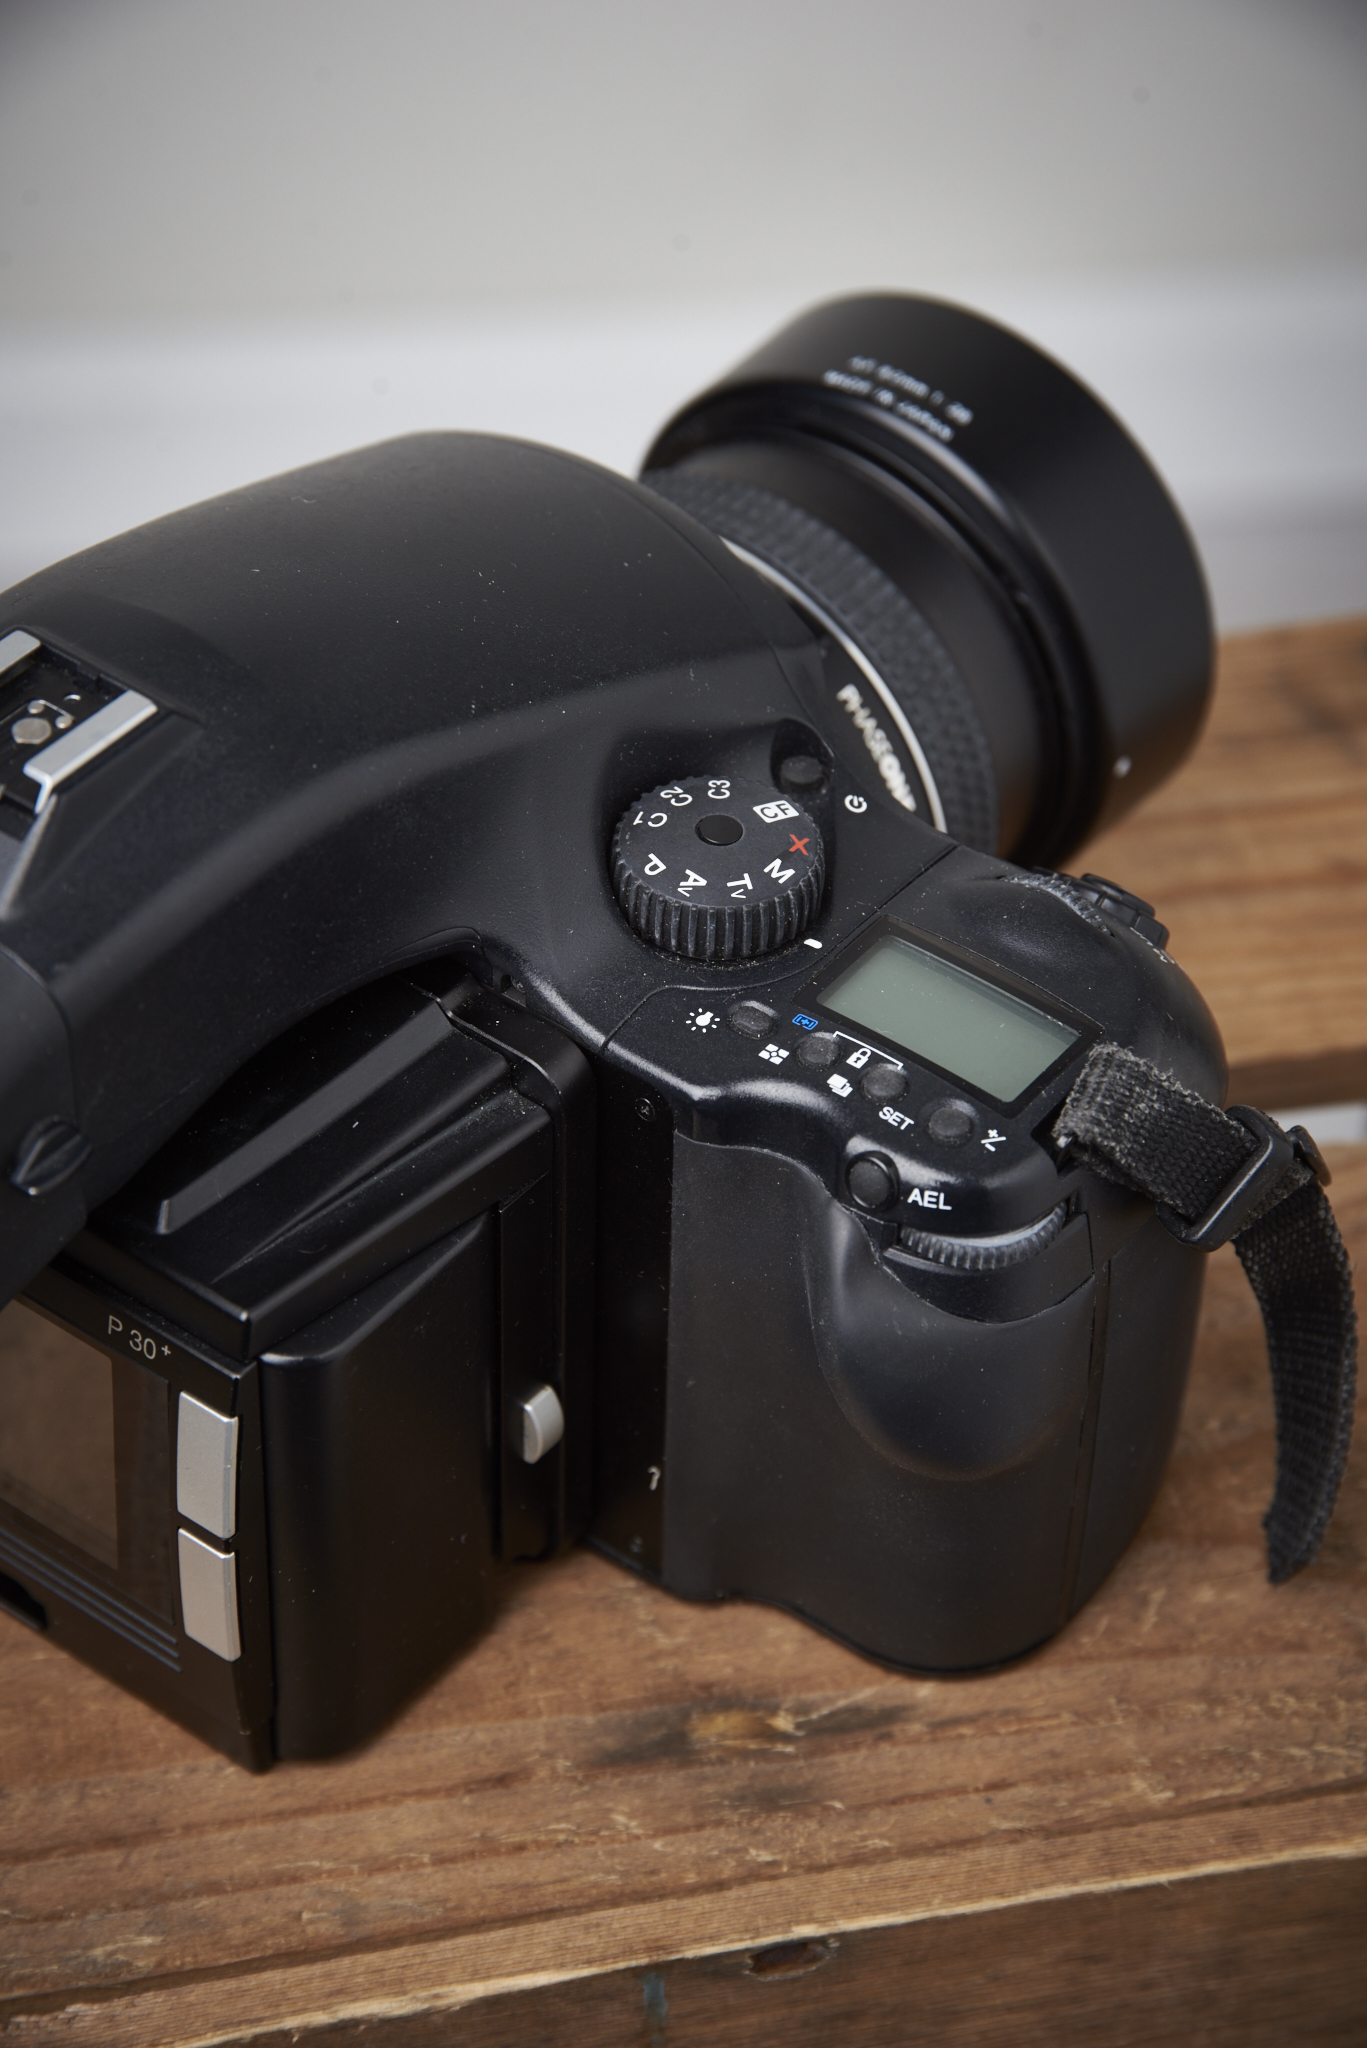
The body and lens
The thing I disliked was the body. and especially the autofocus of the body. Getting critical focus with a wide open aperture was hard because of the singel AF point. You had to focus and recompose without chancing the angle. So you had to move up and down or side ways without moving back and fort of chancing your angle. This was hard! And took a while to get used of. But this is also the point for me to not buy the camera. Because of this I can also buy a back for my Hasselblad 500c/m and focus manually.
Saving up to do
So I decided I have to do some more saving up so I can buy a newer model and also take a look again at the Hasselblad H5D-40 or the X1D!
BTW I got the new Sigma 85mm 1.4 ART lens, I am going to test it soon with a few shoots!
