Tethered fotograferen met FujiFilm naar Capture One Pro 11
Zoals de meeste van jullie waarschijnlijk weten ben ik gek op Capture One voor mijn nabewerking van mijn RAW-bestanden. De enige reden dat ik nu veel met Lightroom werk is dat ik niet tethered kon fotograferen met Capture One en mijn FujiFilm camera's en omdat Capture One niet standaard mijn FujiFilm GFX bestanden ondersteund.
Maar voor het probleem dat ik niet Tethered kon fotograferen naar Capture One heb iik voor mijn FujiFilm X-series camera's nu een oplossing gevonden!
- Van de FujiFilm website kan je gratis FujiFilm Acquire downloaden. Klik HIER om gelijk naar de pagina te gaan.
- Start na het installeren van FujiFilm Acquire Capture One Pro op en maak een sessie aan.
- Start FujiFilm Acquire op en verbind je camera via een Tethering kabel (Ik raad die Tether Tools aan, eerder goedkopere gehad maar slechte ervaringen mee).
- Als FujiFilm Acquire opstart moet je een map kiezen waar je wil dat FujiFilm Acquire de bestanden plaatst. Kies nu de Capture map in de sessie map die je net hebt aangemaakt met Capture One.
- Als je nu foto's maakt komen ze gelijk in de capture map van je Capture One sessie en kan je ze bekijken als je aan het fotograferen bent.
Wat niet werkt is dat als je eenmaal een instellingen maakt voor een basis look dat deze over alle binnenkomende foto's automatisch laadt en overlay functies of je camera vanaf de computer bedienen. Maar voor mij is dit al voldoende om tijdens sessies er mee te werken omdat ik de look voor 90% in camera die en de grading achteraf.
Toch blijf ik hopen dat Capture One FujiFilm eens goed gaat ondersteunen en volledige Tetheringfunctionaliteit in gaat bouwen. Ook het gewoon ondersteunen van de GFX zou fijn zijn. Ik weet dat Capture One zoiets heeft van wij gaan geen Middenformaat camera's van andere merken ondersteunen, maar laten we eerlijk zijn er zijn zeer weinig mensen die een 30k camera kunnen en willen kopen, de gene die dat wel willen en kunnen zullen dat ook blijven doen en met de software verkoop kunnen ze meer en continuer geld verdienen dan met de camera verkoop. Maar dat even ter zijde.
Verder was dit de laatste blog van dit jaar. Dus iedereen alvast de beste wensen voor het nieuwe jaar!
En oh, had ik het hier ook al verteld? Als ik 100 abonnees haal op mijn Youtube kanaal geef ik een gratis workshop weg, dus volg mij ook op youtube!
Leica Test Drive: Leica M (Type 240)
A few weeks ago Leica announced the Leica test drive. I have always been interested in Leica camera's, but never wanted to invest in it before I could test it. So the Leica test drive was the chance to test out a Leica in a real world situation. So I organised a photohoot to test it out and used it on 2 commercial jobs in the same weekend.
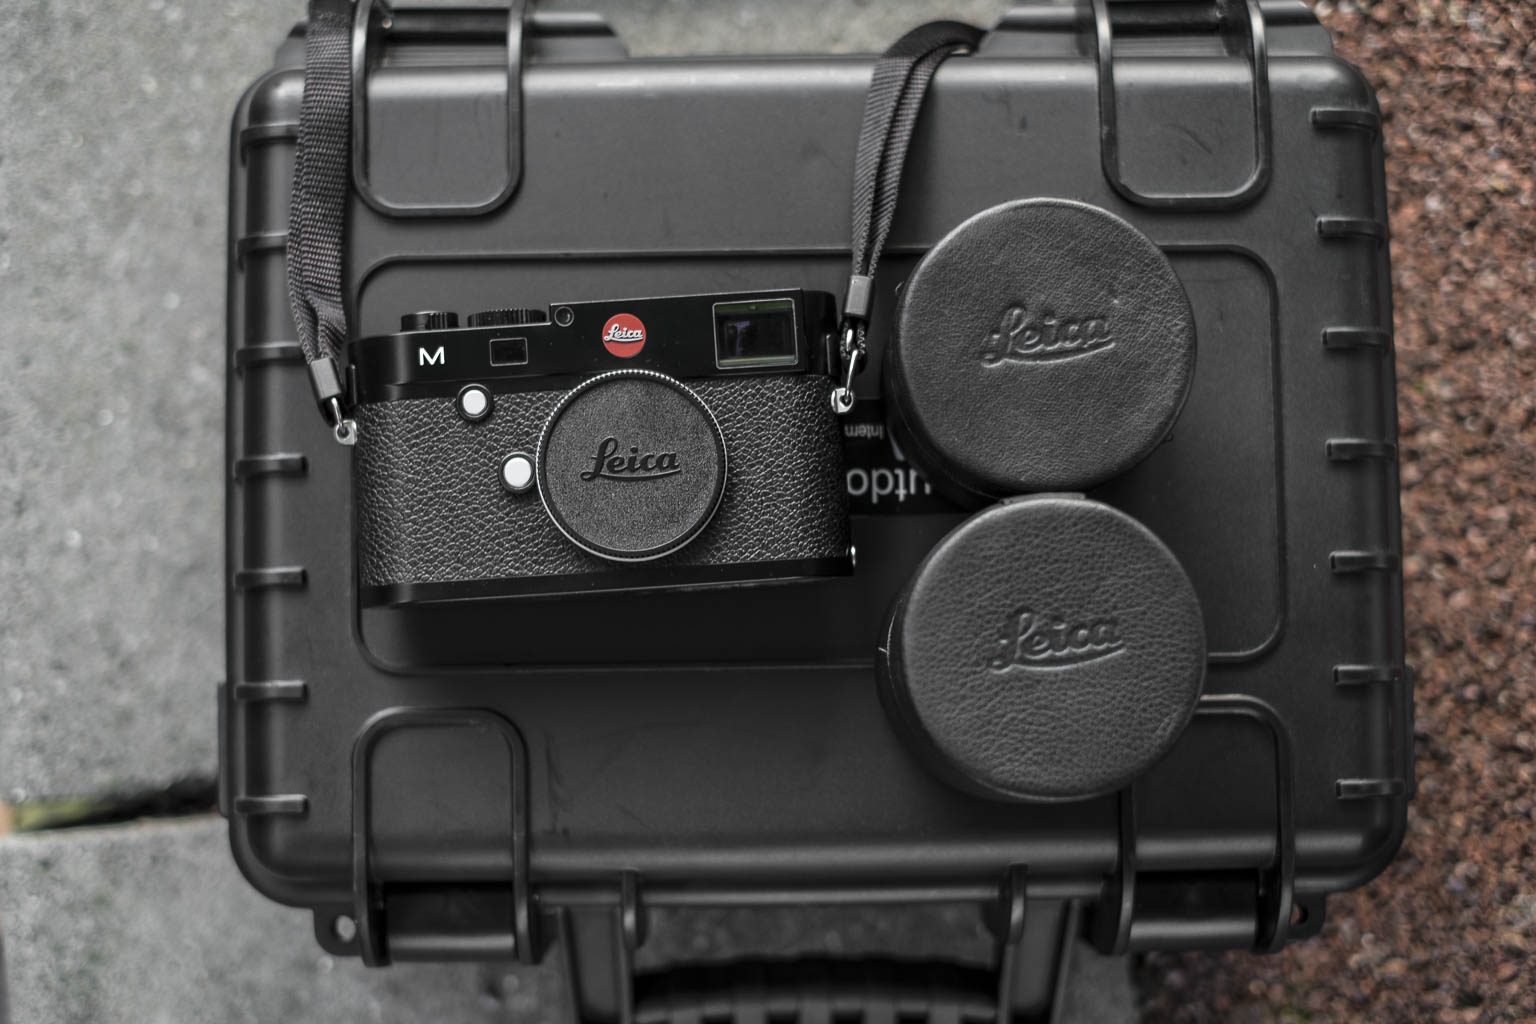
The Leica M (type 240) Kit
In the Leica test drive kit was the
- Leica M (type 240)
- Leica Summicron 50mm F2.0 ASPH
- Leica Summicron 35mm F2.0
- Leiva EVF2 Electronic Viewfinder
- Charger
- Card reader
- Case
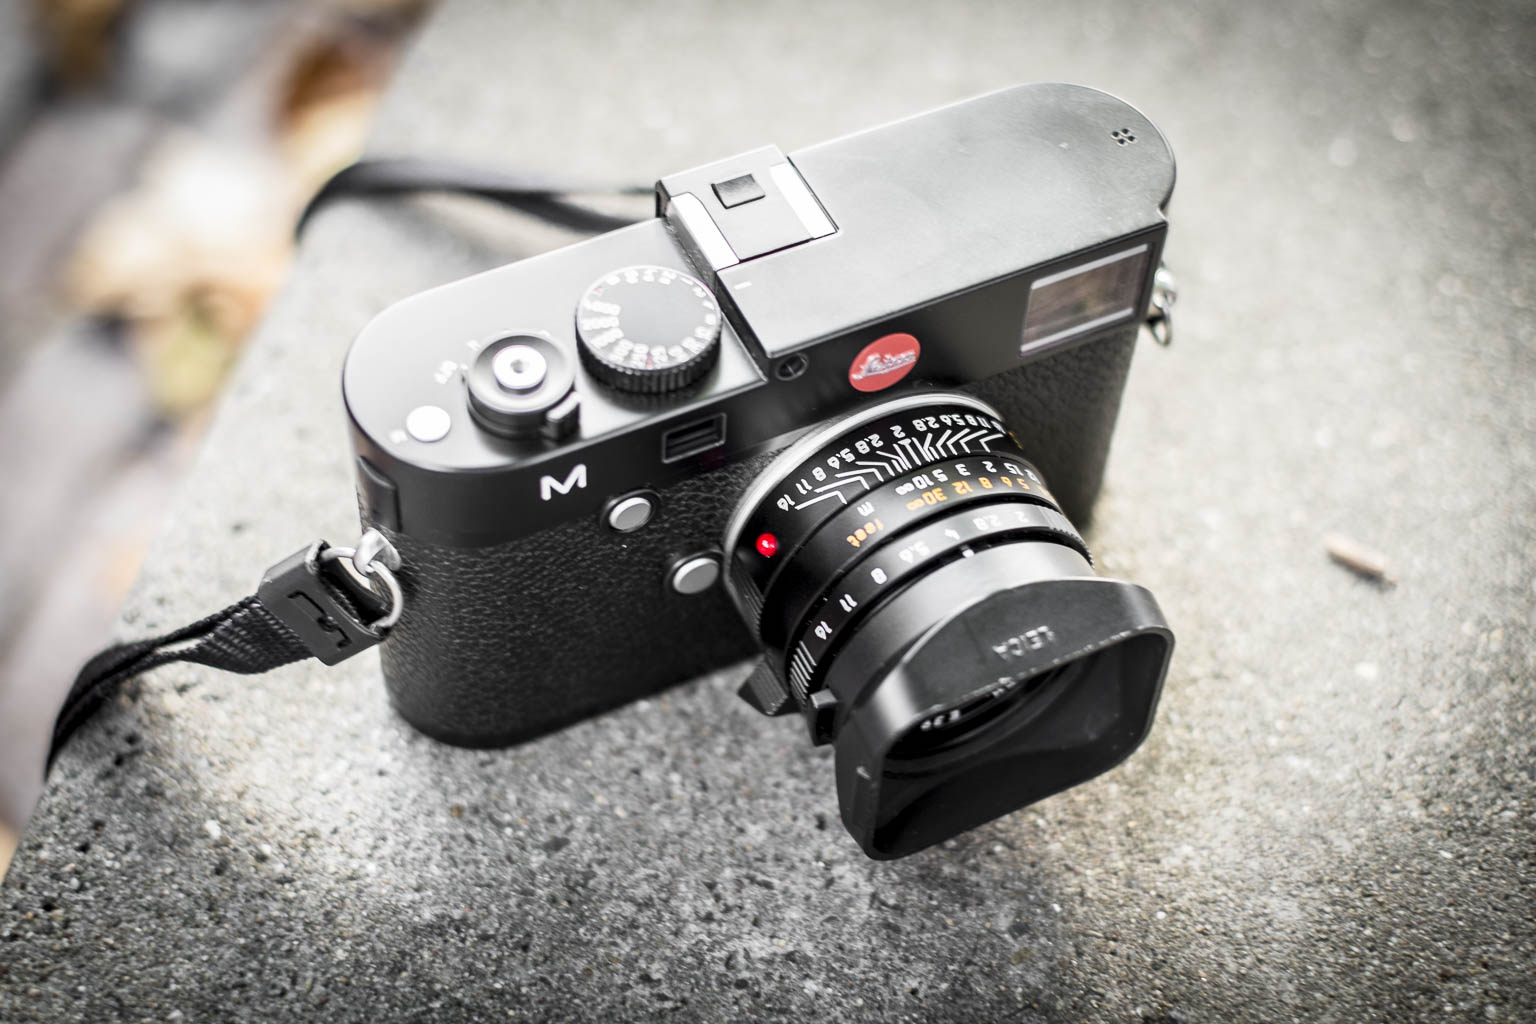
First Look at the Leica M.
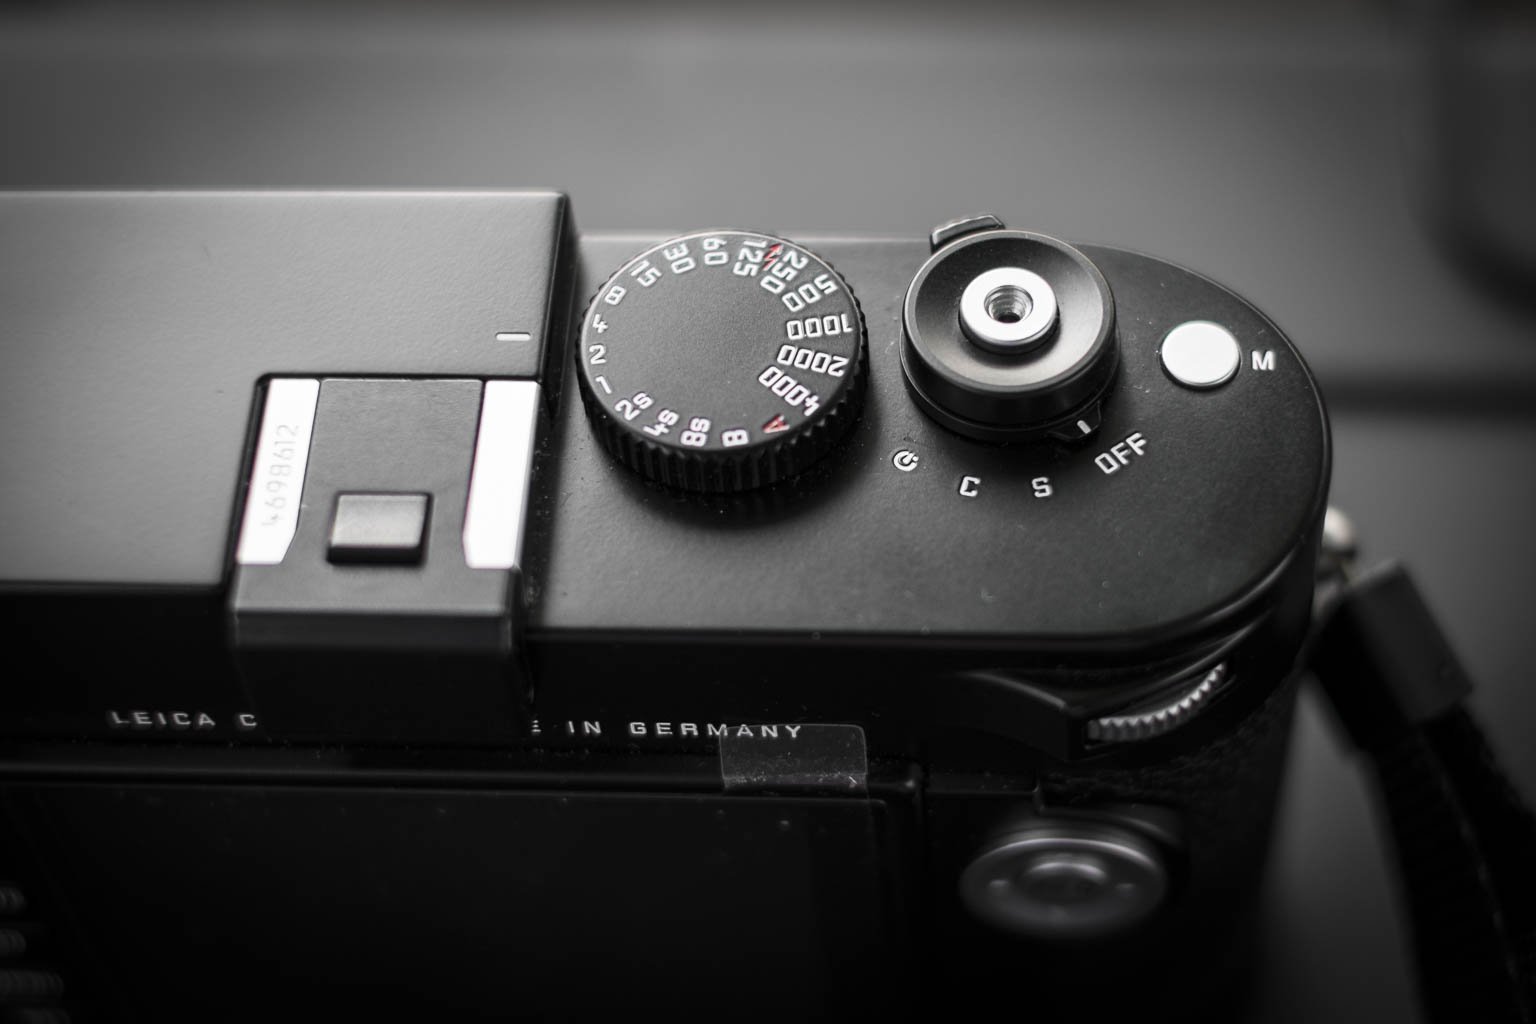
The first thing you notice when you hold a Leica is the build quality. These camera's are build like a tank. They don't look ergonomically, but are very pleasant to hold. The further lay-out is really simple. On top is the shutter time and release button, with the on/off switch. With the on/off switch you can also chance from, single to continuous or timer mode. Also there is a small button voor Movie mode which I haven't used. The Hotshoe has a nice slider to fill it up when it isn't in use.
The back panel has a kind of okay LCD screen, the buttons for LV (LiveView), Play(back),Delete, ISO, Menu, set. On the right side is the D-pad with an info button. At your thumb is a wheel for different tasks, like scrolling the menu and exposure compensation. The viewfinder has a small ring without a diopter, which for me as a glass wearing person wasn't the most comfortable.
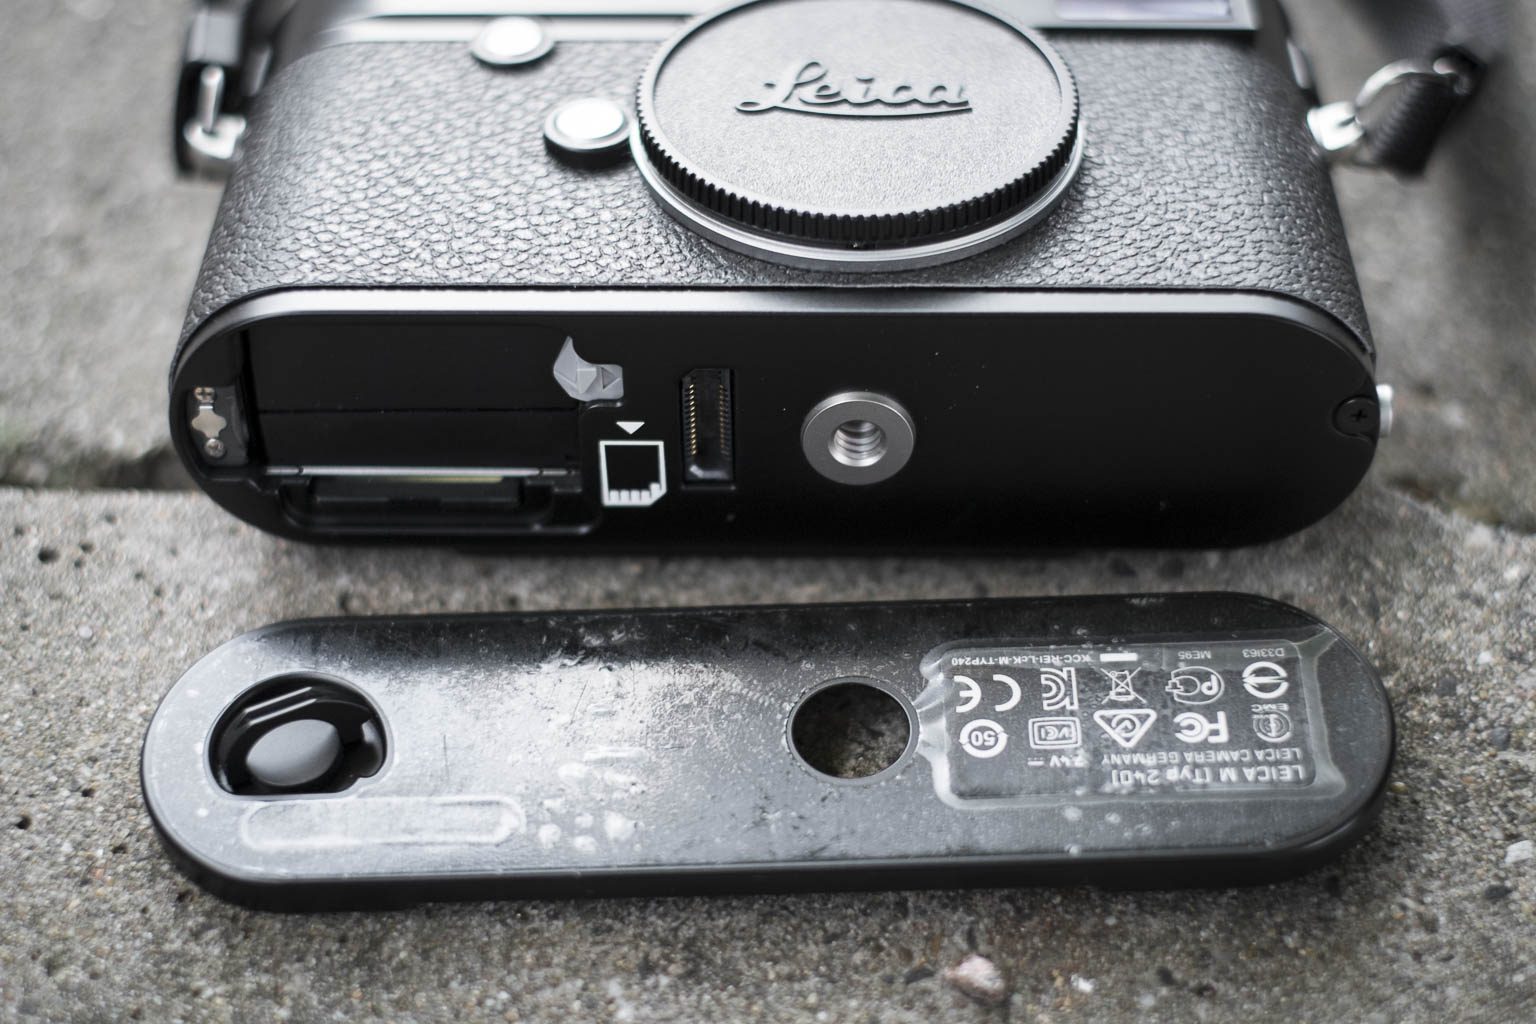
If you unlock the bottom plate you get acces to the SD card and the battery. I am not really fond with this, especially when you want to use it with a tripod. Then you have to unscrew everything before you can change the battery or the SD card.
The Leica Summicron 35
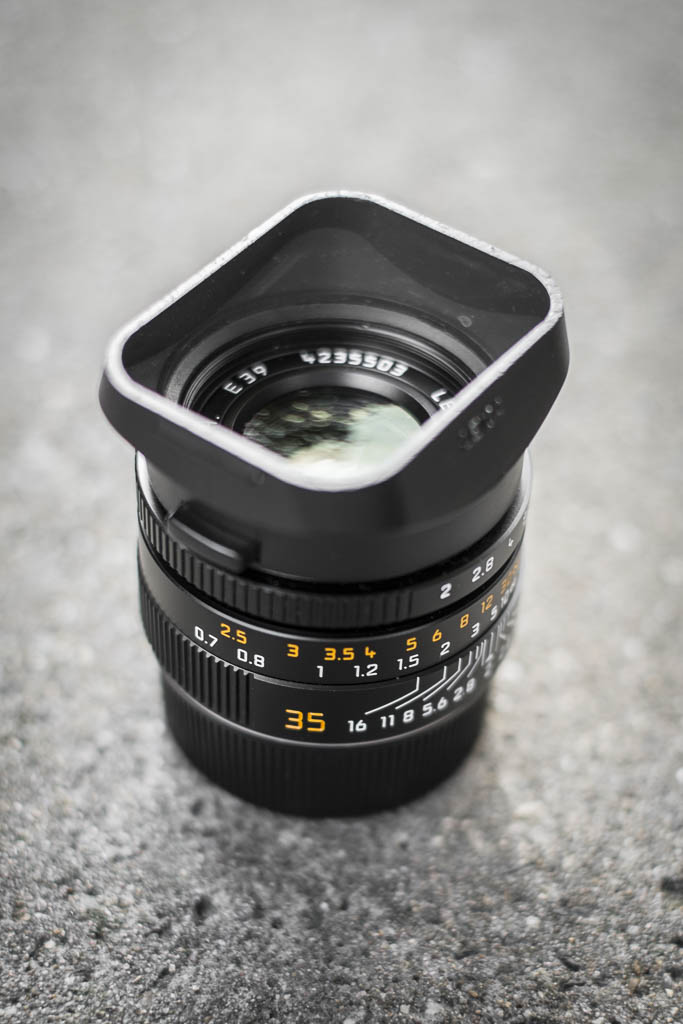
The Leica Summicron 35mm f2.0 is delivered in a greatly designed leather softcase. It had a rubbercap to put on the lens hood for if you don't want to use the lens cap, which you can store in a special part of the lens softcase. The little grip makes it easy to focus with. The focus ring is smooth as butter. The aperture ring is nice but has a little bit of a cheaper feel. I have had lenses where the aperture ring felt better.
The Leica Summicron 50 f2.0 ASPH
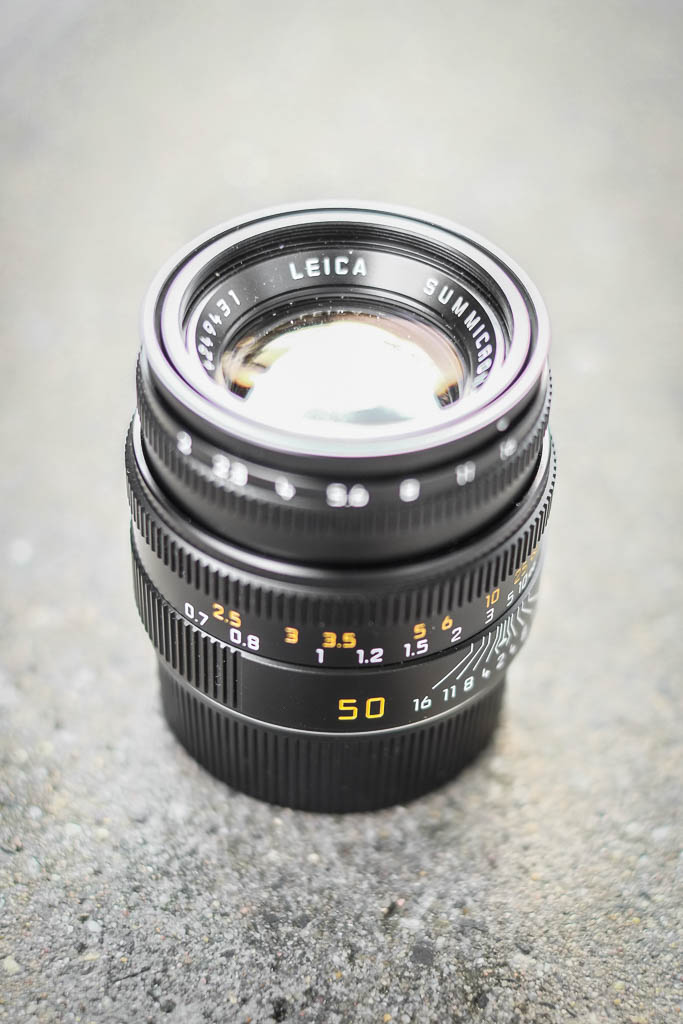
The Leica Summicron 50mm f2.0 has the same build quality as the 35mm. I missed the little focus thingy of the 35mm! Which made focussing a little harder. For the people who don't know. This €12.000 camera kit has NO AUTO-FOCUS. But the manual focus system with the two glasses works brilliant! Because it is a range finder you get frame lines in the viewfinder representing the area that is in your frame. The 50mm is for me the longest lens to use with this. For longer lenses I would love to have the Hybrid Viewfinder like the Fuji X-Pro1 has. But for working with the Leica Summicron 50mm is good enough!
The Photoshoot
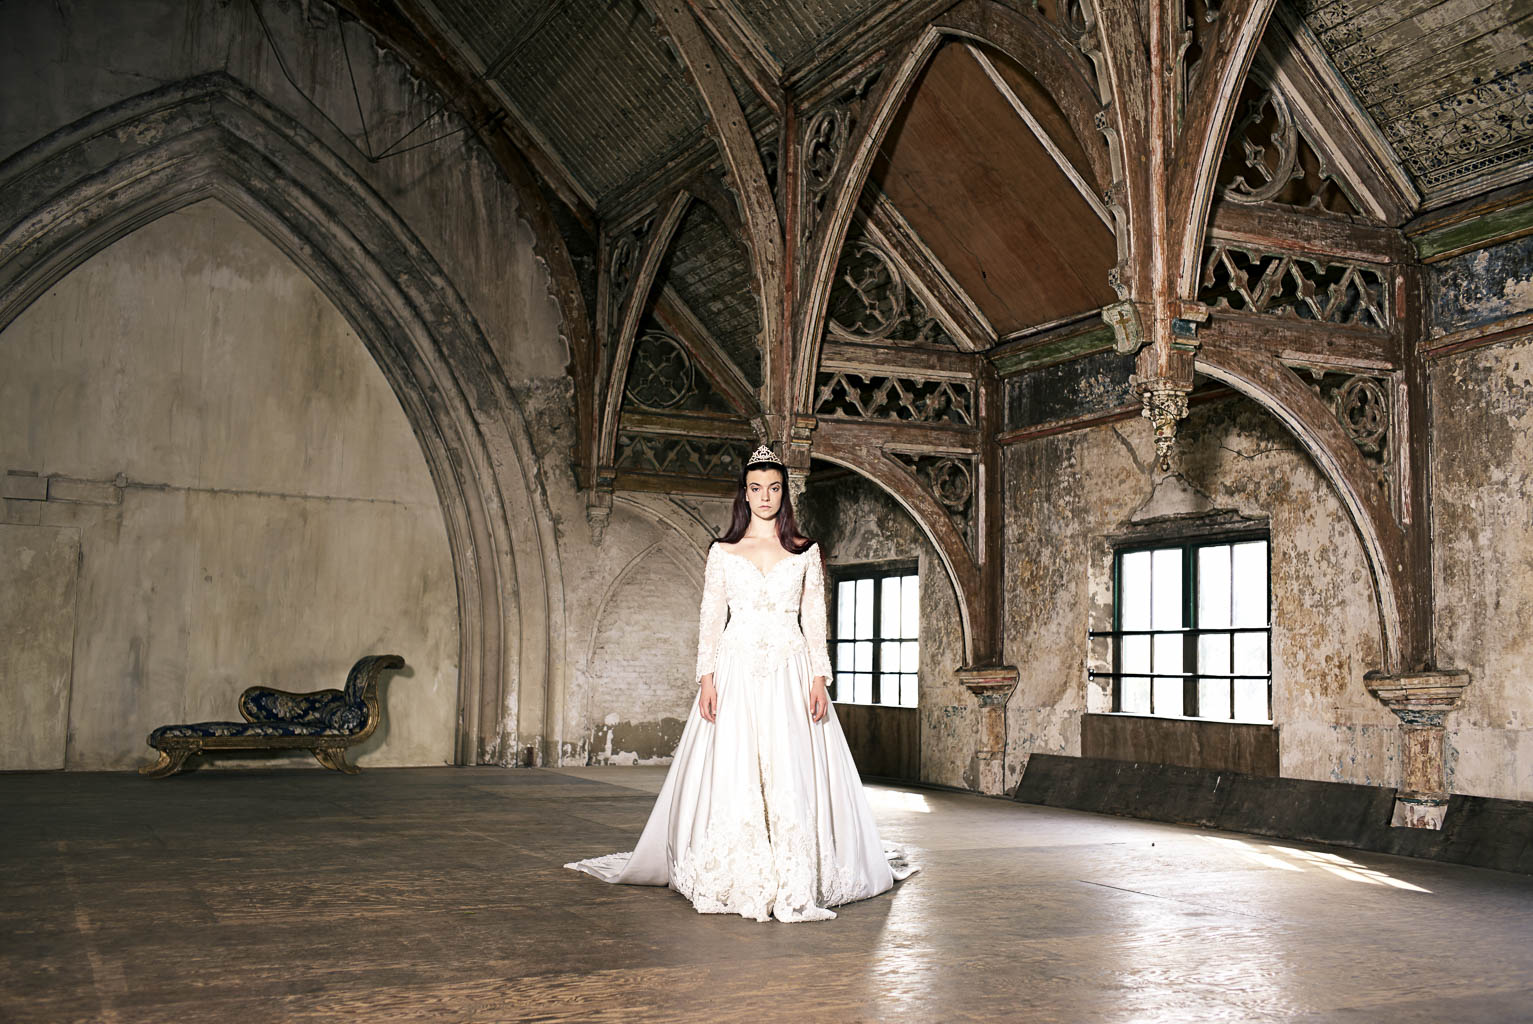
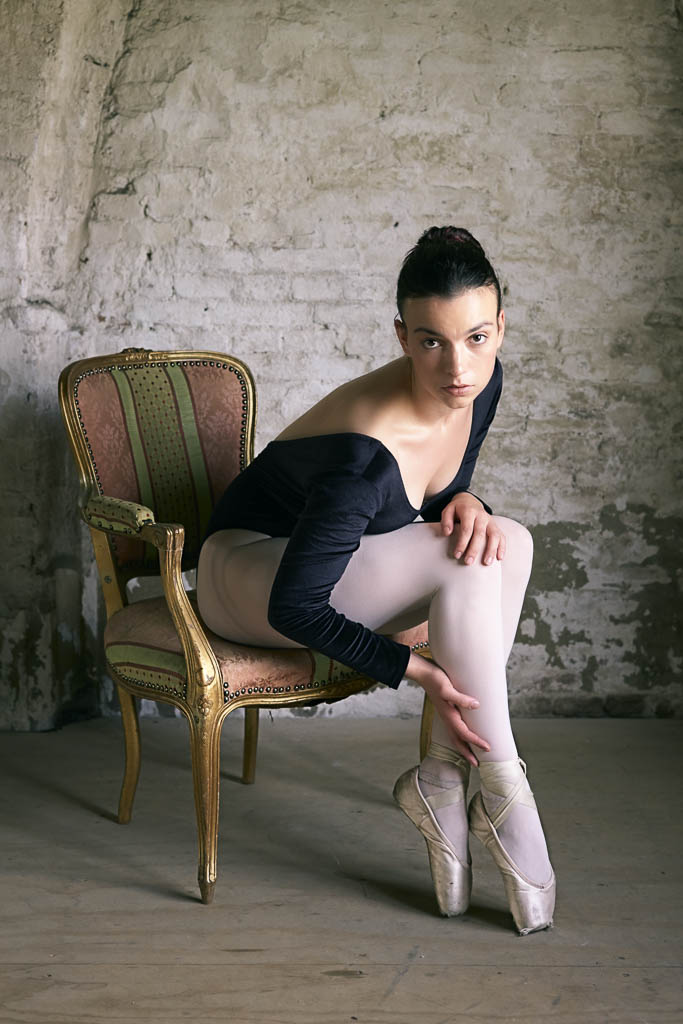
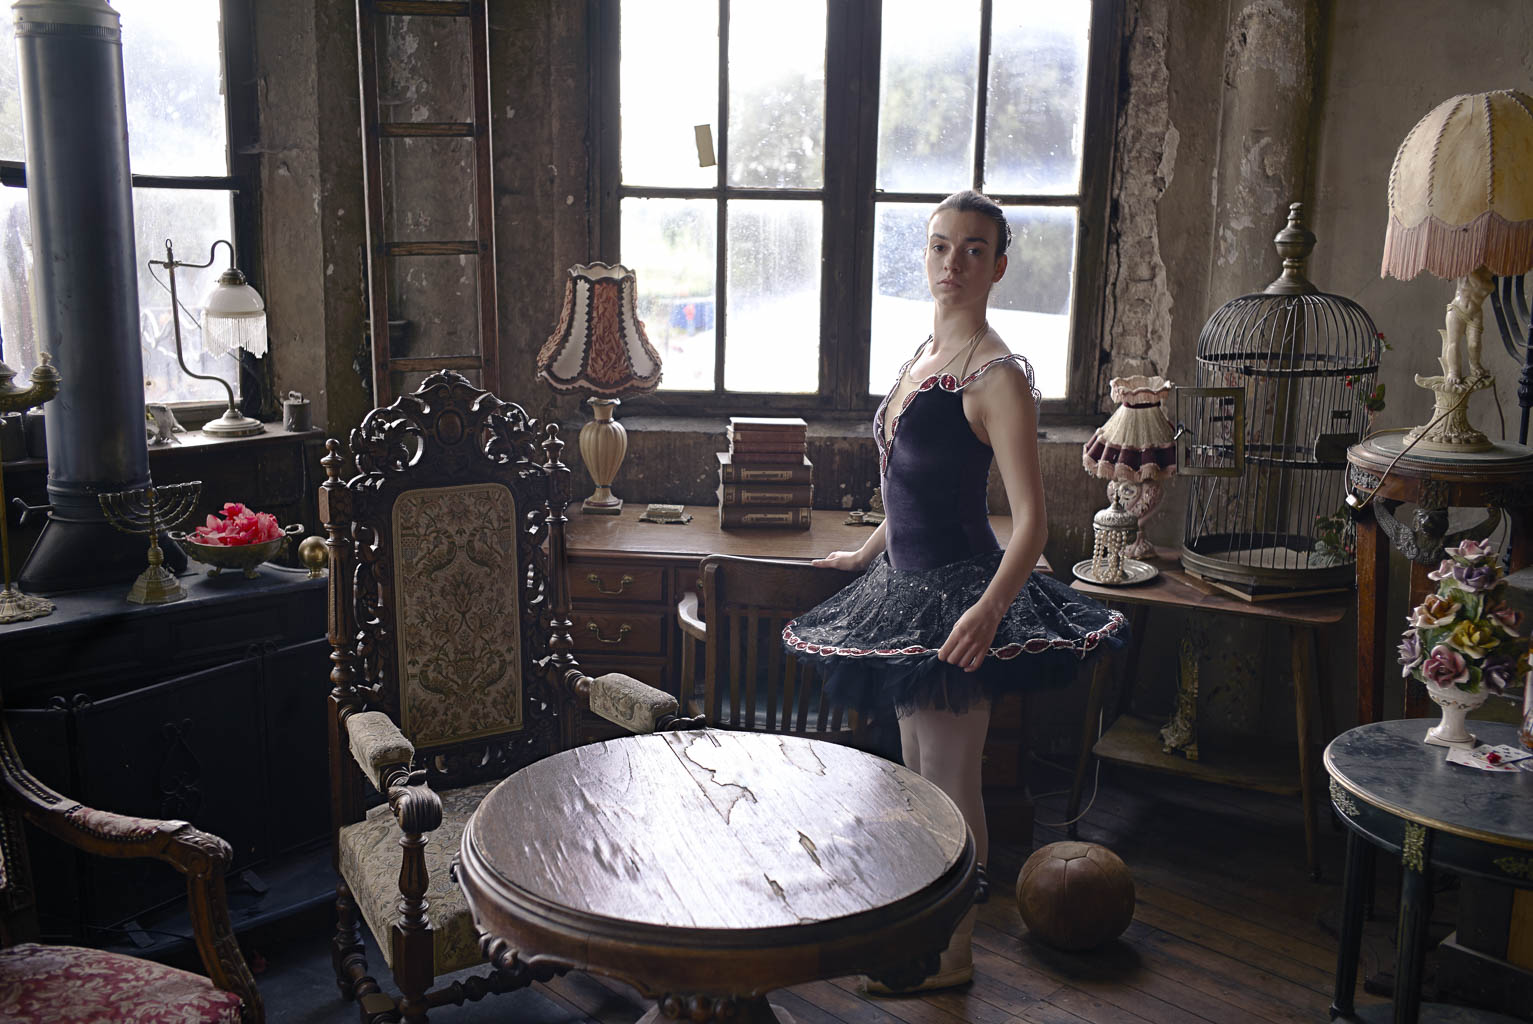
To really test the camera I organized a small photoshoot. I had a lovely Ballerina (Charlotte Geeraerts, two assistants (Mike Foto and Riet Verwoert), a person who filmed it (Ilse van Gemert) and my MUAH Elvira Korten (Made of Make up). For location I rented the Metaal Kathedraal in Utrecht. A behind the scenes video is posted at the end of this blog!
The Images
The most important thing off any camera, the images!
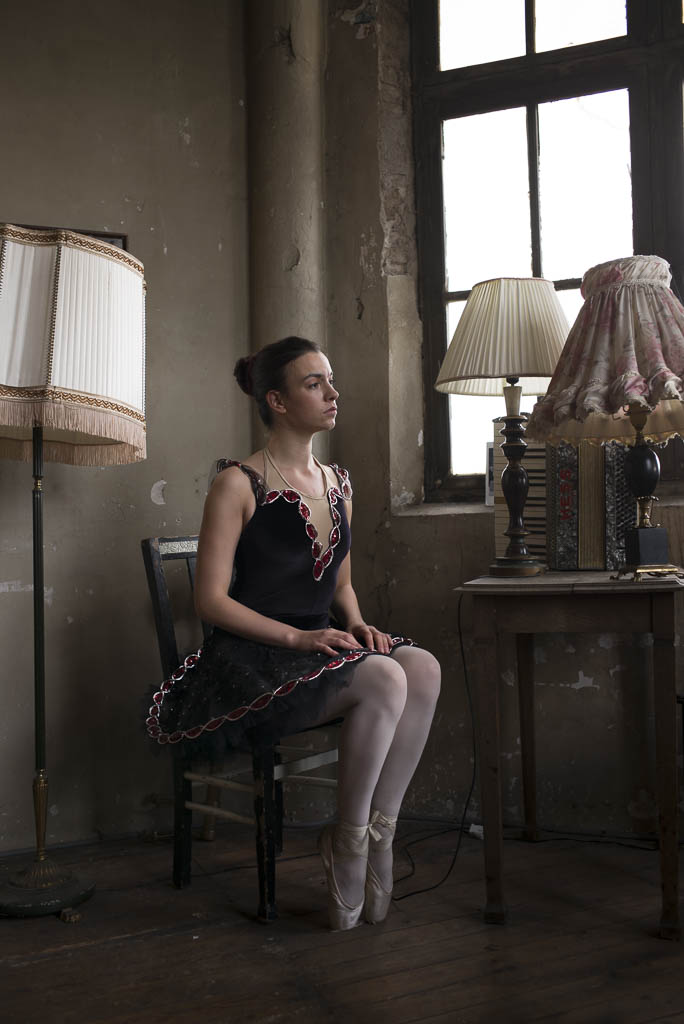
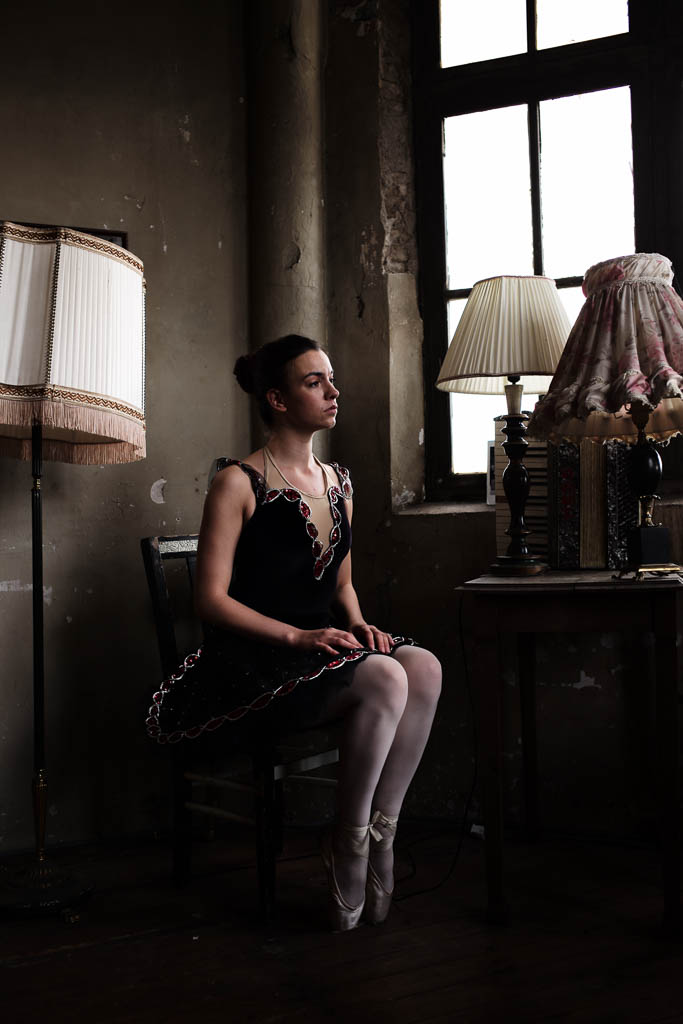
The Leica M has some film simulation. I liked the smooth color the most. It has the "Add the red chanel for contrast" in photoshop look. On the back of the camera it looked great but on the computer the shadows where to dark. Since I always shoot Jpeg+Raw (DNG in de case with Leica) there was nothing to worry about. Below are two images, one is the Jpeg and the other the raw file exported from Lightroom as a Jpeg.
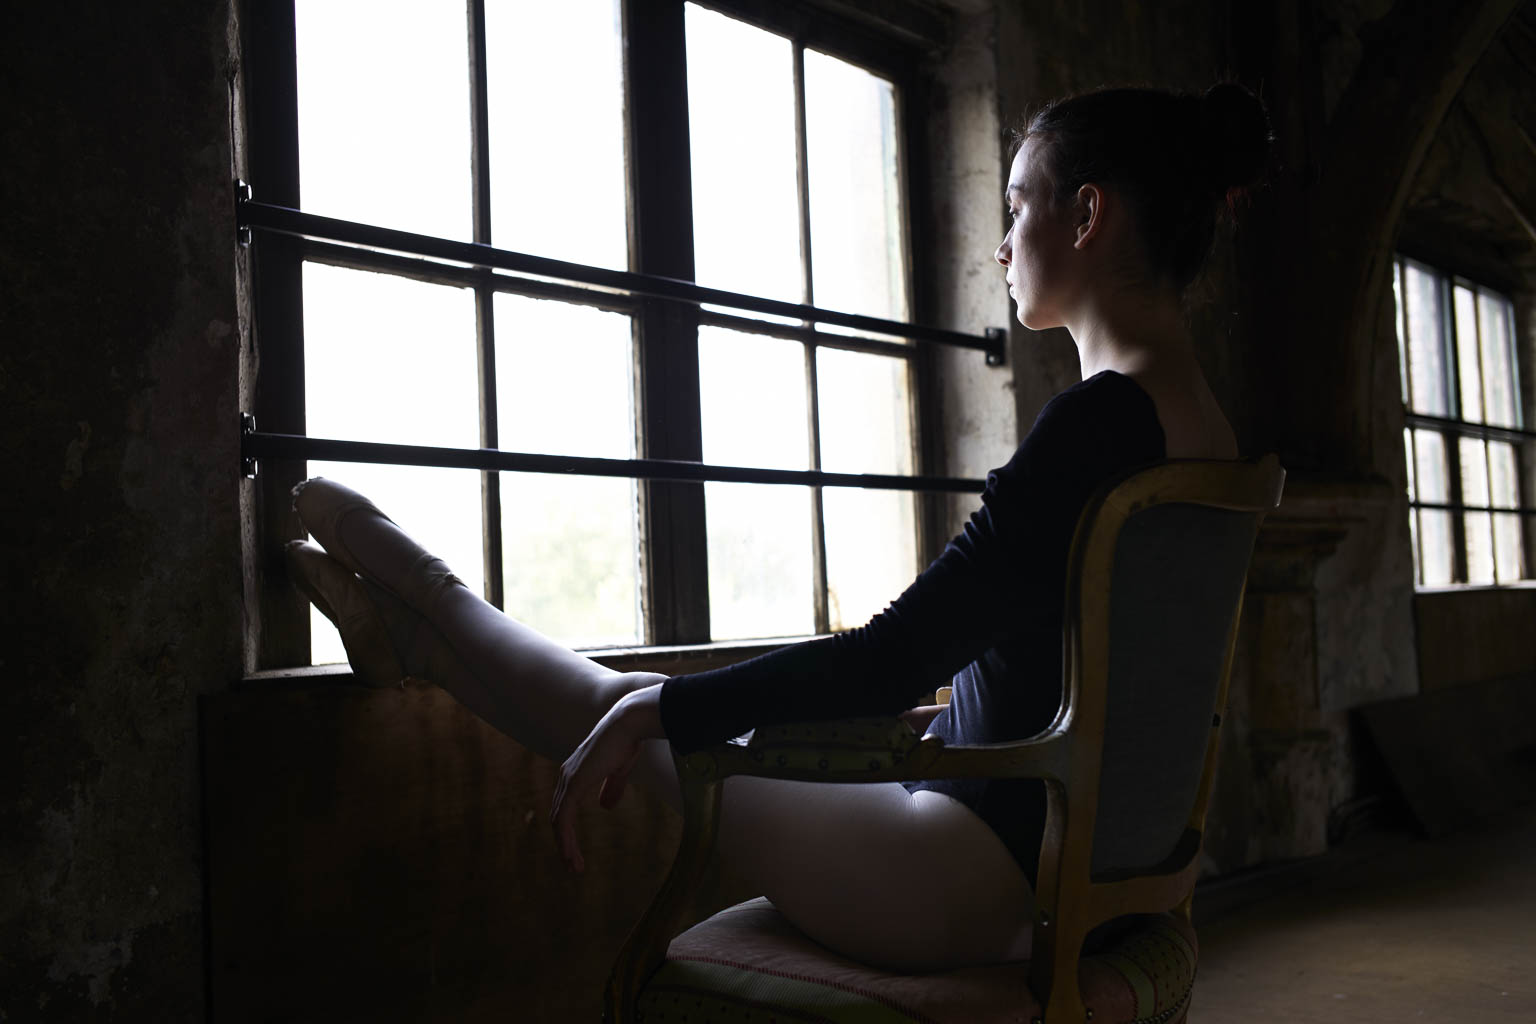
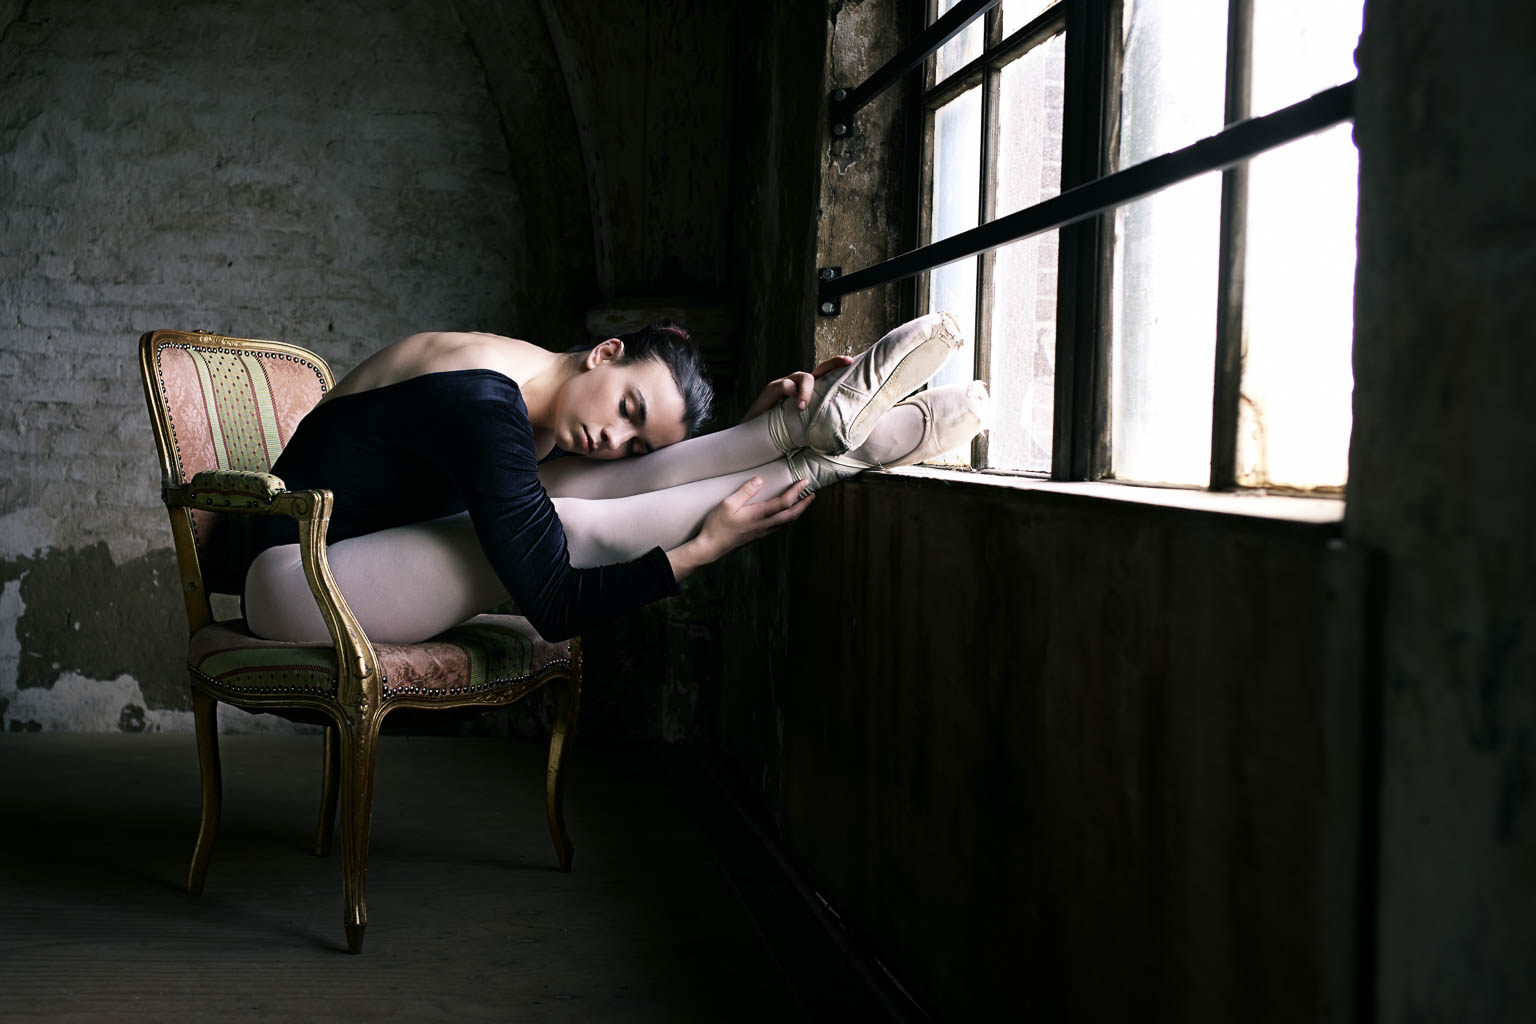
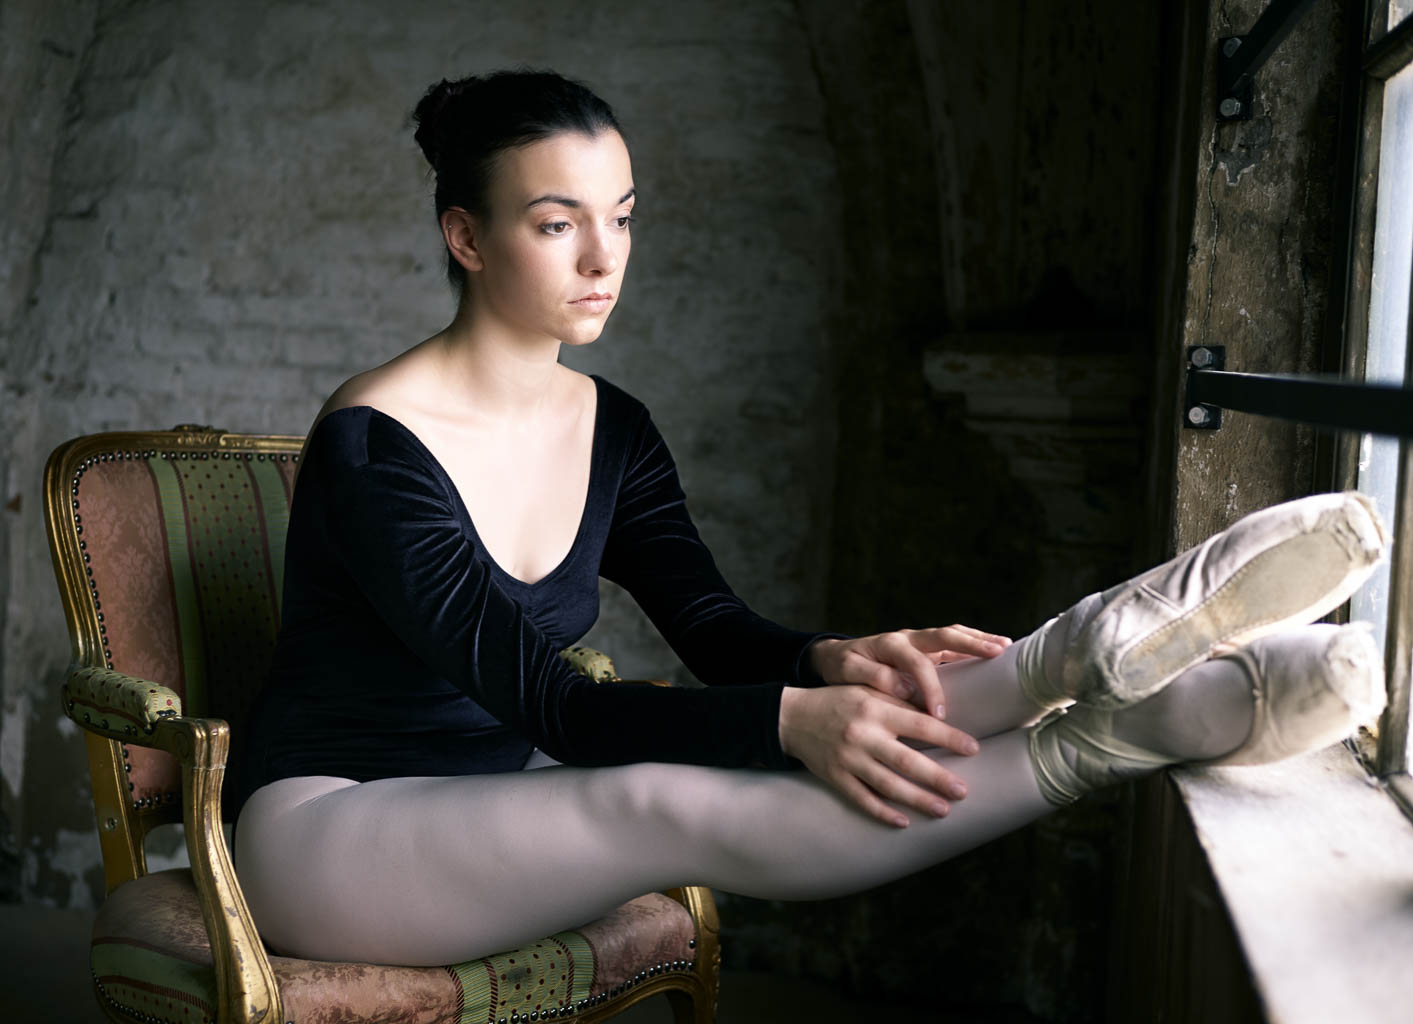
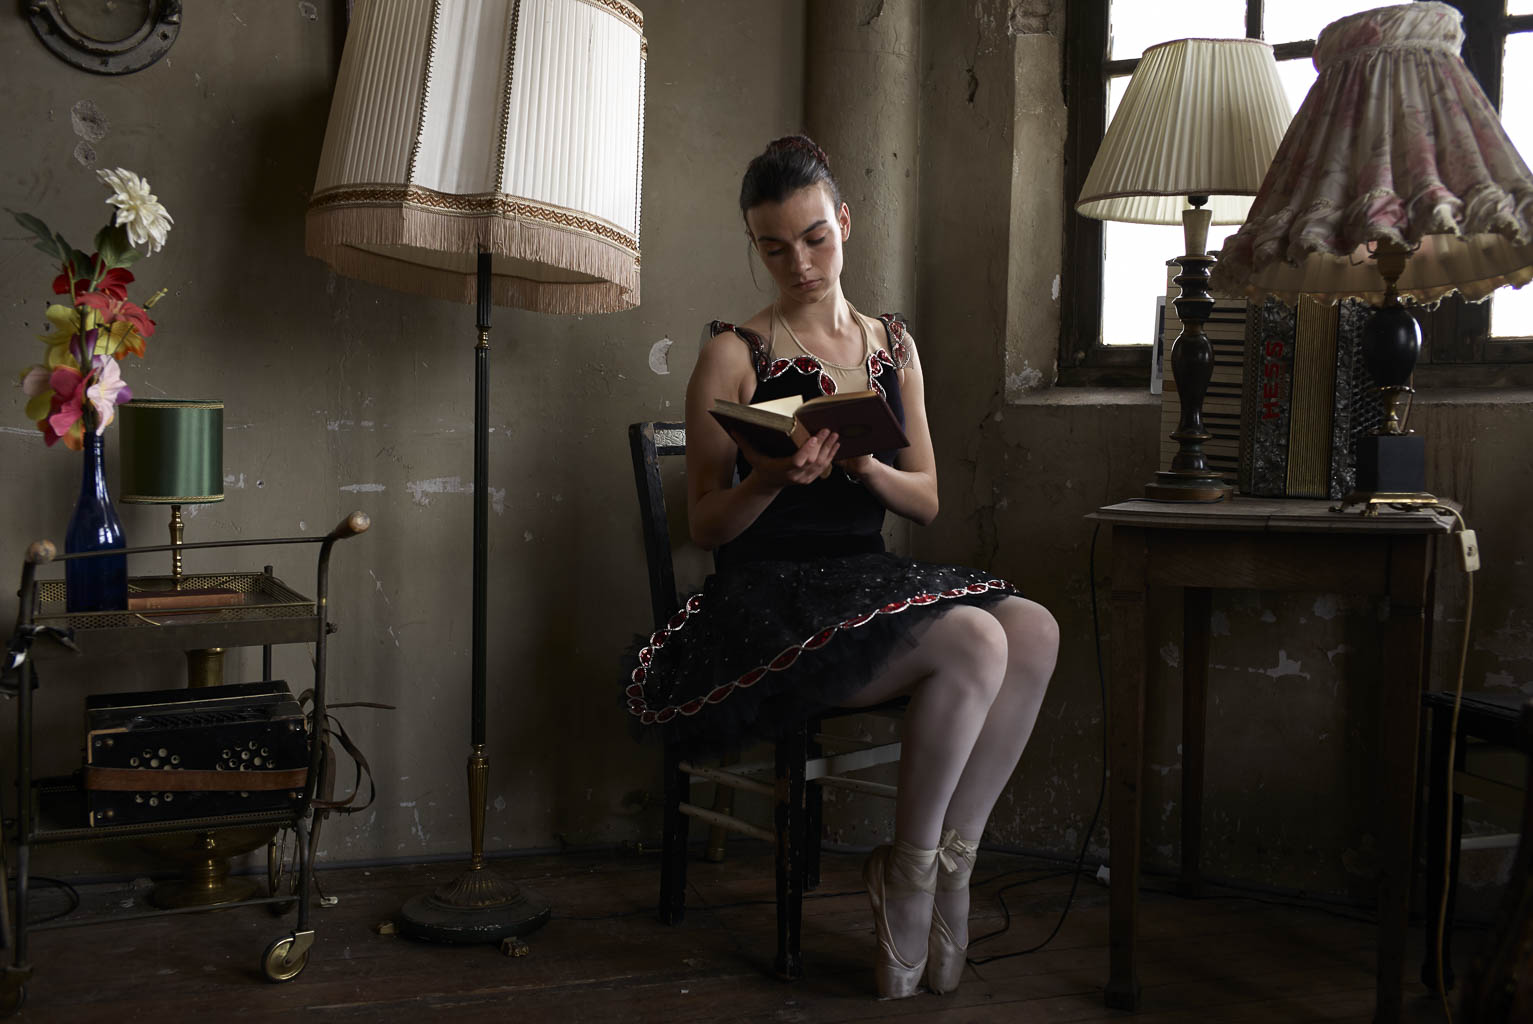
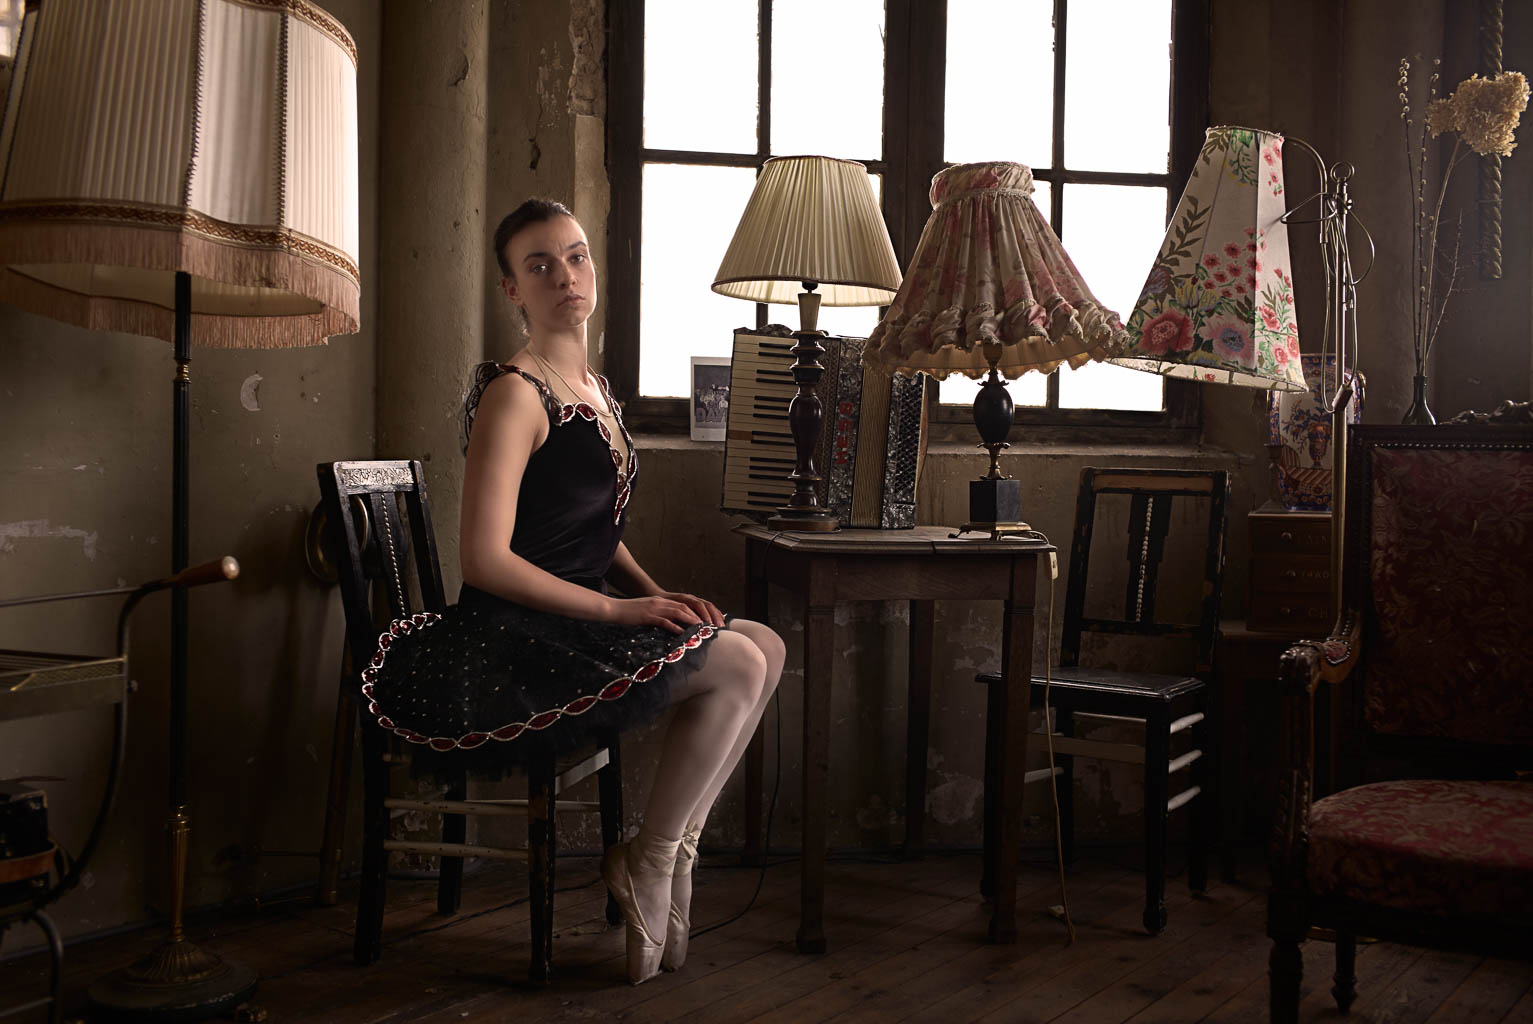
For me the camera worked best in available light. Below are 3 pictures shot only with the ambient window light. Please also notice how much of a difference you can make with just walking around the model!
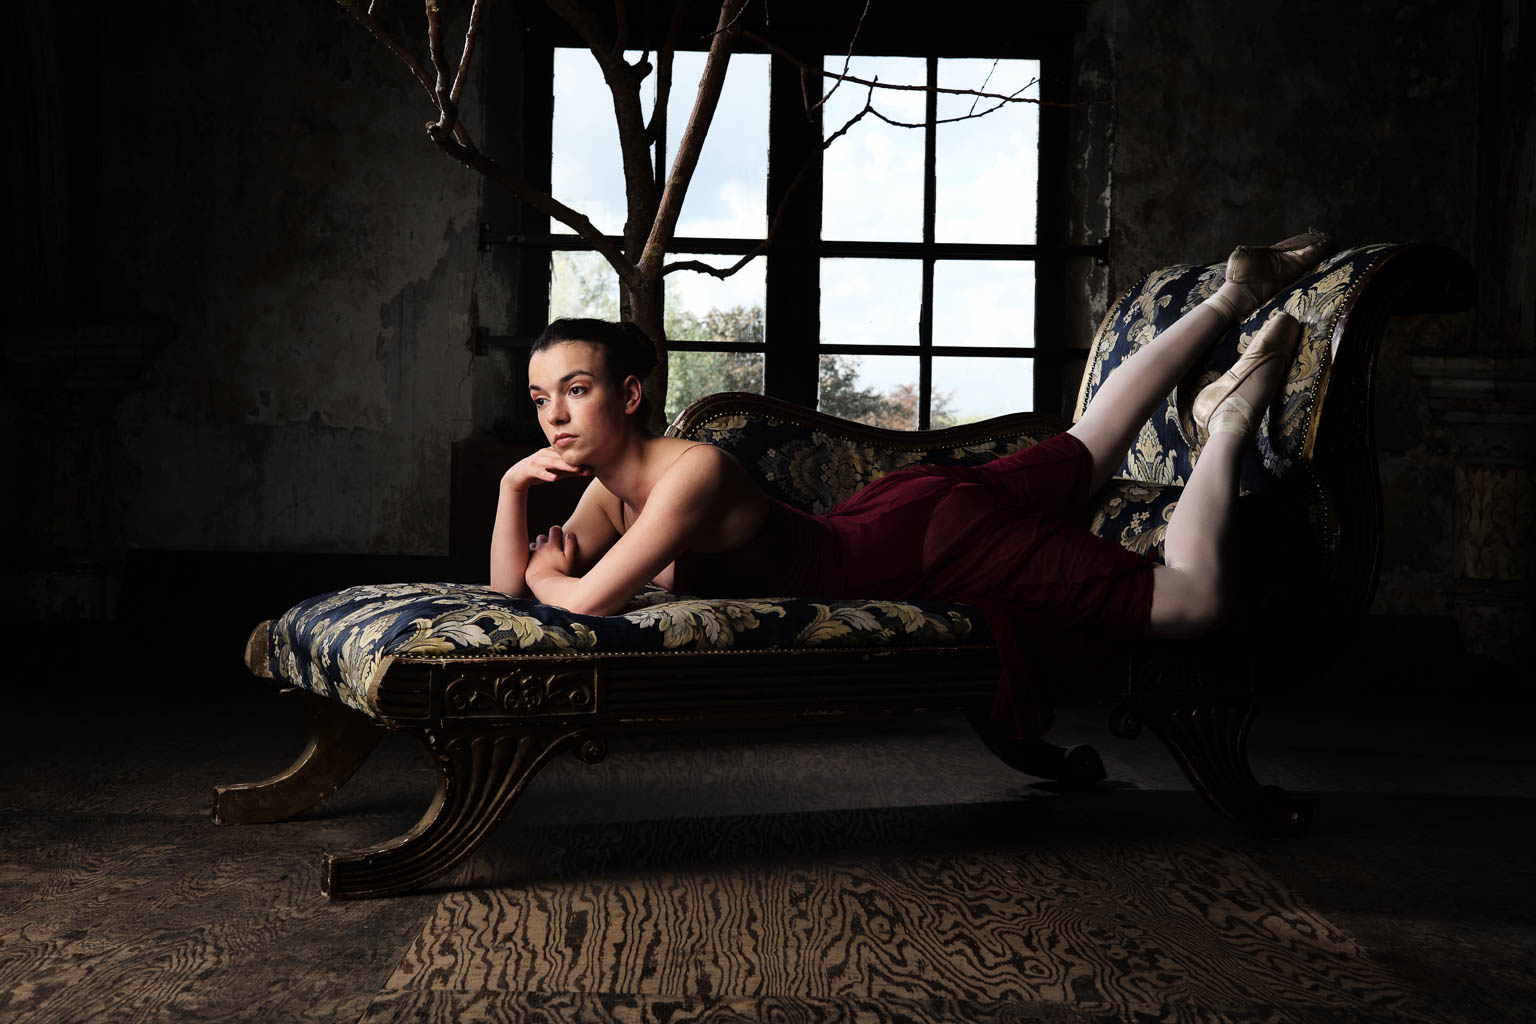
When I combined flash with natural light the white balance got it pretty right!
Conclusion
I loved working with the Leica M (type 240) with the Summicron 50mm f2.0 ASPH and Summicron 35mm f2.0! Allthough it is manual focussing, it works. The layout of the camera is simple. Everything you need, nothing you don't with a build like a tank body. Everything feels sturdy!
But, is it worth the €12.000 price tag? Well..... for me it's not. That doesn't mean I wouldn't like to have this camera kit, because I really do! But the price is to high for me. I don't see the extra benefit's over my current kit with the Nikon D800 and D610, and my fuji kit. I love the whole feel and look and way of working, but the image quality isn't like, 6 times better than the €2000,- Nikon D610 basic kit.
If I was a fulltime street or reportage photographer this camera would fit like a glove, it is low profile, light, portable. Also for fashion or commercial works it can do the job. It isn't an action camera. Although if you know your technique you can do it!
So my final conclusion. The camera is great, if you have the money, buy it! If you don't, then you don't miss anything. The camera is a tool, the photographers make the difference!
Watch the behind the scenes video of the ballet photoshoot in the Metaal Kathedraal
Lightroom Workflow
Voor iedereen die wil weten hoe ik mijn nabewerking doe, hierbij een video over mijn Lightroom workflow. Voor 80% van mijn werk gebruik ik Lightroom of Apple Aperture, een beetje afhankelijk van de Job. Lightroom is iets krachtiger dan Aperture, voor de meer commerciële en grotere opdrachten gebruik ik dan ook Lightroom. Heeft meeste van mijn editing probeer ik ook in Lightroom te doen. De meer specifieke dingen als echt retoucheren of samen voegen van foto's doe ik in Photoshop. Onthoud tevens, je kan met Lightroom en Photoshop een goede foto geweldig maken, maar nooit een slechte goed maken! Voor iedereen die meer wil leren over Lightroom en Photoshop, kijk bij mijn Workshops!
Nieuwe Nik by Google filter: Analog Efex Pro
Goed nieuws voor de eigenaren van de Nik Collectie by Google. Ondanks sommige Nik dood verklaarde toen het opgekocht werd door Google, worden er gelukkig toch nog steeds nieuwe programma's en updates gedaan voor Nik software. De nieuwst aanwinst is Analog Efex Pro. Het doel van Nik Analog Efex Pro is het gecontroleerd recreëren van de oude film look. Het wordt dus een soort tegen hanger van de VSCO filters.
De eerste beelden zien er goed uit. Zodra ik het programma heb kunnen testen kom ik met een uitgebreide review!
Kijk voor meer informatie alvast hier


