Workshop: Shooten en Shoppen
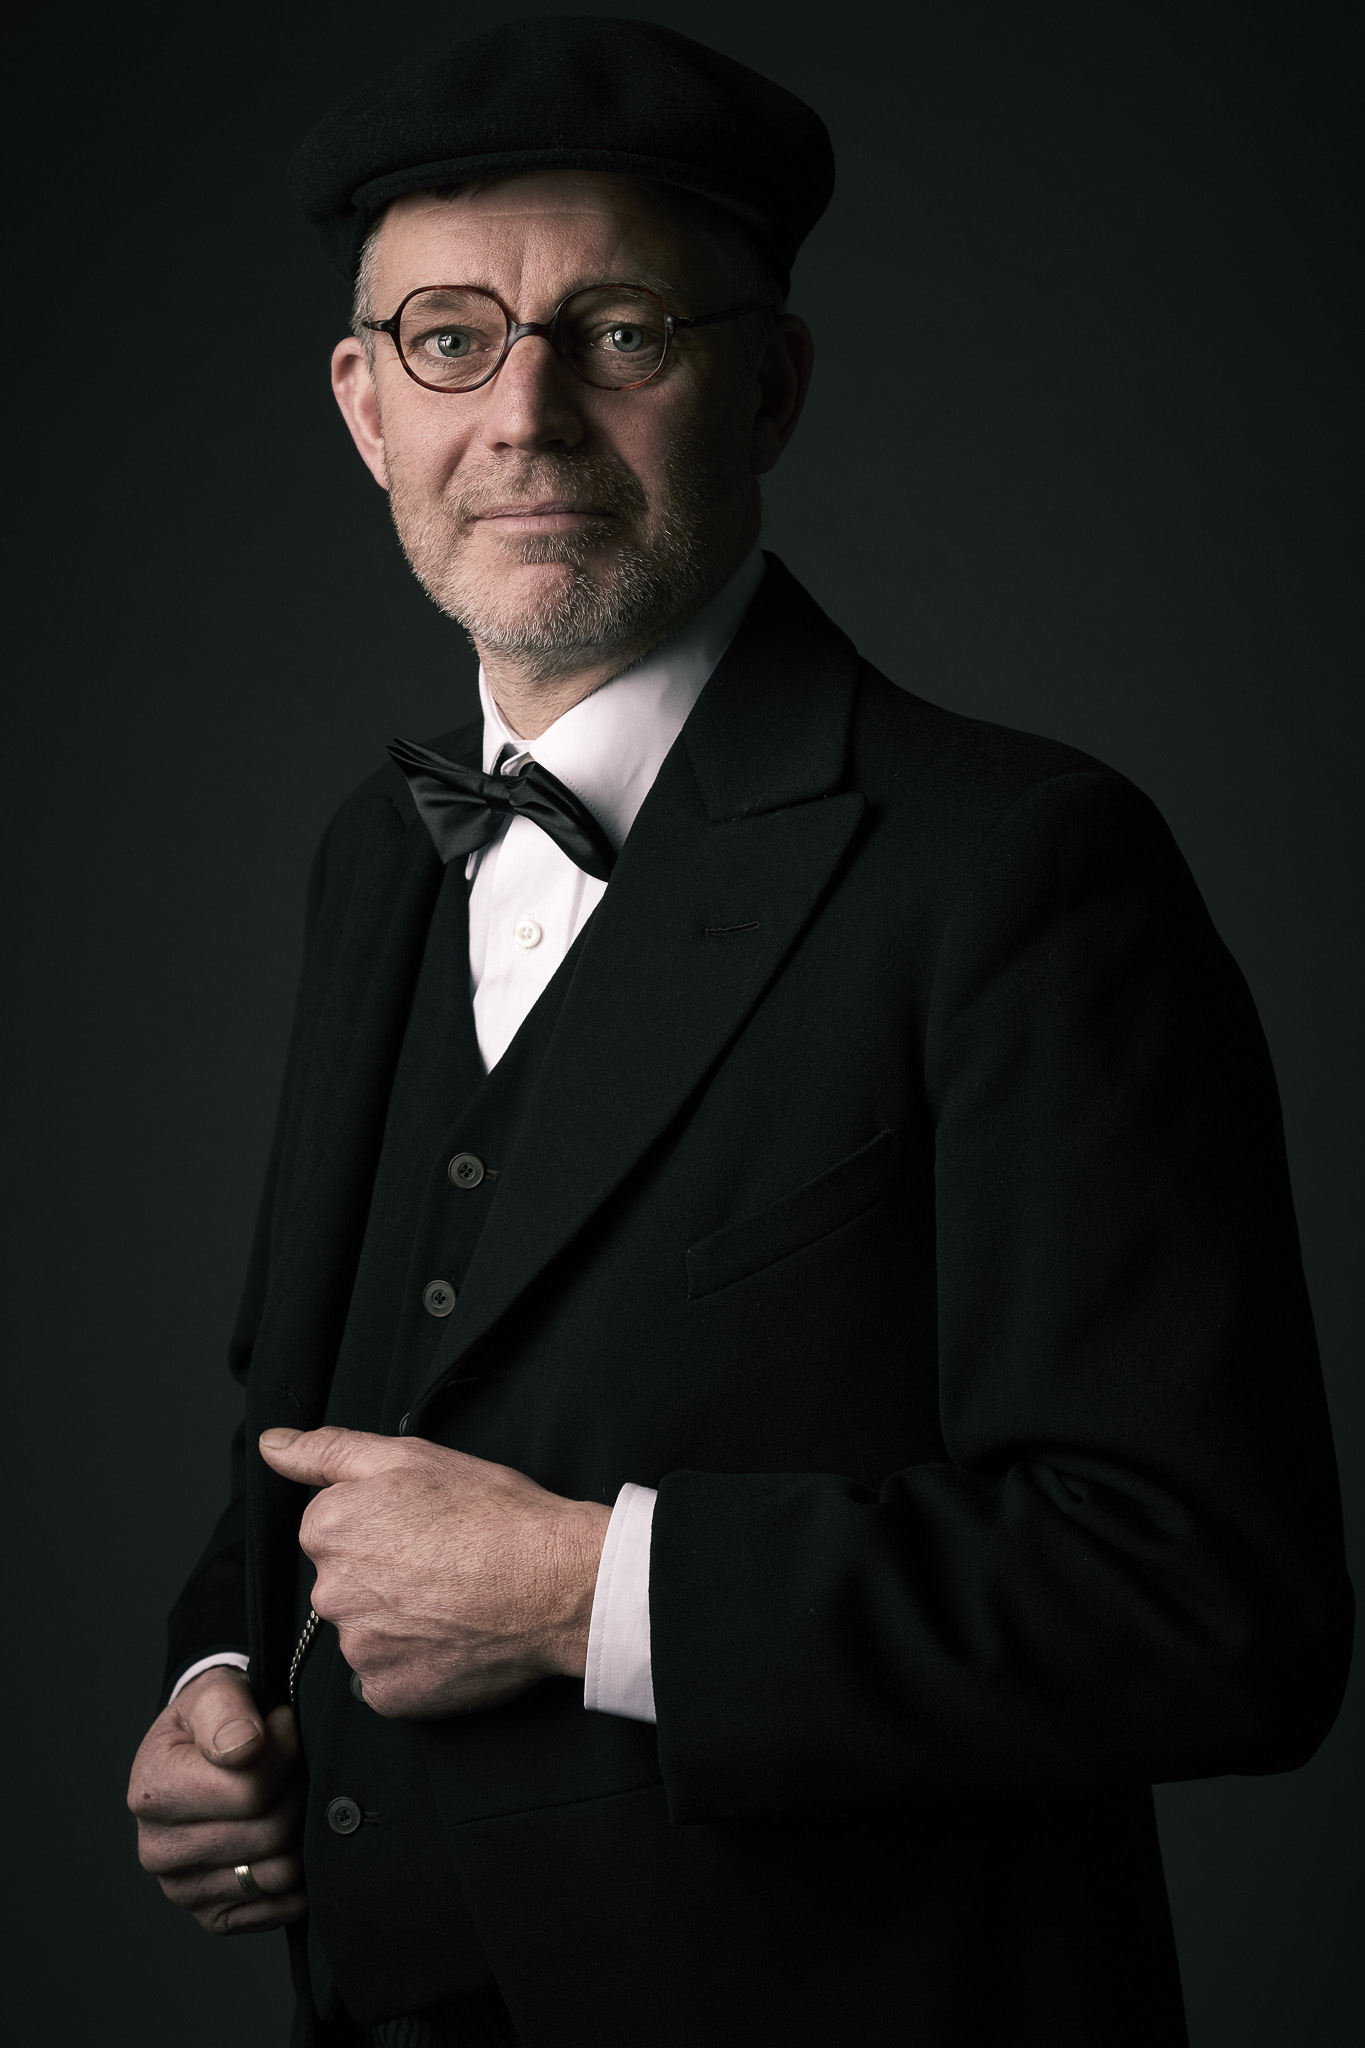
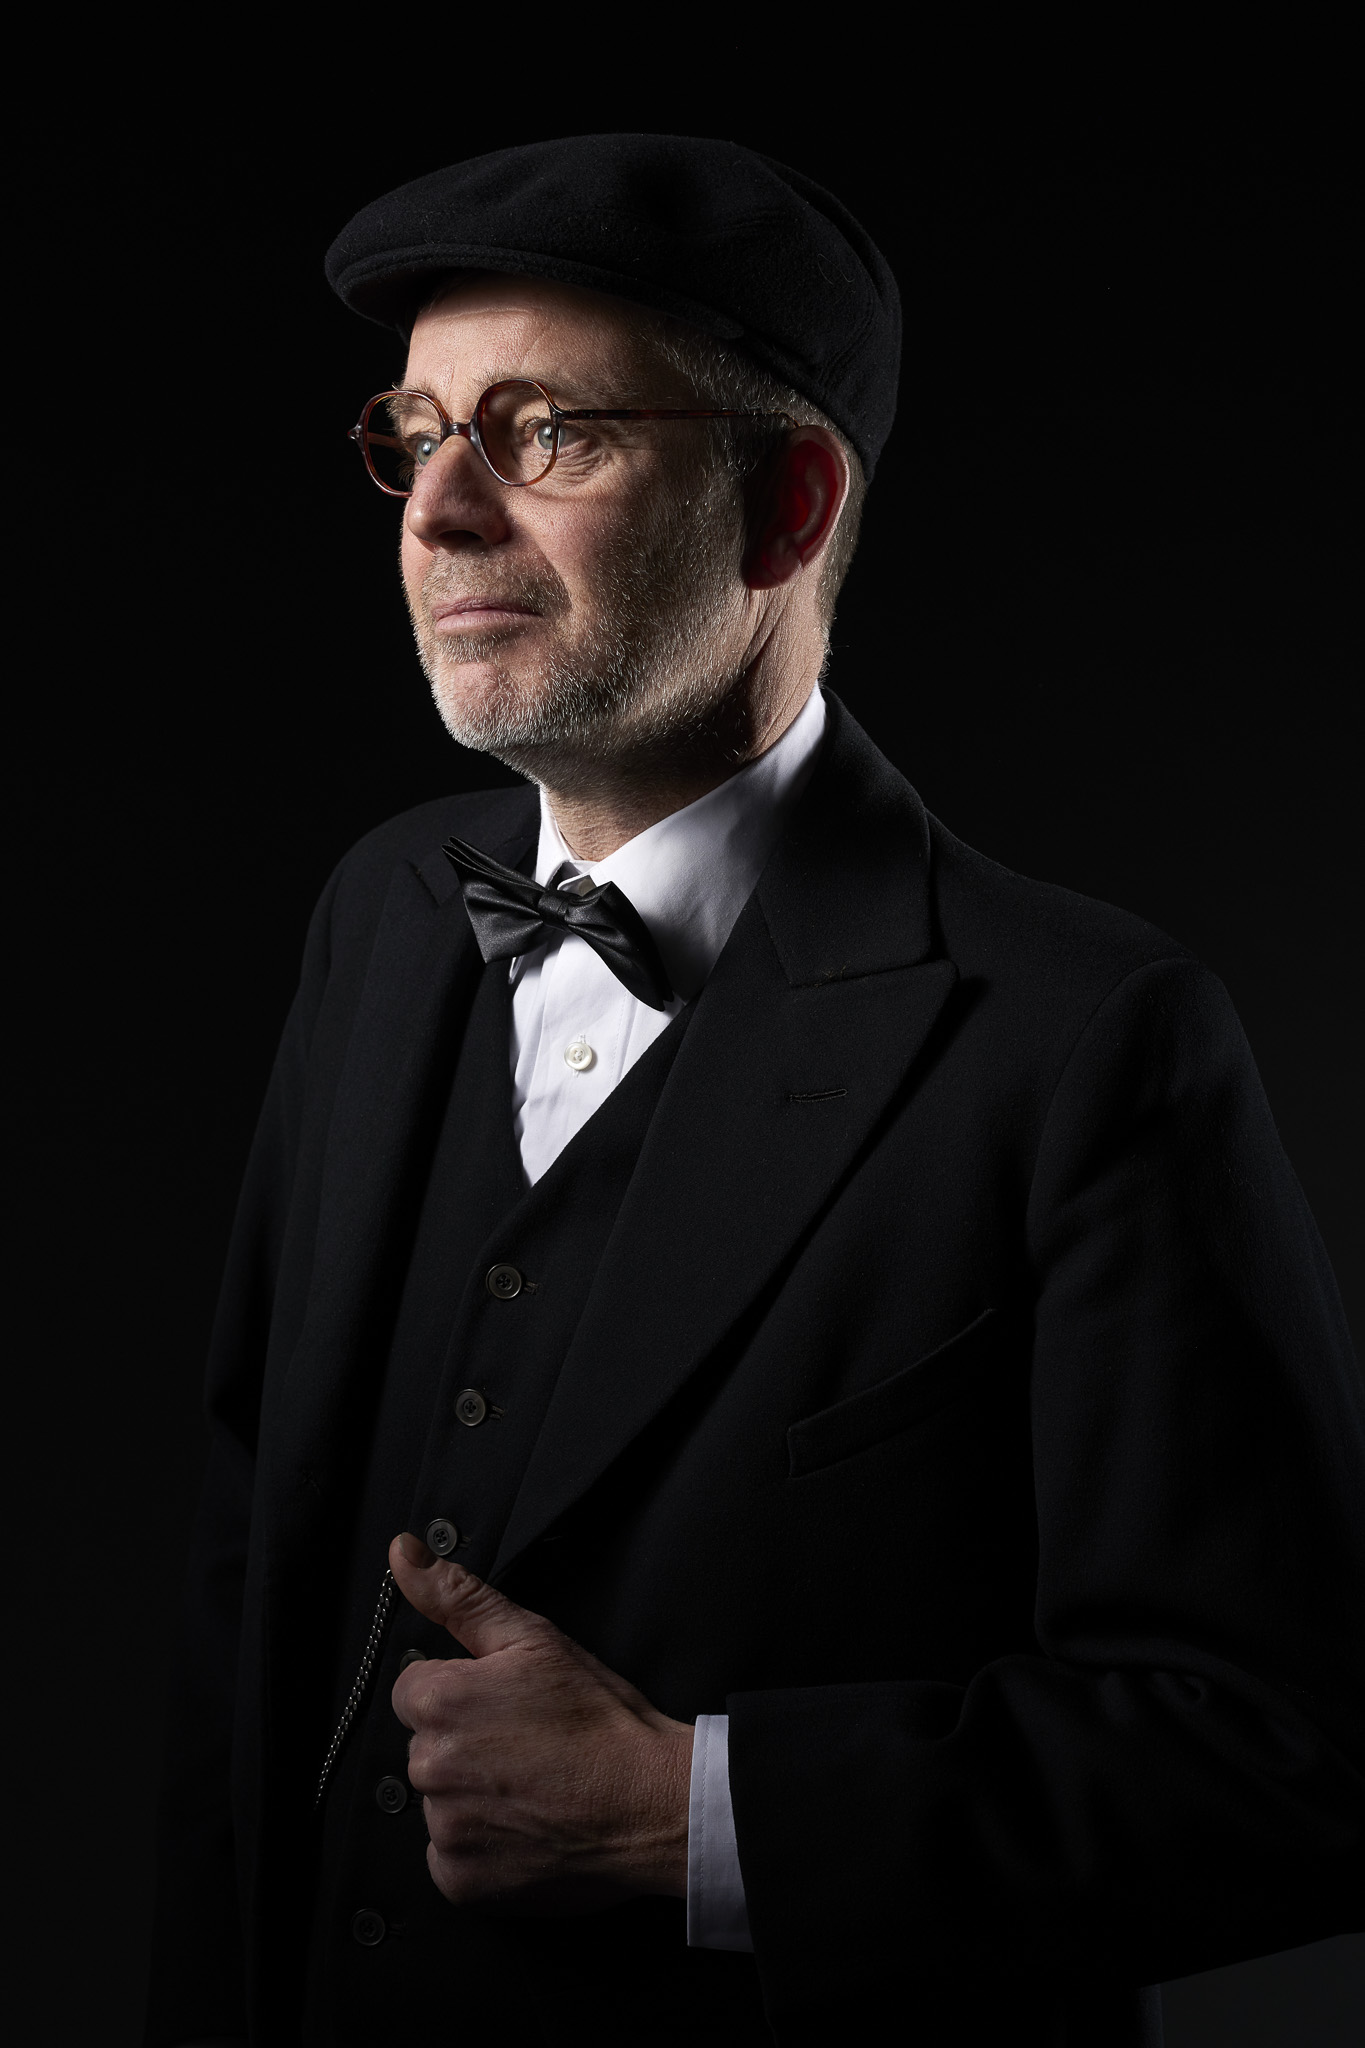
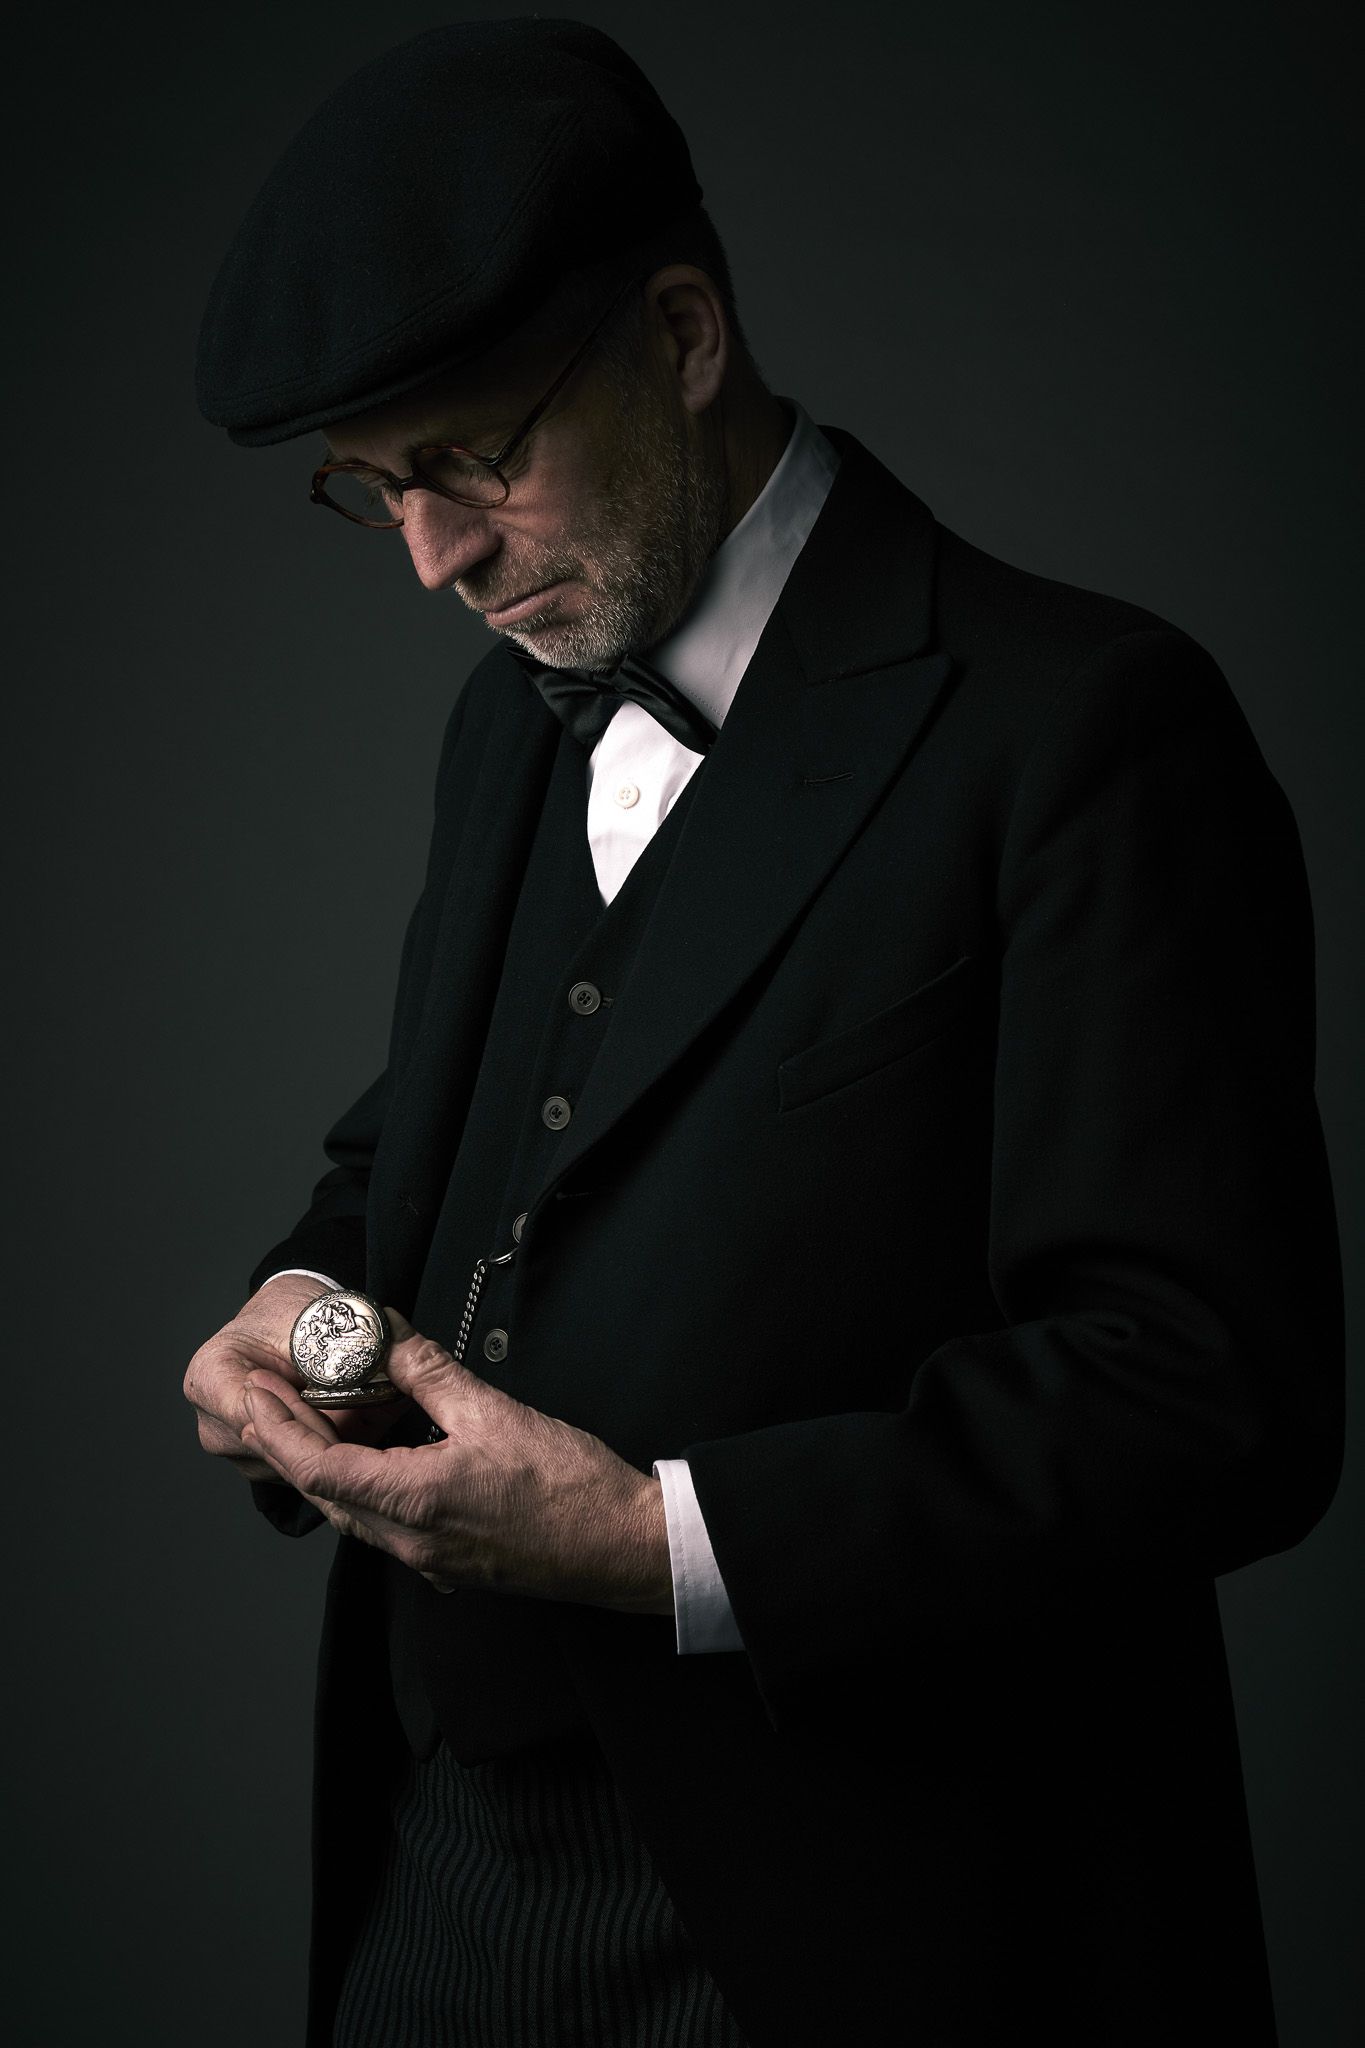
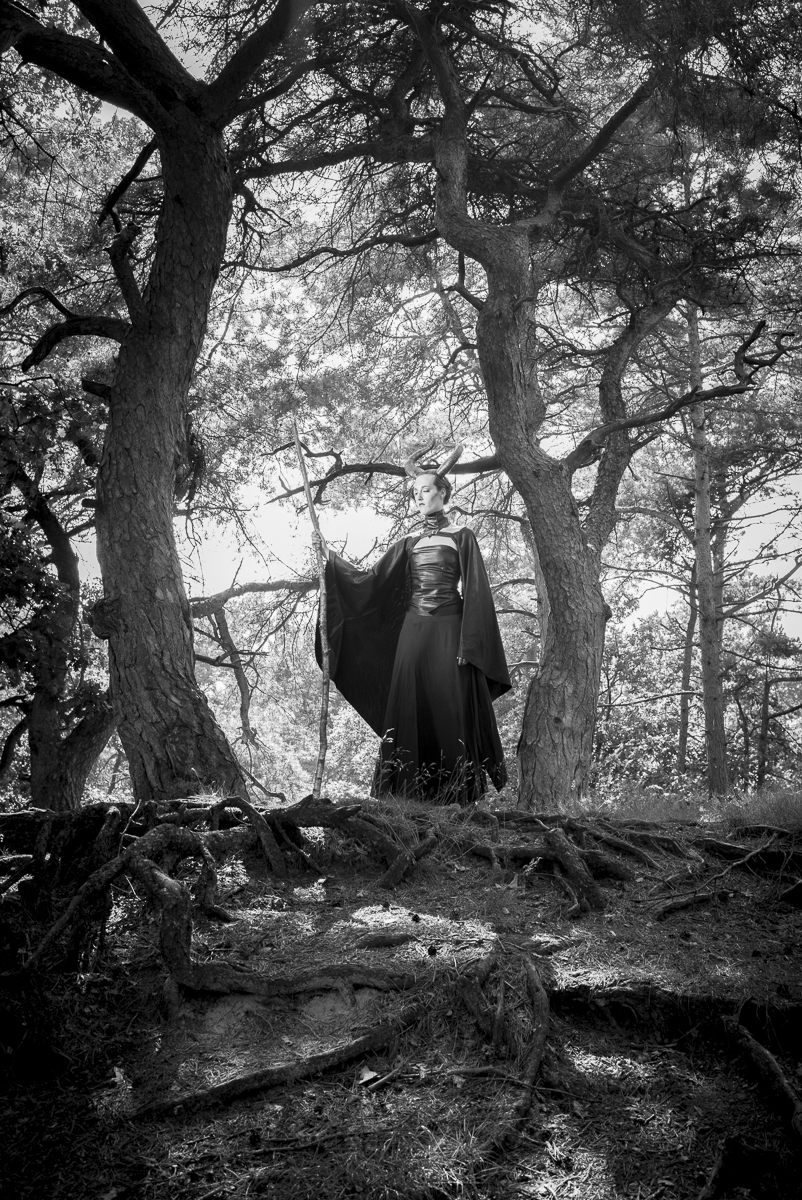
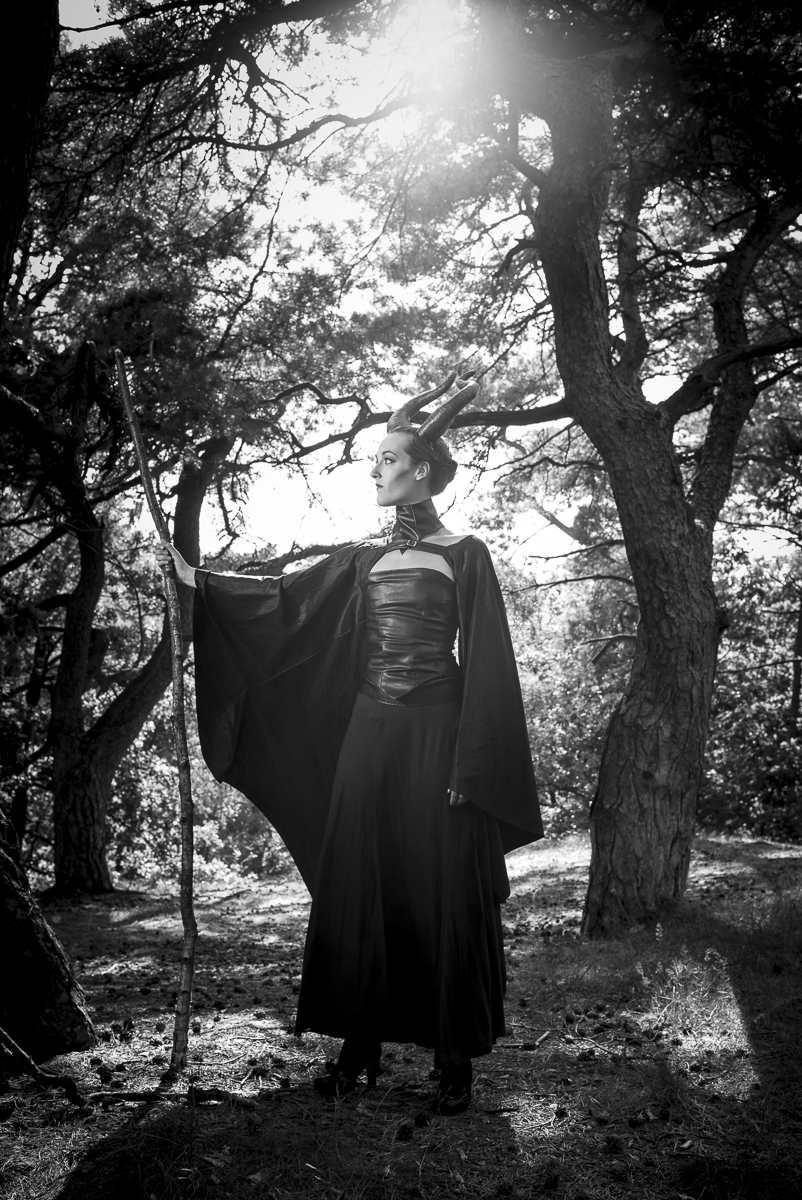
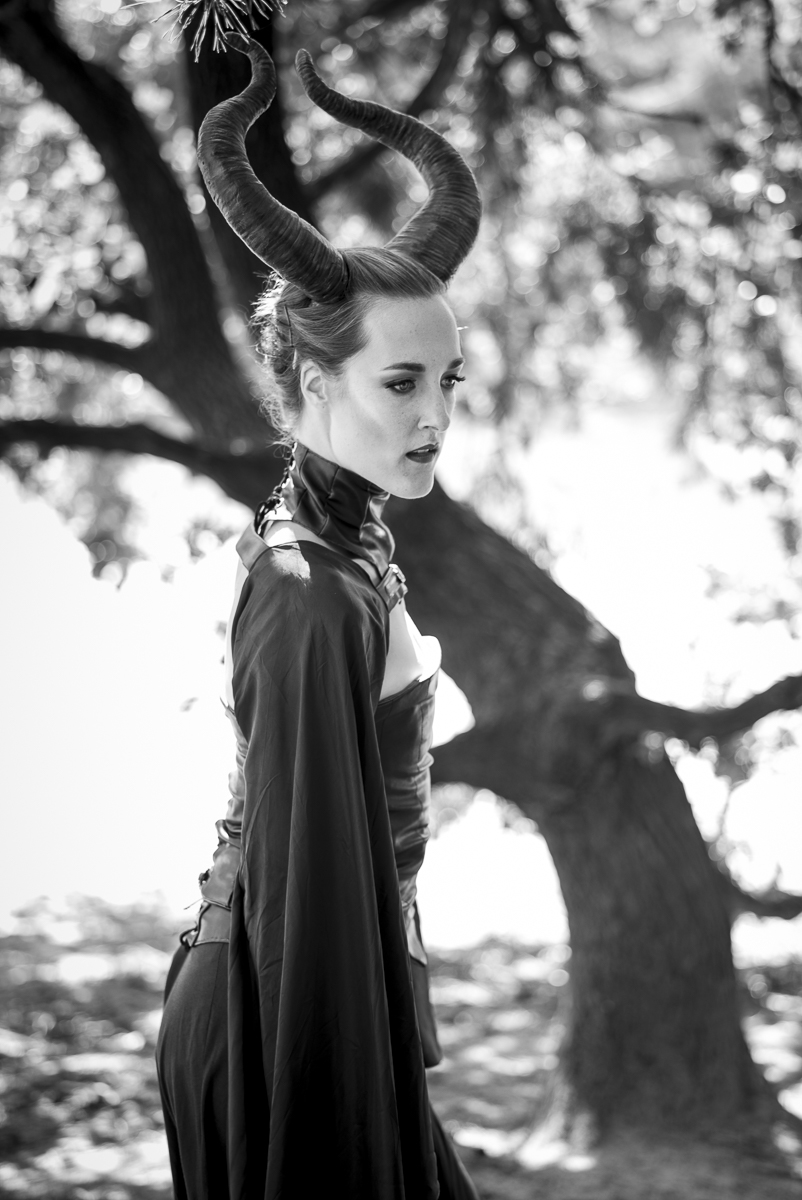
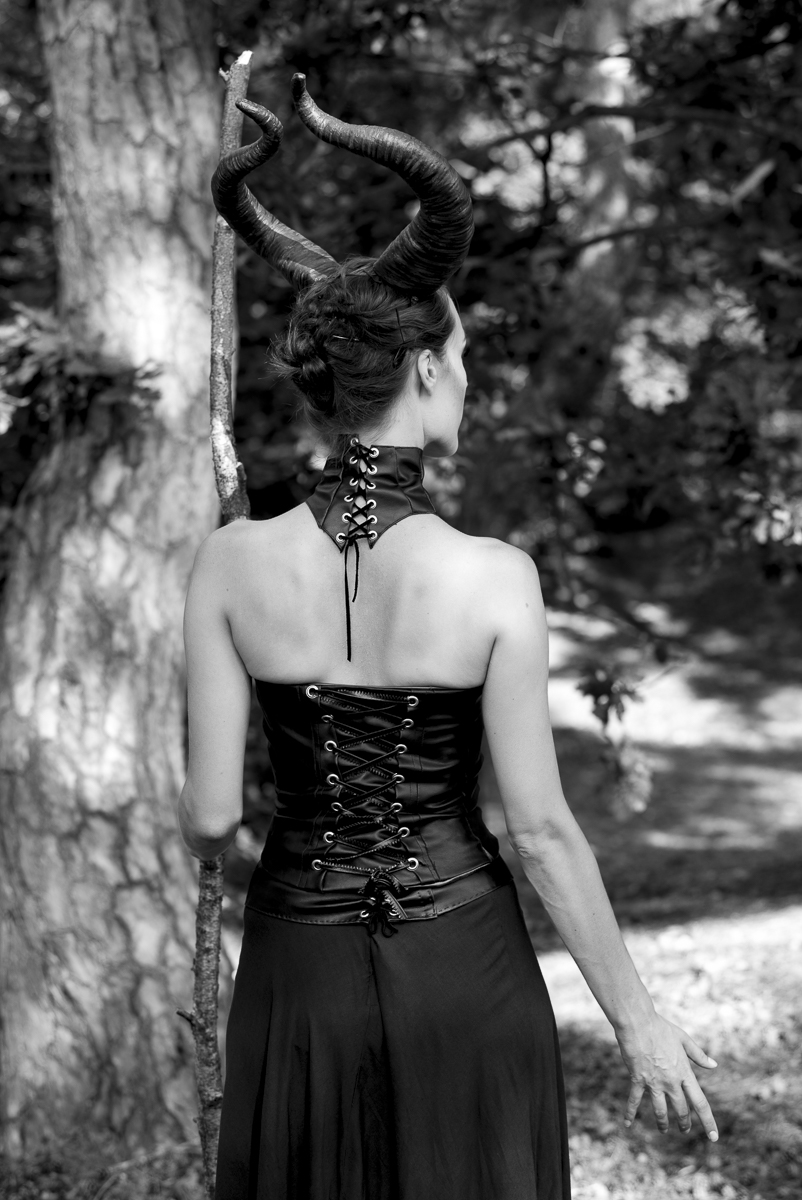
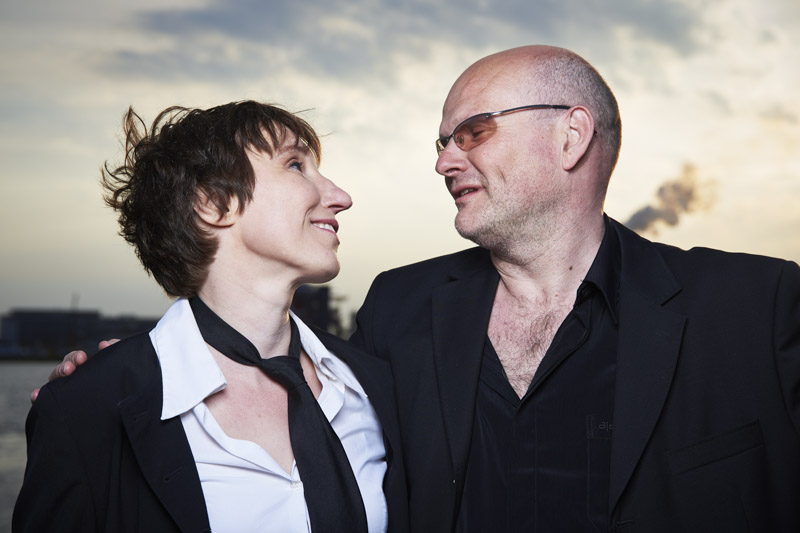
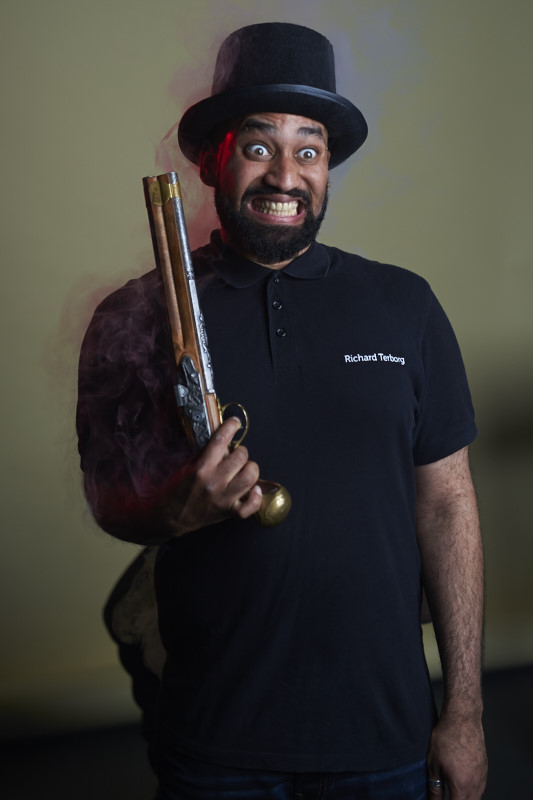
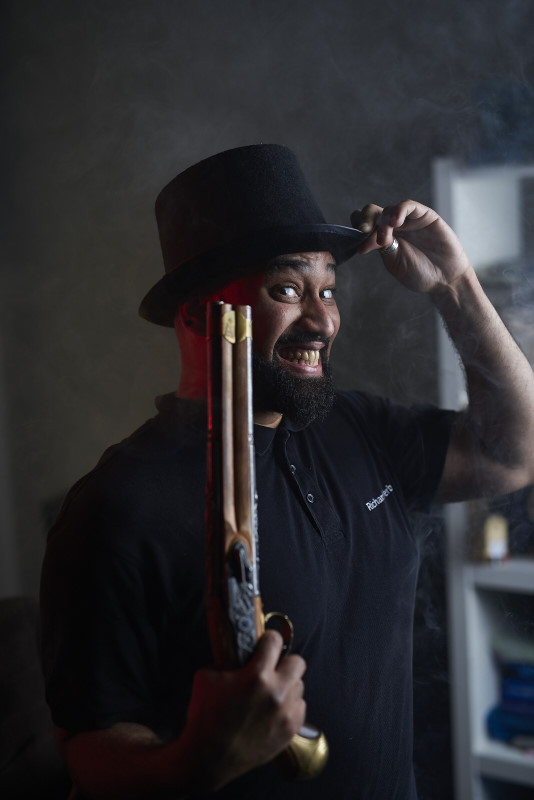
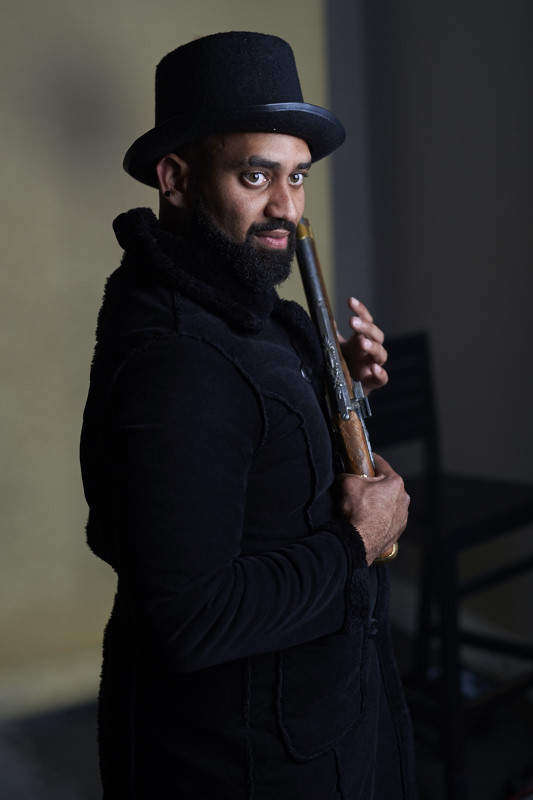
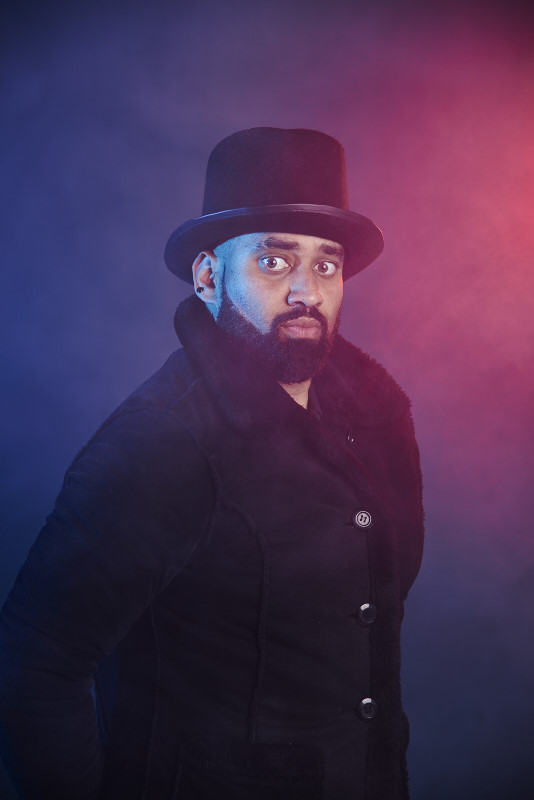
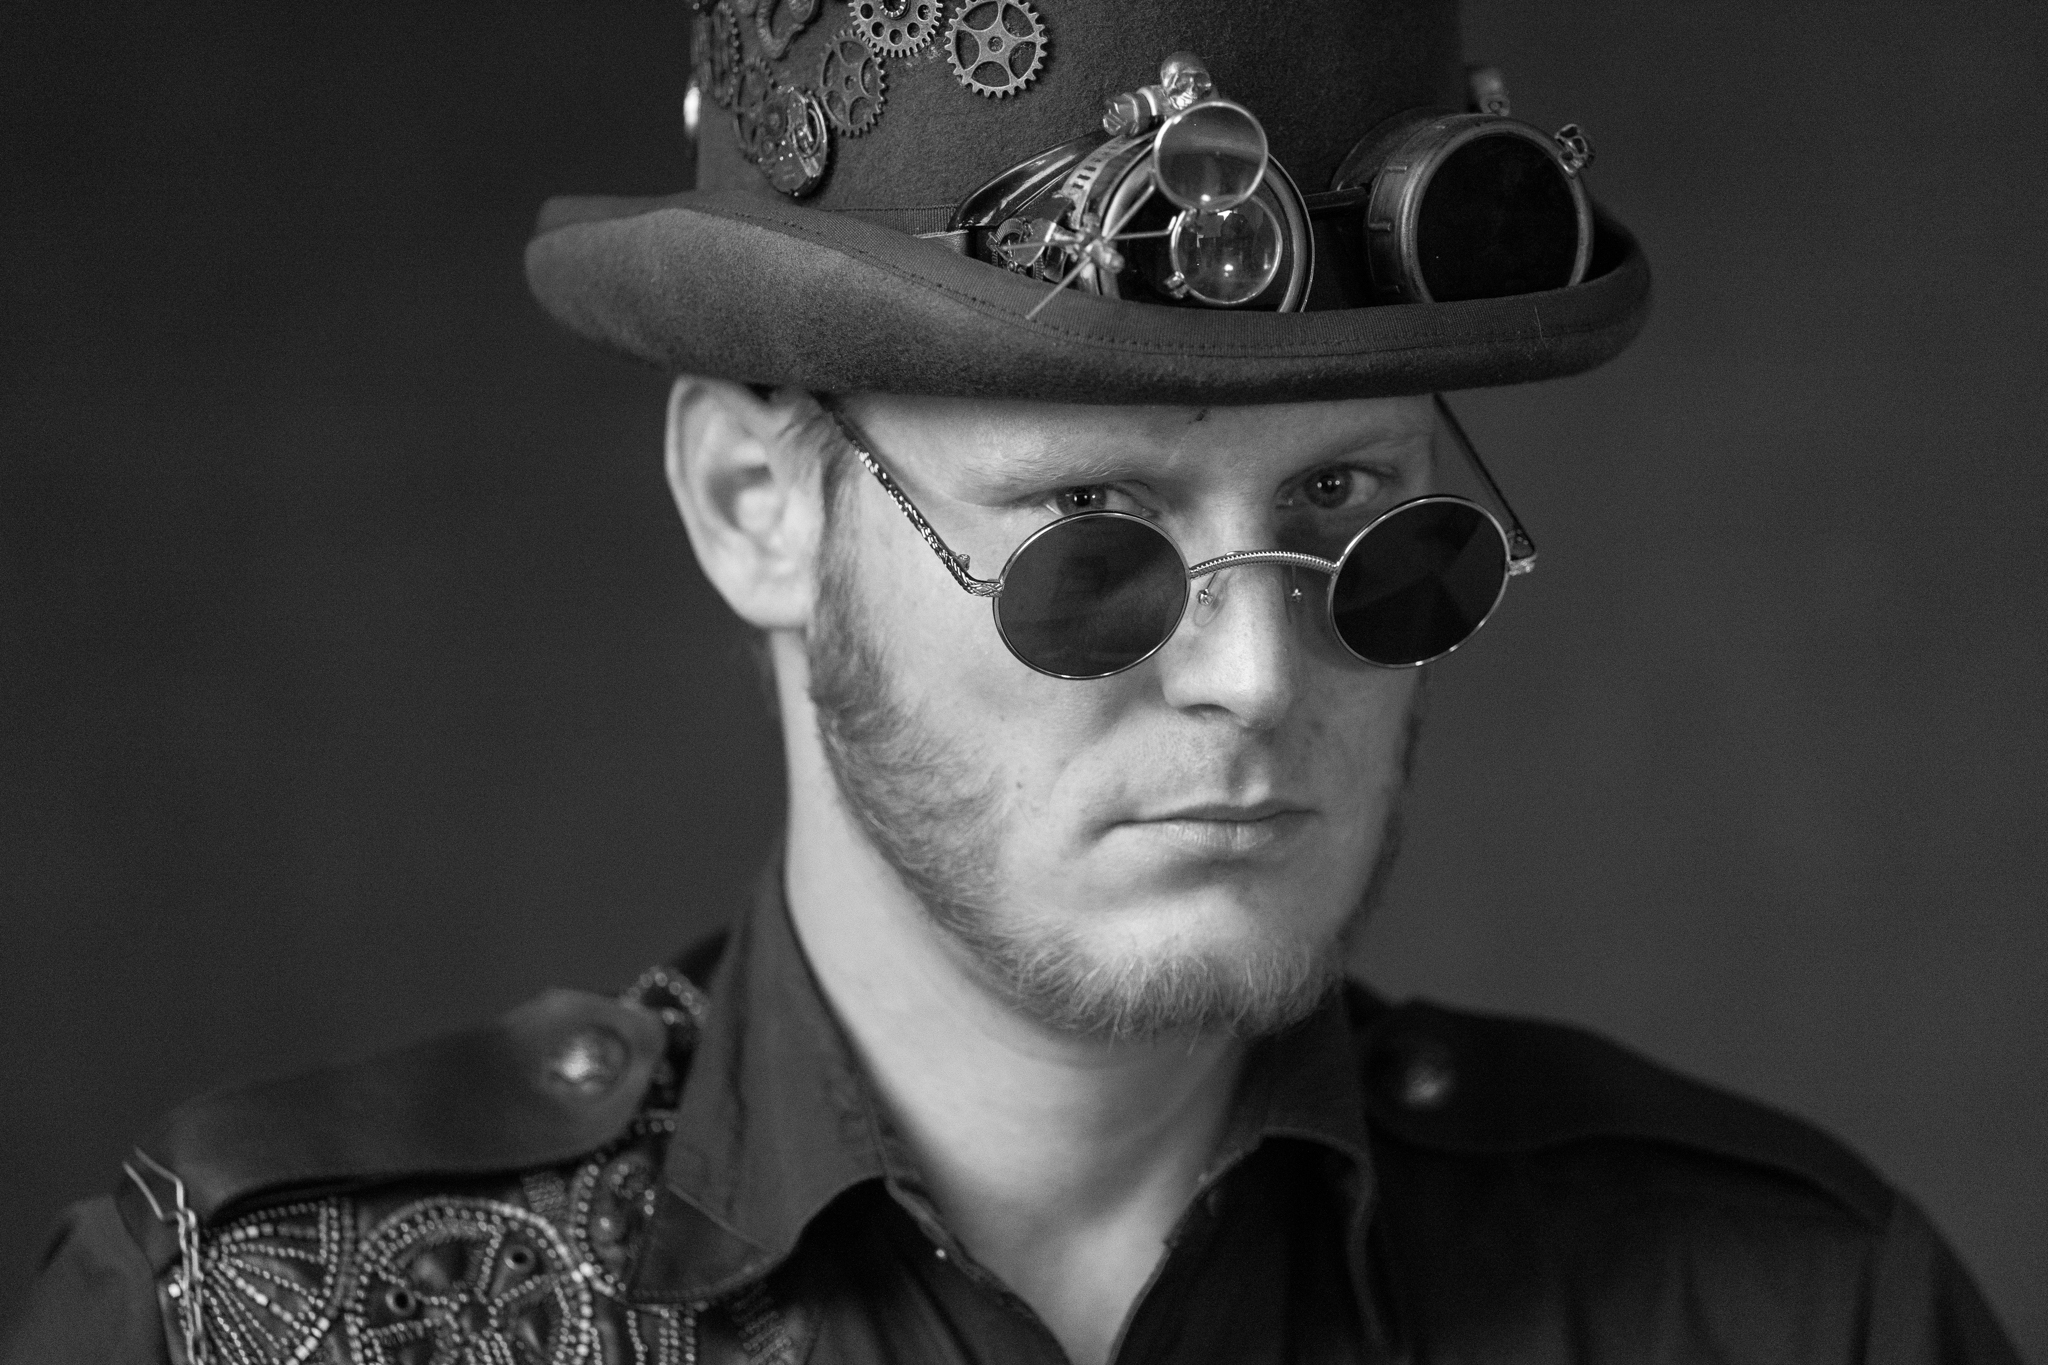
Afgelopen zaterdag heb ik de eerste workshop "Shooten en shoppen" gegeven. Deze workshop ging over het fotograferen en photoshoppen om schilderachtige portretten te maken. Als modellen was ik blij dat steampunkers Spike "Wolfcry mcDark en Minerva McDark mee wilde werken, Spike heb ik ontmoet op de FotoFair afgelopen jaar!
Hier onder staan enkele van de resultaten die ik gemaakt hebt:
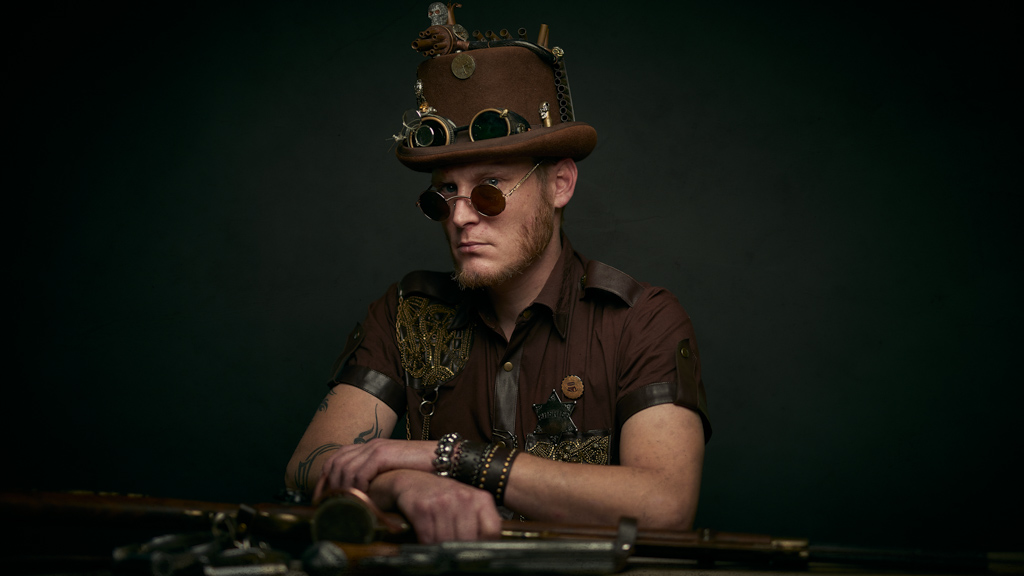

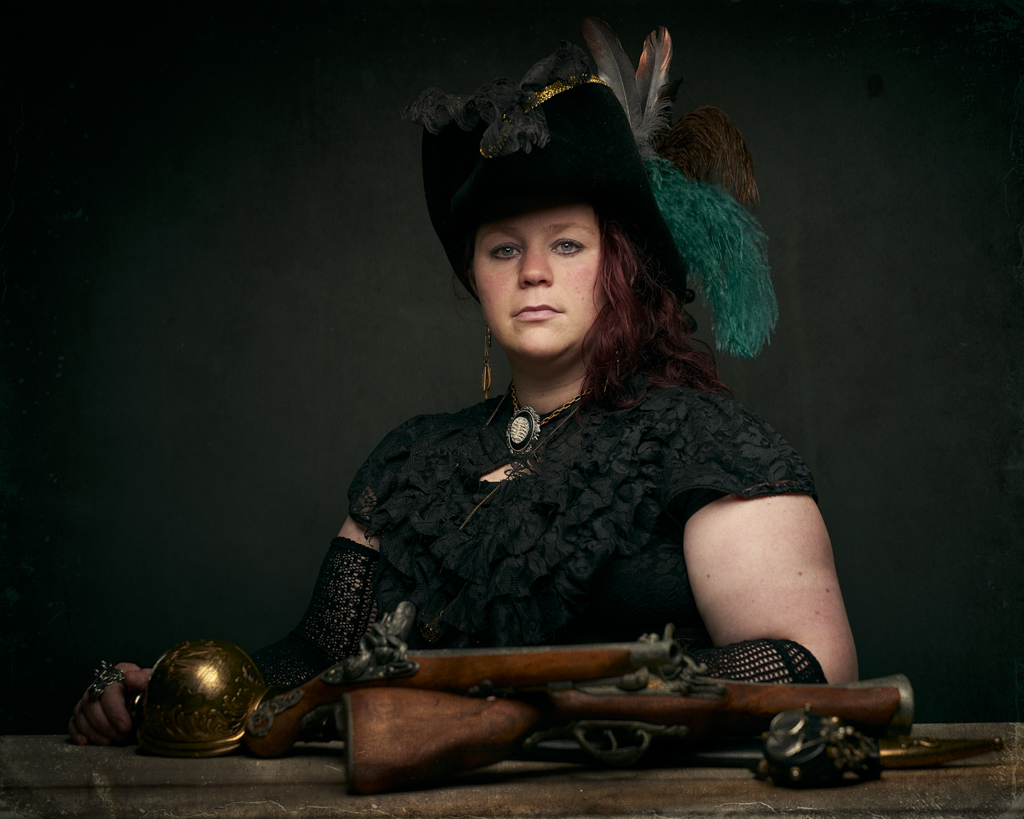
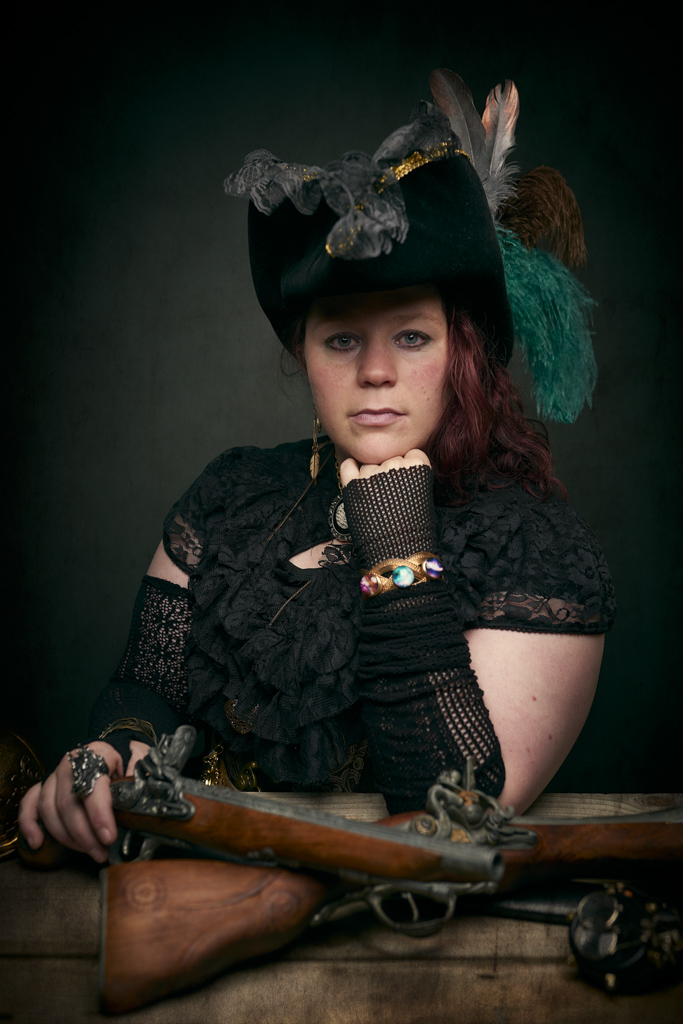
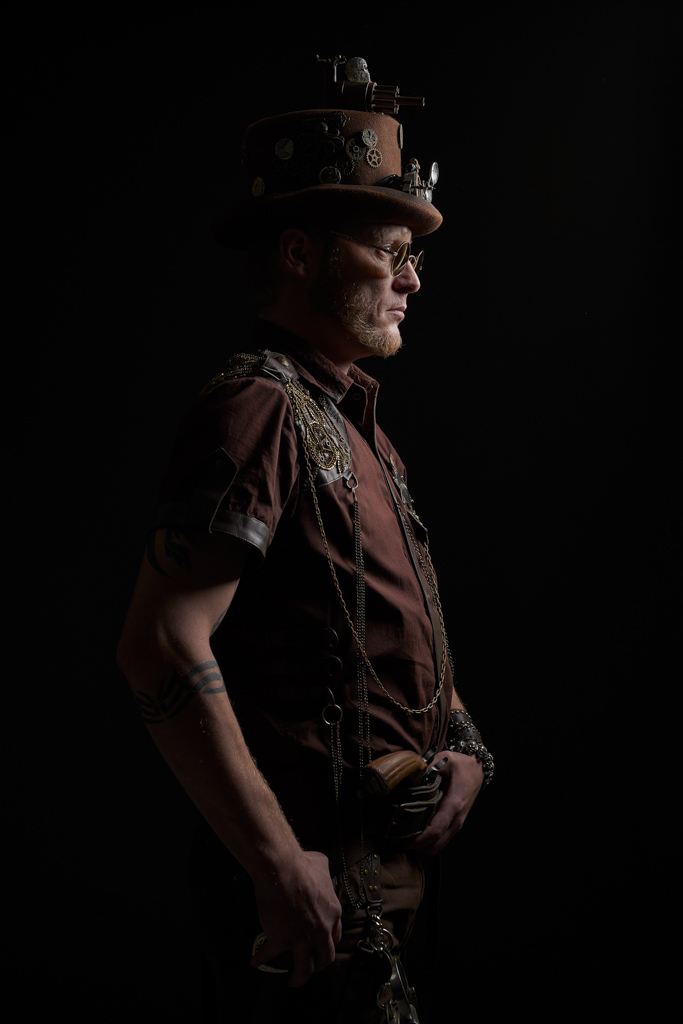
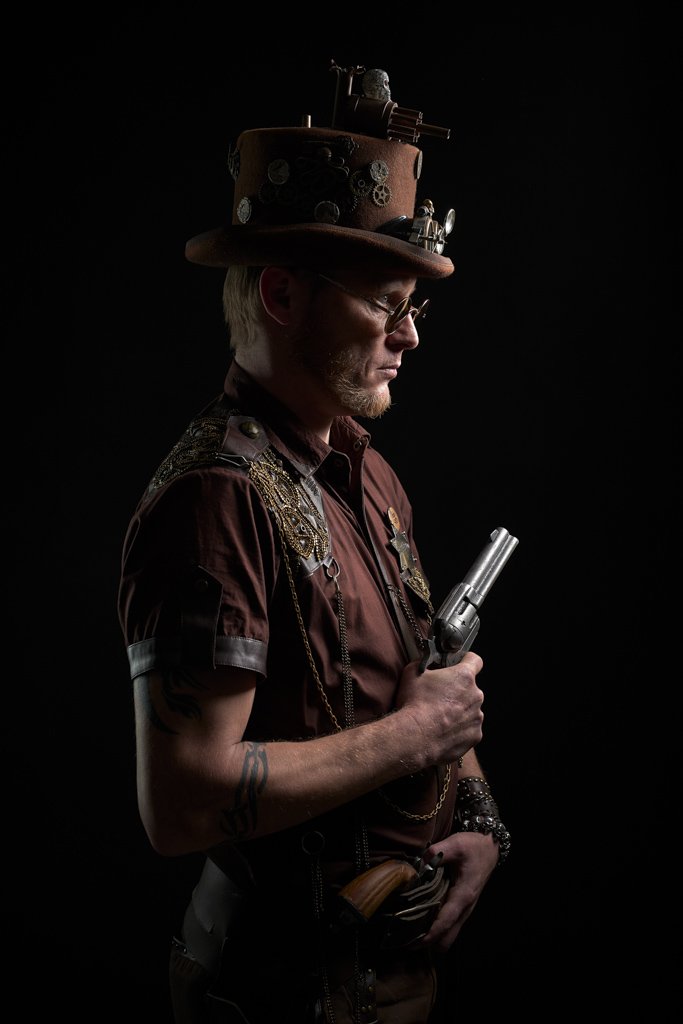
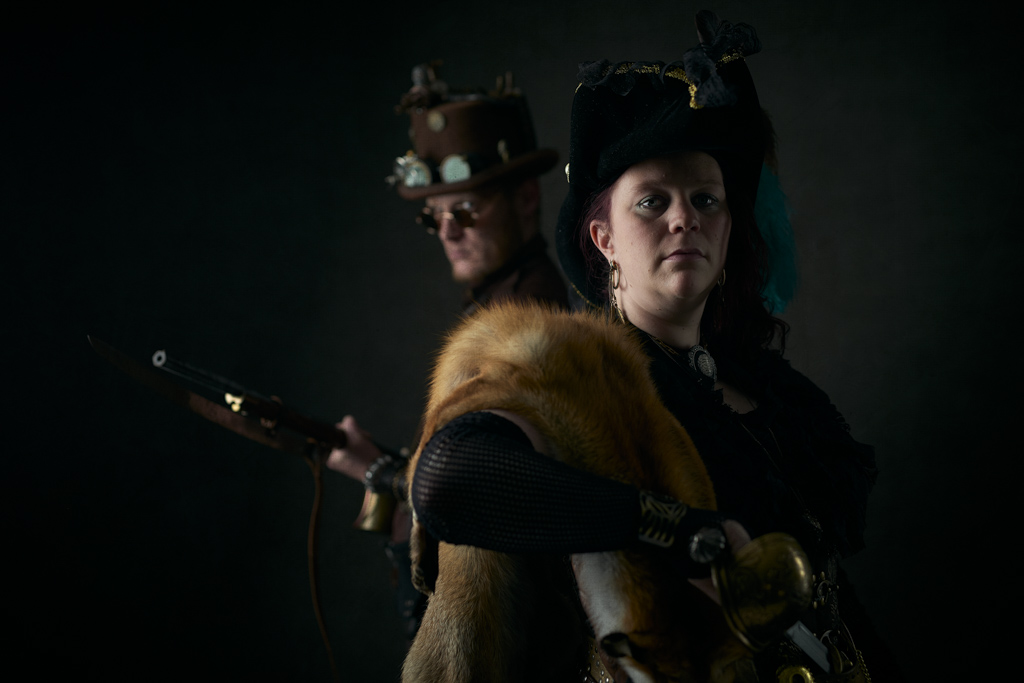
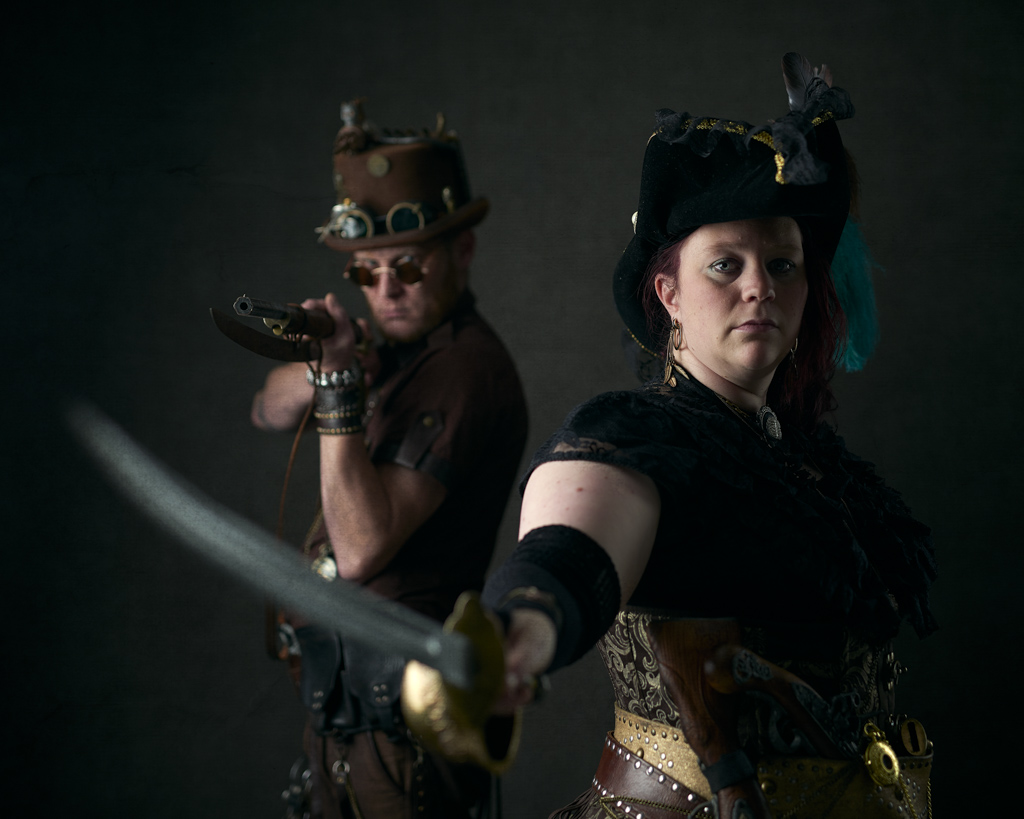
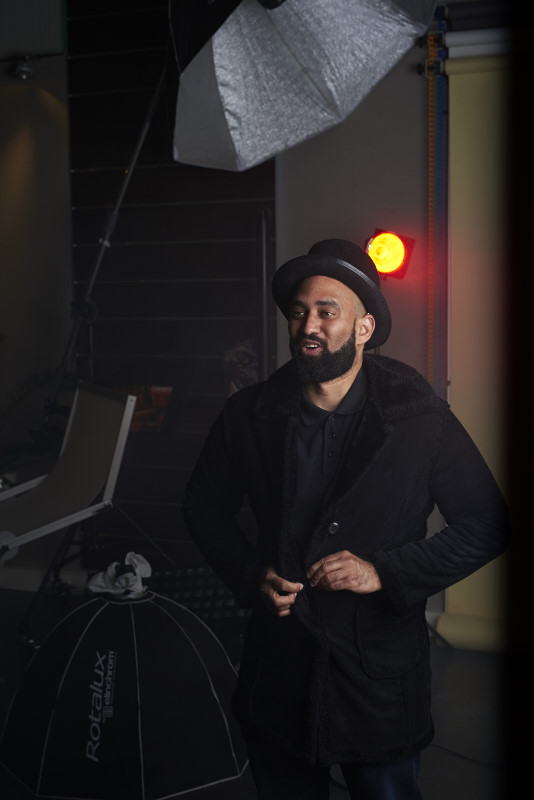
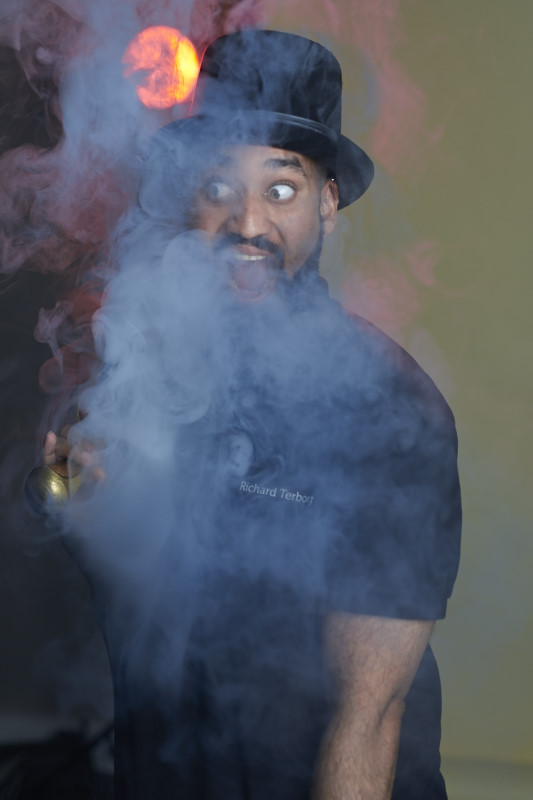
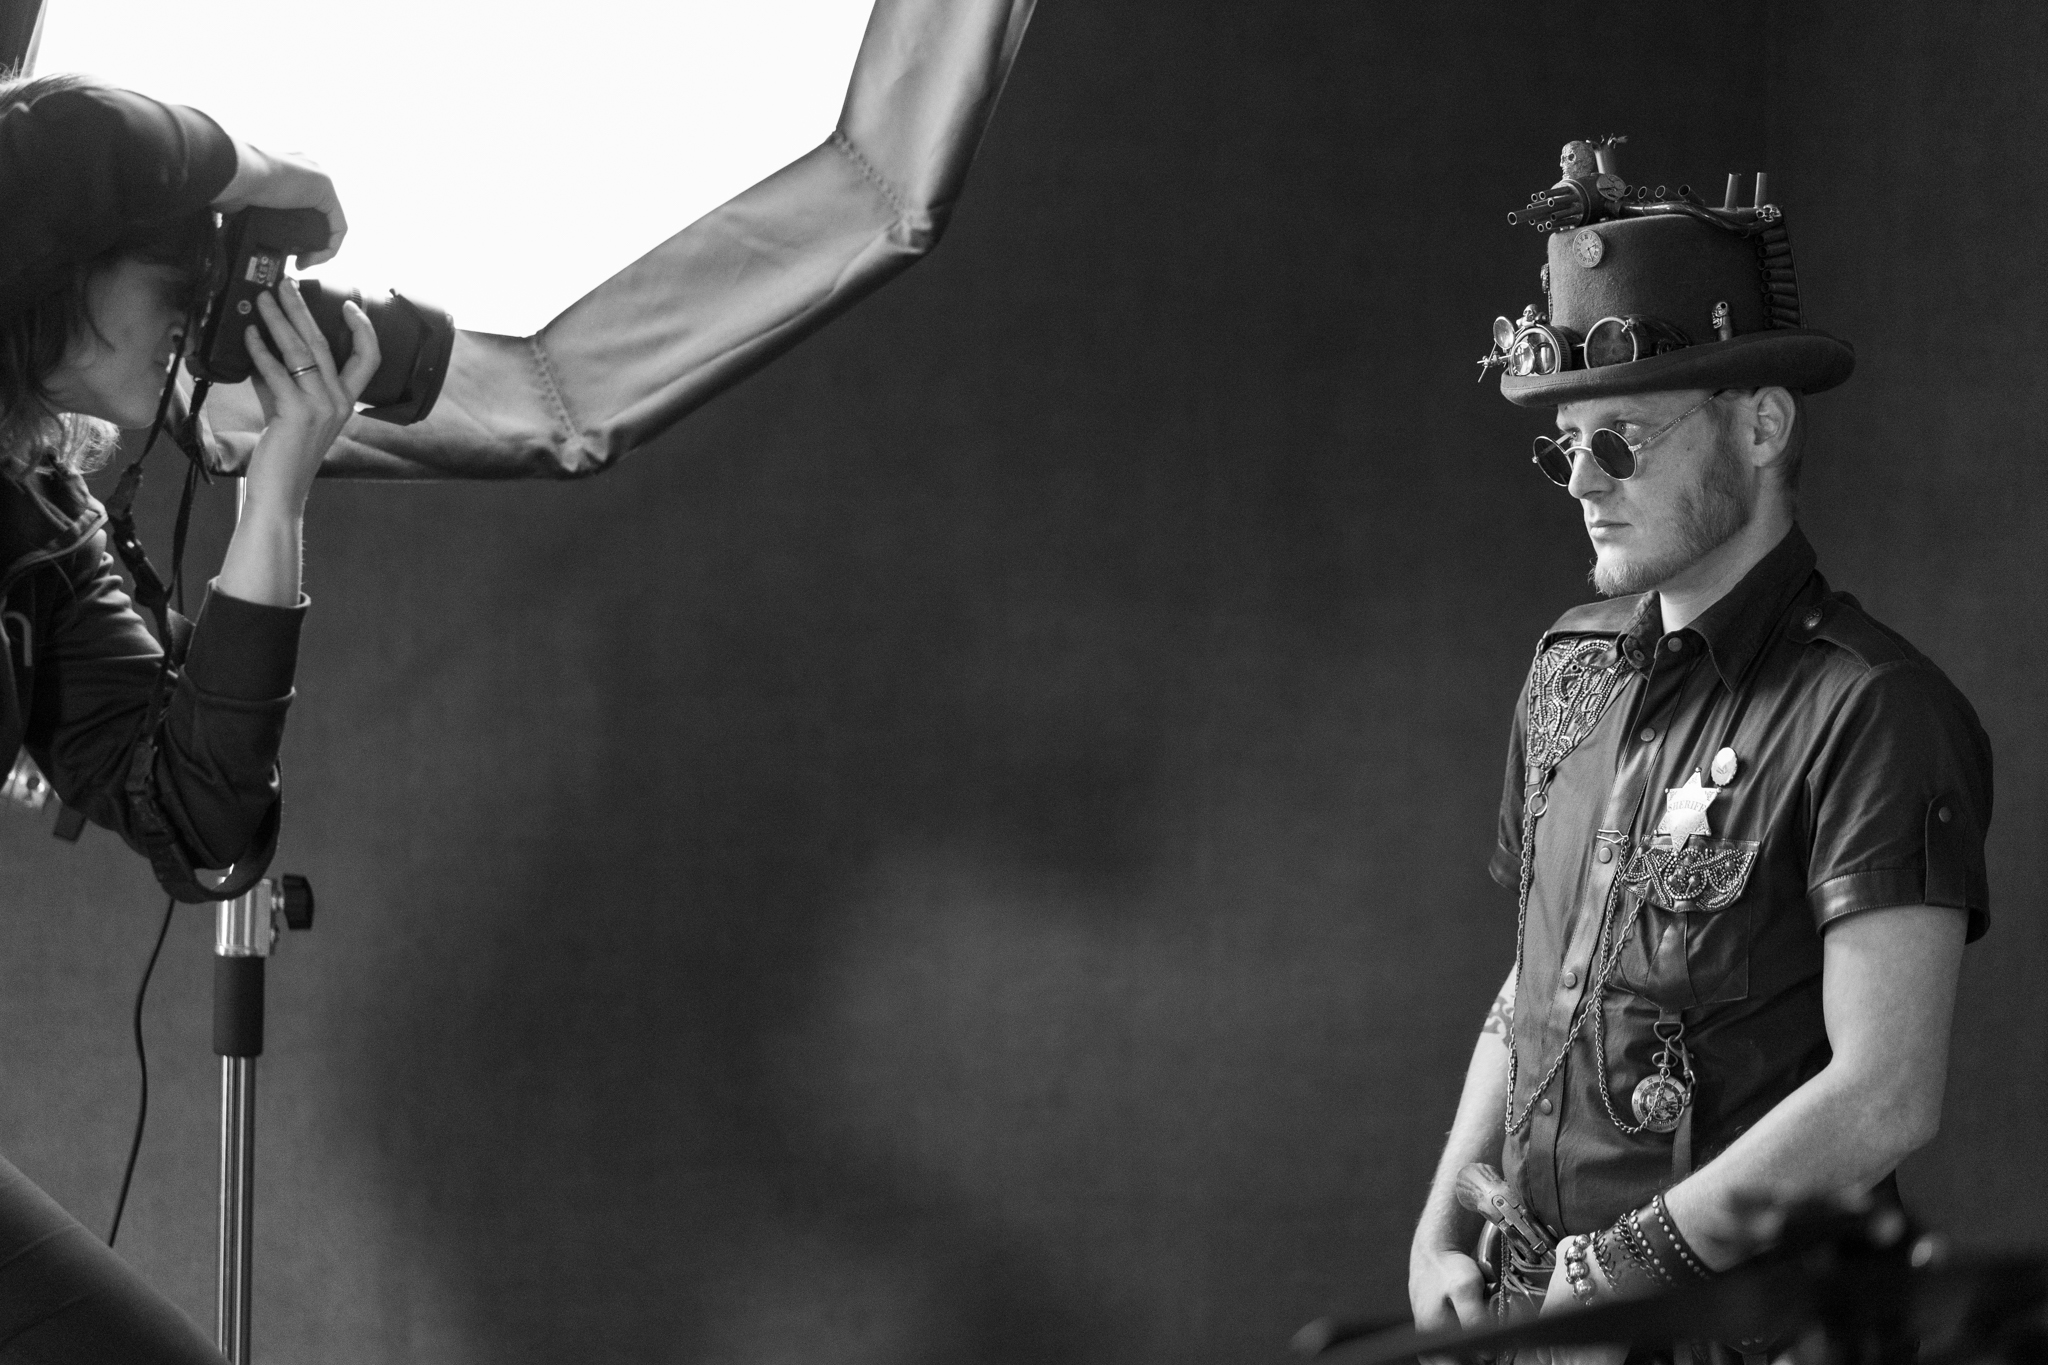
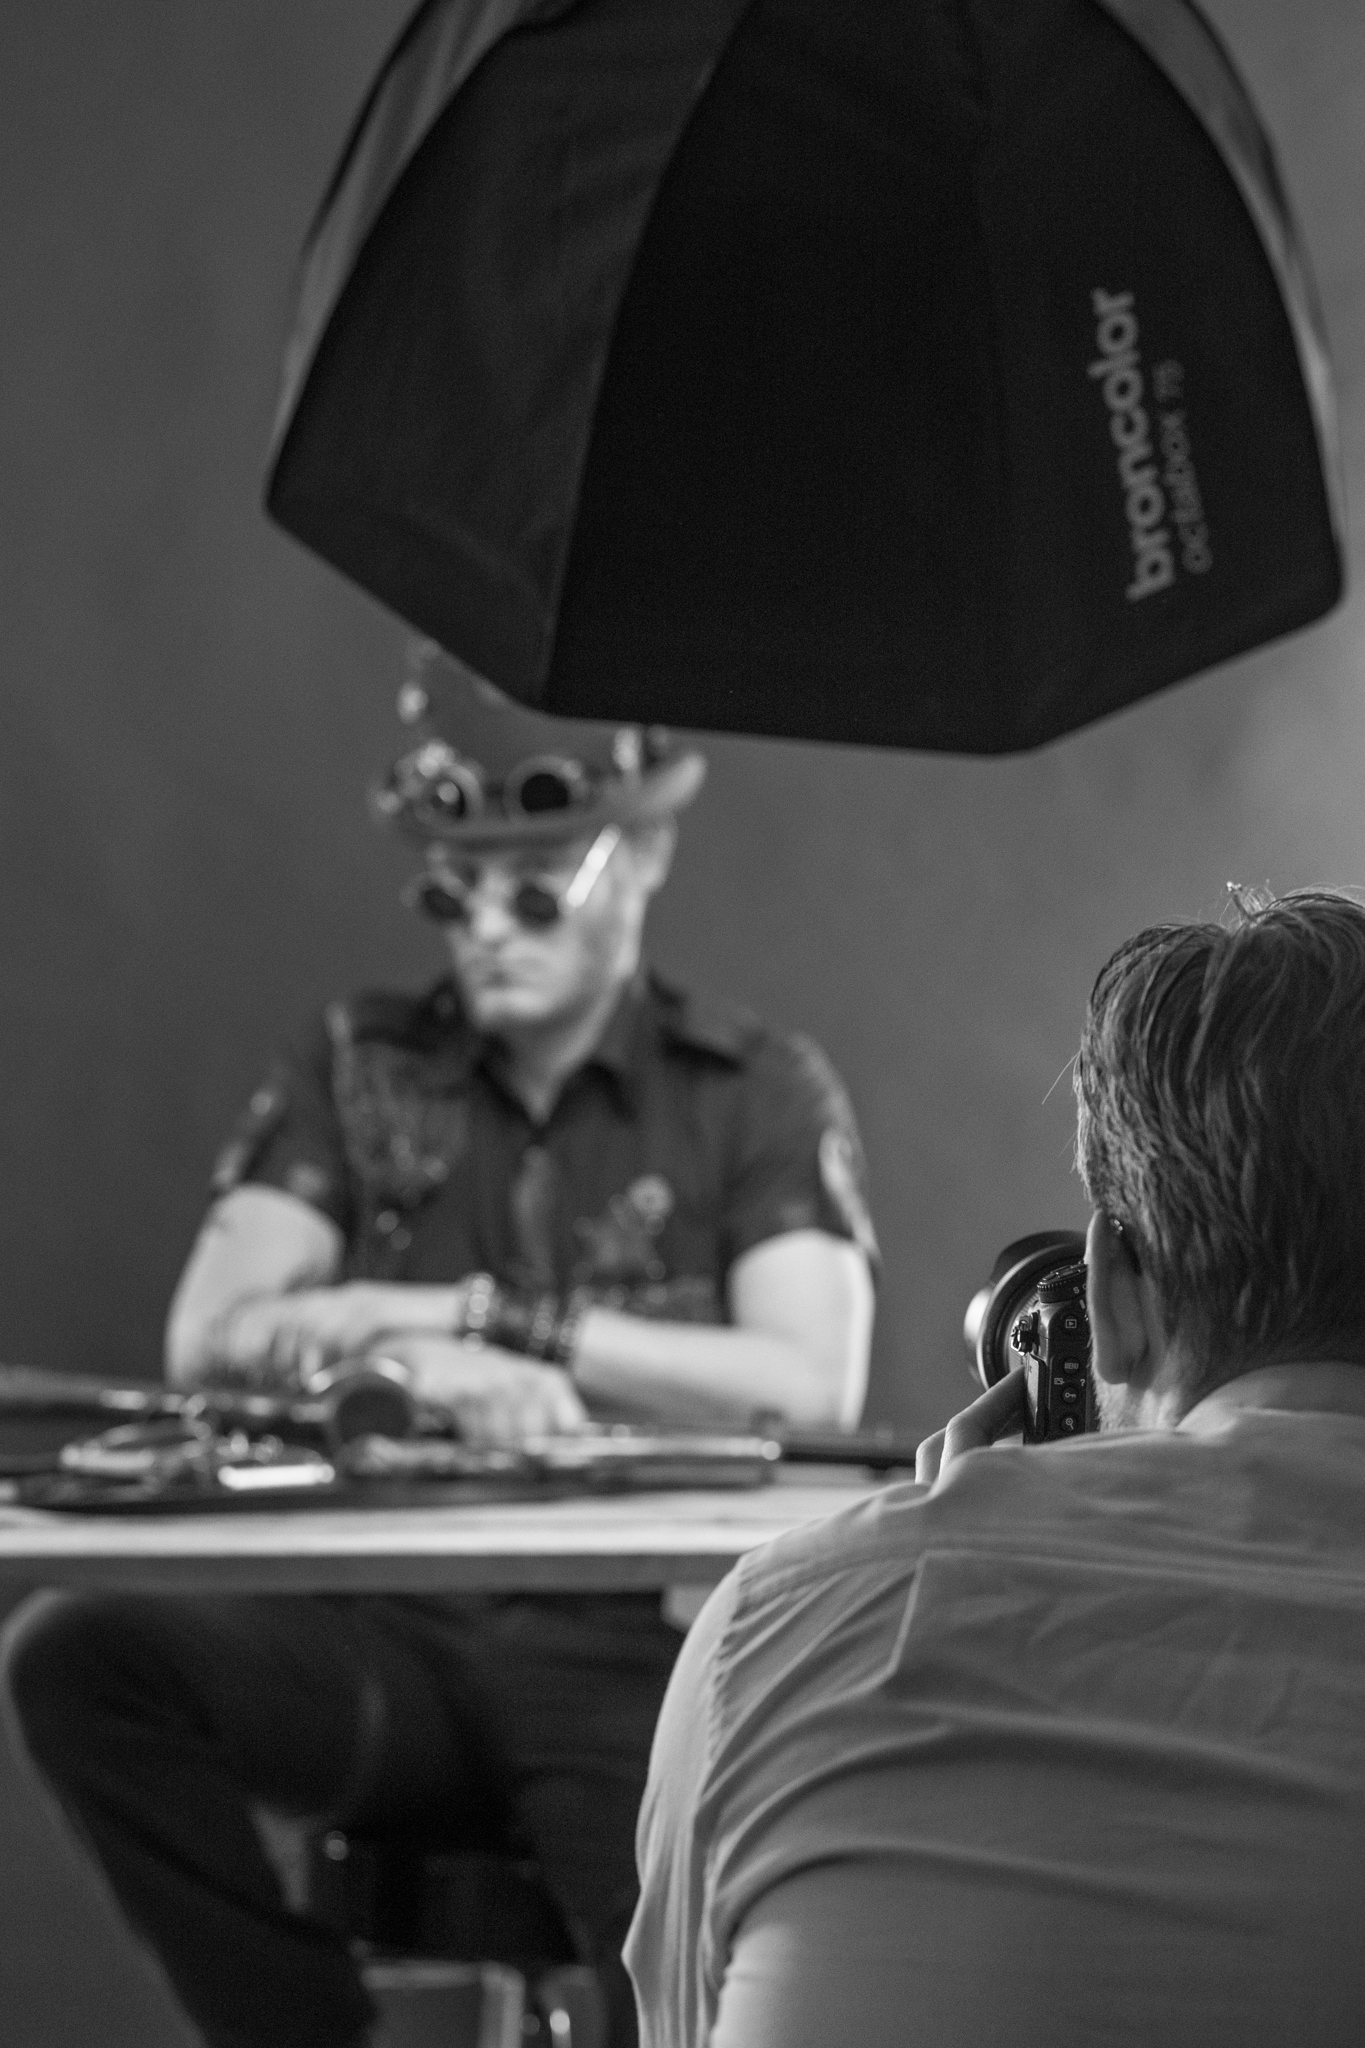
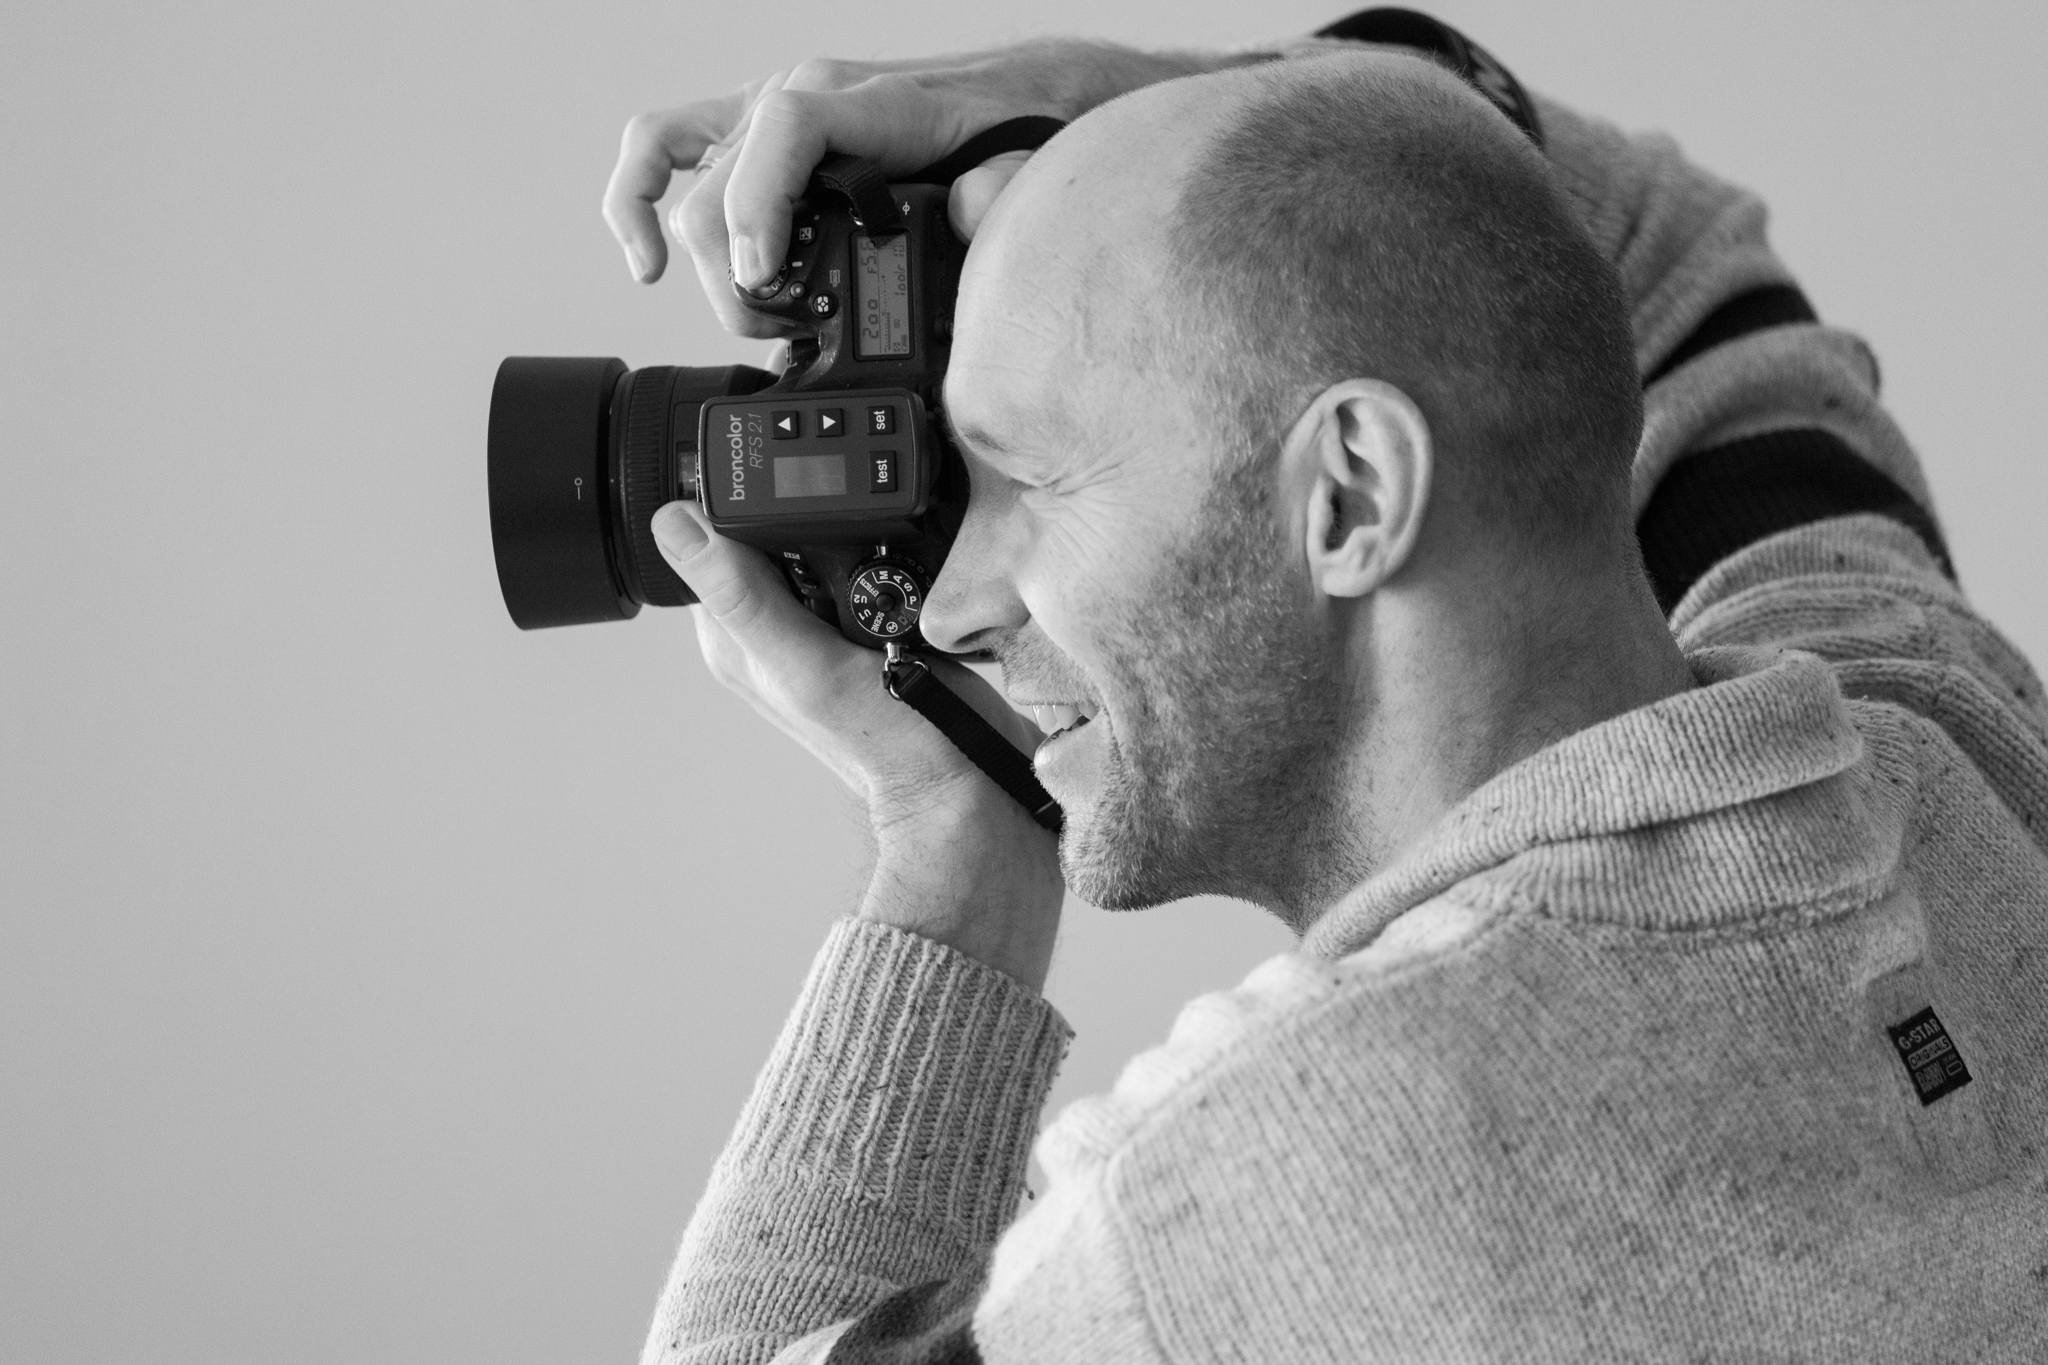
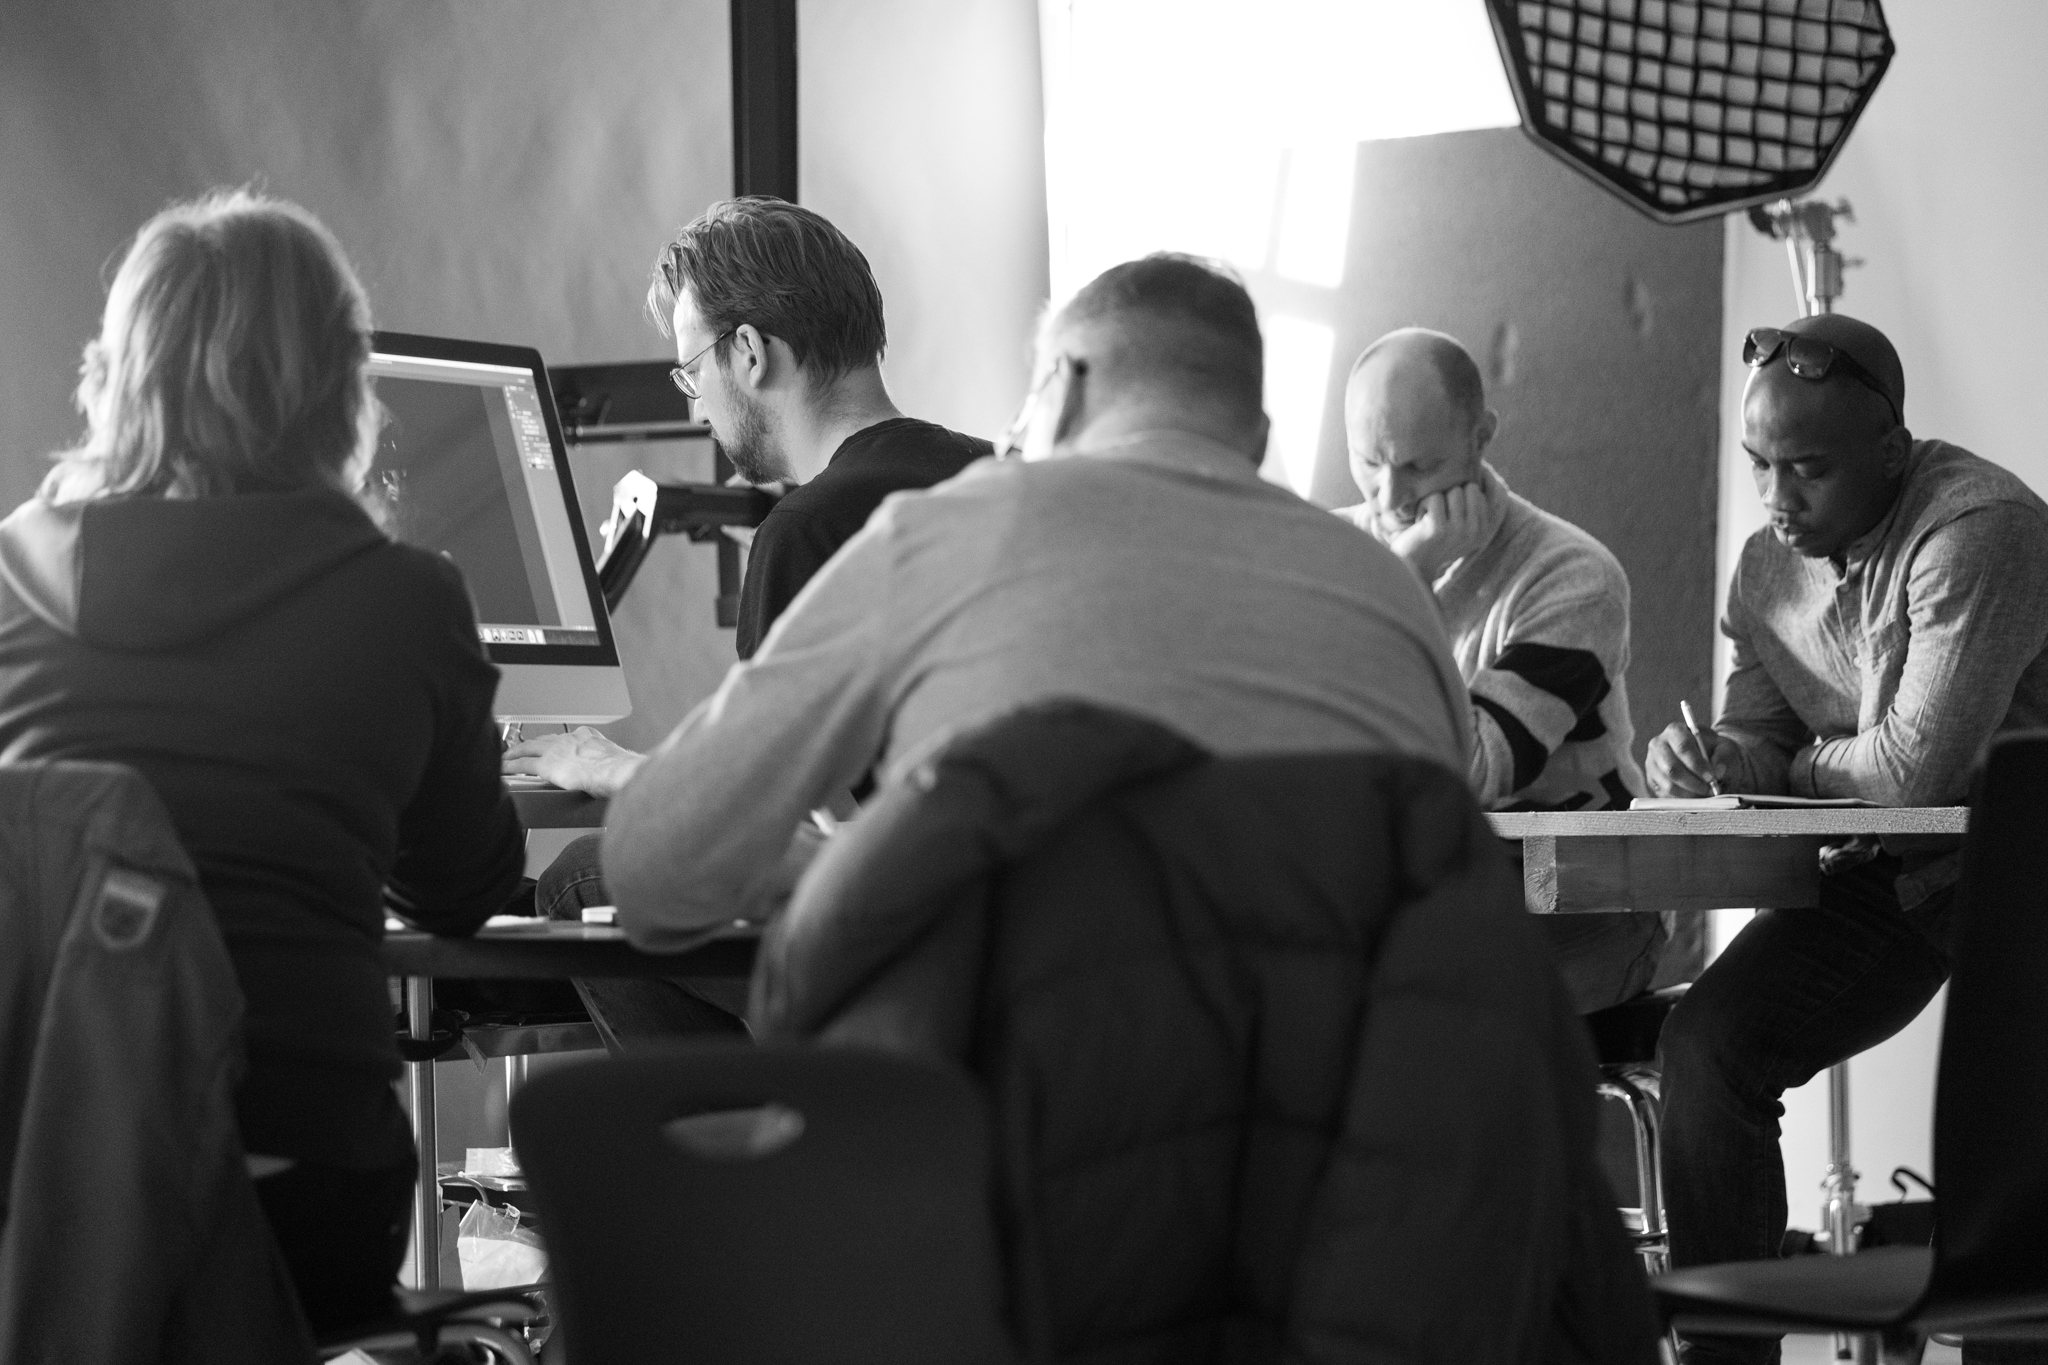
Jeroen Zelle heeft geassisteerd bij de workshop en ook wat spullen van Broncolor meegenomen zodat we zowel met Broncolor als Elinchrom konden werken. Ook heeft hij wat Behind the scene fotos gemaakt:
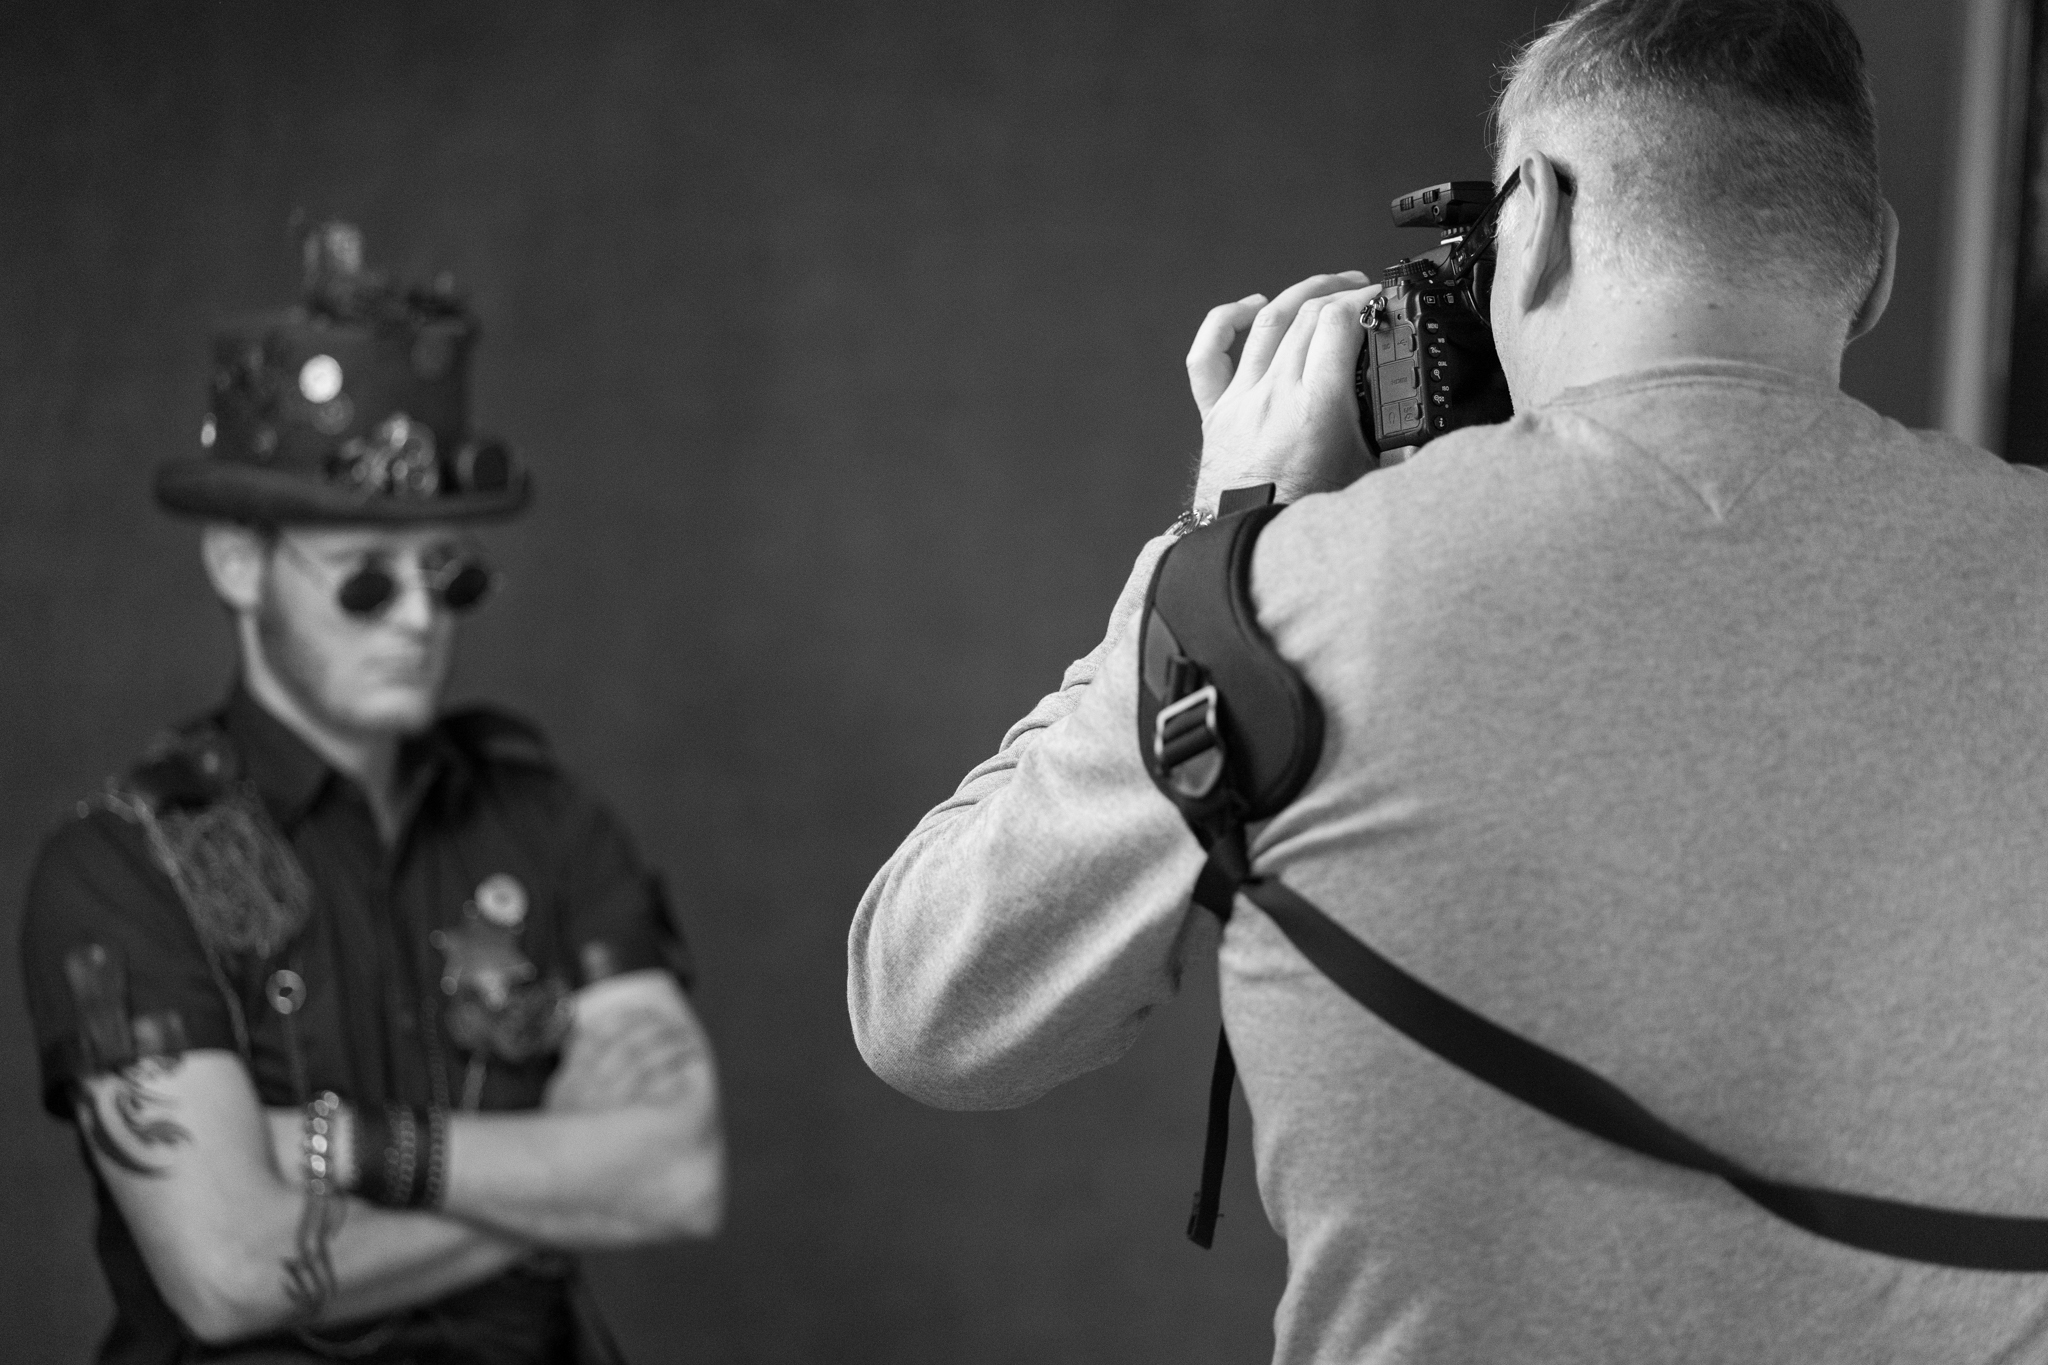
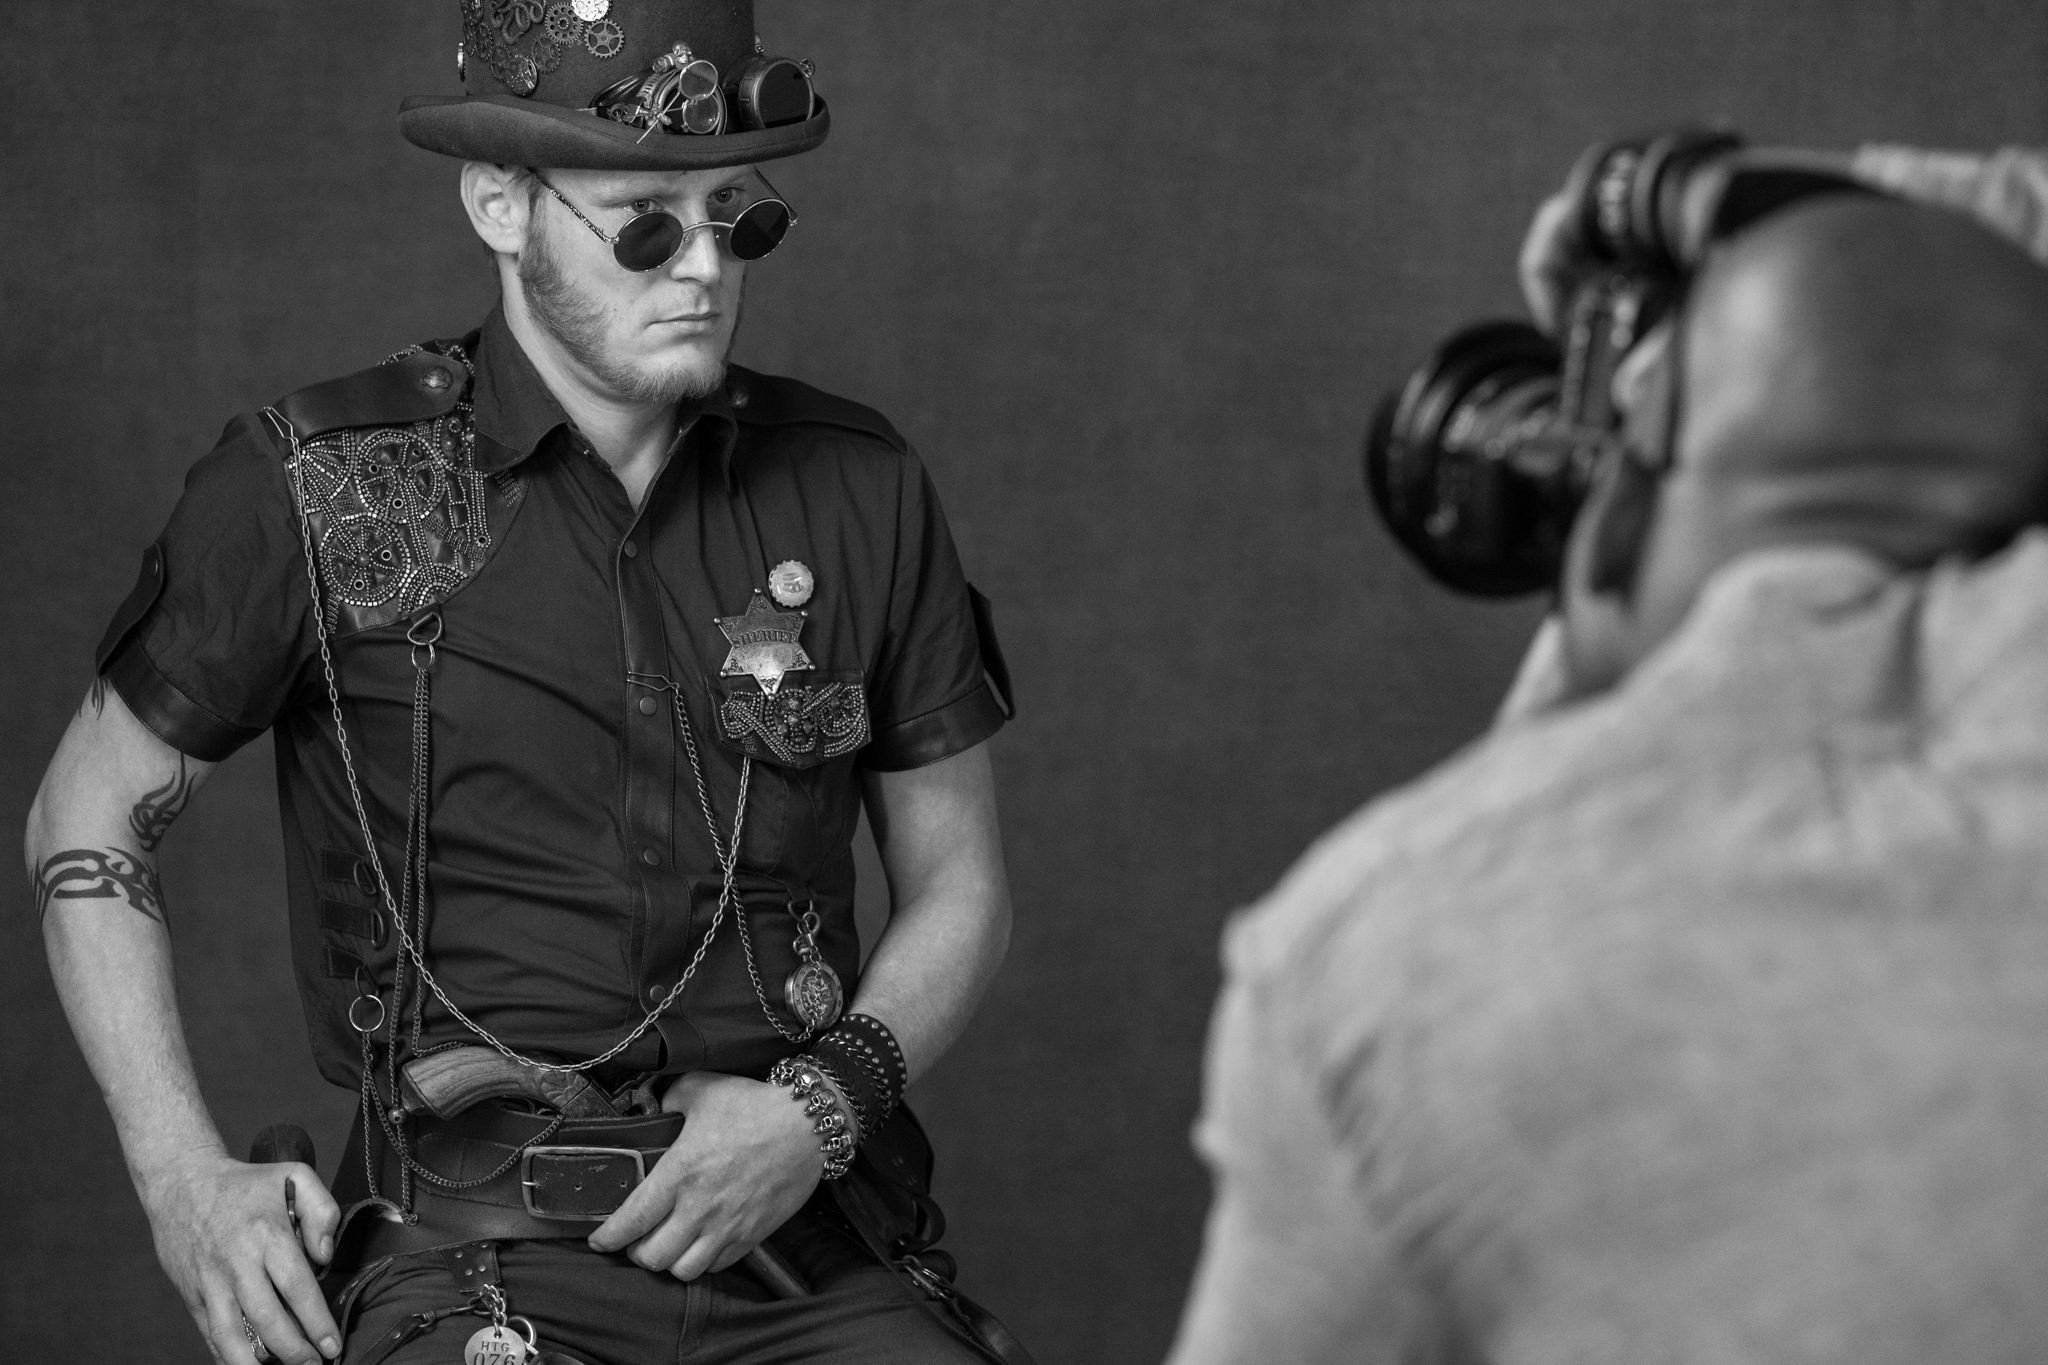
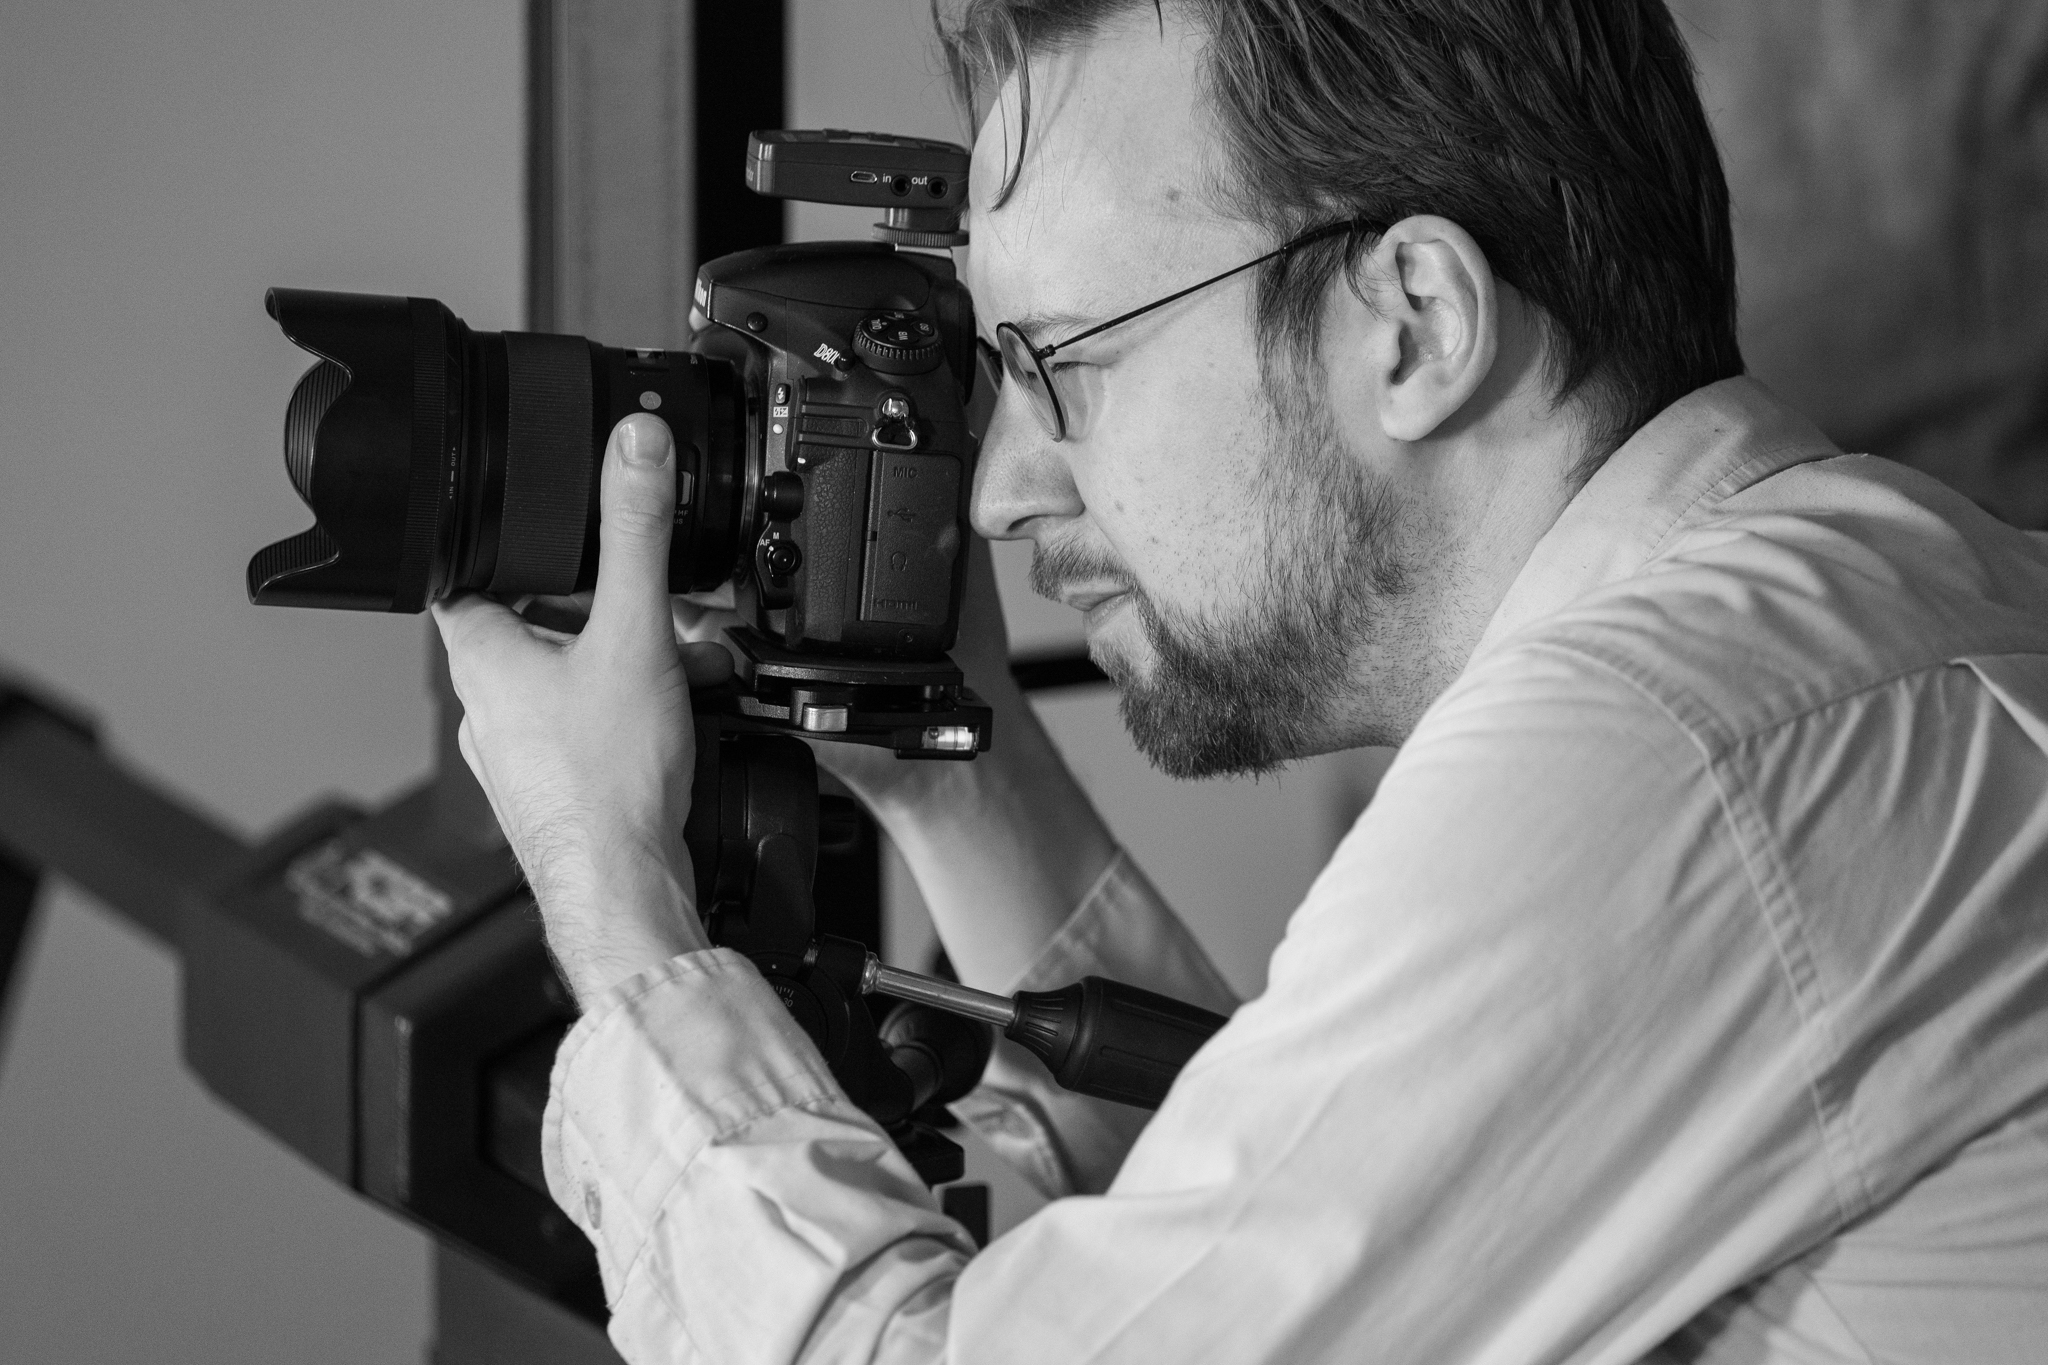
Qua gear heb ik gebruik gemaakt van:
Camera: D610 en D800
Objectieven: Sigma 24-15 Art en 50mm 1.4 Art
Quick Tip: Sekonic LiteMaster Pro L478DR-EL instellen met skyport
Afgelopen week heb ik de nieuwe Sekonic LiteMaster Pro L478-DR-EL binnen gekregen. Deze nieuwe lichtmeter van Sekonic heeft het voordeel dat hij Elinchrom Skyport functies heeft ingebouwd. Dit houd in dat je vanaf de L478-DR-EL lichtmeter je flitslampen van Elinchrom kunt laten flitsen en het vermogen aanpassen. In de bovenstaande video leg ik snel uit hoe je de licht meter moet instellen om met de Elinchrom studiofliters te kunnen werken.
Working with the Leica M Monochrom.
Last weekend I had the opportunity to work with the Leica M Monochrom together with the Summilux 35mm 1.4 asph and Summarit 75mm 2.4. Last year I tested the Leica M (type 240) with the Leica Summicron 35 and 50mm f2., you can read this blog here. Now it was time to test the slightly more expensive black and white only version.
Look and feel
The look and feel of the camera is like all Leica M models. Sleek, sturdy and robust, The Leica M camera’s are build like a tank! Although they don’t look ergonomically, they are really easy to hold and work with. All the buttons you need are on it and nothing you don’t. The Leica M camera’s are pretty bold. But the things they do are great and working is easy!
The packaging
This time I also got the whole packaging experience with the camera. The Packaging of the Leica M Monochrome is what packaging for an expensive camera should be! Although it starts with a simple thin cardboard grey box, it is like a Russian Matroeska. In the great box is another silver grey box, which folds open really nicely. In that box is the real packaging. The top part has a box holding the camera and under that is a door withs gives acces to two small drawers with one holding the manual and warranty papers and the other all the cables, charger and battery.
Some people will say, why spend so much on packaging, better make the camera cheaper. Well, I disagree! Yes you could make it cheaper, but this will only make it roughly 50 bucks cheaper, and on the amount you spend on this camera you want an experience! And this gives you the feel that what you payed is worth it. If you buy a Mercedes you also don’t want the dealer just give you the keys and please leave asap. You want the whole sha-bang!
The use of the camera
In use the Leica M camera’s are (as said before) really easy. The Leica M Monochrom is no exception on this. The body has only a few buttons. Let’s start on the top. The top of the Leica M Monochrome had the on/of switch with the shutter button in the middle of it and the shutter speed dial. With the on/off switch you can choose between, S(ingle), C(ontinuos) and timer mode. Also on the top is a small silver-gray button with the M beside it for movie mode.
On the back is the LCD-screen and on the left the button for: Live view, Playback, Delete, ISO, Menu and Set. And on the right side the D-Pad with the info button. Beside the thumb grip is a small wheel for the exposure compensation and use in the menu.
All in all: just all you need.
For the people new with the Leica M system, you set the aperture with the ring on the lens and the focus is manual!
In the menu are all the things you can set. It also has 3 different black and white toning! Sepia, Selenium and Blue as an extra option!
Working with the camera
Working with this camera was a pleasure. I really loved it. It gave me the feel/love for photography like I had starting with the Fuji X100, but without the quirkiness!
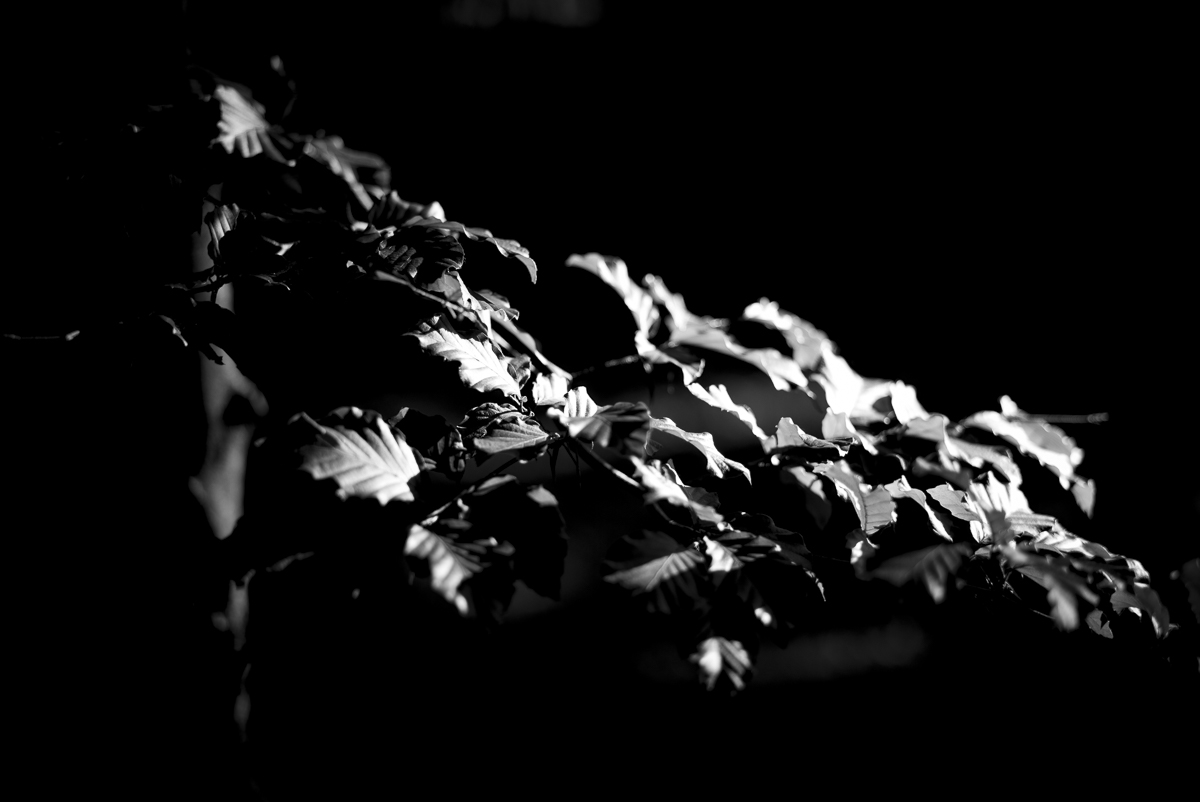
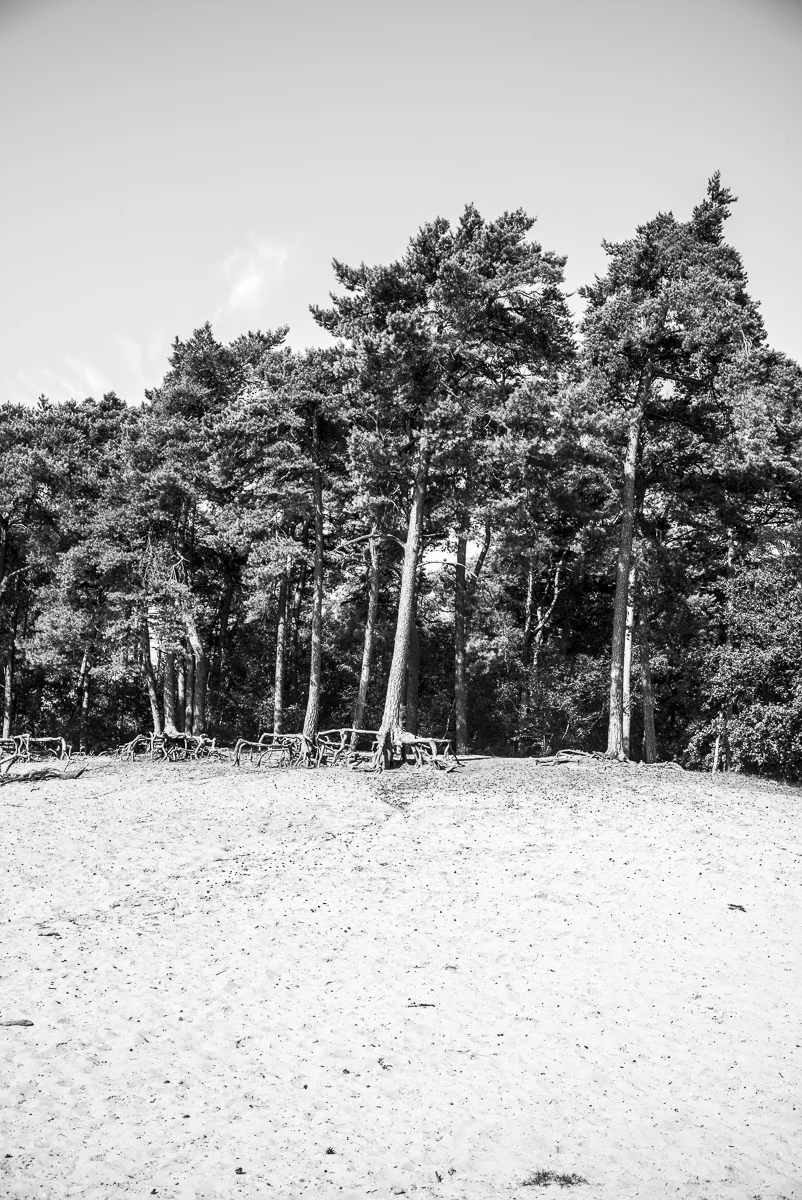
For working with a black and white only camera you need a different mindset! Because with the absence off colour, other things get more important. Now it is about subjet, structure, light, contrast and focus. This camera made me enjoy shooting nature, something I never had done before. Just walking through the forest with some music in my ears searching for structure and little pools of light was almost a zen like experience!
Speaking of focus, the Leica M lenses and focus system are a joy to work with. Even with wider aperture it was easy to get sharp images. The light meter was also easy to use. But mainly I work in Aperture priority mode by setting the speed dial on A.
The Shoot
This weekend I organized the Photo Fun Day with a couple of friends (photographers, MUA and models). The target for the day was shooting nice pictures and have fun with each other. Just a relaxed day to shoot some nice work and no pressure
I loved the camera during the day. It was great for the behind the scenes shots because of the quietness, people don’t notice you a lot working with the camera. And during the production it worked great! We did some shots with flash near the house just using the wall as a background.
For light we used the Elinchrom ELB and LiteMotiv 120 sofbox.
The only thing I don’t like about the Leica M Monochrom for studio use is that you can’t go below ISO320. This means you always have to use small aperture values. This means that you can’t work easily with smaller depth of fields using flash and balancing natural light. Also during the shots in the forrest this gave some issues and challenges.
Later during the shoots I switched back to using natural light only and the camera was killing it! This camera is really build for use with natural light. Or in the studio with studio light only.
Another dislike is the writing speed to the card. It took a while for the camera to write from the buffer to the card. Especially when shooting with small burst. But once you know this you can keep it in mind. It isn’t a camera build for speed.
(Post edit: I got the advice from that faster 90mb/s cards can help)
If you look at the Histogram keep in mind that it shows the histogram of the RAW DNG file and not the preview jpeg. So if you blow out your highlight, it is gone!
The Summilux 35mm 1.4 asph
The Leica Summilux 35mm 1.4 asph is THE lens for the Leica M system that everybody should buy or start with! I already loved and got used with the 35mm field of view with my Fuji X100. It is for me thefield of view for allround shooting. You can shoot with on the street, landscapes, portraits, wedding, reportage, fashion and everything else. And the Leica Summilux 35mm 1.4 asph is IMHO the lens for this job. It is wide enough to capture a scene, but close enough to not get to much in the scene you don’t want. Low on distortion.
The bokeh is the best I have ever seen! The details are sharp, the transition is butter smooth and the look is killer. Don’t know anything else to say beside I love this lens!!!
The Summarit 75mm 2.4
The Summarit 75mm 2.4 lens was the surprise lens for me. It is a new lens in the Leica range and is targeted as the “Budget” portrait lens. To be honest, I was a little bit skeptical with it. It has a 2.4 aperture and the 75mm focal length. But I was very pleasantly surprised with it. It was sharp, great bokeh, smooth focussing, nice depth-of-field and had a nice compression!
Although it has a 2,4 aperture it has a small enough depth of field for portraits to create a nice out of focus background and large enough to keep the important thing in focus. Especially while focussing manually. Take in mind also that in the studio I hardly never photograph below f5.6. So a really wide aperture isn’t needed.
It think that if you start with Leica and you want a portrait lens, this is the go-to lens and it is definitely on my list!
Working in post
After the shoot I imported everything in Lightroom CC. I first tried Capture One Pro 8 but I noticed it had problems reading some of the DNG files.
In Lightroom the images look a bit flat. But Rob from Transcontinental warned me for this. The DNG shows you the whole dynamic range. So you need to adjust it in LR. But with a few simple tweaks with the blacks, whites, shadows, highlights and clarity sliders the images turned into great contrastfull black and white images.
Even being digital they have a great analog feel, especially when printed. The prints from the Leica M Monochrom could easily been made years a go. But with all the advantages of working digital!
High ISO
Because the days where sunny I didn’t had a lot of chance to shoot en test the camera on high ISO. But the few I shot with it on higher ISO’s where great. No noise, just nice fine grain!
The Conclusion.
The Leica M Monochrom is one of the best camera’s I ever used! Together with the lenses they create some of the nicest photo’s I made this year! It also brought back some joy in photography and let me explore new kinds of photography. Many of this has nothing to do with the technical aspects of the Leica M Monochrom. This camera gave me a new way of thinking and working. It pushes you to higher levels with your photography. Because the camera doesn’t correct all your mistakes with auto-focus, IS, d-lighting and other tricks the only one to blame for bad pictures is yourself. And because the camera gives really detailed photo’s you get those mistakes back, hard a little bit like when I was using the Hasselblad CFV-50c (read more about this here)
Off course there are a few things I would like to improve! The ability to shoot ISO100 natively would be great for really sunny days and studio work. The writing speed to the cards would also help. But beside that I don’t know.
For the people wandering which to get the Leica M of M Monochrom, this is the question to ask: Do you need colour? Personally I would love the Leica M Monochrom, but starting with Leica I would pick the Leica M (type240) to start, because I also do a lot of colour portraits for clients. If I would shoot black and white 95% of the time go straight to the Leica M Monochrom. For the clients who want colour, say you only work black and white. And they will only book you voor black and white anyway because you won’t post any colour work anymore in a long time after buying the Leica M monochrom.
For the people who think it is a way to expensive camera….. yes it is, but a handmade Rollce Royce is also a way to expensive compared to an cheaply mass made asian made car!
If you have any feedback or questions, please post them in de comment section below!
Print for sale
An exclusive selection of pictures are now on sale in the store in limited edition. Click here for more information
Rythem & Jazz
Een paar weken geleden had ik het idee om een shoot te doen met een tapdansers en een drummer. Daarom had ik Marieke van de Ven en Maarten Kruijswijk gevraagd of zij het leuk zouden vinden om hier aan mee te werken.
Voor de locatie had ik de NDSM-werf in Amsterdam in gedachten. Dit omdat het een geweldige plek is met veel verschillende achtergronden en mogelijk heden. Tevens kan je hier ook goed met de auto komen en rustig/veilig werken.
Qua belichting heb ik gebruik gemaakt van de zon im combinatie met de Elinchrom Quadra RX en een grote Soft light reflector (beauty dish) met een zilveren deflector. Voor camera de D800 en D610 met de Sigma 24-105 f4 Art en de Sigma 50mm 1.4 Art lenzen.
Na de hoofdfoto was er ook nog tijd om extra portretten te maken
Introductie Elinchrom ELB
Vandaag ben ik bij de introductie workshop geweest van de nieuwe Elinchrom ELB en LiteMotiv softboxen.
De Elinchrom ELB 400
Vorig jaar heb ik mijn eerste Elinchrom Quadra set gekocht. Dit geeft mij de mogelijkheid om met studio kwaliteit ligt te werken waar ik ook maar ben. Maar Elinchrom had ook net de nieuwe ELC serie uit. En ergens wenste ik voor een combinatie van de twee, en die is er nu in de vorm van de ELB 400.
De Elinchrom ELB 400 bied alle functionaliteiten van de ELC, maar dan in een mobiel pakket met de mogelijk waar je ook maar wilt werken door de accu. Vandaag was de kans daar om de ELB 400 uit te proberen in combinatie met de nieuwe Elinchrom LiteMotiv softboxen.
Quadra vs. ELB 400
Het voordeel van de ELB 400 boven de gewone Elinchrom Quadra RX zijn er verschillende. Ten eerste de sneller herlaad tijd voor met maken van foto's. daarnaast heeft hij de mogelijkheden voor werken met strobo (snel achter elkaar flitsen), slow (vertraging in de flits als je werkt met langere sluitertijd en je heb geen 2e curtain sync) en sequence. Daarnaast heeft ook het uiterlijk een opknapbeurt gekregen. Het grote voordeel is dat het scherm vervangen is door een OLED display, dit maakt het werken in het menu een stuk makkelijker.
Resultaten
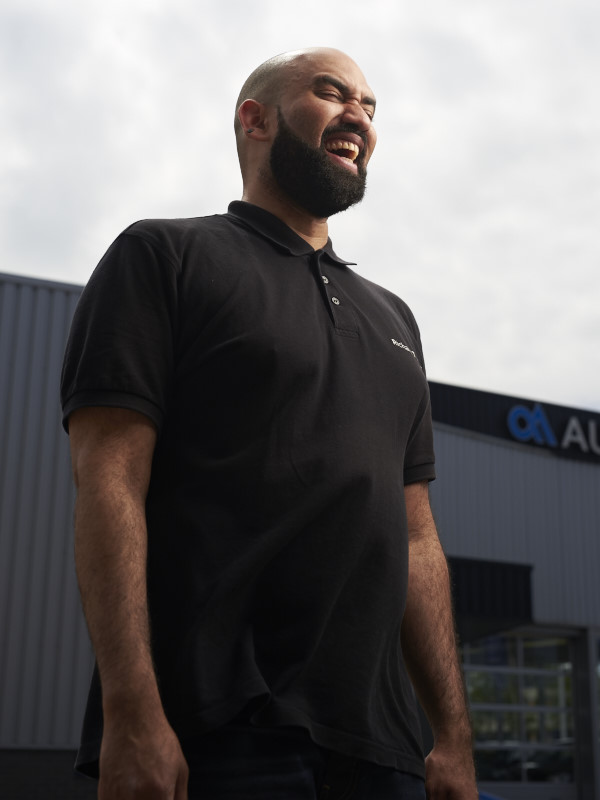
Hieronder staan een paar van de resultaten. Kleine disclaimer dit is niet mijn reguliere werk, de foto's zijn binnen en buiten de showroom genomen voor om de functies en werking te testen. Camera waren Nikon D610 met de Sigma 50mm 1.4 en 24-105 art lenzen en de Fuji X100

ELB, ELC of Quadra
Nu is natuurlijk de vraag welke moe je nemen? Dit is natuurljk per persoon verschillend.
- Wil je alle functies in een compacte set hebben neem de ELB 400 set.
- Wil je mobiele studiokwaliteit ligt hebben en niet veel waarde hecht aan de extra functies als strobo, neem de Quadra RX
- Wil je wel de speciale functie maar is mobiliteit geen vereiste neem dan de ELC's
Persoonlijk zit ik er aan te denken om voor de Elinchrom ELC 500 te gaan. De reden hiervoor is dat de speciale functies als strobo het beste werken in een studio omgeving zonder al te veel omgevingslicht. Voor op locatie heb k al de Quadra's. Daarnaast vind ik de snelle herlaad tijd an de ELC's echt geweldig! Met name op hogere vermogens zorgt dit dat je snel door kunt werken.
Portrait Session: Kees Visser
Yesterday I did a studio portrait sessions with comedian Kees Visser. For an assignment I am working on I asked Kees Visser to model, but more on the assignment later...
The set up
For the lighting I mainly used my big friend the Elinchrom Rotalux 150 indirect Deep Octa. On some Images I used the 35x90 Strip soft box with a 30x50 grid in it. But somehow this looked a little to modern. So I removed it and used just the white side of the 5-in-1 reflector handheld by my assistent. The background was just used a roll of grey seamless.
For camera I used the Nikon D800 with the Nikon 85mm 1.8g or 50mm 1.8g. The settings where around ISO200, 1/250 f5.6 or f8.
Post processing
During the shoot I shot straight into Capture One Pro 8. Normally I just do basic RAW-editing in Capture One Pro 8 and all the rest in Photoshop CC. But this time I wanted to do all my editing in Capture One Pro 8. And I must say, Capture One pro 8 is great for RAW-editing, but some how for the complete editing workflow I don't know... Masking and working with curves keeps feeling easier in Photoshop. Also the dodge and burning stuff is easier in Photoshop.
But for sharpening and correct lighting Capture Pro 8 rules! I think Capture Pro 8 is great for full workflow on like weddings or landscape. but for commercial and portrait jobs I will keep Photoshop on the side!
Please keep in mind that I am still learning Capture Pro 8, so my opinion may chance in the feature.
