The White blouse - Marie-Jeanne van Hövell tot Westerflier
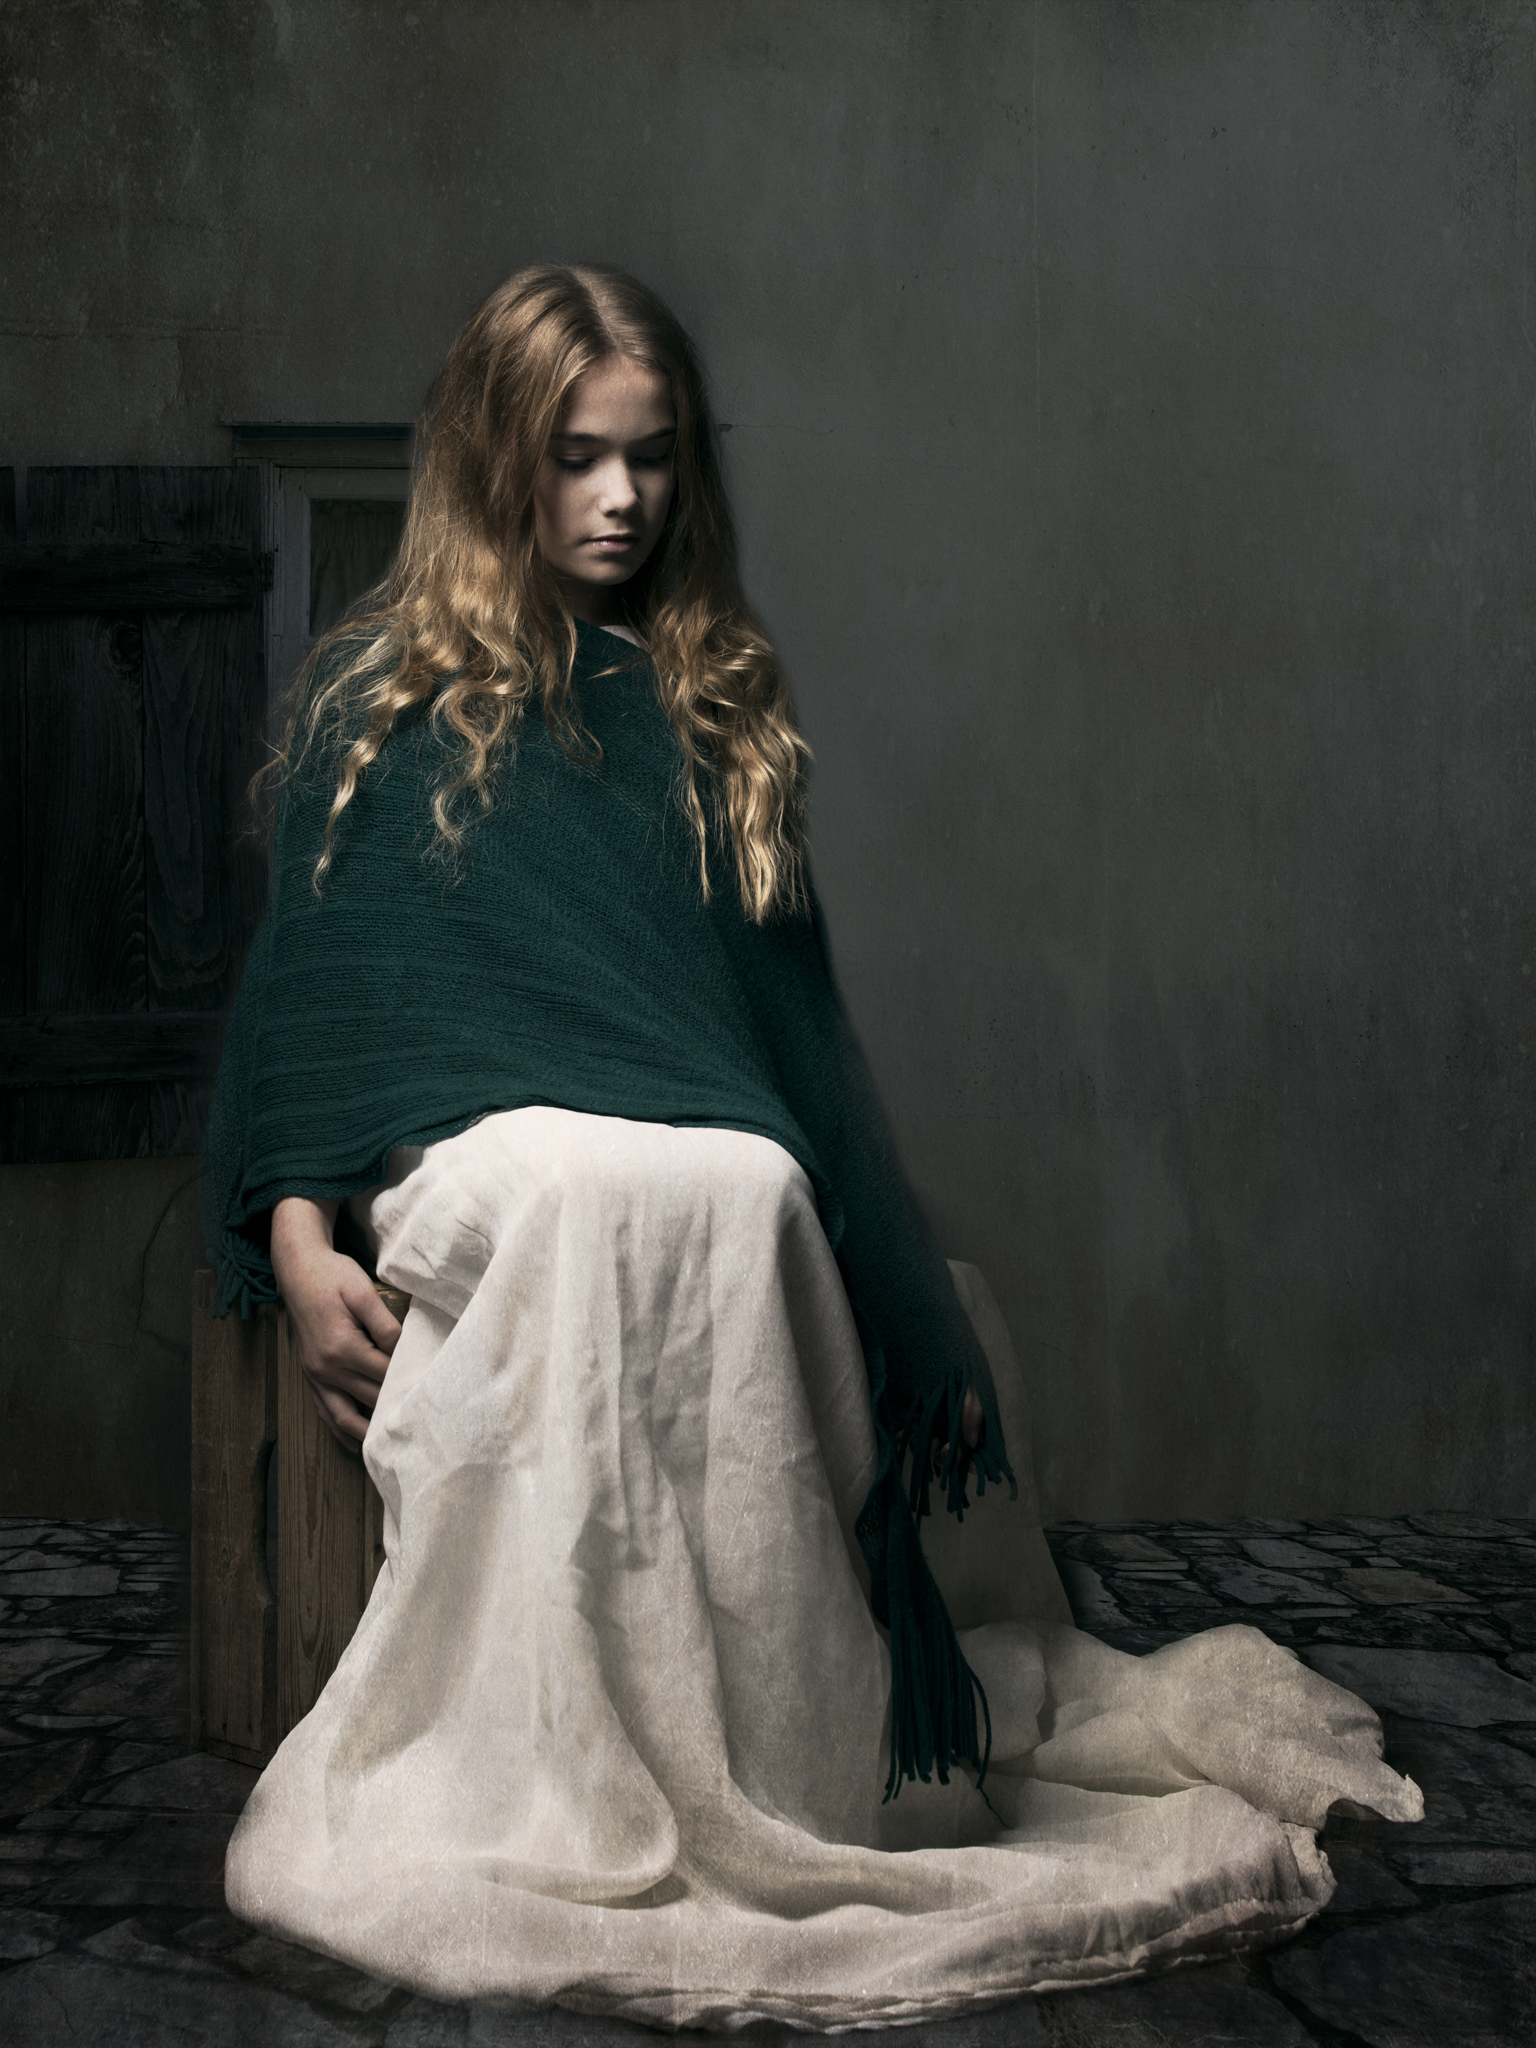
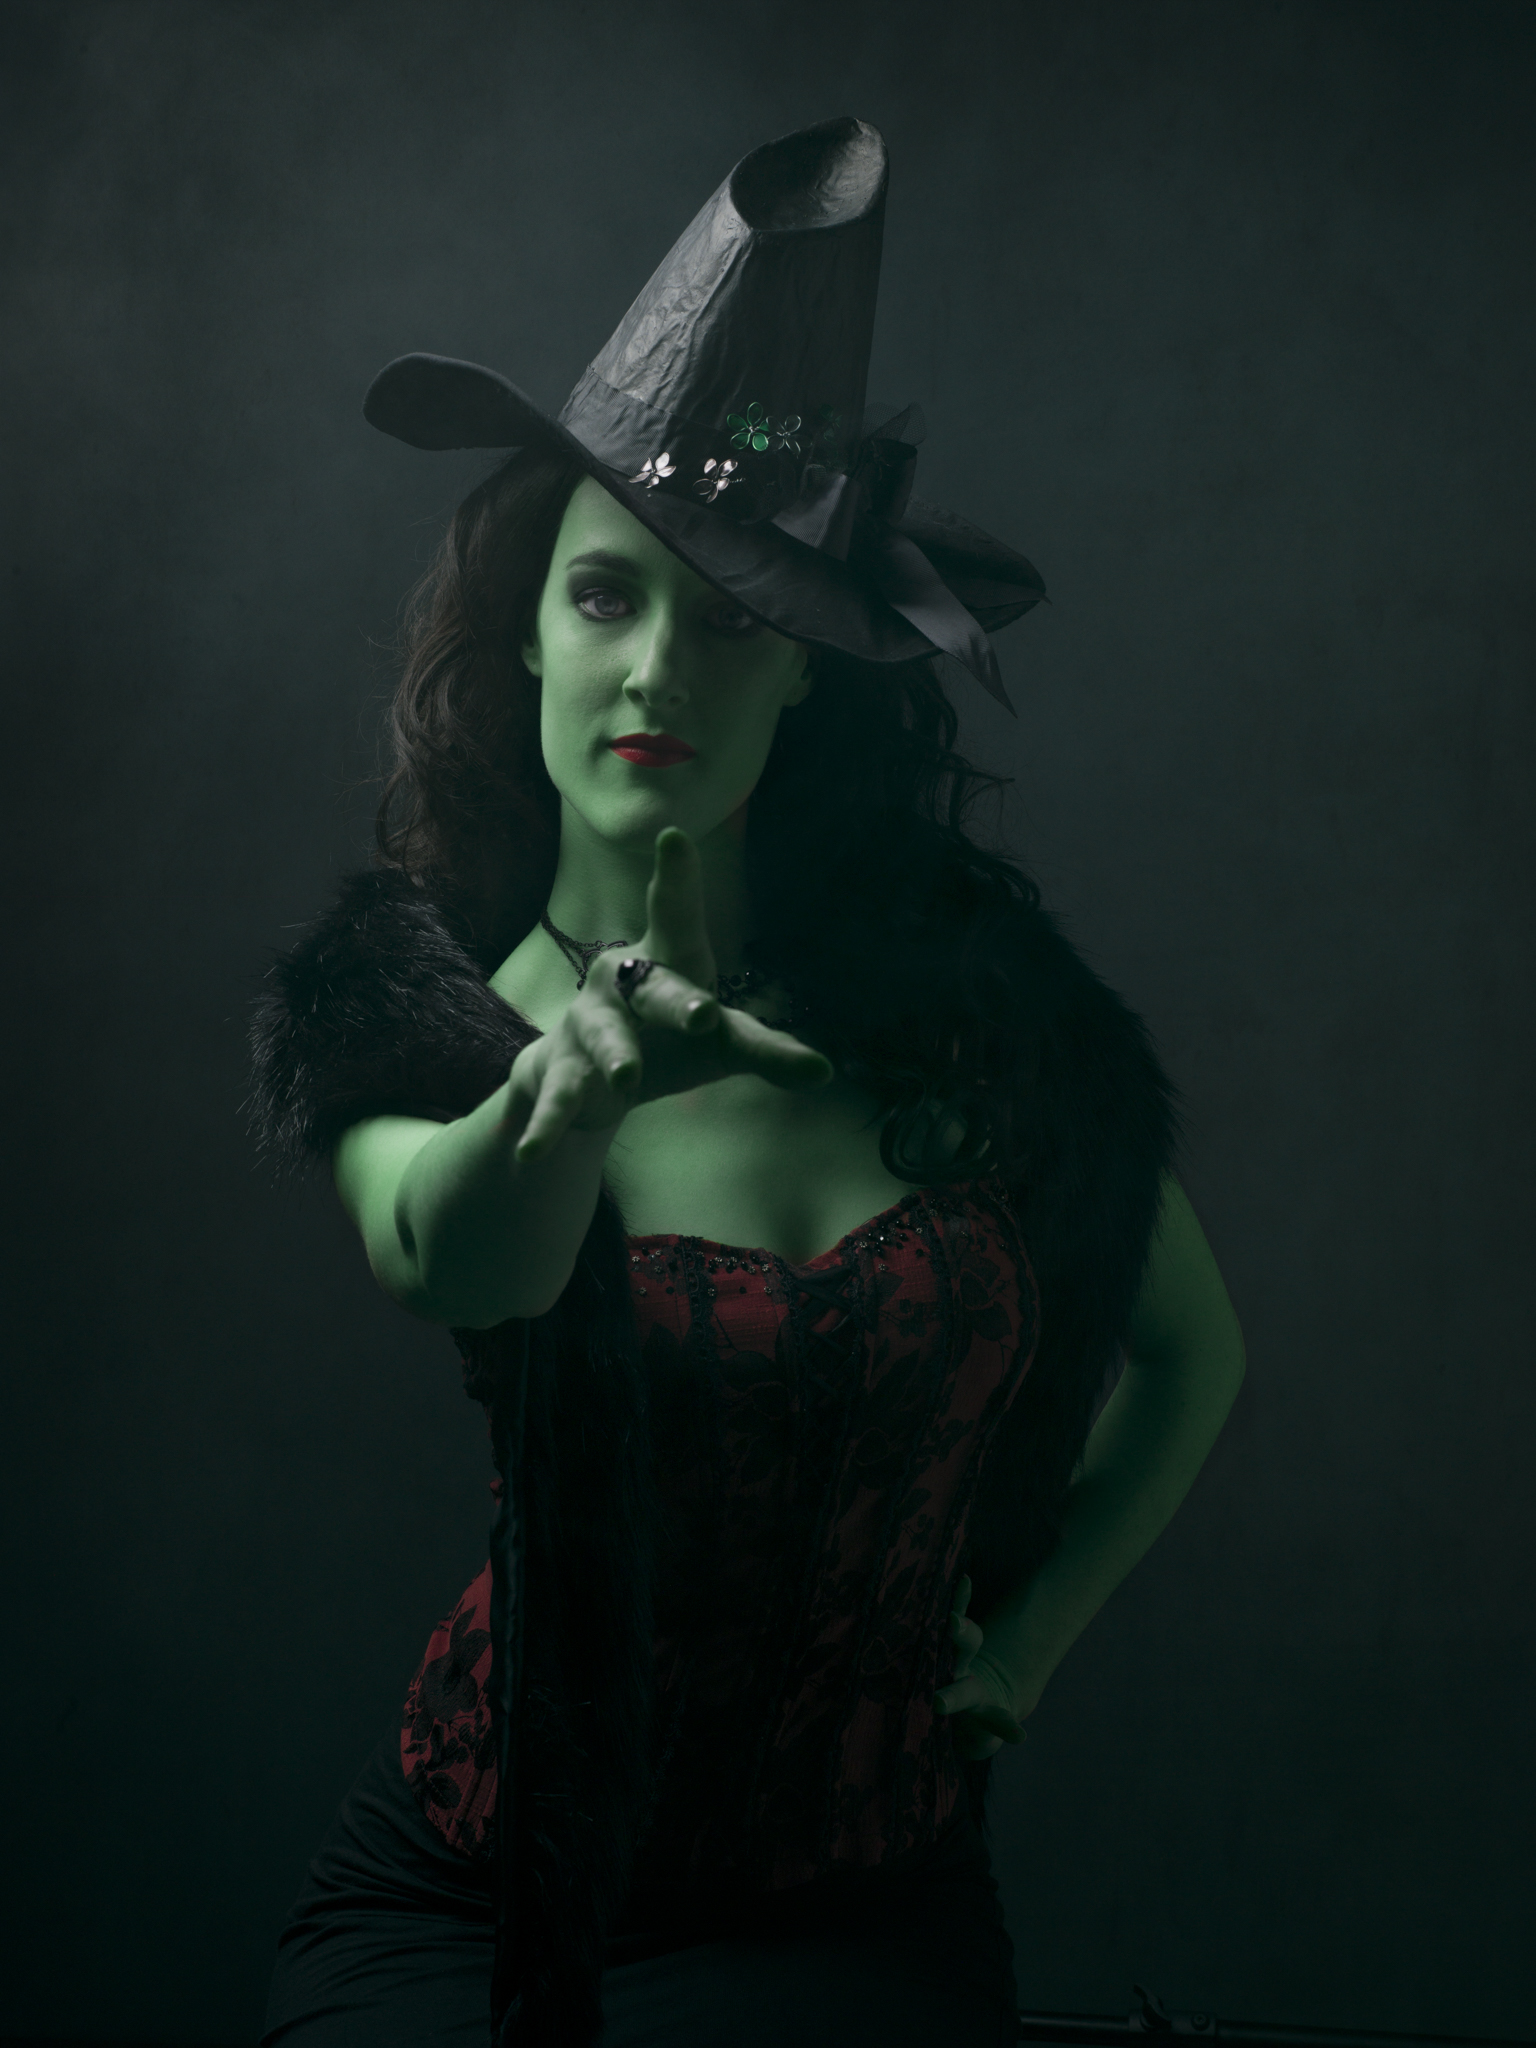
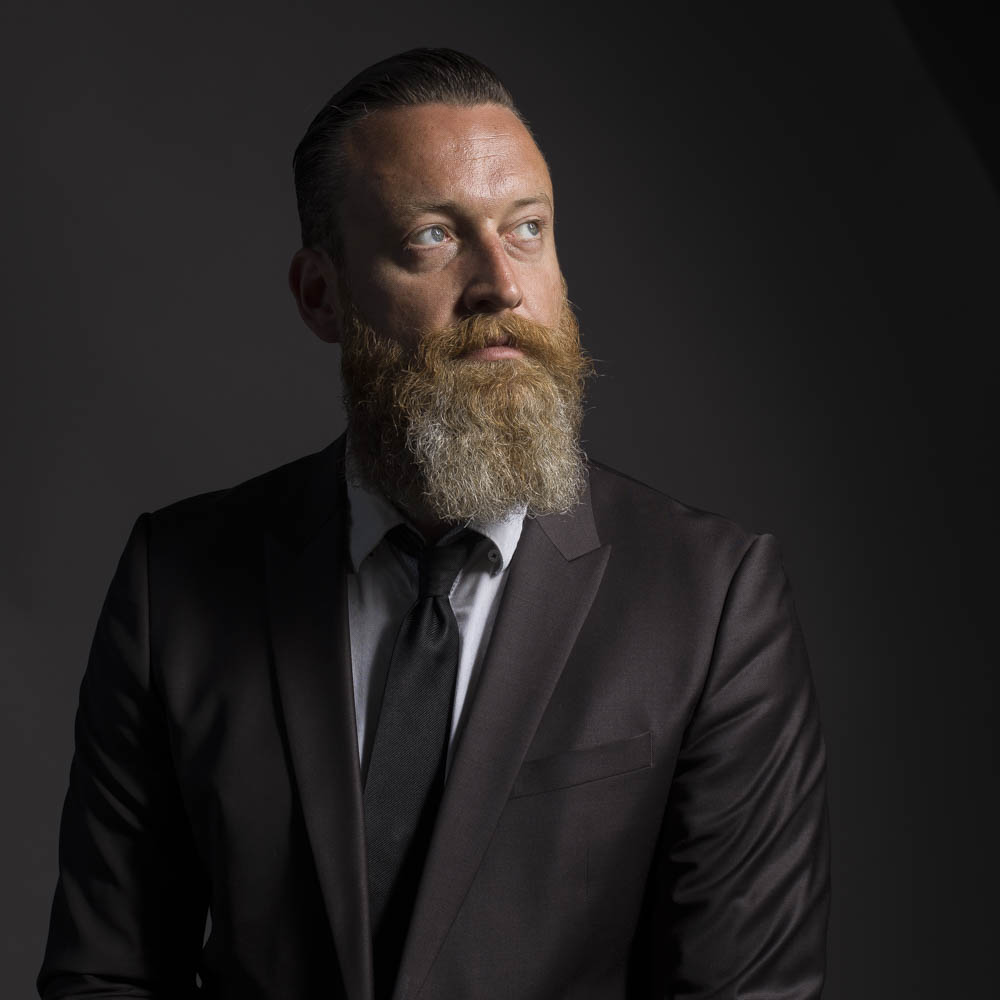
De laatste mini-documentaire van dit jaar is hier! Deze keer gaat hij over Marie-Jeanne van Hövell tot Westerflier. Een fotografe die ambachtelijke manier portretten maakt met haar meer dan 25 jaar oude Hasselblad camera. Met raamlicht en één rolletje van 12 opnames. Vol passie verteld ze over haar serie “The White Blouse” welke nu ook te zien is in het Singer Museum in Laren en in boekvorm te krijgen is. De serie The White Blouse van Marie-Jeanne van Hövell tot Westerflier bestaat uit meer dan 80 portretten van bekende en onbekende nederlanders.
Editorial photoshoot with a chef cook and (review of) a Phase One P30+
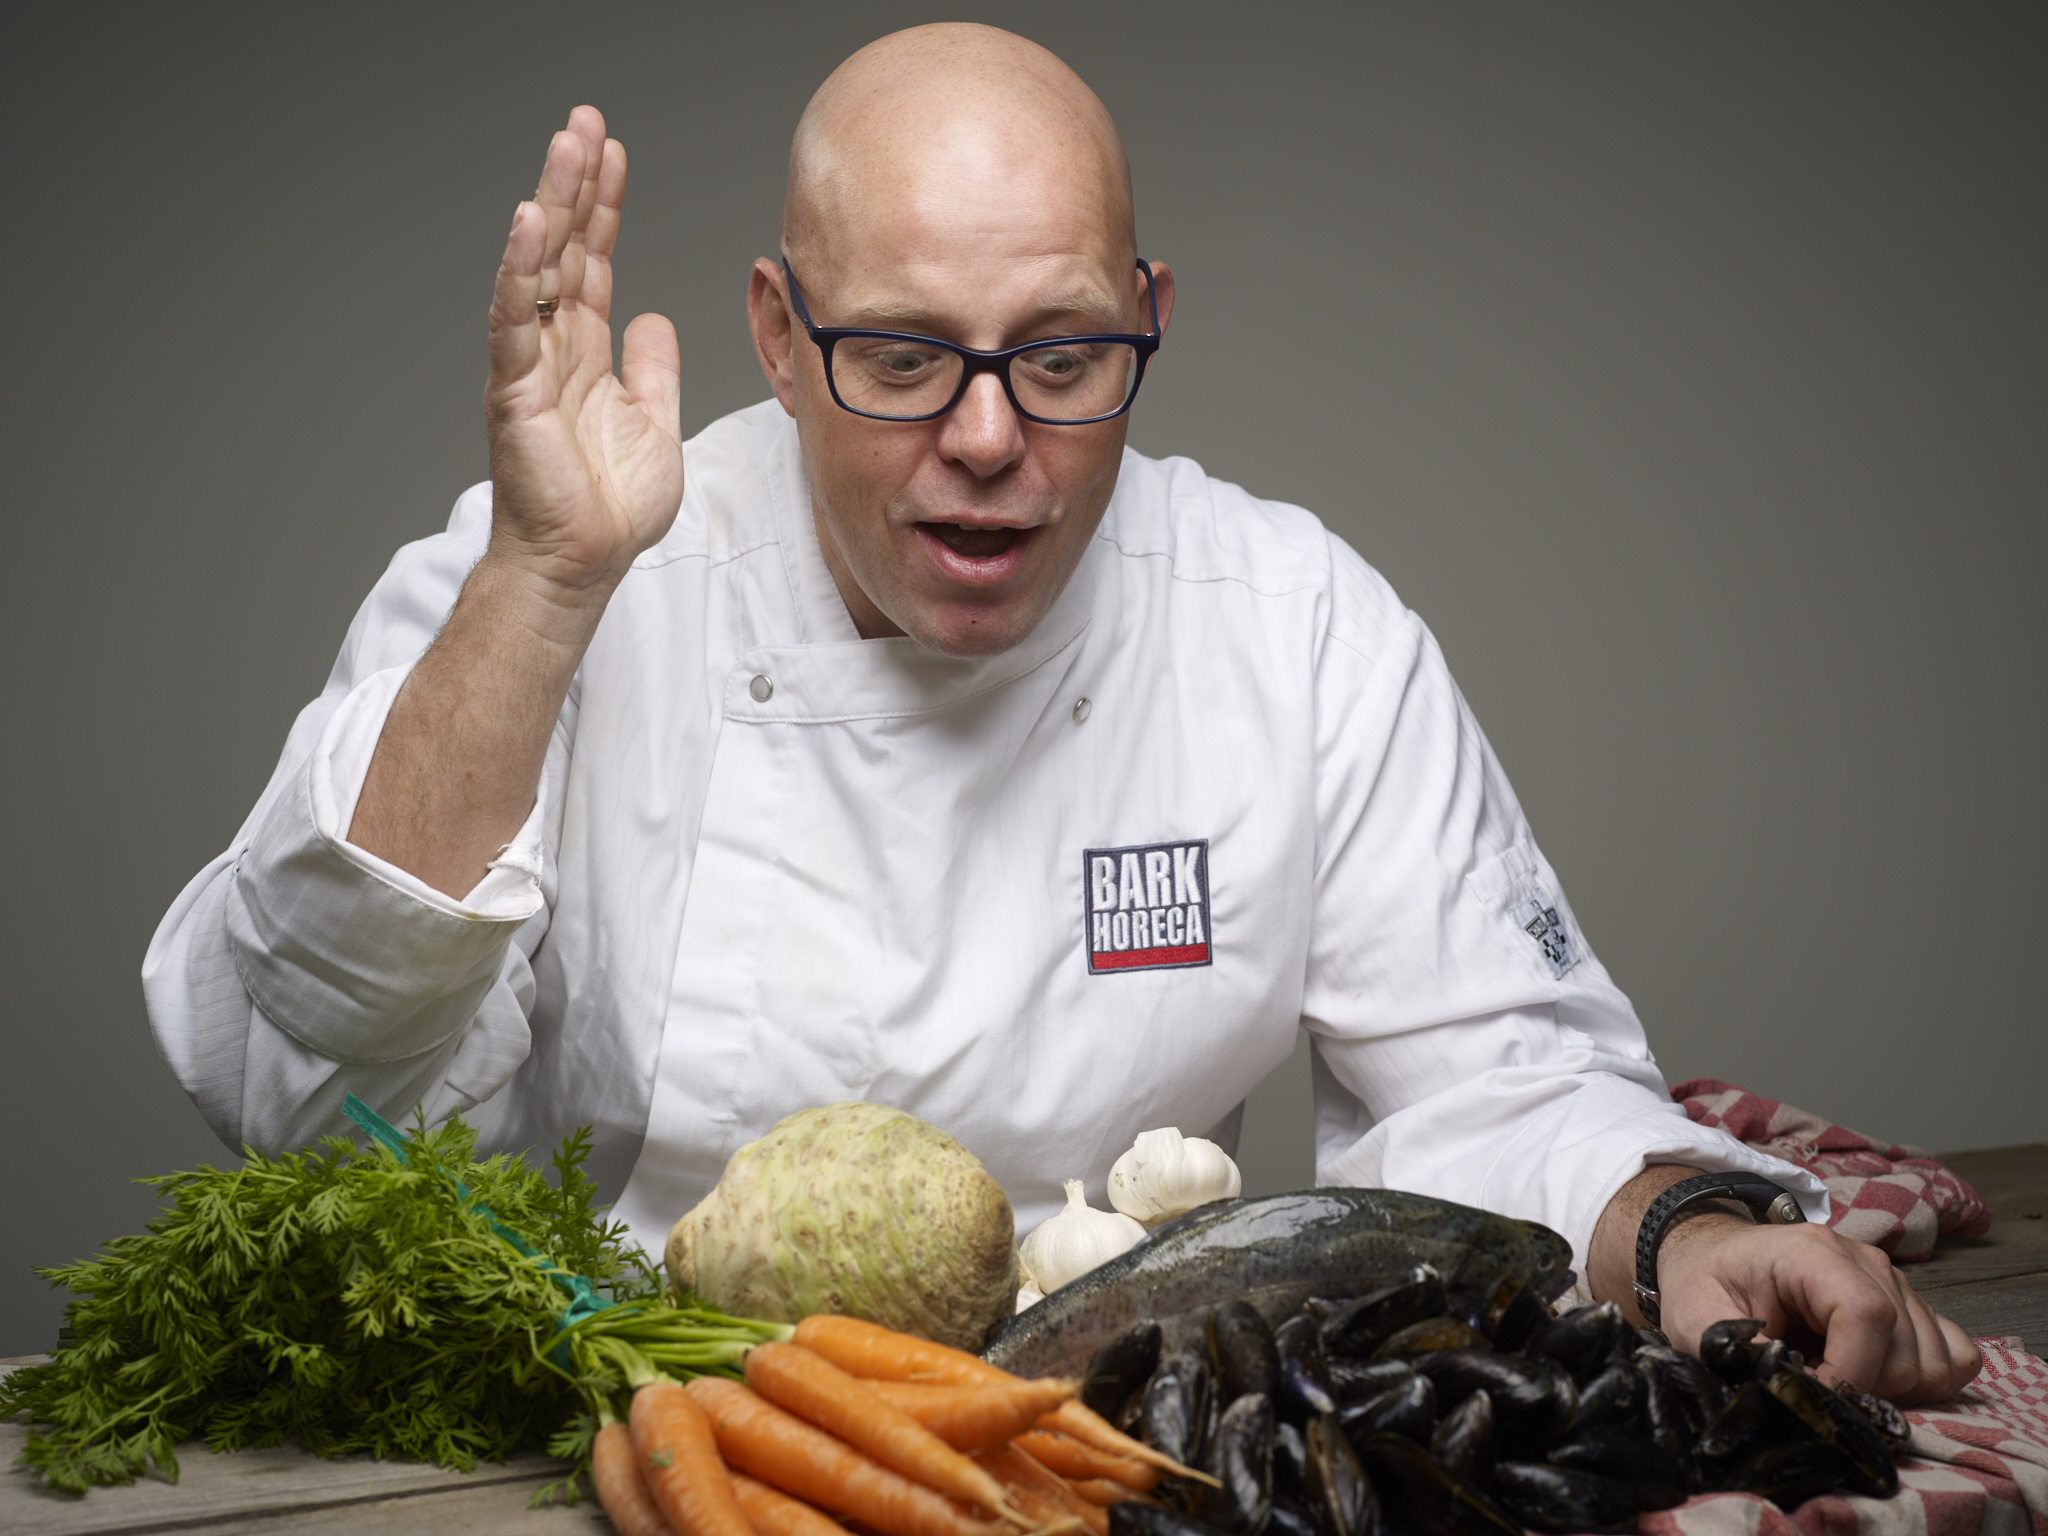
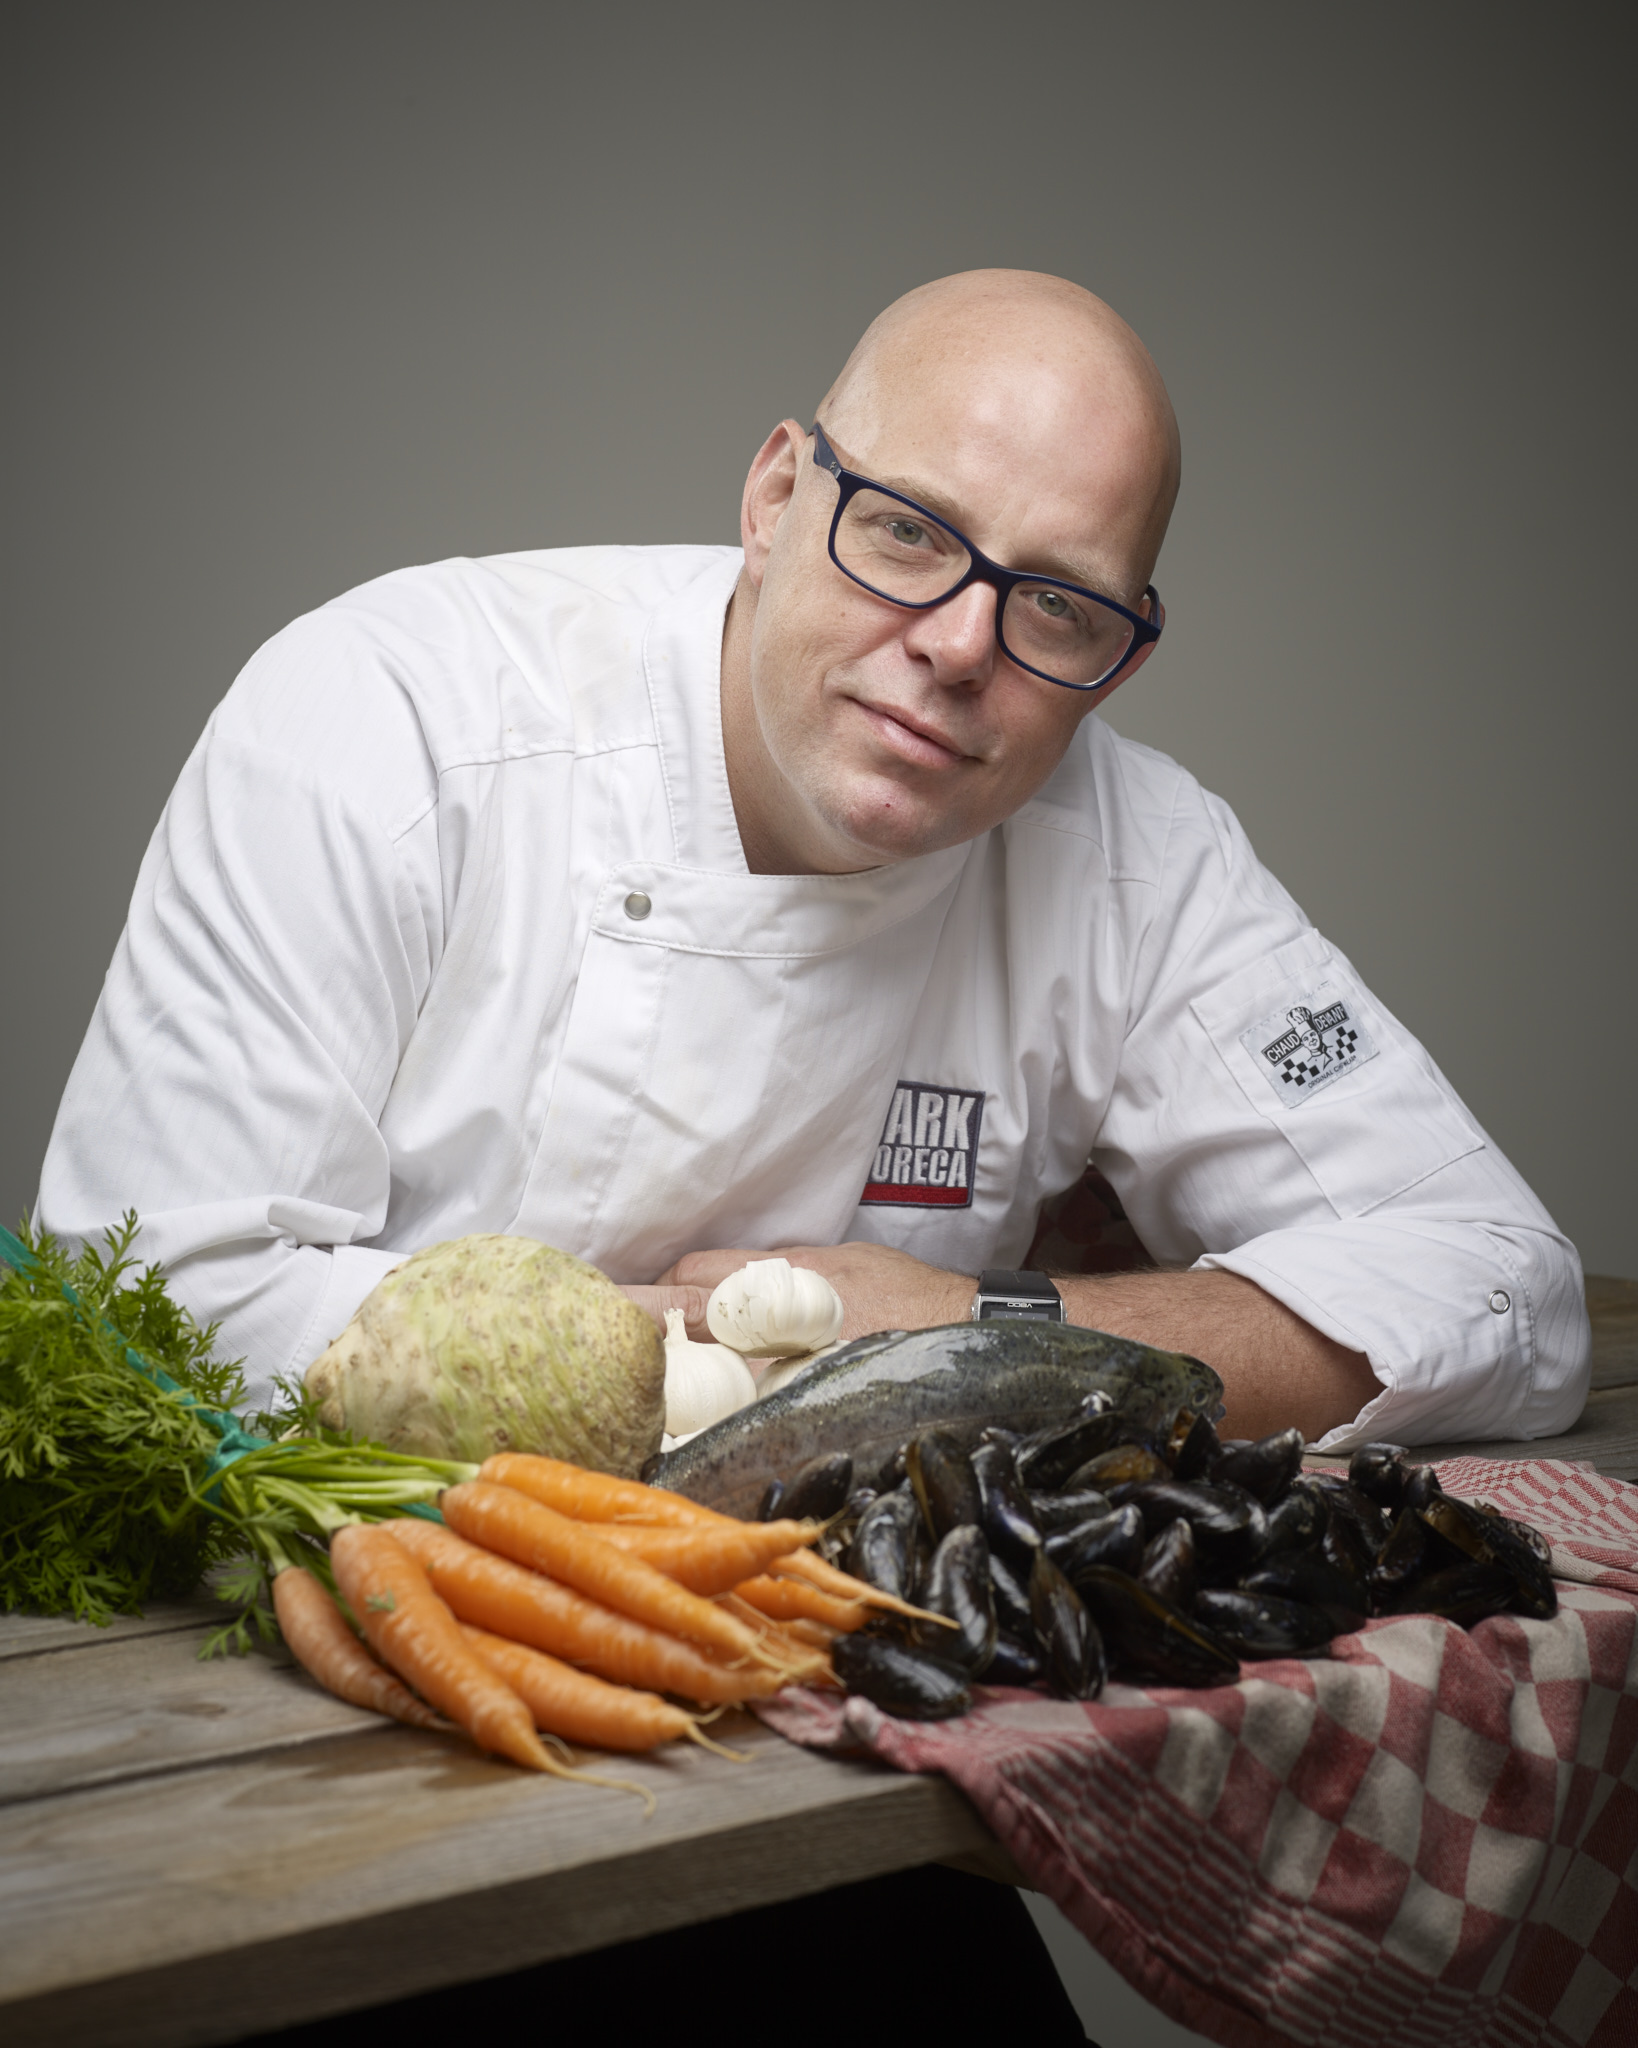
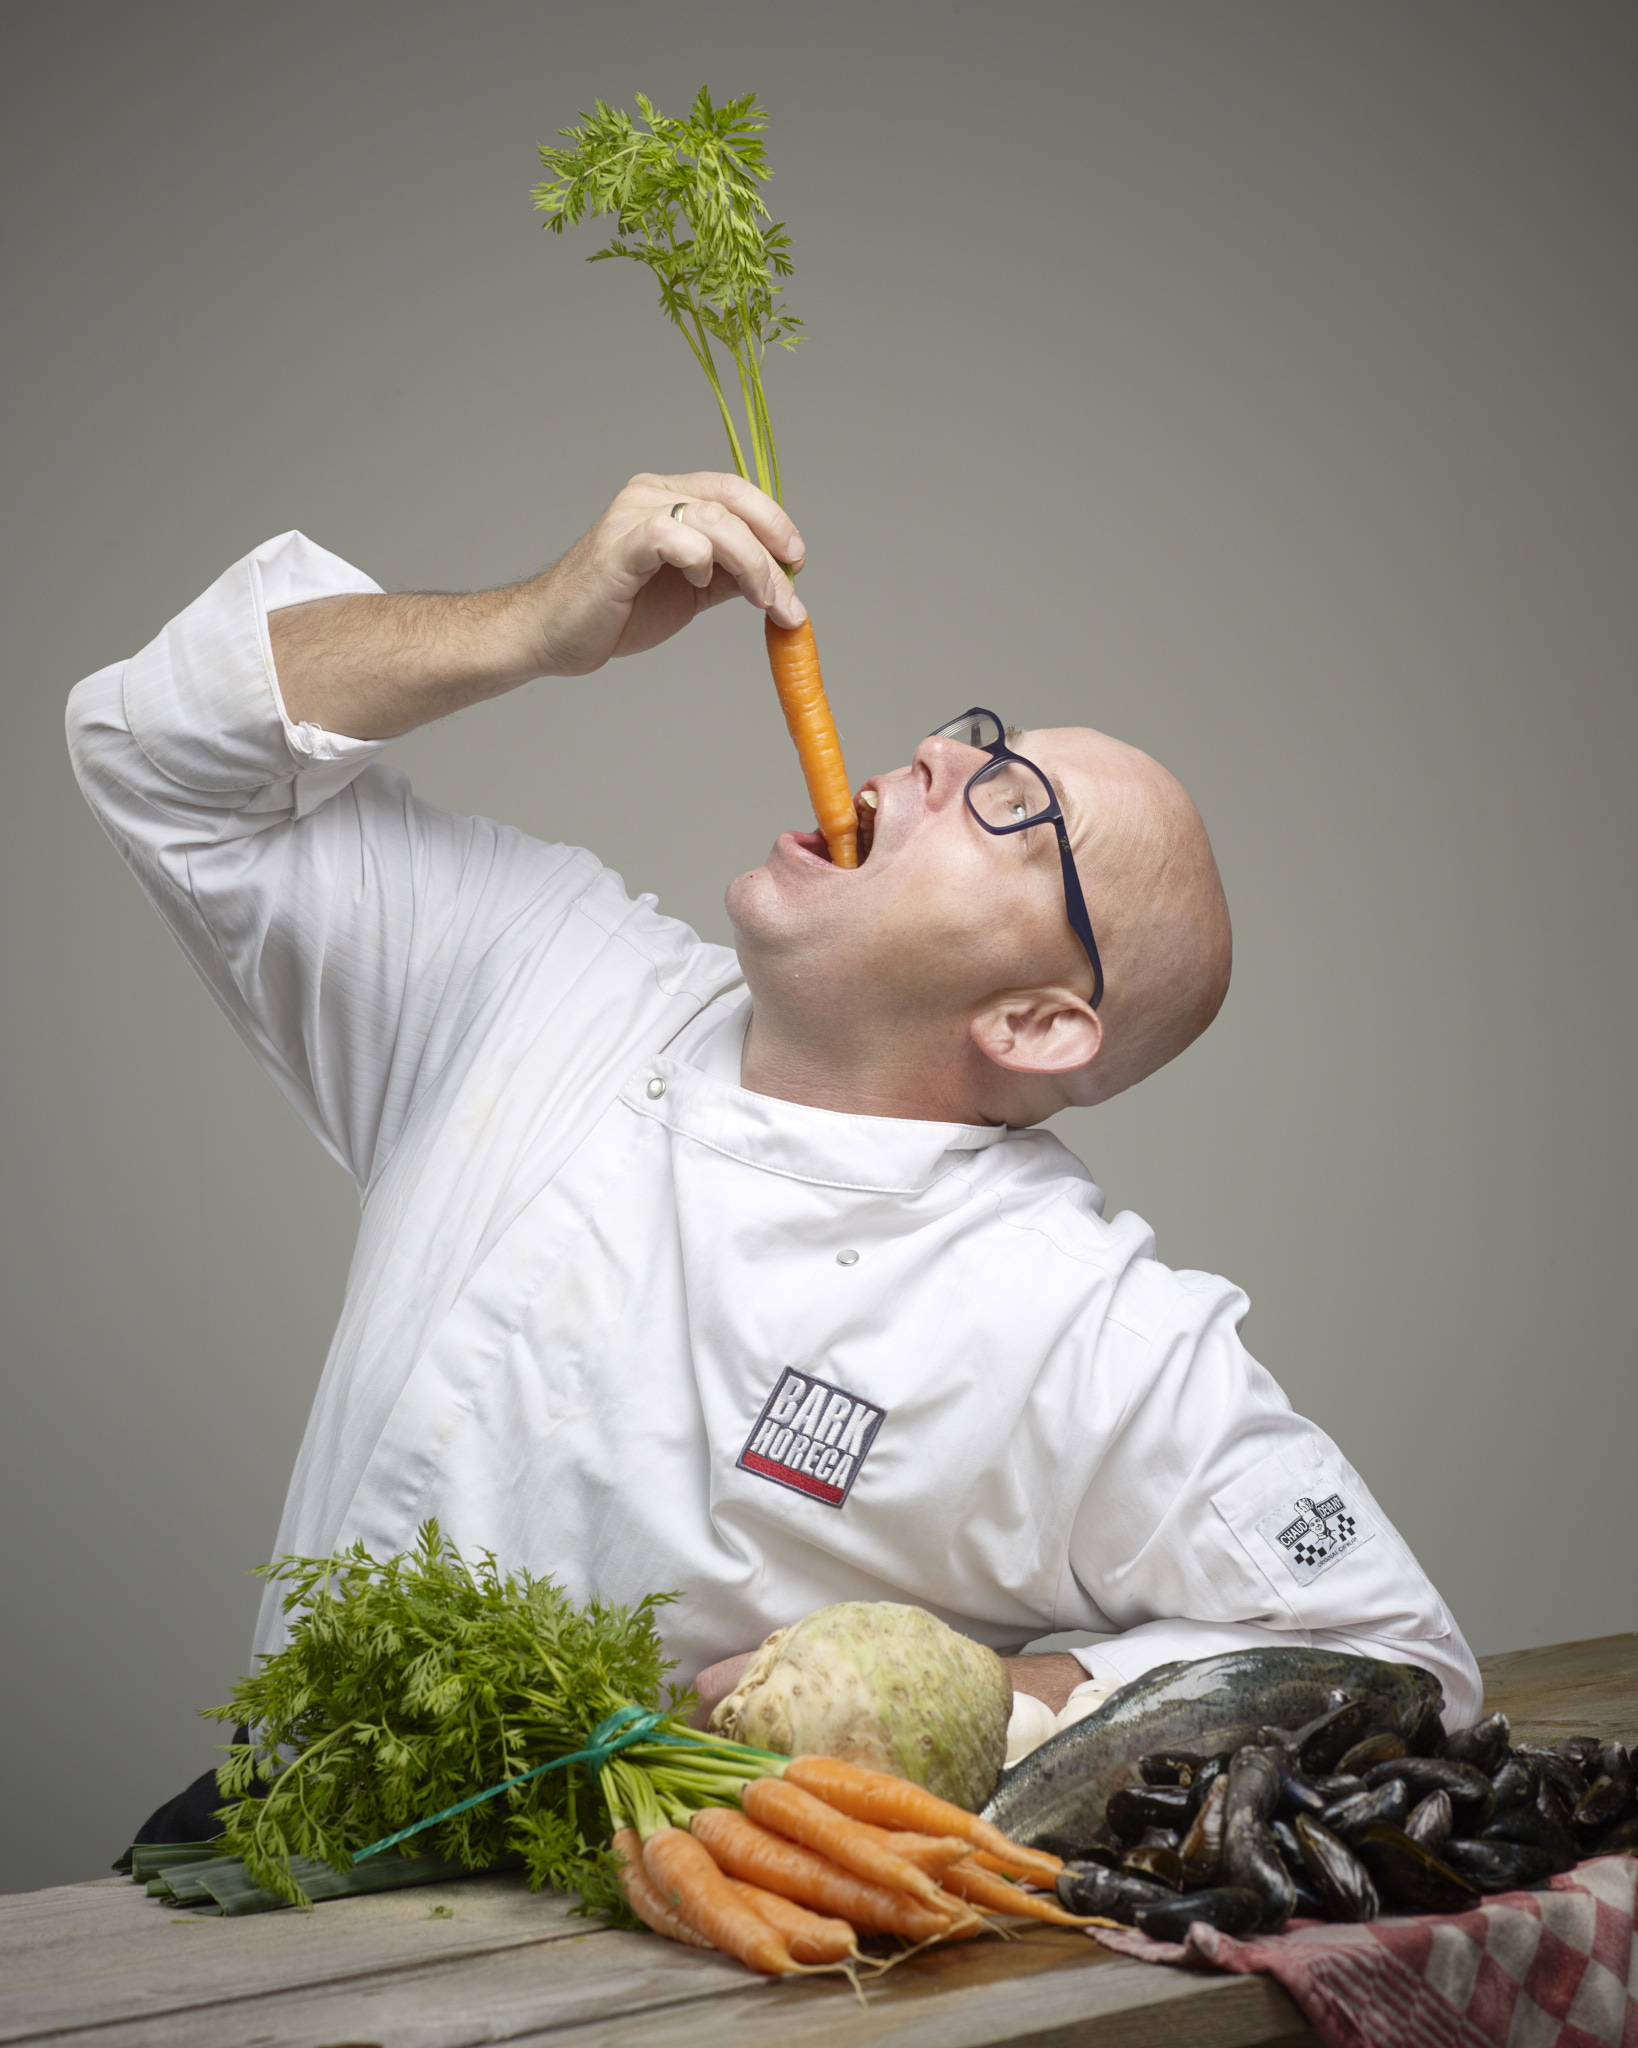
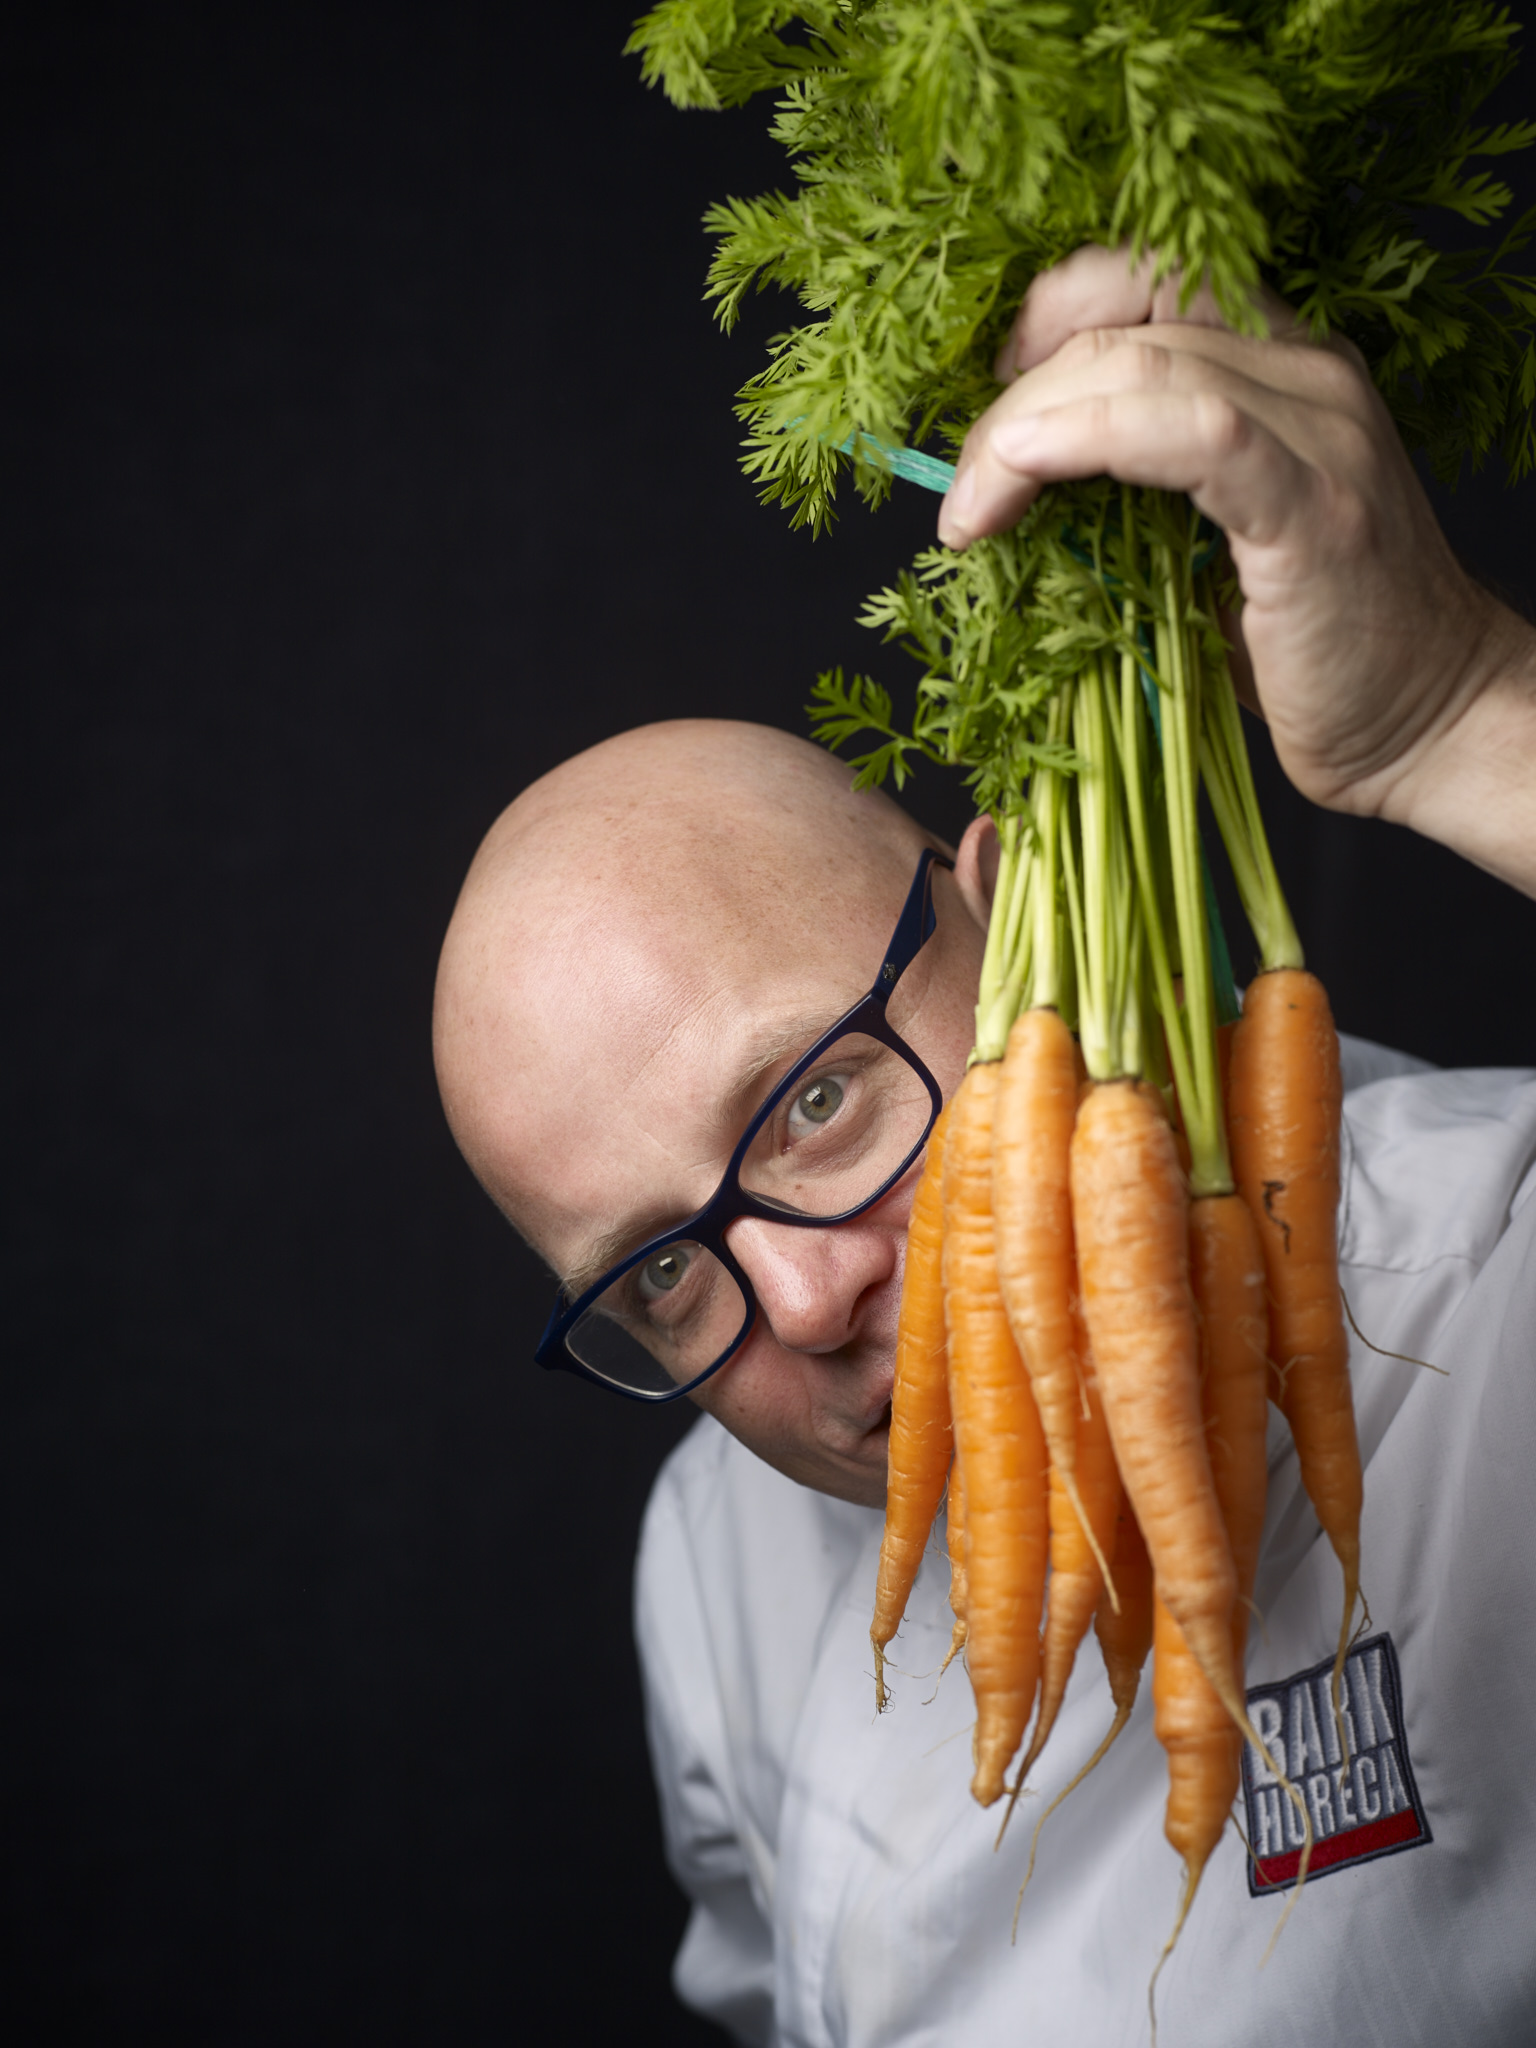
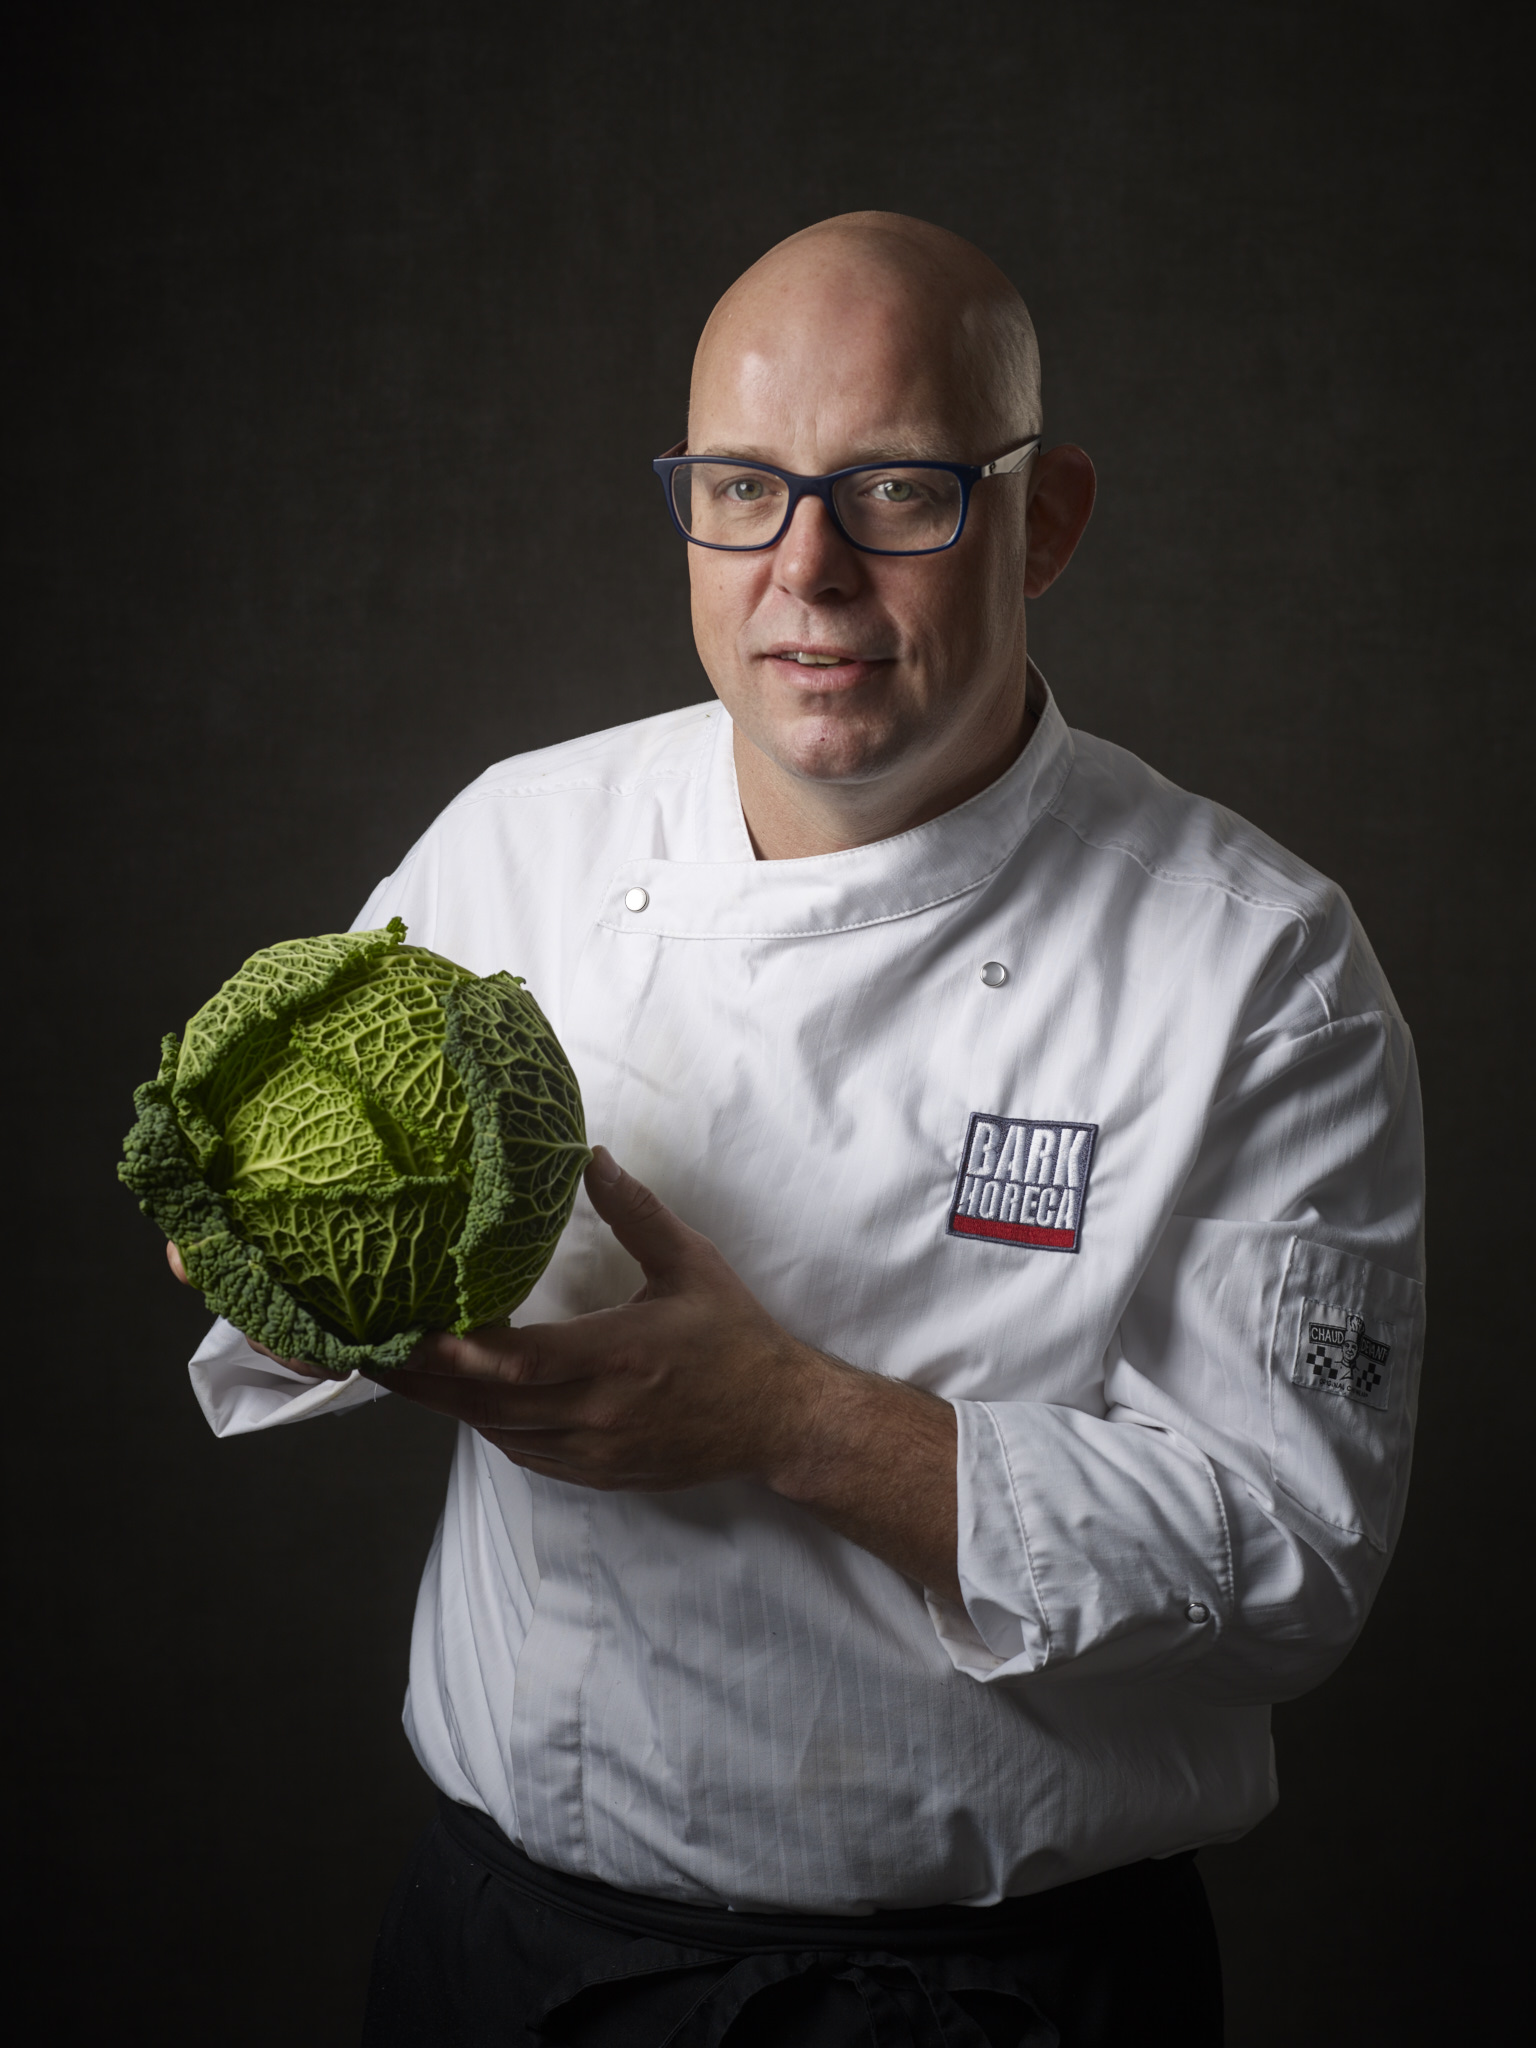
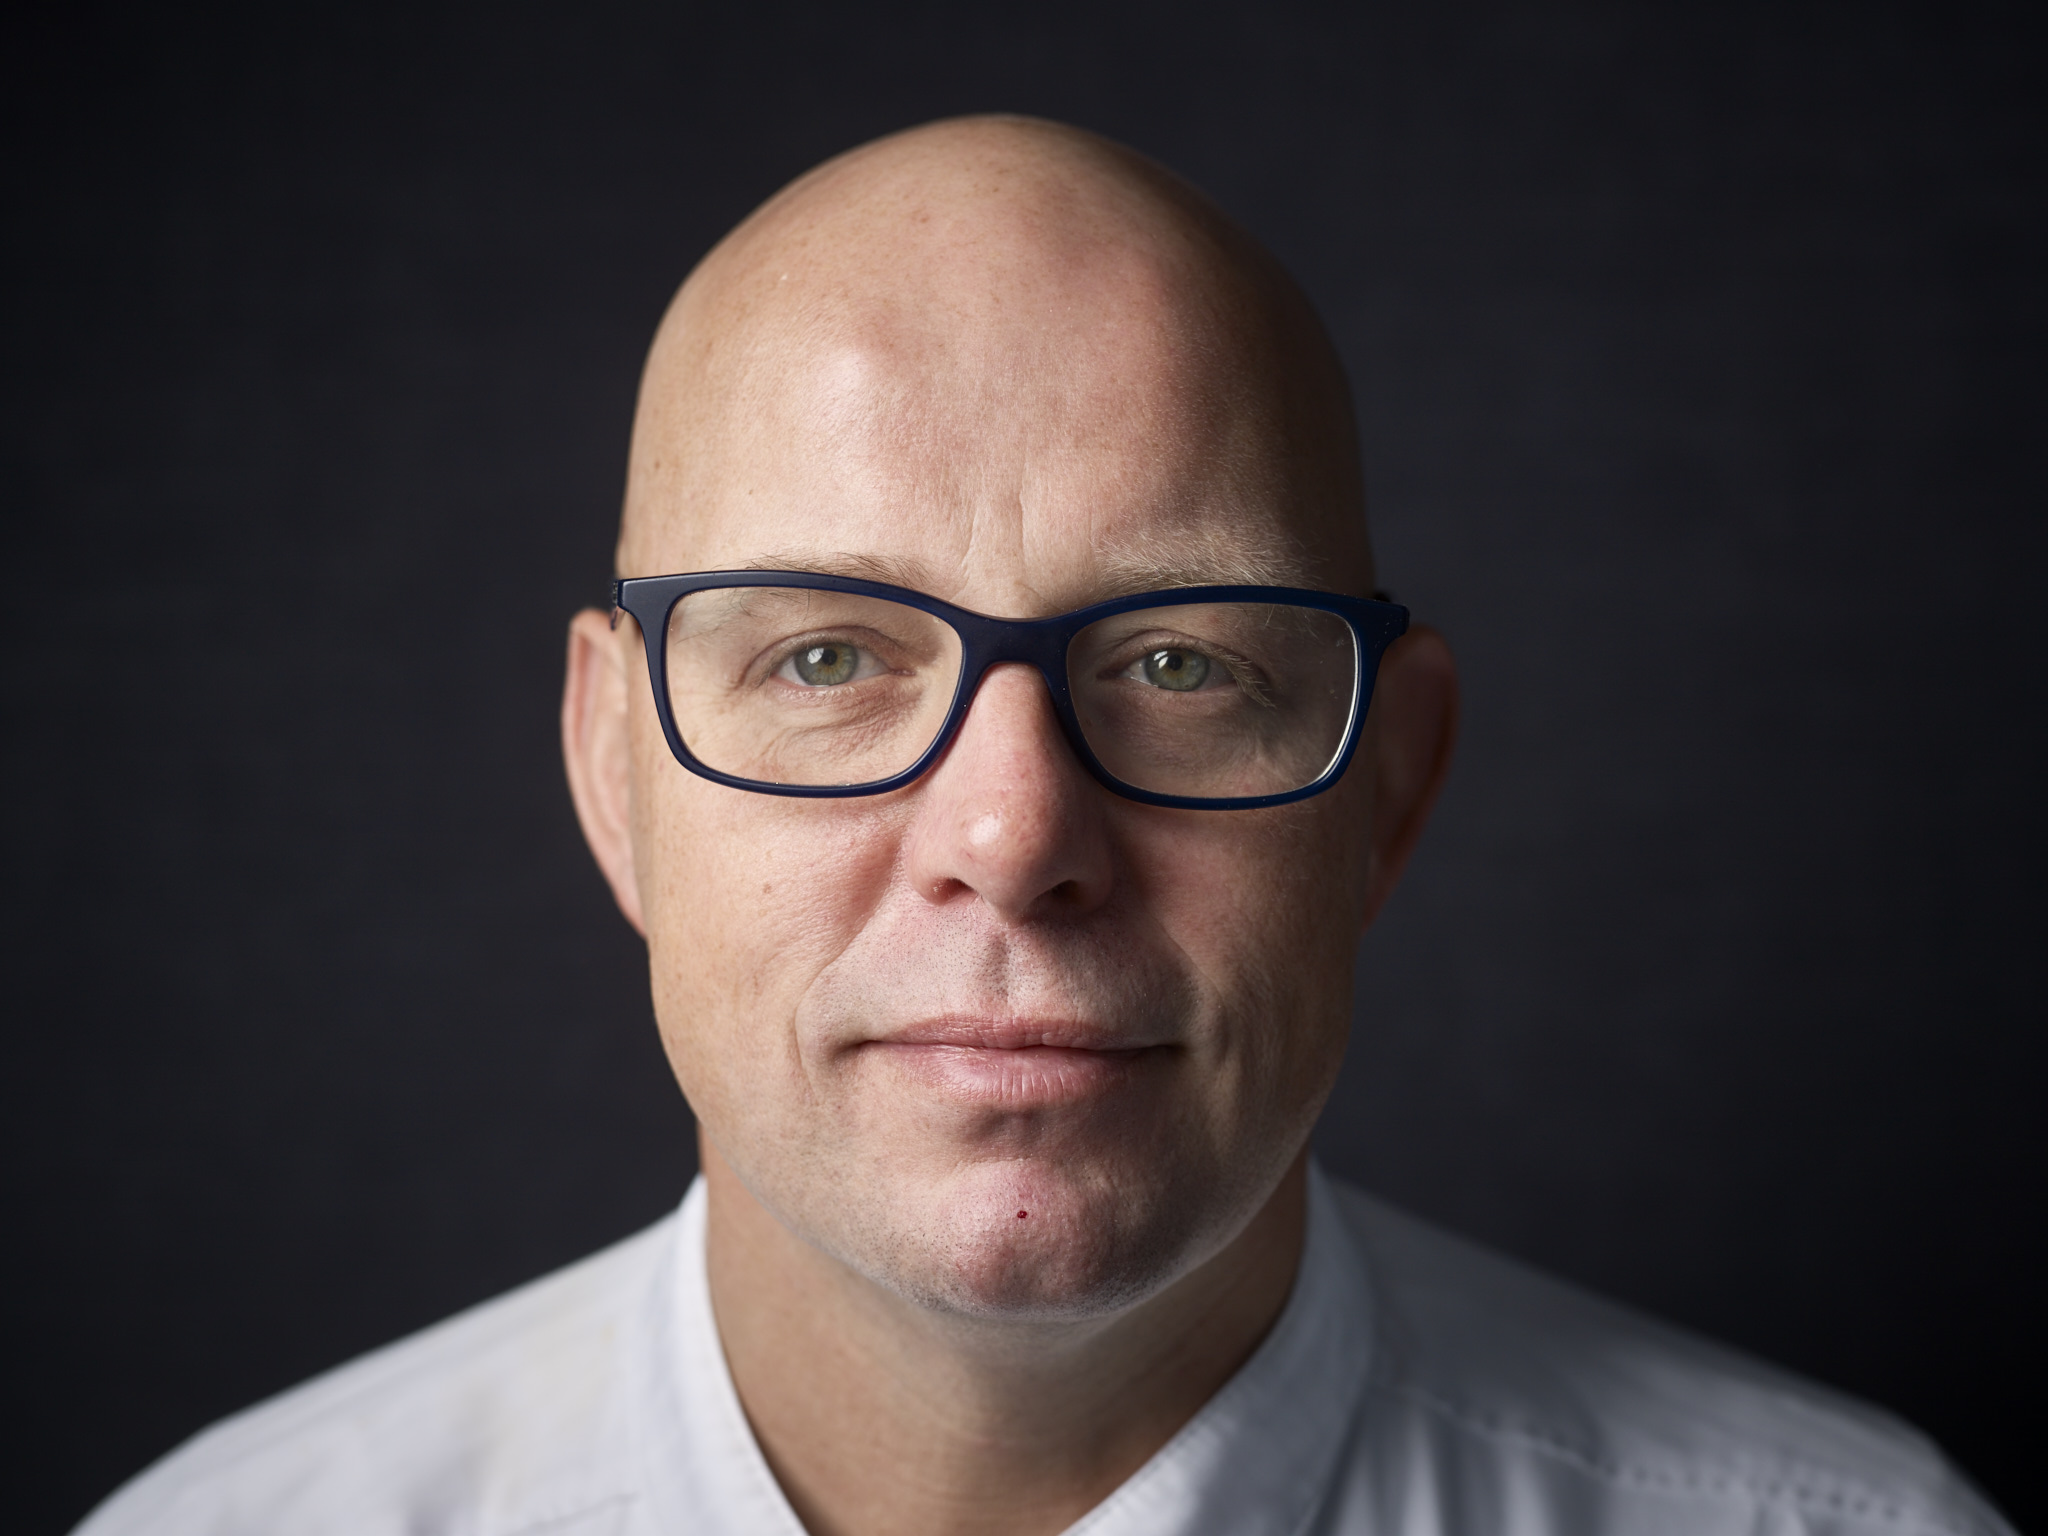
Last friday I did an editorial style portrait shoot with chef cook Marcel Bark of de Rijd in Nieuwe Niedorp. For this photoshoot I borrowed a Phase One DF body with a P30+ digital back and a 80mm lens. For a while I am searching for an affordable way to get into medium format photohraphy. I have tested a P30+ back in the past (Read review here), the CVF-50c (click here) and the Hasselblad H5D-40 (Click here).
The set-up
Beside the Phase One set I am also trying out some Broncolor gear. I love my Elinchrom gear and especially there softboxes, but the bron are just a little more stable on output and white balance throughout the whole powerrange and have a faster flash duration for when you are working with speed/dance. So I had a Siros 400L with the 75 octabox as a key light, the Siros 400S with a strip and a grid as a kicker and a Siros 400 S with the 150 octa box as a fill.
The Phase One P30+ was connected with a firewire cable to my iMac runing Capture One Pro 9. All editting of teh photo's have also only be done in Capture Pro One 9. I love using tethering during shoot. It helps communication with the client and is a real visual way to get to the result you want.
Styling
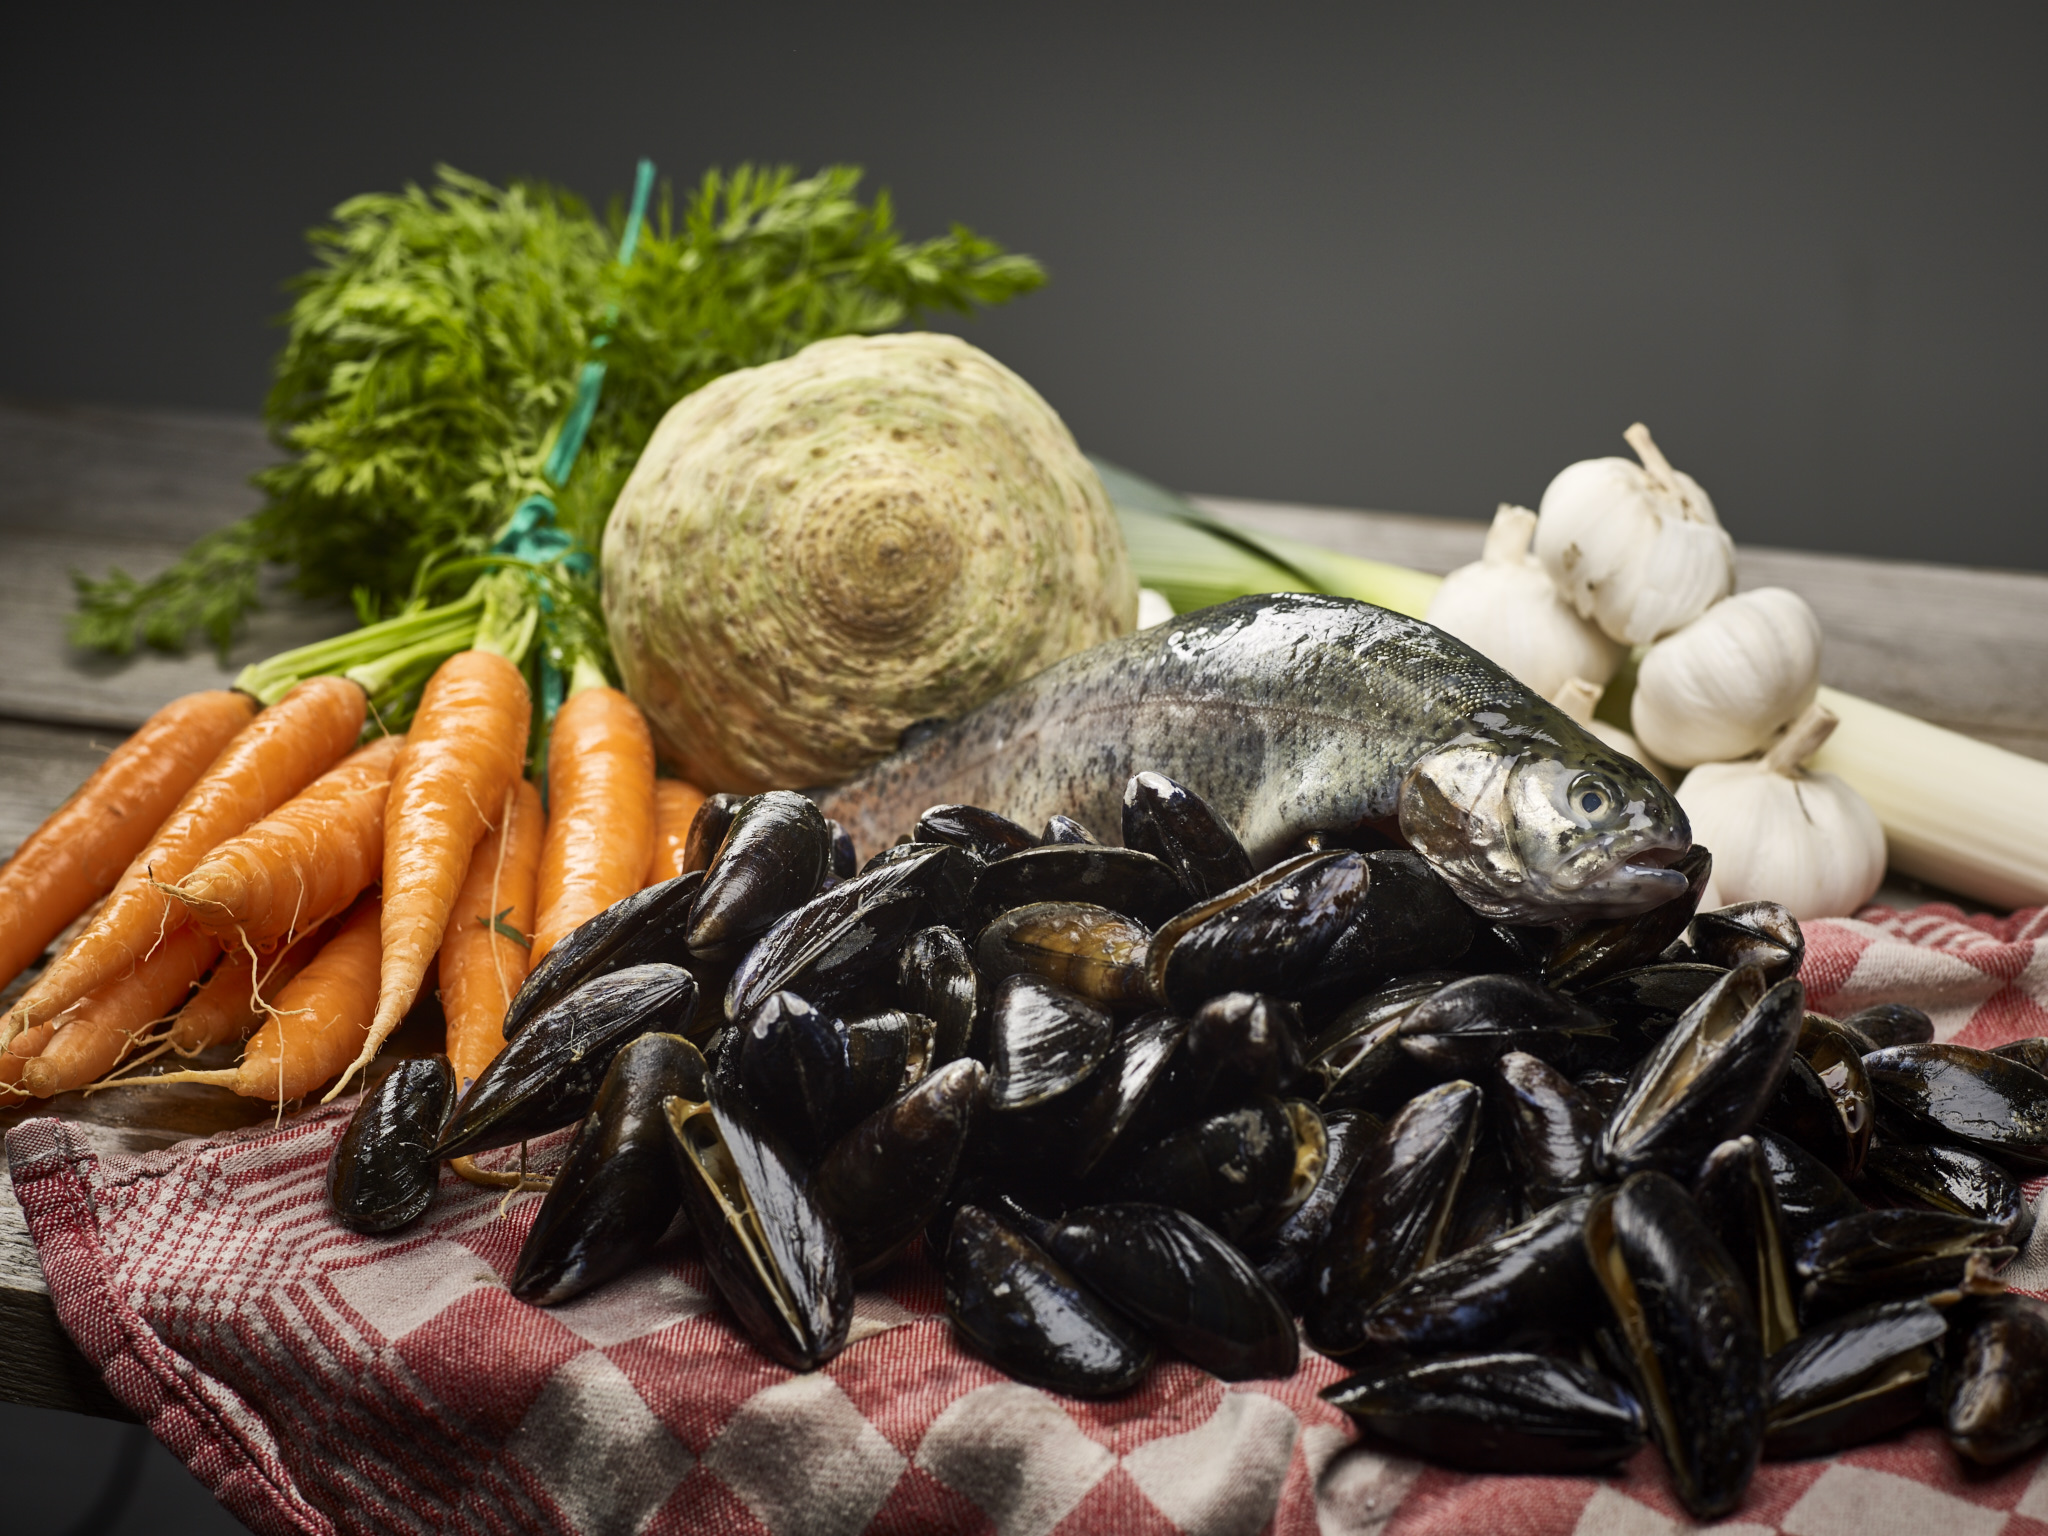
For the styling we went to the local supermarket and bought some nice food to shoot. Marcel loves working with Fish so a fresh fish and some clamps couldn't be left out of the photo's! Marcel is also really font on green cabbage, so we also photographed him with just the green cabbage!
The Shots
Here a a couple of the final shots of teh editorial photoshoot.

The Phase One P30+ Back
The Phase One P30+ is a great digital medium format back. The colors are so natural and lovely. It has (only) 31 megapixels. which was huge in the time it was released and is still more than enough. Normally I shoot around 24mp with my Nikon D610 en D750 and rarely use the 36 of the D800, only when I need to print big.
The point for me for Medium Format is not the megapixel count but the sensor size and look. I don't know what it is but Medium Format photography has a look which is just so much more lovely then 35mm Full Frame photography. I has the look of the photographers I admire like Mark selliger, Martin Schoeller, Erwin Olaf and Anne Liebovitz. They also use Phase One camera's/backs,
The set up of the back is simple. The menu has just a few options, like ISO, white balance, power performance, and some basic information. just all you need.
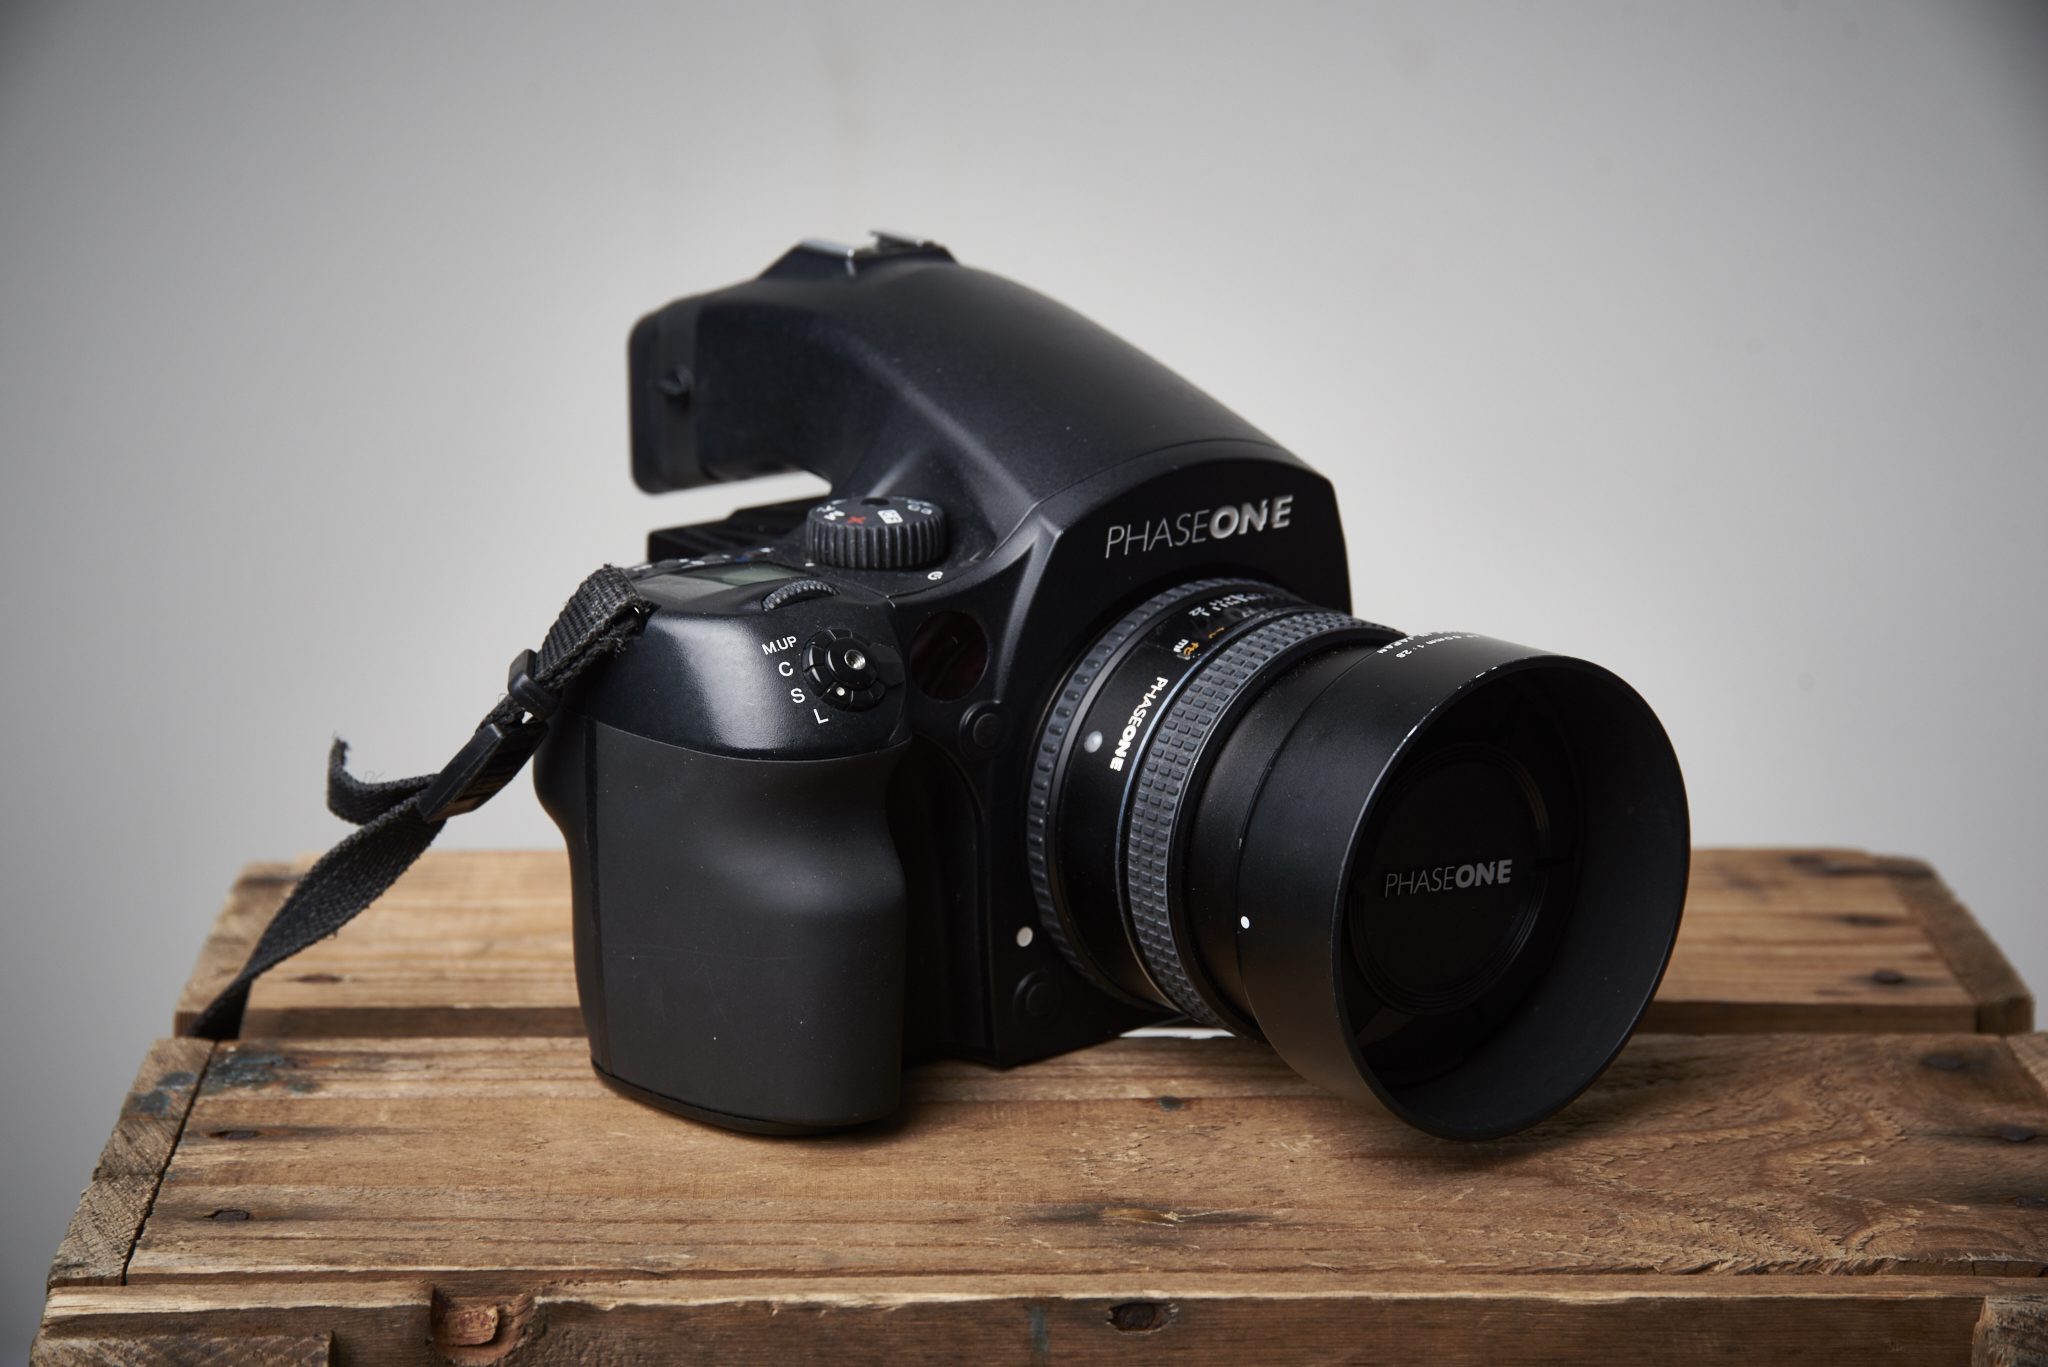
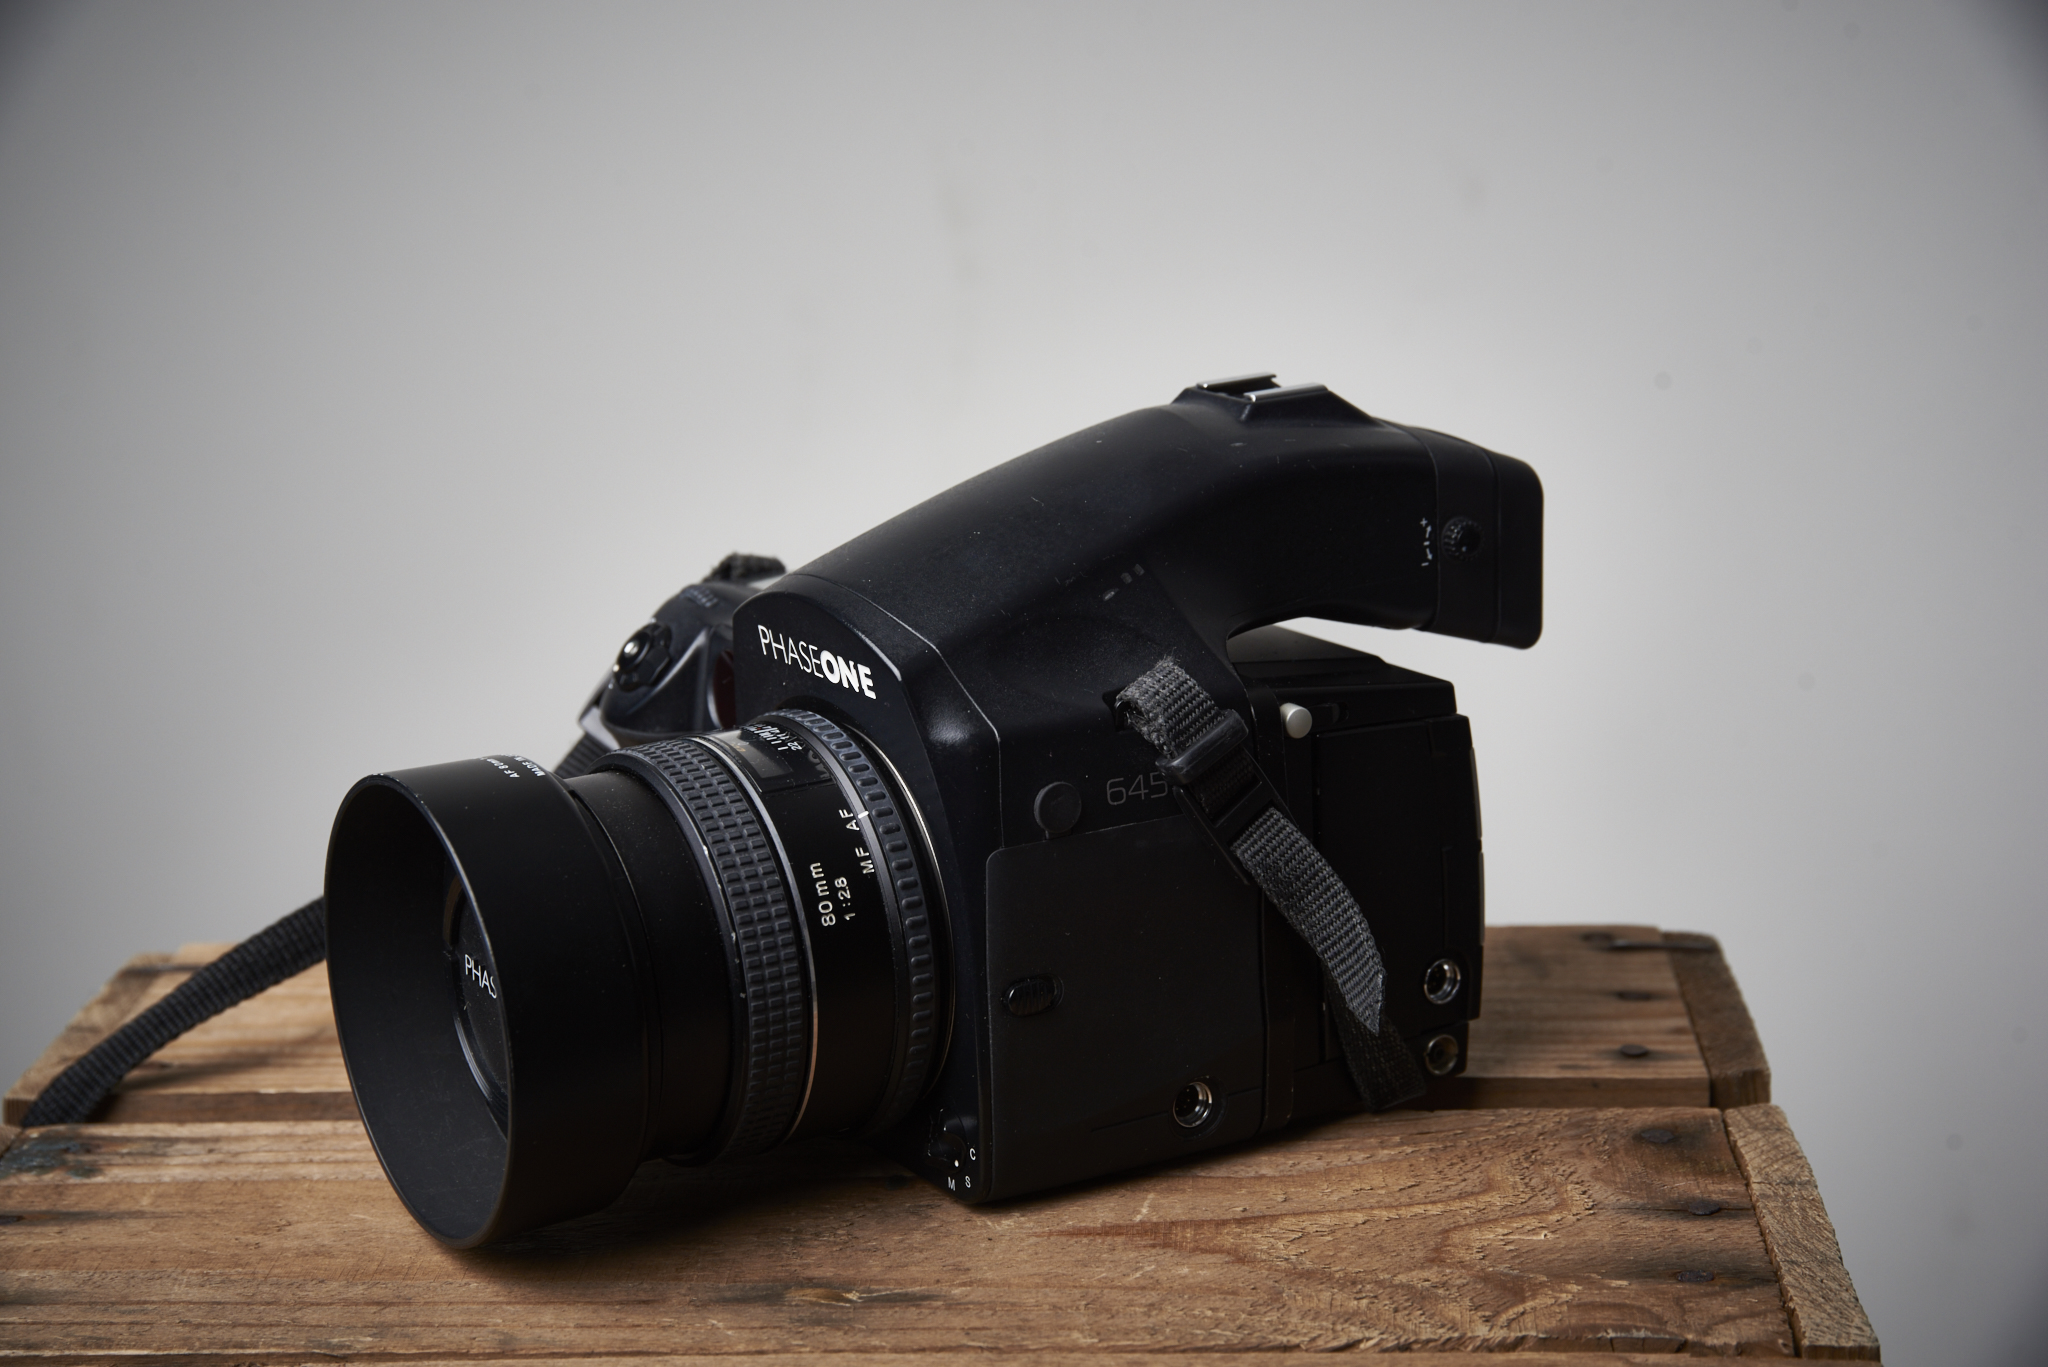
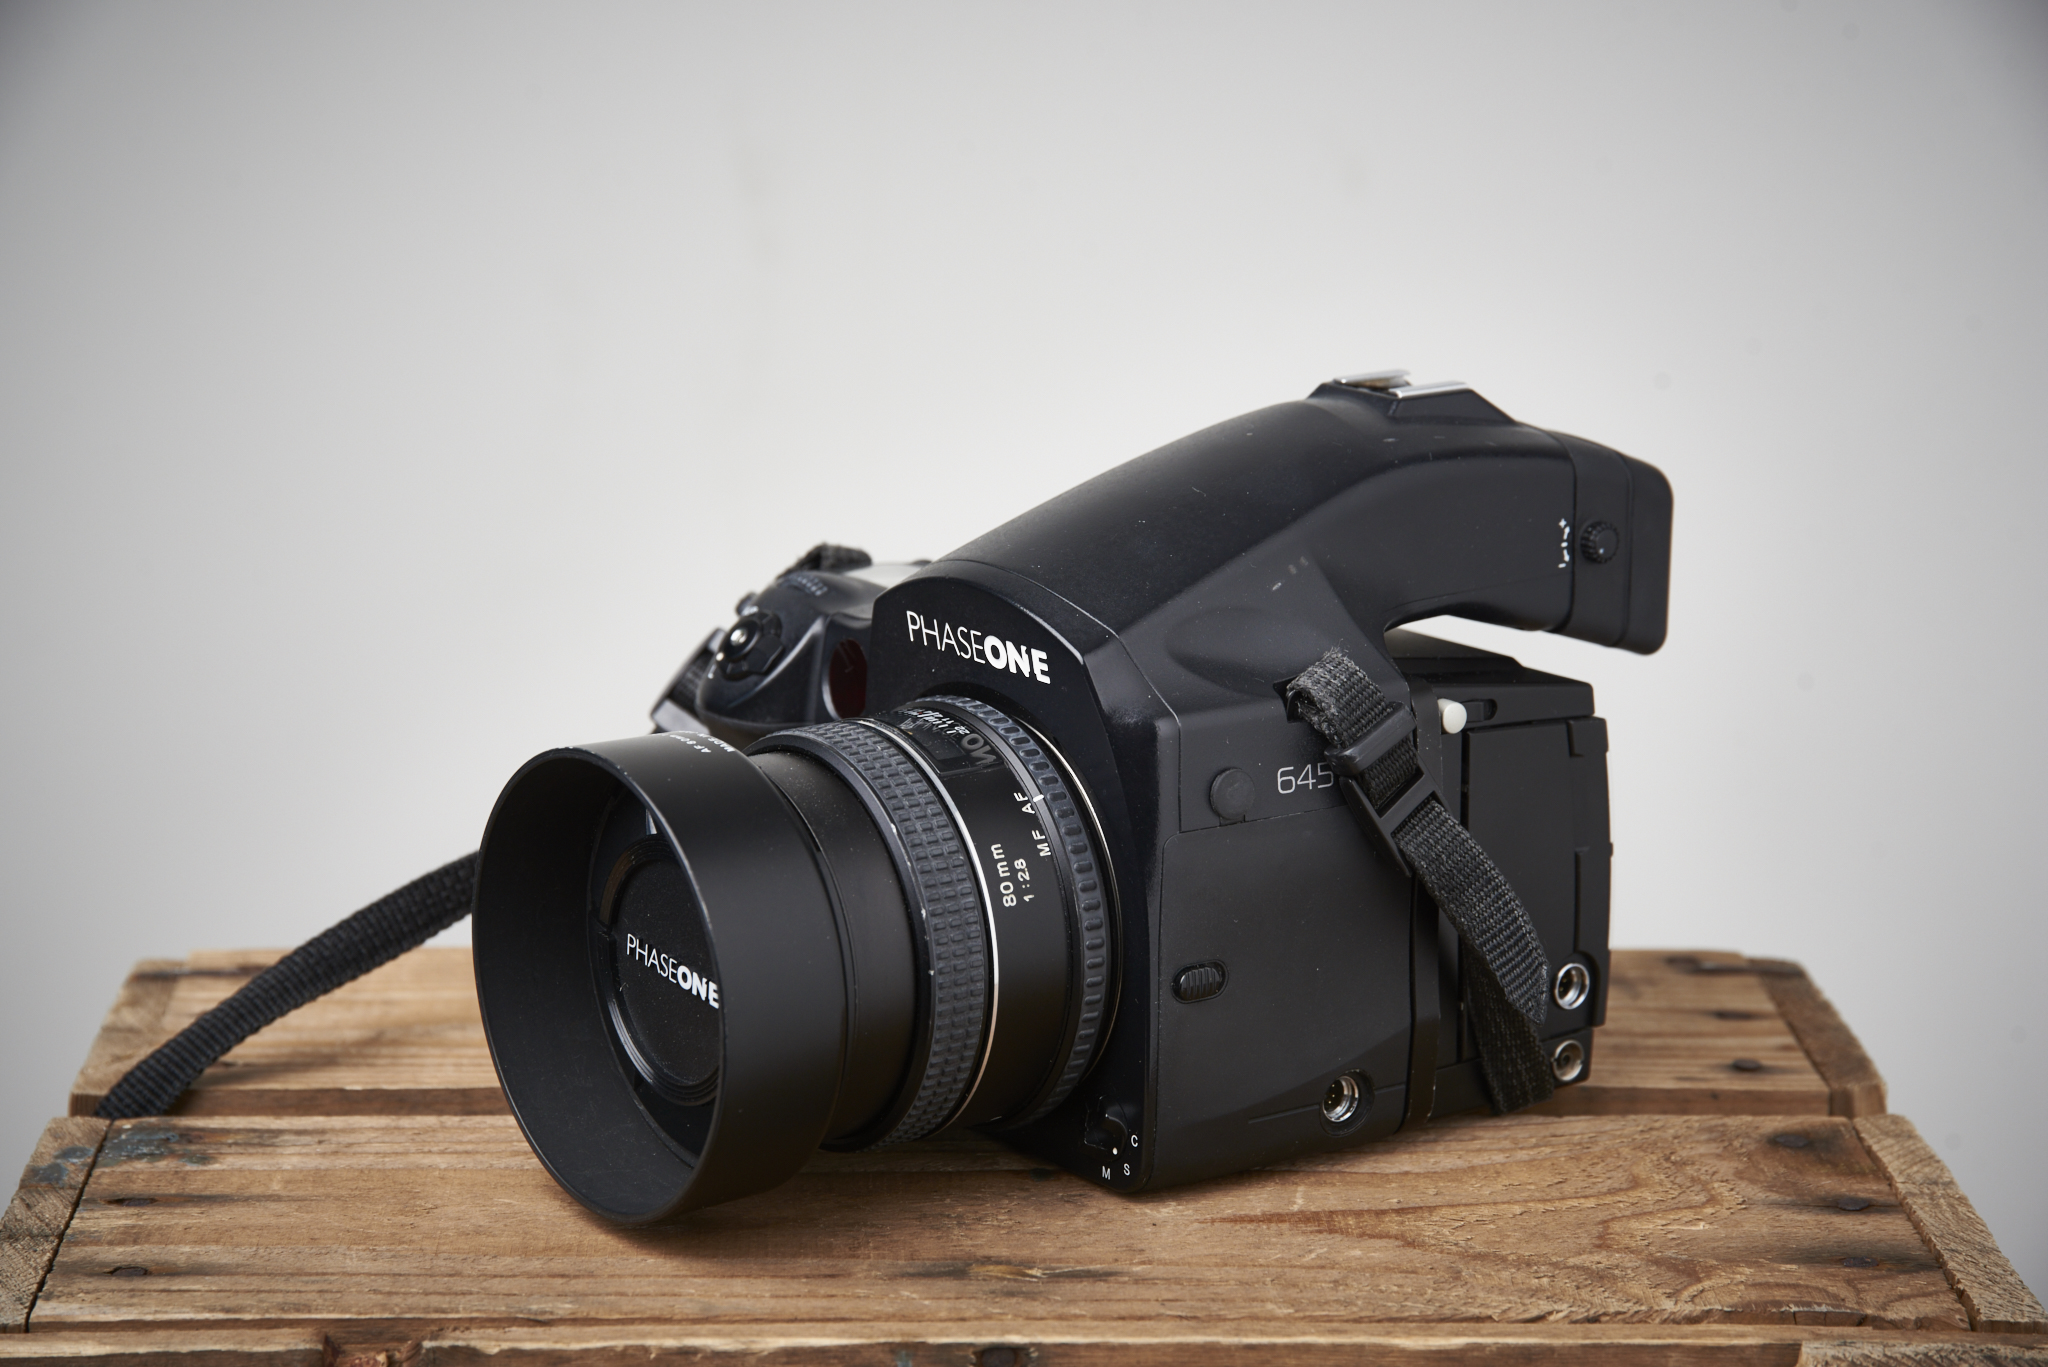
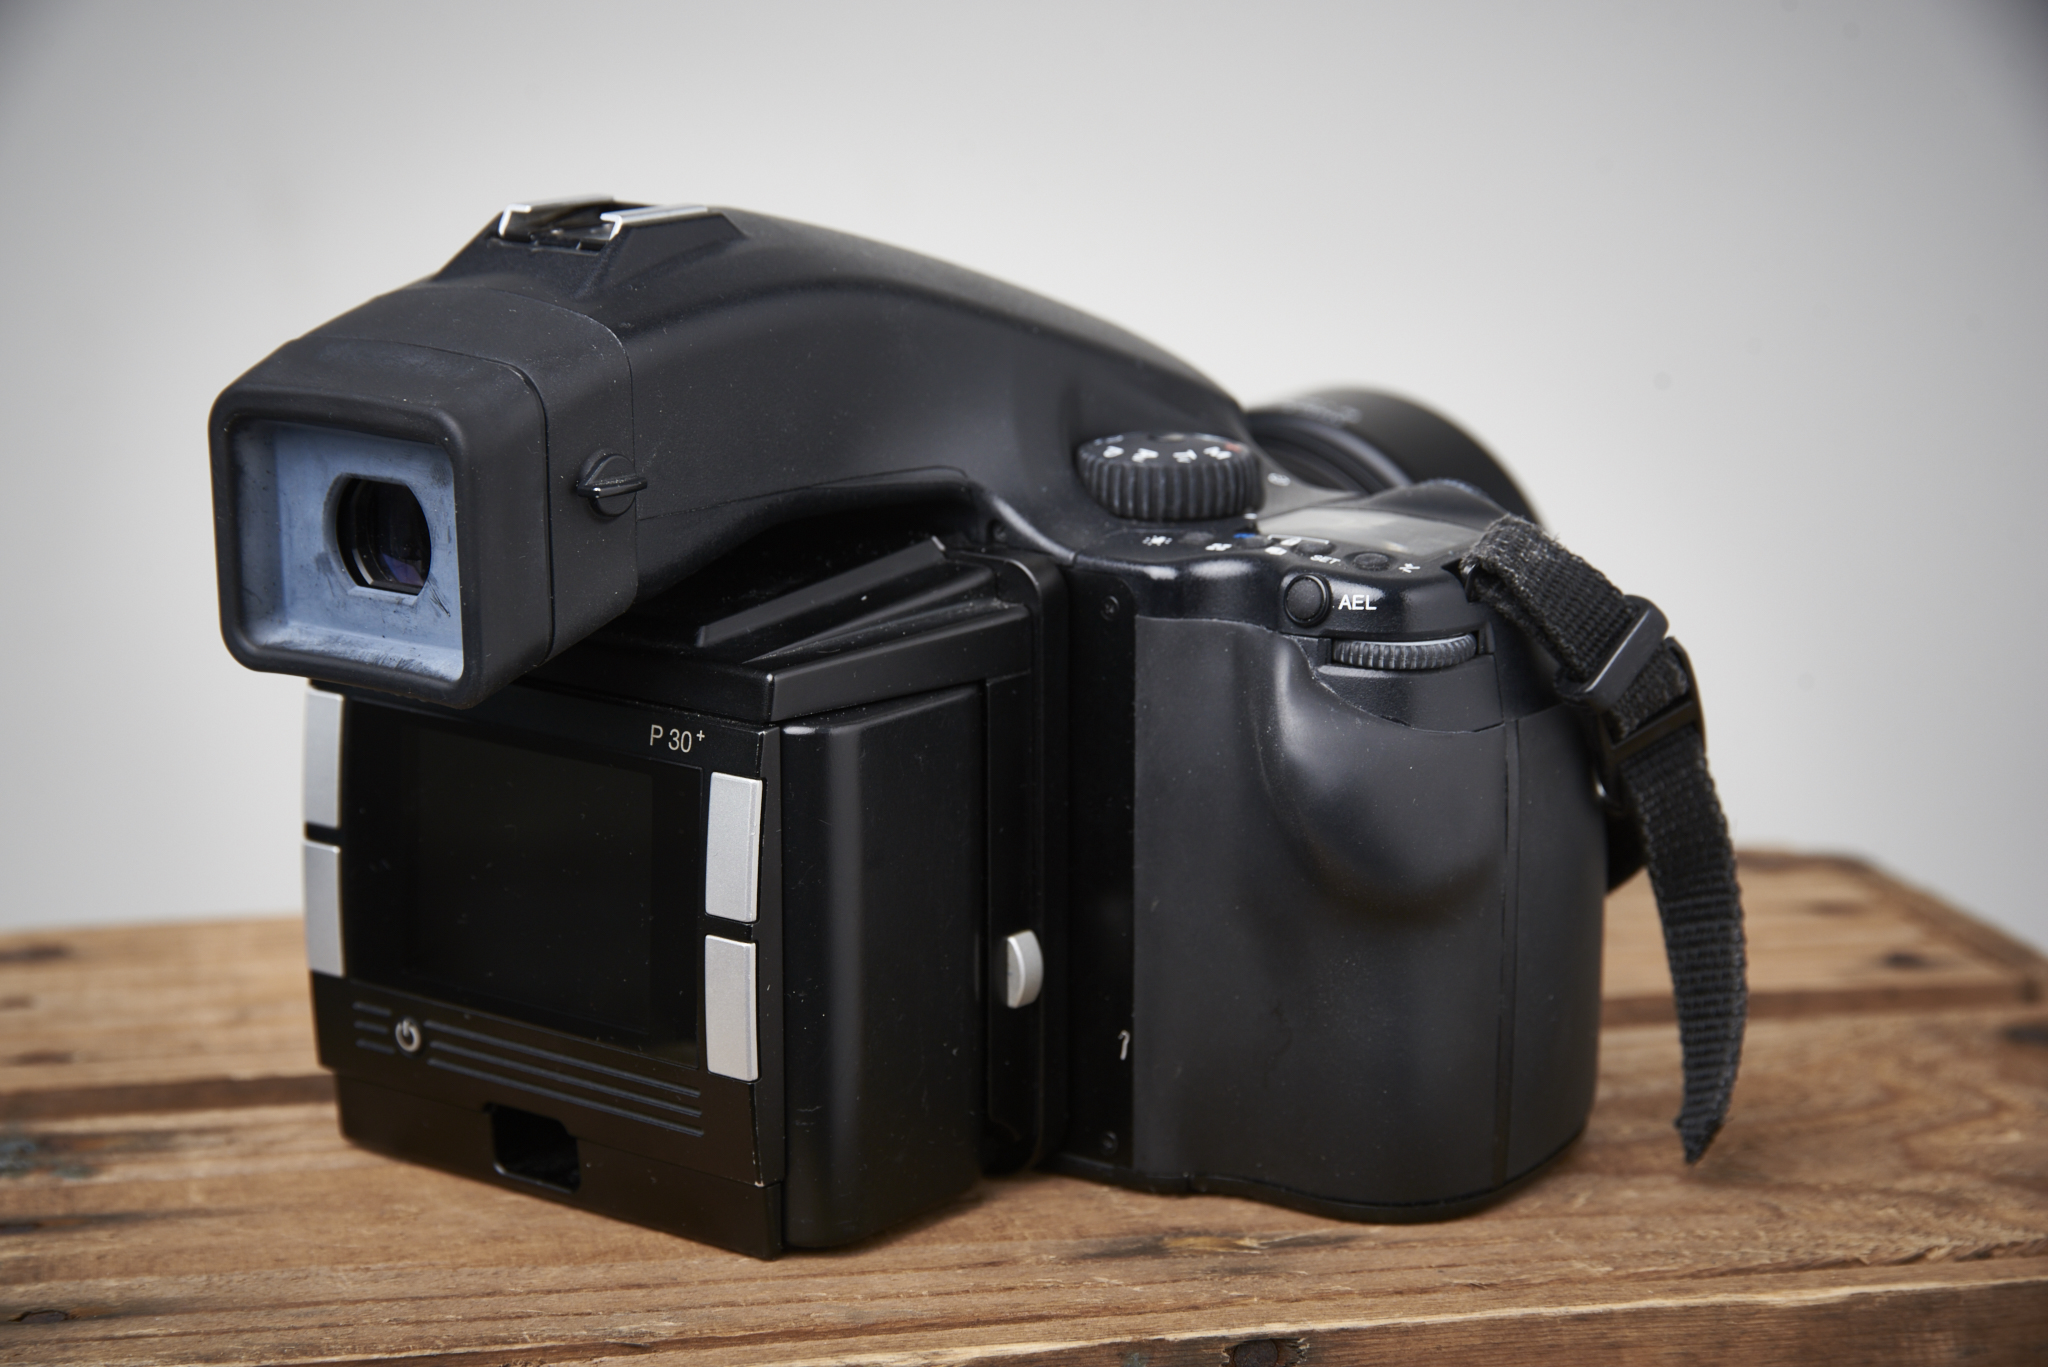
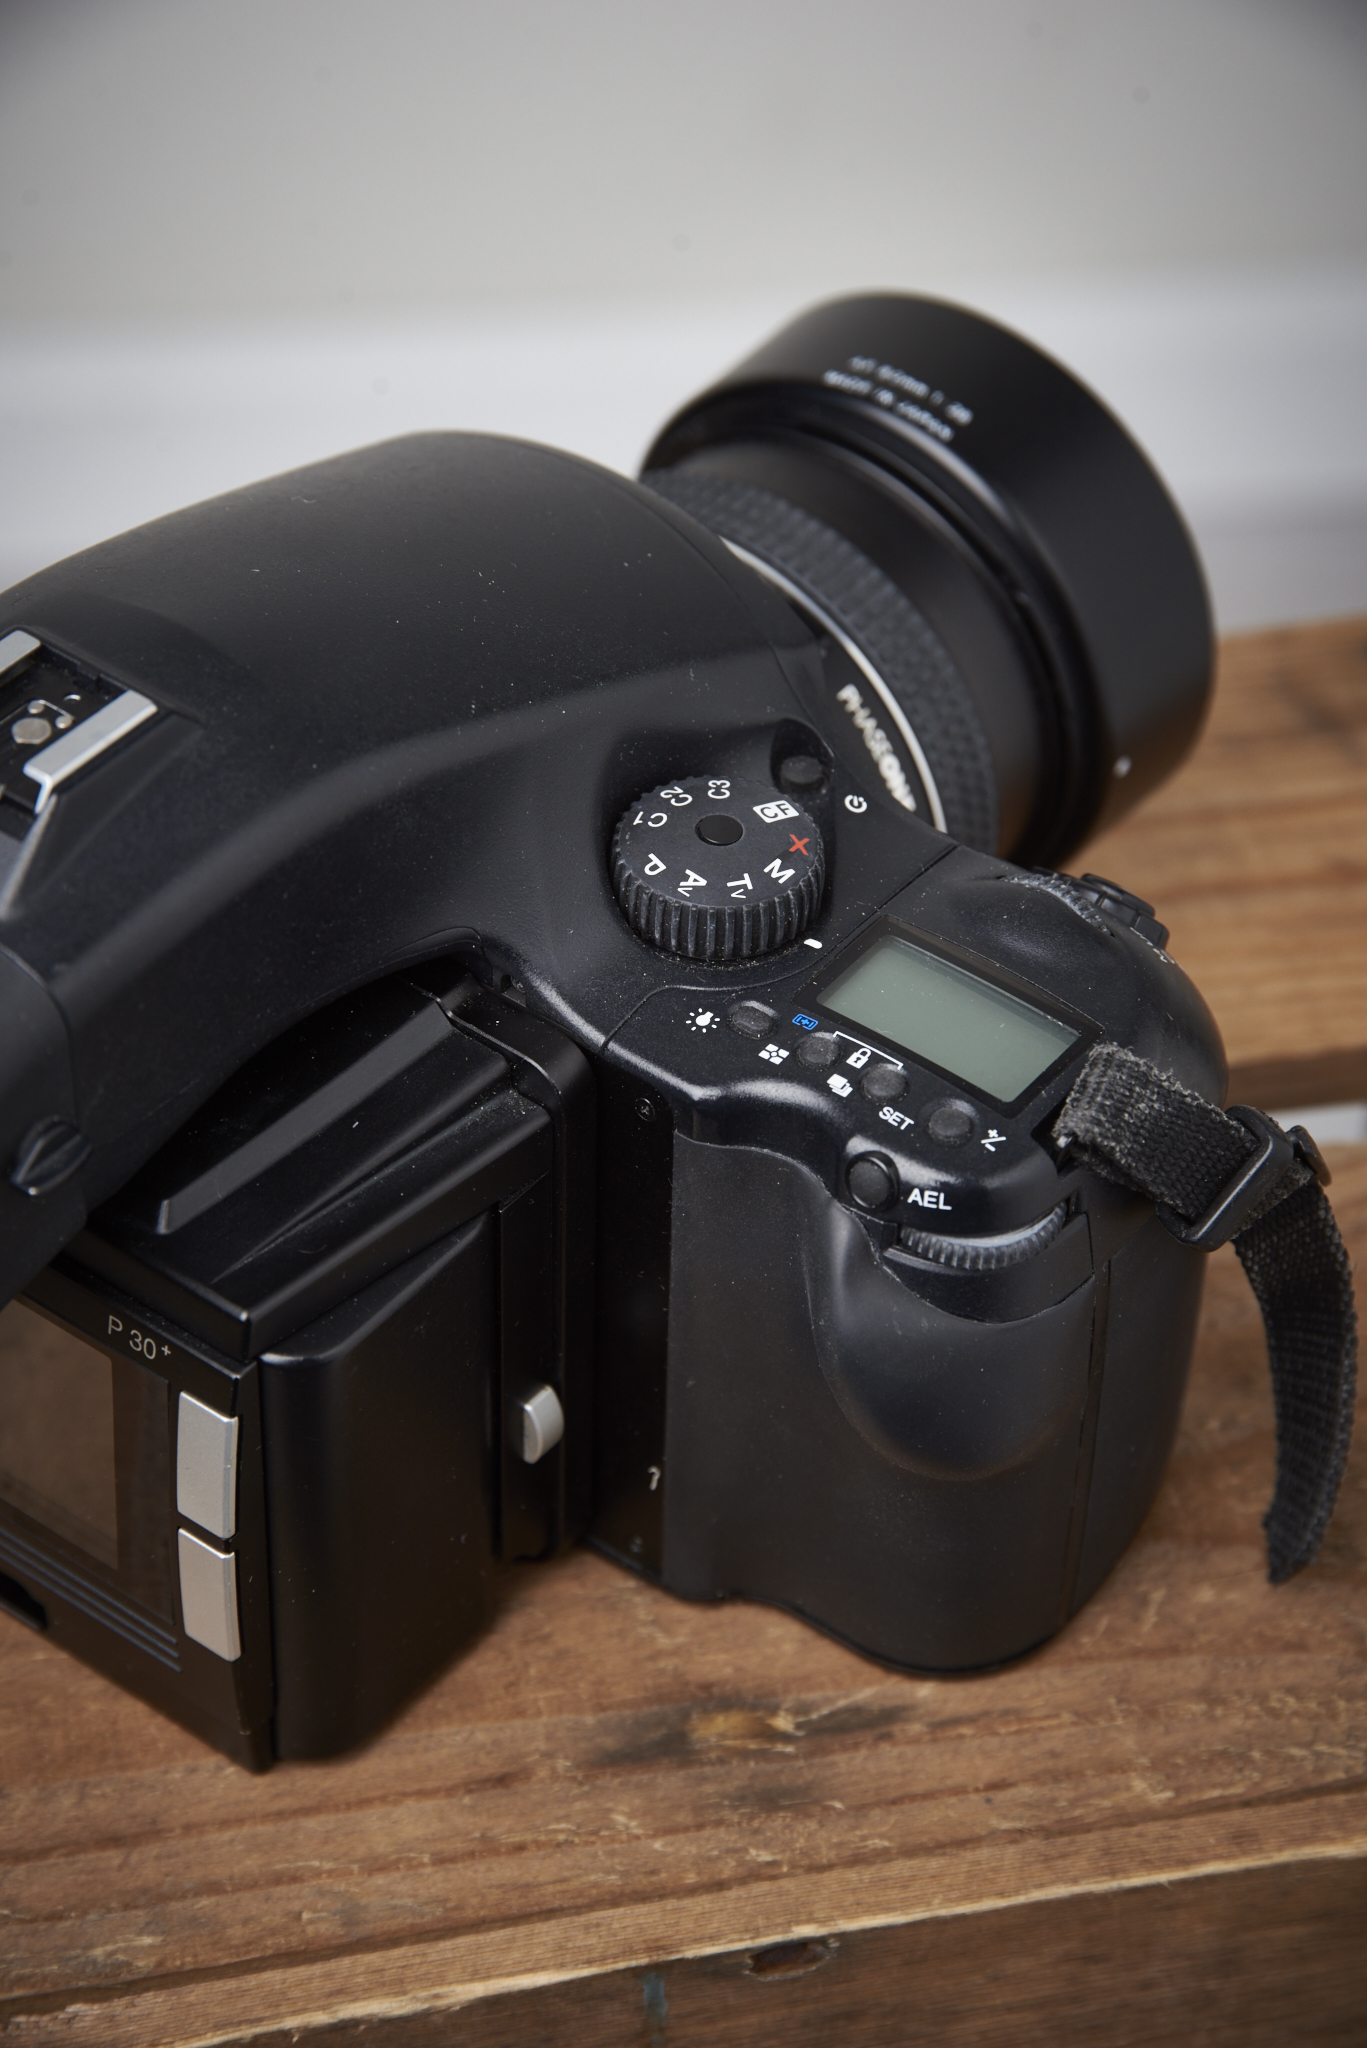
The body and lens
The thing I disliked was the body. and especially the autofocus of the body. Getting critical focus with a wide open aperture was hard because of the singel AF point. You had to focus and recompose without chancing the angle. So you had to move up and down or side ways without moving back and fort of chancing your angle. This was hard! And took a while to get used of. But this is also the point for me to not buy the camera. Because of this I can also buy a back for my Hasselblad 500c/m and focus manually.
Saving up to do
So I decided I have to do some more saving up so I can buy a newer model and also take a look again at the Hasselblad H5D-40 or the X1D!
BTW I got the new Sigma 85mm 1.4 ART lens, I am going to test it soon with a few shoots!
Review: Hasselblad H5D-40
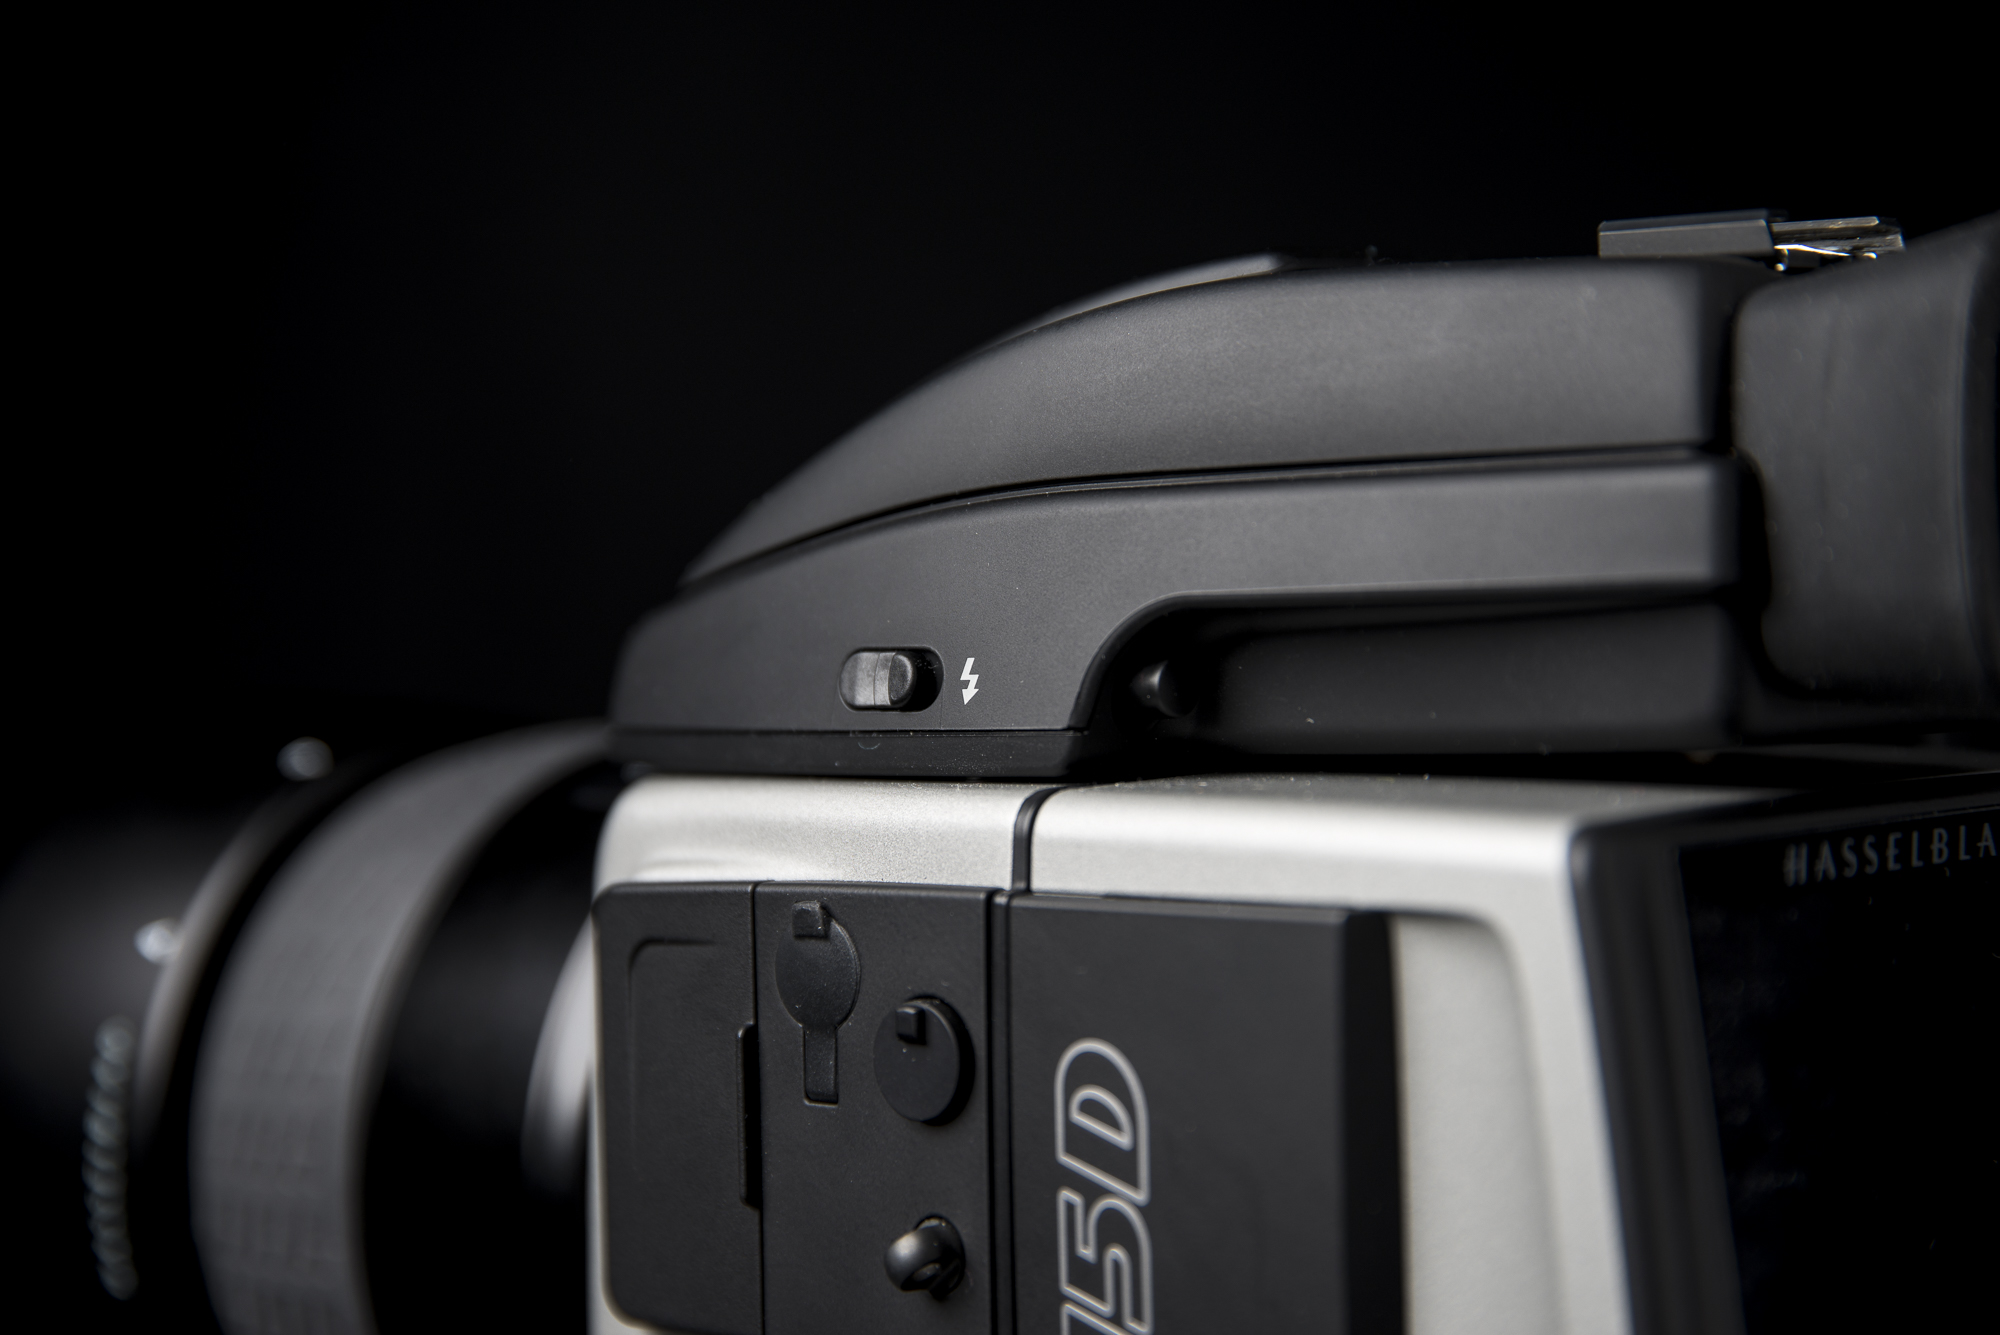
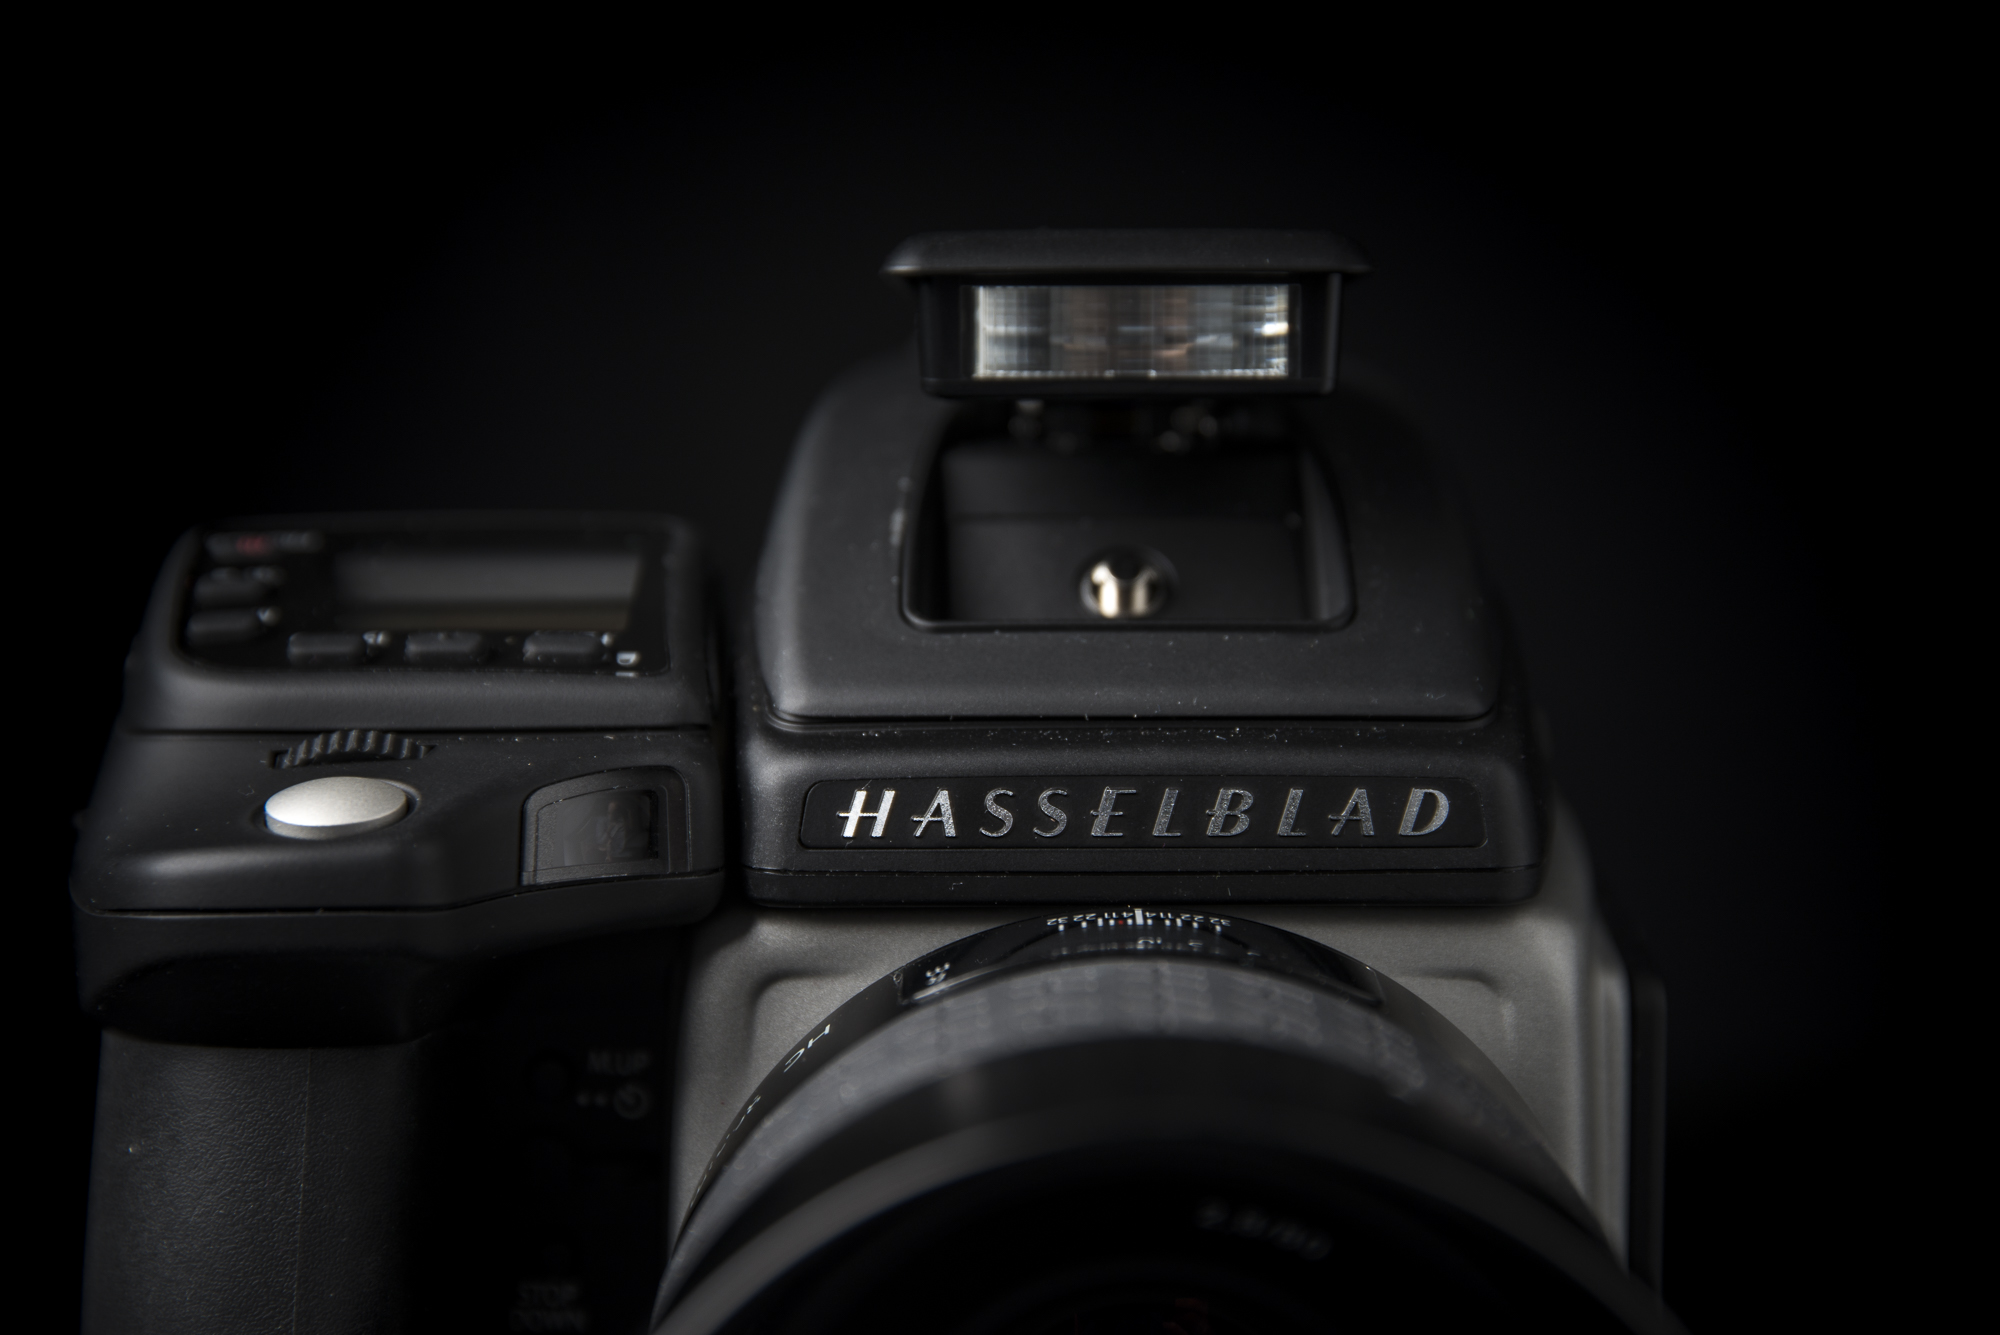
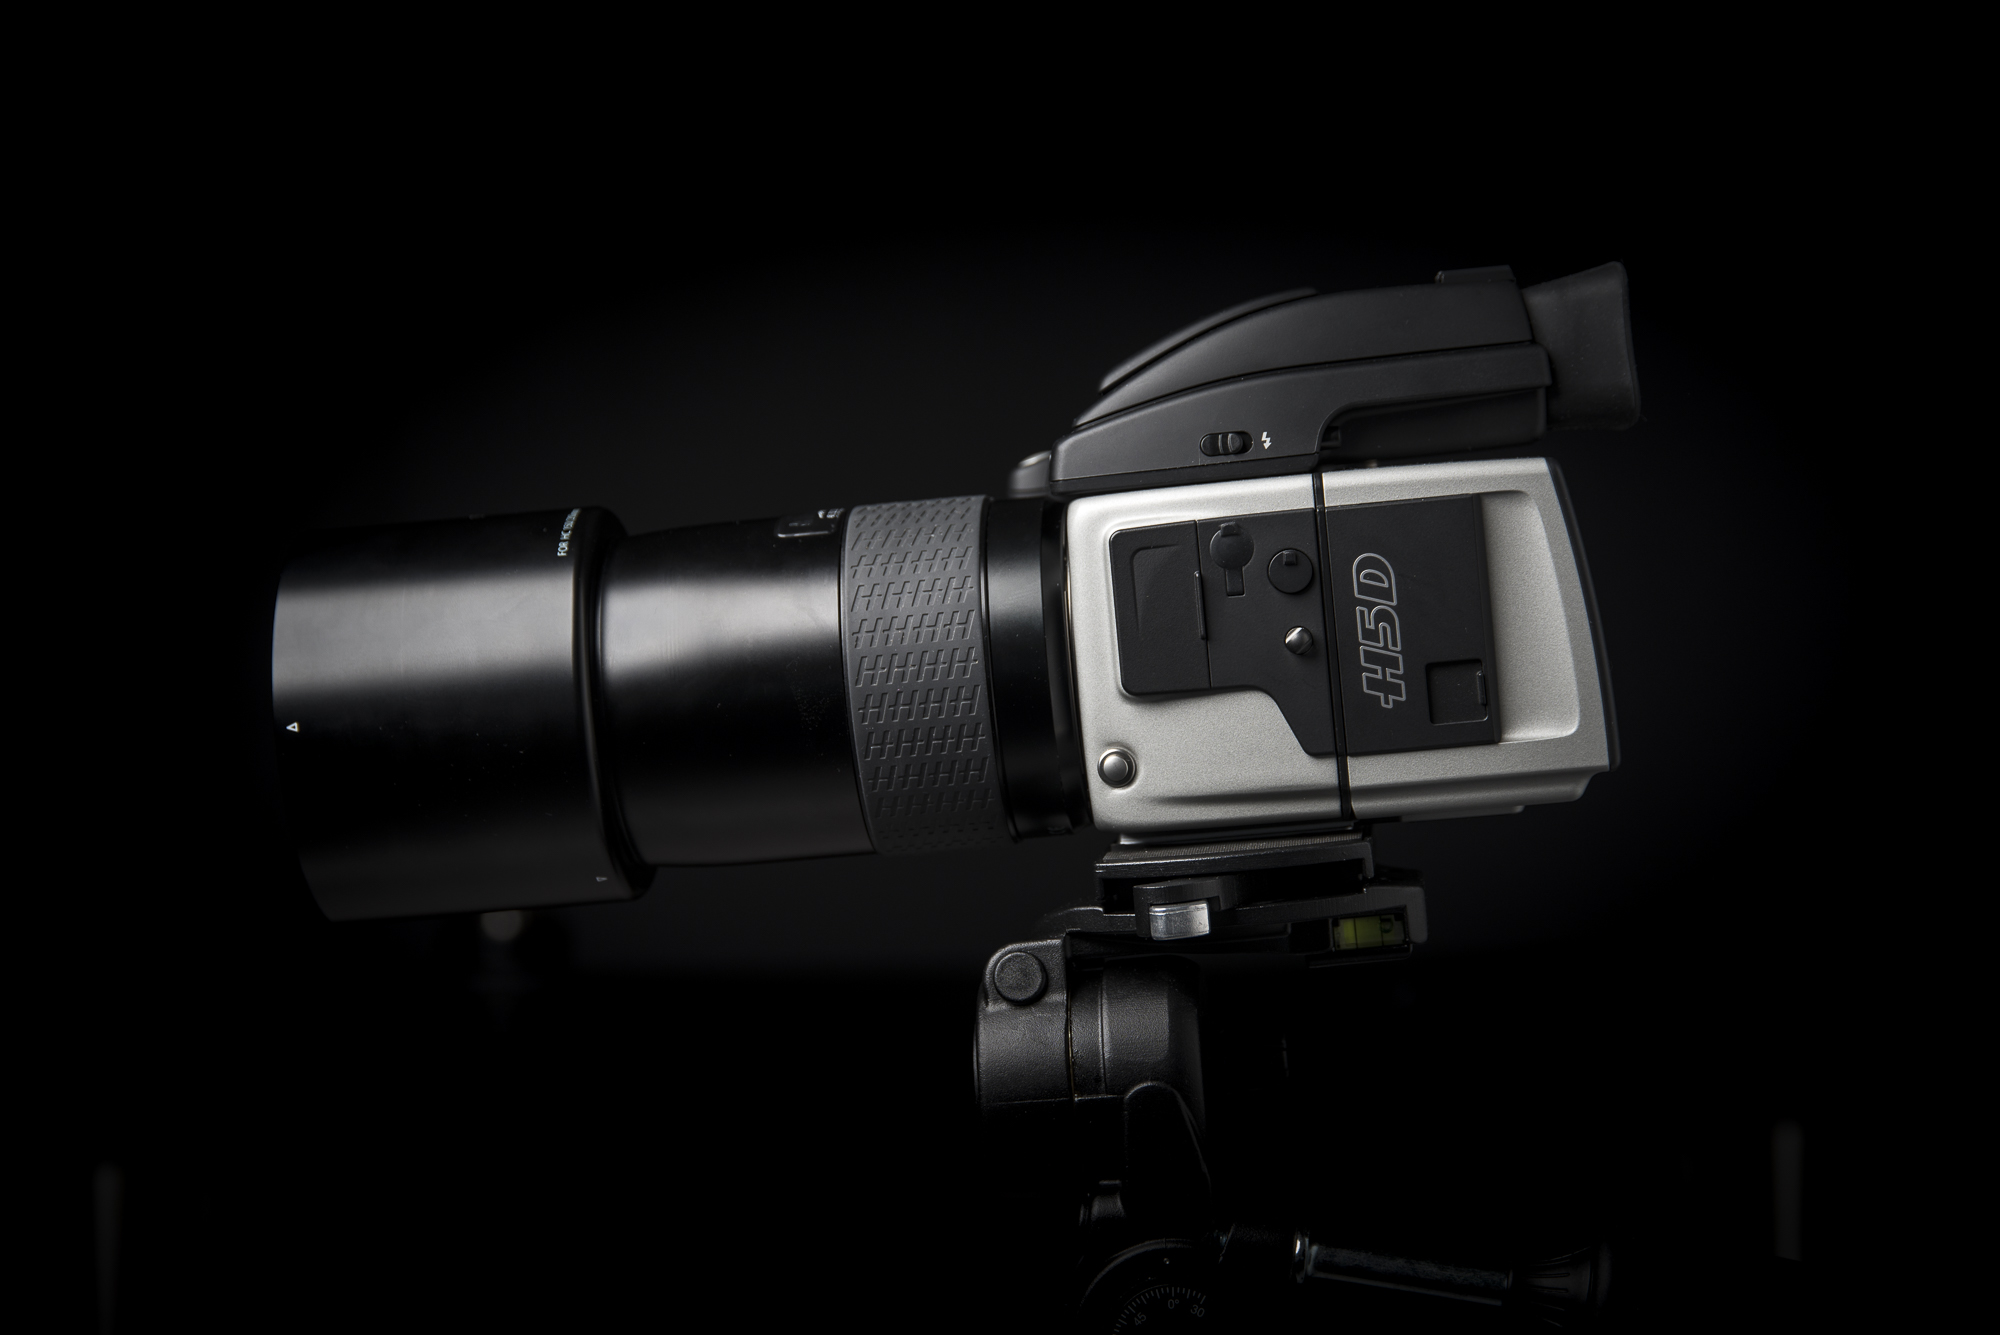
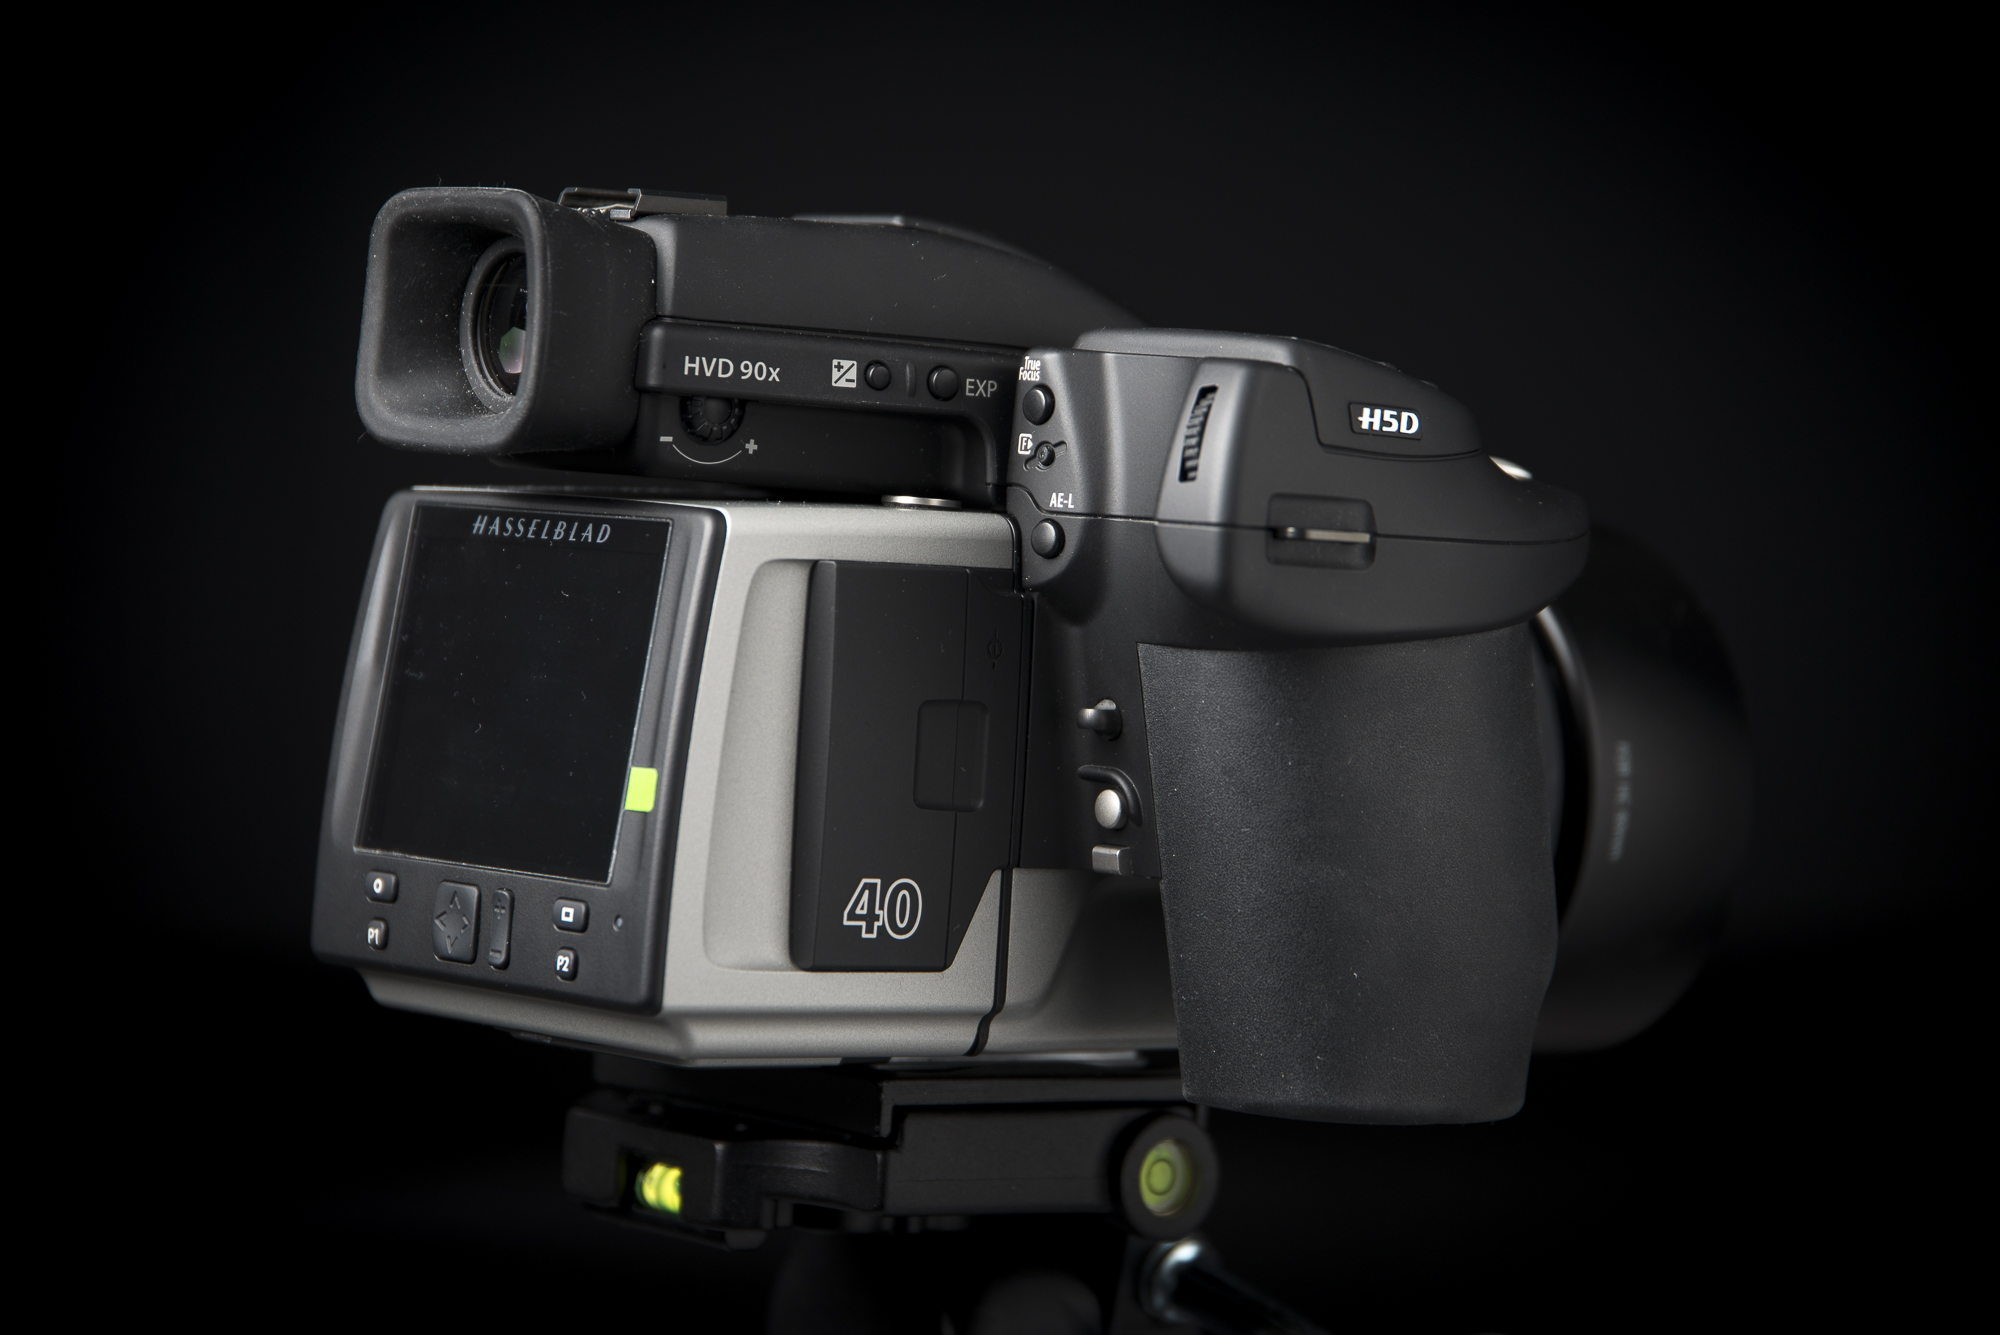
Review of the Hasselblad H5D-40
The next camera I want to buy is a Medium format camera. I currently mainly use the Nikon D800 and D610 camera’s with Sigma lenses, which are great. A lot of times when I see pictures and think what is it that makes this different and standing out it was shot on a medium format camera. So I am doubting between the Hasselblad CFV50-c digital back which I used for the Jazz Museum Rotterdam project (read the review HERE) or the Hasselblad H5D-40 camera.
So for the Ferry Tales project, Pro Spirit (Distributor Hasselblad in the Netherlands) was so kind to loan me a Hasselblad H5D-40 with the HC80mm lens (which is basically the Hasselblad “kit” lens) and the Hasselblad HC 150mm lens.
It’s not about the megapixels. To start this review I first want to set something straight. I have seen a lot of videos about how the Sony A7RII are kicking but with medium format camera’s with high resolution photos and comparable dynamic range for a quarter of the price of a medium format camera. But a medium format is NOT only about the high megapixel count!
The big difference is the sensor size. A medium format sensor is all most three to four times bigger than a full frame sensor. This has a few advantages. At first it gives the pixels a little bit more room to breathe. And give a nicer compression and more beautiful depth of field.
The second is the different aspect ratio. A full frame camera has a 2x3 ratio while medium format have a 6x4.5 or 3x4 ratio. Which is great for portraits, and use for print because the ratio is closer to the ratio of print.
The Camera
The Hasselblad H5D-series body is built like a tank, but also heavy. I mostly used the Hasselblad HC80mm on it. Which is 68mm on 35mm eqv. Which was for me almost all I needed for the project. I only used the Hasselblad HC150mm on a few shots during the project.
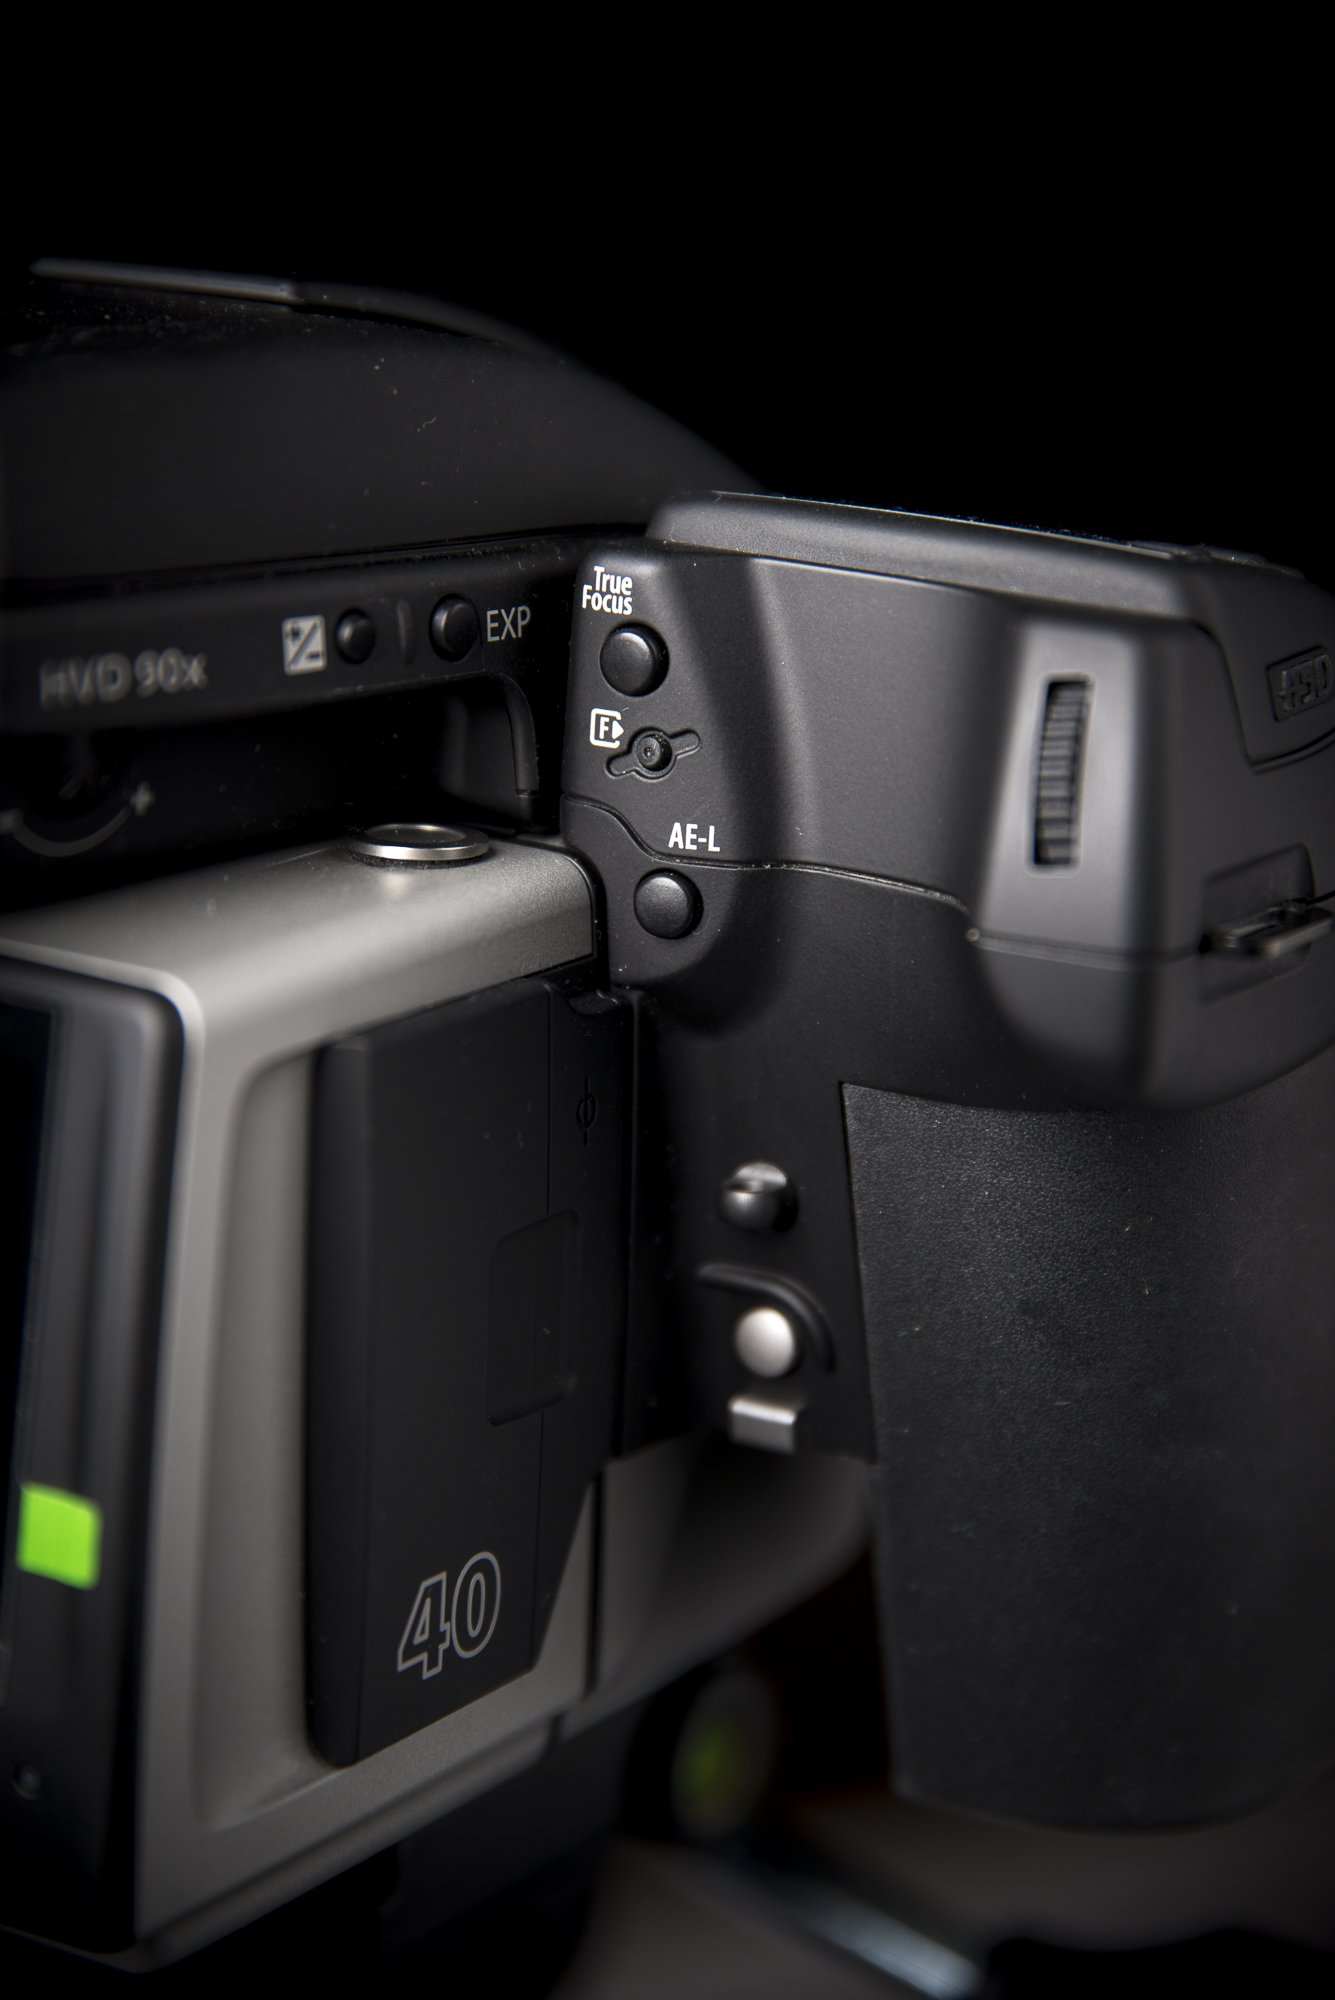
The grip of the button is big but a little thin for my taste and the buttons like the mirror lock-up were a little bit small and too deep to access easily if you were working handheld. All the other buttons are good. I have held a H4D and preferred the H5D buttons and body. It felt more natural.
True Focus
The True Focus system was really welcome! As you might know, a Hasselblad camera has only one focus point in the middle. So you have to constantly focus and recompose if you change the shot. Because when you change the angle of the camera, the focus plane changes, and especially with smaller depth of fields, this means you miss critical focus. The True Focus function calculates the changes in the angle and corrects the focus. This means that when you focus and recompose the immage stays sharp.
Do note that when you move back or forward this is not being compensated. It only works on the up/down and left/right angles.
Phocus software and (app)
A pro of Hasselblad is that they have a free basic editor/library called “Phocus”. Although it is the best RAW-converter for Hasselblad files I mainly used it for shooting tethered to my iMac and rating the photos. Most of the editing was done in Lightroom CC because it has better/faster integration with Photoshop. But that was mainly because for the project I had to do a lot of extra photoshopping and stylizing. For the Jazz Museum project last year I almost did all the editing in the Phocus software program!
I also really loved the free Phocus App. I had this on my iPad, with this app I could walk around the studio while shooting and review the image and rate it on the iPad. I could also use it to show the model the images and guide to where I wanted them without them having to leave their place. Or I could use it to remotely fire the camera. So I could be on another place changing light or guide the model without being hid behind the camera and lighting.
The lenses
For the project I had three lenses the 80mm f2.8, the 150 f4 and 50-110 3.5-4.5. One thing before I go into my opinion of the lenses, the image quality of all the lenses are fantastic! So I will not go into image details but more the feel of the lenses and what I used them for!
HC 80mm f2.8
This is the Hasselblad “Kit” lens. and what a lens it is! I really loved this one! I could photograph nice environmental portraits with it or really unclose without any distortion. If there was only one lens I would be allowed for the rest of my life, this would probably be it!
HC 150 3.2
This is what I thought would be THE portrait lens. And it is, but I didn’t use it a lot. Because of the length of the lens I sometimes had to get to much distance between me and the subject if I wanted a bit more than a head shot. So preferred the HC 80mm a little bit more. Non the less, this is a great piece of glass. And if I would be a fulltime headshot photographer this would be it.
The HC 50-110 3.5-4.5
This is standard zoom lens for the Hasselblad system and the most all-round lens. But it has a big disadvantage. It is HEAVY!!! With the weight of 1650g it is too heavy to shoot handheld all-day or use it as a walk around lens. But the zoom capability made it really all-round and easier to compose my shots.
The photos
The photos from this camera are just amazing especially the color and skin tones. And you can get a lot out of the RAW-files. There is a lot of detail and dynamic range to play with. Straight out of camera the pictures all-ready looked “Finished”. Of course you have to do a little bit of styling to get it to your own style and taste. But you get the point…
Also in post with retouching the 40 megapixels files where a blessing. There was so much information and detail you could retouch with great precision. But maybe this is also a con, because you really see all the mistakes and flaws also.
But where for me the big files really started to shine were on print. I made some A3 an A2 test prints and they already looked nicer then the 35mm shots. It is that thing that when you look at a photo and think what is that thing what makes this photo just that bit more special.
Below are a few images form the Ferry Tales project:
The cons
Of course the medium format cameras are not jack of all trades. Medium format cameras are for me best in the studio or controlled environments. Although the newer CMOS-sensor cameras are also better with High ISO I wouldn’t see myself using it with a concert or while traveling (alone) or shooting a wedding. Of course they are great for landscapes and outdoor commercial work, but they are heavy. And not to forget with the bigger mirror they are louder!
The H5D-40 still has the CCD-sensor which basically means, don’t shoot over ISO 400. Every once in a while the camera will error up, which means you have to remove the battery to fully restart the camera.
The last con is the dust. I don’t know how, but these cameras eat dust. Two or three times I had to remove the back to blow the dust of the sensor.
The conclusion.
The Hasselblad H5D-40 is the ultimate camera to start with as the next level up from 35mm camera’s. It will not be everybody’s cup of thee. They are heavy and get dusty really fast. But when you’re working commercial or as an art-/landscape-/portrait-photographer who sells prints these cameras are essential! Like I said the camera gives you that thing when you look at it and think what is that thing which is just making this images that bit more special.
And yes they are a bit expensive to start with. But if I look at the amount of gear I bought through the years I could have bought 2 or 3 of them. So for the next year I am going to save up and buy one! because it will give me that next level to make me stand out!
If you like the review please leave a comment below!
PS:
Please keep in mind, that the images will be as good as you are as a photographer. Is your lighting, settings, composition or whatever wrong… The camera won’t fix it! It has less fancy stuff to correct your mistakes then a DSLR of Mirrorless camera!
Ferry Tales: Work in progress
Hi All,
For the people waiting for the weekly blogpost, sorry I am late!! This is due the Ferry Tales project I am working on. We finished the forst three days with 9 of the 20 shots. Tomorrow we will start another run of two days with 9 shoots
You can follow the project on the Facebook page. I will post daily BTS video, photo's and work in progress shots!
Here are some of the first finished photo's
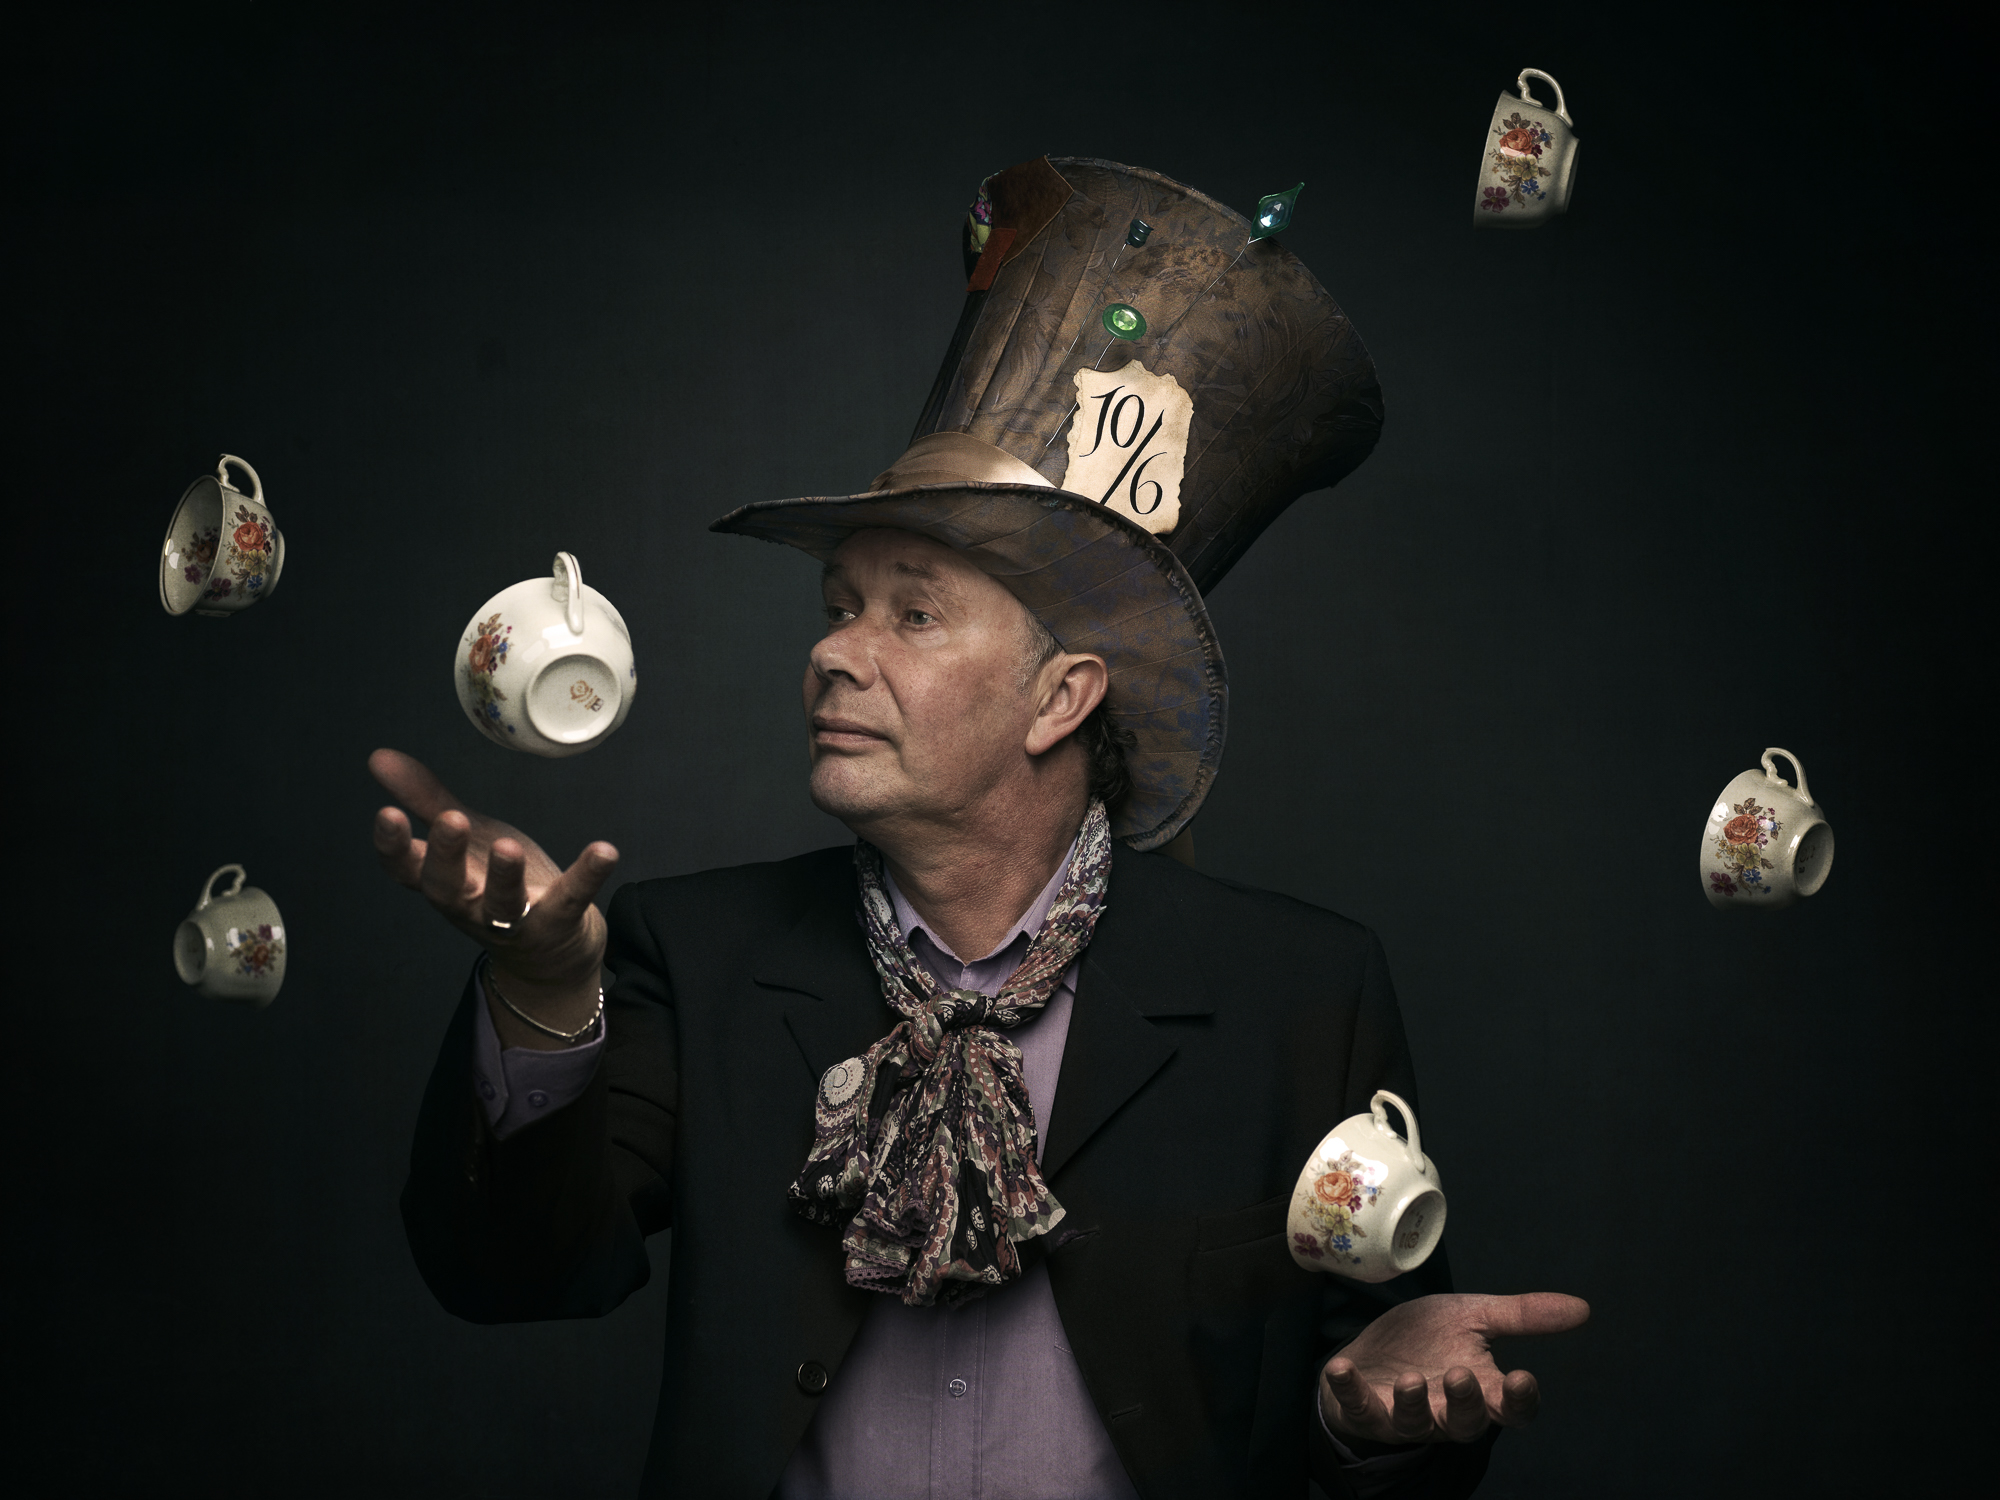
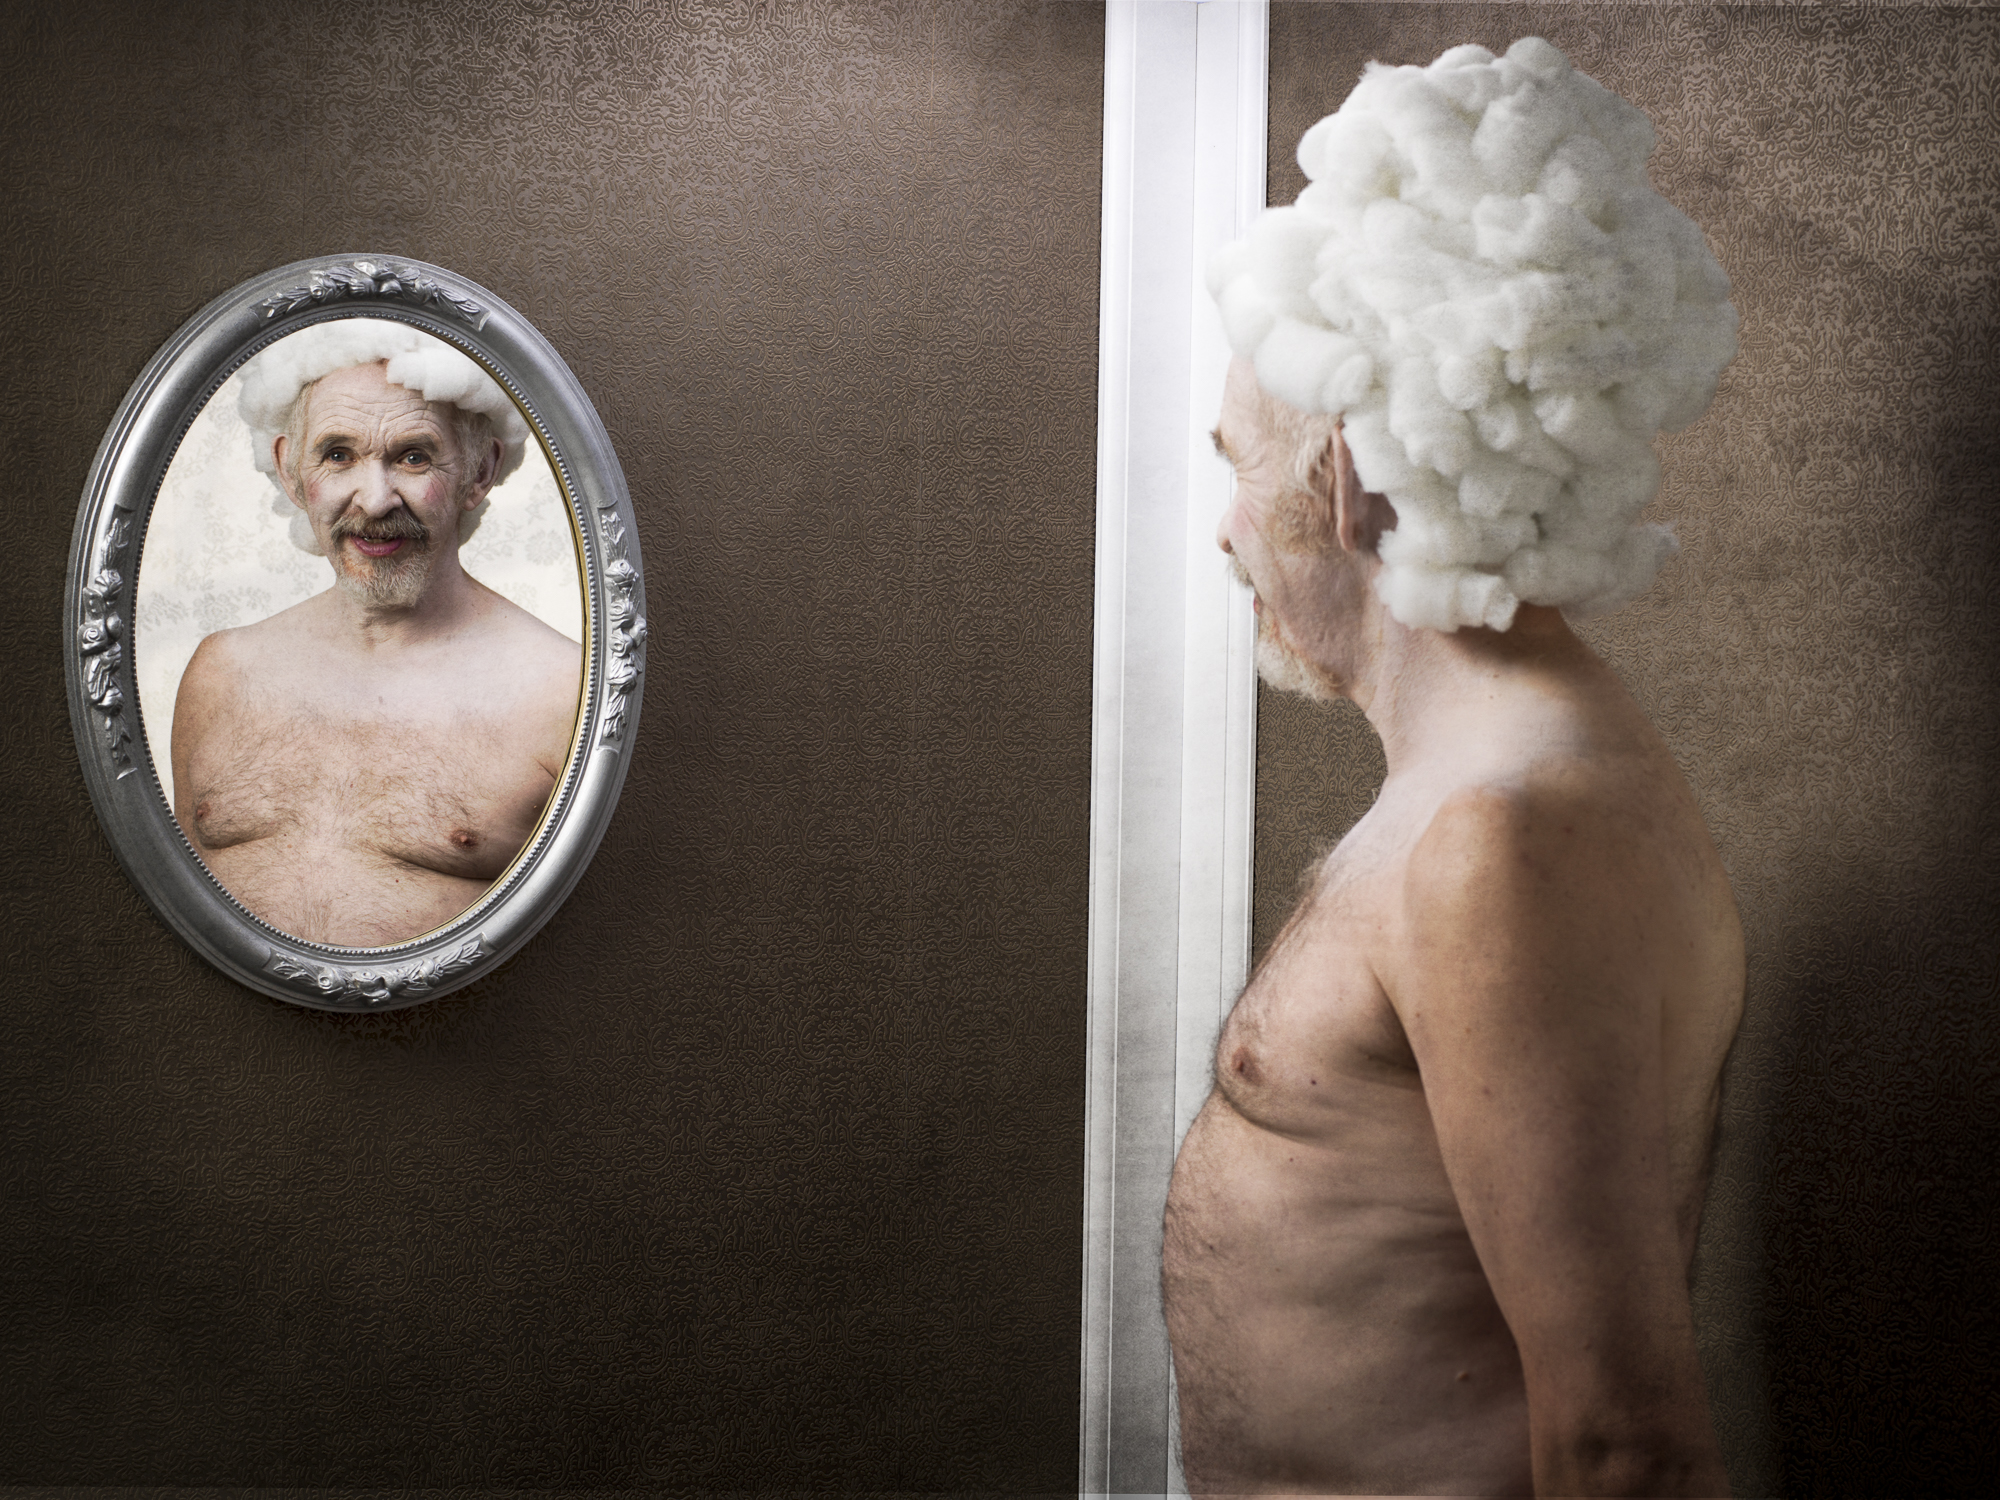
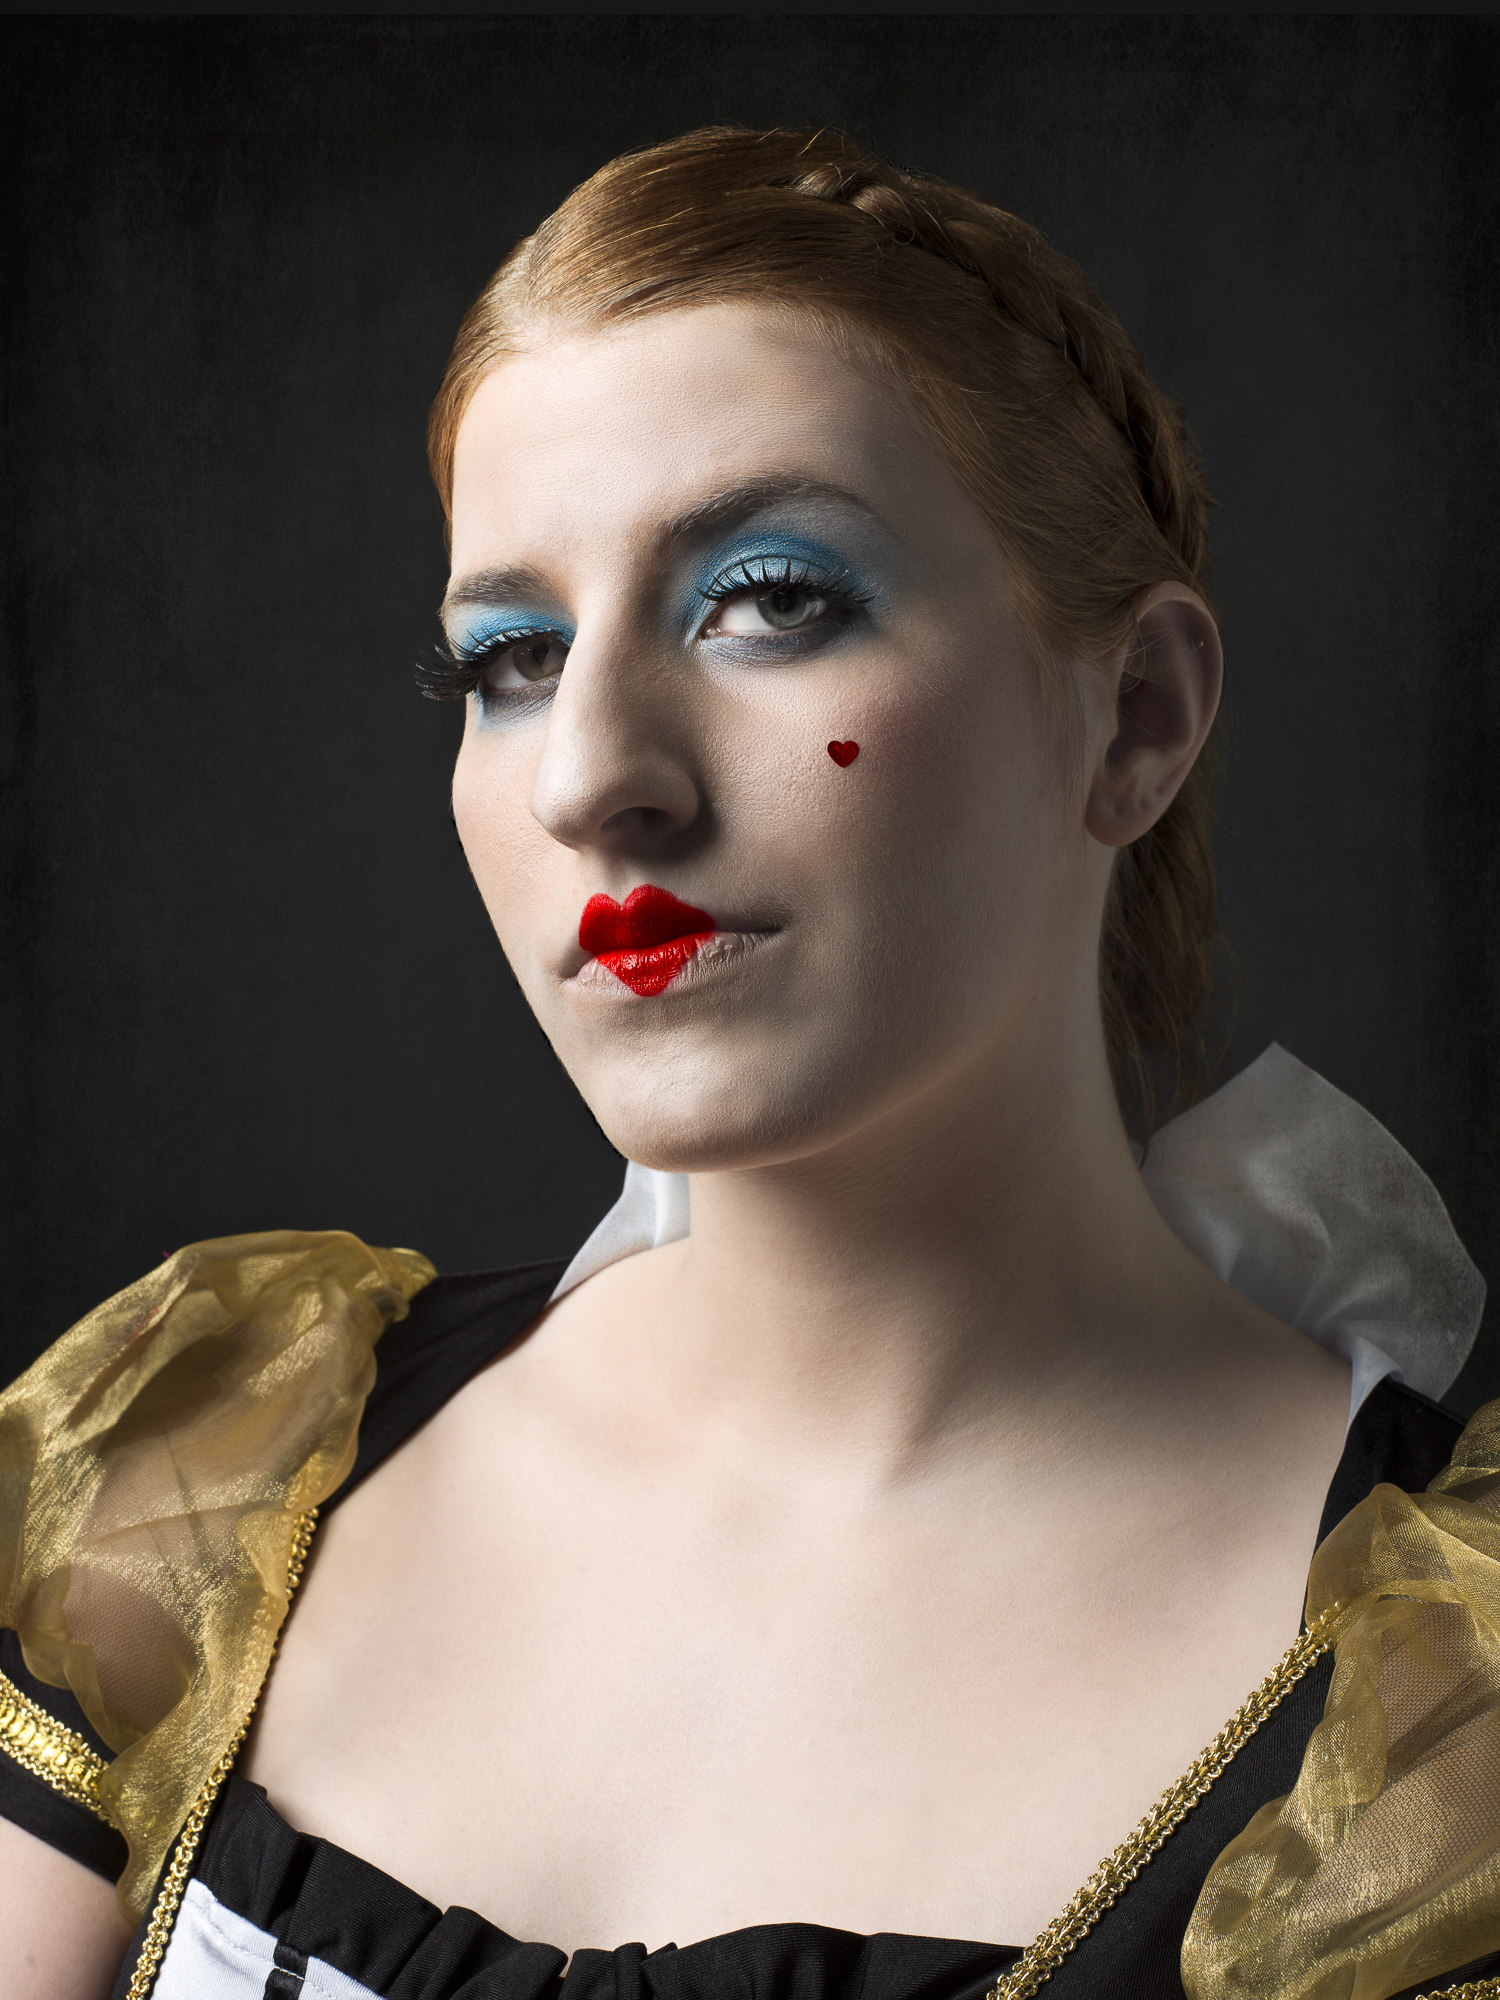
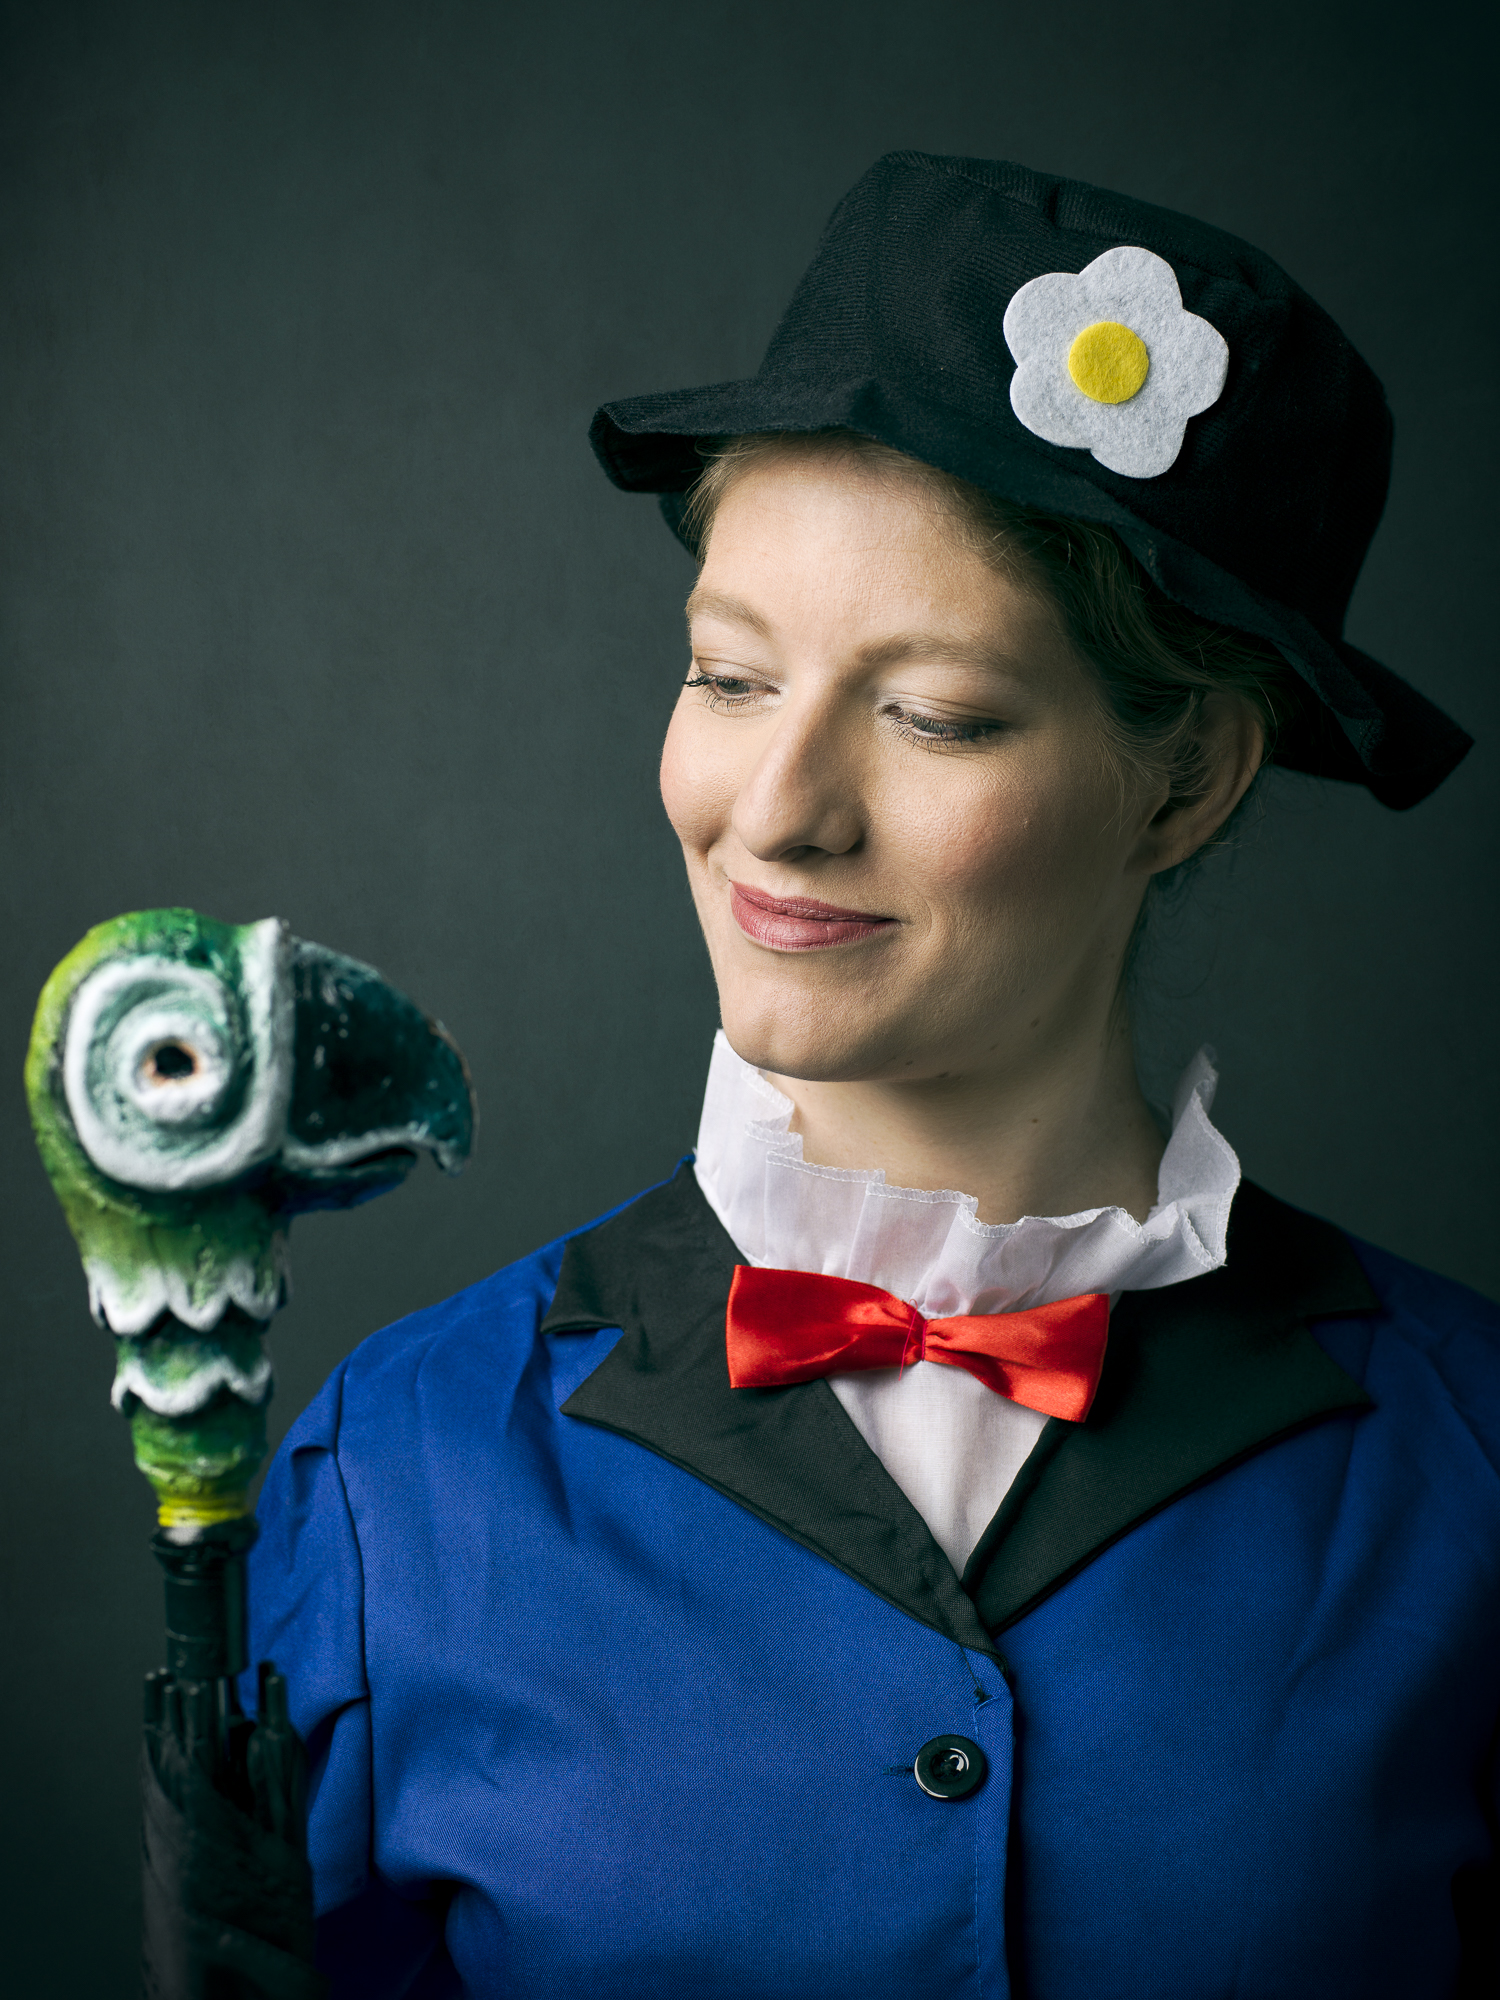
All shots are taken with the Hasselblad H5D40 with the HC80mm 2,8 lens!
MUA: Suuz Brouwer!
Hasselblad Live in Zwijdrecht
Saturday I was at the Hasselblad Live event at American Lifestyle in Zwijdrecht (Be). It was a nice event to visit and to be reunited with the Hasselblad CFV-50c again. I already have posted a review a couple of weeks a go. You can read the review blog of the Hasselblad CVF-50c HERE.
Here are some of the pictures I took this weekend. A lot of them where made handheld at ISO 1600. Which was a challenge, shooting hand held with the 500C/M at 2.8 or 4. Don't forget that the depth-of-field of medium format camera's is a lot smaller then with full frame of crop sensor camera's! And the 50 megapixel resolution is very unforgiving, every mistake you make you will get back! So to be honest it isn't my best work. I rather shoot in the studio or a more controlled environment, but the Hasselblad CFV-50c did a great job!
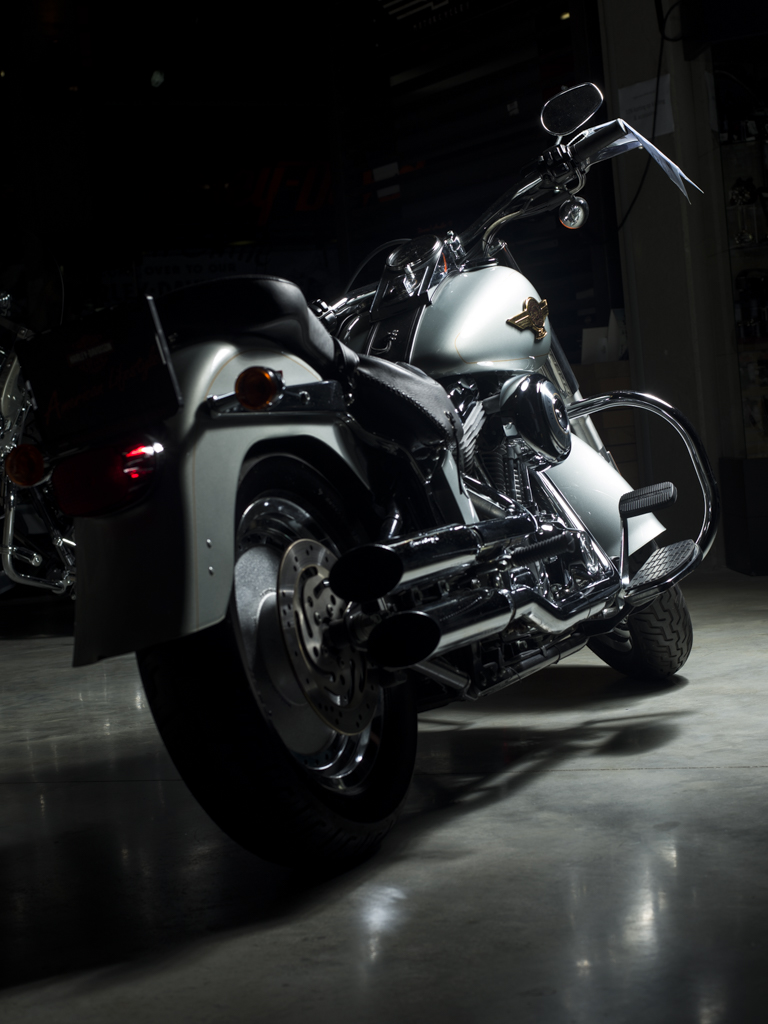
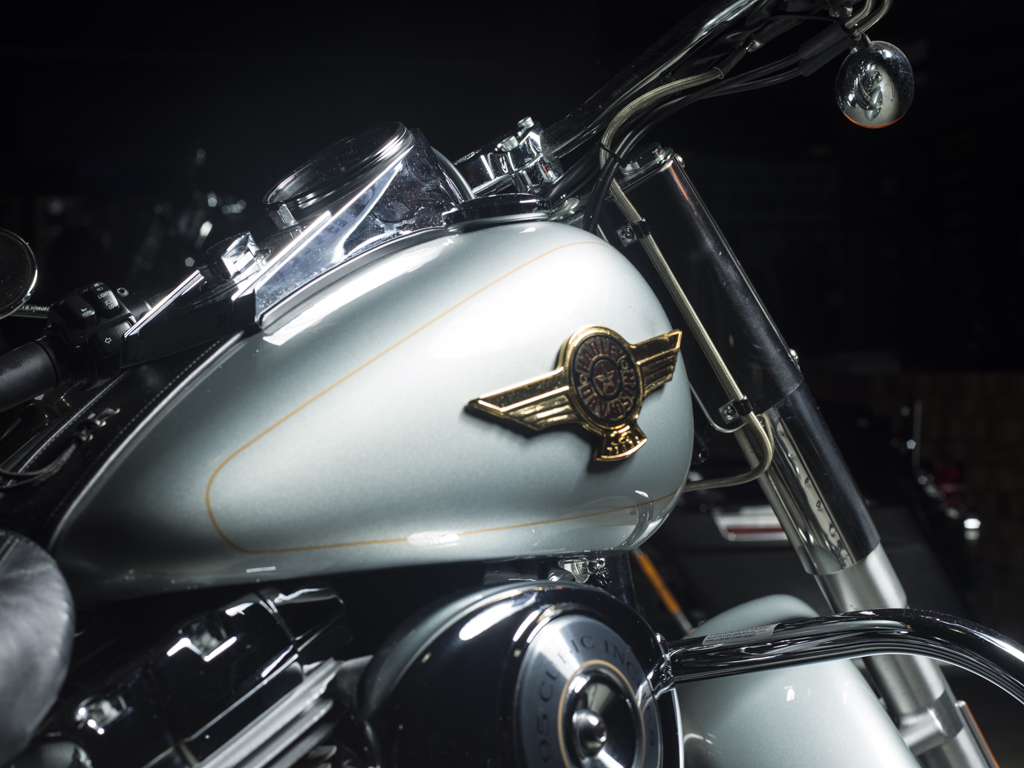
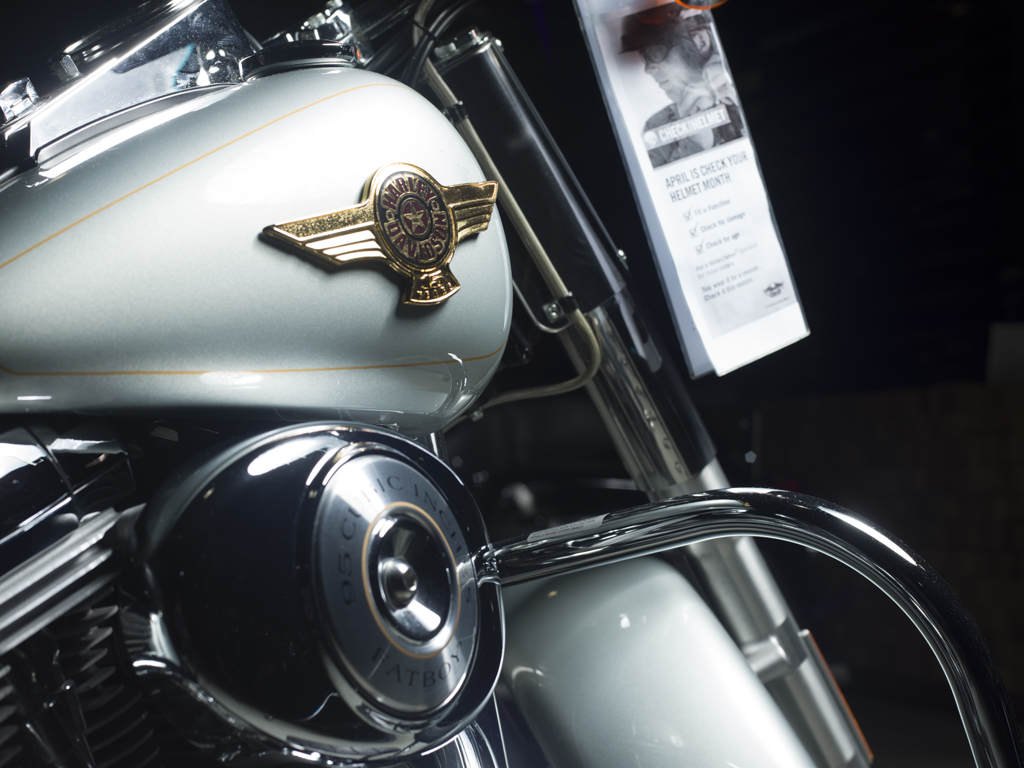
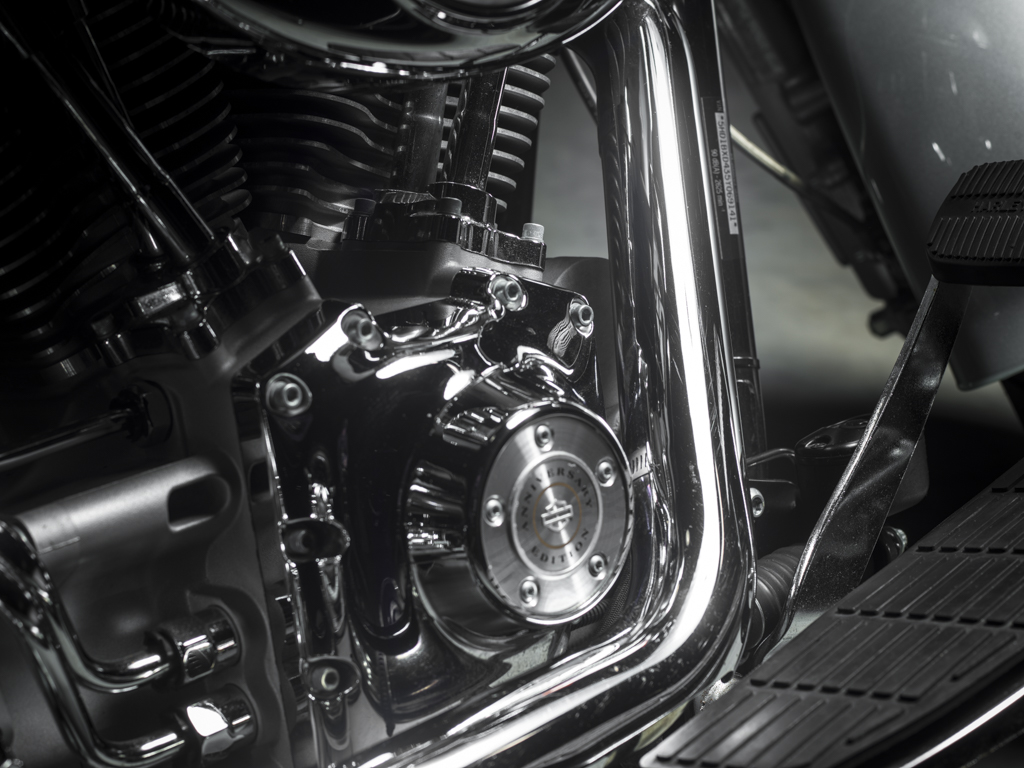
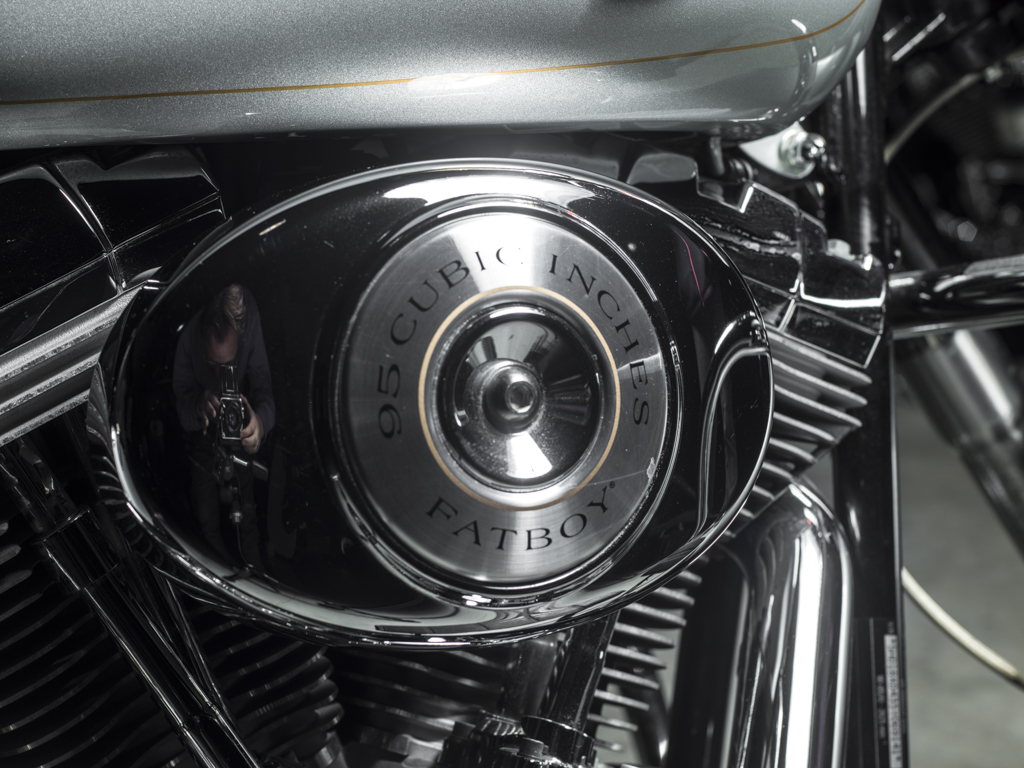
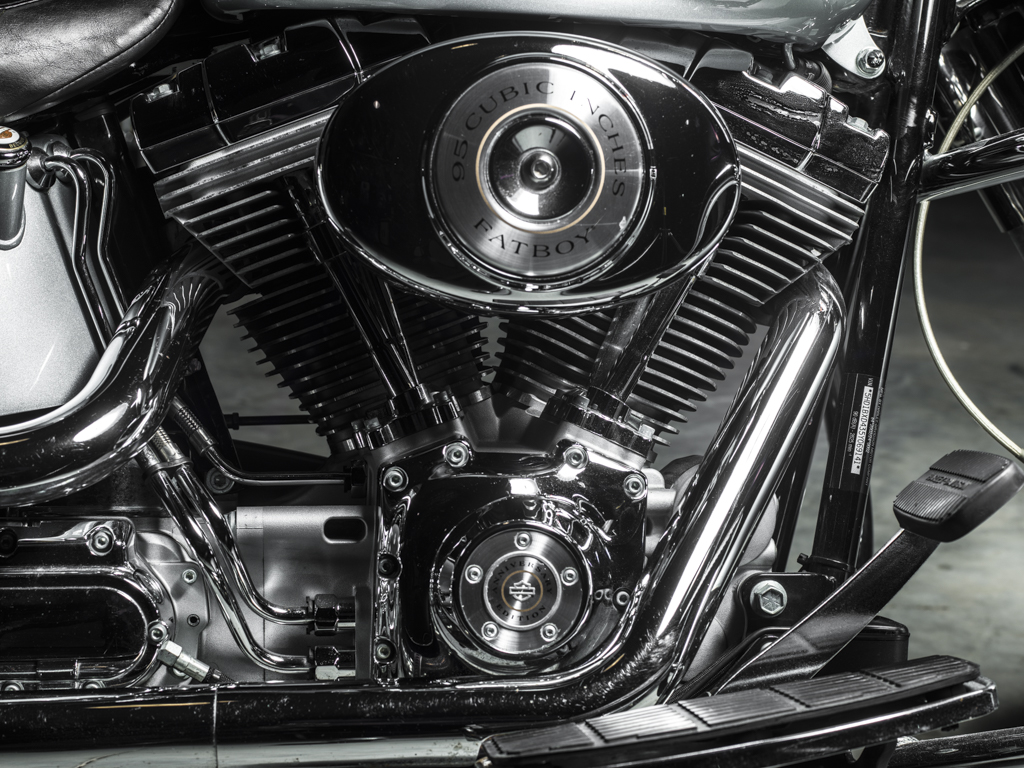
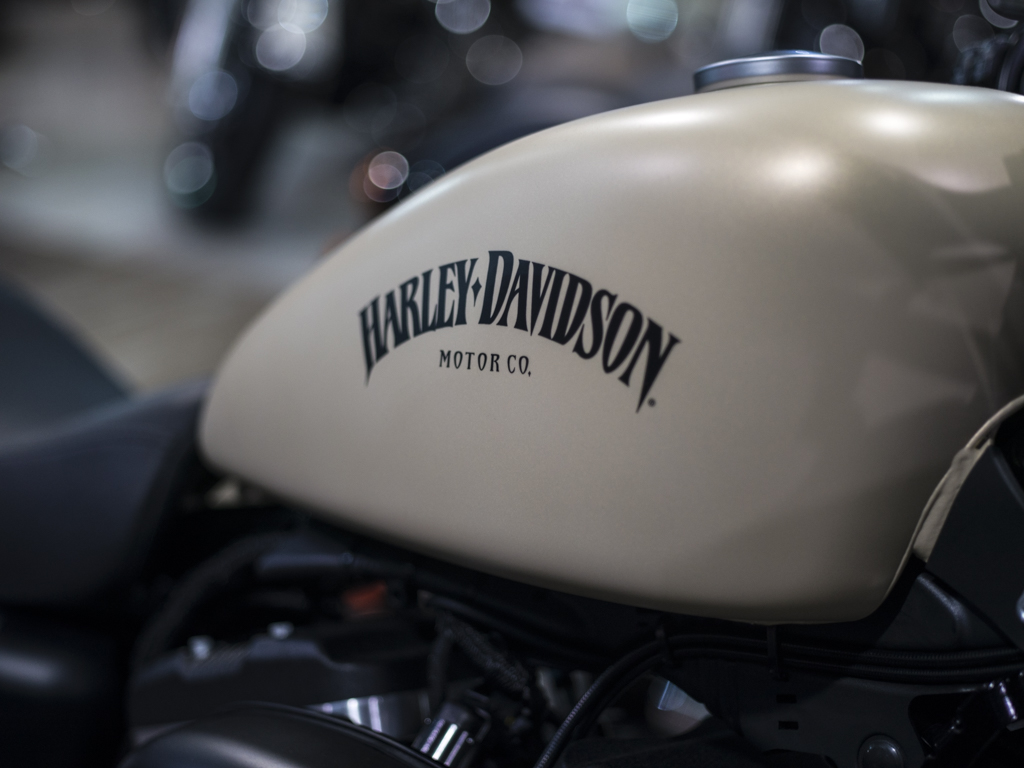
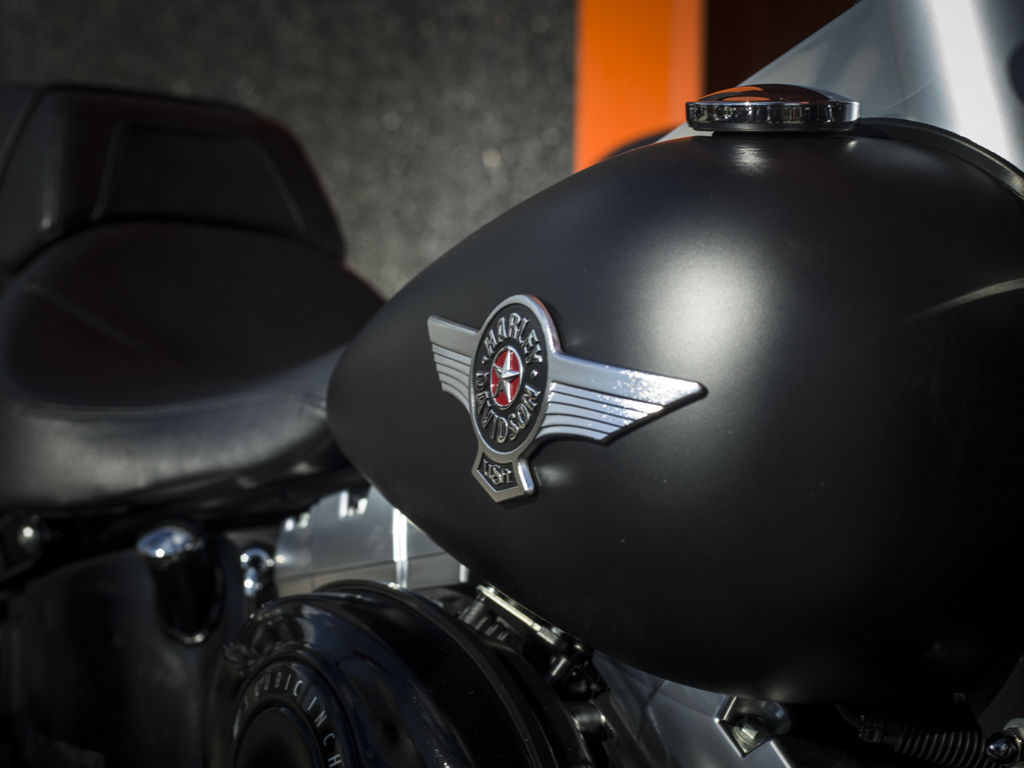
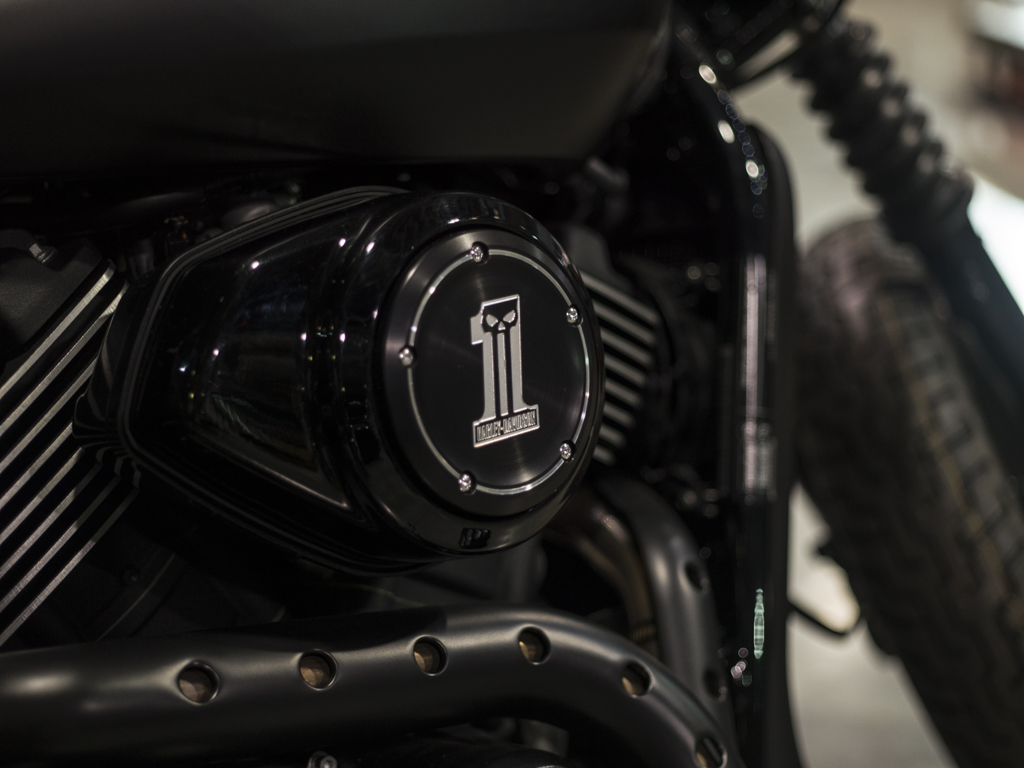
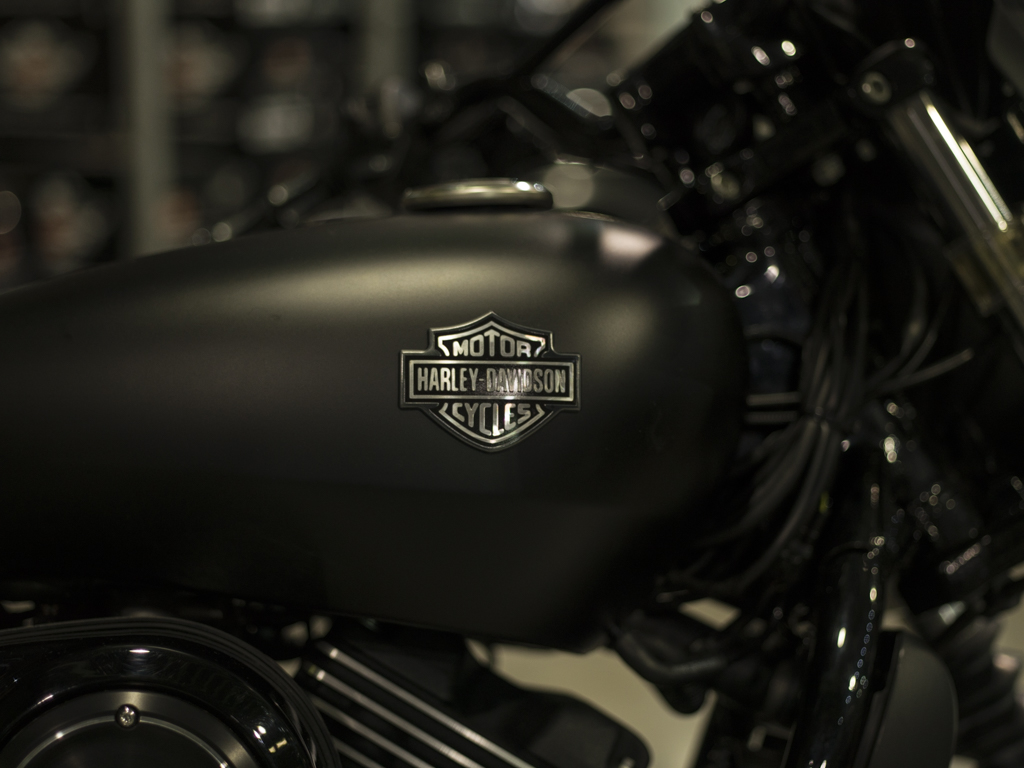
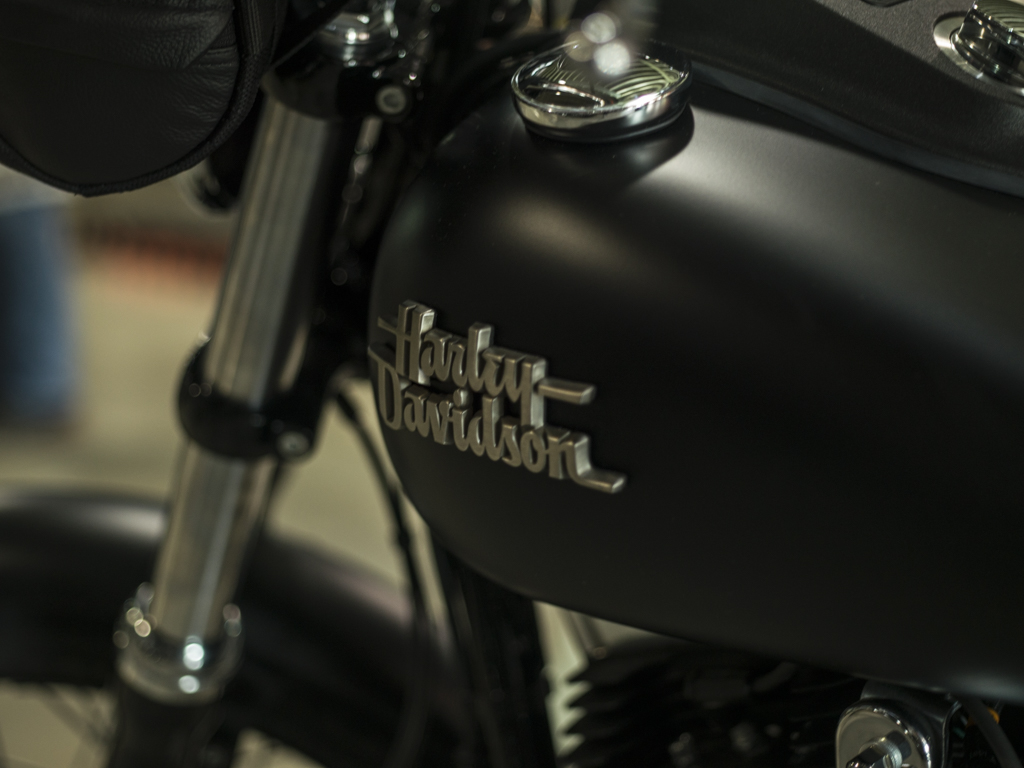
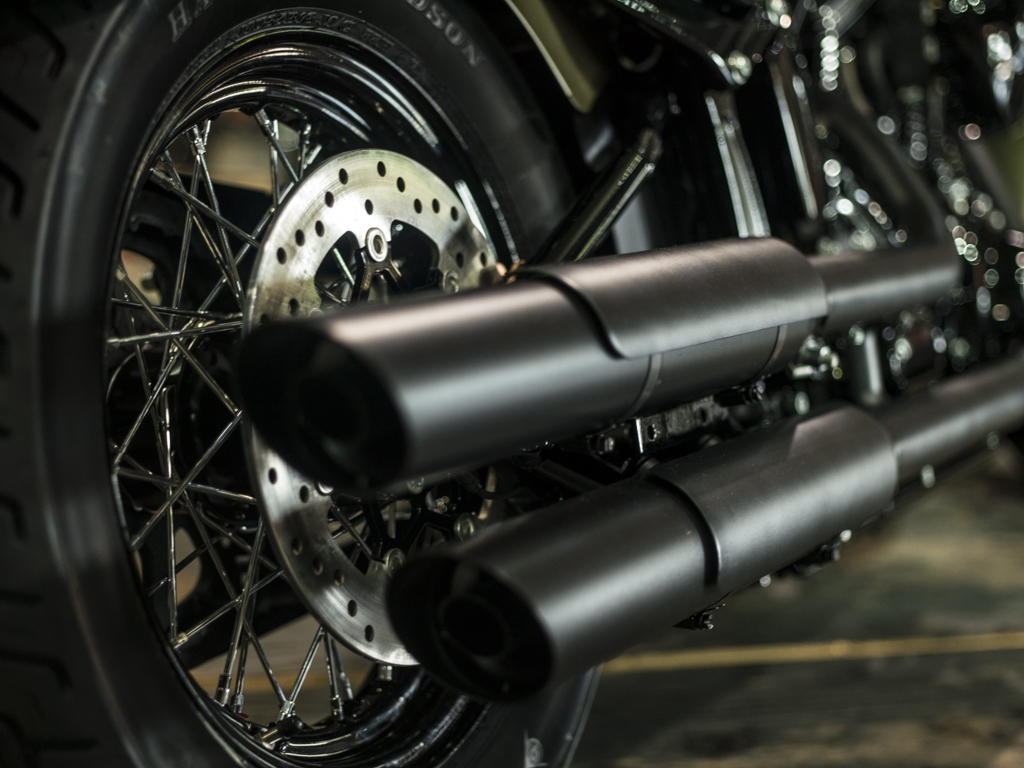
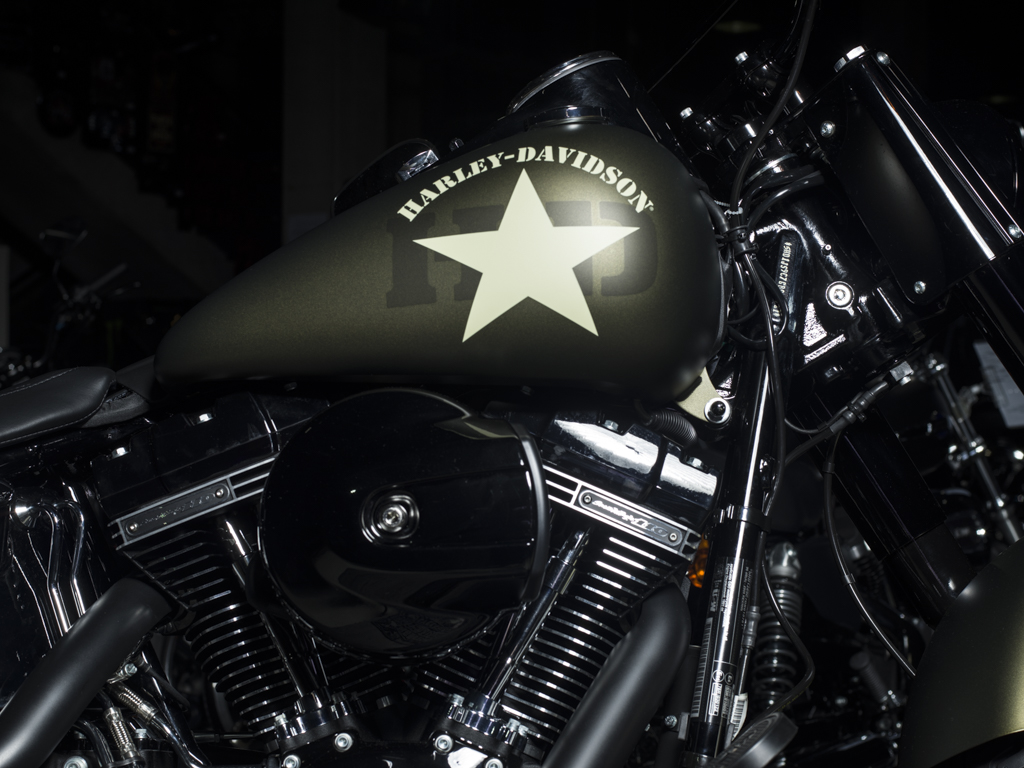
oh, did I by the wat told you all already about the major price drop? The Hasselblad CFV-50c is now available for €7.900 (excl. VAT)!
Review: Hasselblad CFV-50c
Hi all,
Zoals jullie misschien al eerder gelezen hebben mocht ik van Hasselblad importeur Pro Spirit de Hasselblad CFV-50c lenen. Vandaag wil ik graag mijn review van deze digitale achterwand met jullie delen.
Dit is een real-life review. Ik bespreek vooral over hoe ik de camera gebruikt heb als portretfotograaf. Tevens ga ik alleen in op de dingen die ik belangrijk vind als gebruiker. Omdat ik de CFV-50c alleen tijdens de dagen van het project heb gebruikt, heb ik geen kans gehad om alle uithoeken van deze digitale achterwand uit te diepen. Mocht je nog vragen hebben, laat het me weten en neem anders contact op met de mensen van Pro Spirit!
Introductie van de CFV-50
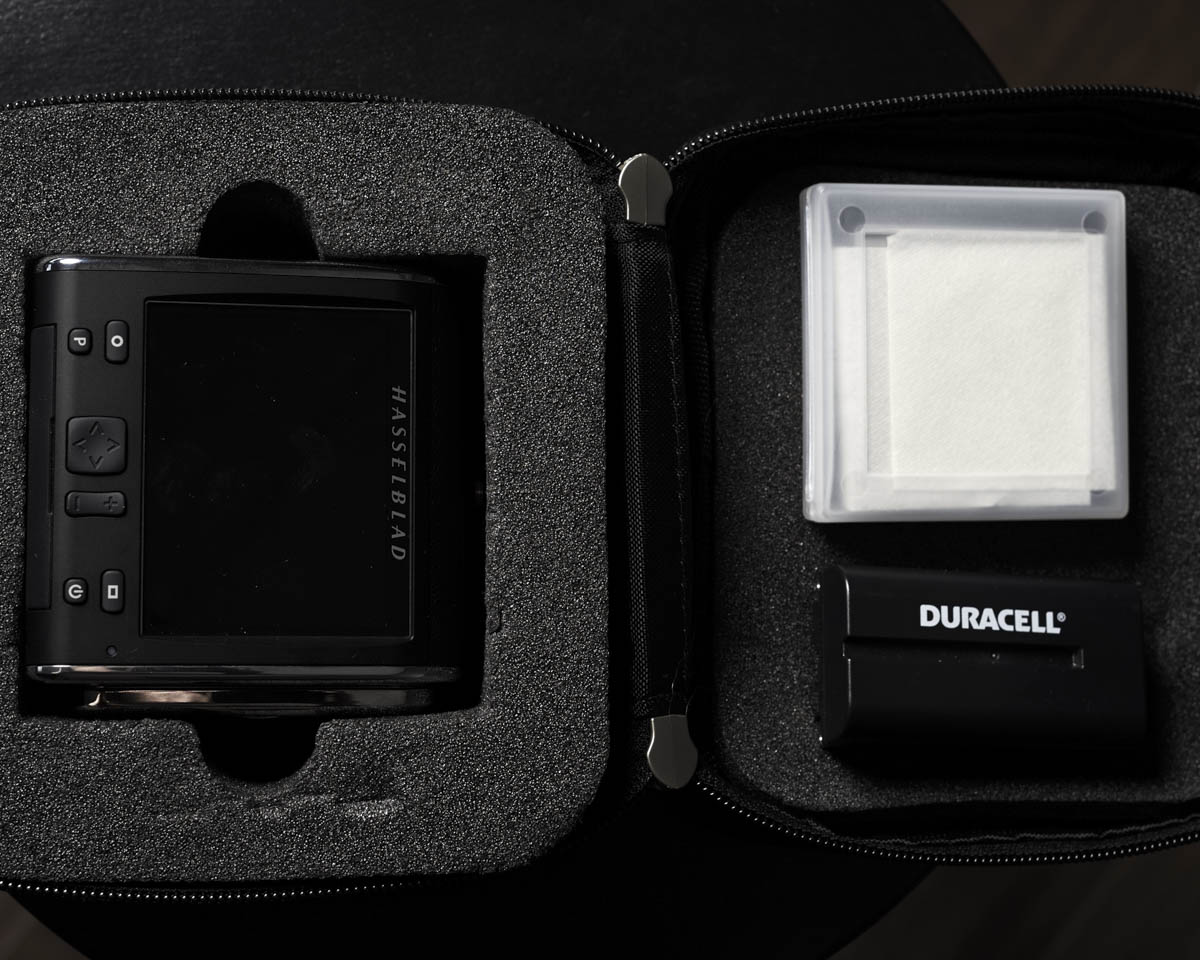
De Hasselblad CFV-50c is een 50 megapixel (6200 x 8272) CMOS-sensor digitale achterwand gemaakt om te gebruiken met de klassieke Hasselblad V-serie camera’s. De ratio van de sensor is een soort van 4:3 in tegenstelling tot de 2:3 van 35mm camera’s. Het voordeel van de CMOS is dat je nu ook hogere ISO-waarde kunt gebruiken met de camera tot zelfs 6400! En ja dat is heel wat voor een middenformaat camera. Met de DALSA sensoren kwam je niet hoger dan 400. De sluitertijd varieert van 1/800 tot 32 minuten afhankelijk van welke body en lens je gebruikt.
Werken met de CFV-50
Het eerste wat ik graag wil delen is dat Middenformaat camera’s geen camera’s zijn om snel mee te werken. Het gaat bij middenformaat camera’s om kwaliteit boven kwantiteit. Houd er ook rekening mee dat de foto’s gemiddeld 65MB bij RAW 3FR en 154MB bij TIFF 8 bit zijn.
Het monteren van dan de back is zeer simpel. Dit werkt het zelfde als de analoge filmbacks. Tevens in tegenstelling tot digitale achterwand van andere fabrikanten heb je geen extra snoeren nodig om de CFV-50- back met de lens te koppelen om de sluiter te synchroniseren met de digitale achterwand. Het design past prachtig bij de oude body’s. Het enige wat afwijkt is de batterij die iets uit steekt. Verder zou je denken dat je met een compleet analoge setup werkt.
De interface en de knoppen ga ik verder niet op in. Dit wijst zichzelf!
Tevens zit er bij de CFV-50c een speciaal matglas. Deze geeft duidelijk aan wat de ratio is van de beeld sensor. Zo weet je hoe je moet kaderen.
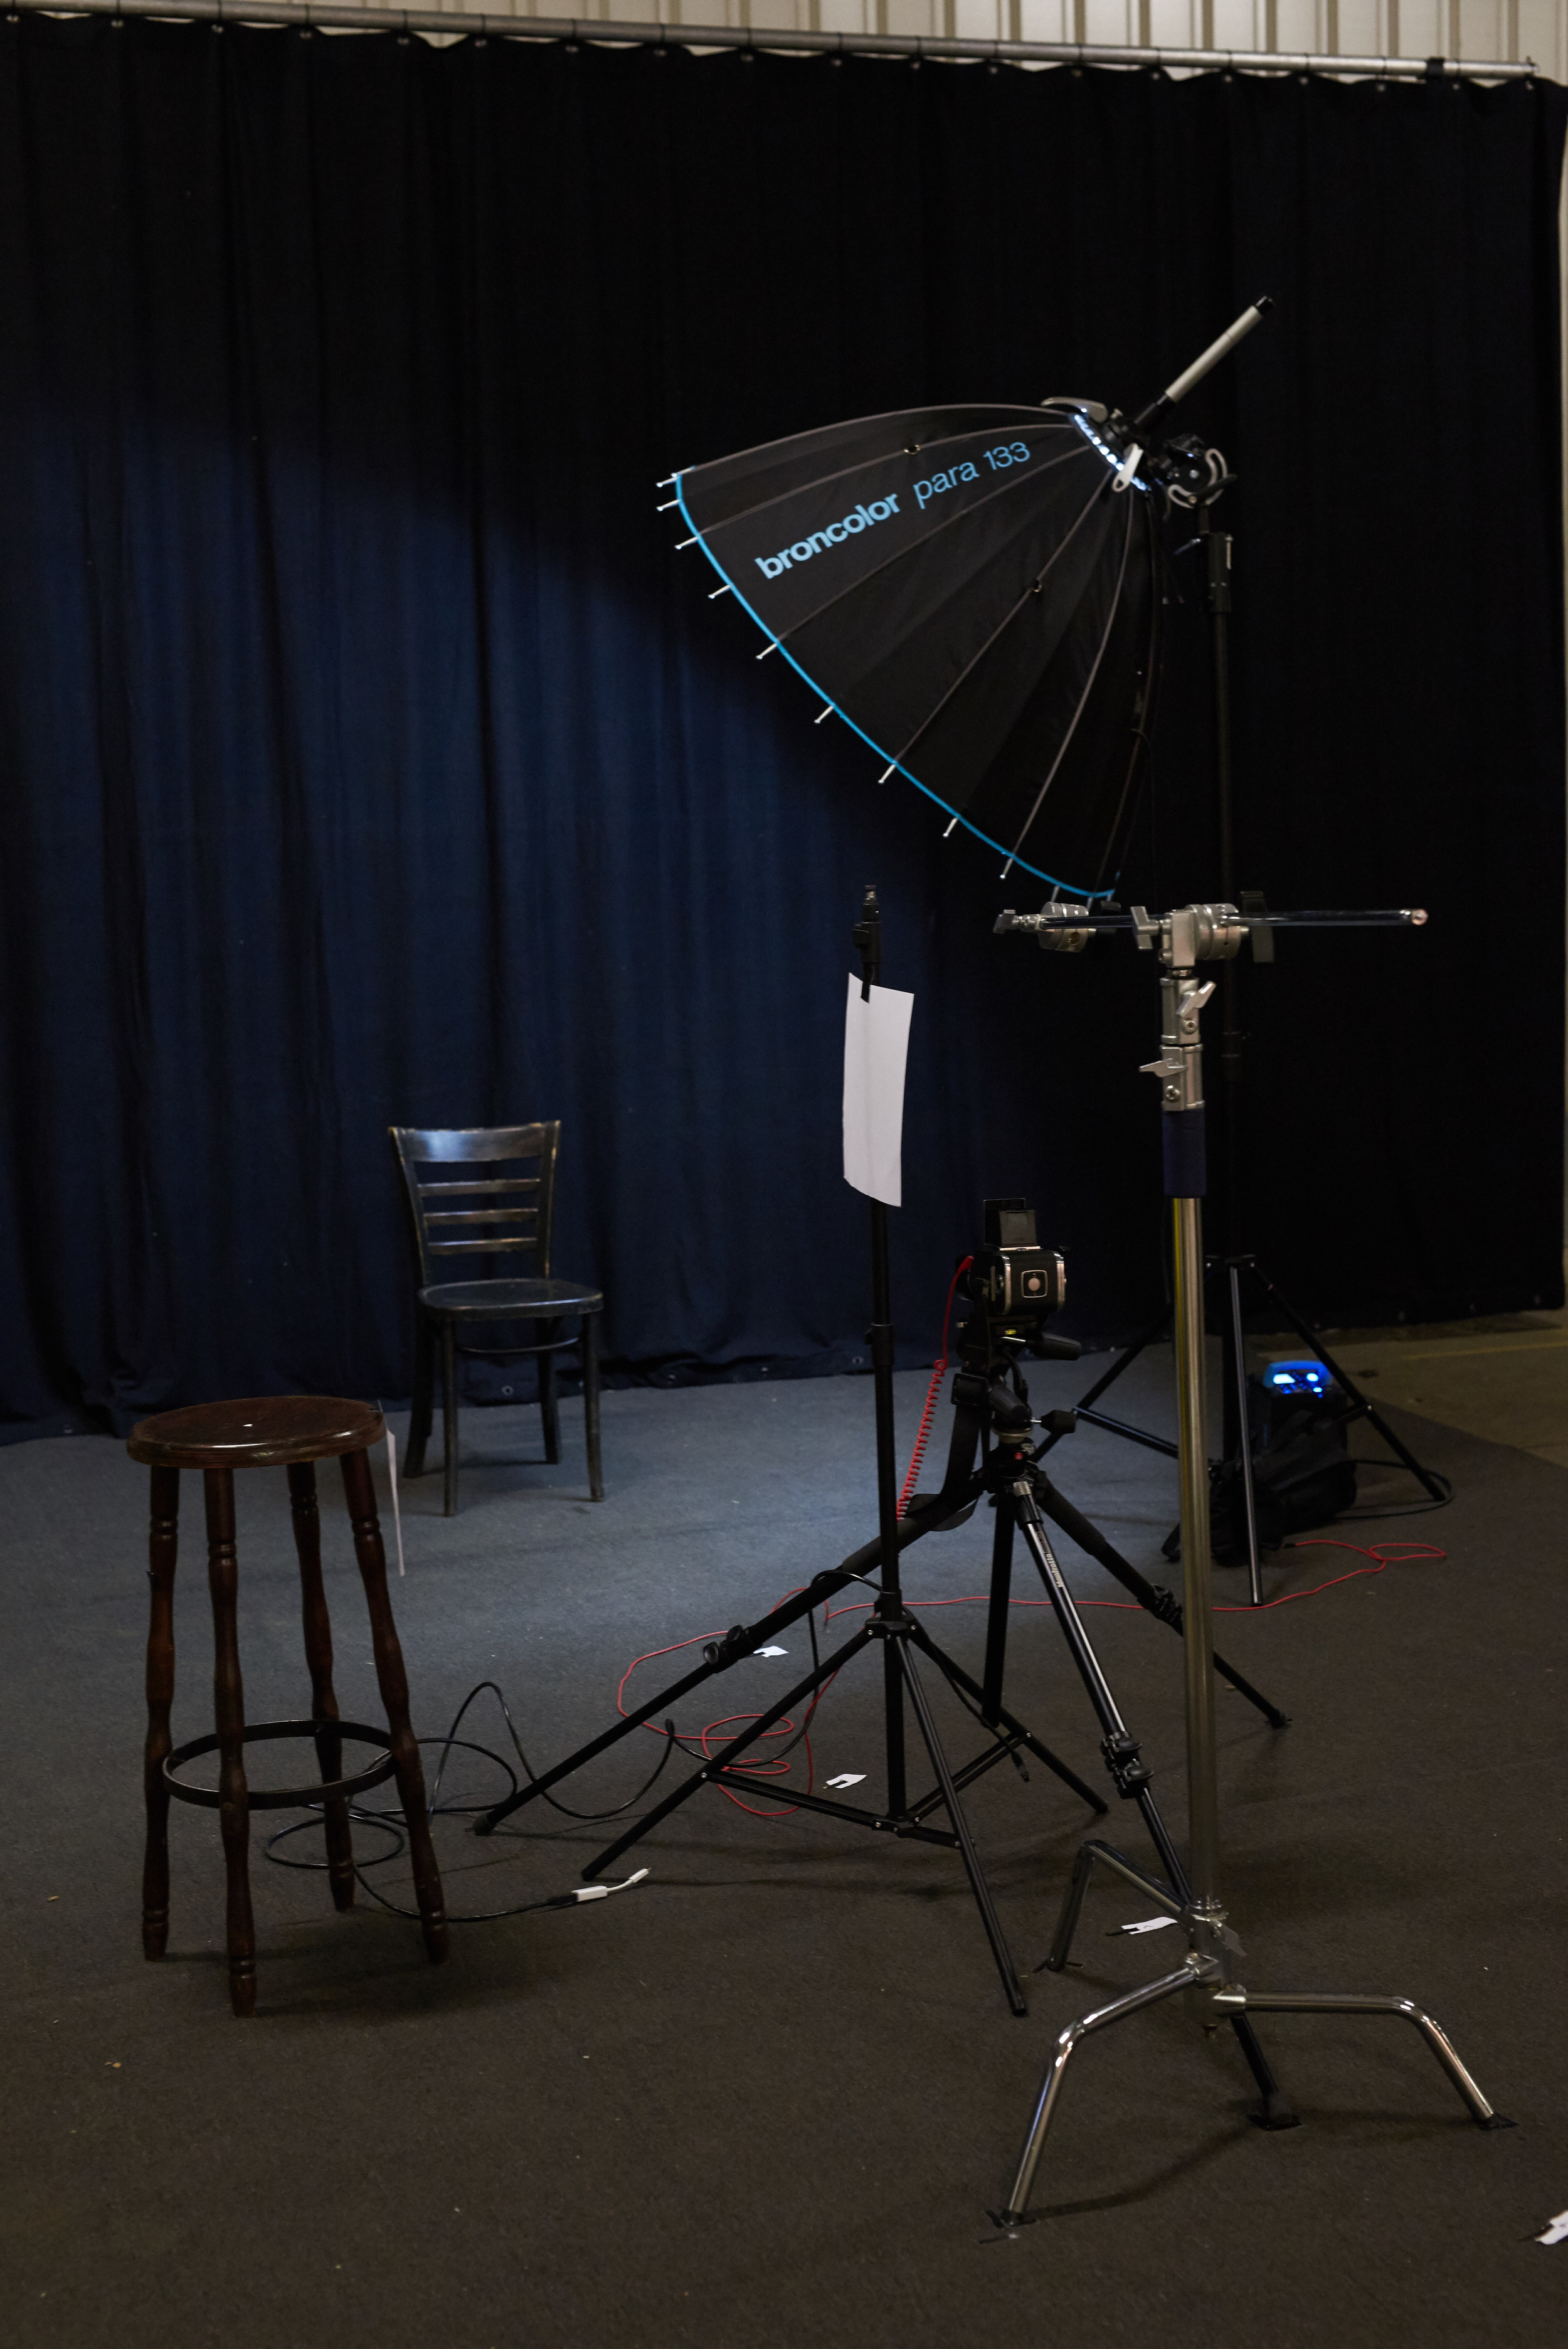
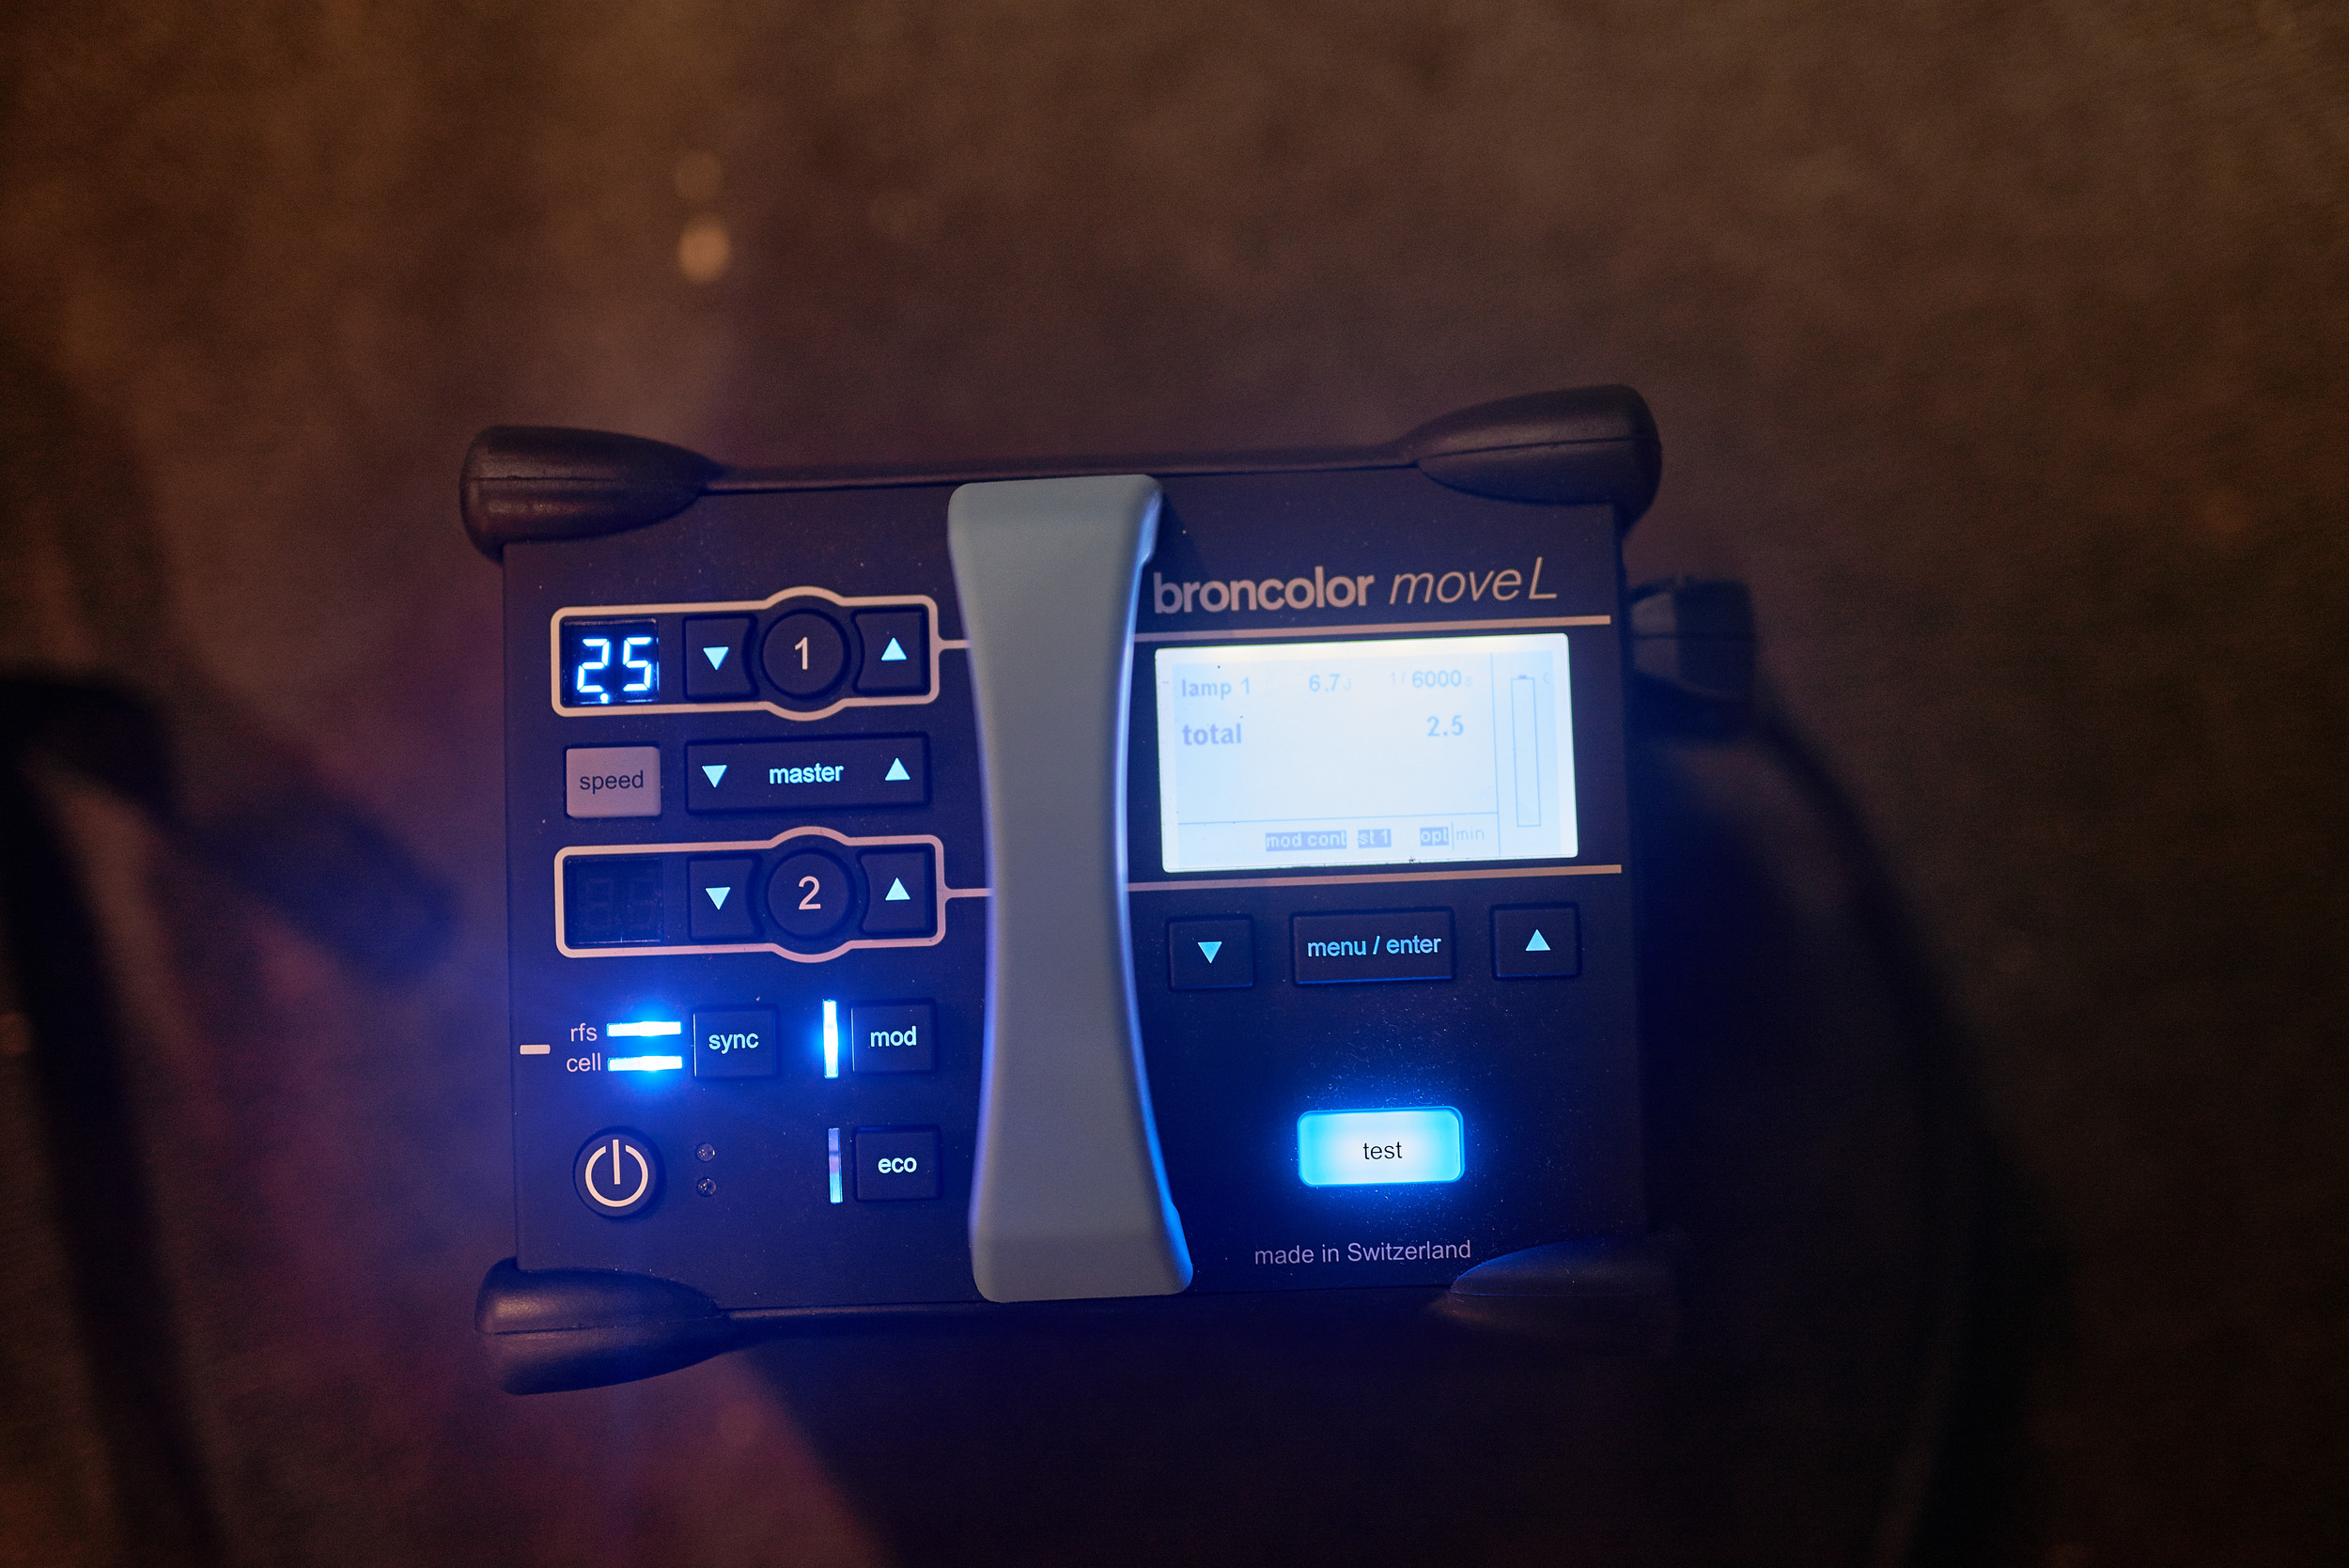
Tijdens de sessies maakte ik gebruik van 1 studio lamp. De Broncolor Move 1200L samen met de Para 133. Dit gaf een zeer mooi dynamisch beeld in combinatie met de CFV-50c. De Move 1200L synchroniseren is ouderwets via de lange kabel. En niet vanwege nostalgie, maar meer omdat ik het verloopkabeltje naar de trigger niet kon vinden. Nu moet ik wel zeggen, dat ik met lange kabel fijner vind omdat je anders de trigger nergens kunt vast zetten. Deze camera’s zijn nooit ontworpen als reportage camera’s met flitsschoen.
Tijdens de sessies had ik de CFV-50c via de firewire kabel aangesloten op mijn MacBook pro, om zo direct te kunnen terugkijken wat we maakten. Het andere voordeel is dat de CVF-50c dan ook voeding krijgt via de kabel en je geen batterijen nodig hebt! Zorg er tevens voor als je niet via thetering fotografeert dat je voldoende snelle geheugenkaarten bij je hebt als je veel wilt fotograferen!
De foto’s
De eerste foto’s die je maakt zijn even schrikken! Je verwacht dat zo’n camera met de eerste klik gelijk de meeste fantastische foto’s maakt. Maar nu komt de truc. Deze opstelling maakt de foto’s niet voor jou. Hij is namelijk zo goed, dat hij elke fout die jij als fotograaf maakt, genadeloos terug geeft! Dit zijn geen camera’s dit het werk voor je doen.
Als je op de digitale achterwand kijkt krijg je als preview een ongecomprimeerde RAW foto te zien. Op een gewone DSLR is dit een al verscherpte en gecomprimeerde JPEG variant. Dit is even wennen. Ook als je via Thetering naar de laptop naar de gratis Hasselblad Phocus software fotografeert zie je dit. Deze camera heeft een groot dynamische bereik van 13-stops, en de software laat alles zien wat er in de foto zit. Je zal dus moeten leren om even een profiel met iets meer contrast te maken en verscherping te maken. Dit zorgt dat je een reëler beeld hebt van wat je maakt.
Als je dit door hebt, en je gaat met de camera werken. Dan krijg je ook geweldige foto’s!
De sessies
Tijdens de sessie heb ik eerst via de viewfinder van de Hasselblad 500c/m gefilmd en vervolgens gefotografeerd. Dit was een heerlijke manier om te werken. Het viel me ook op dat ik veel minder foto’s dan normaal nam. Normaal schiet ik tijdens een portretsessie snel 200 tot 300 foto’s. Nu lag het gemiddelde op 20 tot 50. Dit zorgde dat het kiezen van de juiste foto’s een stuk sneller ging, Ook zat er meer rust in de sessie.
Het moment dat de kwaliteit van een middenformaat echt floreert is het moment wanneer je print. En vooral ook groter print. Dan komt er zo’n mooie extra feel uit deze camera’s. Iets wat niet te beschrijven is, maar het geeft net dat randje wat het verschil maakt!
De conclusie.
De Hasselblad CFV-50c is een geweldige digitale achterwand voor gebruik op de oude Hasselblad camera’s. Maar het is er ook één met een leercurve voor jou als fotograaf. Zoals eerder gezegd het is geen snelheidsmonster en iedere fout krijg je terug. En daar ben jij als fotograaf als enige de schuldige van. Want jij bedient de camera en de digitale achterwand legt alleen vast wat jij doet!
Deze body is in mijn mening vooral voor portret-, landschaps-, en straatfotografen. Vooral voor fotografen die de tijd willen en kunnen nemen om een geweldig beeld vast te leggen!
DjazzTV Project dag 1: Pre Productie
Hi all,
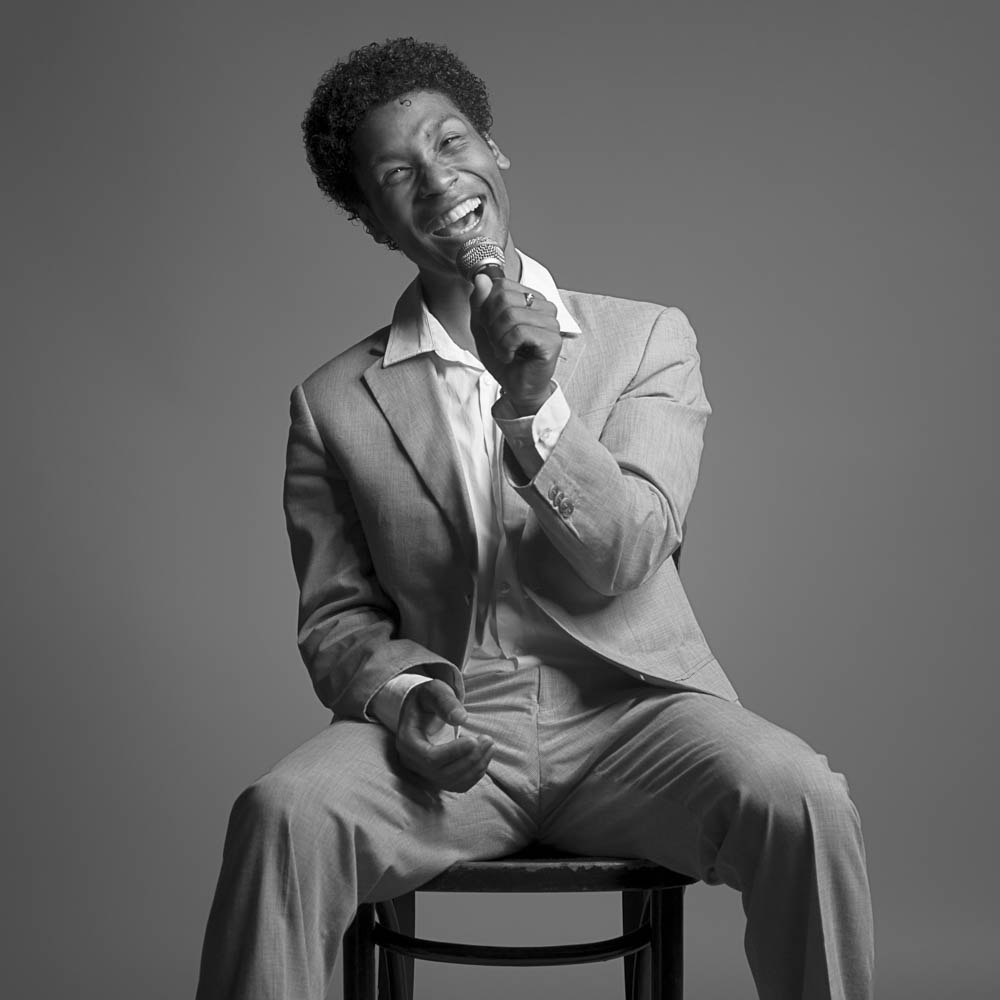
De komende dagen ga ik jullie zo veel mogelijk proberen mee te nemen achter de schermen van het project wat ik voor het Jazz Museum Rotterdam en JazzTV aan het doen ben.
Vandaag bestond de hele dag uit pre-productie. Om half 8 ging de wekker, vervolgens koffer gepakt, auto ingeladen en op weg. De eerste tussenstop was bij TanscontinentaPoro Spirit in Nieuw-Vennep. Daar kon ik de Hasselblad CFV-Digital back voor mijn Hasselblad 500C/M op halen en de Broncolor set. De tweede tussenstop was op de studio om de laatste spullen in/uit te laden. Vervolgens op weg naar Rotterdam.
De Licht Setup in het museum
Als inspiratie foto voor het project heb ik gekozen voor de foto van Robert Johnson. Daar heb ik de basis setup simpel gehouden. Deze bestaat nu uit een stoel voor een zwart doek. De belichting om in stijl te blijven bestaat uit één lamp.
De lamp is de Broncolor Move 1200 en de Para 133. Het eerste wat me opviel was het gemak waarmee de redelijk grote Broncolon Para 133 in elkaar te zetten is, ook het monteren van de kampkop ging zeer gemakkelijk. Zoals jullie misschien weten ben ik van huis uit een Elinchrom gebruiker. En aan het begin was ik een beetje bang dat het qua werking erg zou afwijken en ik toch even een leercurve zou moeten doorgaan. Dit viel gelukkig erg mee. Beetje logisch nadenken en alles staat zo!
De lichtkwaliteit van de Led-continu lamp is erg goed. Ik was even bang dat hij er weinig kracht zou hebben, maar dit viel alles mee. Wel moest ik even met de focus-stang afstellen om het licht voldoende te bundelen.
De Hasselblad CFV-50
Vorige week heb ik even kort kennis kunnen maken met de Hasselblad CFV-50. Zoals jullie misschien wet heb ik een tijdje terug met de Phase One digitale achterwand gewerkt op de Hasselblad. Dit vond ik mooie foto’s opleveren, alleen het gedoe met de snoertjes vond ik minder fijn. Ook het niet hebben van auto-focus, klik HIER voor de resultaten en review van de Phase One back.
De Hasselblad CFV-50 vind ik qua gebruiksgemak een stuk makkelijker werken! Geen gedoe met snoertjes om de back en de sluiter te hoeven koppelen. Ook de UI is erg gemakkelijk. Het aansluiten op mijn nieuwe MacBook Pro hield echter wat meer voeten in aarde. Ik wilde direct gaan toeteren naar Lightroom, maar Lightroom zag de camera niet. Vervolgens de gratis Phocus software van Hasselblad geïnstalleerd. Deze pakte de camera gelijk op en alles werkte vlekkeloos!
Tevens de reden dat ik voor een 500 serie Hasselblad in combinatie met de CFV-50 heb gekozen is in verband met de video opdracht. Hierbij ga ik een camera boven de zoekerschacht hangen zodat je mee kunt kijken met hoe het beeld gevormd wordt.
De juiste focus.
Na het licht stond en de camera werkte was het tijd om alles uit te meten en hoeken te zoeken. Omdat de Hasselblad 500c/m met handmatig focus werkt heb ik diverse stukjes tape op de vloer geplakt om de afstanden aan te geven. Dit zorgt ervoor dat ik makkelijker en sneller de juiste scherpte in kan stellen.
Dit was alles wat ik qua pre productie gedaan heb, tot nu toe. Vanavond ga ik mij verder voorbereiden op de artiesten van morgen en genieten van weer een hopelijk fantastisch optreden in het Jazz Museum Rotterdam met onder andere Boris van der Lek

